This post may contain affiliate links. Please read our disclosure policy.

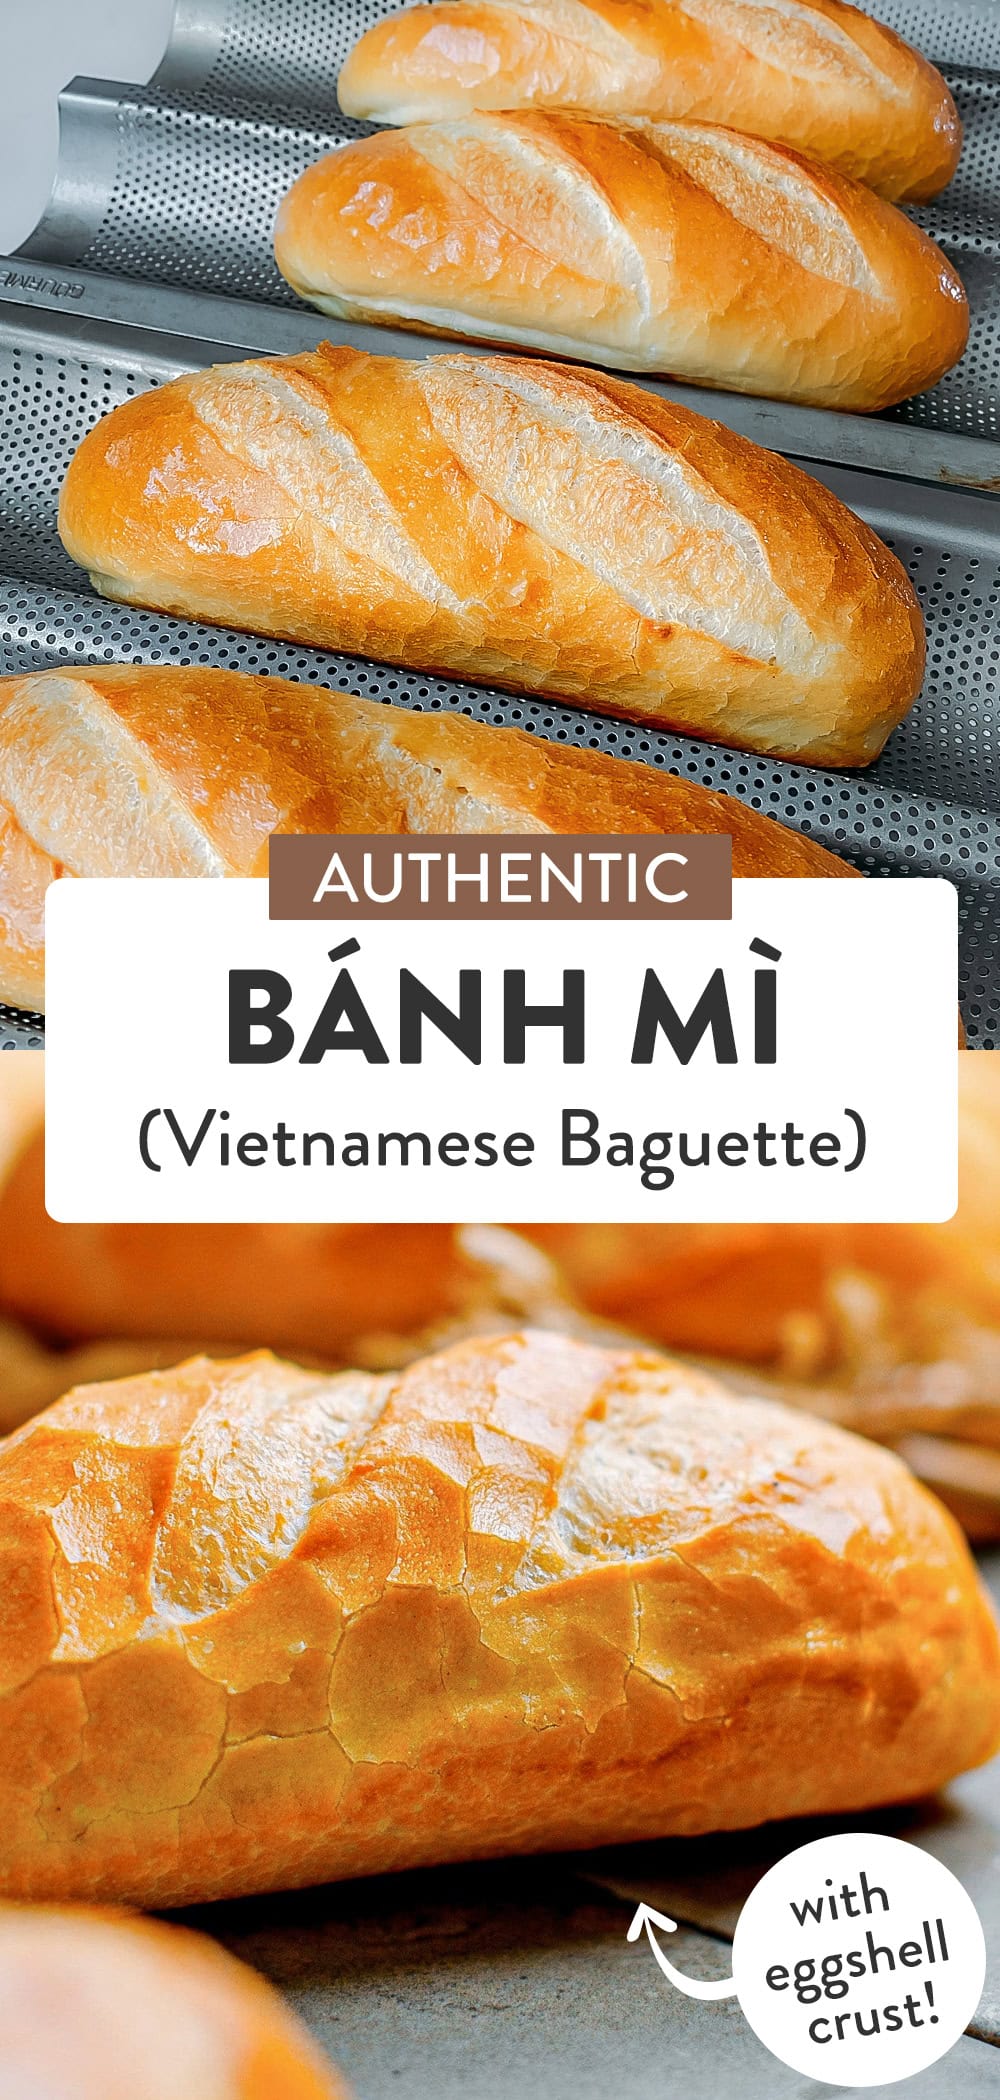
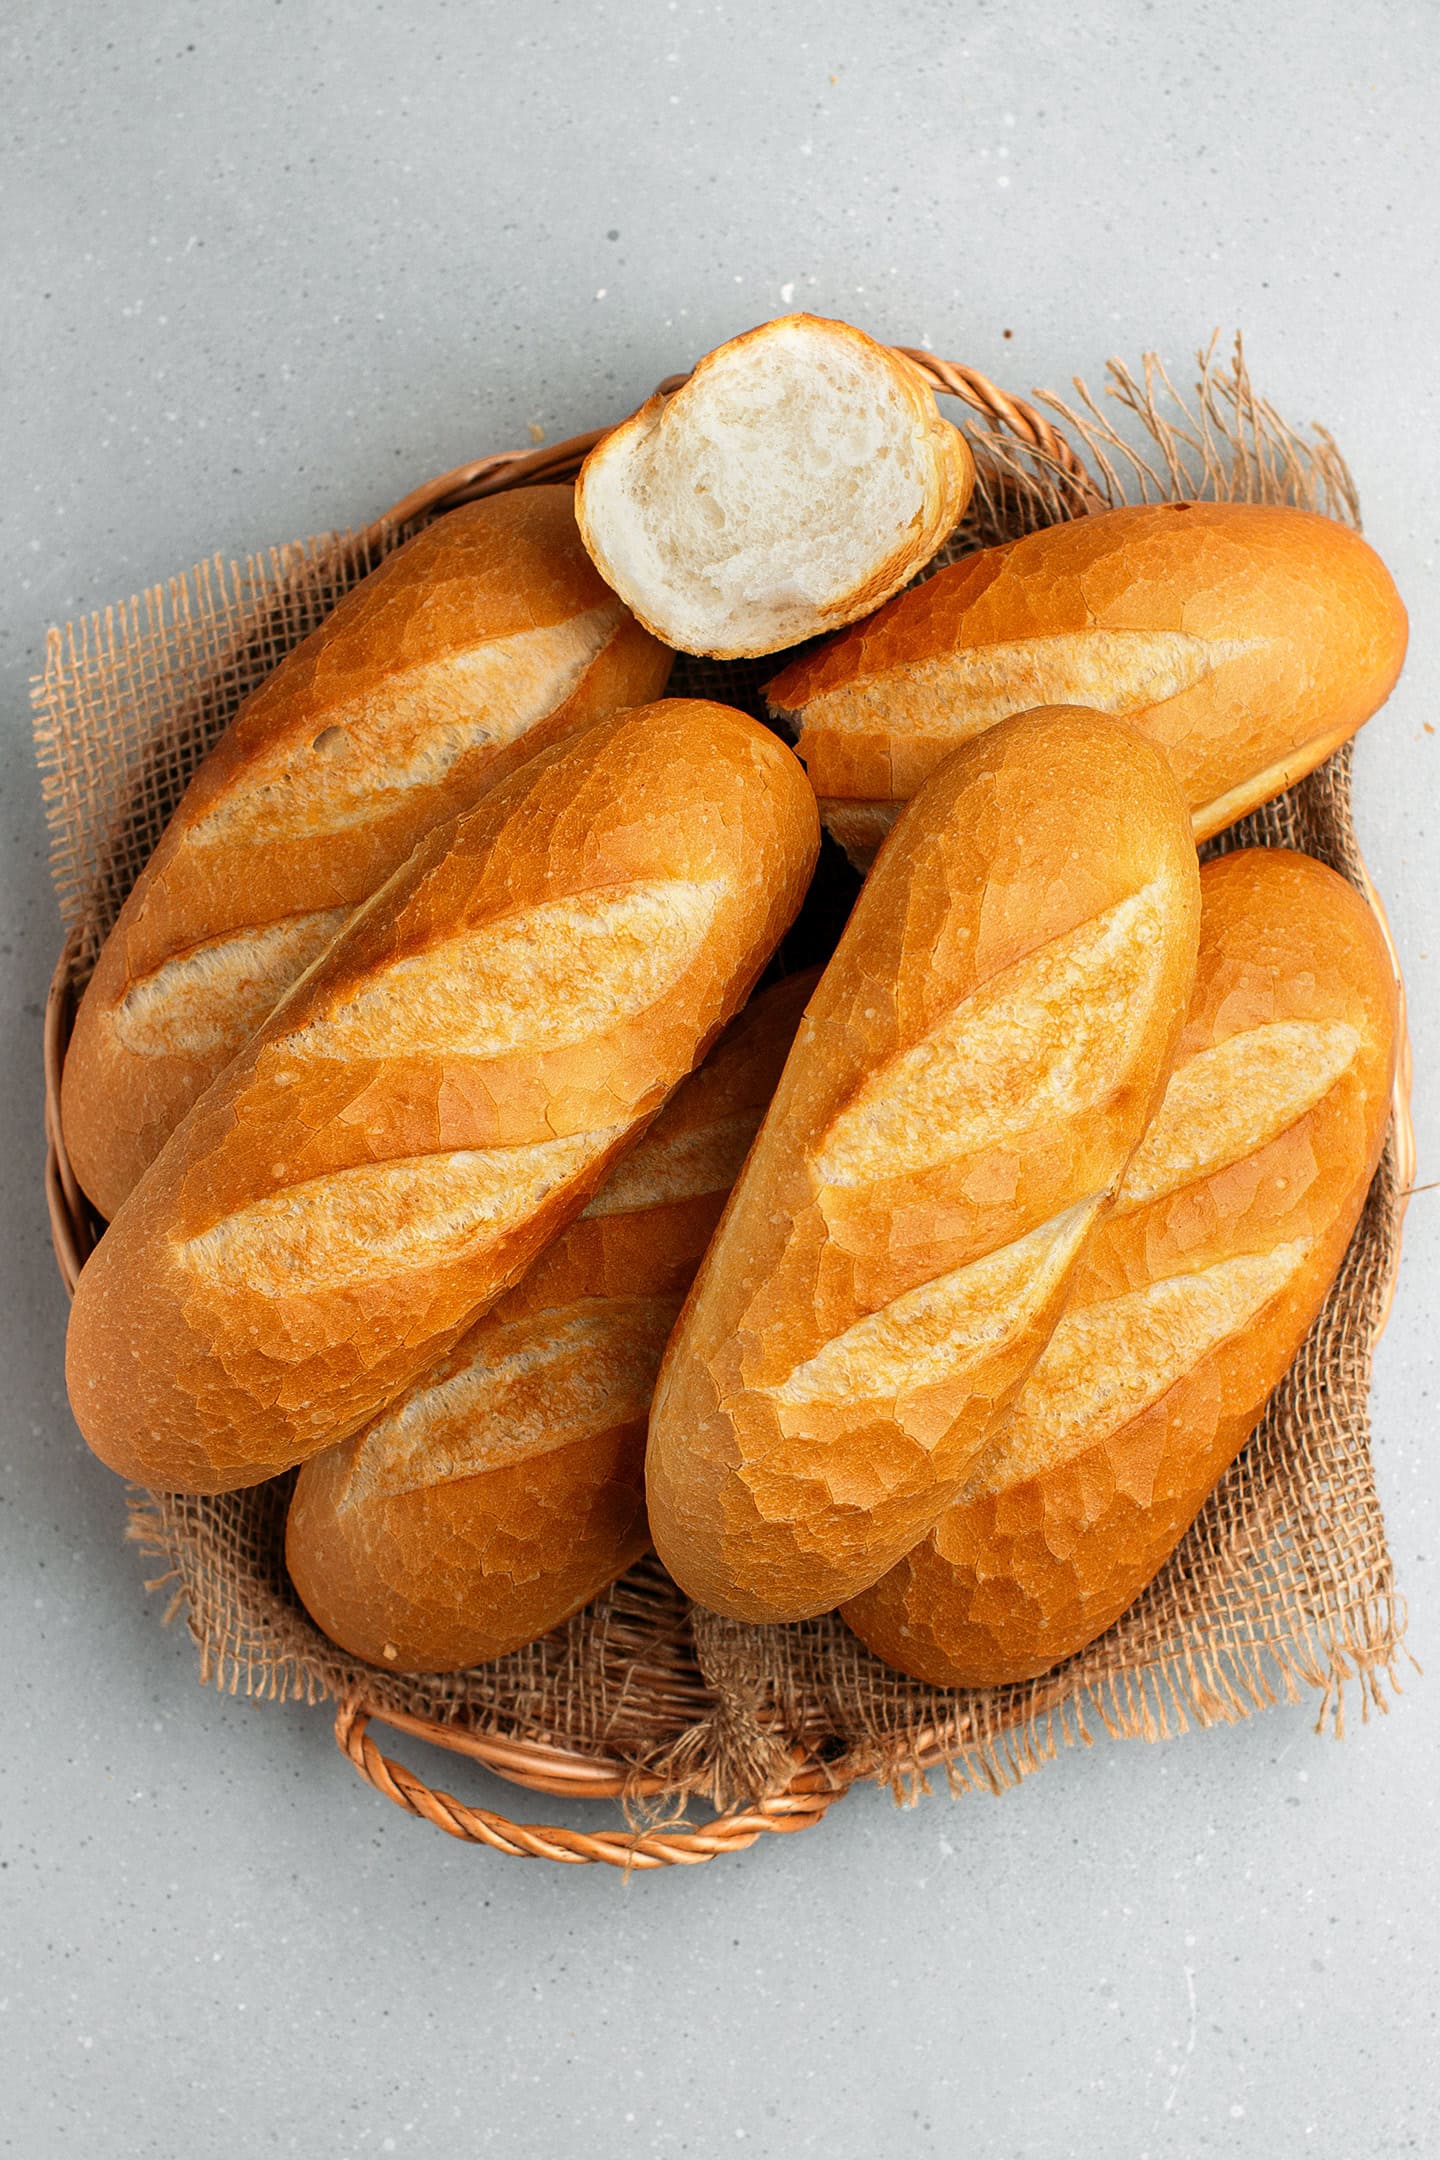
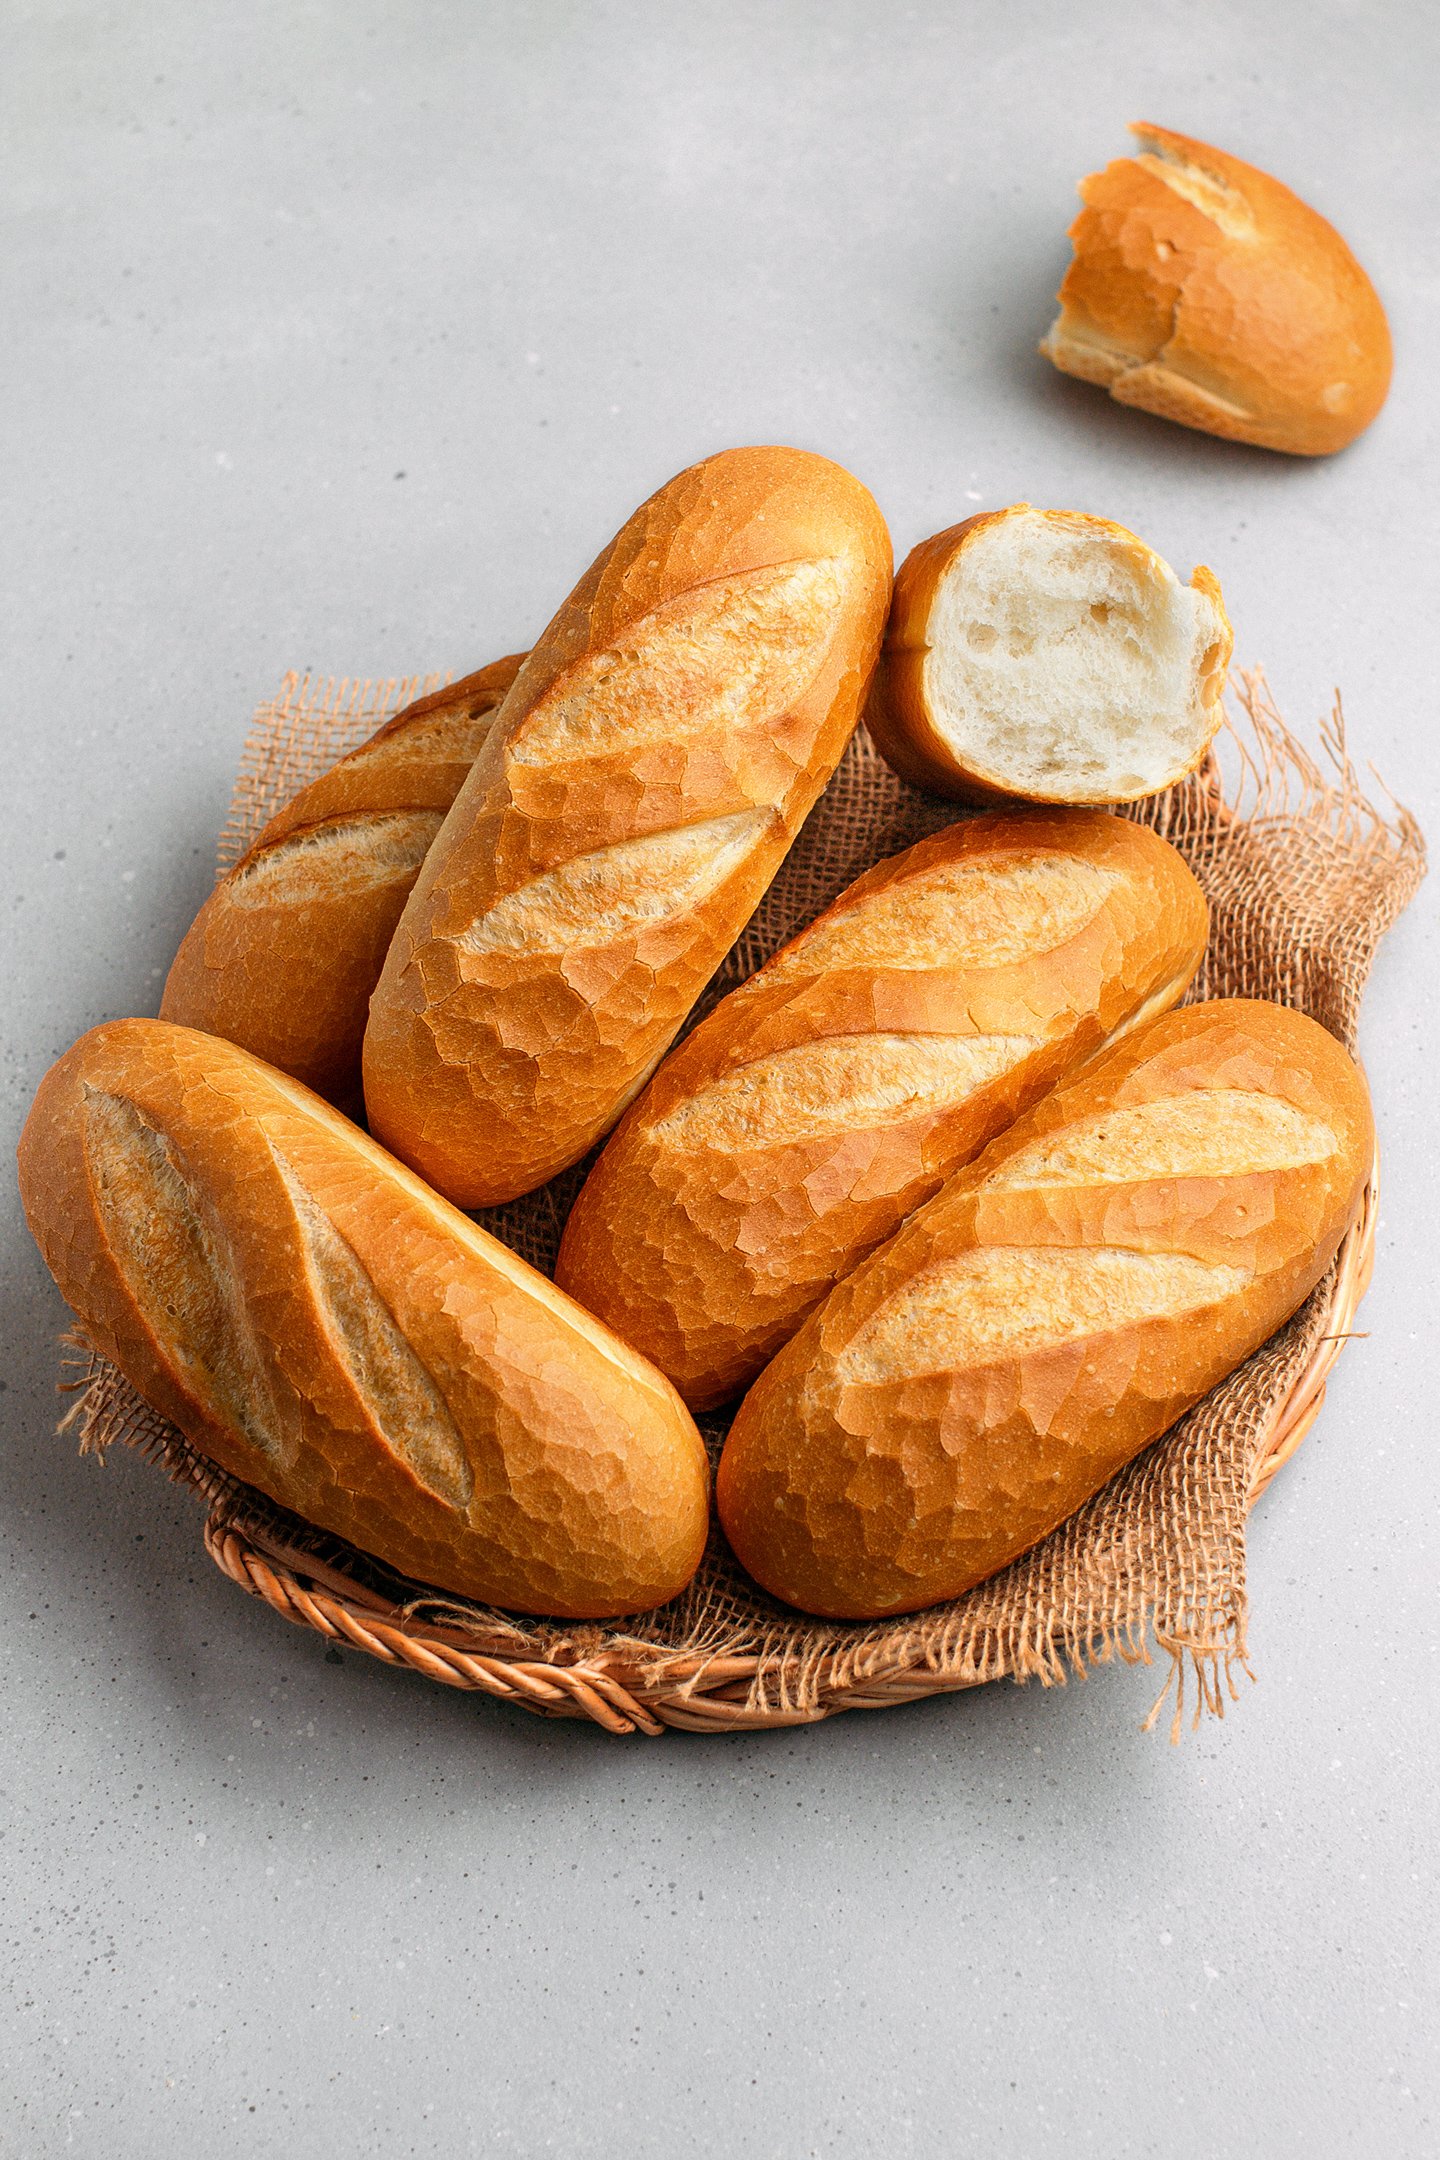
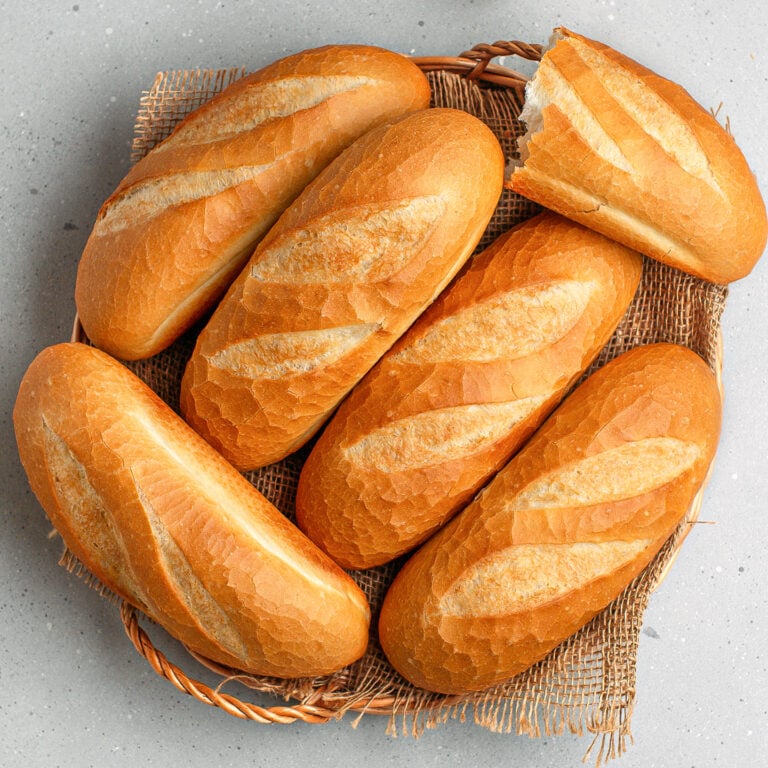
This authentic bánh mì bread recipe produces the ultra-light, cottony crumb and thin, crackly crust found in Vietnamese bakeries. The interior is airy and almost weightless, while the crust has the perfect cracks. Exactly how traditional Vietnamese baguettes should be.
After more than 50 tests (yes, really), countless side-by-side comparisons while we were in Vietnam, and invaluable help from Vietnamese bakers, I’m excited to share what I truly believe is the one bánh mì recipe you will ever need.
Unlike standard French baguettes, banh mi is defined by its high rise, thin eggshell crust, and soft crumb that’s light and cottony. Achieving this texture requires a precise balance of high-protein wheat flour, bread improver, strong gluten development, and high oven steam.
The method I’m sharing here is based on techniques Vân and I learned from bakeries in Ho Chi Minh City (Saigon), where we spend several months each year. We then refined it through extensive testing to replicate the exact structure and flavor of bakery-style Vietnamese bread. The ingredient ratios, mixing speed, proofing, and steam method are all calibrated to produce a ton of steam and that signature crackly crust.
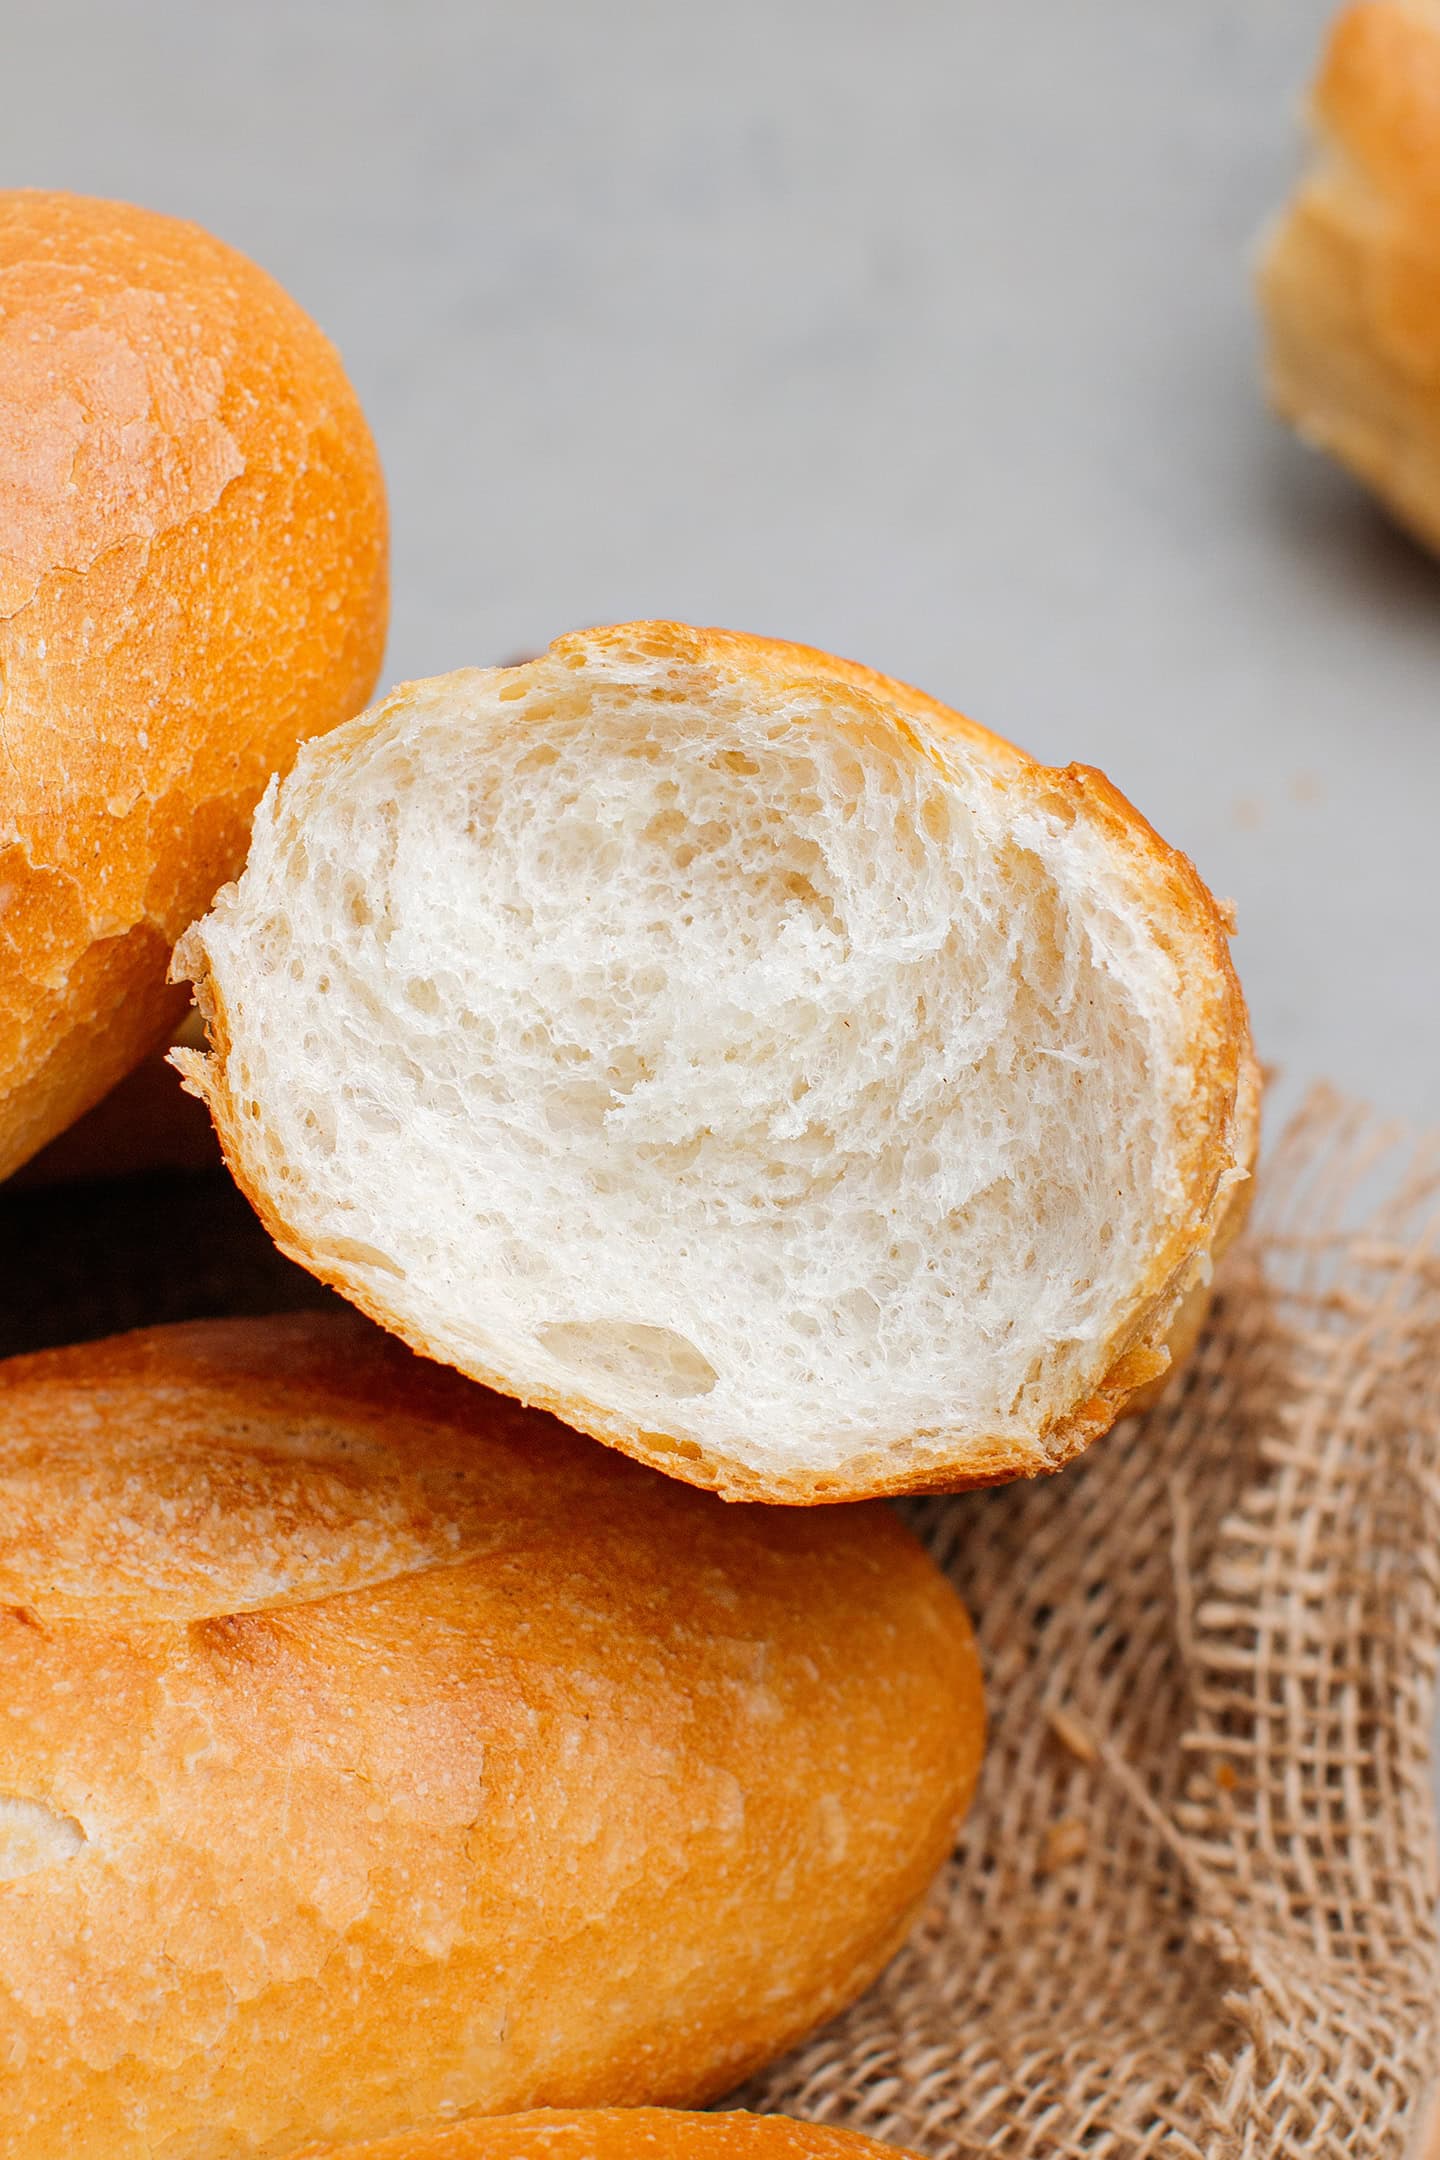
If you’ve tried authentic banh mi bread in Vietnam, you know the deal: lighter than a French baguette, thinner crust, and a crumb that almost pulls like cotton candy. This recipe recreates that texture precisely.
Don, a reader, said: “This proved to be the best Vietnamese bread recipe we have found. Text and photos were excellent. Instructions are clear, accurate, and complete. Could not wait. Ate while still warm. ★★★★★”
Ash, another reader says: “Thank you so much for sharing this absolutely wonderful recipe, Thomas! I made it twice in the past two days, and both times the loaves were light as a cloud on the inside and beautifully cracked and crispy outside. I am so thrilled. ★★★★★”
GFW says: “Made these today. Spent 3 weeks in Vietnam in October 2024, and this recipe seemed to be spot on. ★★★★★”
🎬 Watch Me Make It!

With over 125K views and 2.5K likes on my YouTube channel, this banh mi baguette is one of my most popular recipes!
📘 What is Bánh Mì Baguette
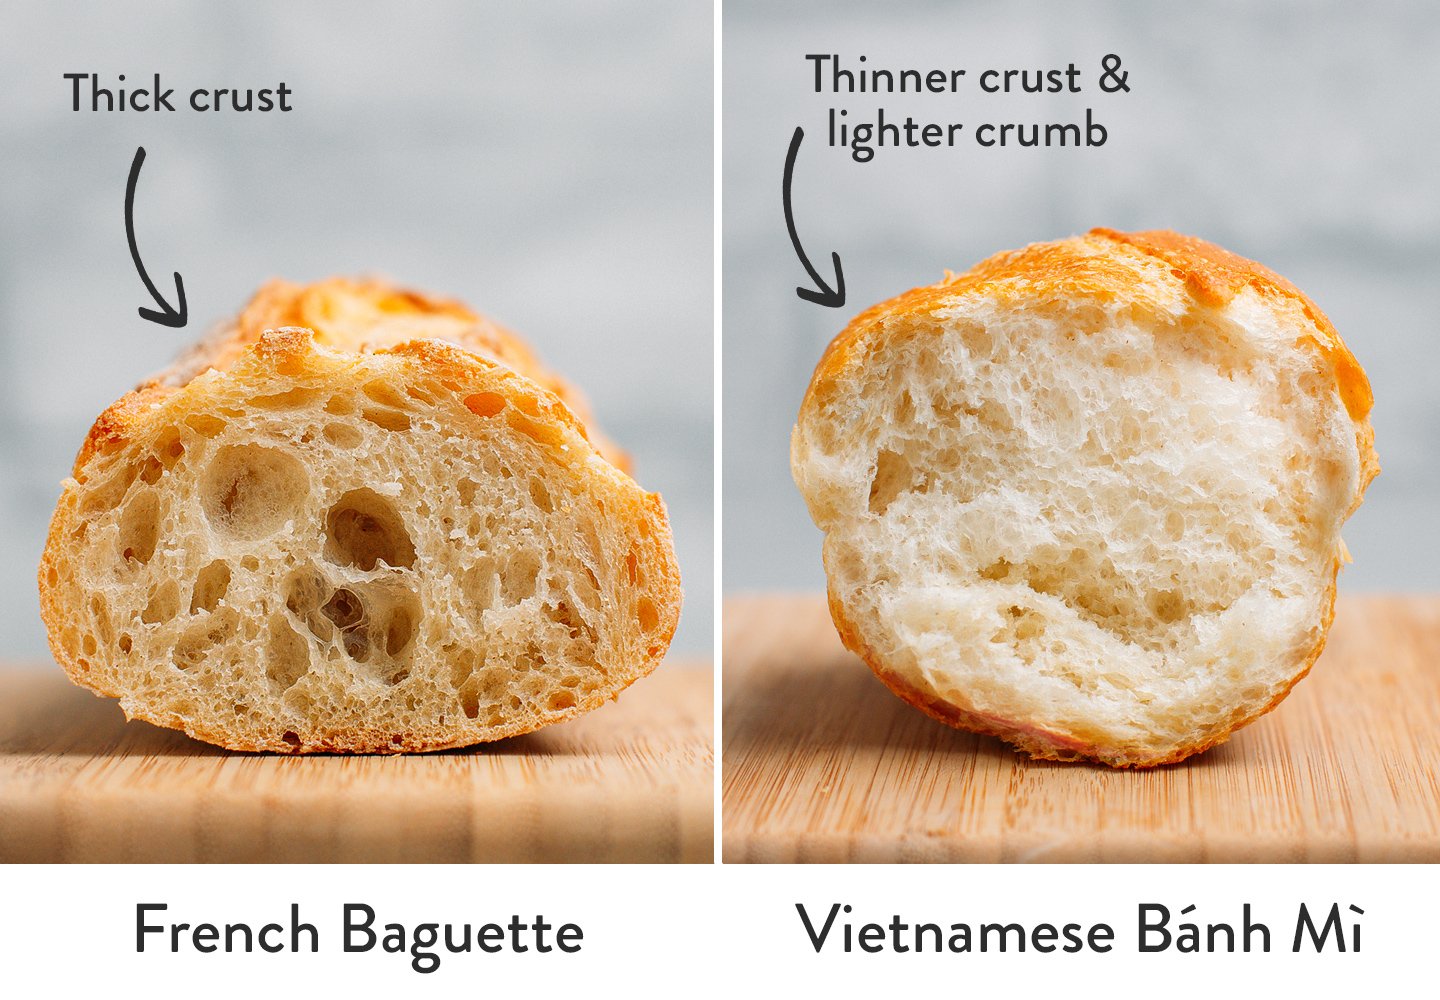
Bánh Mì is a Vietnamese wheat bread that originated during the French colonization, around 1880. The term “bánh mì” refers to both the bread and the filled sandwich made with it. Unlike a traditional French baguette, bánh mì is lighter, with a thinner crust and a more airy interior. French baguettes have a much thicker crust and a chewier/tougher crumb, so the weight-to-volume ratio is also much higher.
🌾 Behind the Ingredients
Here are the ingredients you will need to make Vietnamese baguettes at home. If you want the best results, do not omit or substitute any ingredient.
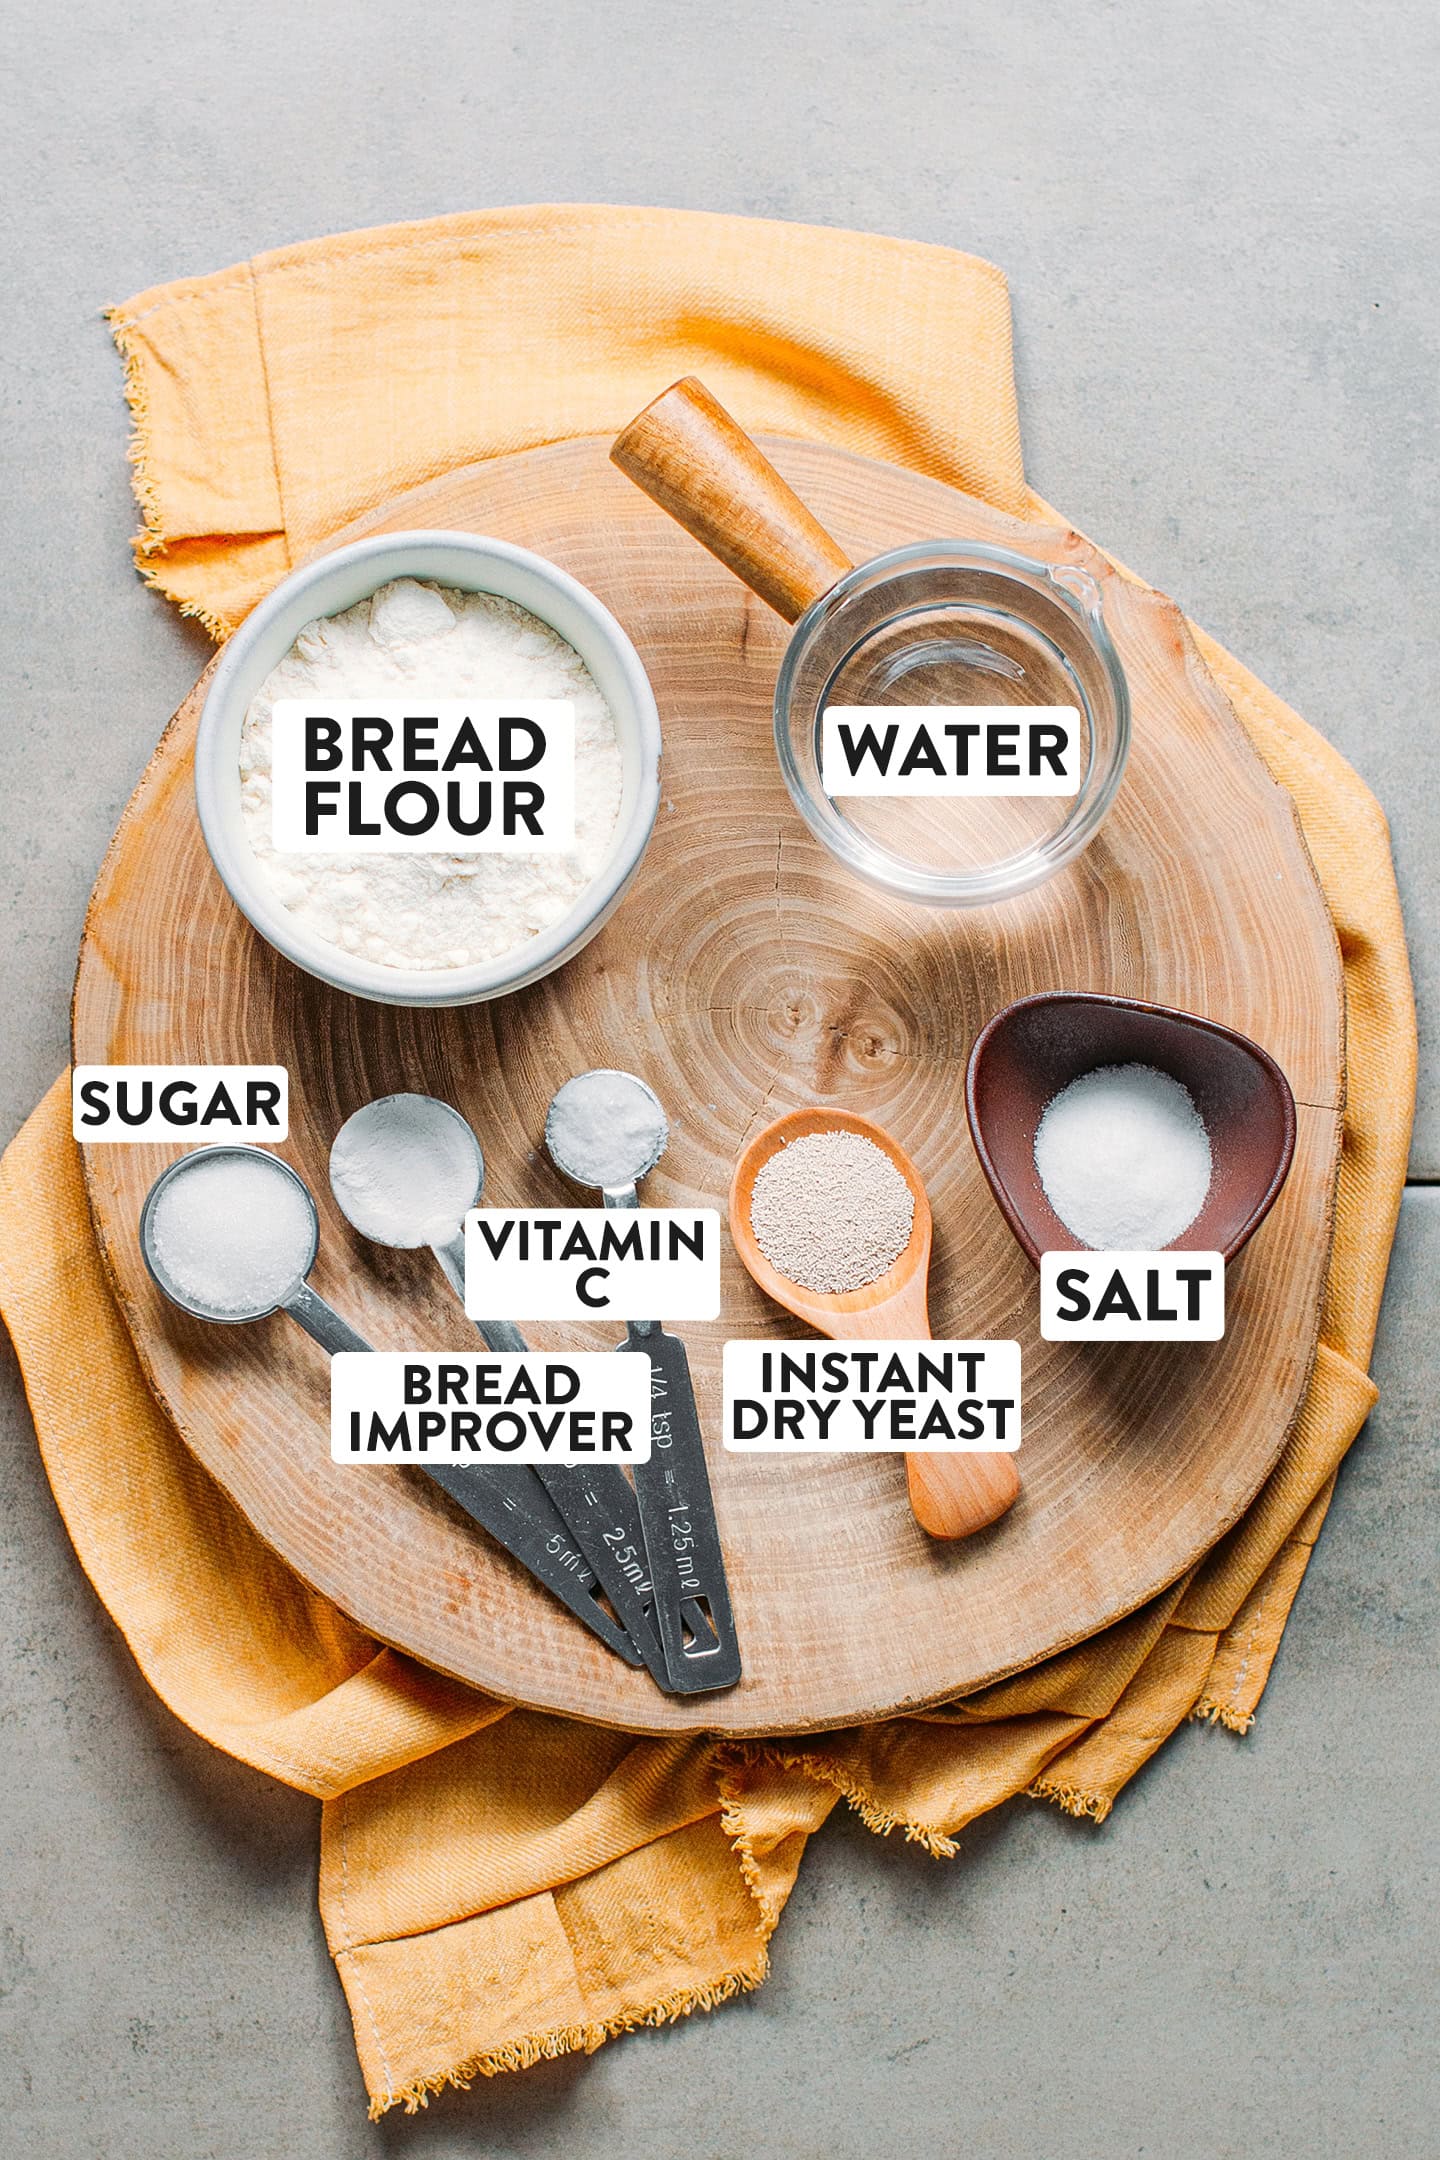
High-protein flour
Wheat flour with a high-protein content creates a strong gluten network that traps more gas. Lower protein flour (standard all-purpose) yields a denser, heavier crumb. Do not use it here, as you will be disappointed by the results. Aim for wheat flour with 11-12% protein. You can find high-protein flour here.
Important: Modern bánh mì dough does not contain rice flour. Unfortunately, there is a lot of misinformation about that (Wikipedia included). IT IS NOT the secret to its light texture, nor is it the shaping/rolling of the dough.
Instant yeast
To help the baguettes rise. I use instant yeast, which can be mixed directly with the other ingredients.
If using active dry yeast: Allow it to rehydrate in the water before mixing it with the flour.
If using fresh yeast: Use 3g and dissolve it in 3 tablespoons of lukewarm water. Remember to subtract that amount of water from the recipe to get the correct flour-to-water ratio.
Bread improver
Authentic Vietnamese bakeries always rely on a commercial bread improver. Always. At least in Vietnam, and we’ve asked plenty. It is essential as it improves gas retention and dough stability during rising, allowing the loaves to nearly quadruple in size without collapsing.
Without it, the bread will resemble a standard baguette rather than a true Vietnamese banh mi. This is where many other recipes fall short. Those who will tell you that it’s not necessary do not know what they are talking about.
Where to buy bread improver: I either buy it online or simply bring a bag from Vietnam. You may also try asking a bakery if they can sell you some (they usually have it).
Which type of bread improver to use?
Most bread improvers will work here. However, each brand will yield slightly different results. For your information, there are three main brands of bread improvers used by bakeries in Vietnam. These are Puratos, Mauri, and Baker 999.
I have tried this recipe with “S500 Bánh Mì Plus” from Puratos and “Phụ gia bánh mì” from Baker 999. Both yield similar results. Now, just for information, because many asked me, here are the ingredients listed in both of these brands:
- Puratos: It contains starch (75%), dextrose, emulsifier (E472e), antioxidants (E300), enzymes: amylases: E1100.
- Baker 999: It contains wheat flour (27.5% to 32%), acidity regulator, tapioca starch, enzyme, salt, sunflower oil, and antioxidant.
Vitamin C
Also known as ascorbic acid, vitamin C supports yeast activity.
Note: Use approximately 150mg per batch (from powder or a crushed tablet). This brand of vitamin C, for example, contains 500mg per tablet. Break a tablet into four pieces and use only one piece for each batch.
Salt and sugar
Salt is there for flavor, while sugar gives the yeast a little boost. Regarding the type of sugar to use, I recommend sticking to regular granulated sugar.
⏲️ Tools You’ll Need
- A high-speed stand mixer. The dough is intentionally kneaded at high speed to fully develop the gluten, resulting in a better structure. You can’t knead it by hand – you will need a stand mixer for this recipe.
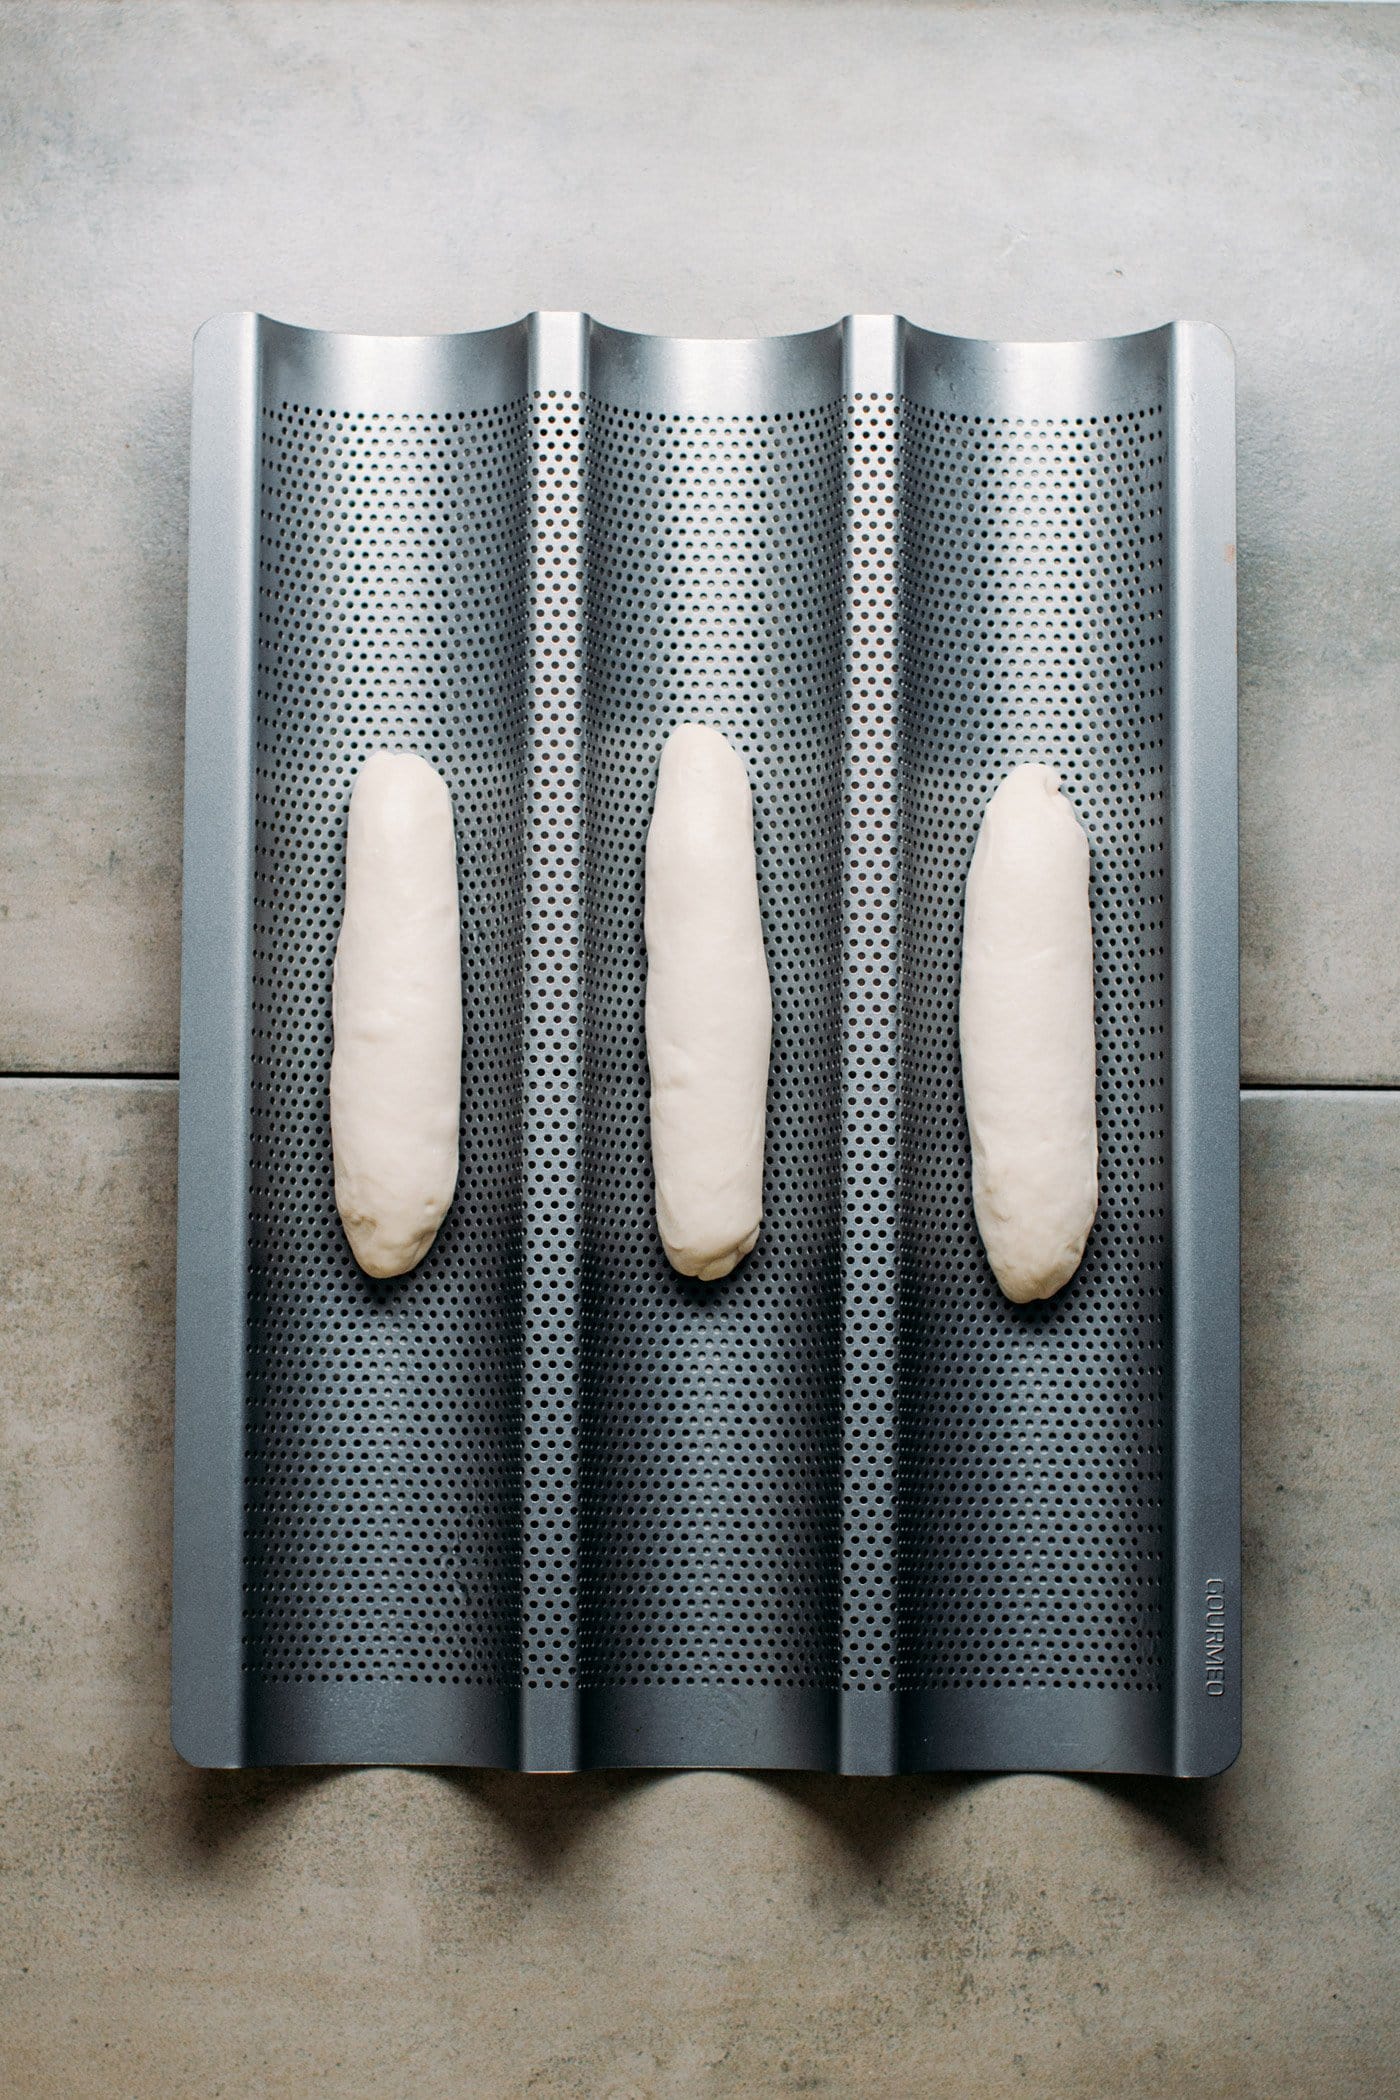
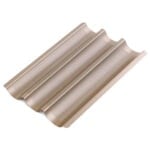
- A perforated baguette pan. If you want round and good-looking baguettes, a baguette pan will definitely help. It also helps the heat distribute better, giving the baguettes a more uniform, golden brown color.
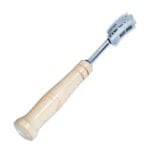
- A bread lame. For scoring the loaves before baking. You don’t need the handle, just a standard razor blade works well.
- A spray bottle. To spray the baguettes before baking.
- And a good oven!
🥣 Step-by-Step Instructions
1. Prepare the dough
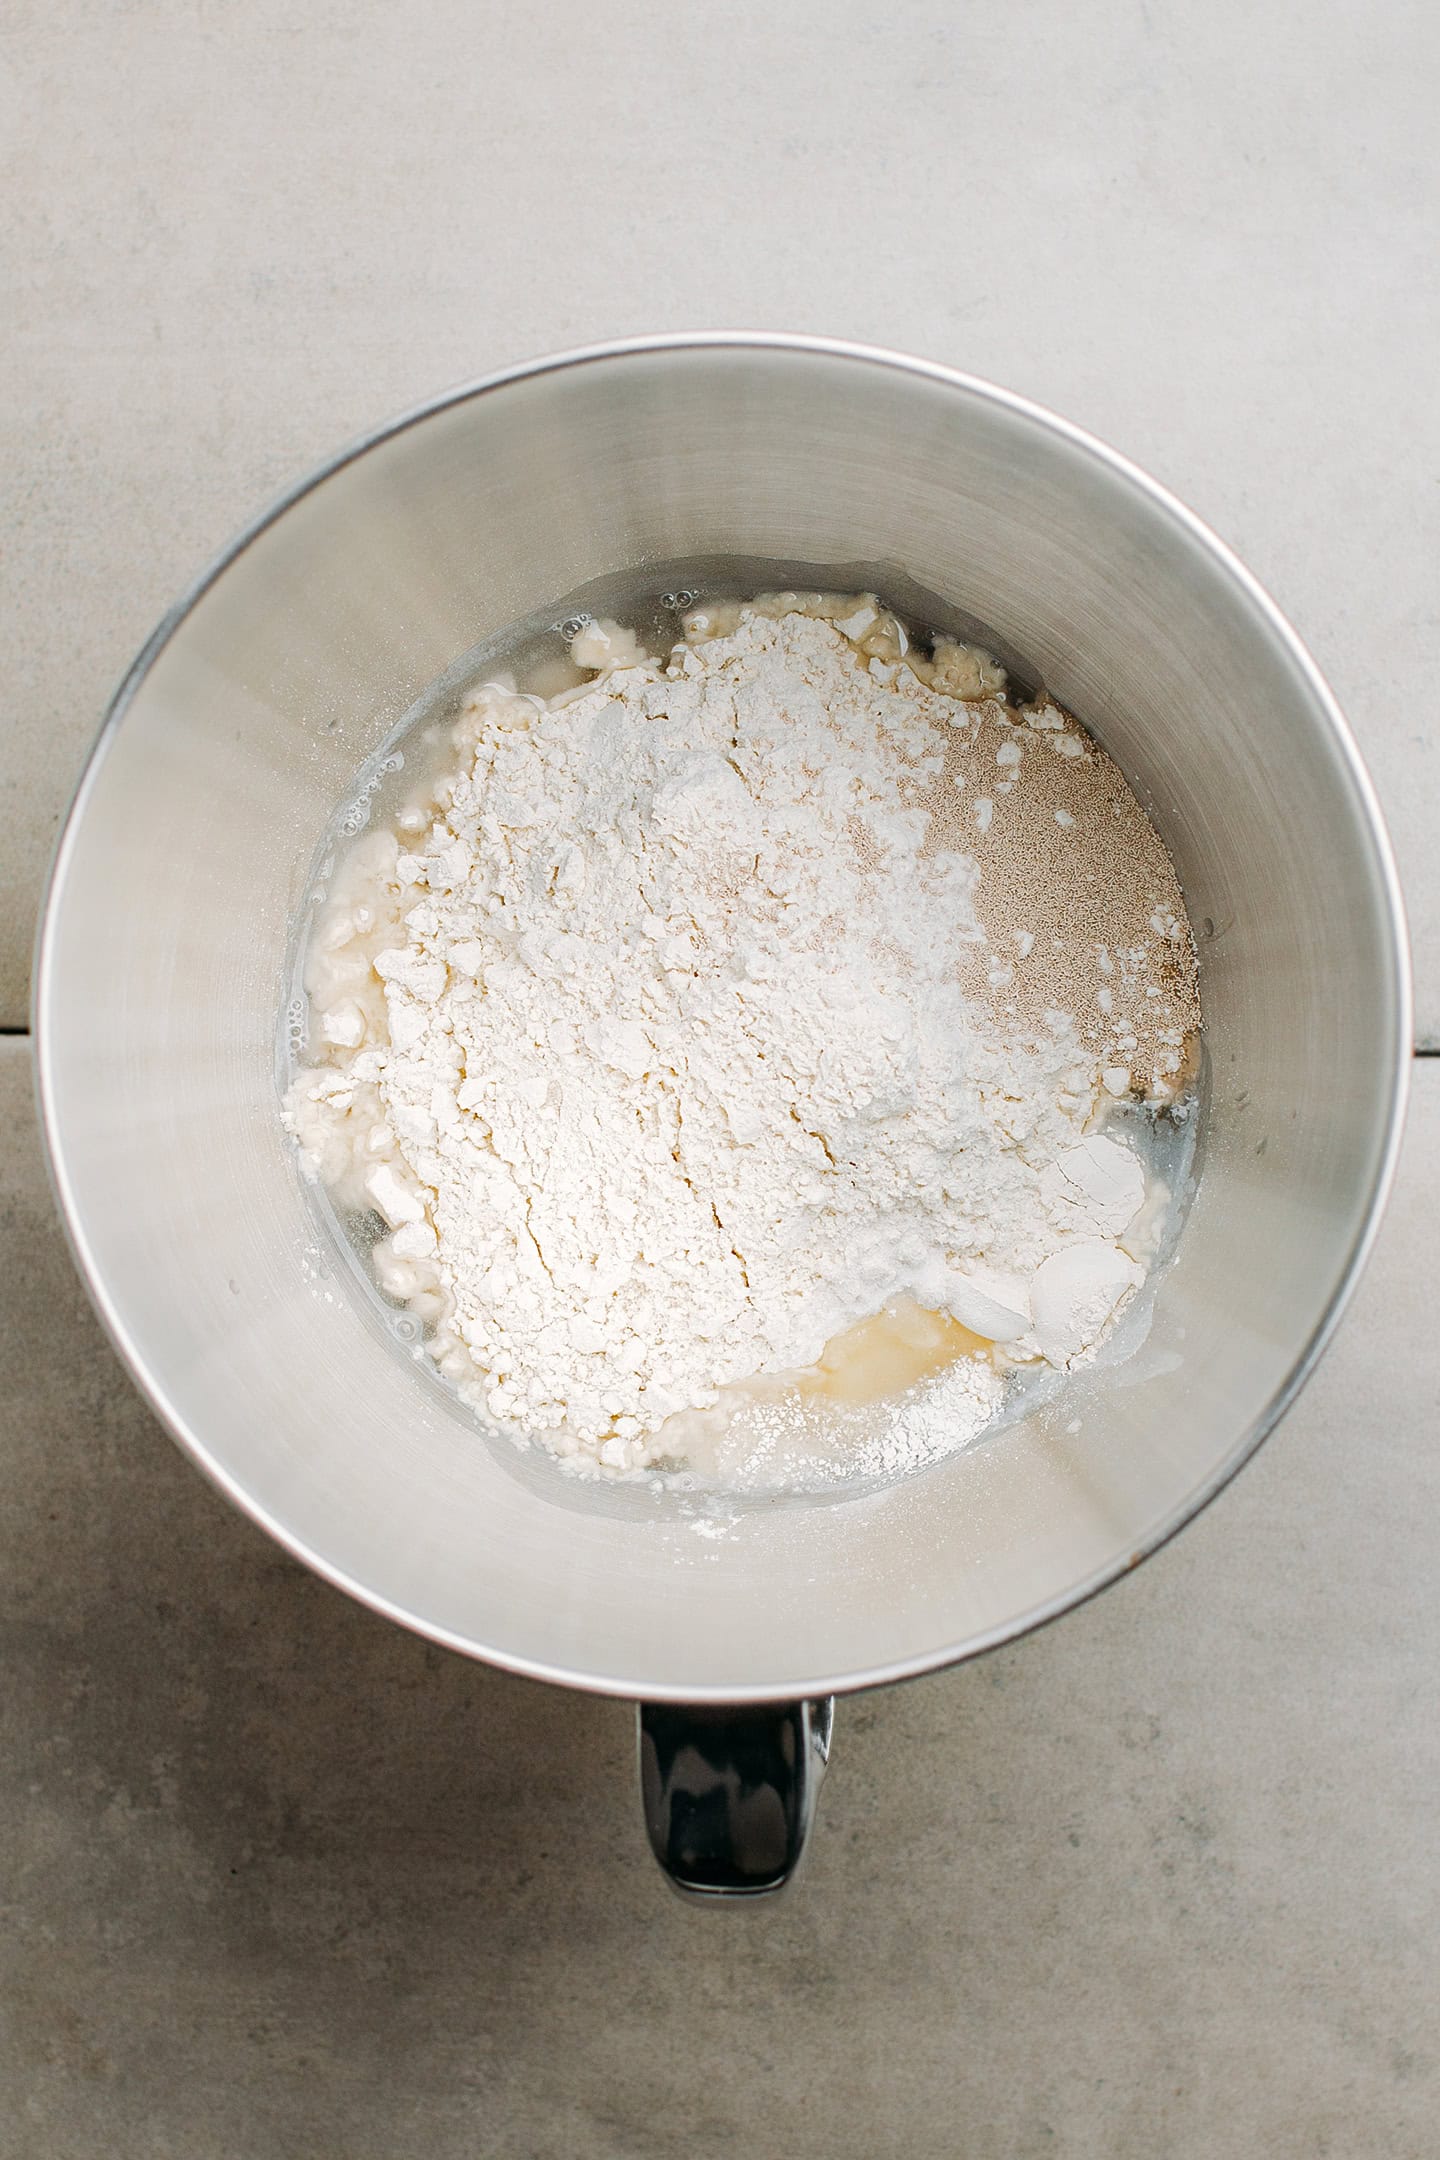
- Combine all of the ingredients. To the bowl of a stand mixer fitted with the dough hook, add the water, bread flour, sugar, bread improver, vitamin C, and instant dry yeast.
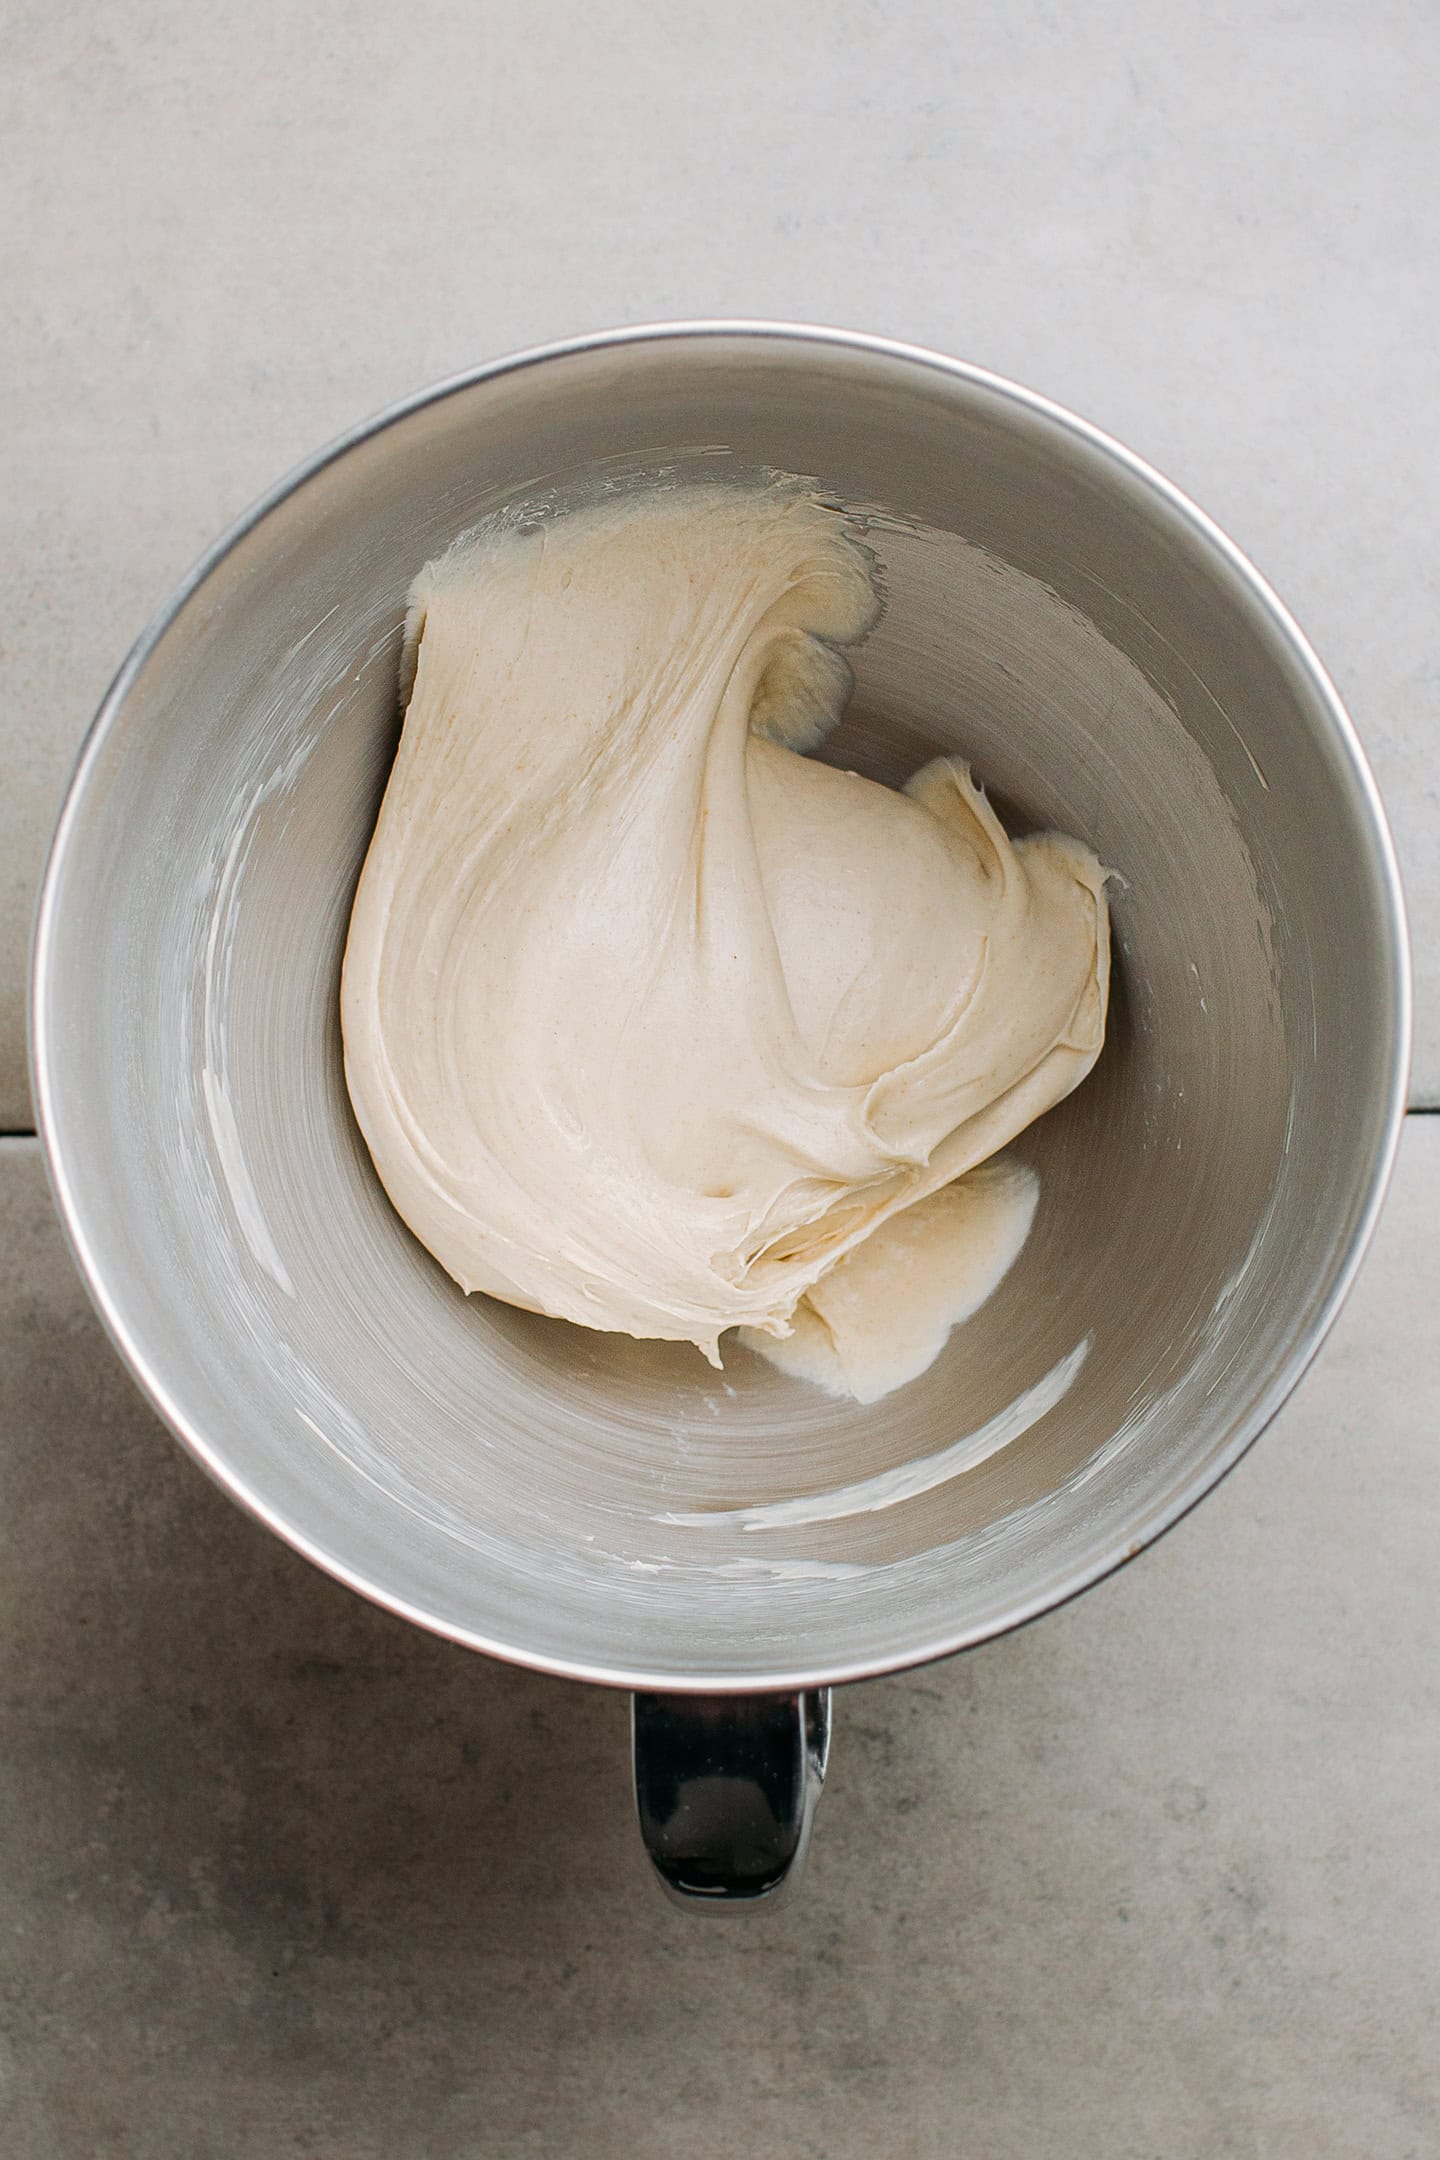
- Knead. Then, knead on speed 2 for about one minute, or until everything is combined. Add the salt and increase the speed to 8. Knead for another 7-8 minutes. The dough should be silky smooth and slightly sticky.
- Grease your pans. Lightly grease two baguette pans with either butter or oil.
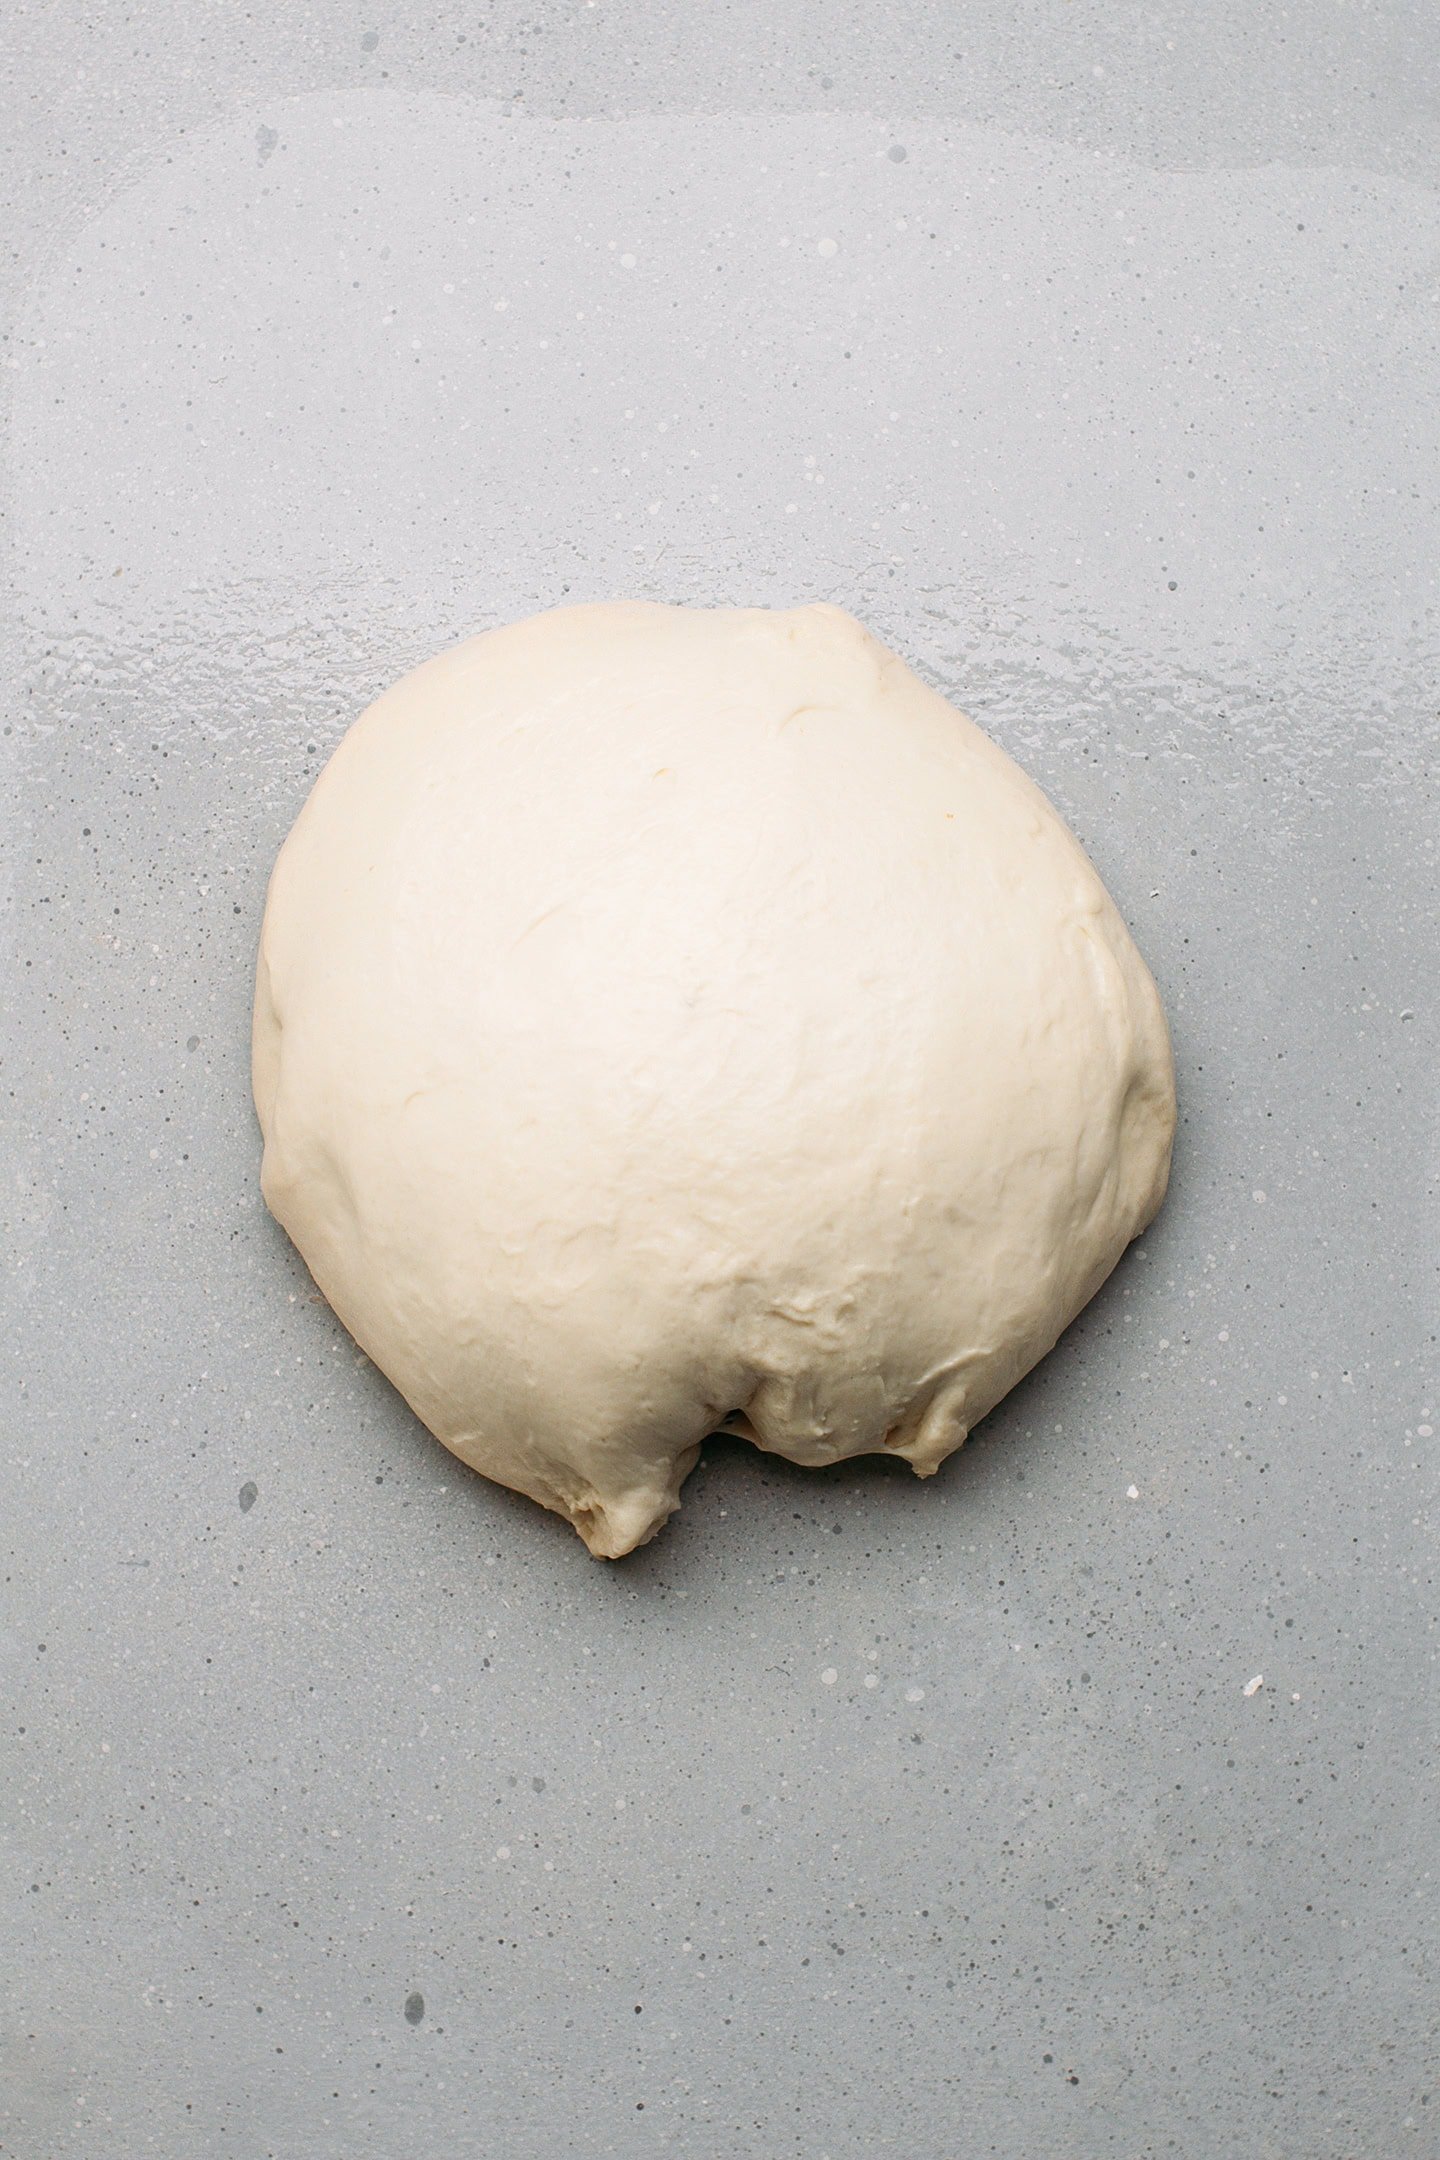
- Divide into balls. Then, divide the dough into six pieces of about 100g.
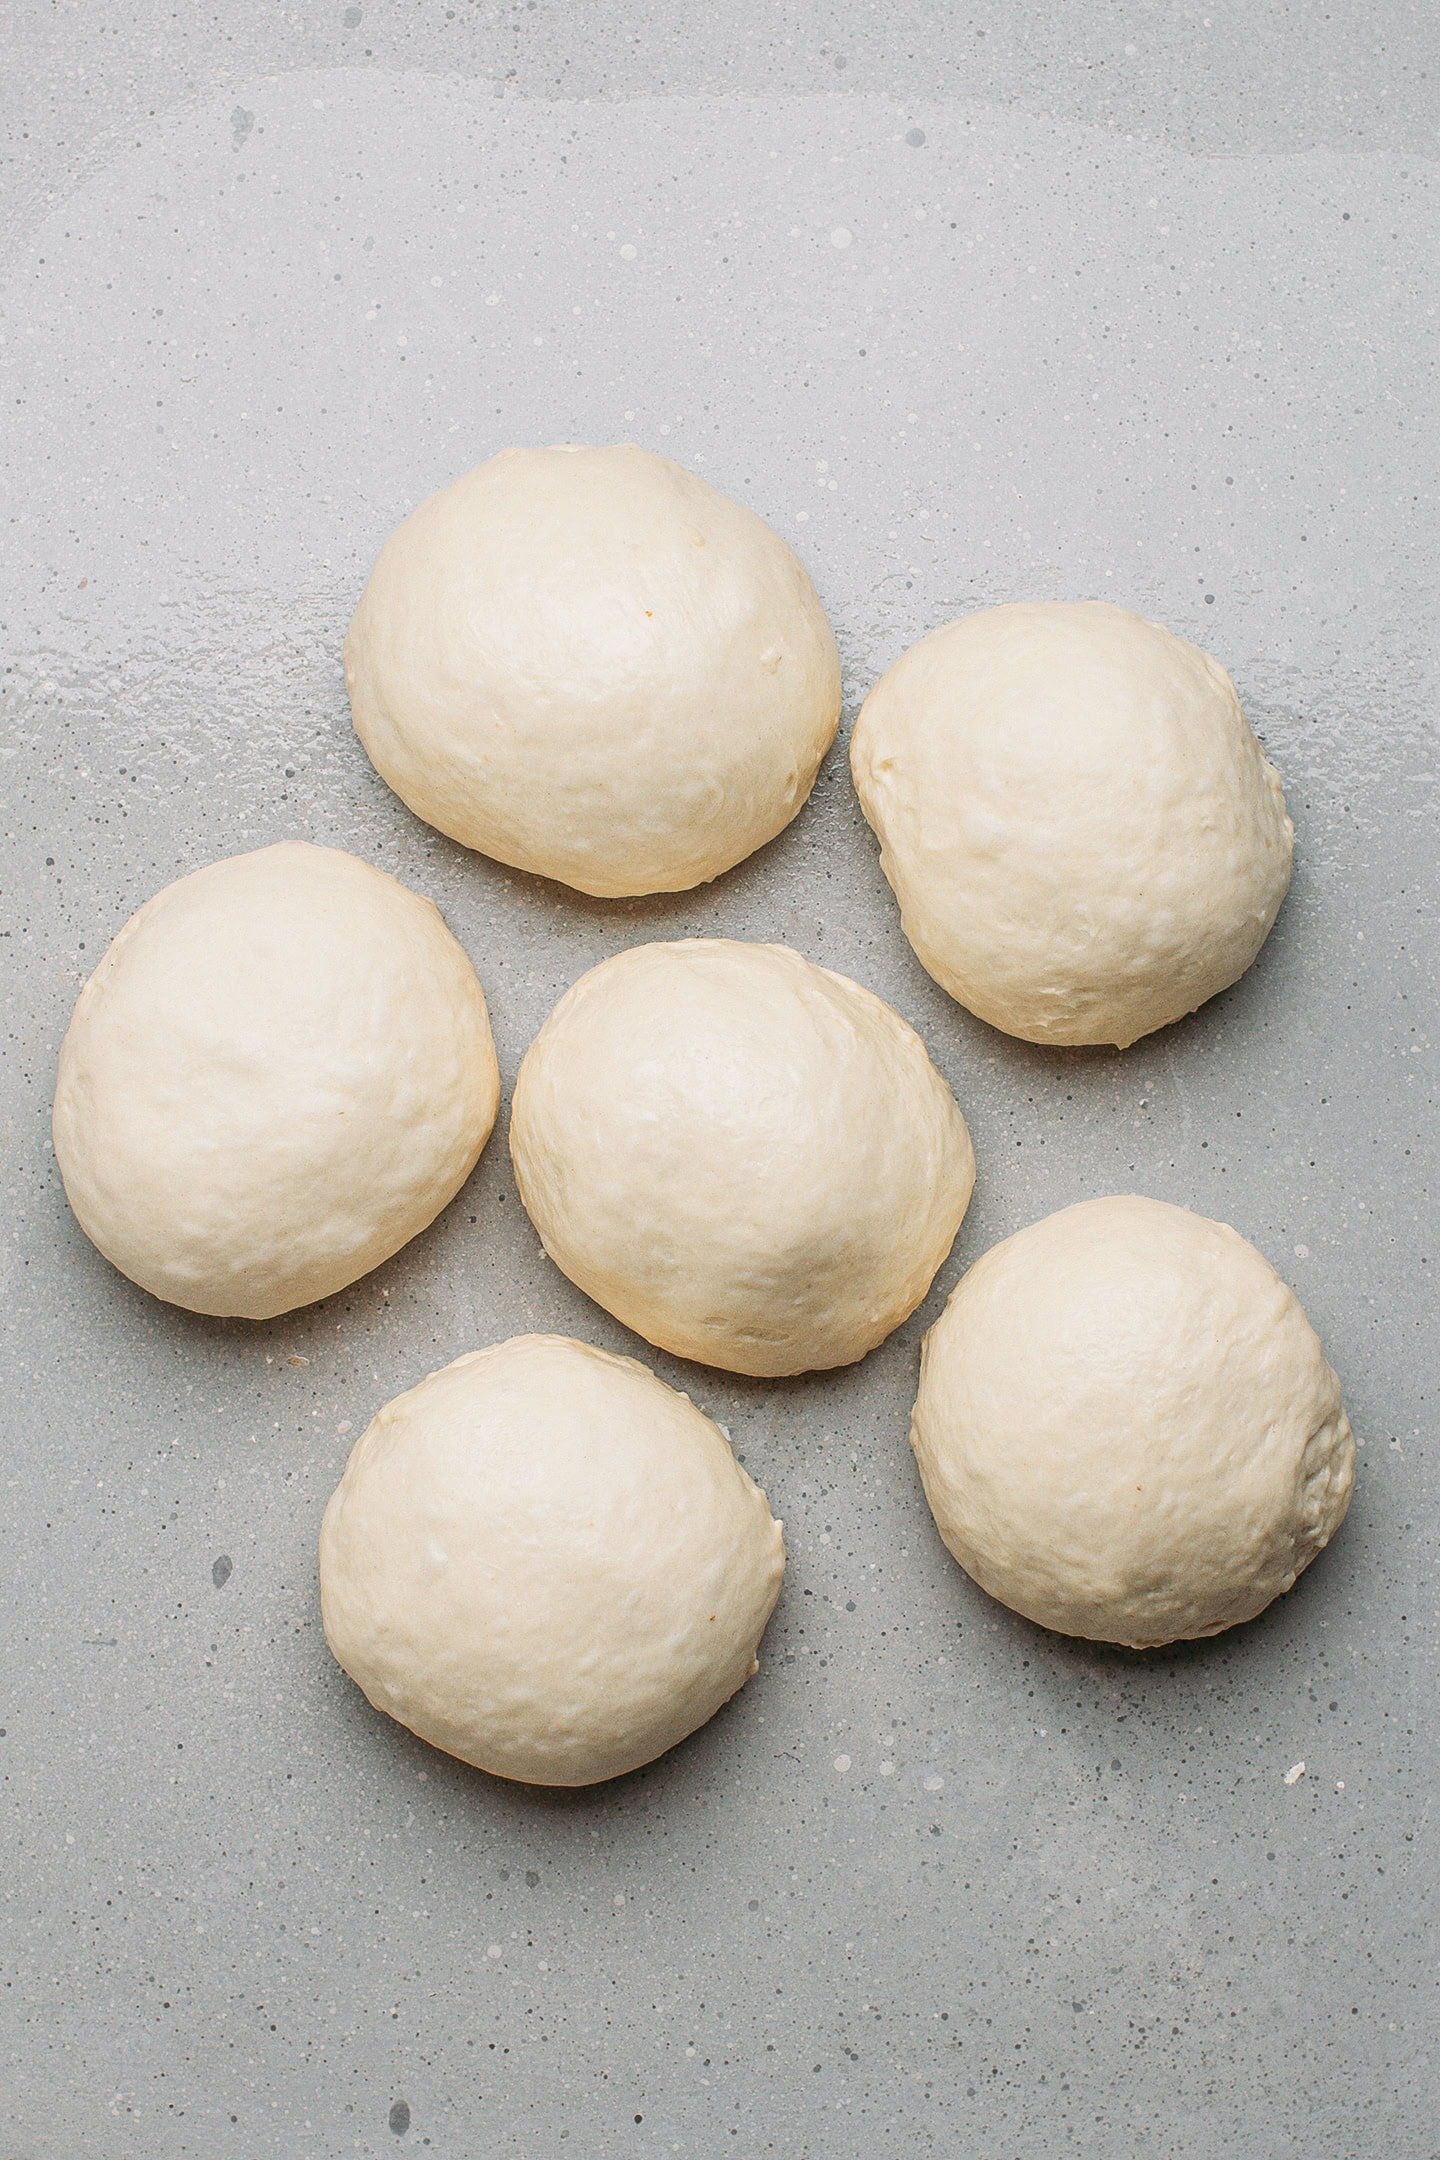
2. Shape it
It’s now time to shape the baguettes!
For the shaping, I recommend checking our video to get an idea of how to do it. Before shaping your baguettes, ensure that your working surface is lightly oiled. This will prevent the dough from sticking to it. There are different ways to shape your baguettes:
- Slap the dough: You can slap the dough into a long trapezoid, flatten it, and then roll it into a log.
- Flatten with your hands: Or, you can simply flatten the dough into a rectangle using your hands and then roll it into a log.
Note: Don’t be too hard on yourself. The shaping will not have a huge impact on the overall texture of your bread. Try to do your best, though. But don’t worry – it’s pretty forgiving once it rises, as you can see below.
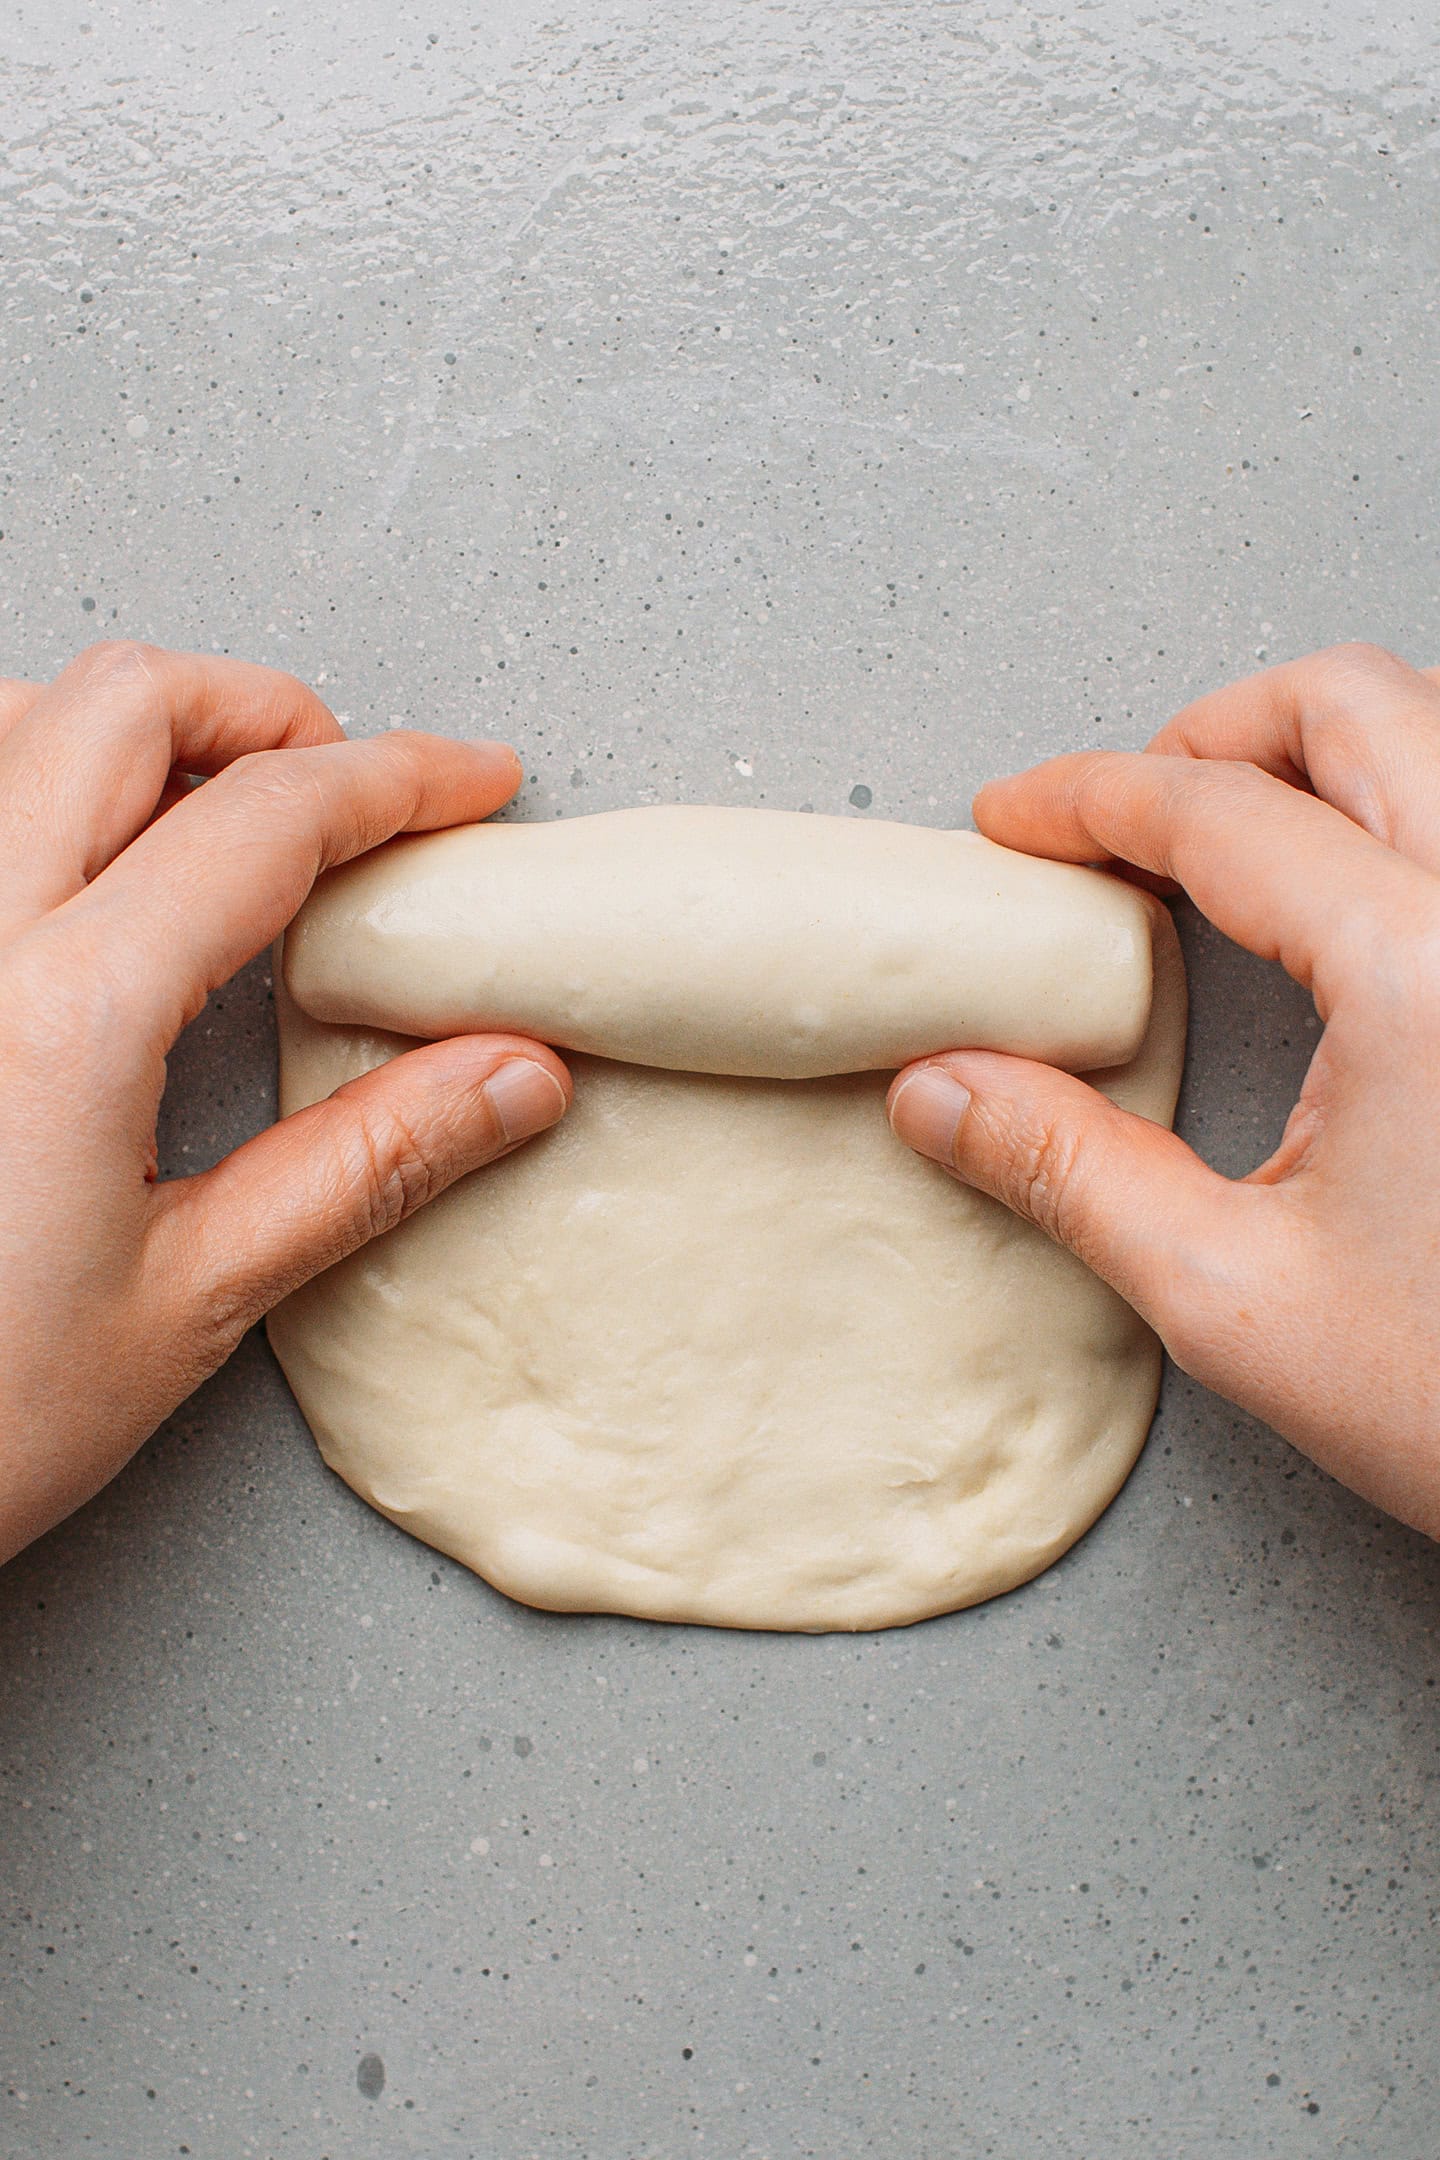
- Flatten the ball. Place one ball of dough on your greased working surface and flatten it using the palm of your hand.
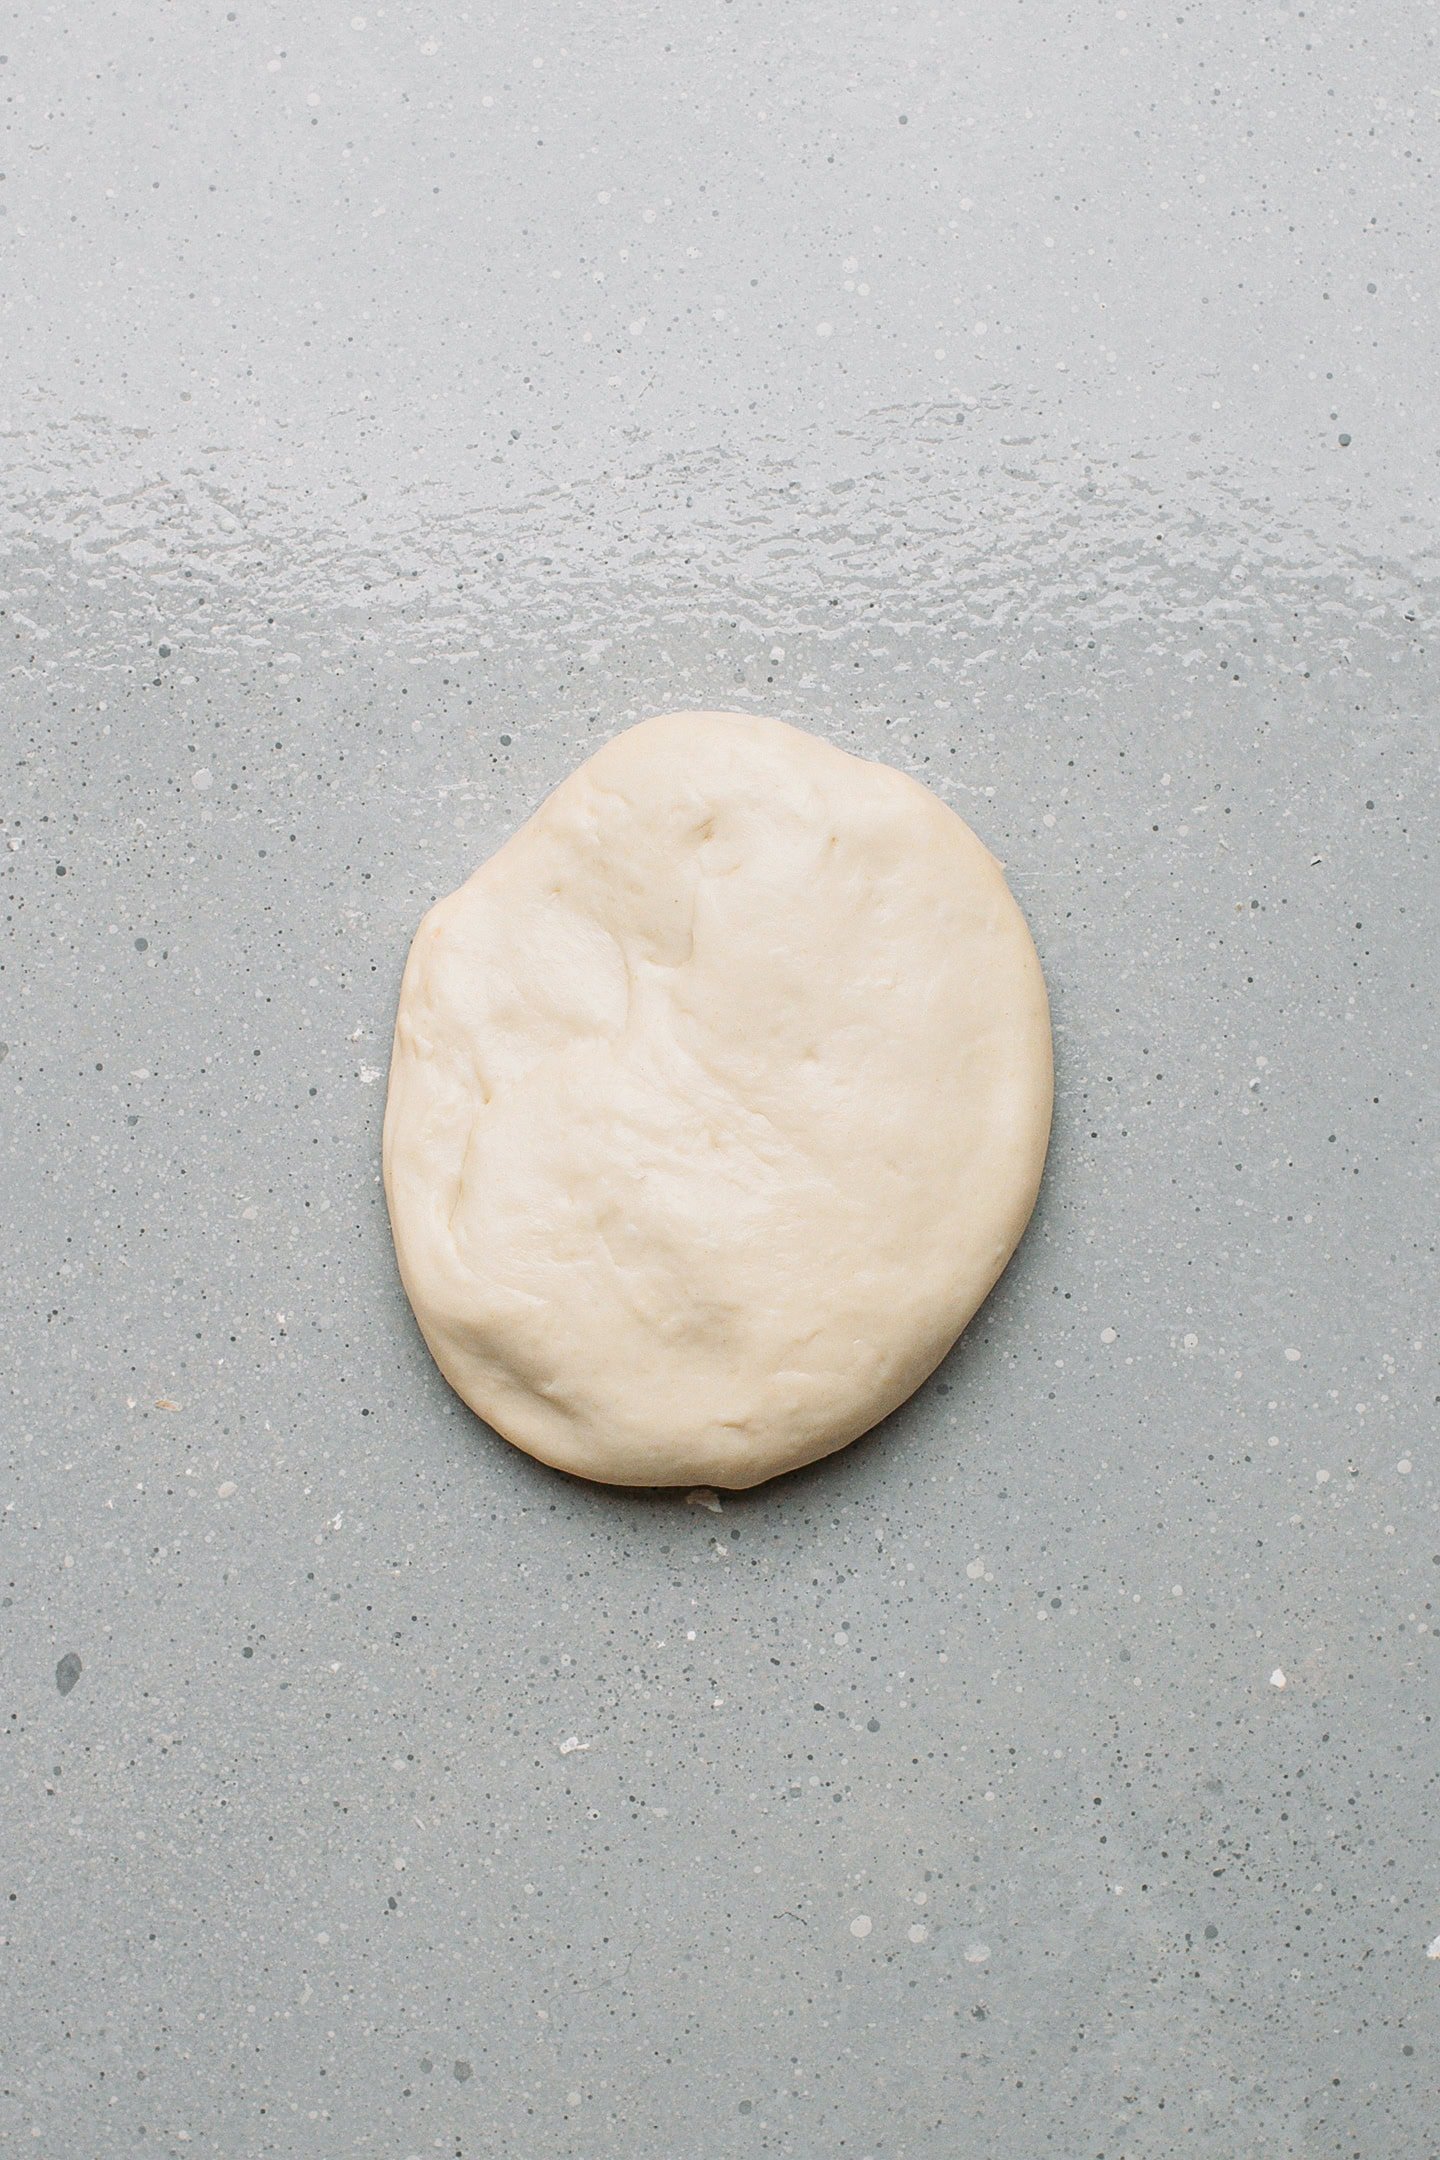
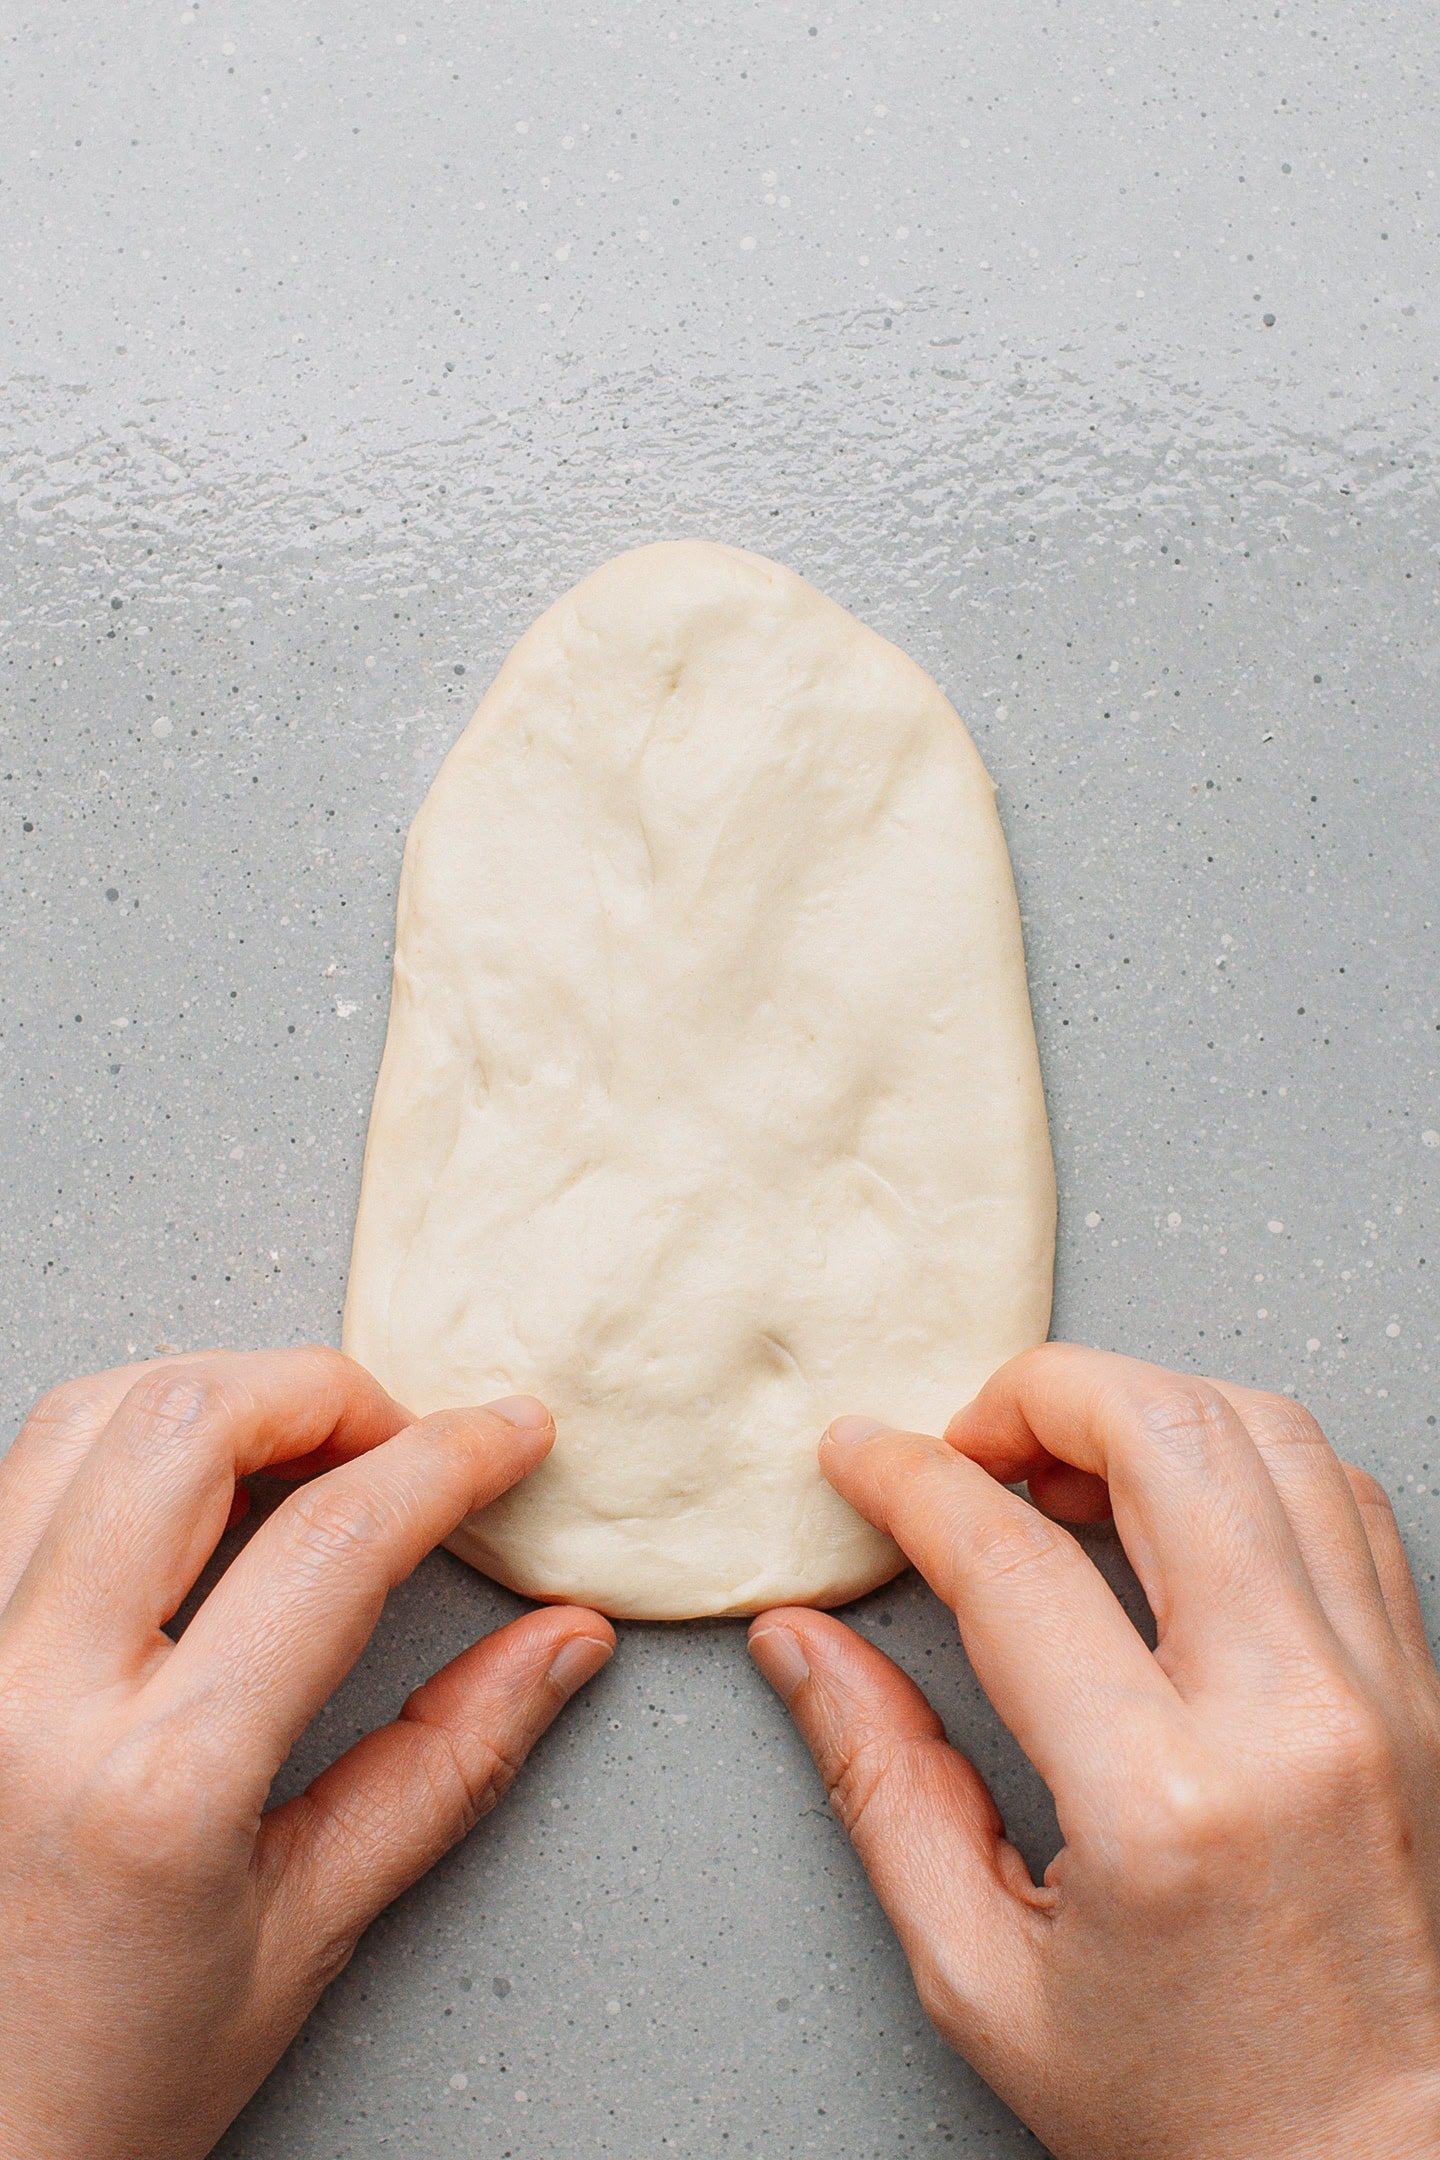
- Shape it. Use your hands to flatten the dough into a long, thin trapezoid of about 4 inches (10 cm) wide and 6 inches (15 cm) tall.
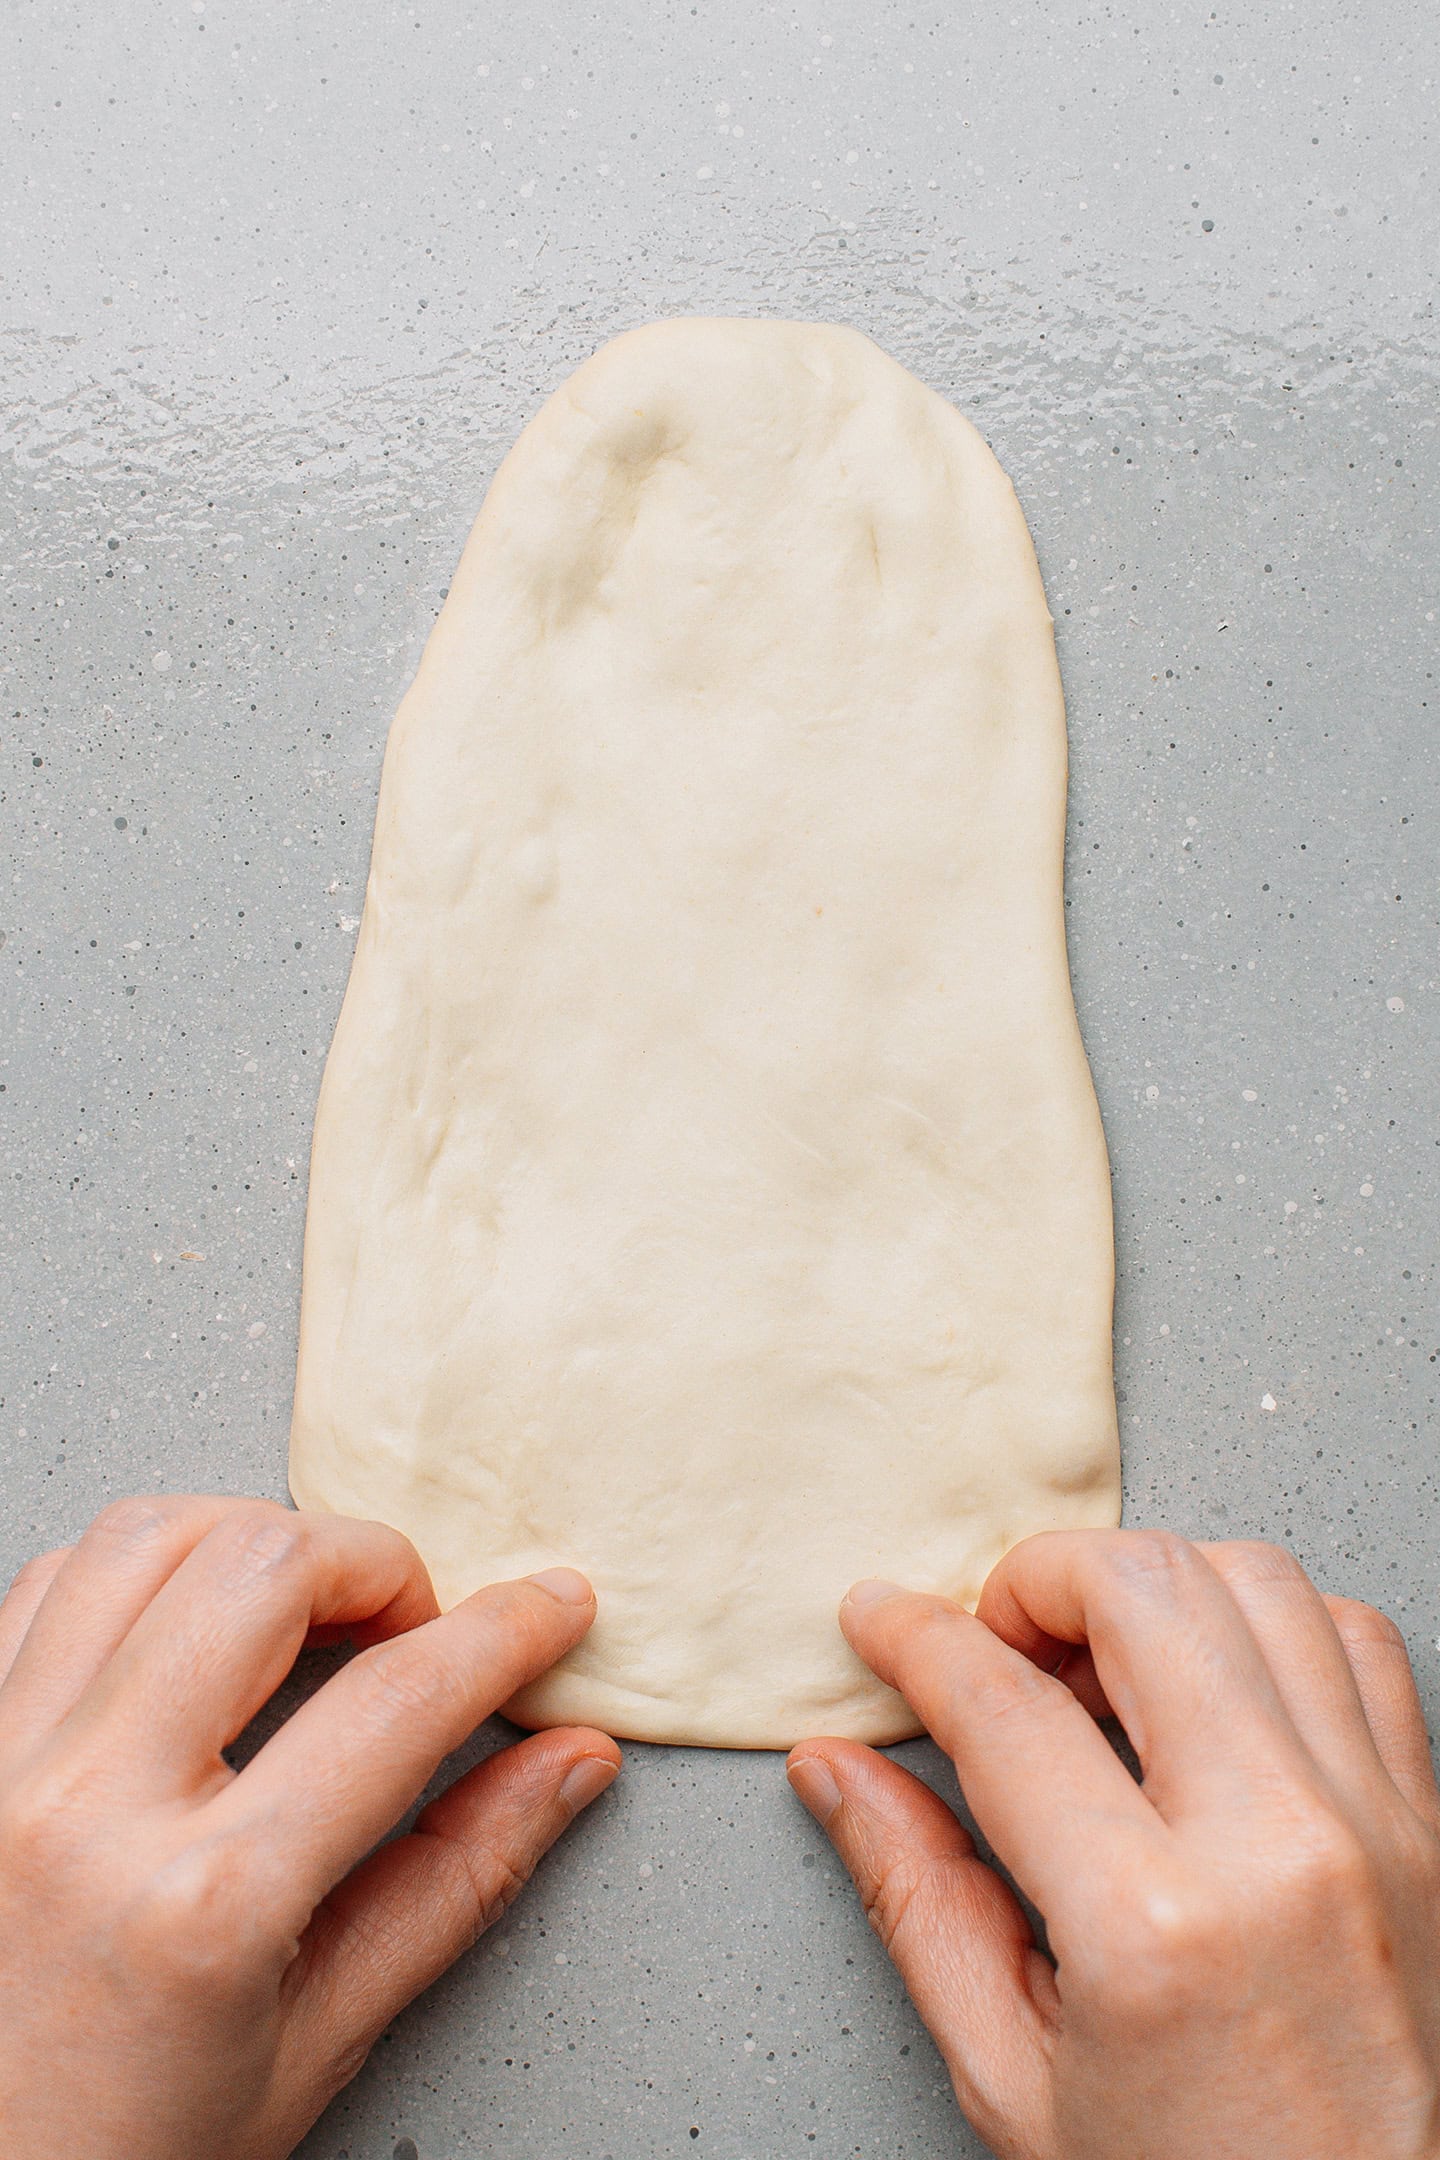
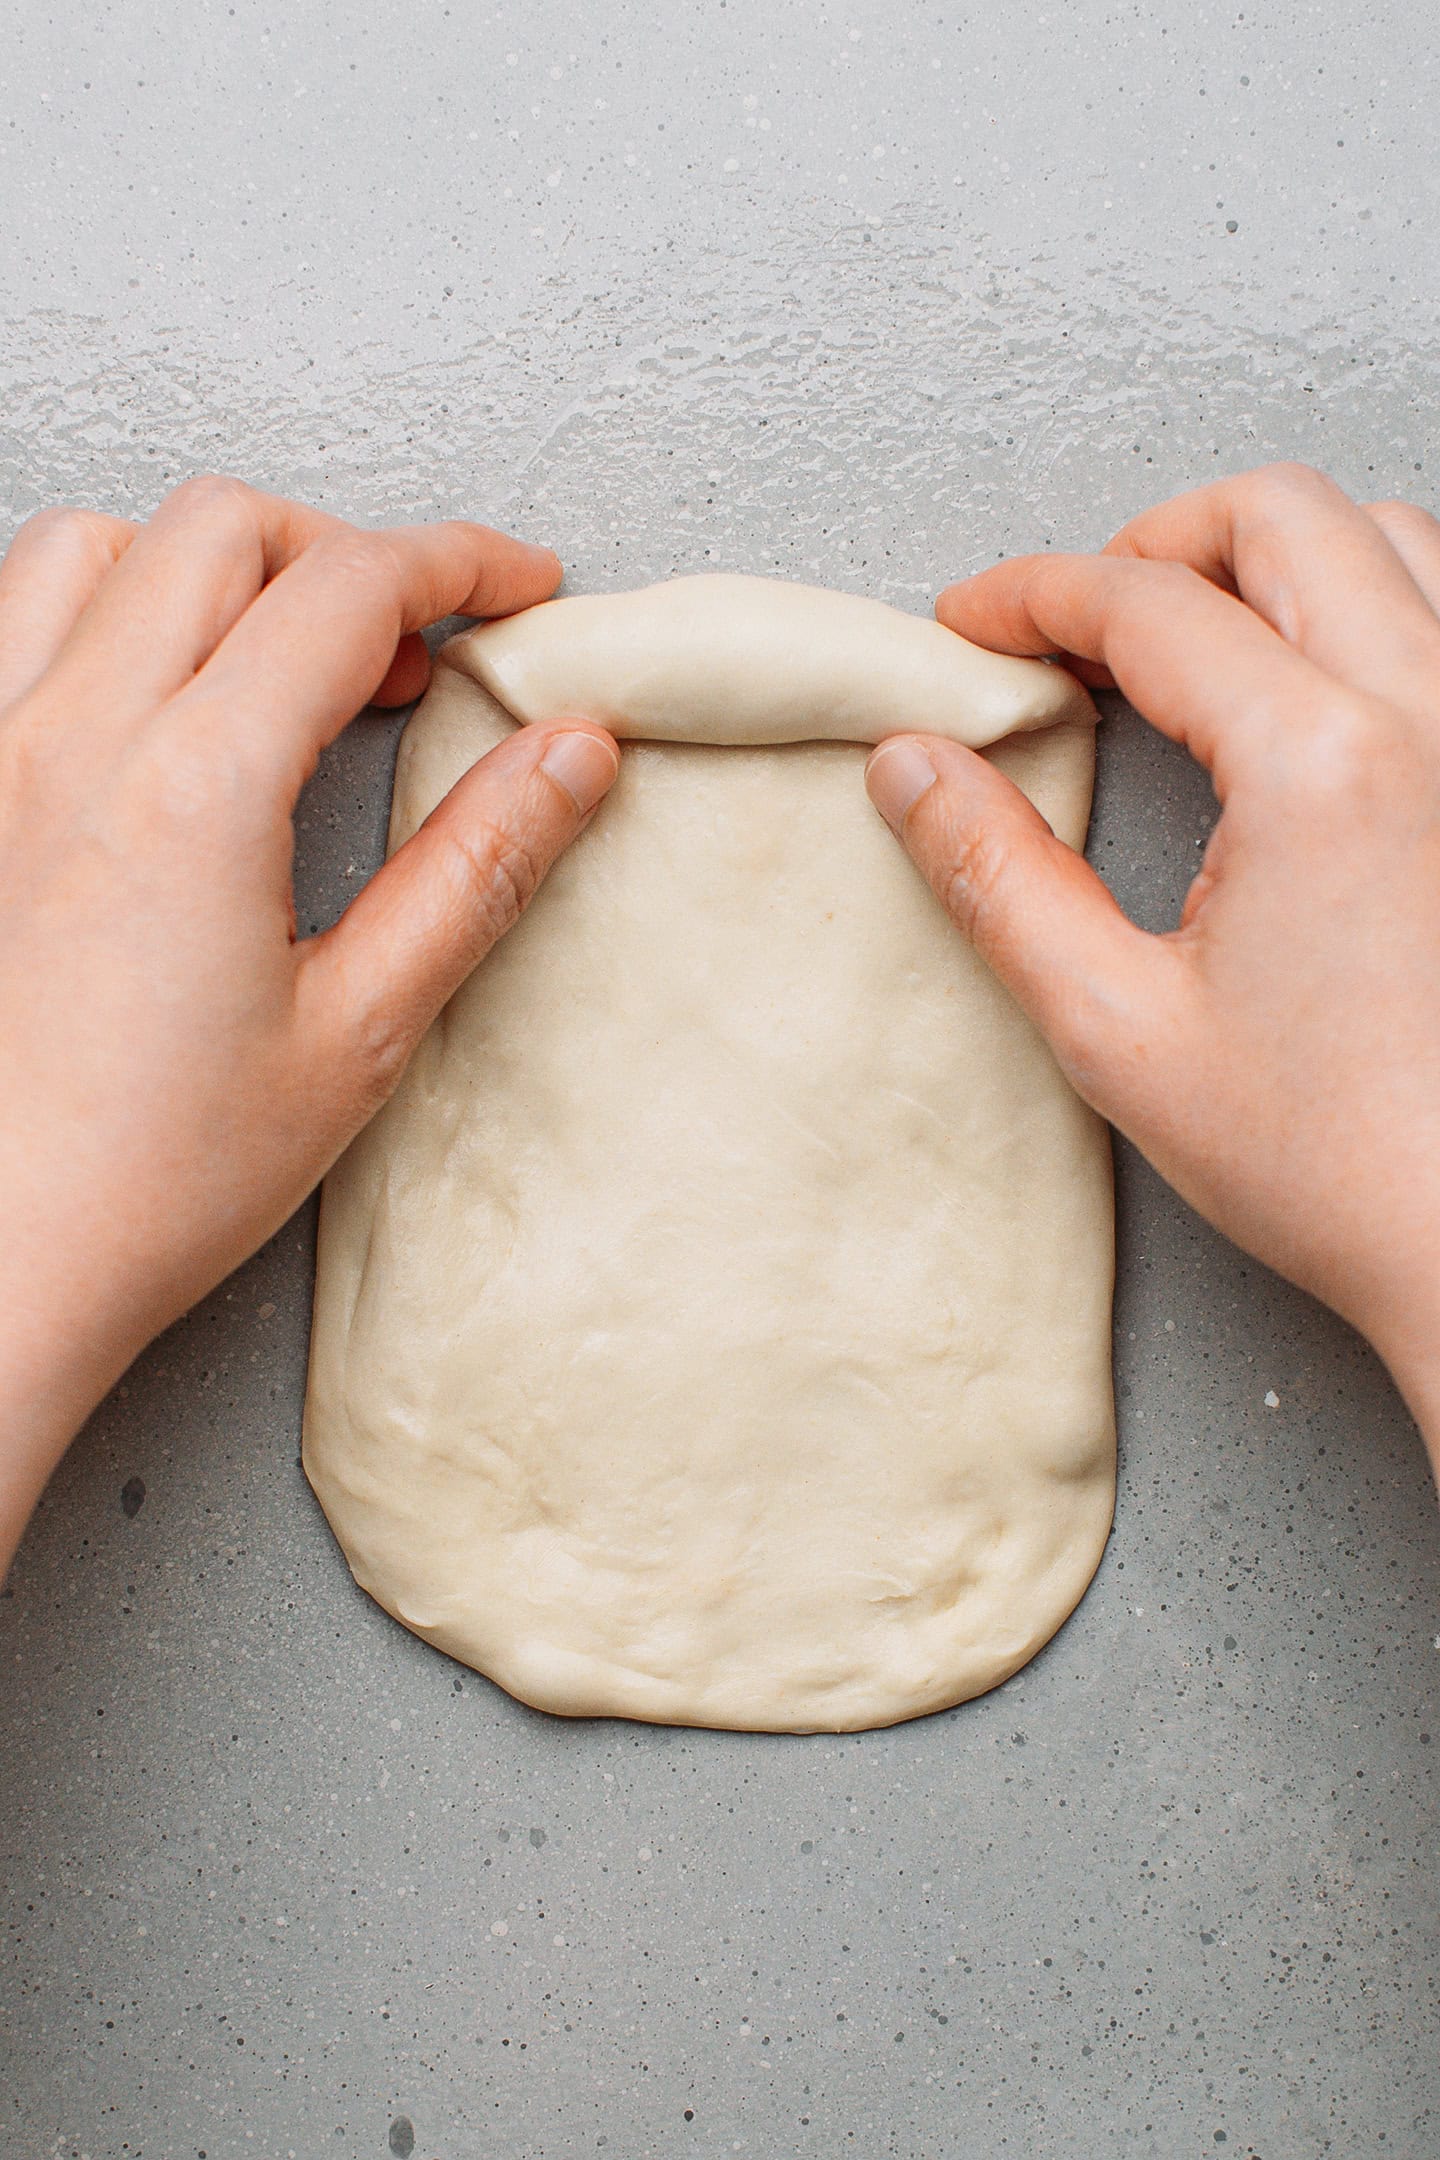
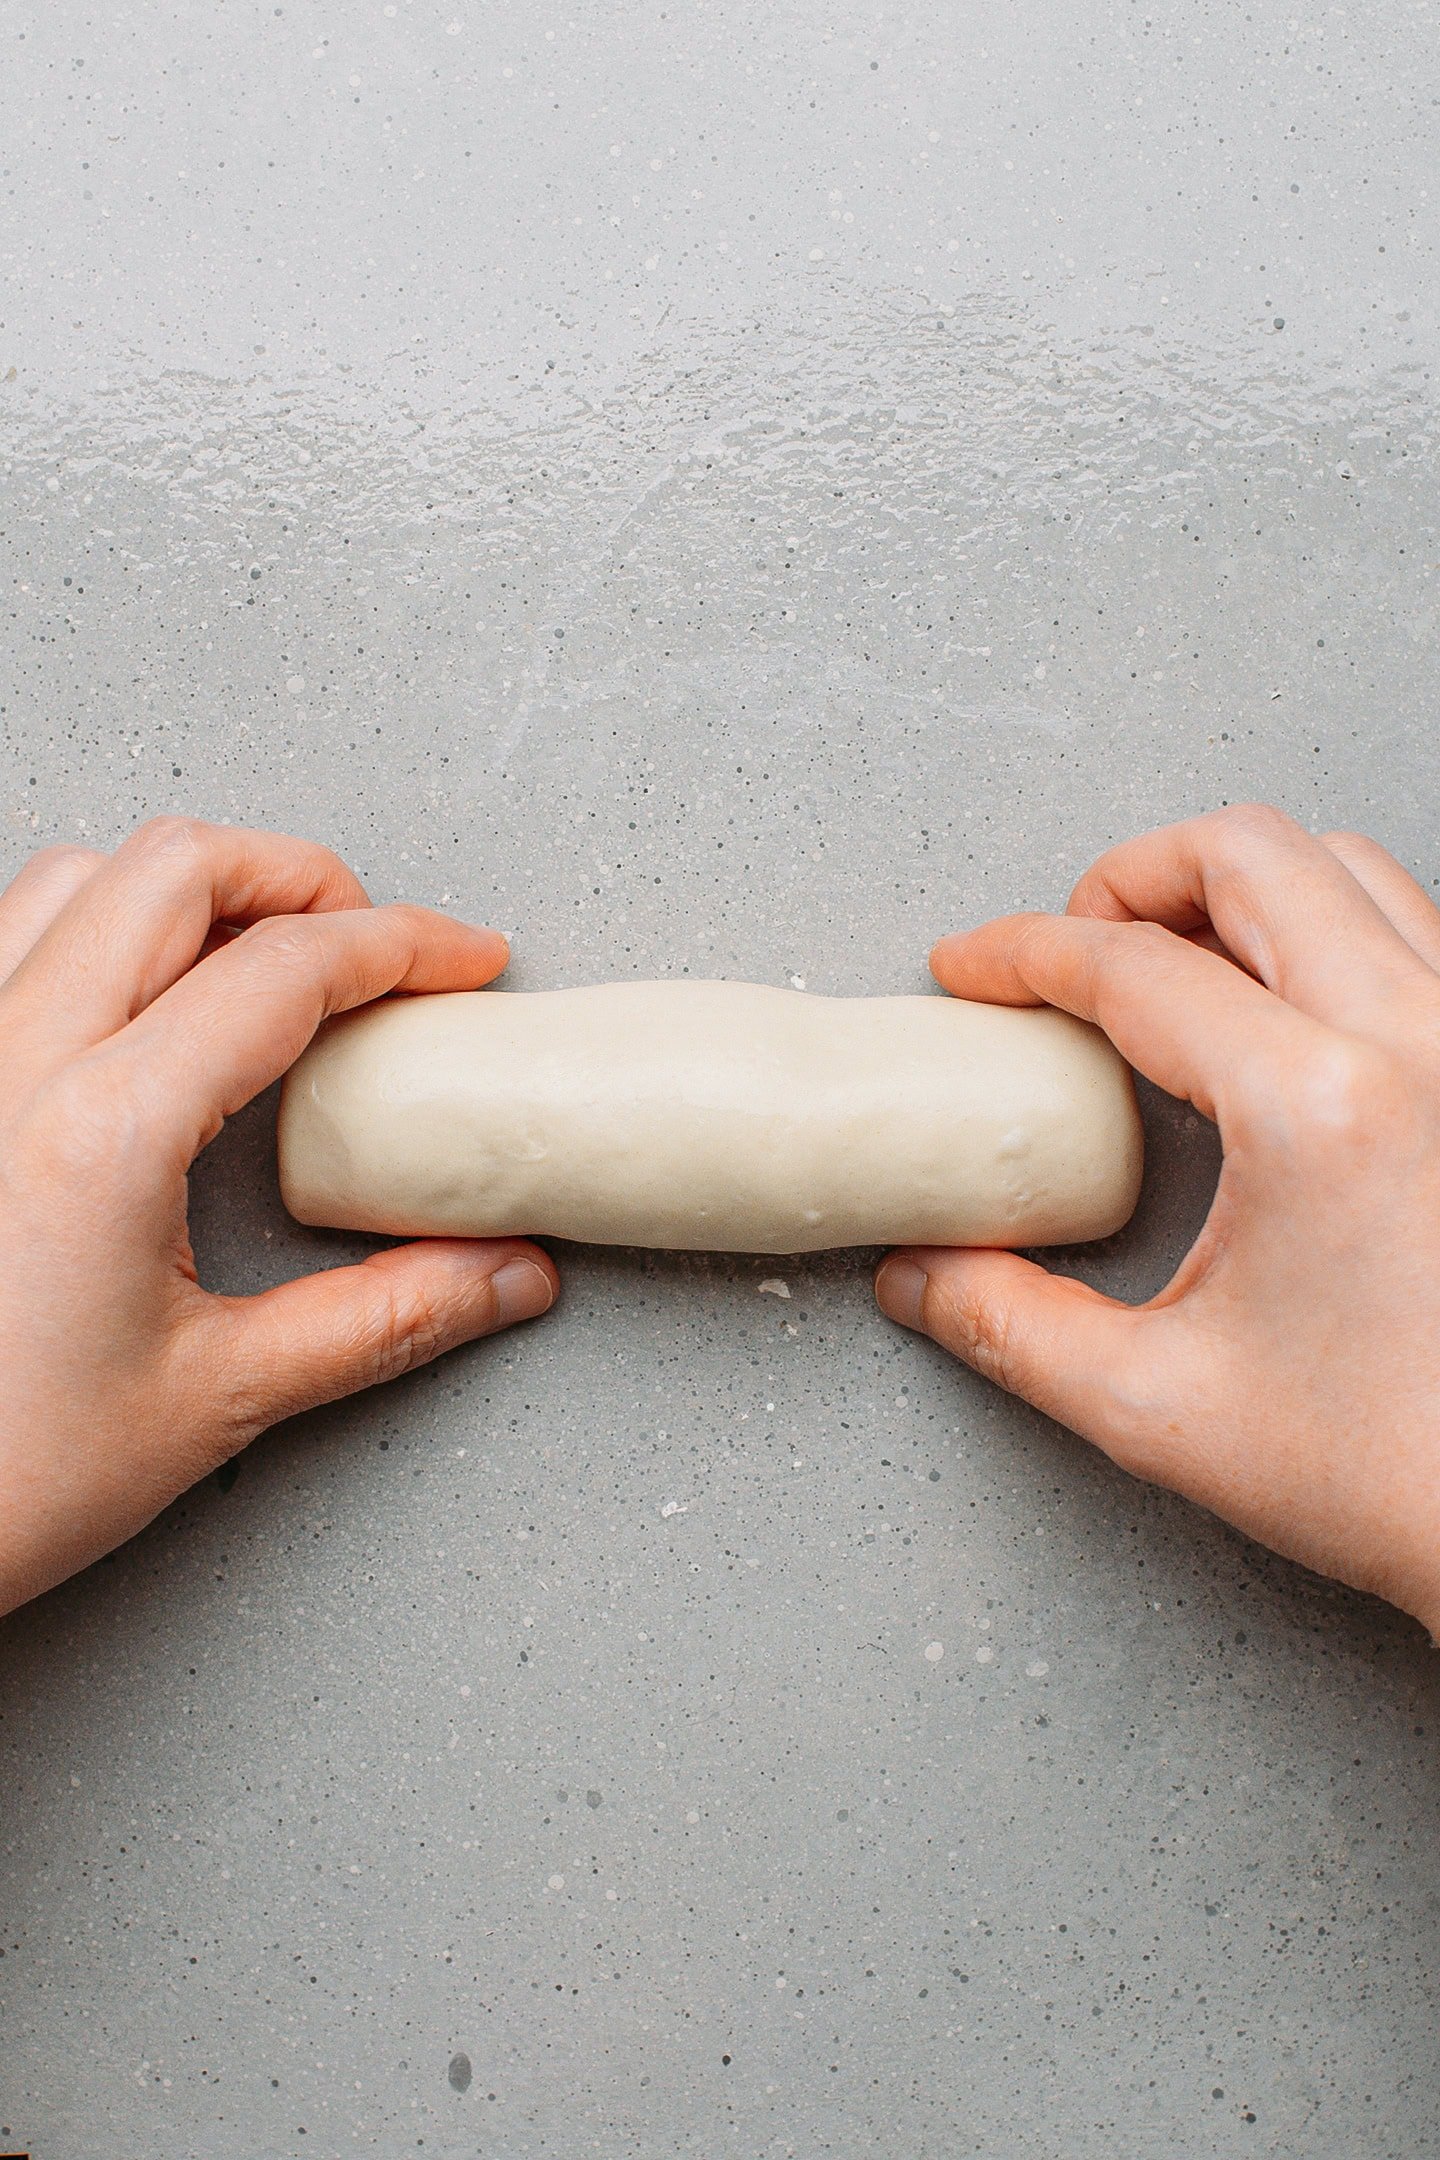
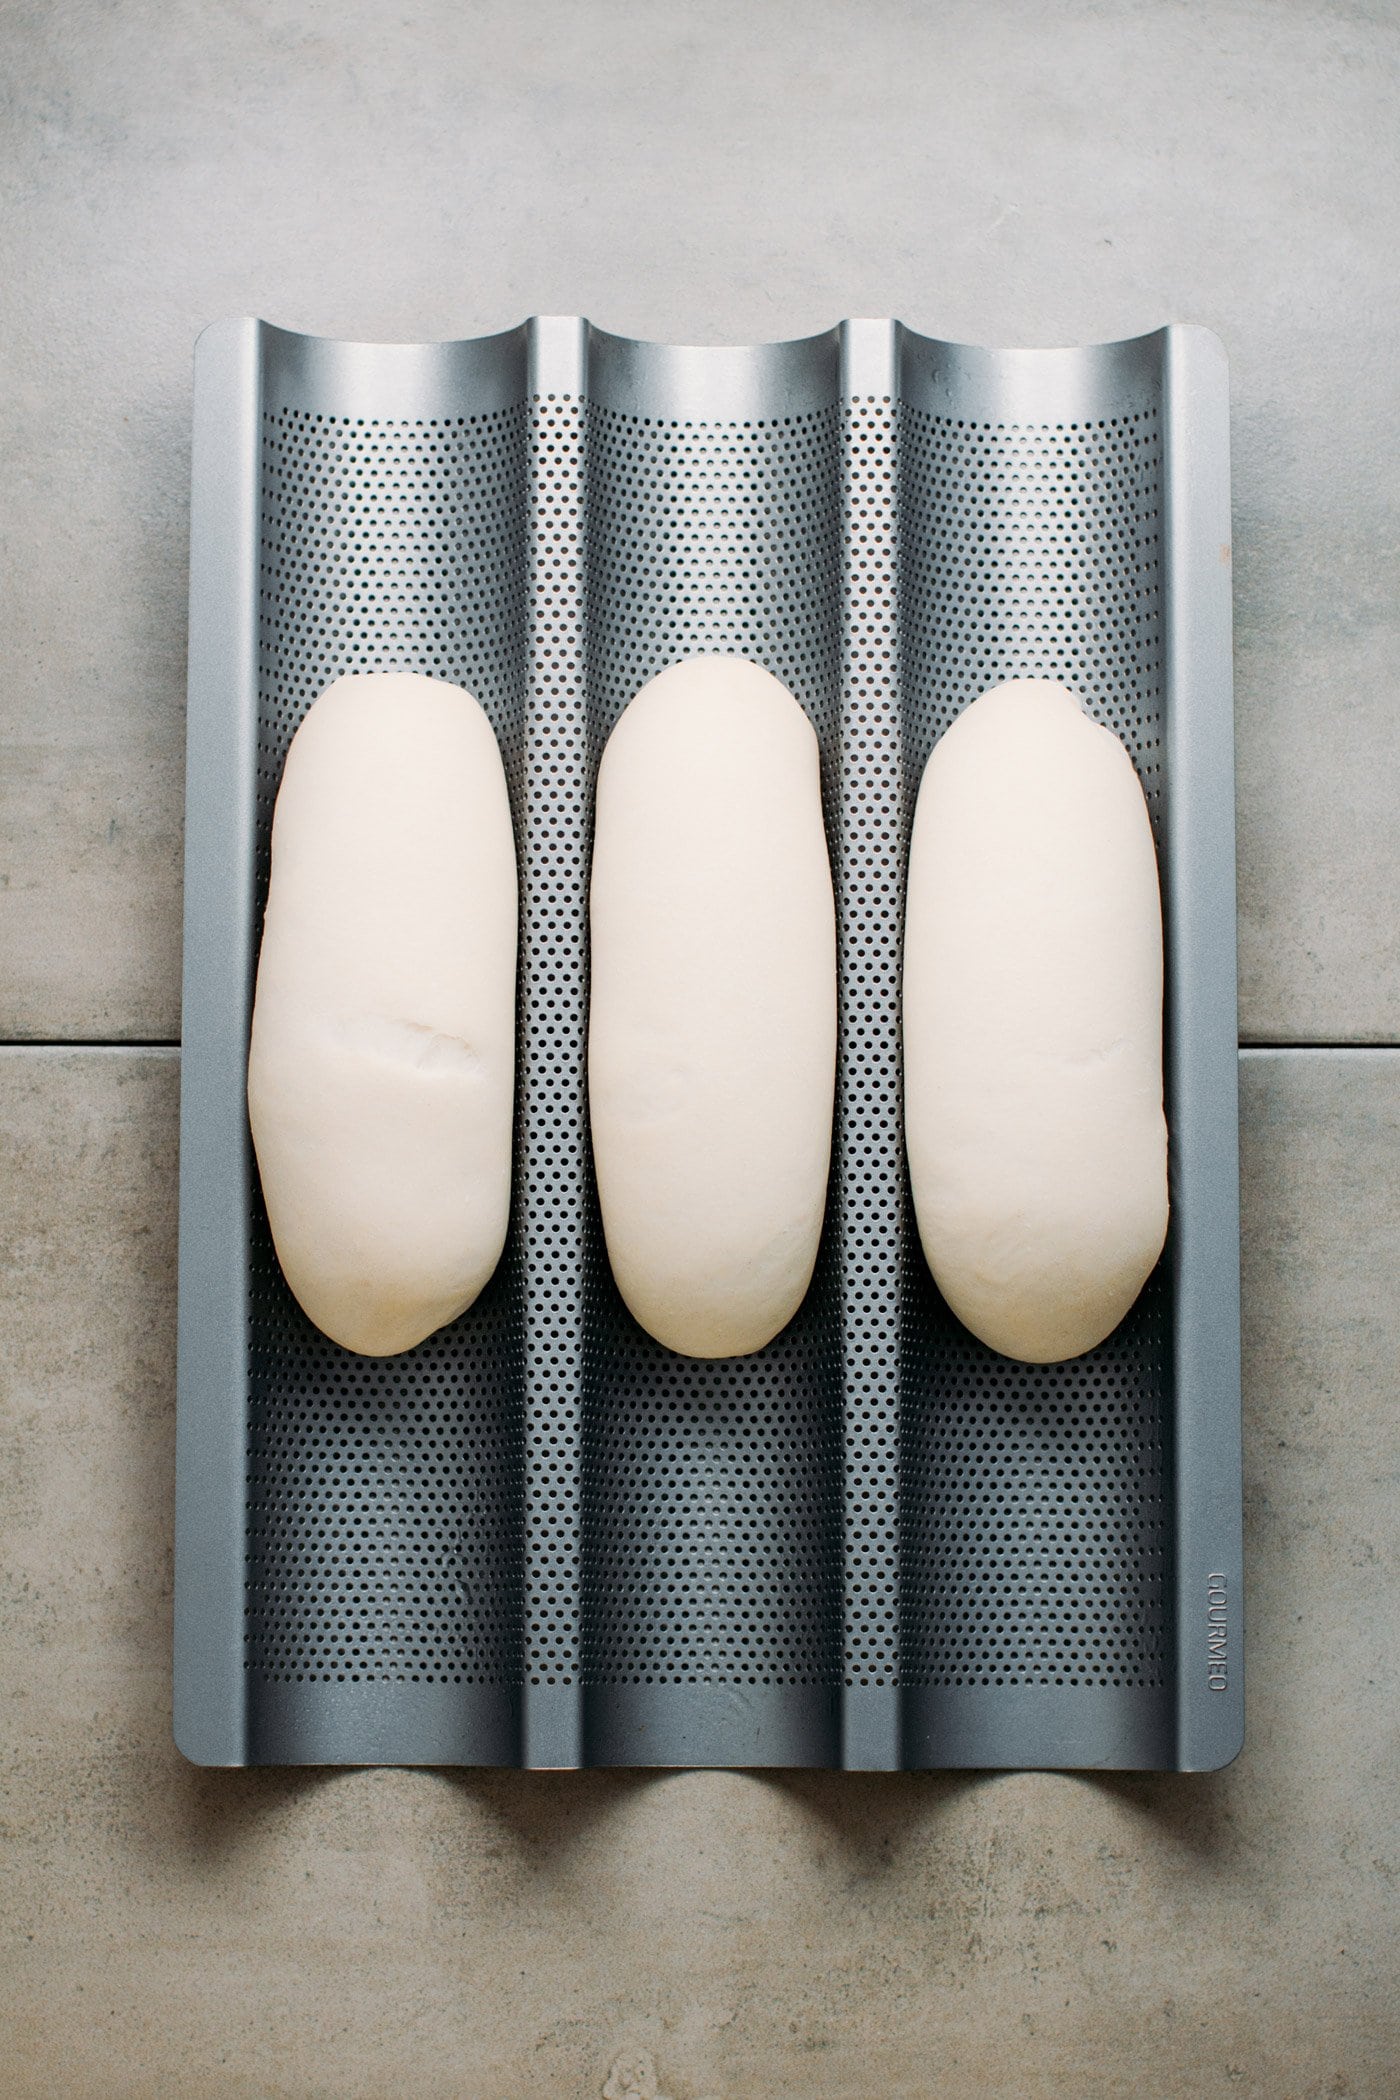
- Roll it into a log. Next, starting from the top of the trapezoid, roll into a log. Transfer to the greased baguette pan and repeat with the remaining balls of dough.
3. Proof
- Proof. To proof the baguettes, place the baguette pans in an oven set at approximately 86°F (30°C) or simply turn on the oven light. Fill a baking dish with about 3 cups of boiling water and place it at the bottom of your oven. This will create moisture, helping the dough rise properly and preventing the loaves from drying out.
Note: The proofing time will depend a lot on the temperature and will take between 1 h 30 and 2 hours. The baguettes are ready to be baked once they have almost quadrupled in size. The dough should bounce back slightly when you press it. If it bounces back quickly, it’s underproofed.
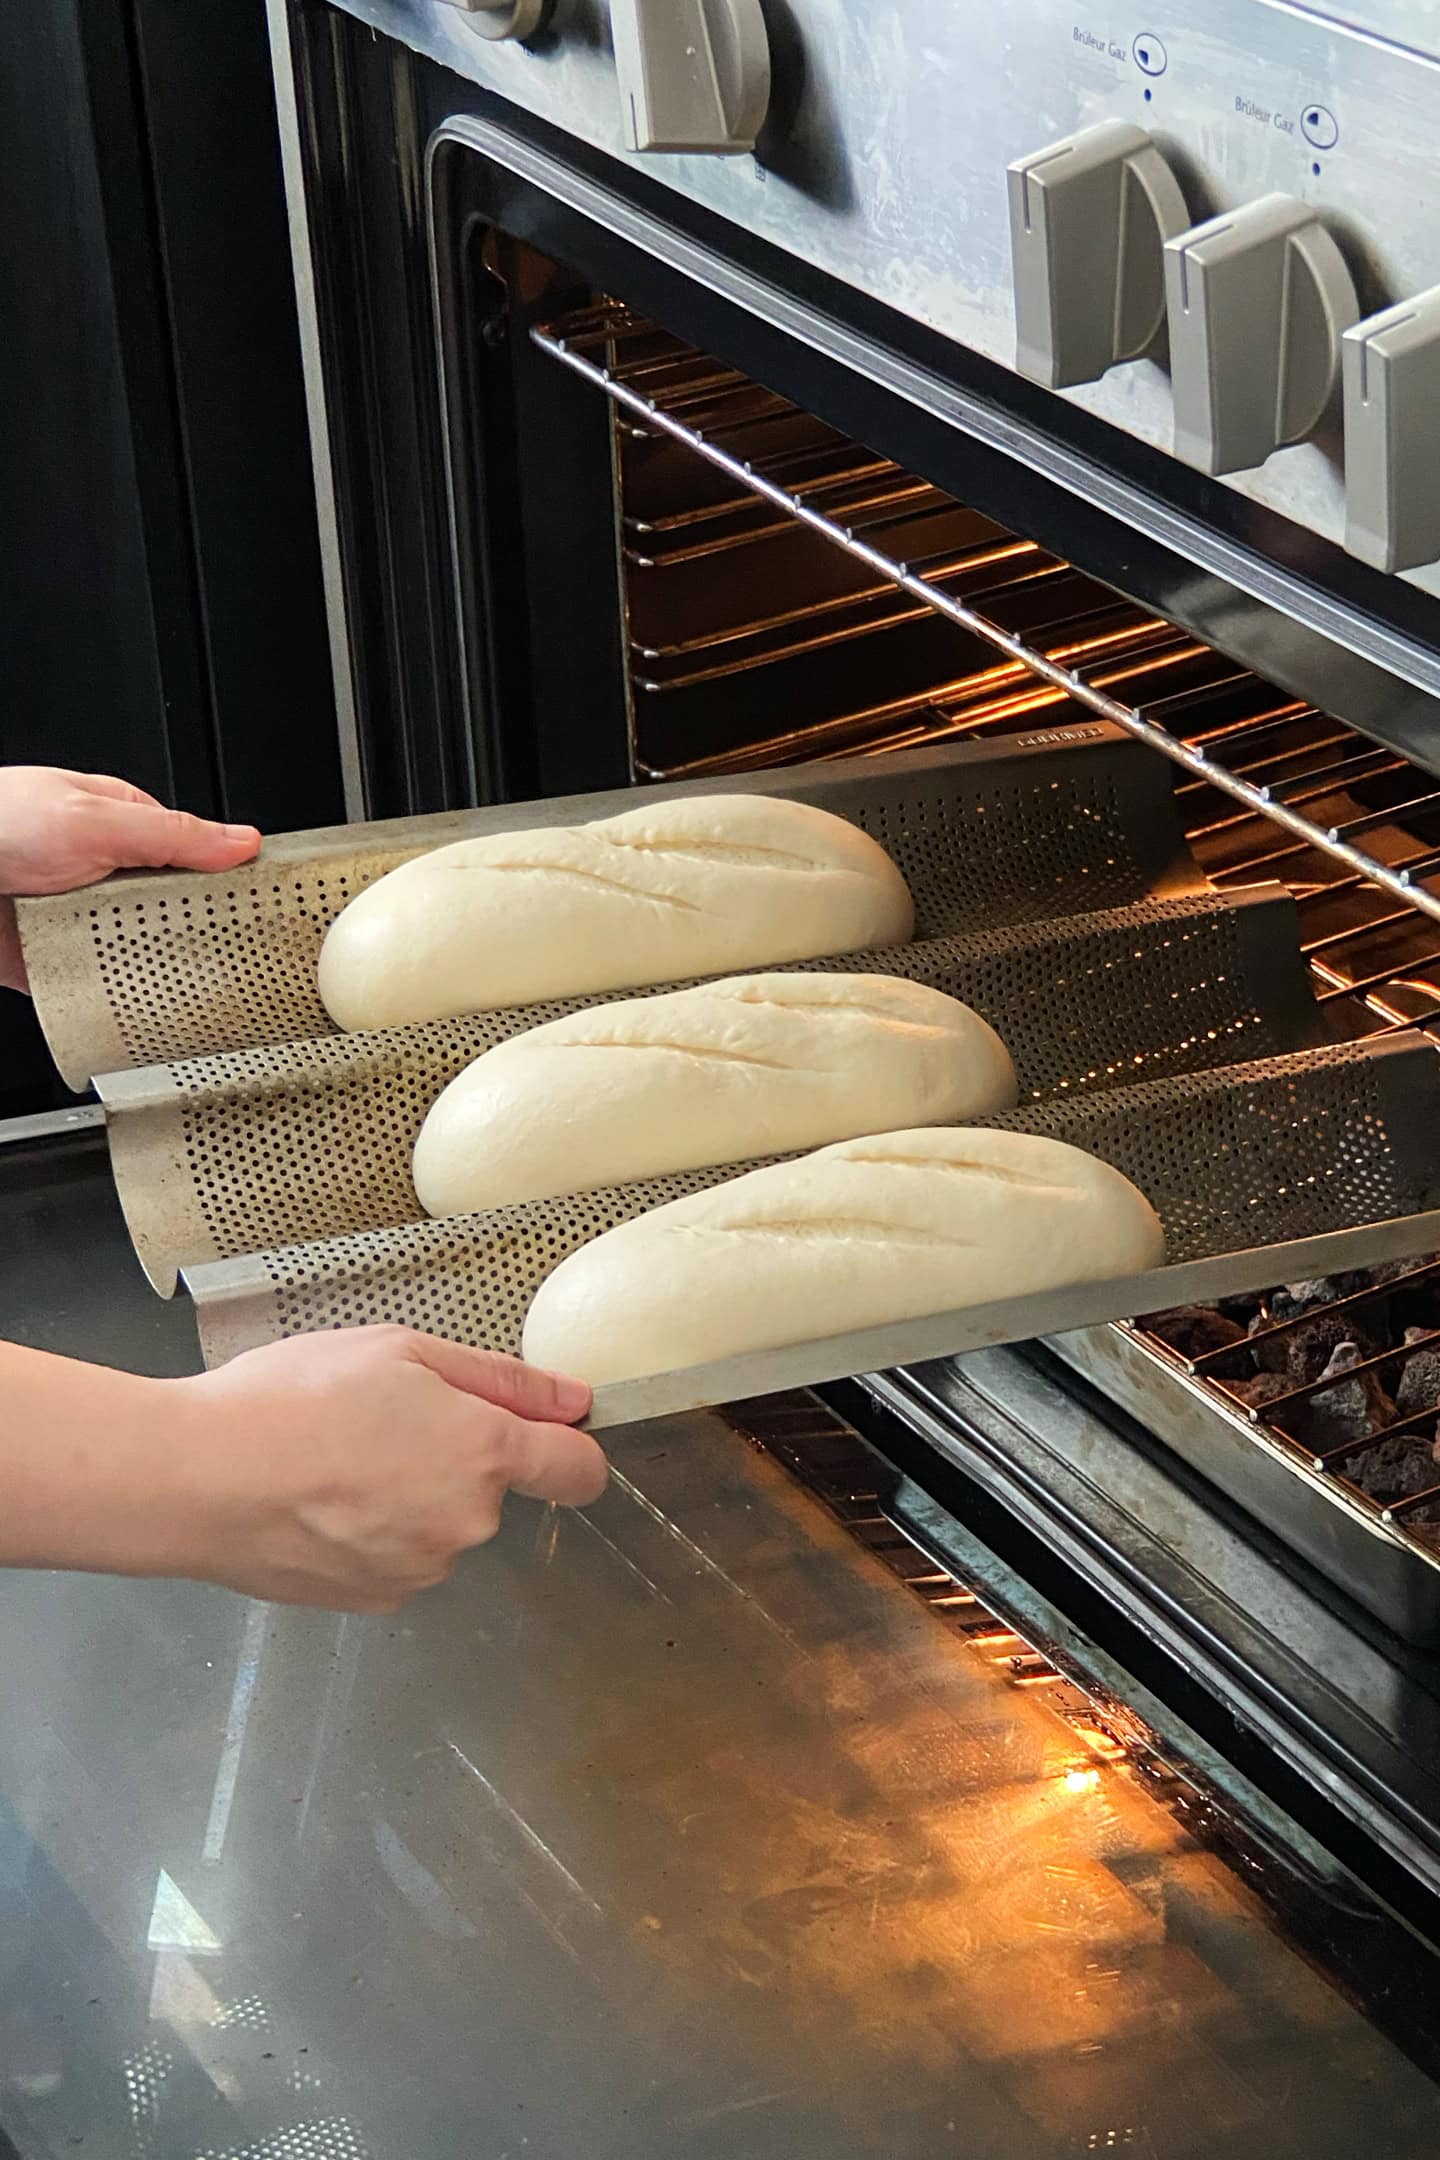
4. Bake
Once the loaves have quadrupled in size, it’s time to bake them! Here is how to bake the baguettes:
- Preheat your oven to 400°F (200°C) with either an iron skillet or a pan filled with lava rocks placed at the bottom. You will use it later to create steam. On top of that, the skillet will retain a lot of heat, so when you open the oven to bake your baguettes, it will come back to a high temperature more quickly. Allow the oven to preheat for at least 30 minutes.
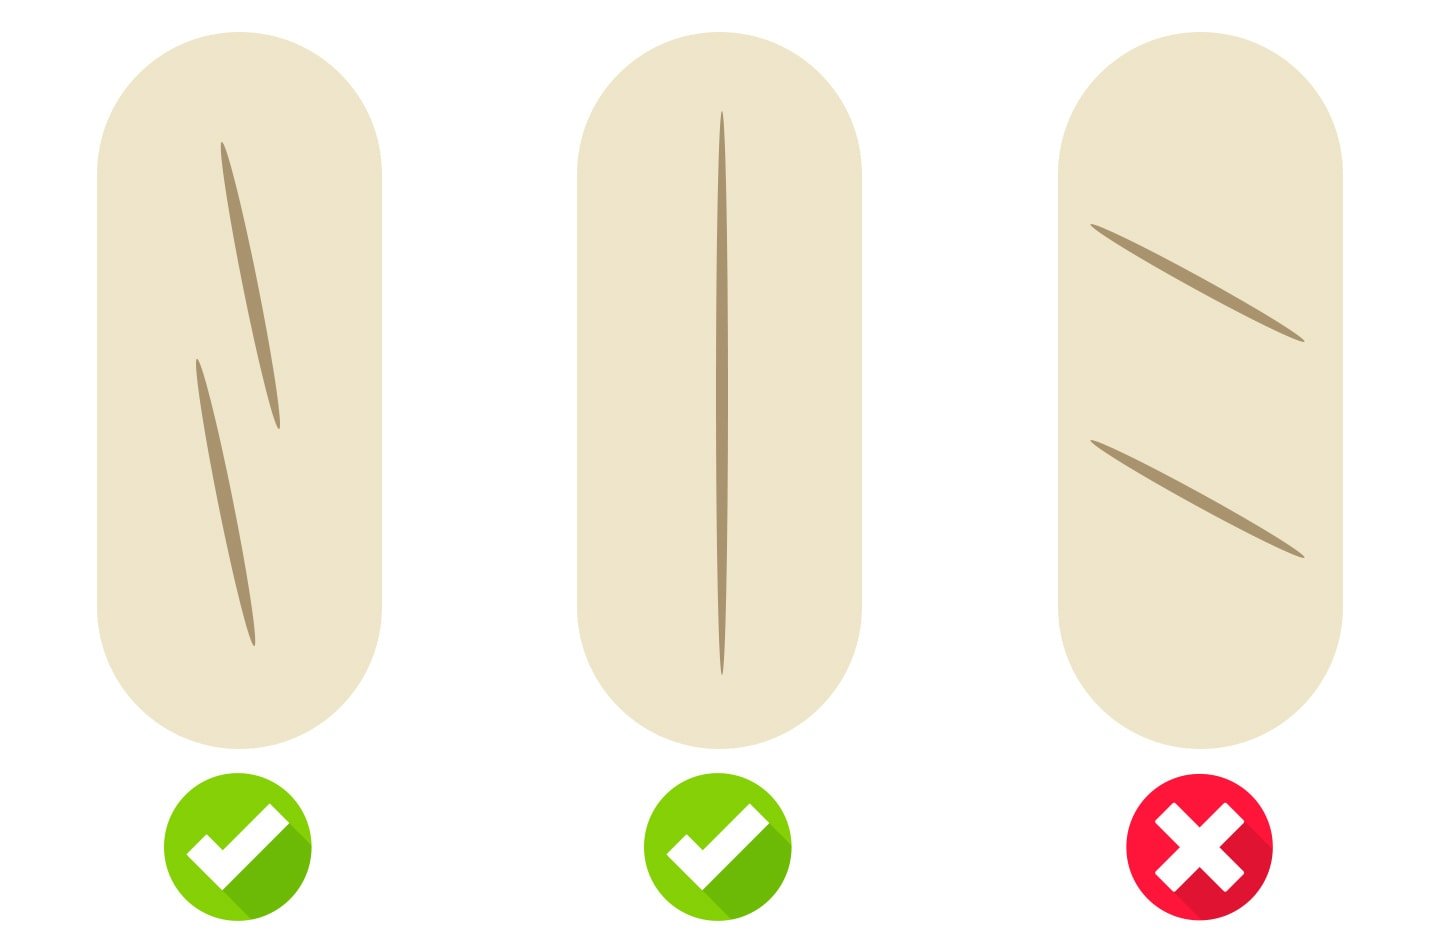
- Score at a 45-degree angle. Using a razor blade, score each baguette with either one cut vertically or 2-3 cuts diagonally. Ensure you are holding your blade at a 45-degree angle when scoring.
Scoring Guide
If you are unsure of how to score your baguettes, I have got you covered! You can refer to the image below, where I show you the angle and pattern you should use to score your bánh mì.
Scoring Tips
Through testing, I realized that there are a few tips to follow when scoring the dough, if you don’t want it to stick to your blade. Here is what I learned:
- Be non-hesitant: You must be fast and non-hesitant when scoring the dough. This is key. If you score the dough slowly, you are guaranteed to drag it using your blade. Be decisive!
- Score with one vertical cut: While you can score with two to three diagonal cuts, I find it much easier to score with one long vertical cut, especially if you are a beginner.
- Wet your blade: One more tip is to dip your blade in either water or oil before scoring. It helps the blade slide on the dough.
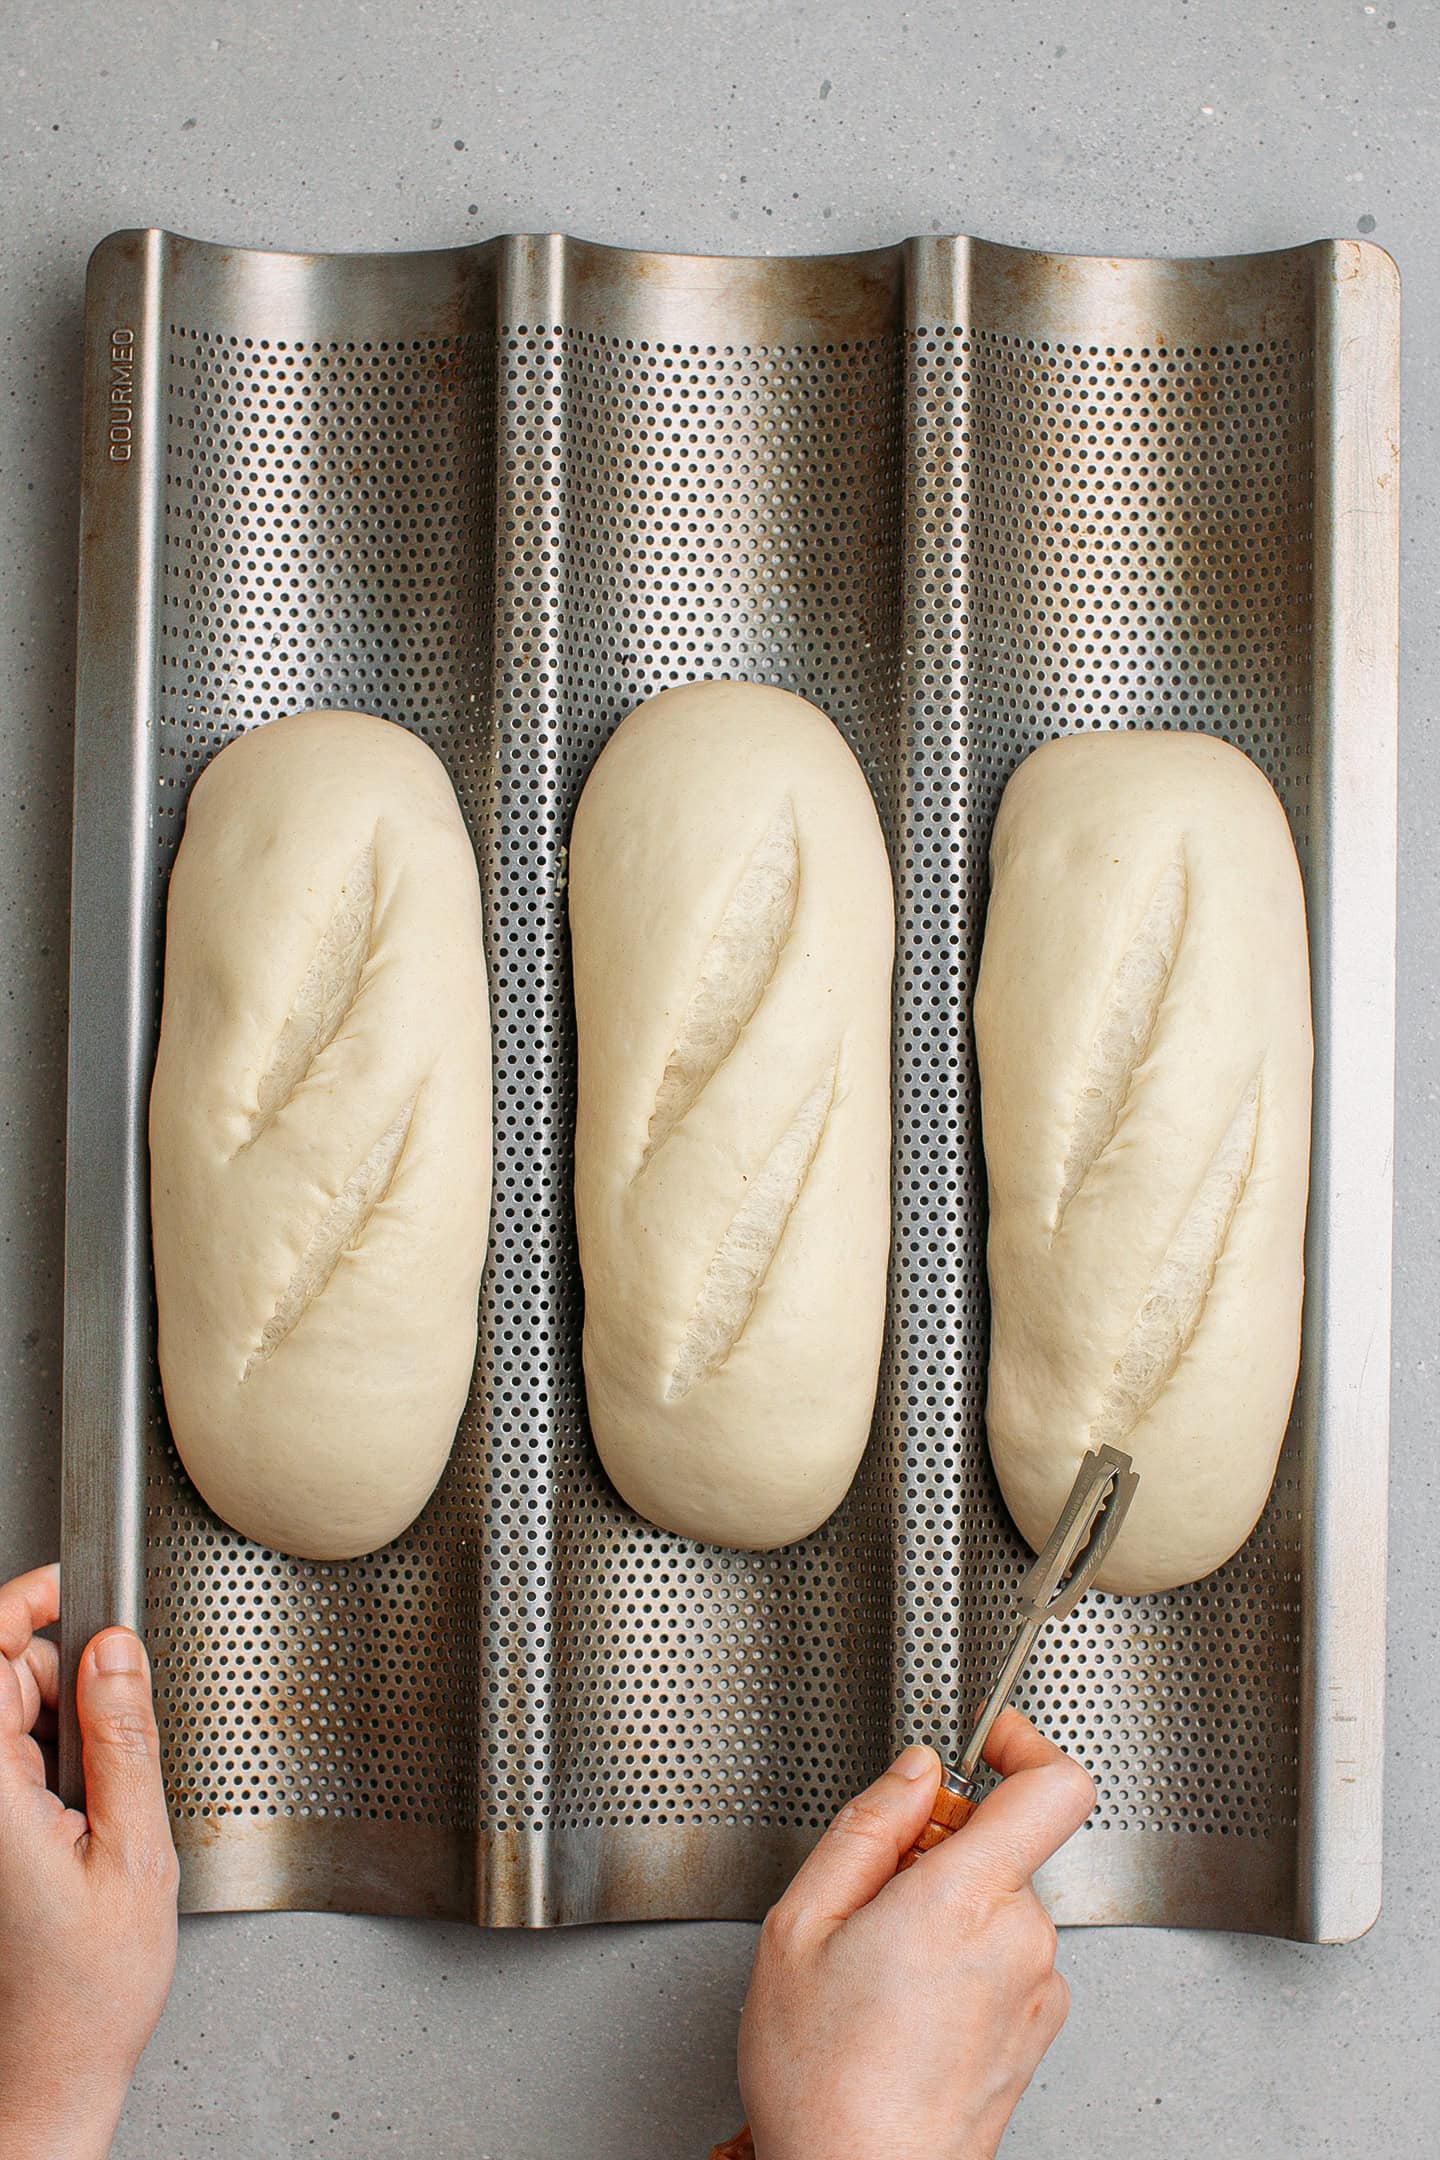

- Spray. Once your oven is at the right temperature, spray the baguettes with water. This will help them develop cracks.
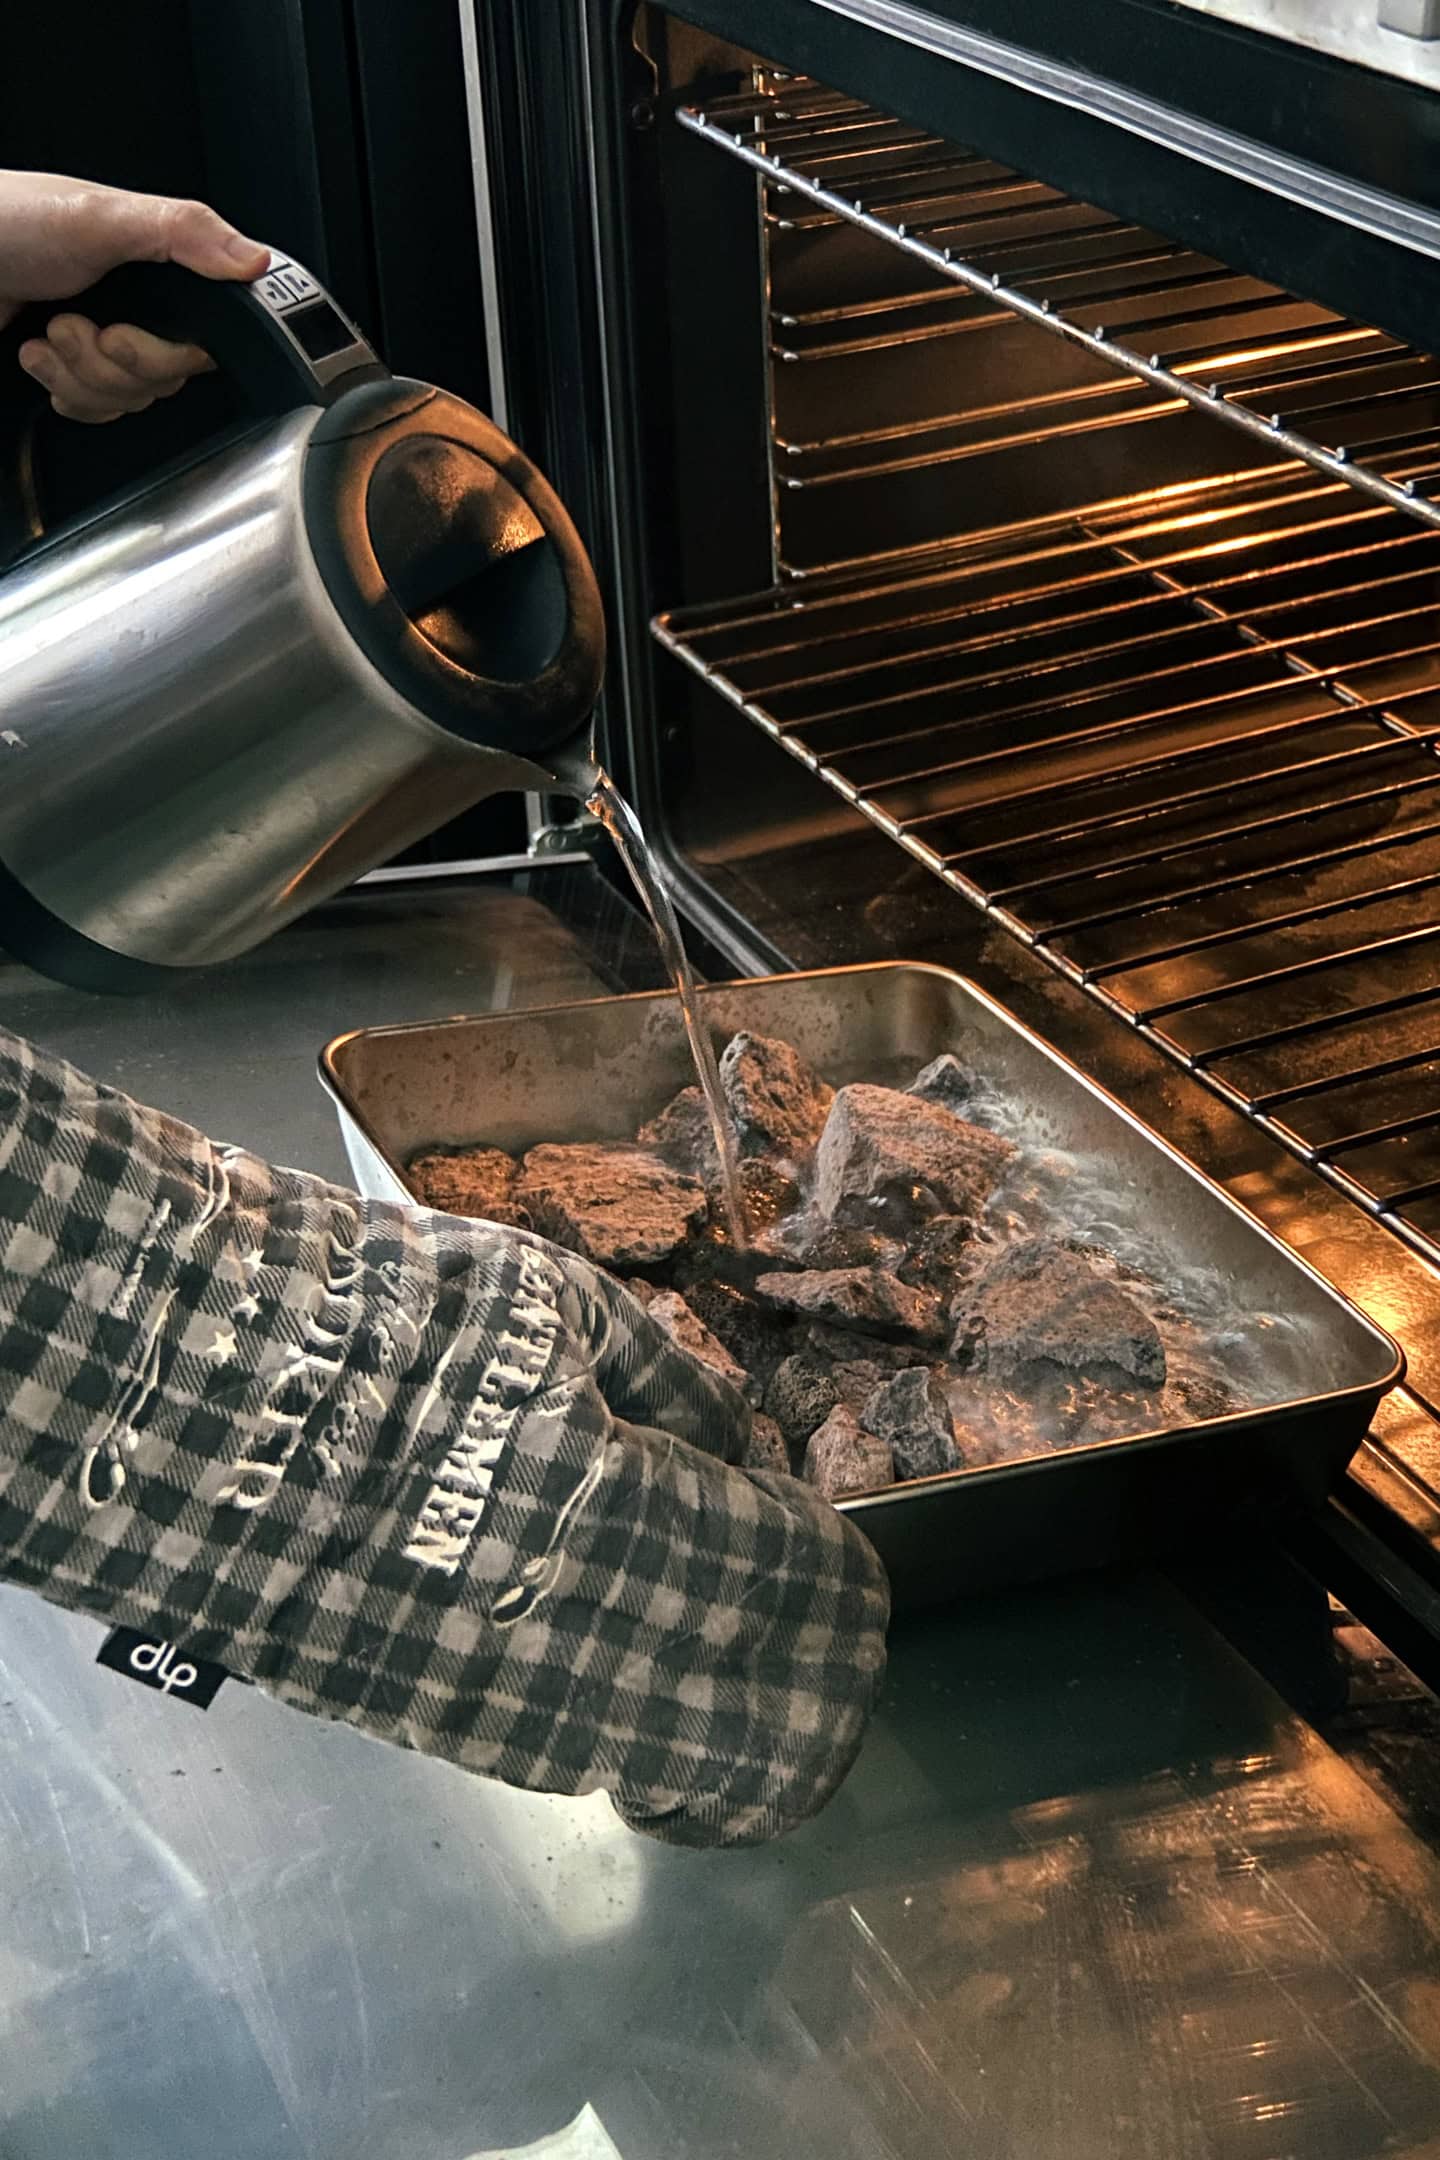
- Create steam. Pour about 3 cups of boiling water into the iron skillet or pan filled with lava rocks to create a lot of steam.
Best Way to Create Steam
A lot of steam in the oven is the secret to getting a thin, cracked eggshell crust that characterizes authentic banh mi. There are two ways to create steam. You can use either:
- Lava rocks: Your best option is to use lava rocks, which are volcanic rocks that are typically used for indoor fireplaces or gas grills. They get really hot and release a ton of steam when water is poured onto them.
- Iron skillet: The easiest option involves placing a large, heavy iron skillet in the oven and pouring boiling water into it.
For both options, you must preheat the oven with them inside it. I recommend preheating the oven for at least 30 minutes to ensure they are very hot.
Conclusion: I have used an iron skillet for many years with great results. It’s only recently that I bought some lava rocks to compare, and I can report that these are the superior option. Not only do lava rocks create a lot more steam, but they also produce more consistent results with larger cracks on the crust.
- Bake. Right after pouring the hot water into the skillet or over the lava rocks, add your baguette pans to the oven and turn off the oven fan. By baking without the fan, you will keep a ton of moisture inside the oven.
Be careful! DO NOT open the oven door during the first 7-8 minutes – otherwise, your baguettes will slightly collapse. The high heat and steam inside the oven make the bread rise, but if you open the door before the crust has set, it will simply collapse, and you will lose that super airy crumb.
- Remove the skillet/lava rocks. After 7-8 minutes, remove the iron skillet or pan filled with lava rocks. Bake the baguettes without steam for another 4-5 minutes or until evenly golden brown.
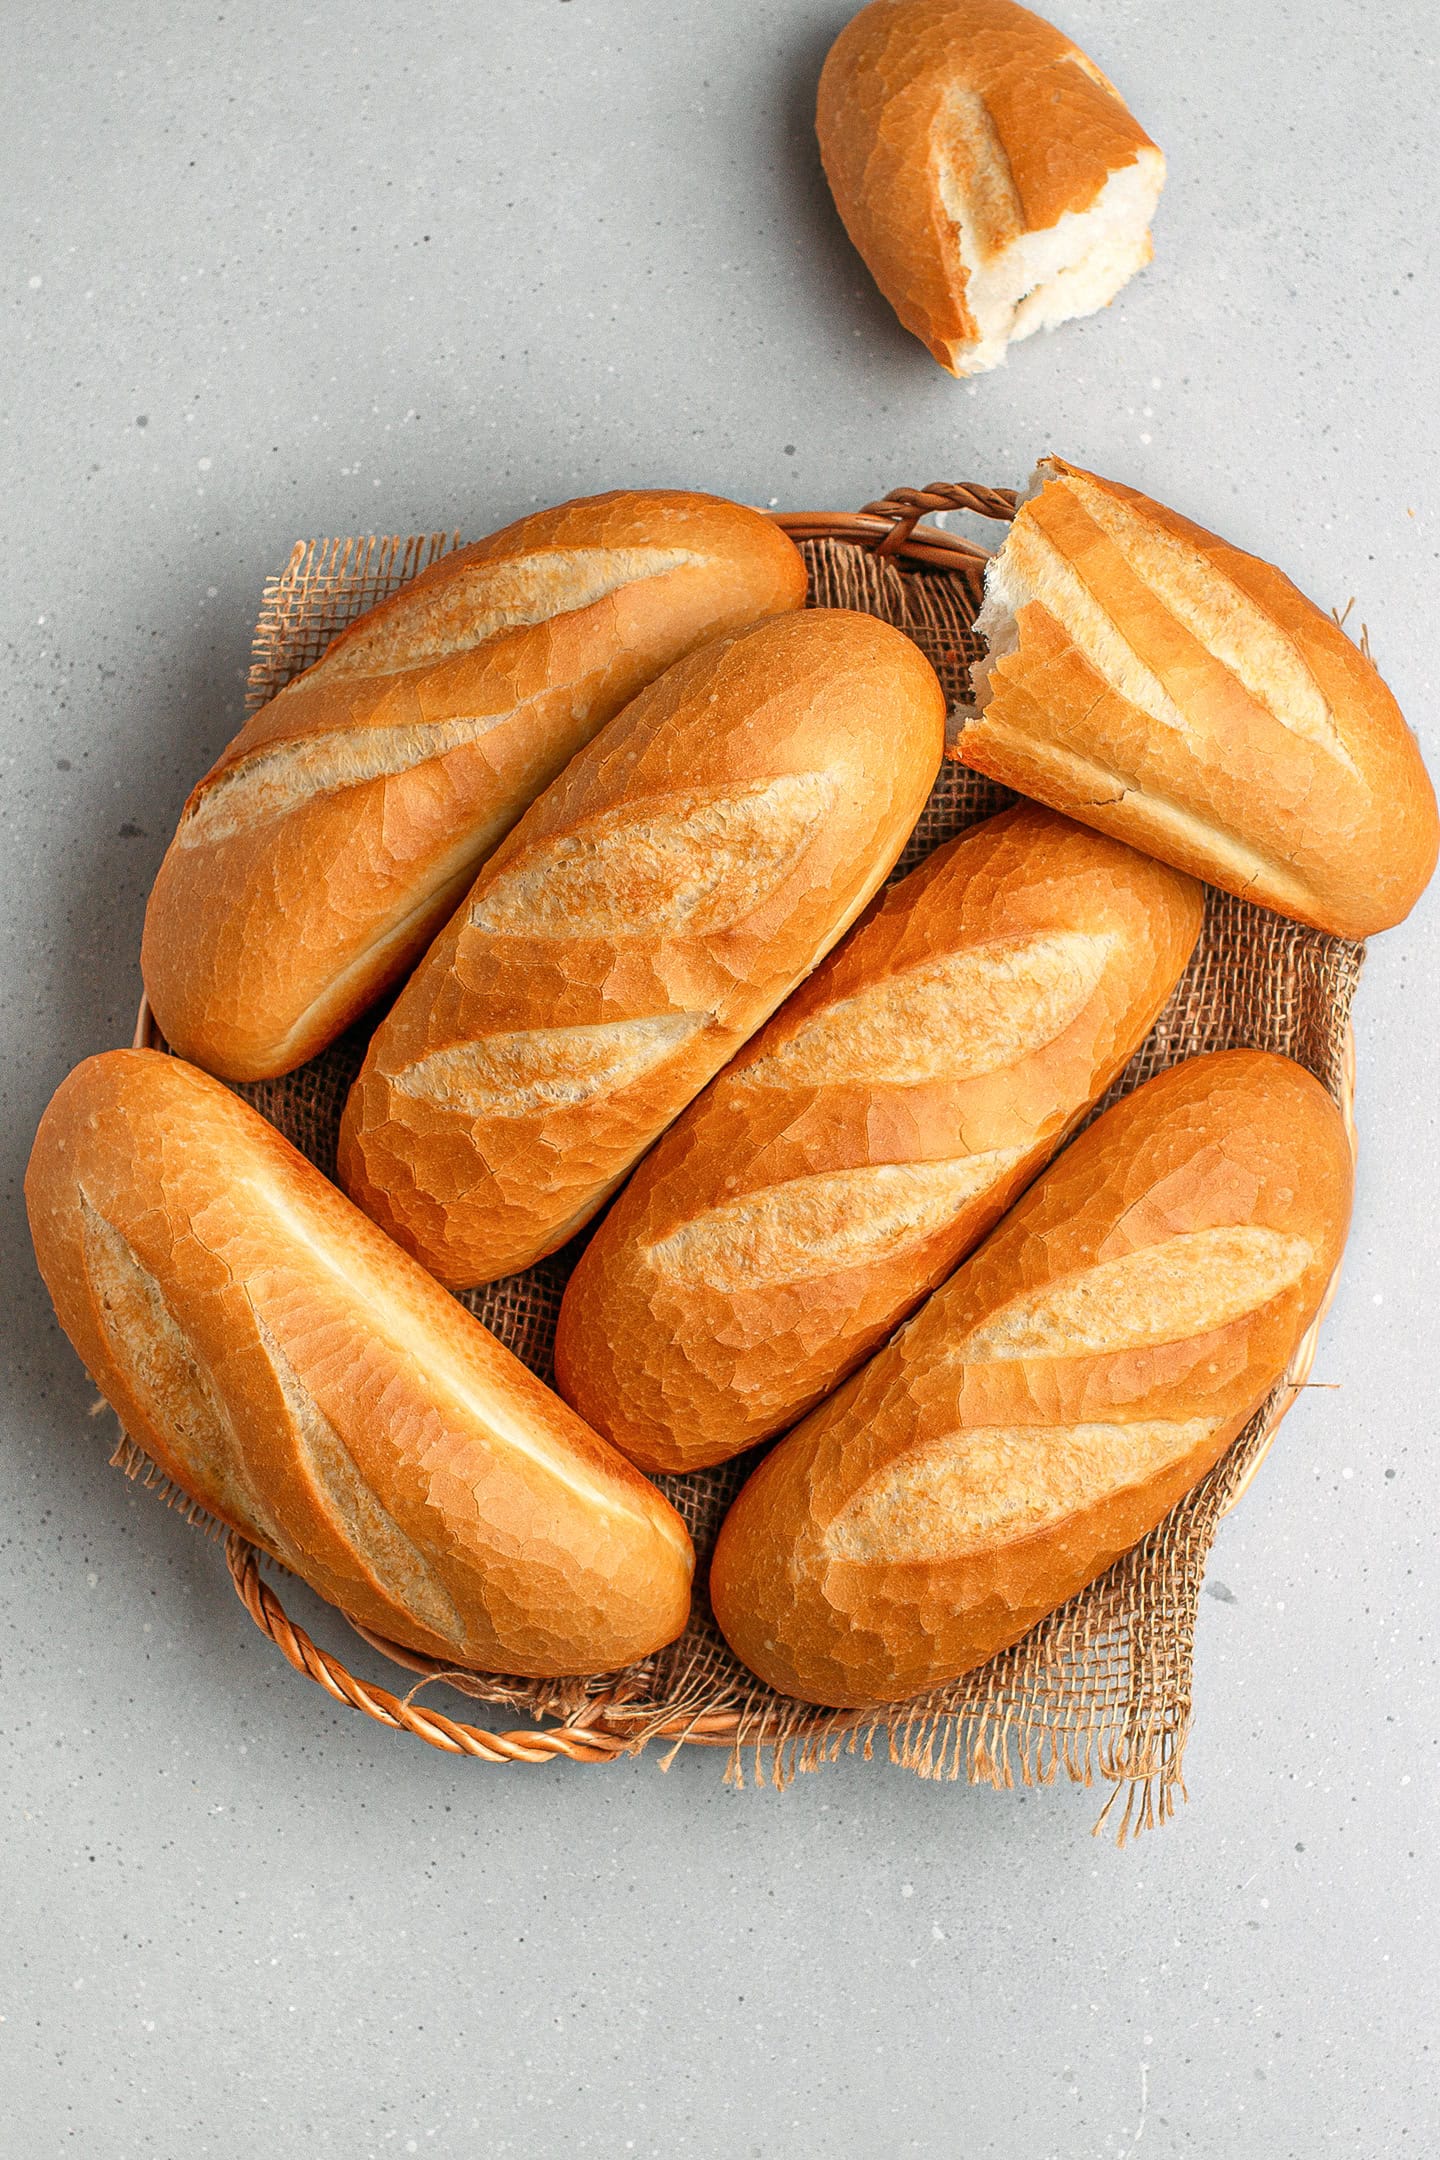
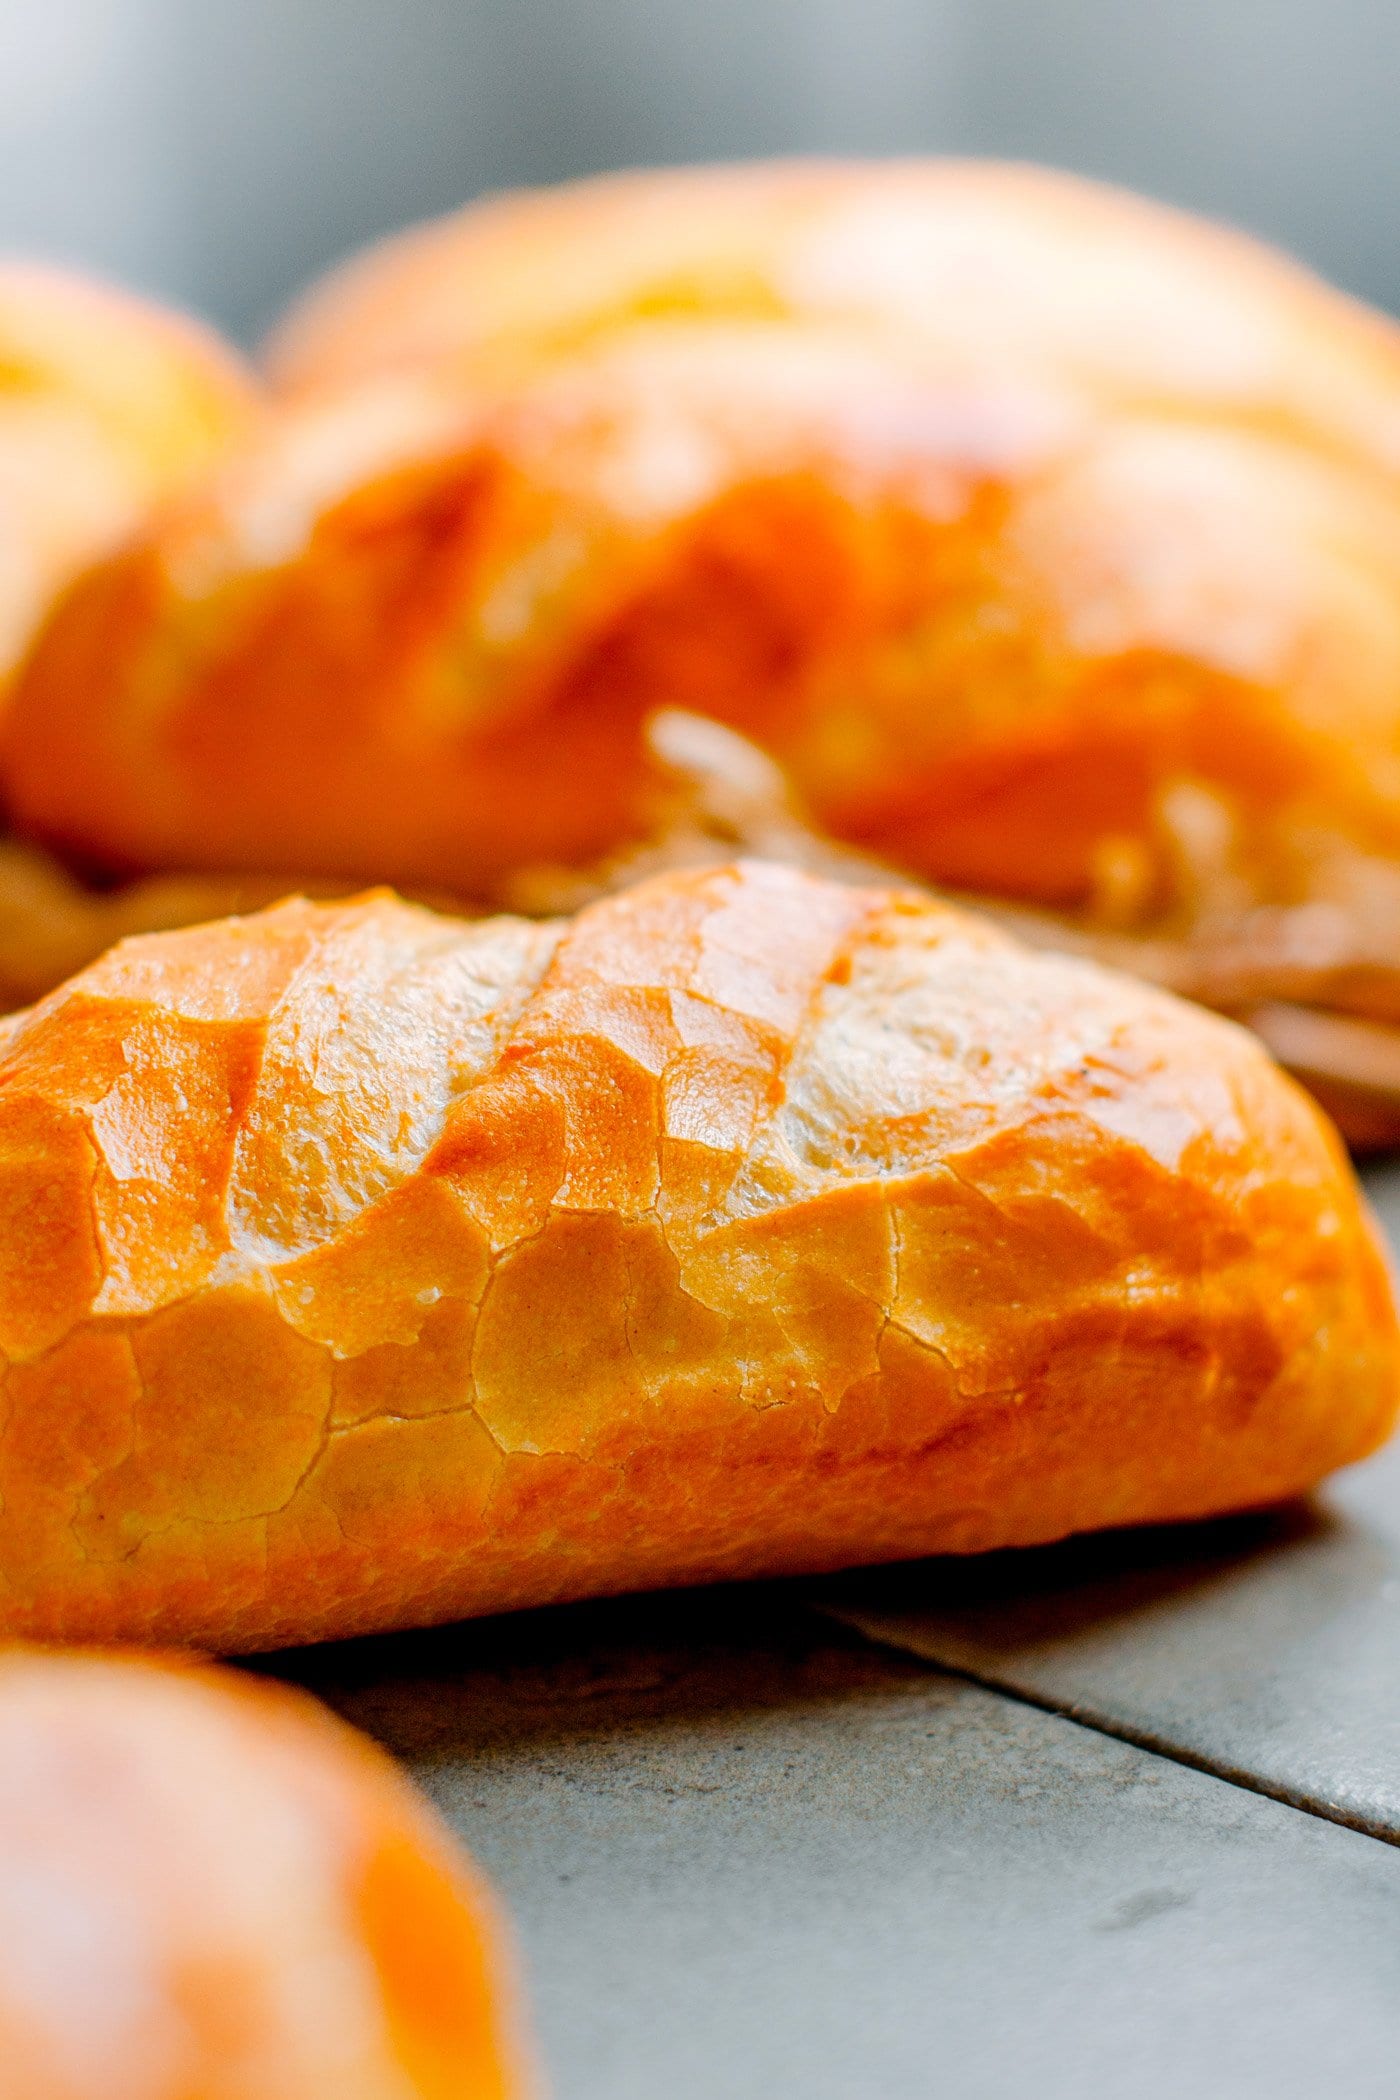
- Remove from the oven. Finally, remove your golden brown bánh mì from the oven and let them cool. Within 5 minutes, you should hear the sound of a crackling fire and see cracks appear on the crust! Magical!

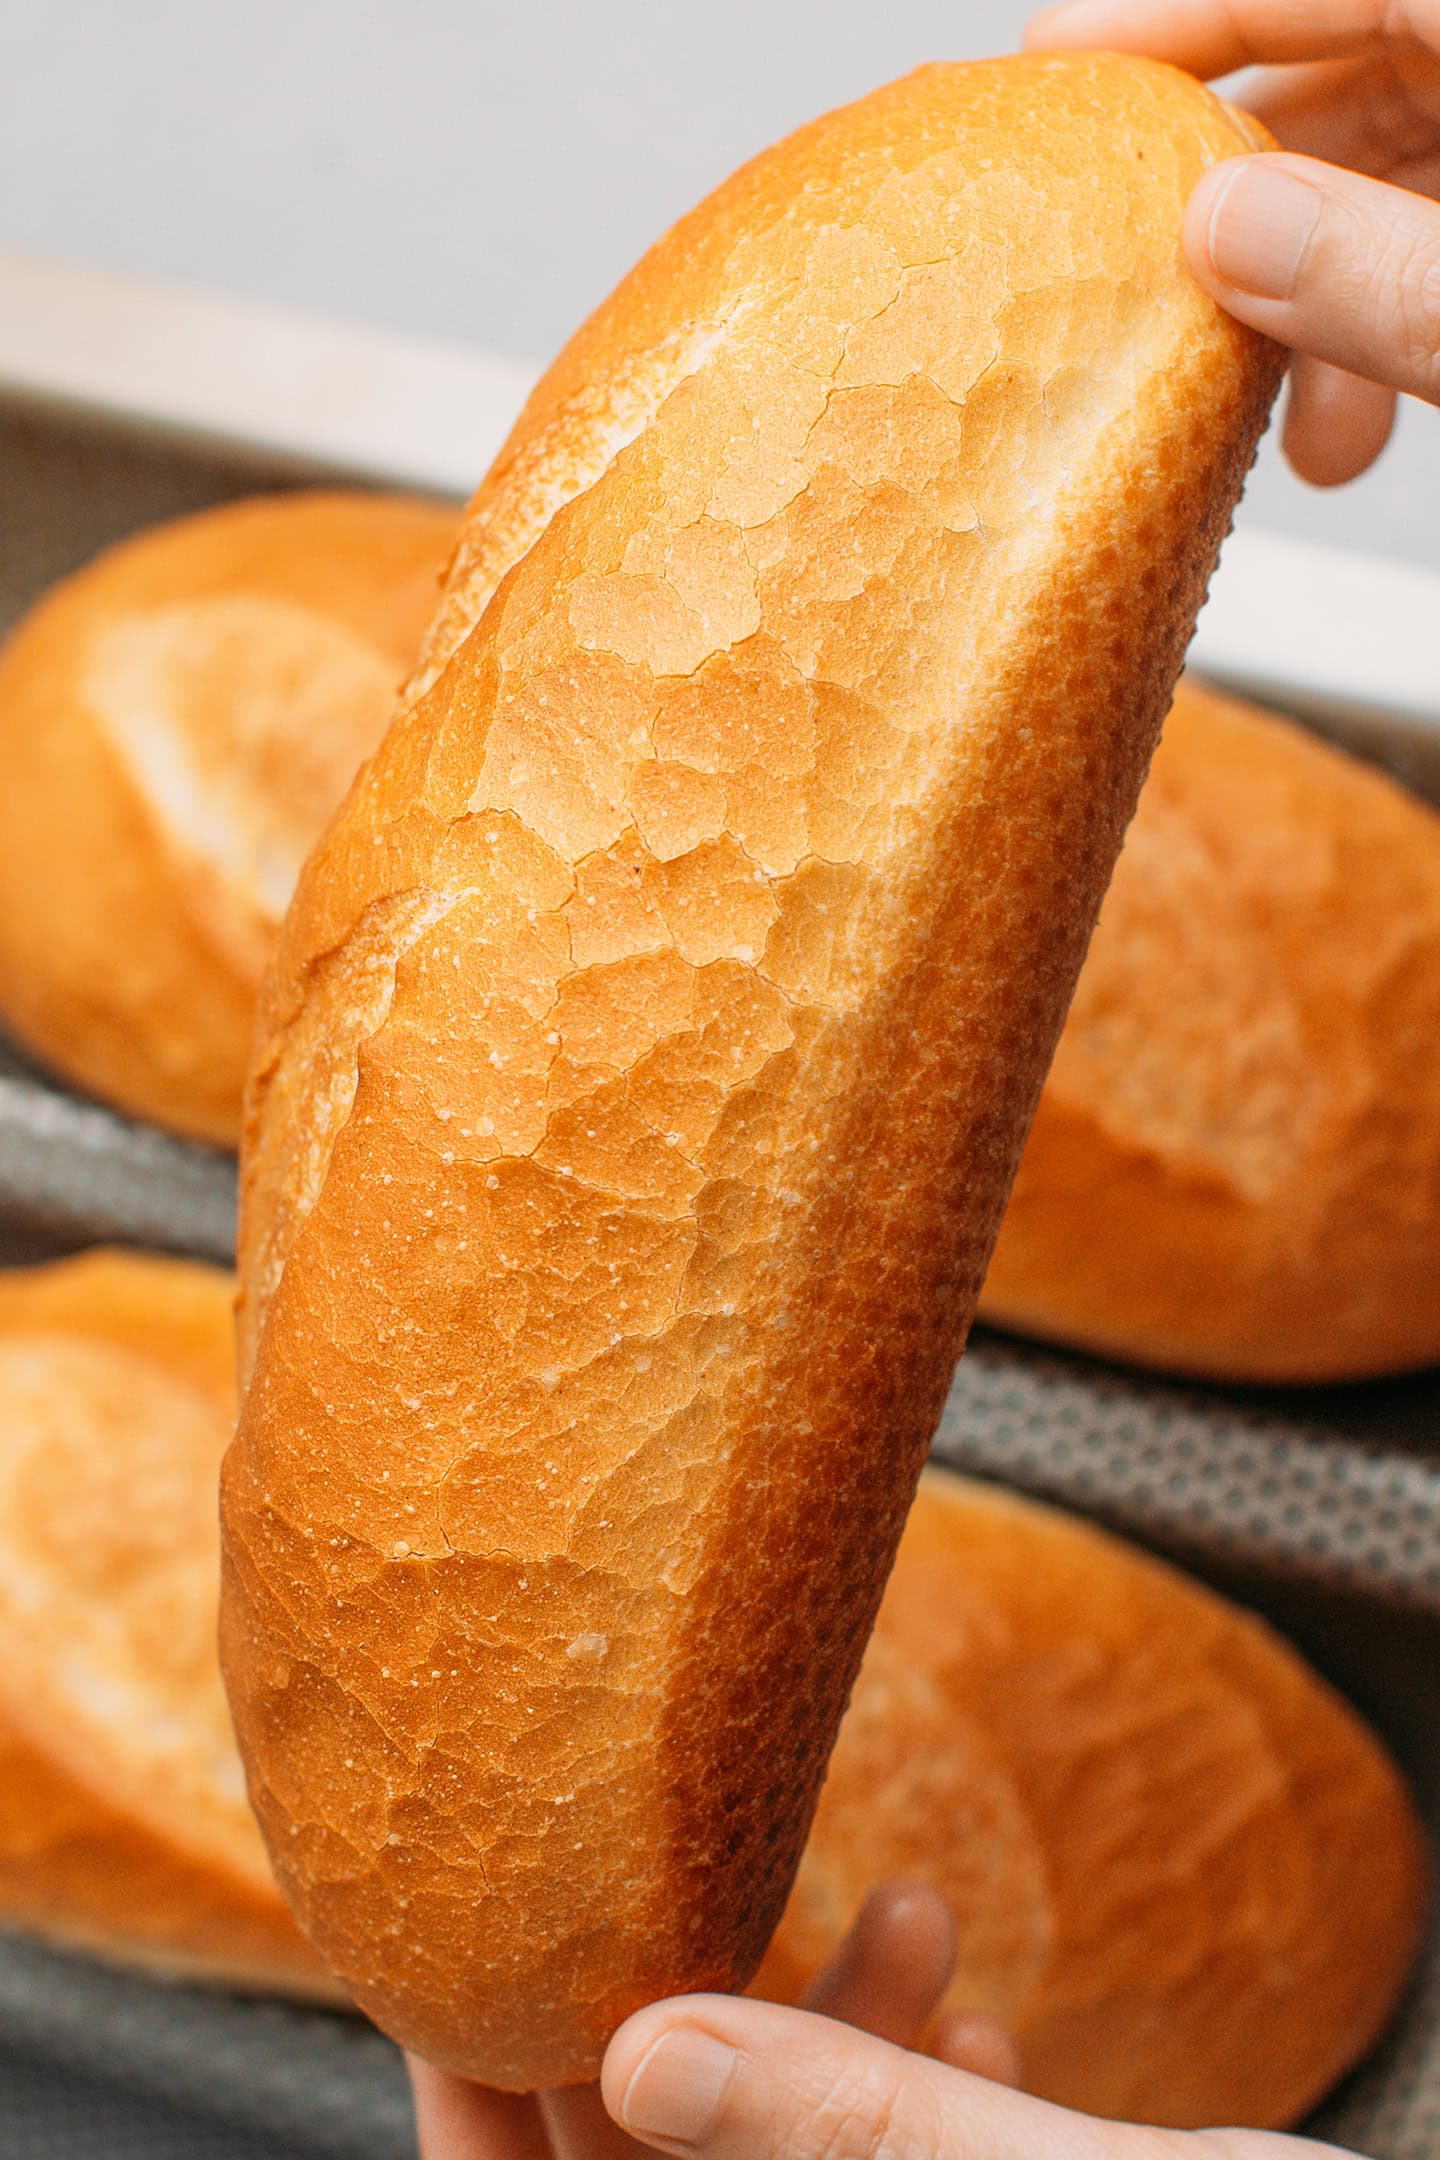
I’m so happy with how these turned out! The crust is so thin and crispy, and the crumb is incredibly light! These little bánh mì look and taste just like the authentic ones! I had my share of bánh mì in Vietnam for years, so you can trust me on that!
📔 Pro Tips
Do not make any substitutions.
I highly advise against using any substitution. This is not a recipe that you can tweak to your liking or use whatever you have on hand. Each ingredient and its ratio have been carefully calculated and tested.
Adjust the amount of water.
Not all brands of flour are equal, and while the exact measurements will work for the majority of people, some may have to slightly adjust the amount of water. The dough should be very soft, smooth, and just slightly sticky. If it appears too dry, add more water. On the other hand, if it’s too sticky, add a bit more flour.
Brush with melted butter.
After baking, you can brush the baguettes with a thin coating of melted butter. This will give your baguettes a shiny, more professional appearance.
🥖 Where to Use It
Here are a few recipes and ideas on where to use Bánh Mì:
- Vegan Bánh Mì: You can check out my full guide on how to make the best vegan bánh mì here or this Pulled Mushrooms Bánh Mì.
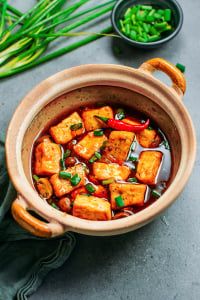
- Stews or curries: With Vegan Beef Stew or Vietnamese Curry. Dip a piece of bánh mì to soak up the sauce, yum!
- Grilled and drizzled with chili sauce, mayo, and green onions like in this Spicy Grilled Bread. This works best with 1-2 days old bánh mì.
- Anywhere else you would use bread!
❄️ Storing and Reheating
- To store: Like any bread, these baguettes are best enjoyed on day one. After a day, they tend to lose their crispiness.
- To freeze: Once your baguettes are cool, wrap them in plastic wrap and transfer them to a freezer bag. They will keep for up to 2 months in the freezer. Thaw on the counter for 20-30 minutes before reheating.
- To reheat: If your baguettes lose their crispiness, you can reheat them for 3-4 minutes in a 350°F (175°C) preheated oven. This will bring back their crispiness.
💬 FAQs & Troubleshooting
No. Vietnamese bakery-style banh mi relies on bread improver to achieve its light, cottony crumb.
No, this recipe cannot be made gluten-free, sorry.
Traditional bánh mì does NOT contain egg. I have talked to many different bakeries in Vietnam, and none of them use eggs to make the baguettes.
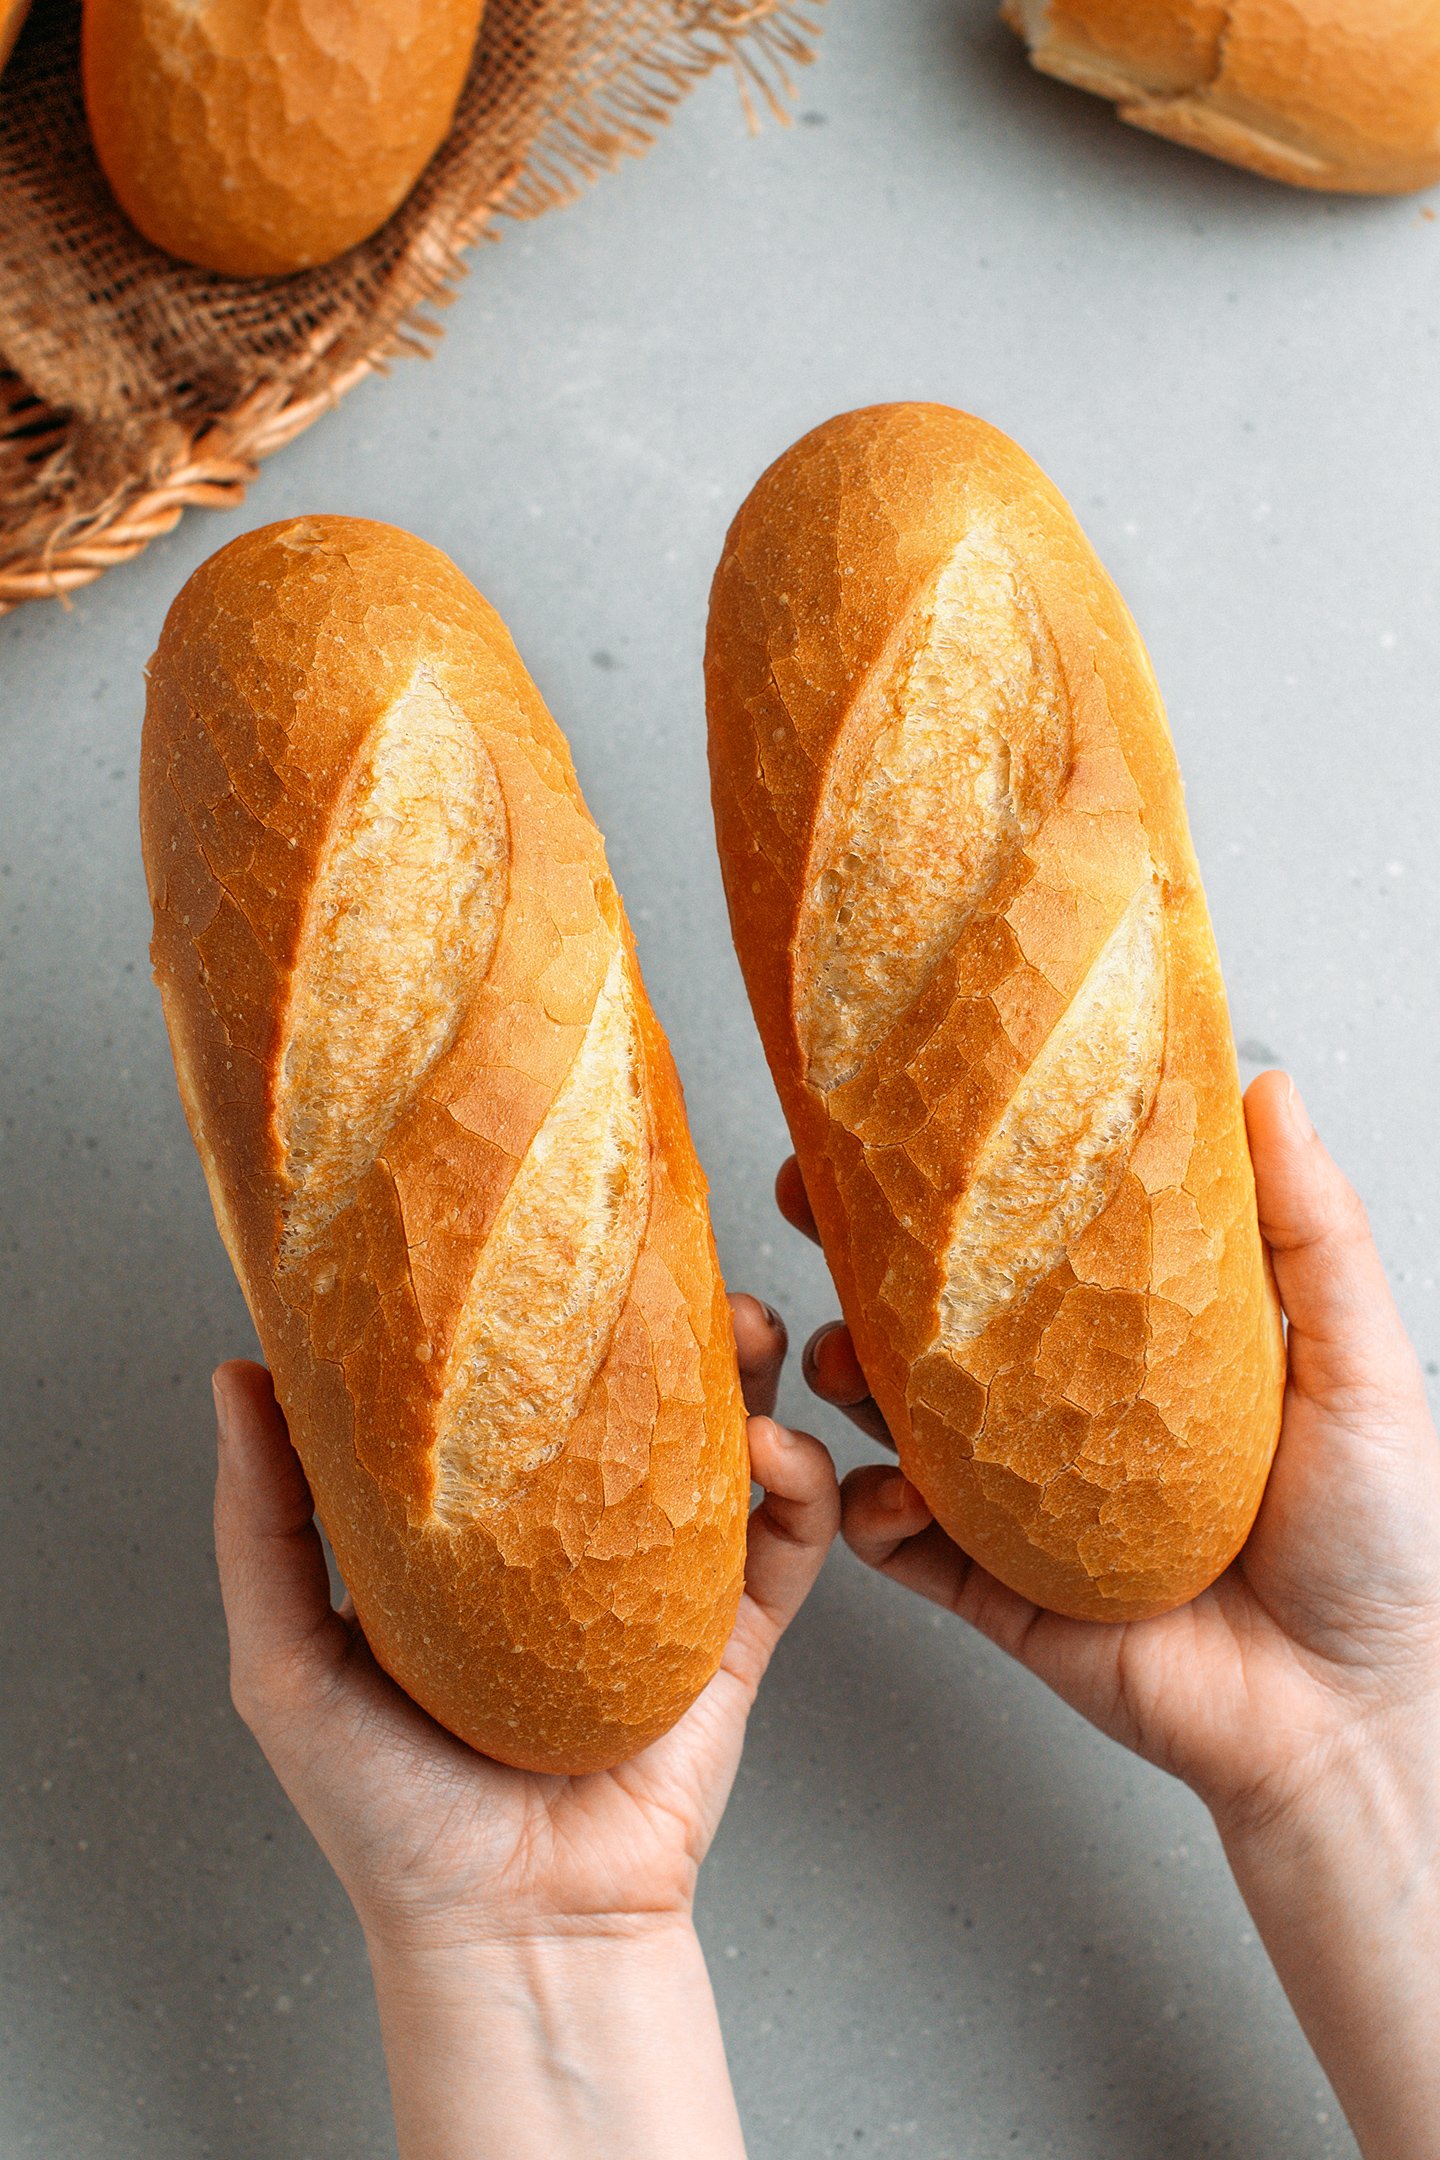
No, there is no standard size. If you have ever been to Vietnam, you probably noticed that, depending on the bakery, the size of bánh mì can vary considerably, ranging from 6 inches (15cm) to 25 inches (65cm), which is the standard size of a French baguette.
I have noticed that the most popular size for the bánh mì used in sandwiches is 7-8 inches (18-20 cm). Hence, I recommend dividing the dough into 6 pieces if you want that length. Otherwise, feel free to make smaller or longer baguettes – that is up to you.
No, this is another false piece of information spread by some recipes online. The process for making traditional bánh mì only calls for a single rise.
It seems your baguettes didn’t rise correctly. Hence, they are smaller than they are supposed to be, and their crumb is also probably dense. I highly recommend using the exact ingredients listed in the recipe and following it and the tips thoroughly.
I have extensively tested this recipe to make sure it is exactly like the bánh mì you can find in Vietnam, from the crust to the crumb and the saltiness. Hope you will love these little baguettes! SO light and crispy!
🇻🇳 More Vietnamese Recipes


⭐️ Did you like this recipe? Let us know in the comments below, and tag us on Facebook, Instagram, or Pinterest!
Save this recipe!
Enter your email below and I’ll send it to your inbox!
Plus, you will receive new recipes every week!
Authentic Banh Mi Bread (Vietnamese Baguette)

Ingredients
- 3/4 cup + 3 tbsp water (225 ml) water at room temperature
- 3 cups (375 g) bread flour (at least 12% protein)
- 3/4 tsp (2.5 g) bread improver
- 3/4 tsp (2.5 g) instant dry yeast
- 3/4 tsp (3 g) sugar
- 1/16 tsp vitamin C powder or a 150mg tablet, crushed into powder
- 1/2 tsp (3 g) salt
- 2 tbsp vegan butter for brushing
Instructions
- Before starting: While I am also sharing measurements in cups, I strongly recommend using metric measurements for the water and flour to ensure more accurate results.
- Preheat the oven. Preheat your oven to its lowest temperature (about 86°F/30°C). If it cannot go that low, just turn on the oven light. Place a baking dish or bowl filled with about 3 cups of boiling water in the bottom of the oven (this will create humidity and prevent the dough from drying during the proofing step). Grease two baguette pans with an oiled kitchen paper towel and set aside.
- Combine all of the ingredients. To the bowl of a stand mixer fitted with the dough hook, add the water, bread flour, bread improver, instant dry yeast, sugar, and vitamin C.
- Knead. Then, knead on speed 2 for about one minute, or until everything is combined. Use a spatula to scrape down the sides if needed. Add the salt and increase the speed to 8. Knead for another 7-8 minutes. Keep an eye on it as it will move due to its speed. The dough should be silky smooth and slightly sticky.
- Divide into balls. Using slightly oiled hands, transfer the dough to a greased countertop or smooth surface. Divide the dough into six pieces, each weighing approximately 3.5 ounces (100g).
- Shape the baguettes. Place one ball of dough on your greased working surface and use your hands to flatten the dough into a long, thin trapezoid of about 4 inches (10 cm) wide and 6 inches (15 cm) tall. Next, starting from the top of the trapezoid, roll into a log. Transfer to the greased baguette pan and repeat with the remaining balls of dough.
- Proof. Place the baguette pans in the preheated oven and let them rise until they have almost quadrupled in size. This will take between 1 h 30 and 2 hours, depending on the temperature. Note: The dough should bounce back slightly when pressed. If it bounces back quickly, it’s underproofed.Once your dough has quadrupled in size, remove the pans from the oven.
- Preheat the oven. Preheat the oven to
 400 °F (200°C) and place either an iron skillet or a pan filled with lava rocks at the bottom. You will use it later to create steam.
 - Score. Once the oven is at the right temperature, use a razor blade to score each baguette with either one cut vertically or 2-3 cuts diagonally. Ensure you are holding your blade at a 45-degree angle when scoring.
- Spray. Next, generously spray your baguettes with water. This will help them develop cracks. Set aside.
- Create steam. Bring about 3 cups of water to a boil. Once boiling, pour it into the iron skillet or pan filled with lava rocks to create a lot of steam.
- Bake. Right after pouring the hot water into the skillet or over the lava rocks, add your baguette pans to the oven and turn off the oven fan. By baking without the fan, you will keep a ton of moisture inside the oven. Bake for 7-8 minutes.
- Remove the skillet/lava rocks. After 7-8 minutes, remove the iron skillet or pan filled with lava rocks. Bake the baguettes without steam for another 4-5 minutes or until evenly golden brown.
- Remove from the oven. Finally, remove your golden brown bánh mì from the oven and let them cool. Within 5 minutes, you should hear the sound of a crackling fire and see cracks appear on the crust – that's one of the characteristics of a good banh mi!
- Brush with butter. For a nice shine, lightly brush them with melted vegan butter and let them cool slightly before serving.
- Banh mi are best eaten the same day, the crust is super crispy, and the crumb is so fluffy! You can keep them for up to 3 days at room temperature in a bread bag. They will become softer the next day, but you can reheat them in a preheated oven to make them crispy again.
Video
Notes
Do not make any substitutions.
I highly advise against using any substitution. This is not a recipe that you can tweak to your liking or use whatever you have on hand. Each ingredient and its ratio have been carefully calculated and tested.Adjust the amount of water.
Not all brands of flour are equal, and while the exact measurements will work for the majority of people, some may have to slightly adjust the amount of water. The dough should be very soft, smooth, and just slightly sticky. If it appears too dry, add more water. On the other hand, if it’s too sticky, add a bit more flour.Brush with melted butter.
After baking, you can brush the baguettes with a thin coating of melted butter. This will give your baguettes a shiny, more professional appearance.Additional note.
The recipe was adapted from this video, with the help of friends to translate the ingredients and amounts. We also got tips from local bakeries in Saigon. Also note that some Vietnamese bakers add “fat powder” as well as coconut powder, which I didn’t add, and still got great results.Nutrition

About the Author
Thomas Pagot is the founder, photographer, and recipe developer behind Full of Plants. He created the blog in 2016 as a personal cookbook for vegan recipes. Through years of recipe development, Thomas has successfully grown Full of Plants into a trusted resource for plant-based recipes.
Leave a Comment