This post may contain affiliate links. Please read our disclosure policy.
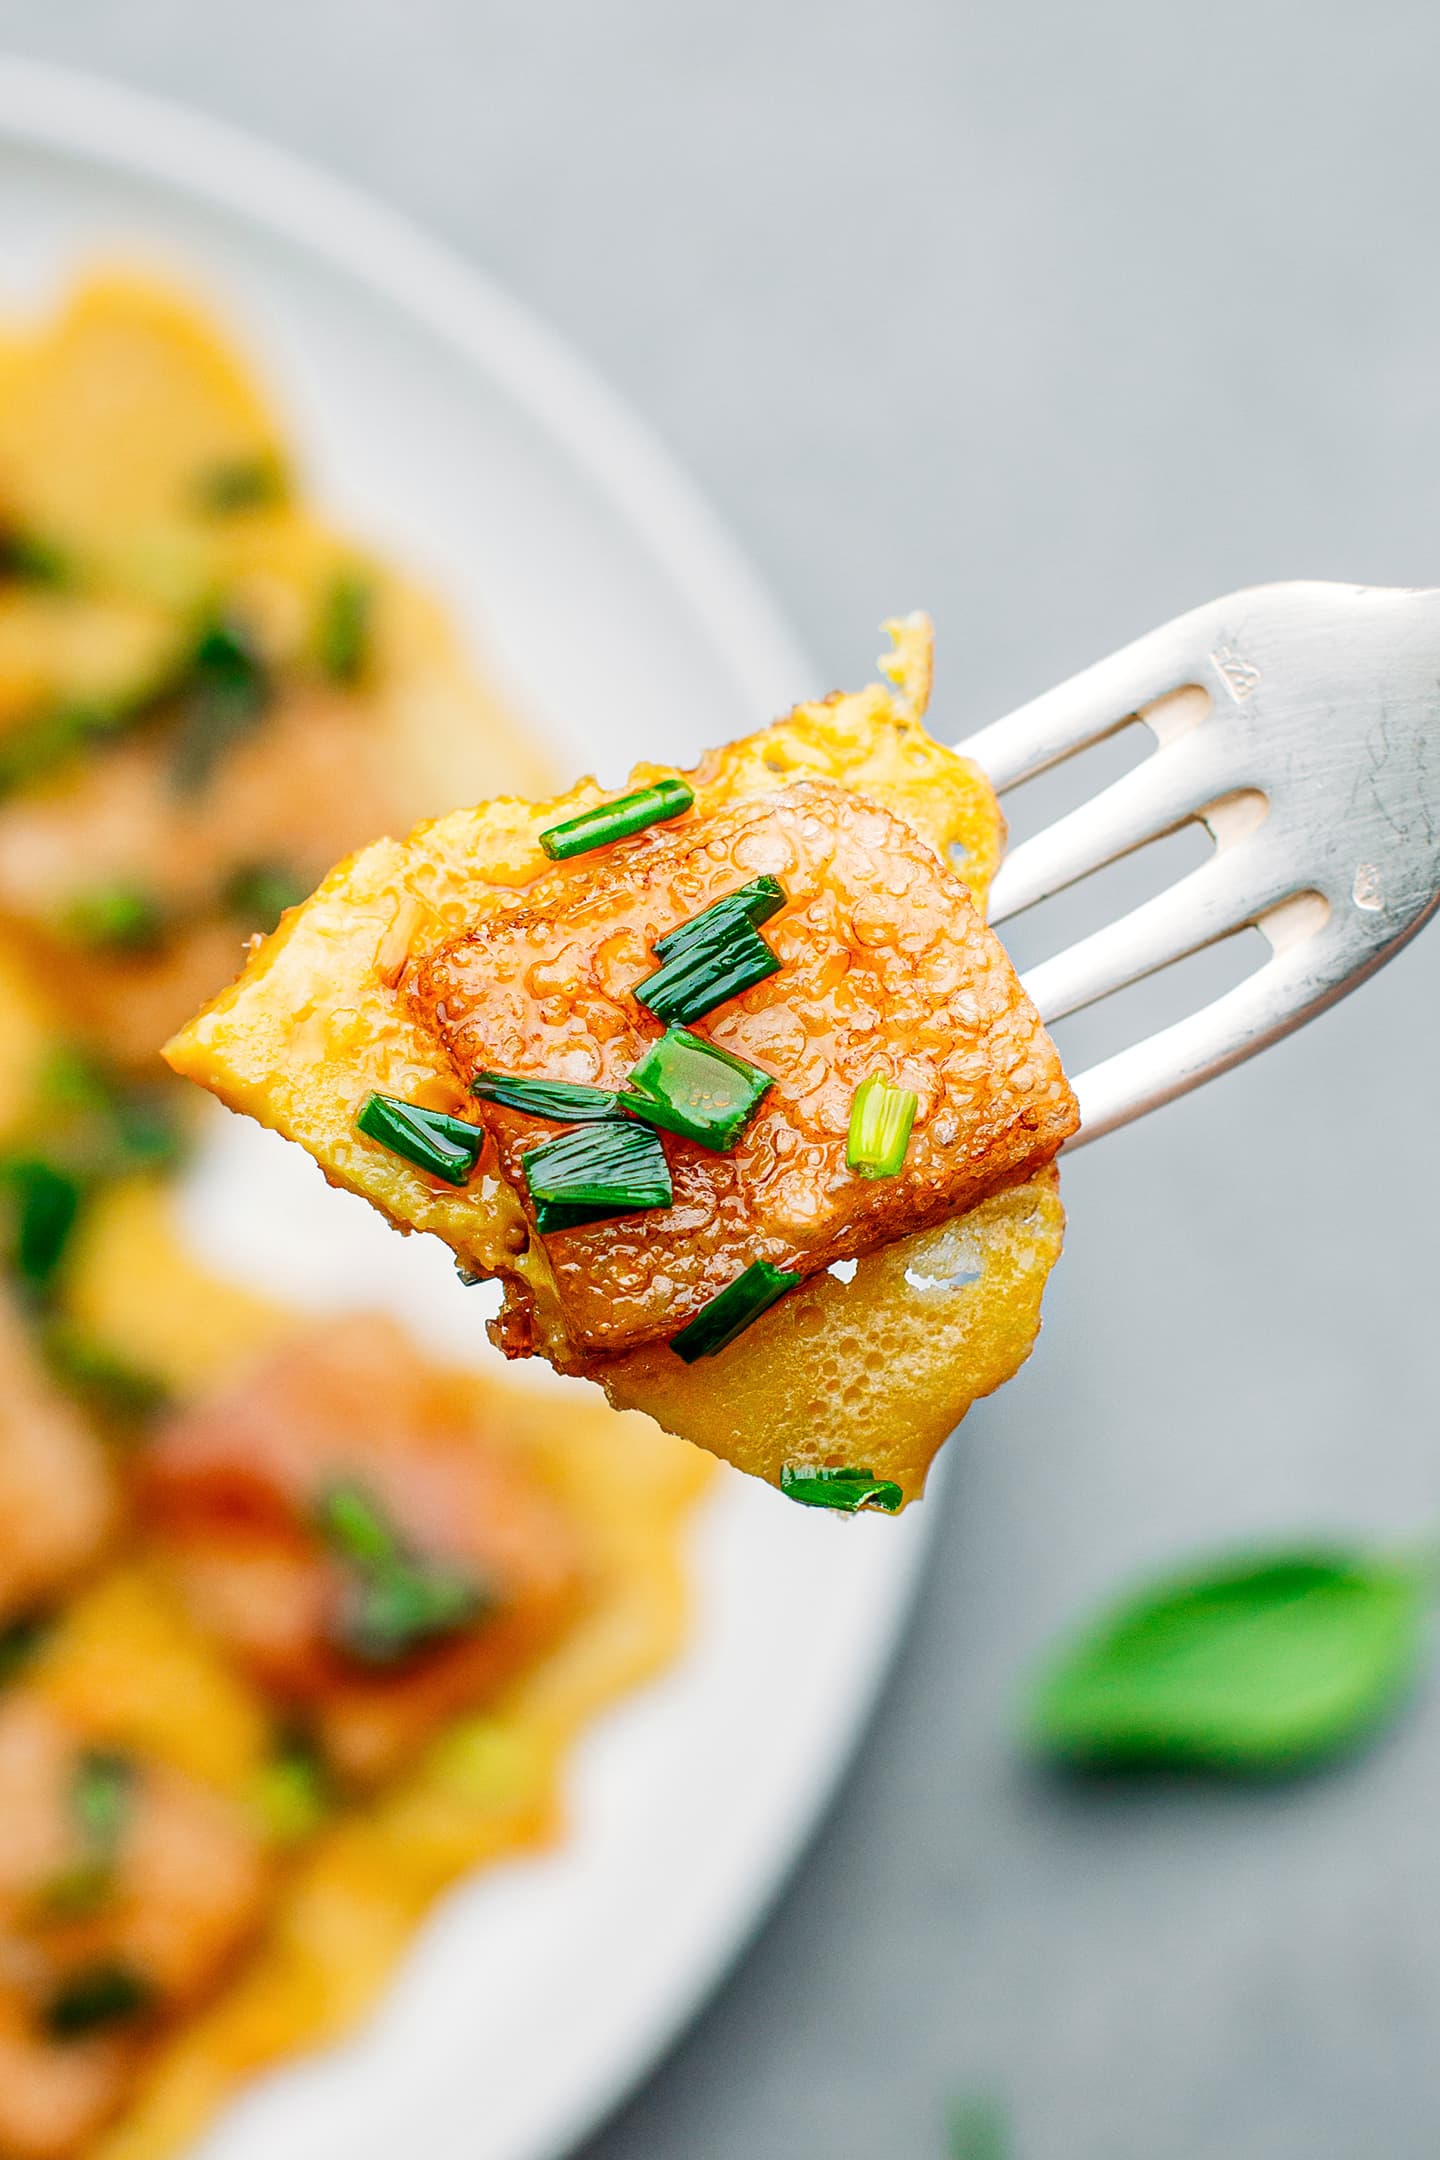
Bột chiên is a traditional Vietnamese dish that features crispy fried rice cakes with omelet, green onions, shredded green papaya, and pickles. It’s a unique dish that is packed with bold flavors! We highly recommend giving this vegan version a try!
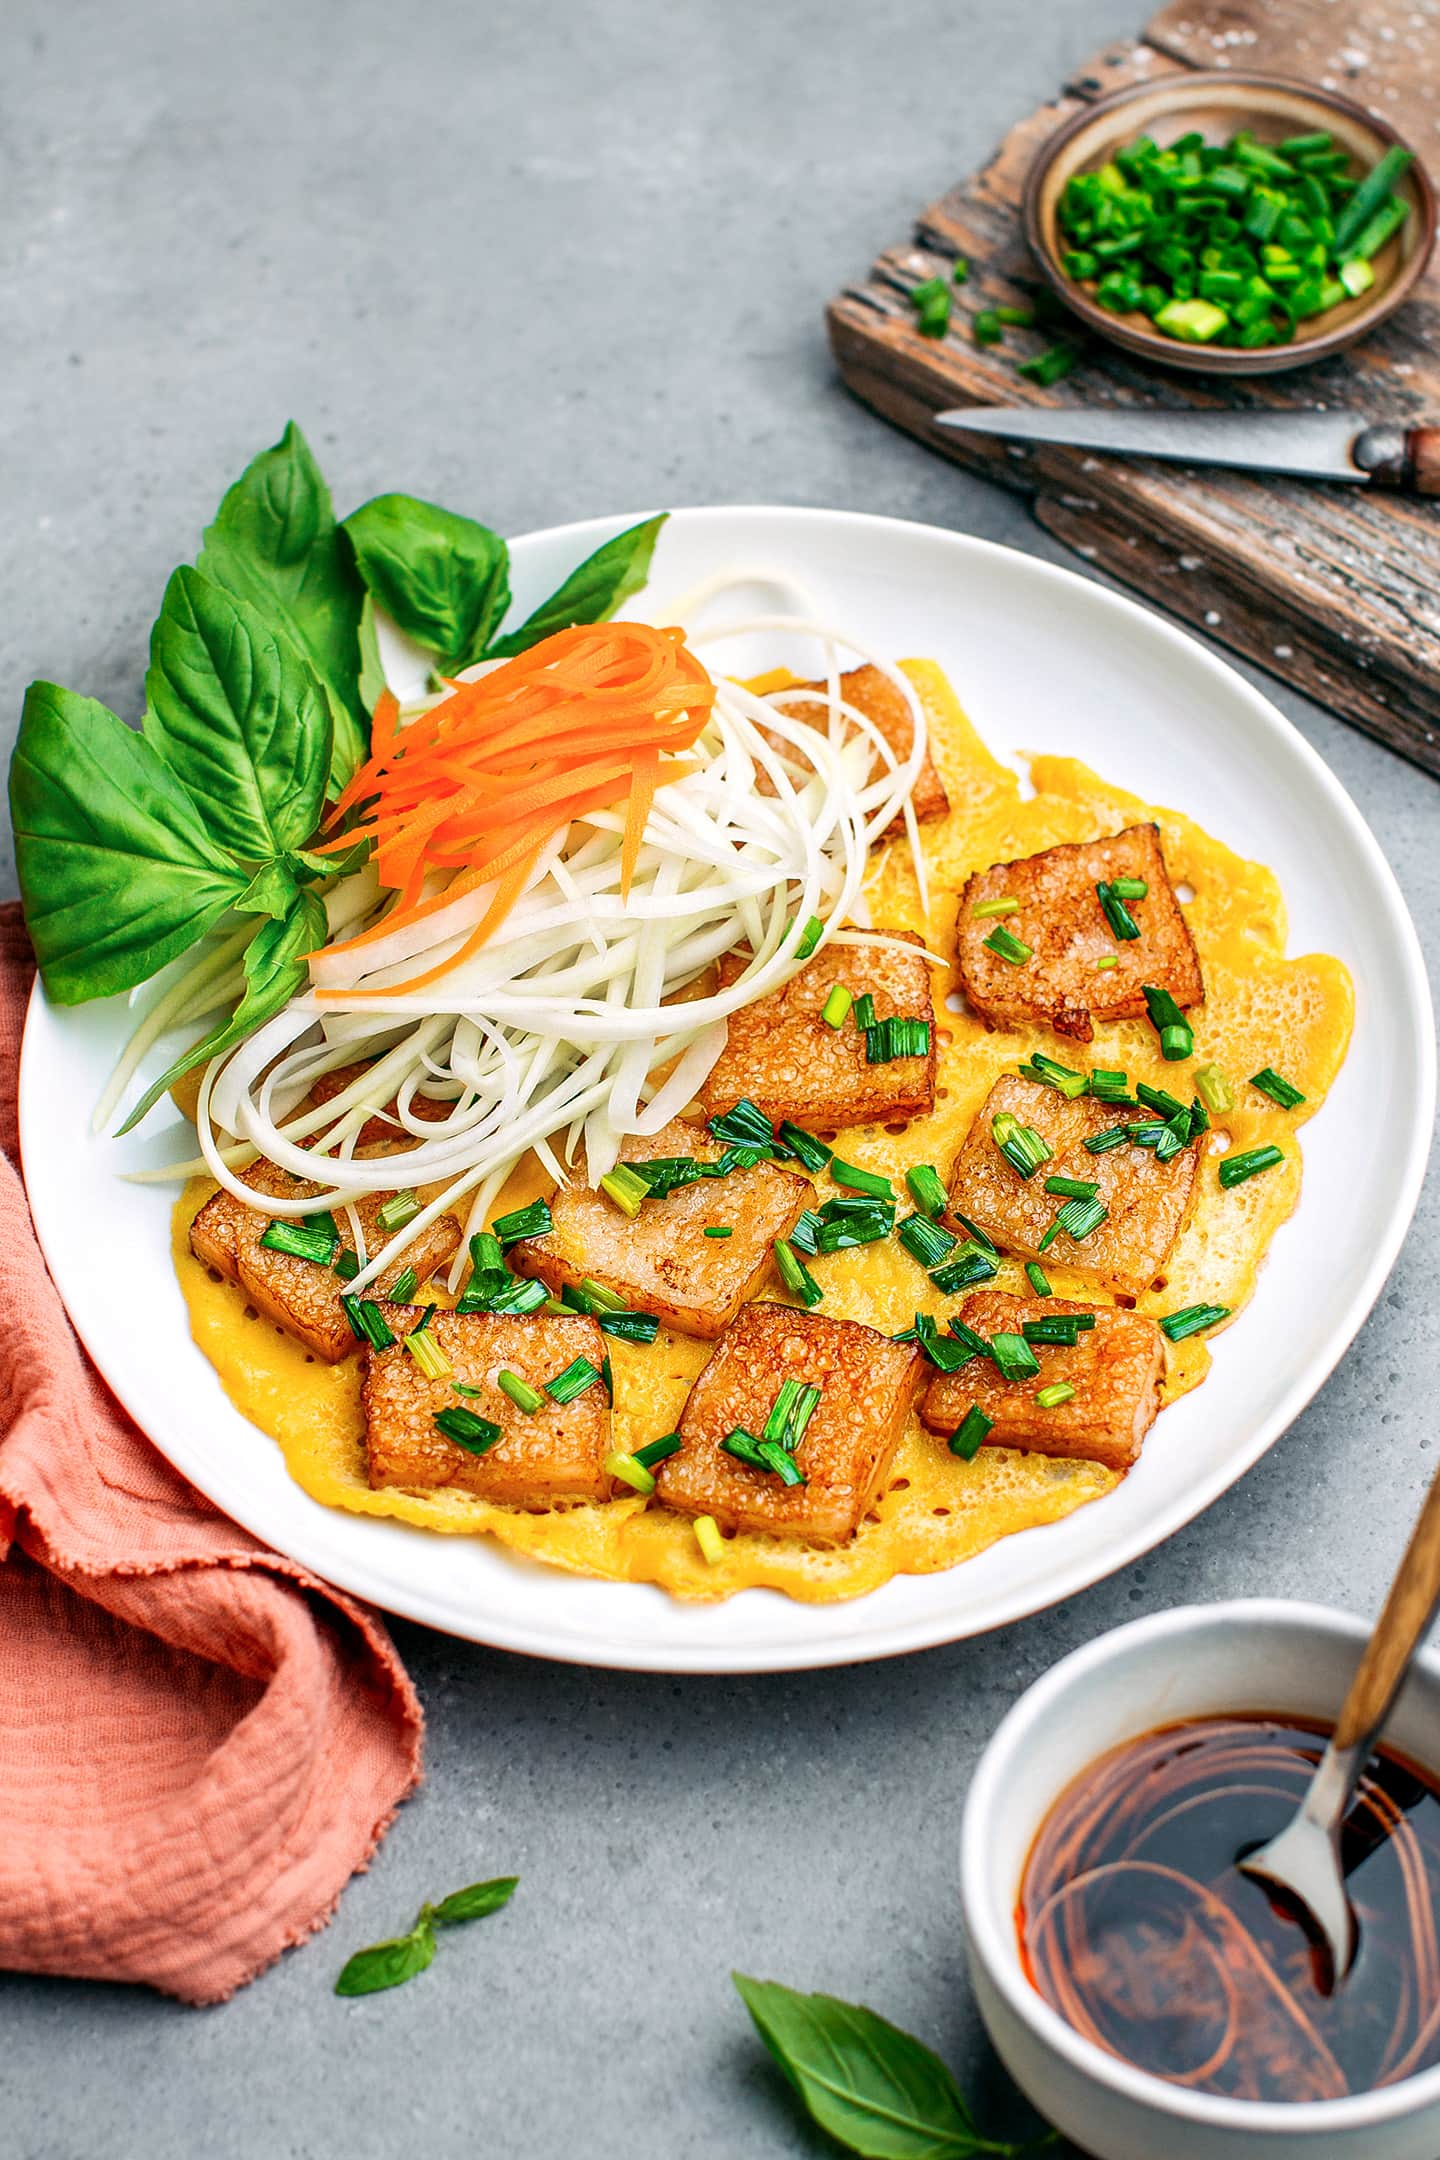
I’m super excited to introduce you to a traditional Vietnamese dish that you might have never heard of before. Bột chiên is a favorite among students in Vietnam as an after-school snack, but it’s still relatively unknown outside the country.
This dish is quite unique and resembles no European dish. It’s basically rice flour cakes that are pan-fried until crispy and then combined with fried eggs. It’s then topped with green papaya and pickles and drizzled with a sweet and slightly sour sauce! I hope that you will love it as much as we do!
⭐️ Why You Should Try It
- Fresh and flavorful. Bột chiên is a dish packed with bold flavors. From the rice cakes that absorb the sweet and tangy sauce to the fragrant green onions and fresh papaya, each bite offers a symphony of flavor. Think of it as an upgraded omelet with Vietnamese flavors!
- Packed with different textures. This dish certainly doesn’t lack in the texture department! The rice cakes are crispy on the outside while chewy on the inside, the “omelet” is soft and fluffy, and the grated papaya adds an extra layer of crunch.
- Fun and interesting to make. If you love to experiment in the kitchen, you should definitely try this dish! The process is quite fun, starting with making rice cakes using rice flour, preparing a vegan “egg”, and then assembling everything together. Don’t get intimidated by this recipe, it’s actually very simple to prepare!
📘 What is Bánh Bột Chiên
Bột chiên is a Vietnamese dish made with rice cakes that are pan-fried until golden brown. They are then cooked with scrambled eggs and topped with green onions. The dish is then drizzled with a sweet and tangy soy sauce and garnished with grated green papaya, pickles, fresh herbs, and sweet chili sauce. To make it simple, bột chiên is basically an omelet with crispy rice cakes and lots of toppings.
To make this version vegan, we replaced the egg with a homemade “vegan egg” made from chickpea flour, cornstarch, and kala namak salt, just like we did in our version of bánh tráng nướng. Another must-try Vietnamese recipe!
🍚 Ingredient Notes
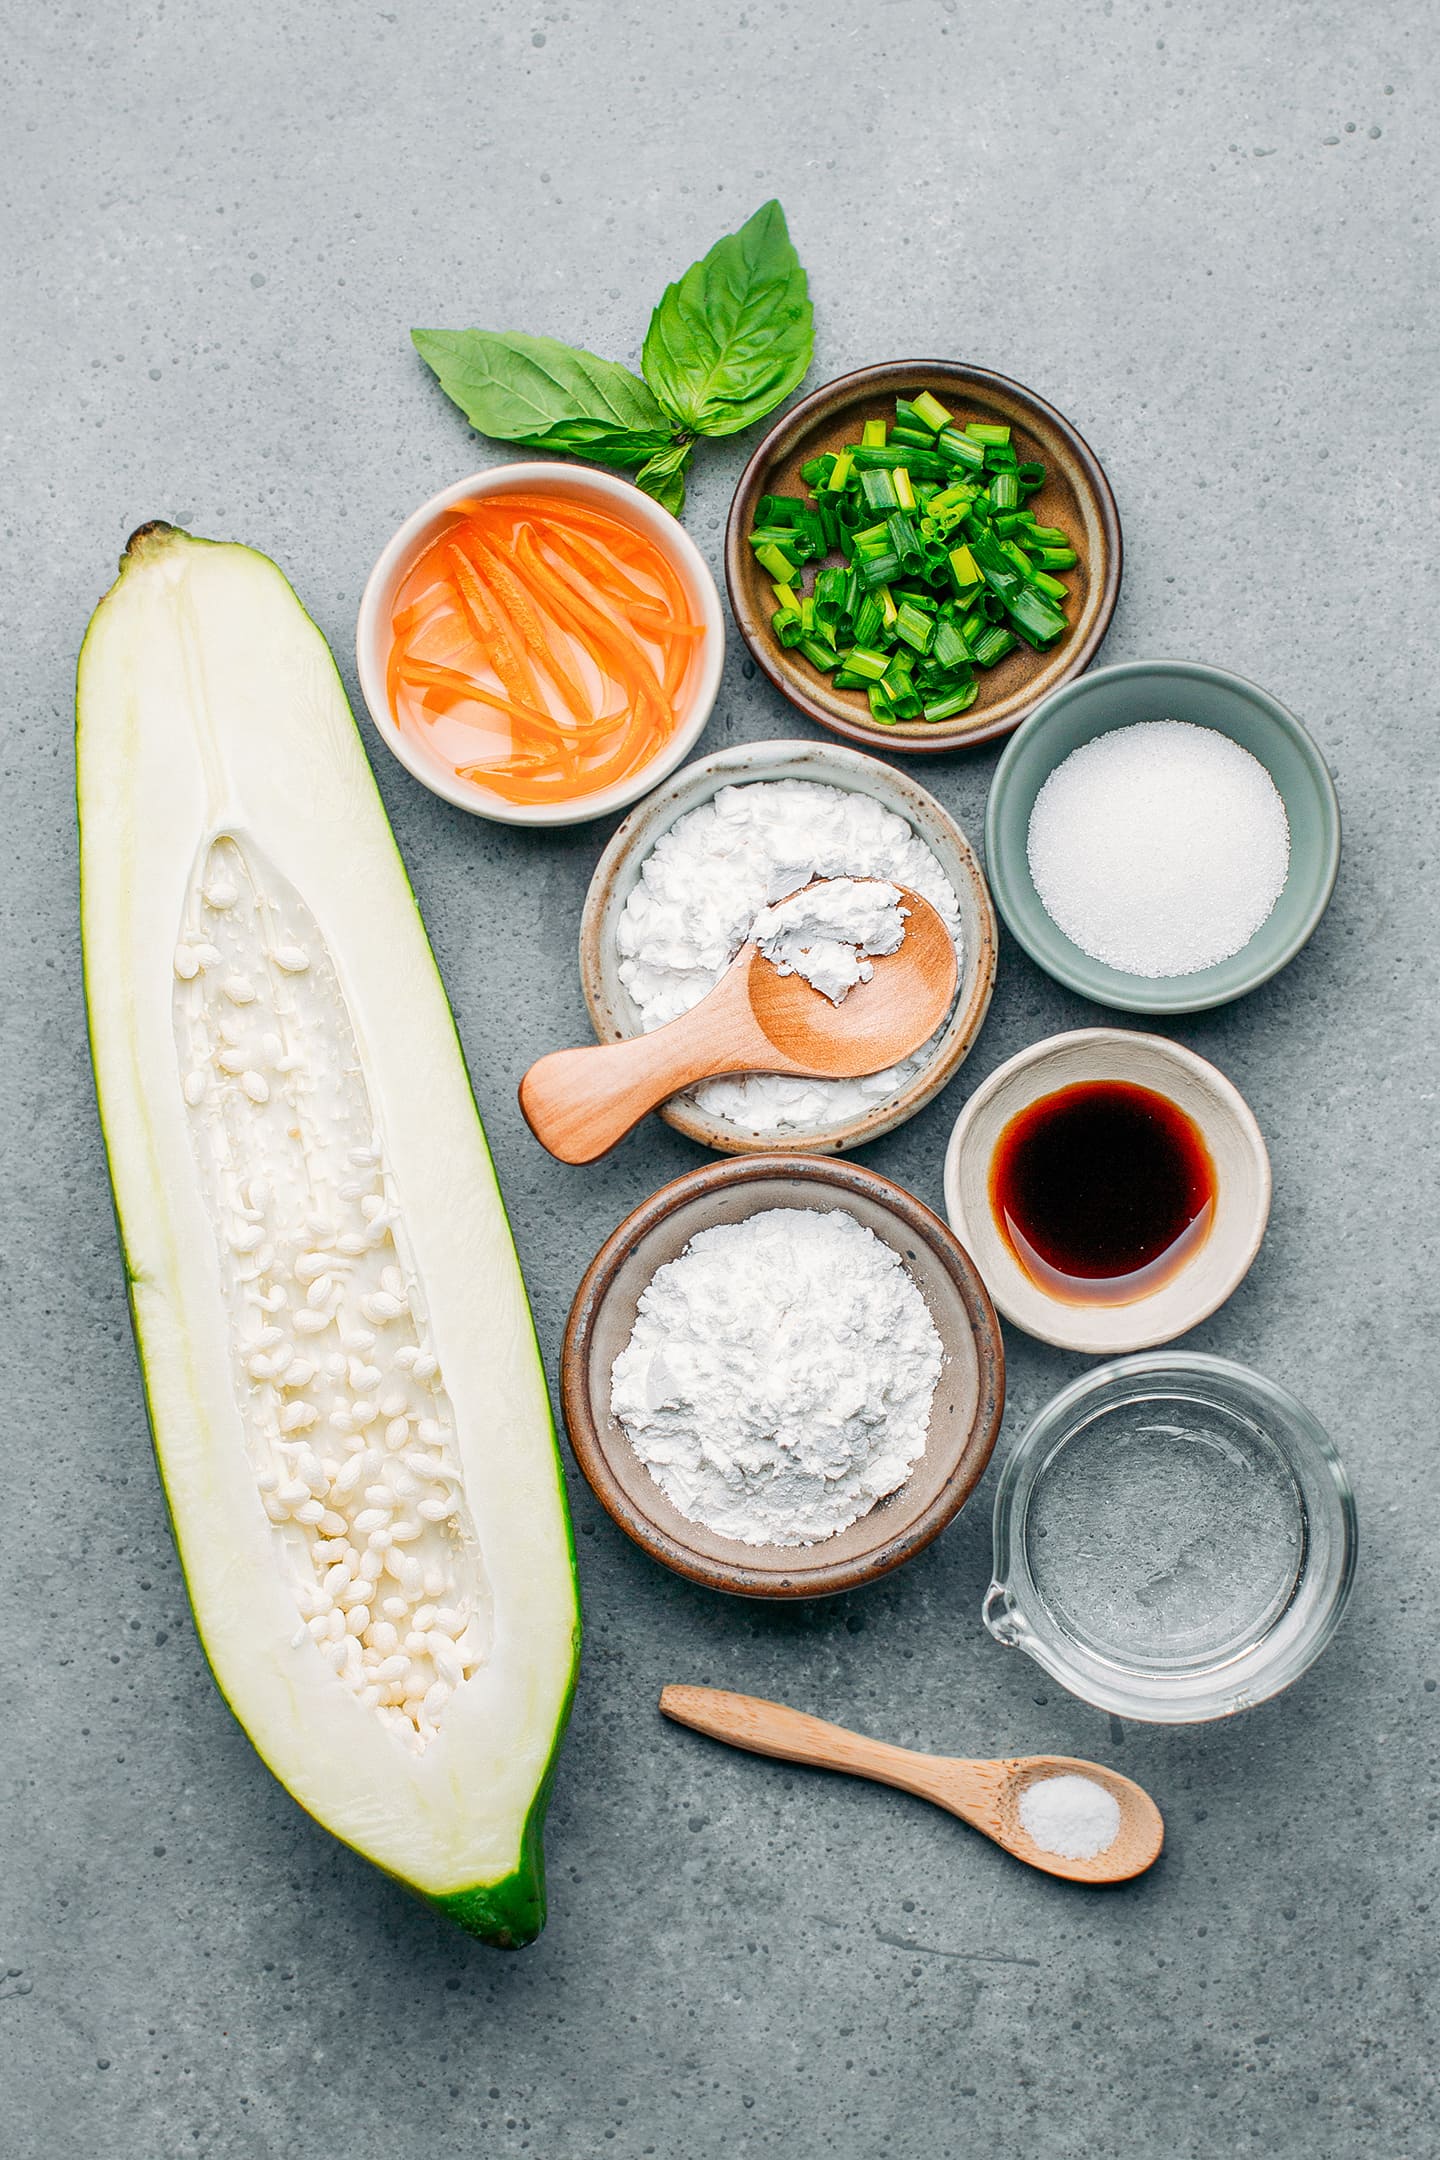
Here is what you will need to make the rice cakes:
- Rice flour – Use white rice flour. Do not use glutinous or sweet rice flour as it won’t work in this recipe.
- Tapioca starch – To give the rice cakes a chewier texture.
- Oil – Adding oil to the batter does two things. First, it prevents the rice paste from sticking too much to the pan. Second, it gives the rice cakes more tenderness and richness.
- Salt – To season.
Then, for the sauce and the toppings, you will need:
- Soy sauce – For an authentic flavor, use Maggi soy sauce. If you are using regular soy sauce, such as Kikkoman, we recommend using only half of the amount, as Japanese soy sauce tends to be saltier than Vietnamese.
- White vinegar – For tanginess.
- Sugar – You can use granulated white sugar, light brown sugar, or maple syrup.
- Water – To dilute the sauce.
- Chickpea flour – Also known as garbanzo bean flour, chickpea flour makes the base of our egg replacer. It gives it a fluffy yet tender texture.
- Cornstarch – To help the vegan egg hold together better.
- Nutritional yeast – For umami and a hint of cheesiness.
- Turmeric – To give the vegan omelet a rich yellow color.
- Kala Namak salt – Kala namak is a type of salt with a subtle sulfur taste reminiscent of eggs. You can omit it, it will still taste delicious!
- Green papaya – Optional but recommended. It adds crispiness and freshness. If you can’t find green papaya, feel free to use green mango.
- Vietnamese pickles – For topping, you can use store-bought or homemade carrot and daikon pickles.
- Scallions
🥣 How to Make It
1. Make the batter
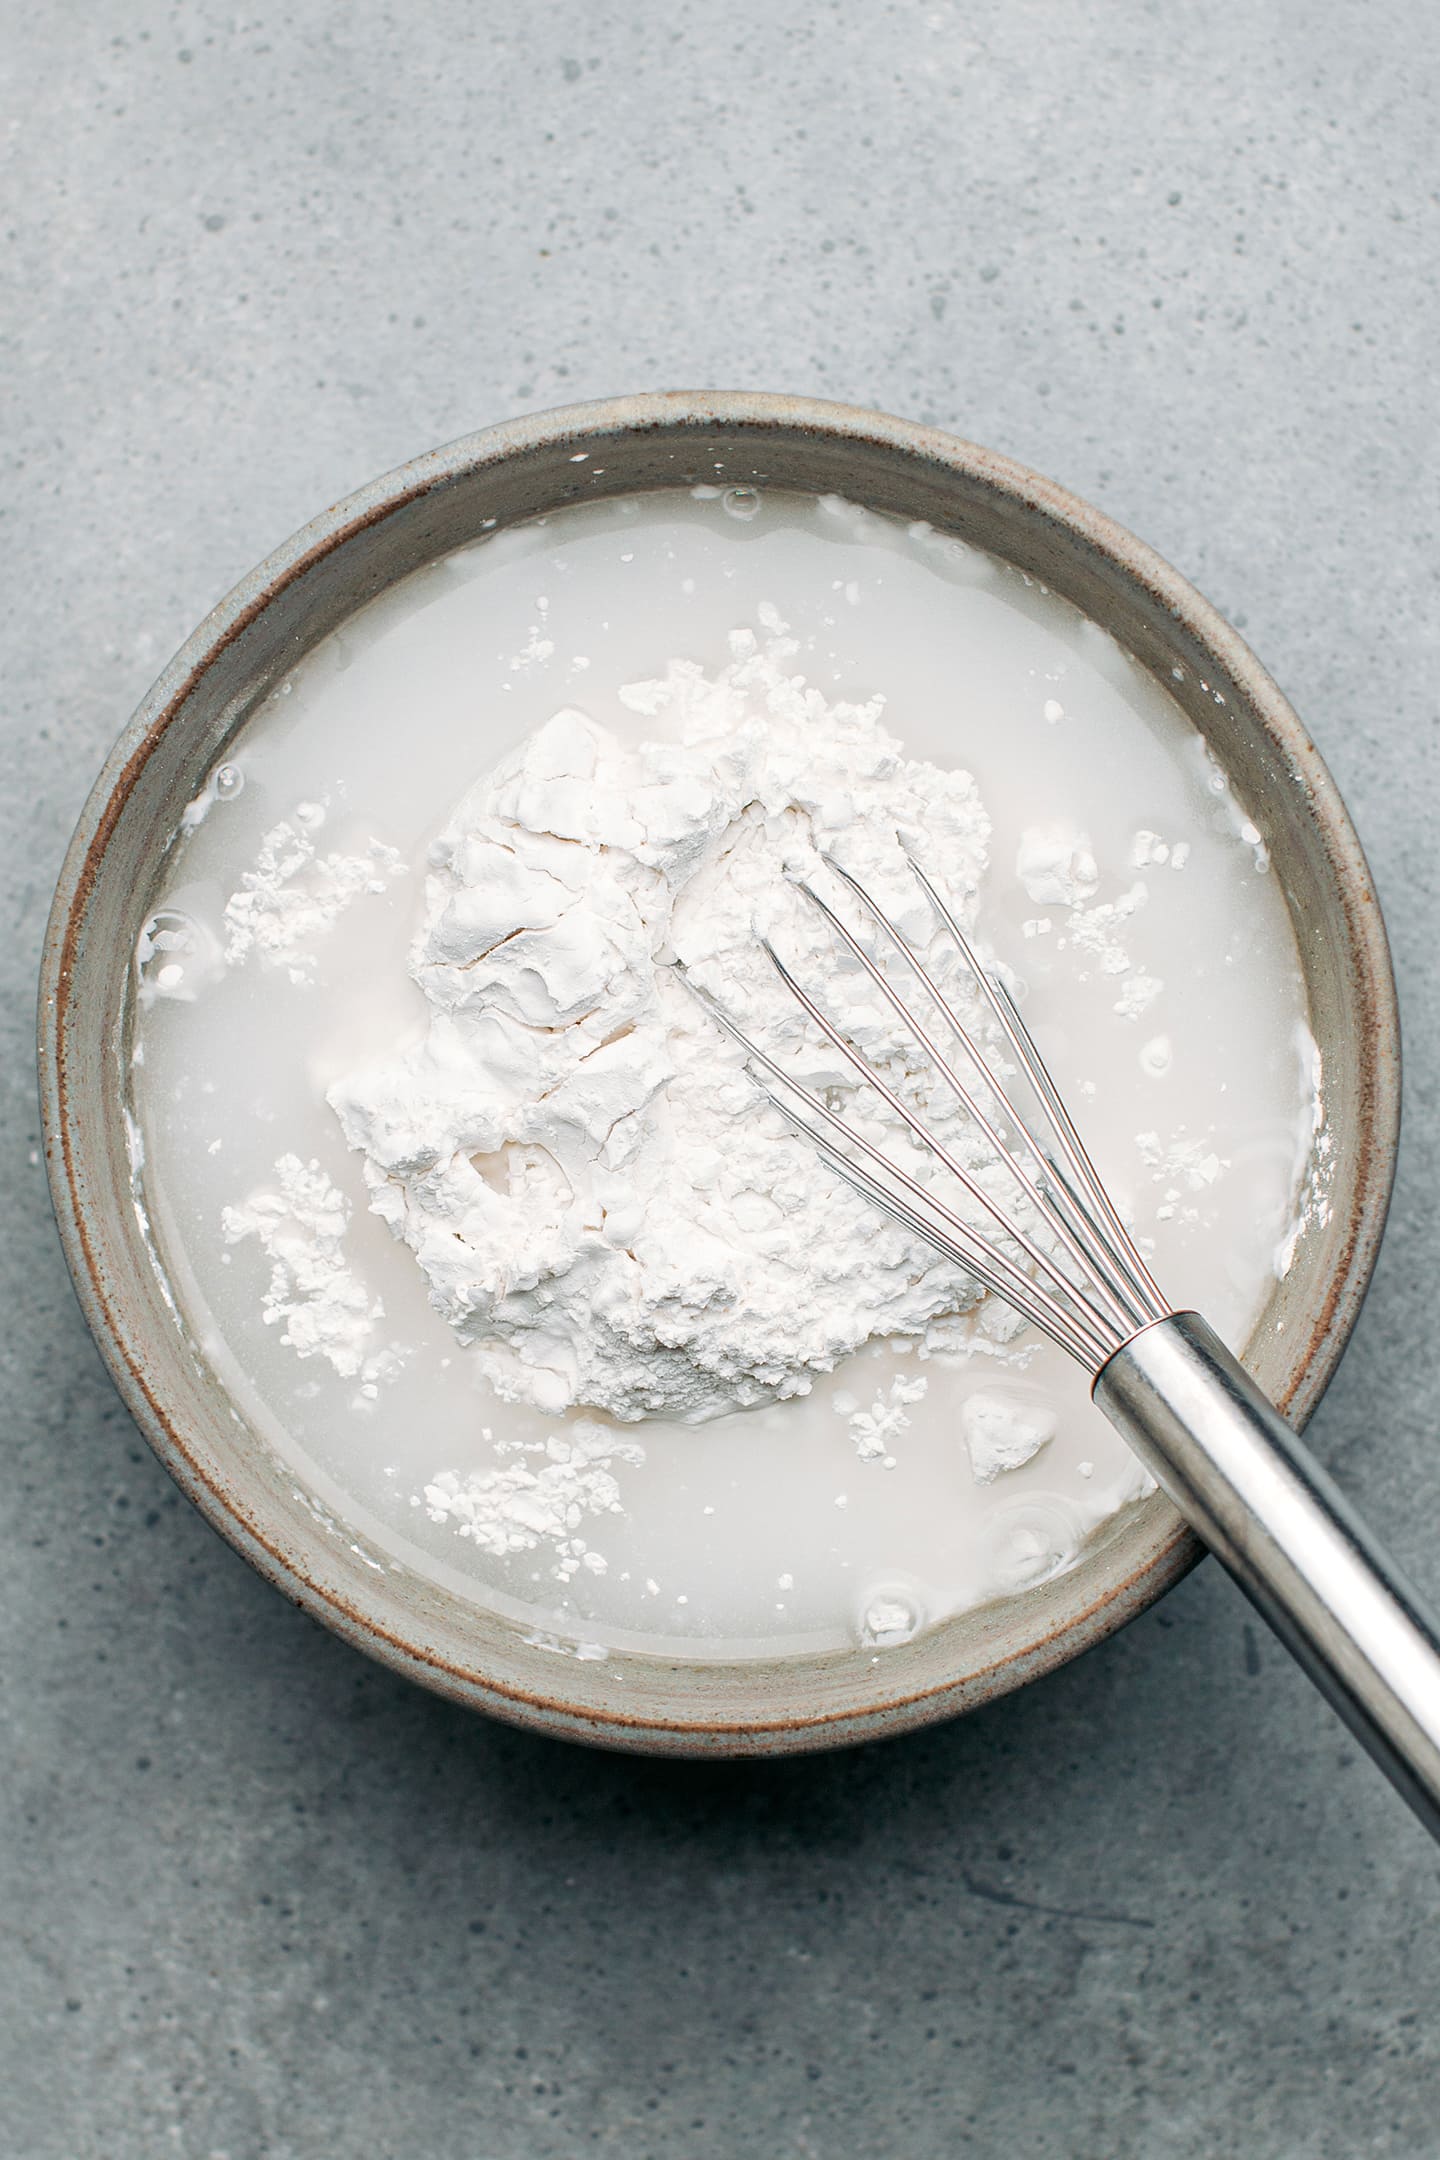
- Whisk together the dry ingredients. Add the rice flour, tapioca starch, and salt to a mixing bowl. Whisk until combined.
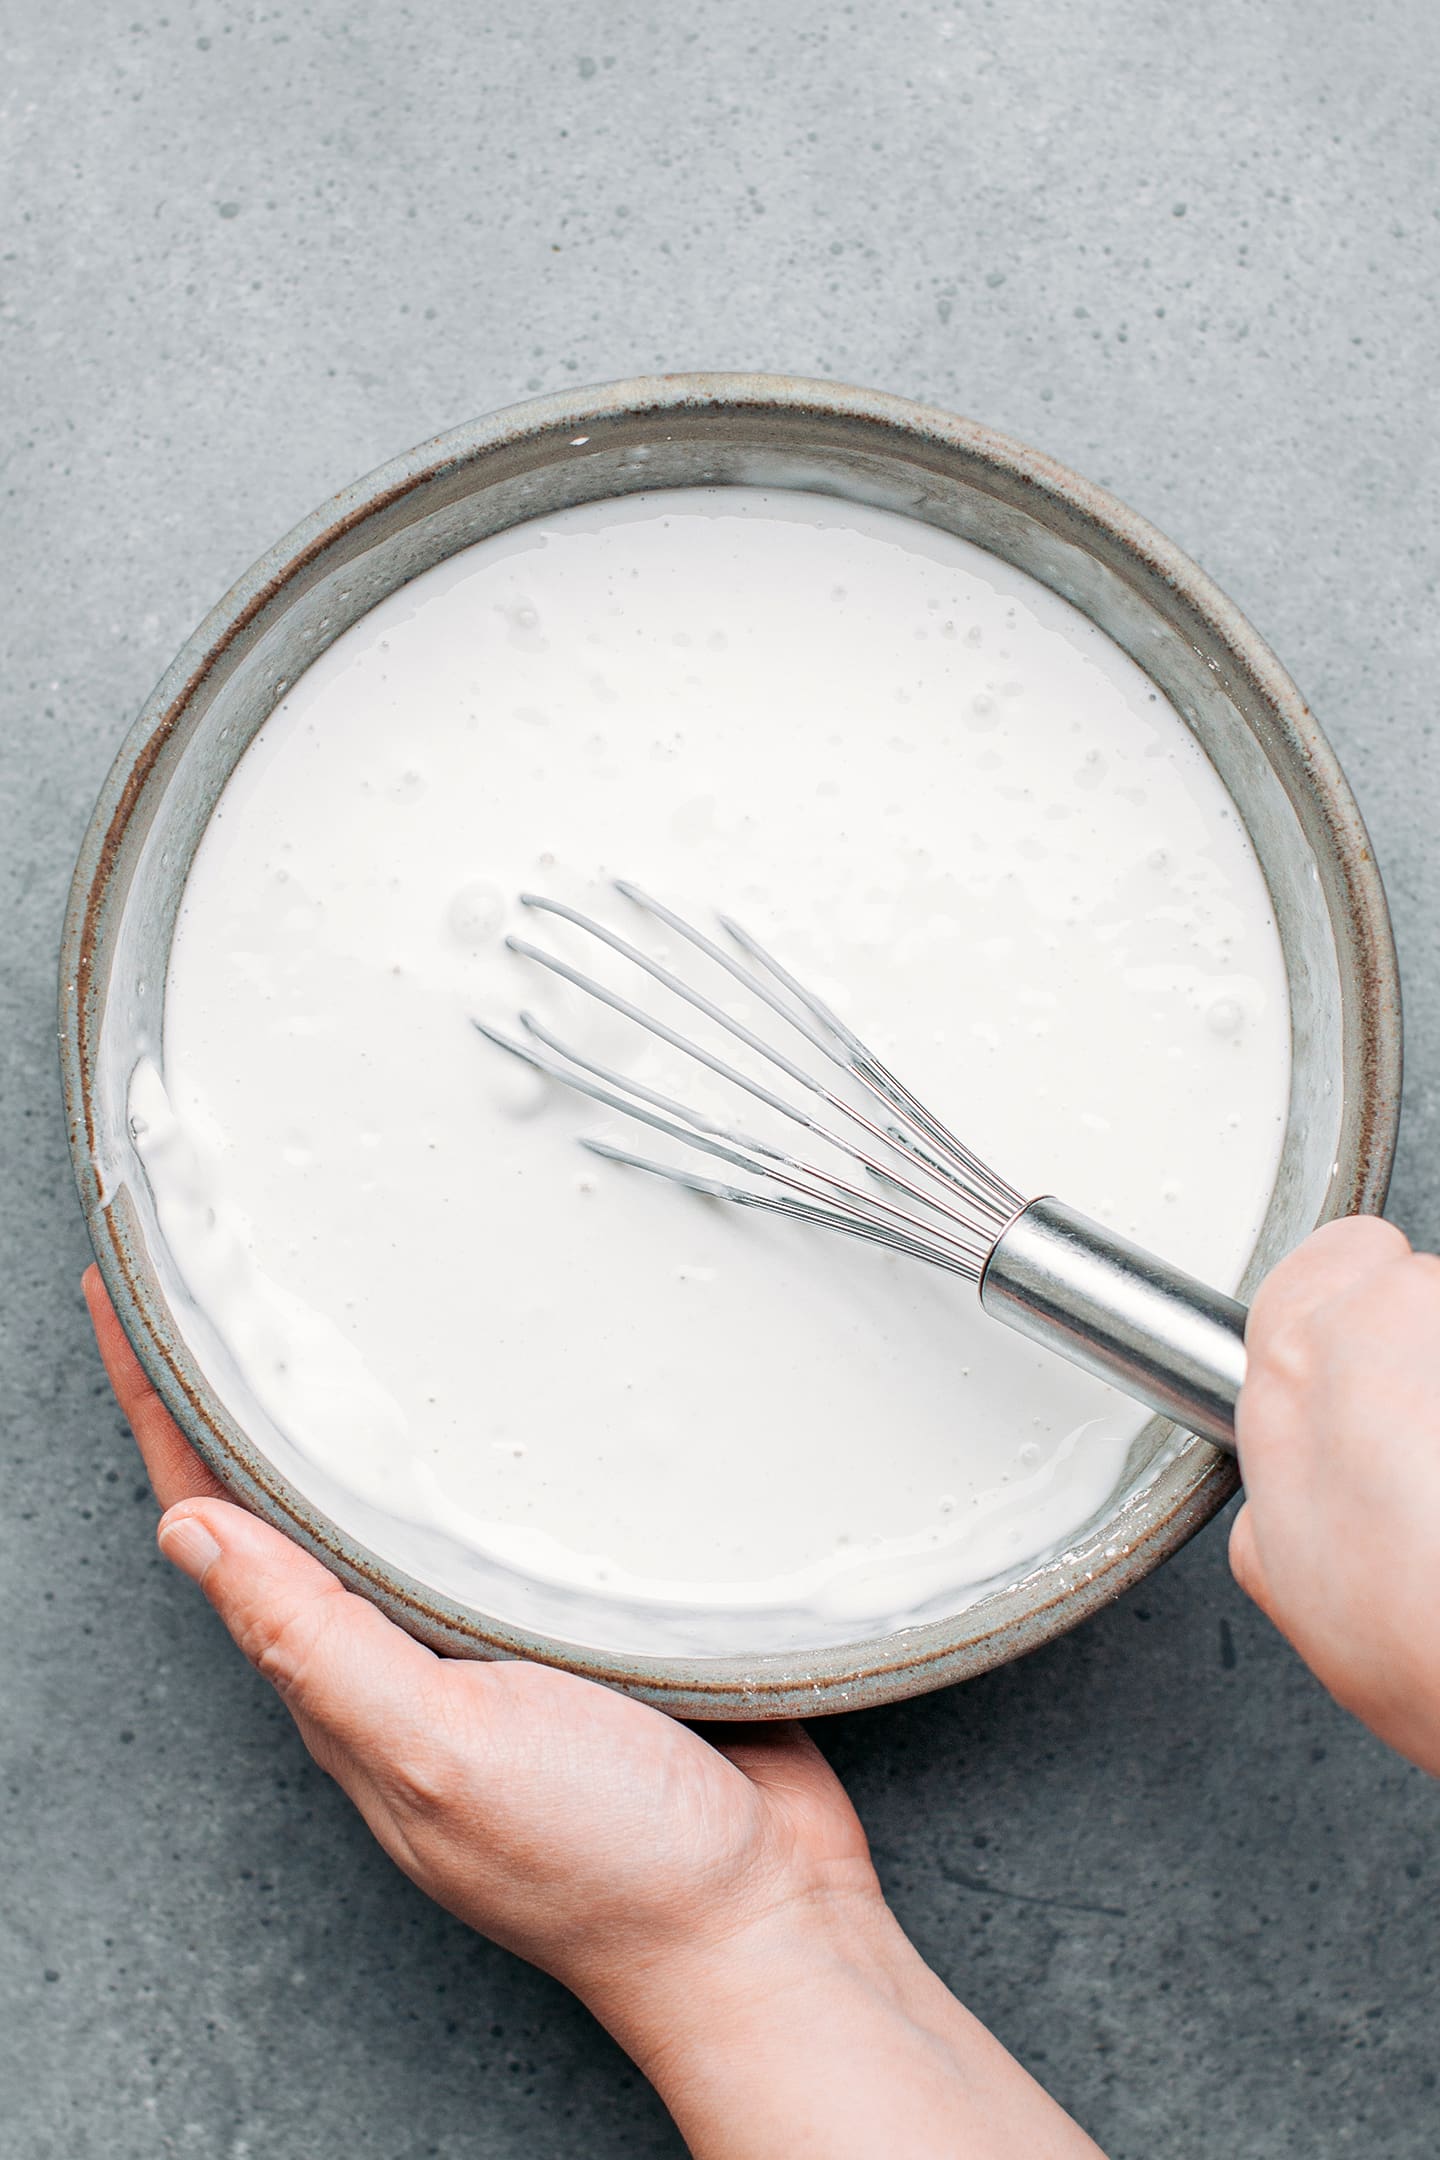
- Add the wet ingredients. Next, pour in the water and oil and whisk until smooth. The batter will be very liquid, this is normal.
- Let it rest. Let the batter rest for about 10 minutes. This will allow the flour to absorb some of the water.
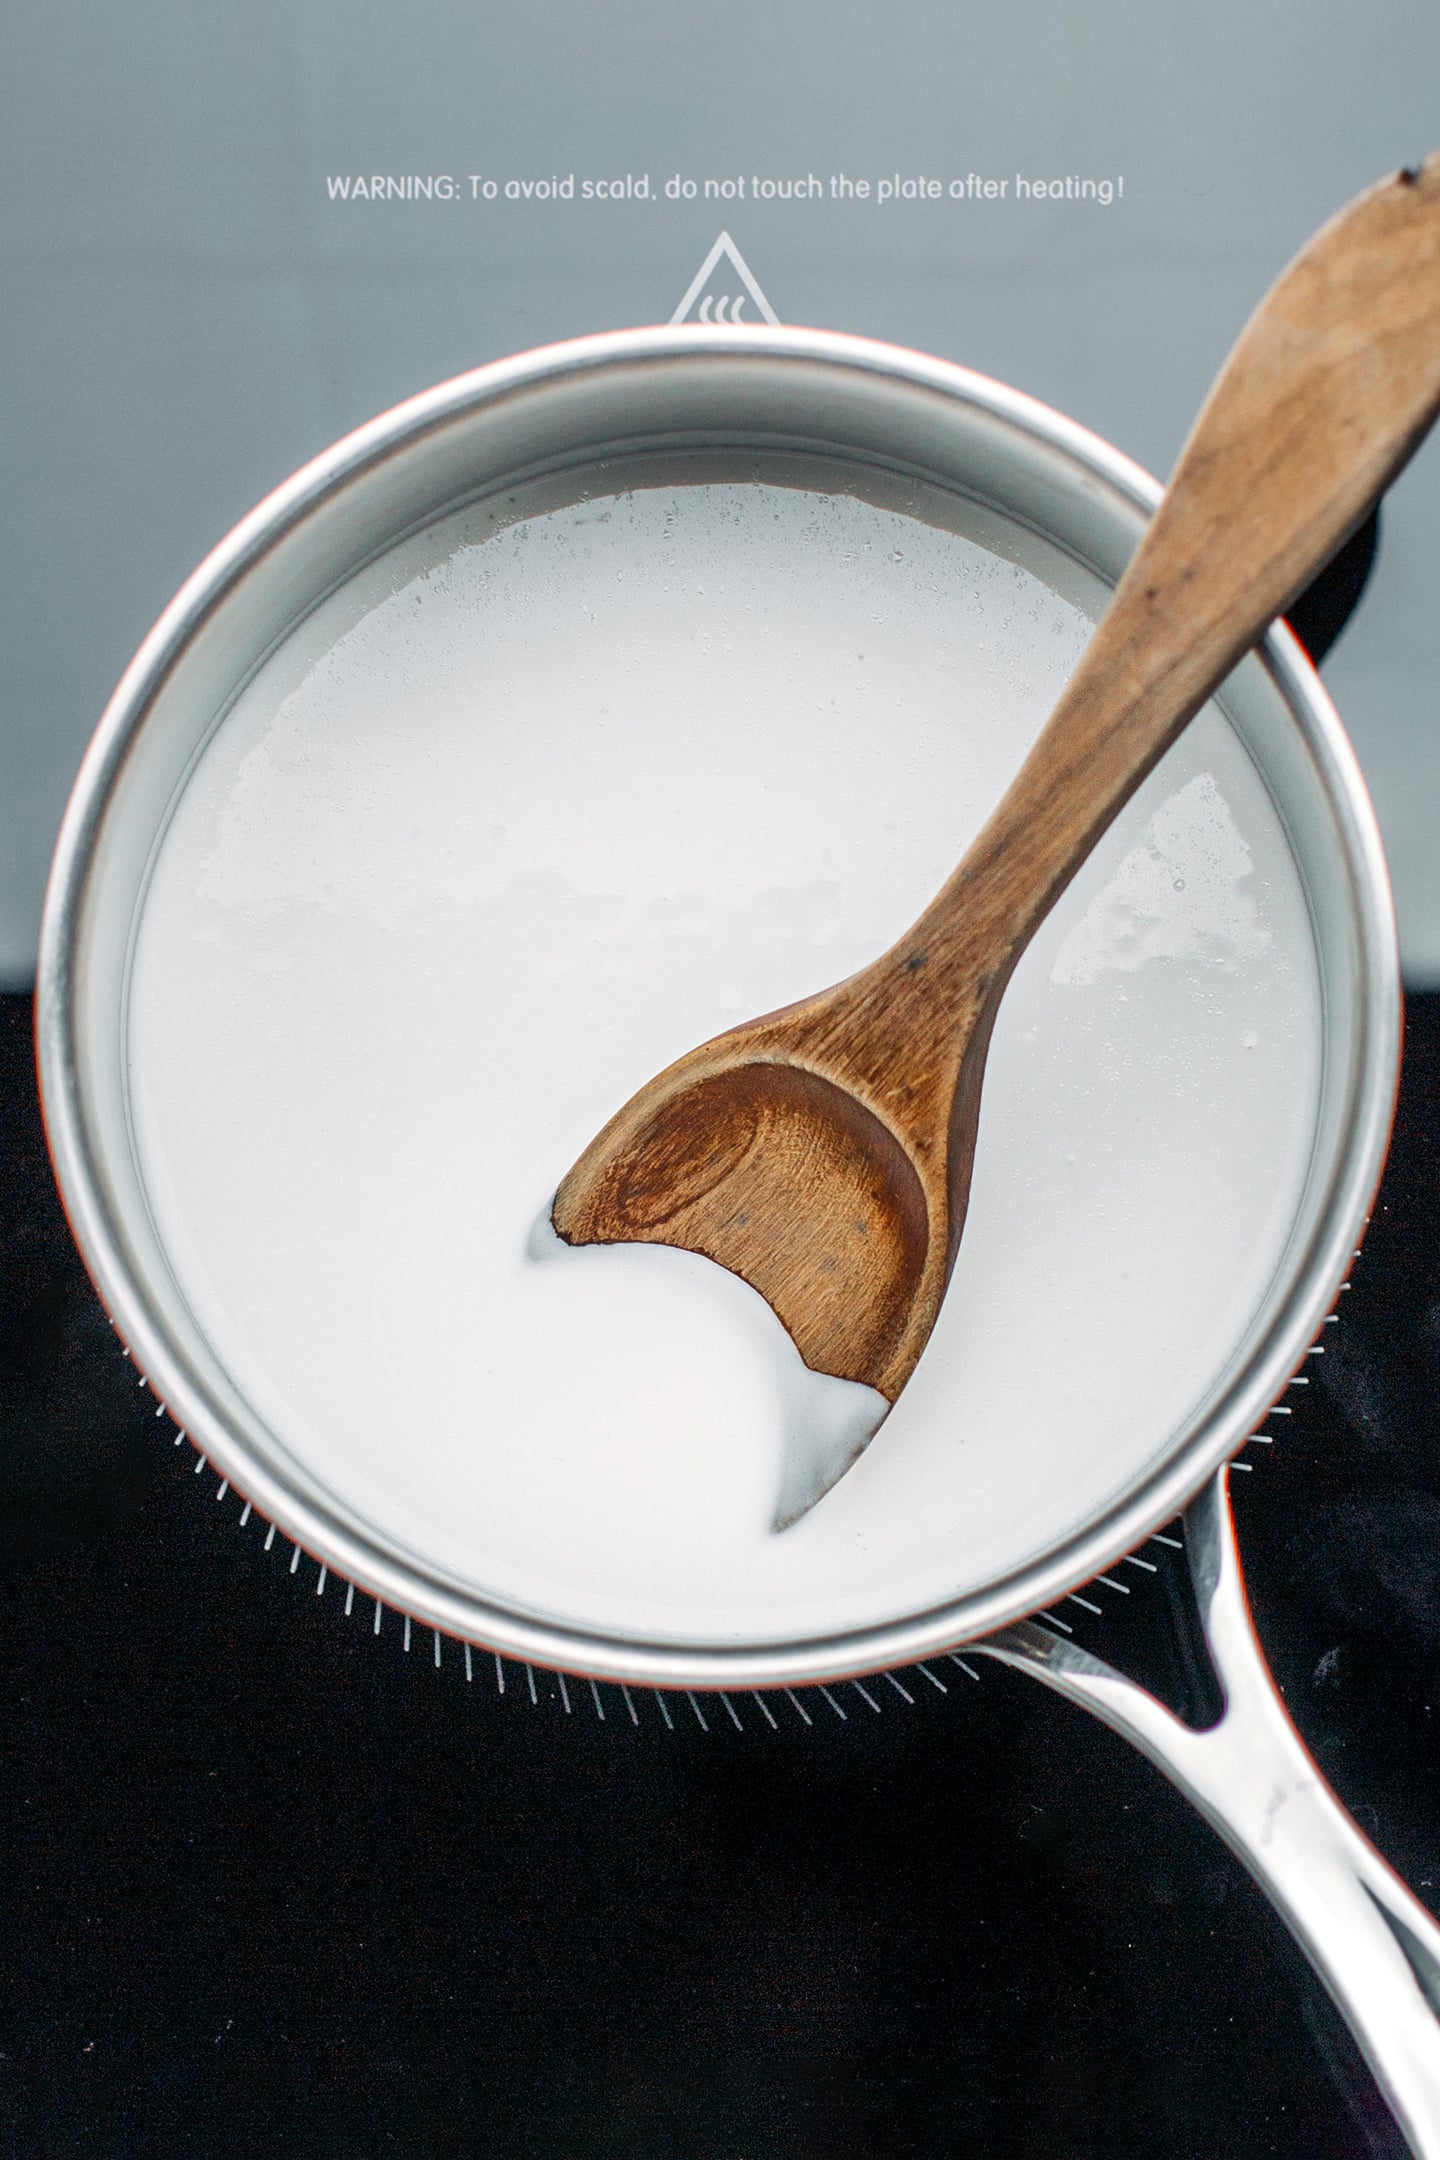
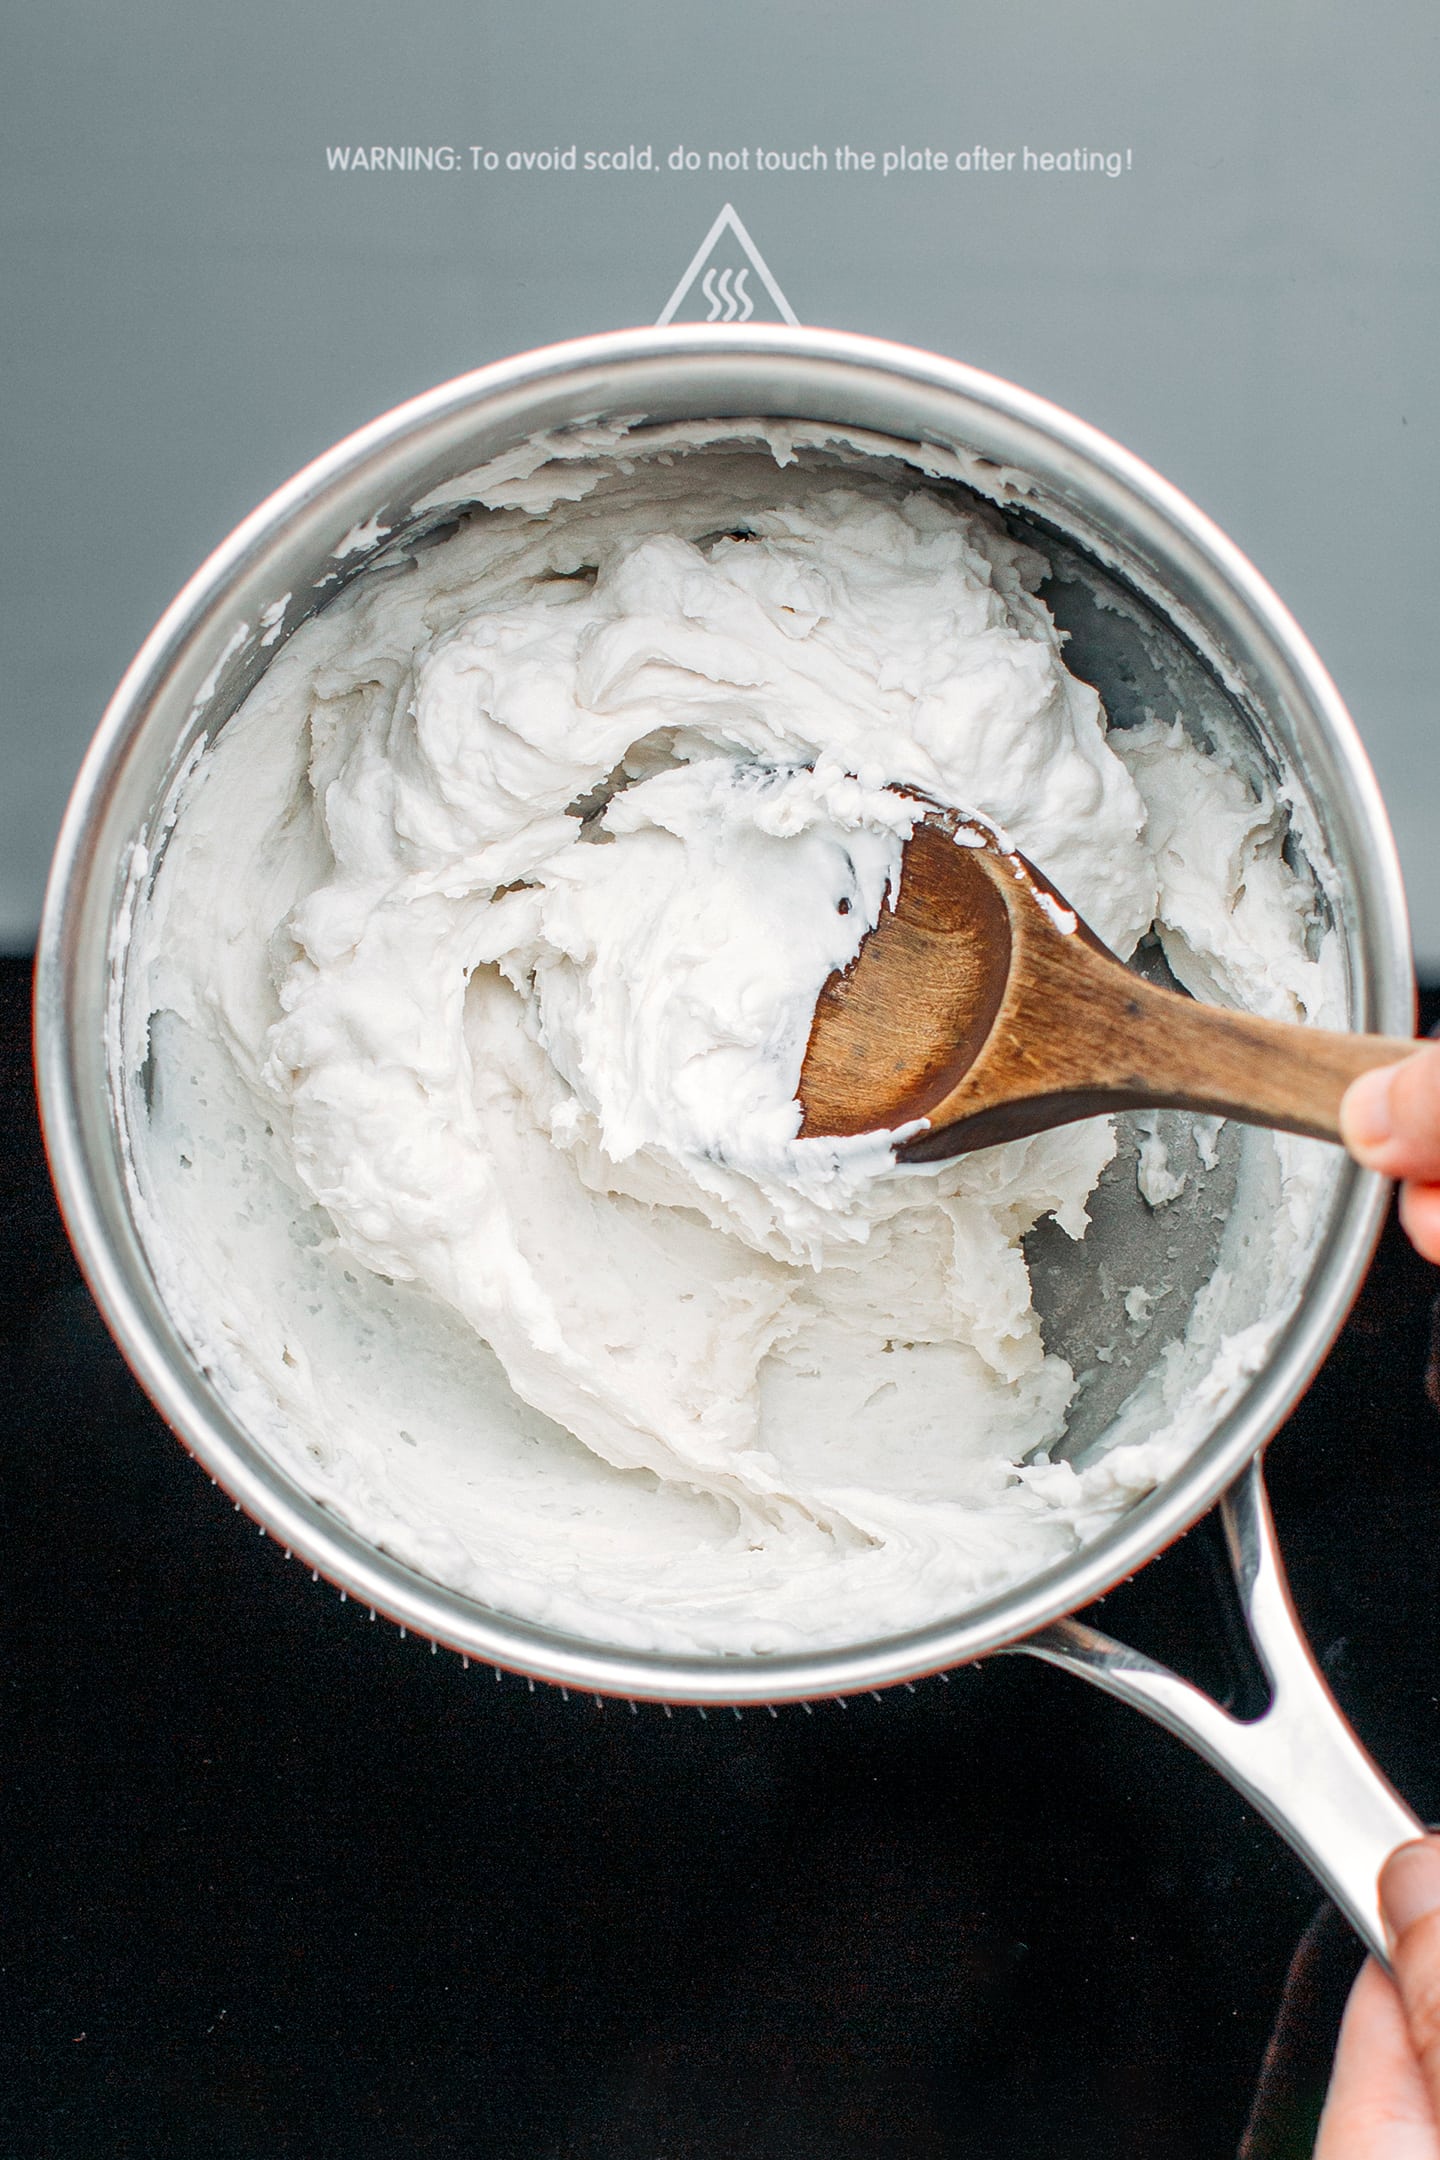
- Thicken the batter. Transfer the batter to a saucepan and heat it over medium heat. Using a wooden spoon or spatula, keep stirring until the batter transforms into a paste. At first, the batter will clump, keep heating and stirring until it comes together into a very thick paste.
- Remove from heat. Once the consistency is thick, remove the saucepan from the heat.
2. Steam it
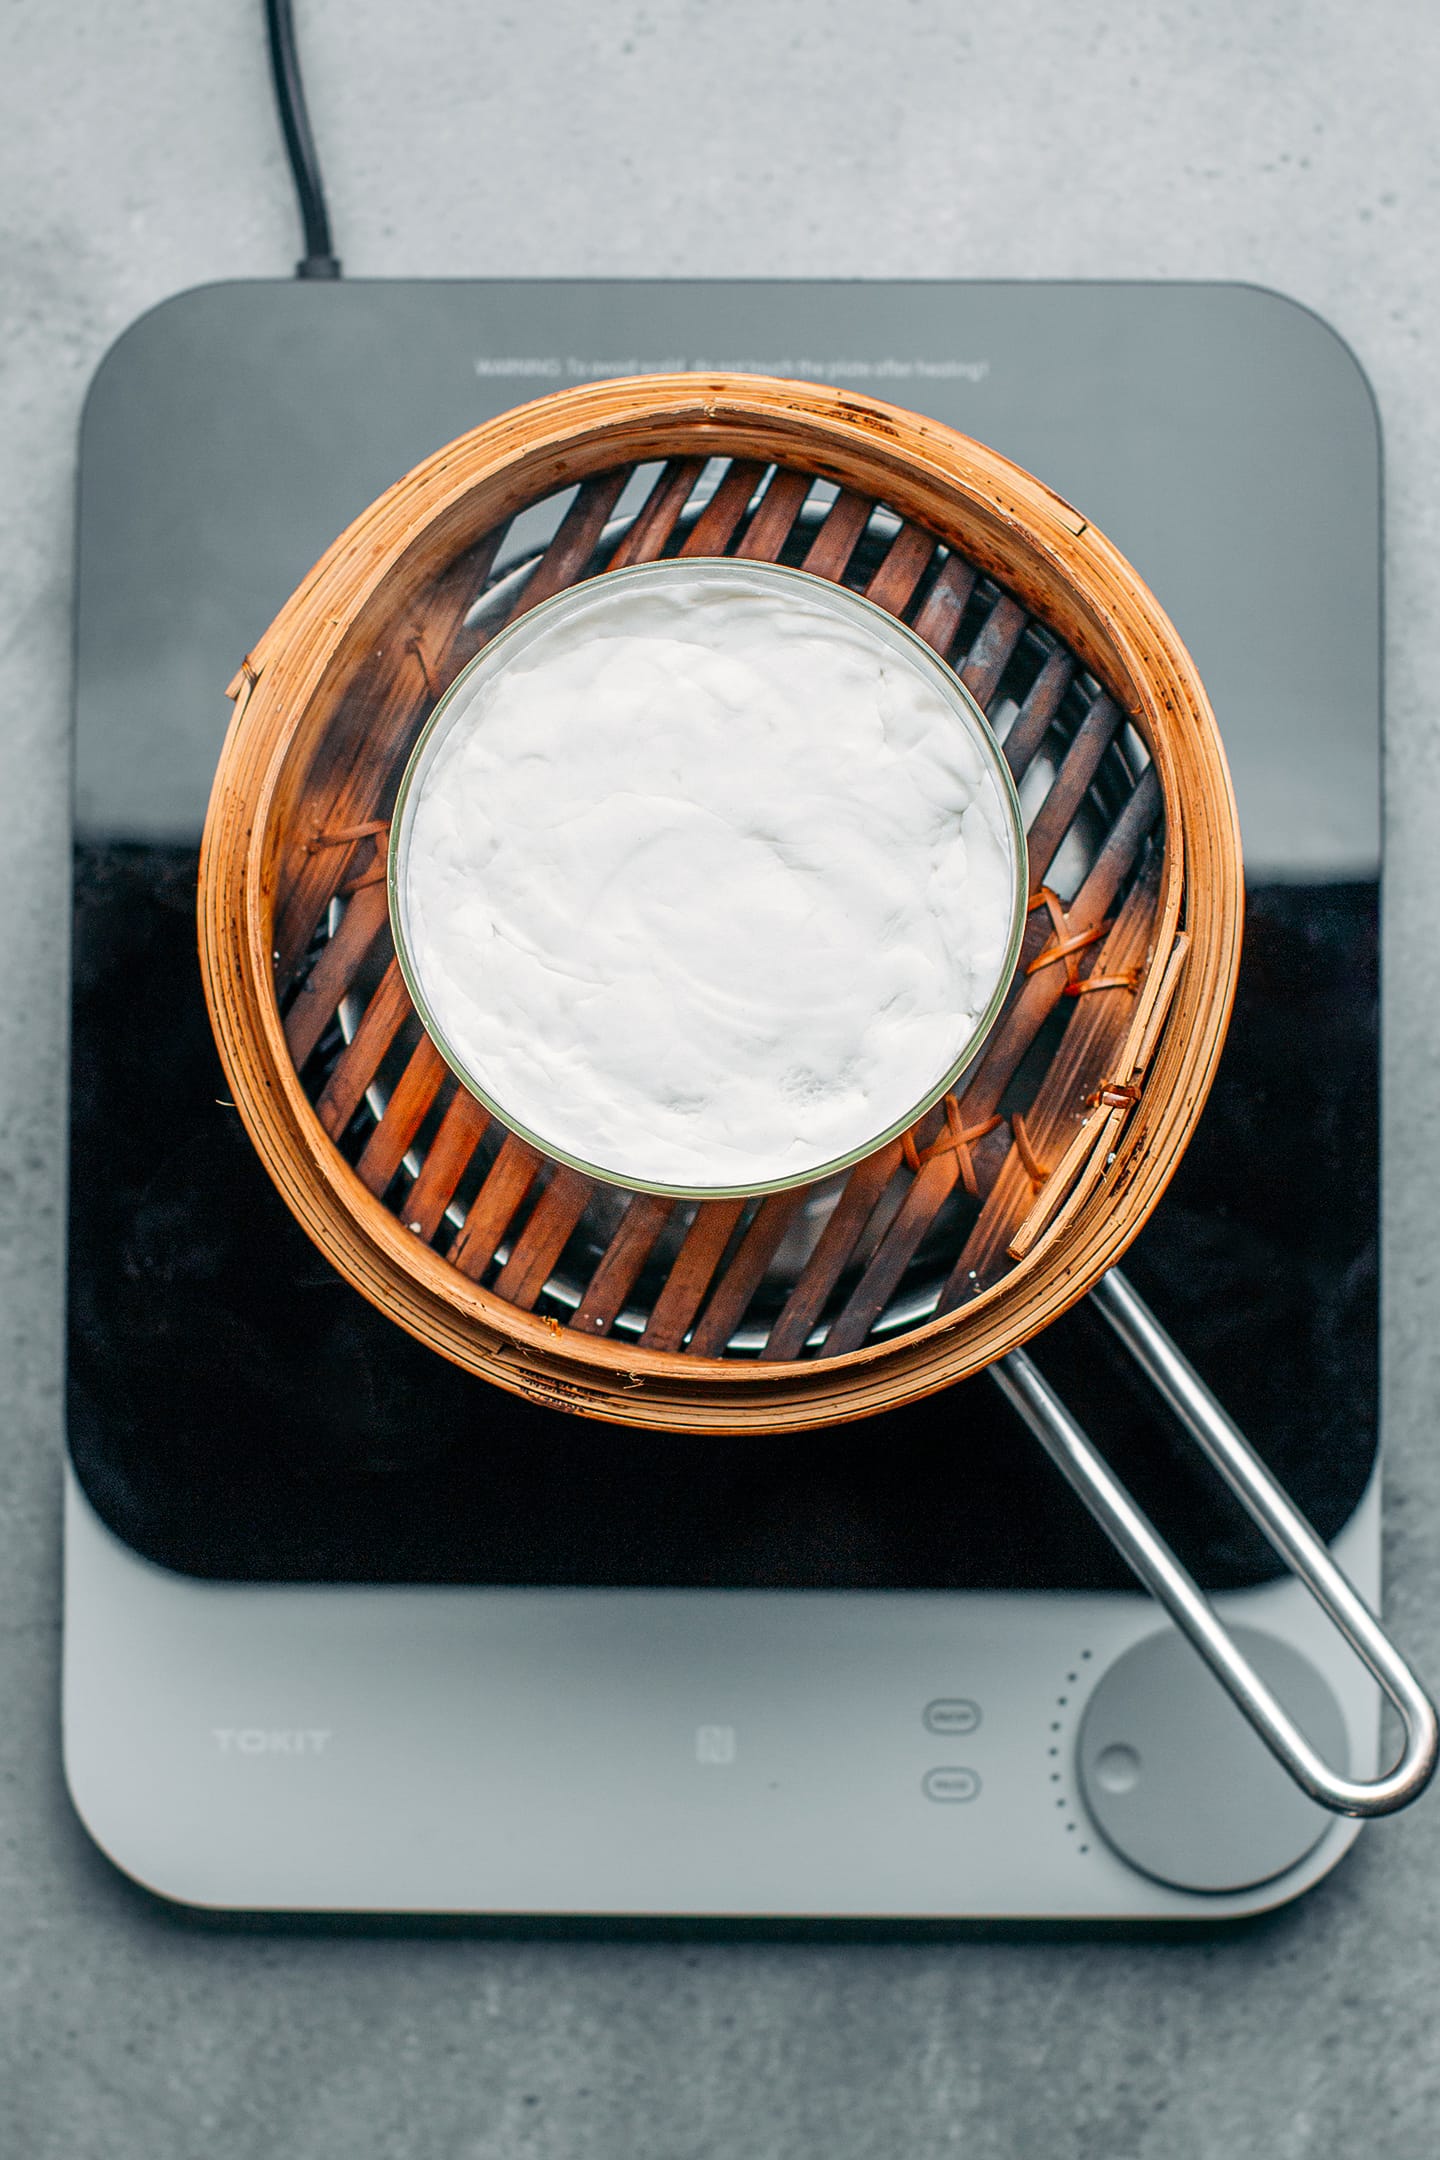
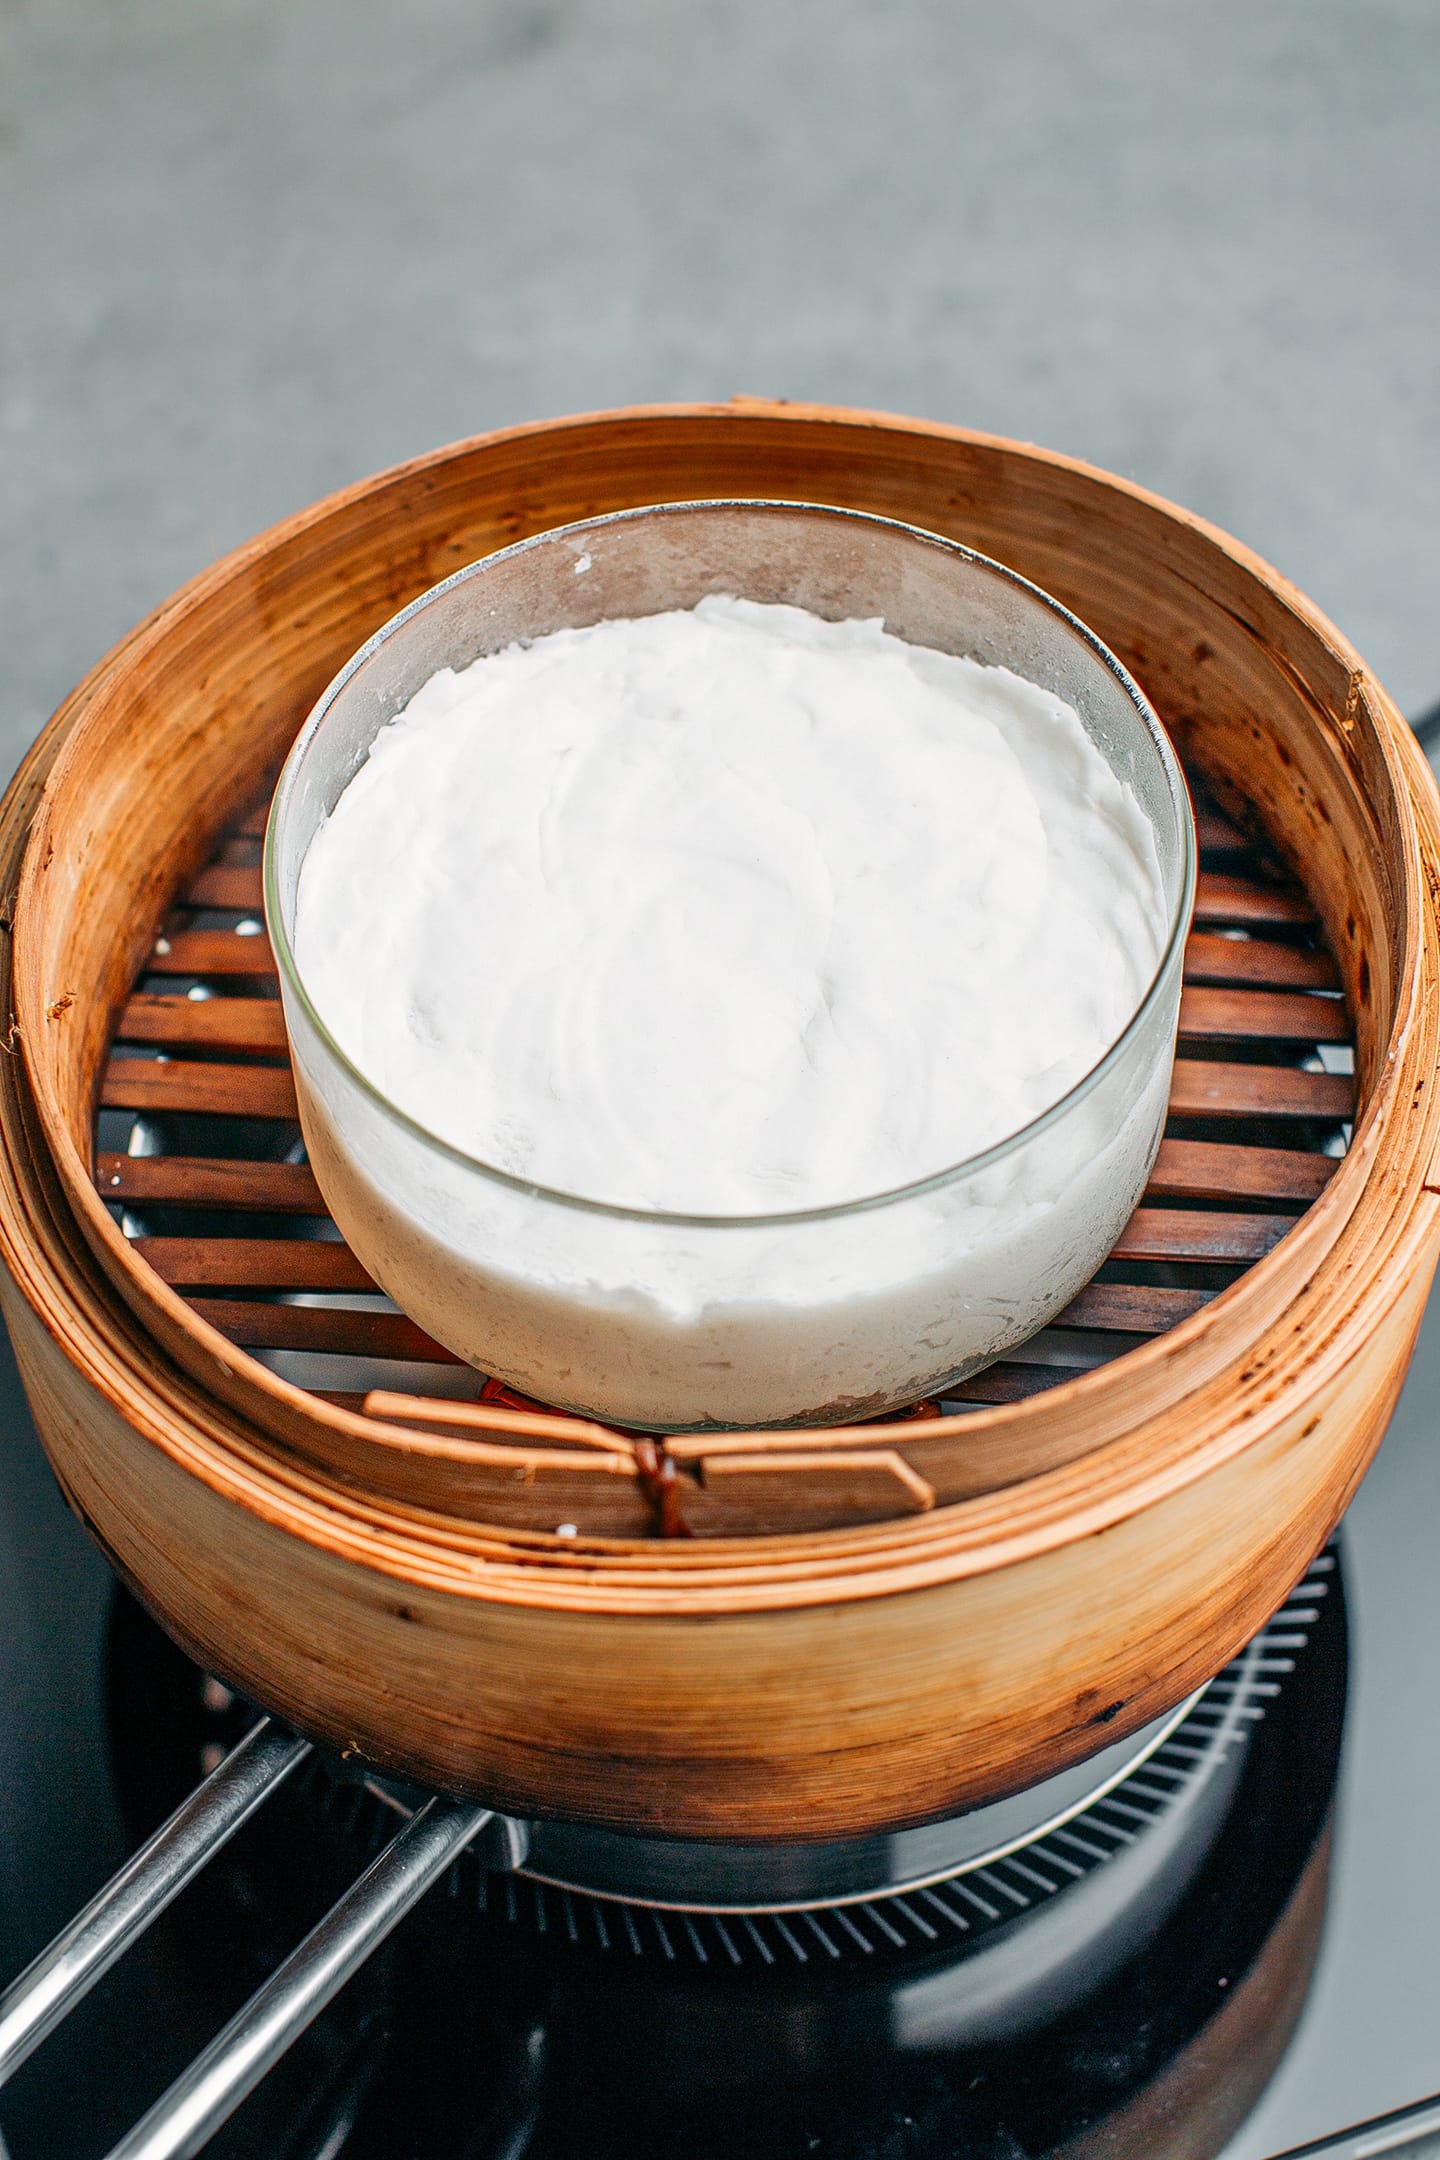
- Press the dough into a pan. Lightly oil a 4.5-inch-wide pan (We used a round glass pan). Note: The shape of your pan doesn’t matter much as long as the paste is about 1.5 inches thick. Ensure you pick a pan that is heat-safe and can fit in your steamer.
- Steam it. Place a bamboo steamer basket on top of a large pot filled with about 2 cups of water. Bring the water to a boil. Once boiling, place the pan into the steamer and close with the lid. Steam for 20 minutes over medium heat.
- Let cool. Remove the pan from the steamer and let it cool for at least 25 minutes. Next, carefully remove the rice cake from the pan, wrap it in plastic wrap, and transfer it to the refrigerator.
- Chill overnight. The rice cake should be chilled in the refrigerator for at least 4 hours, preferably overnight.
3. Slice into rectangles
- Wrap a knife with plastic wrap. It’s now time to slice the rice cakes into small rectangles. To do that, wrap the blade of a knife with plastic wrap, this will prevent the rice cakes from sticking to the blade.
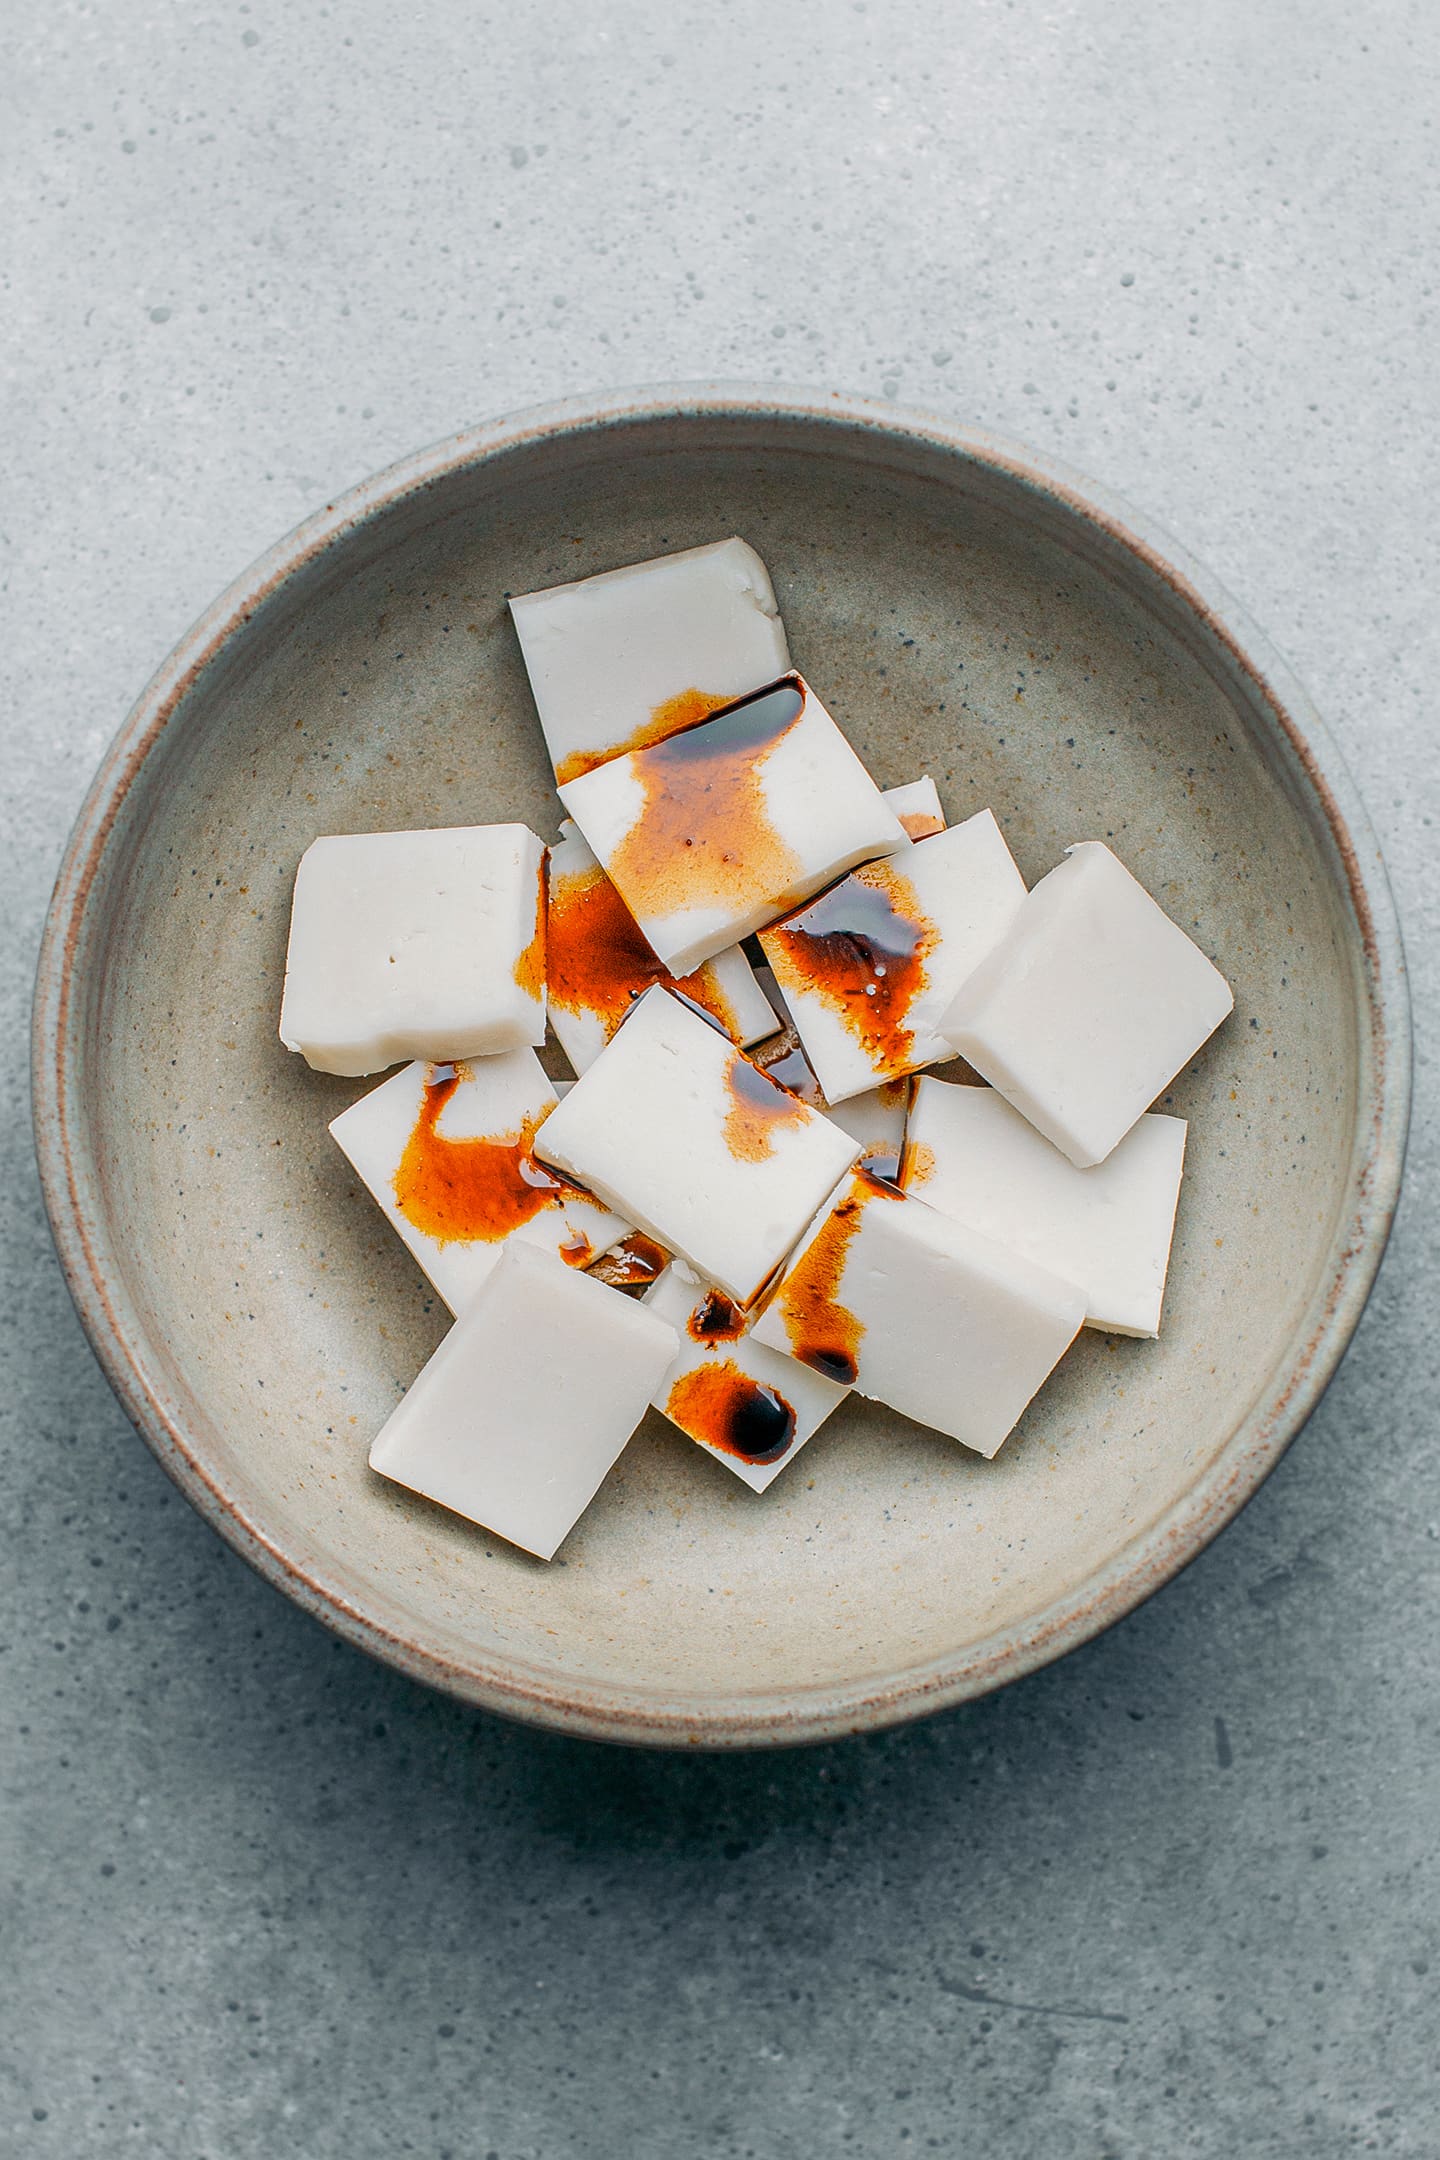
- Cut the rice cakes. Next, cut the rice cake into 1×1.5-inch rectangles with a thickness of about 1/2-inch thickness.
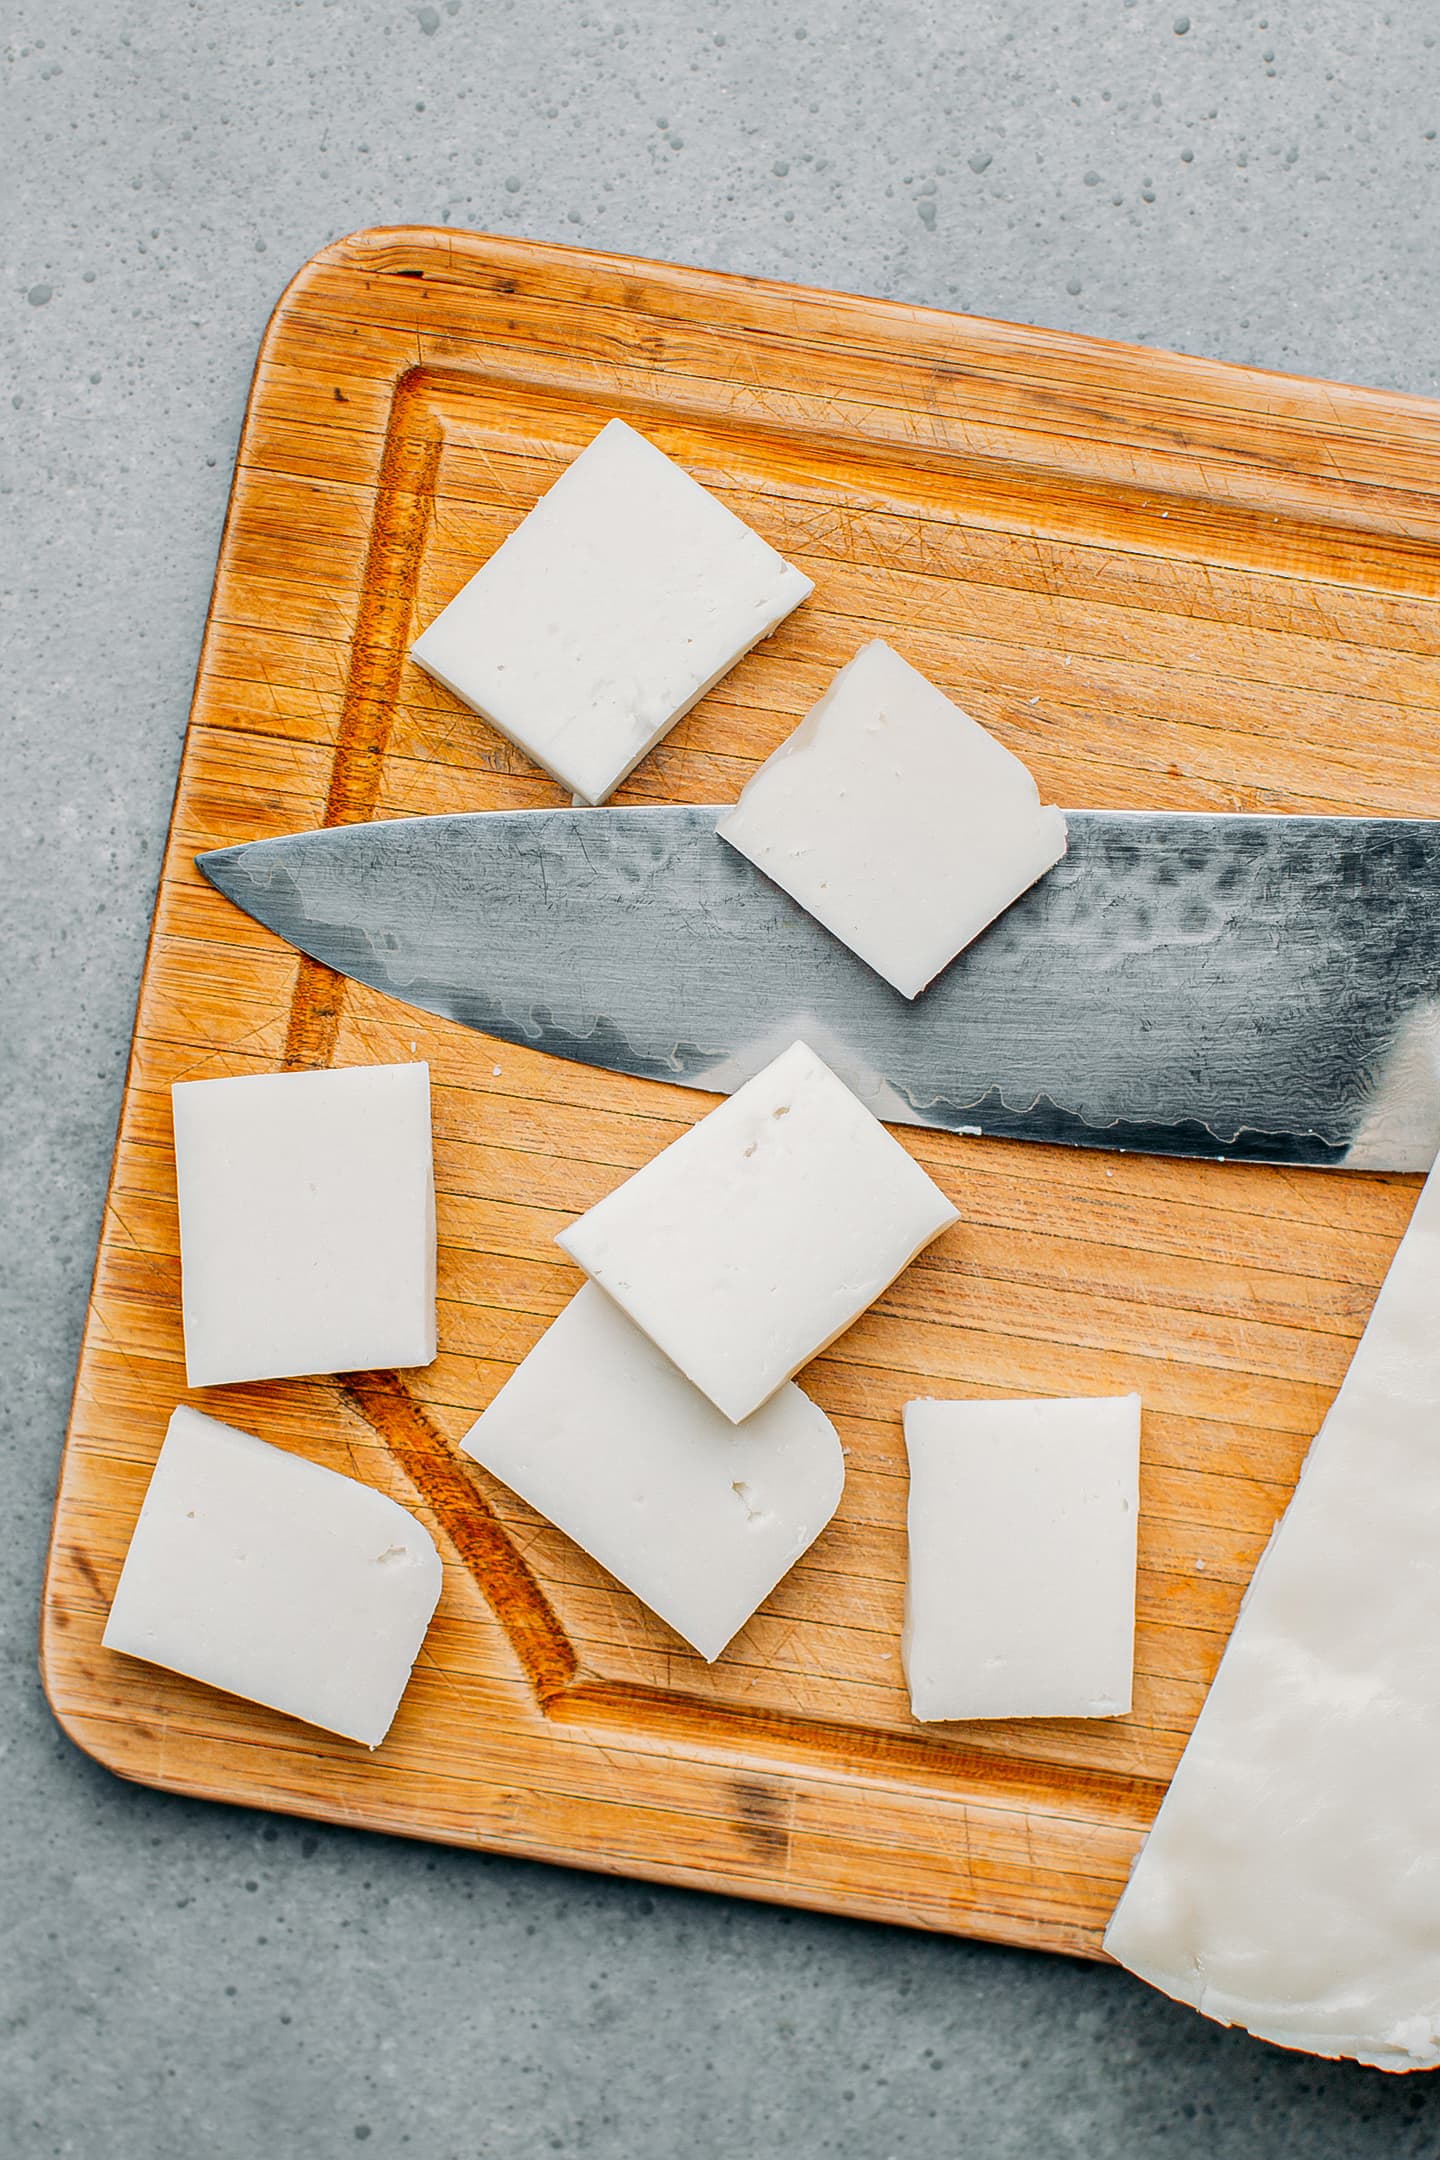
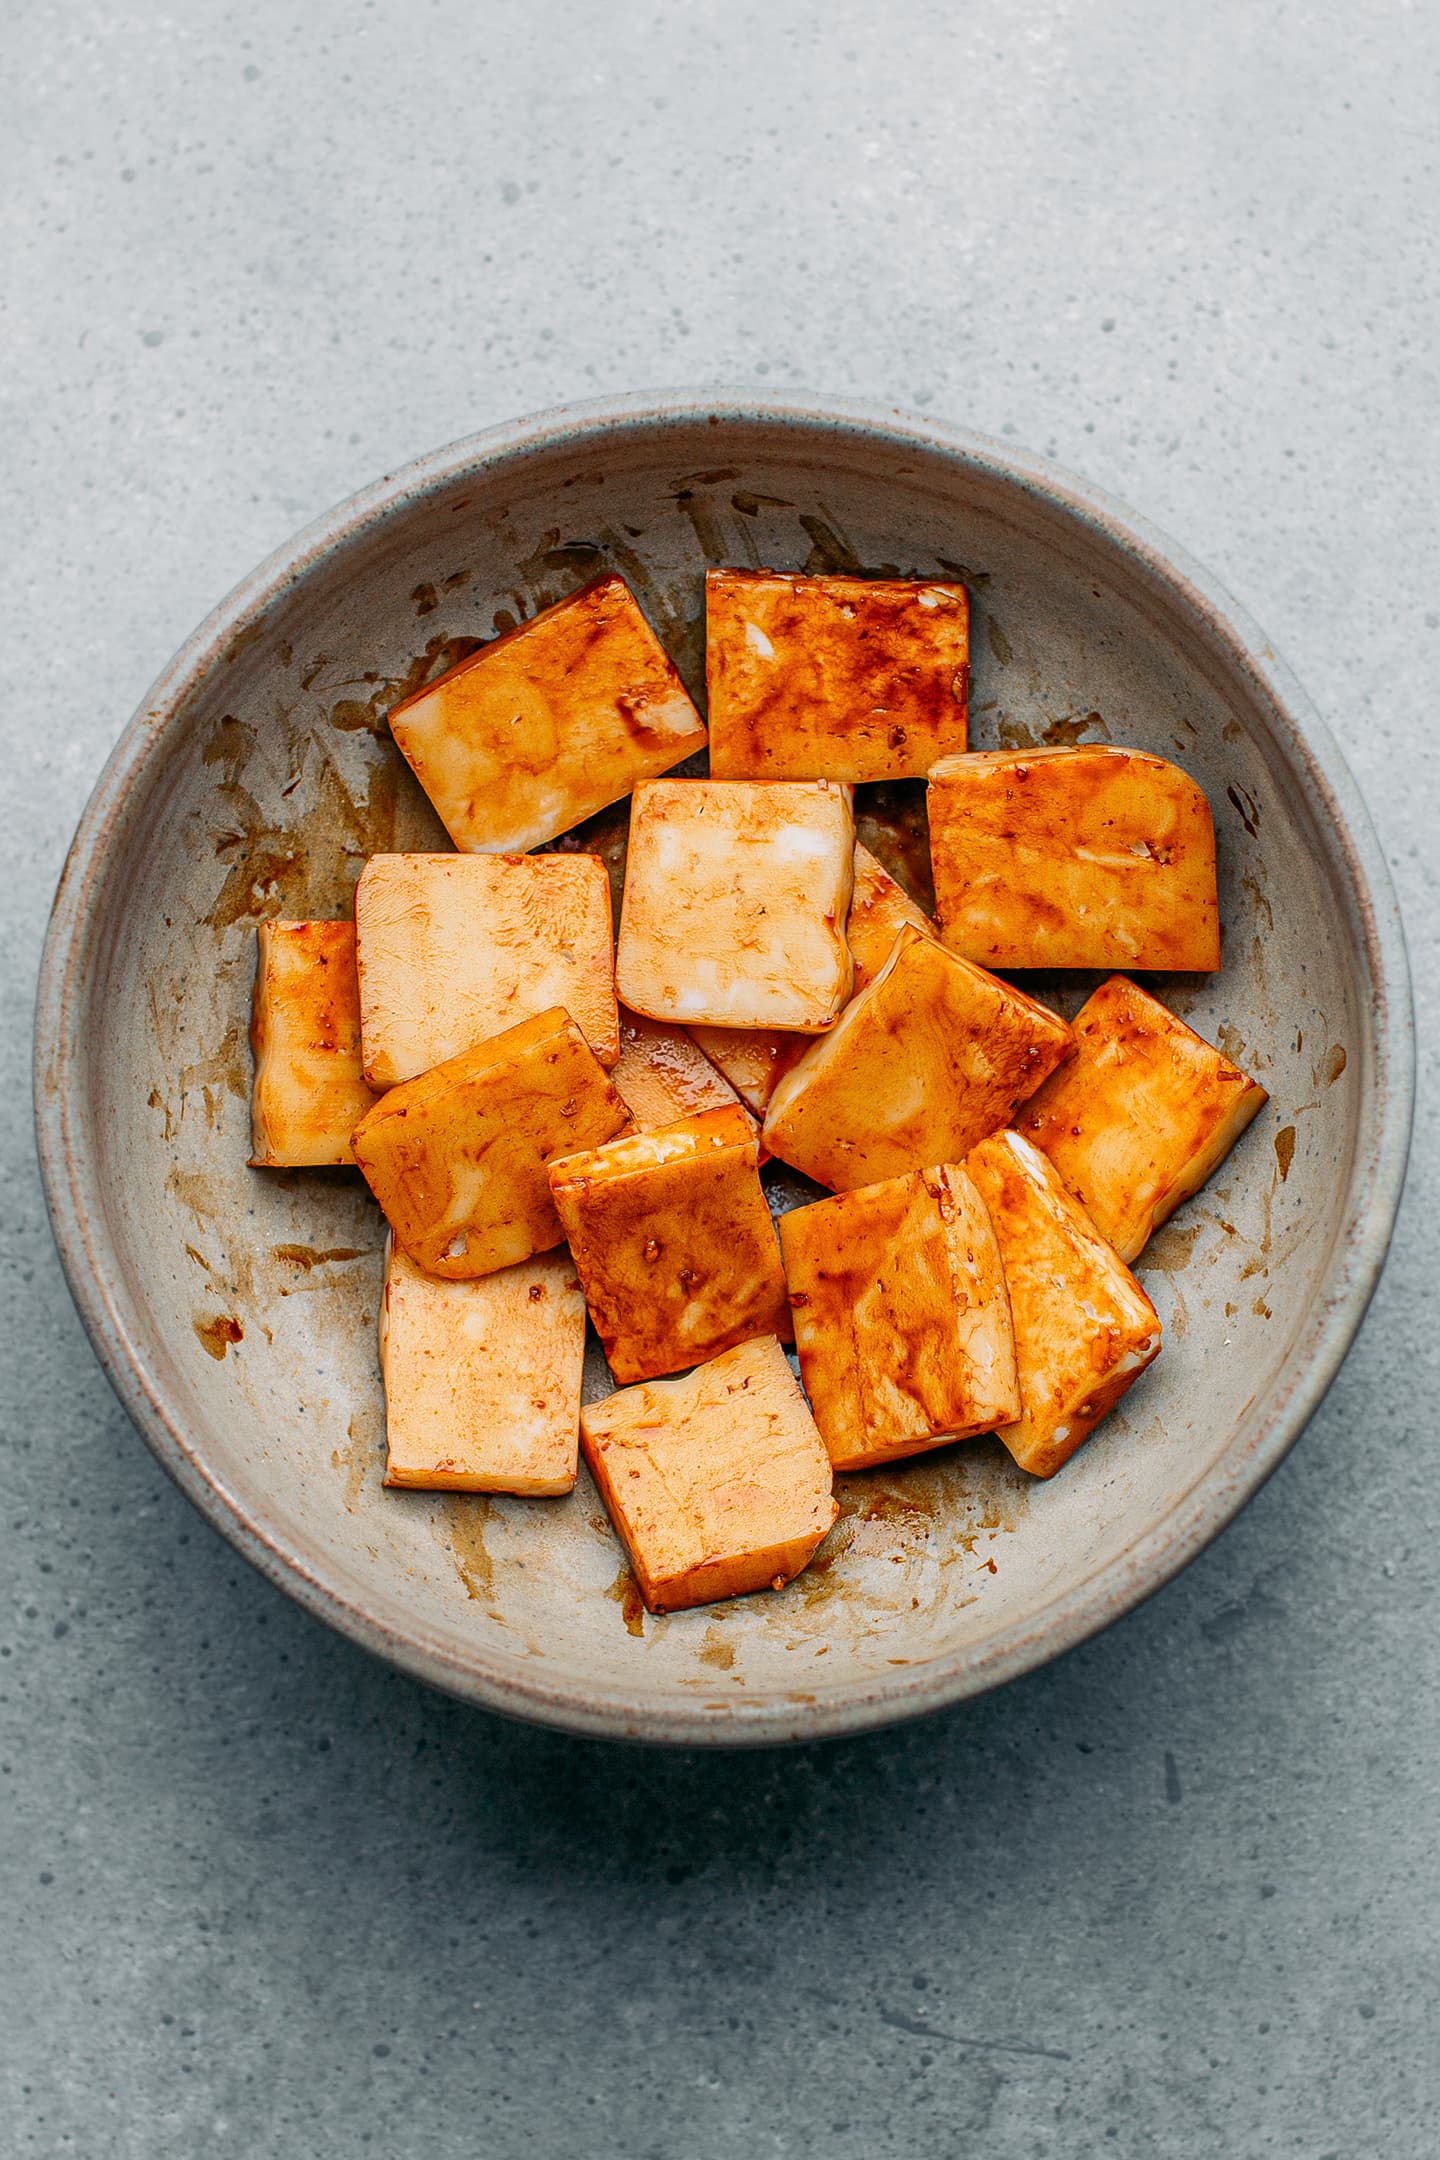
- Toss with soy sauce. Transfer the sliced rice cakes to a mixing bowl. Drizzle with the dark soy sauce and toss to coat them evenly. This step essentially gives the rice cakes a more appetizing color; it doesn’t really affect the flavor. Set aside while you prepare the vegan “egg.”
4. Make the vegan “egg”
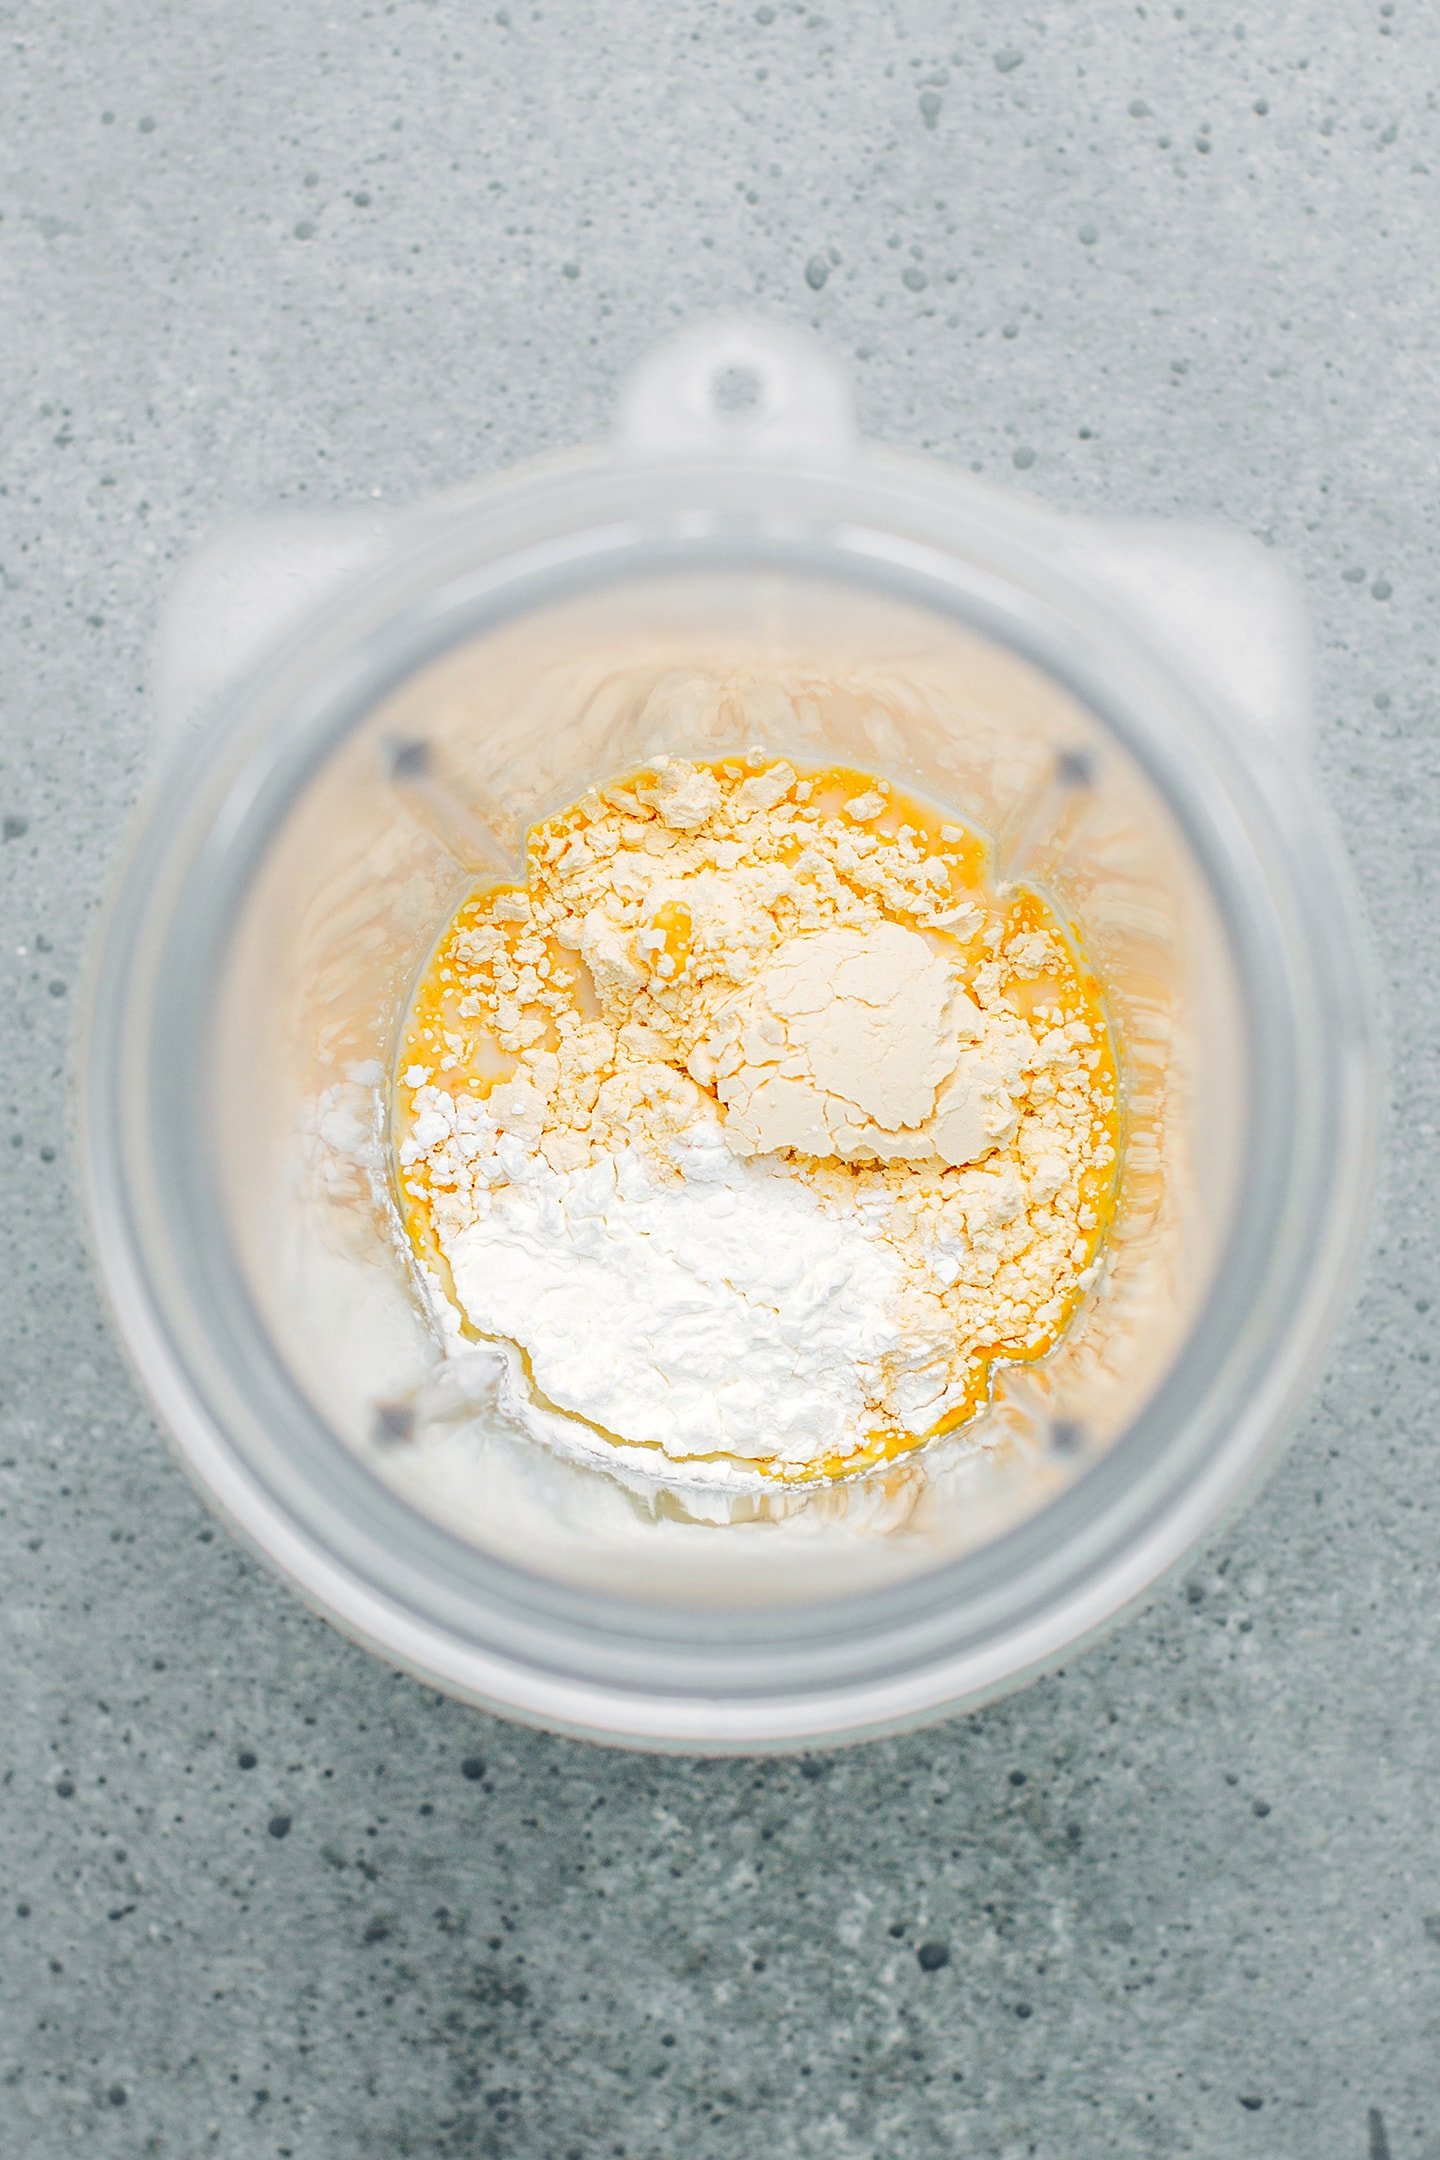
- Add all of the ingredients to a blender. To the bowl of a blender, add the plant-based milk, chickpea flour, nutritional yeast, cornstarch, turmeric, and kala namak salt.
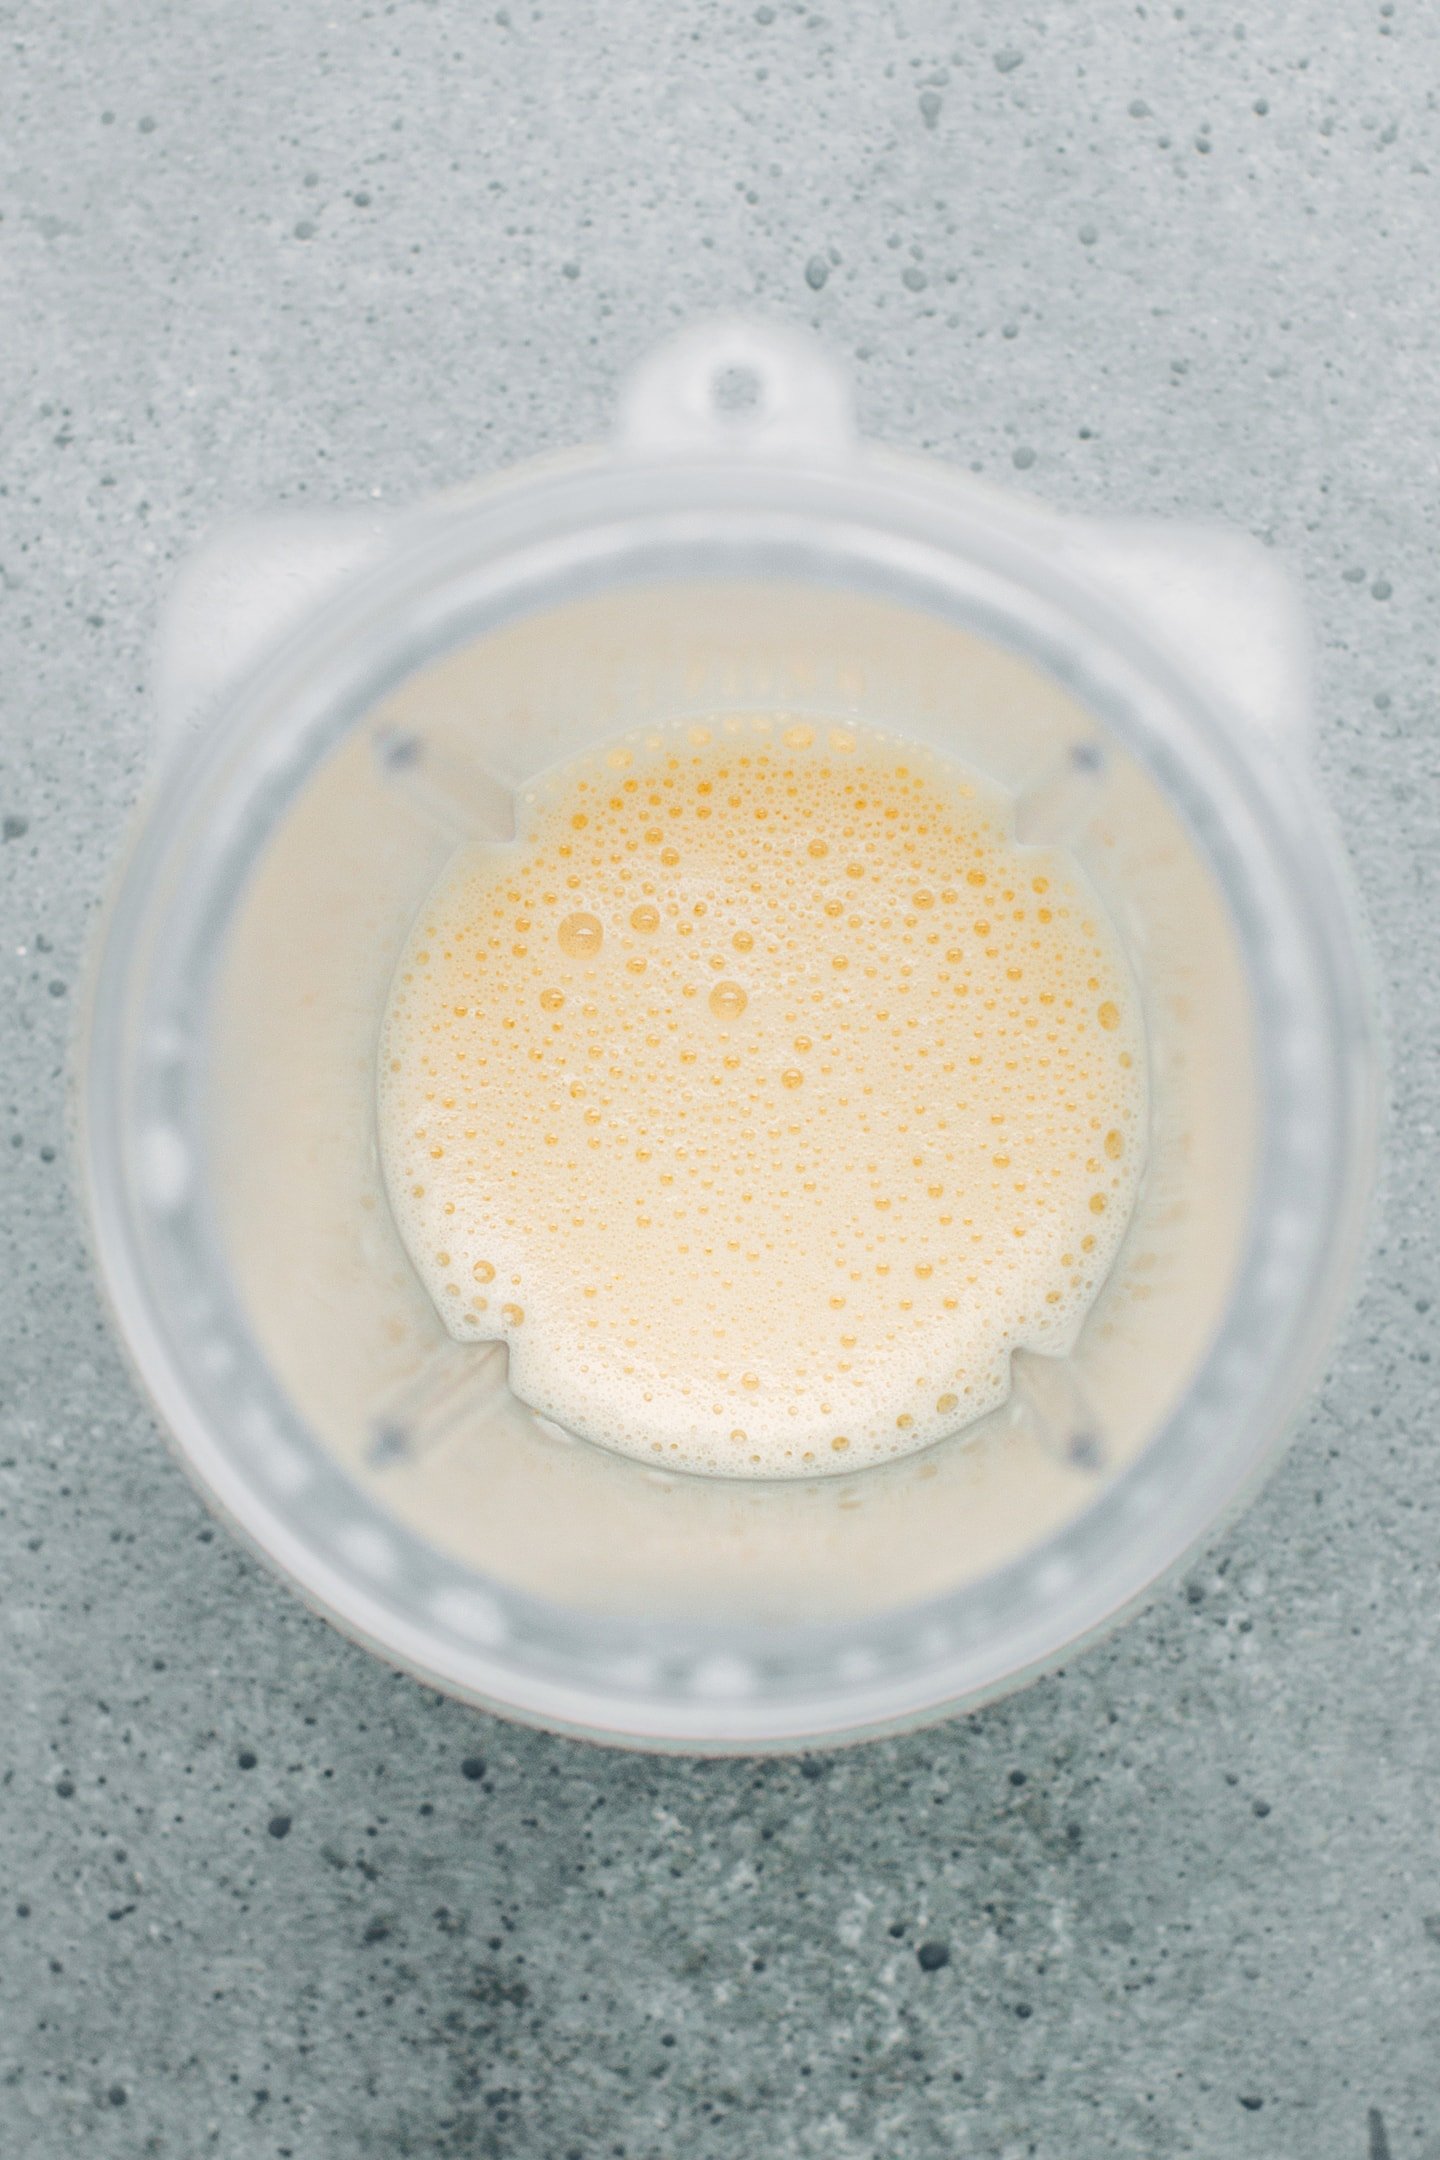
- Blend until smooth. Blend on high speed for 15-30 seconds or until smooth. Set aside.
5. Pan-fry
The final step consists of pan-frying the rice cakes until crispy and golden brown on each side and pouring the vegan egg.
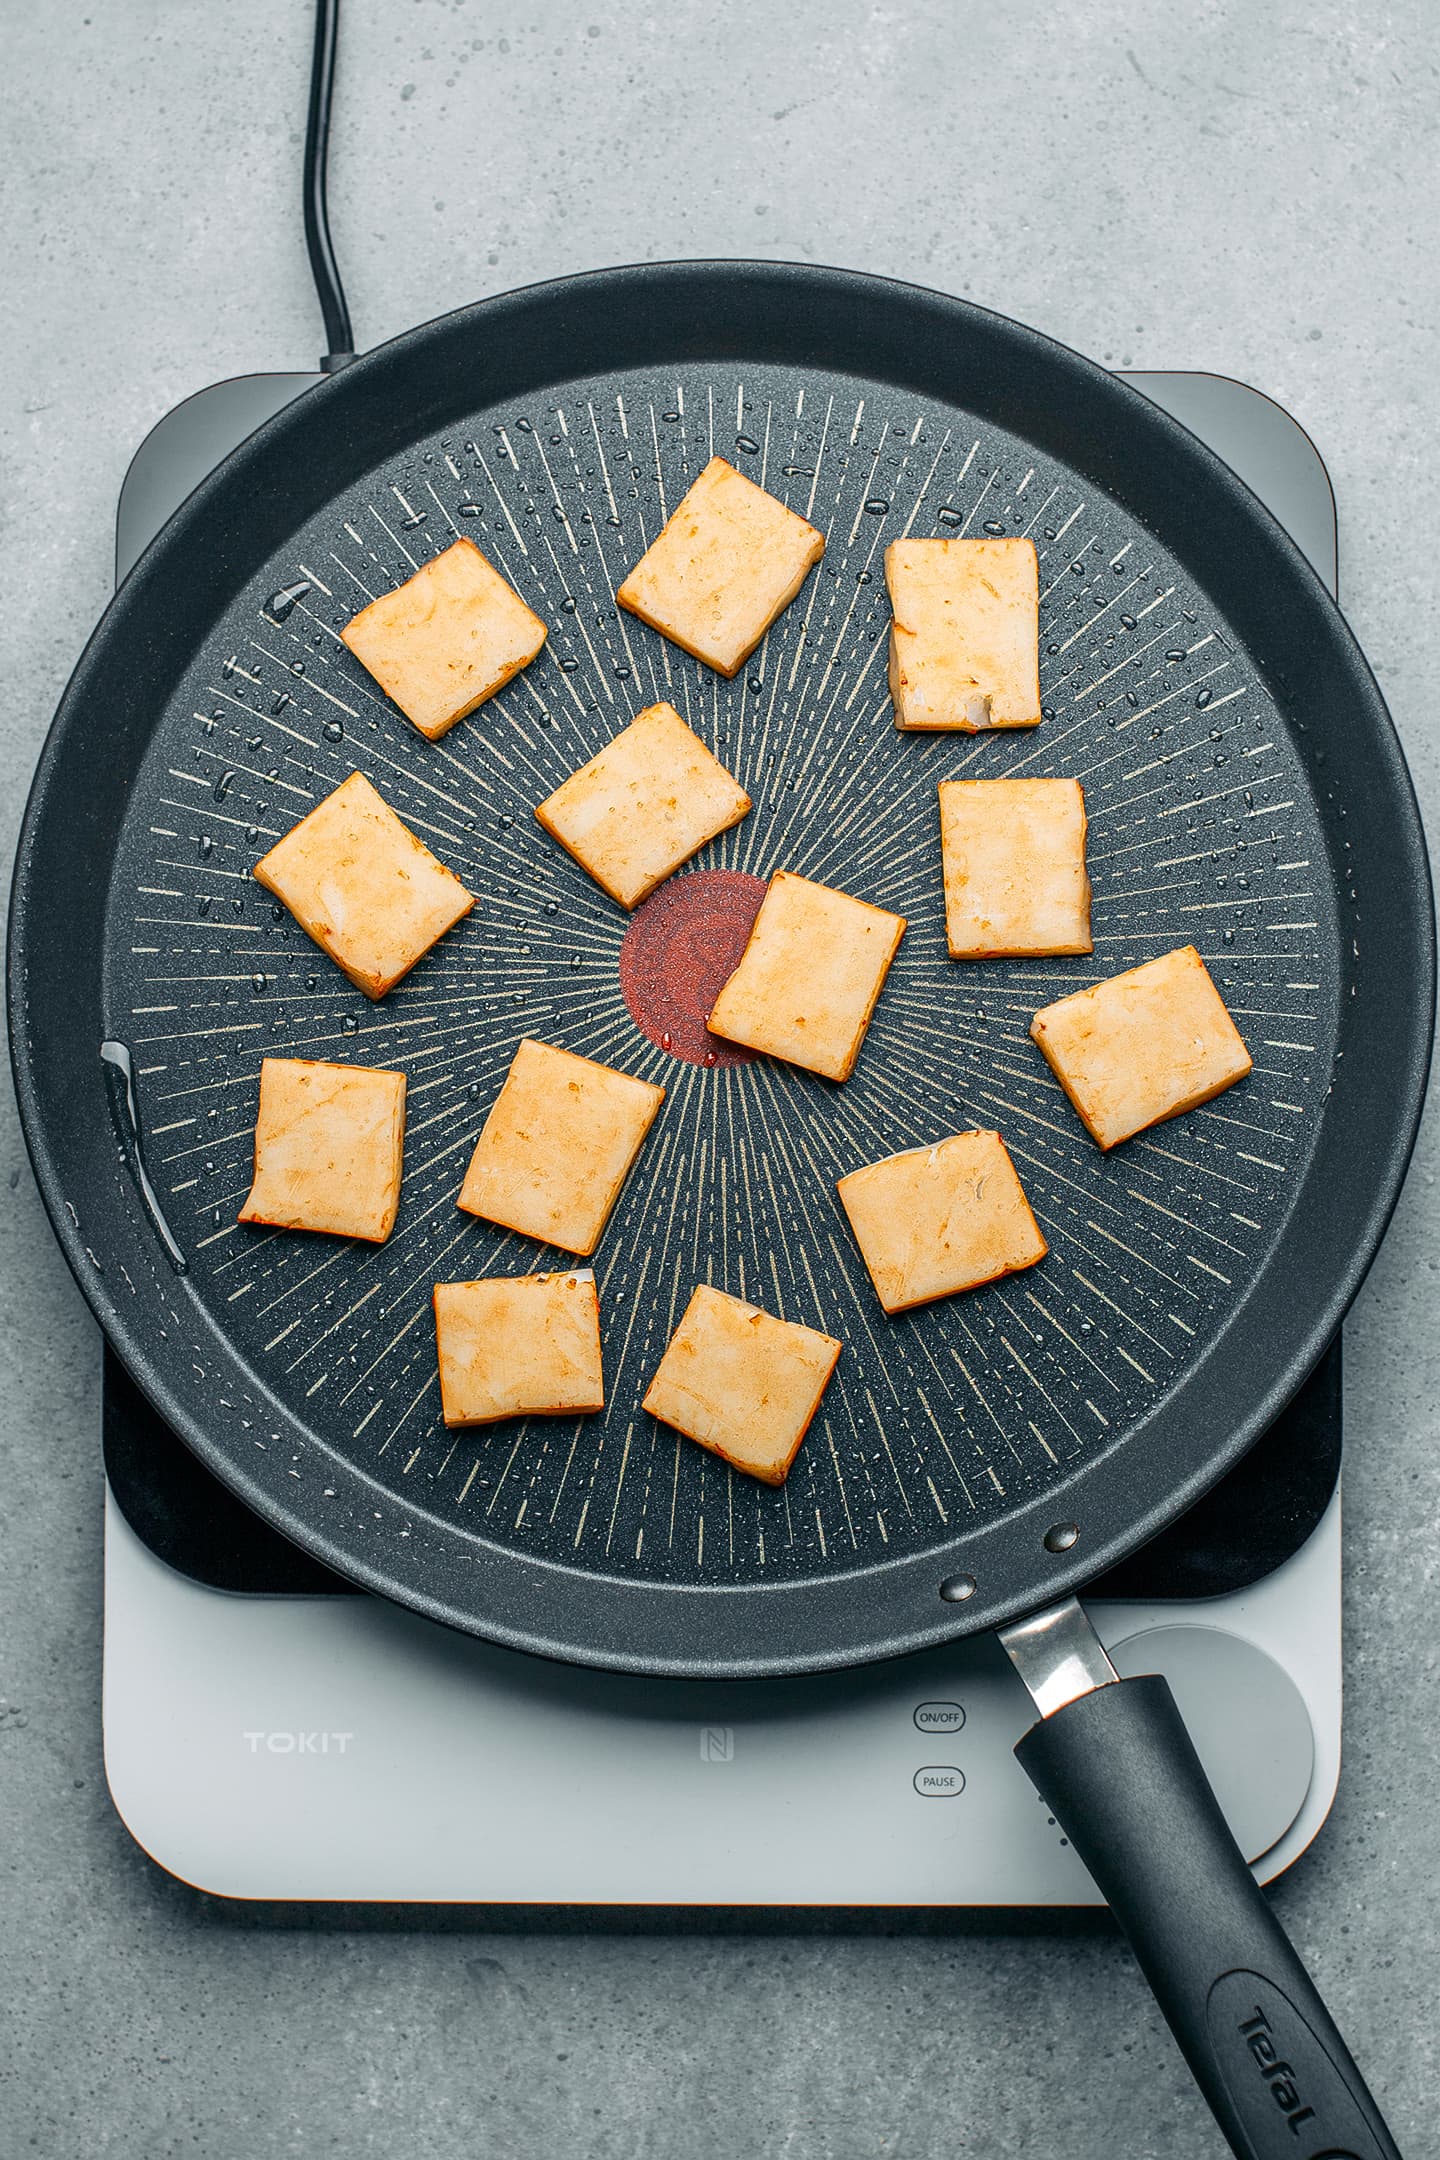
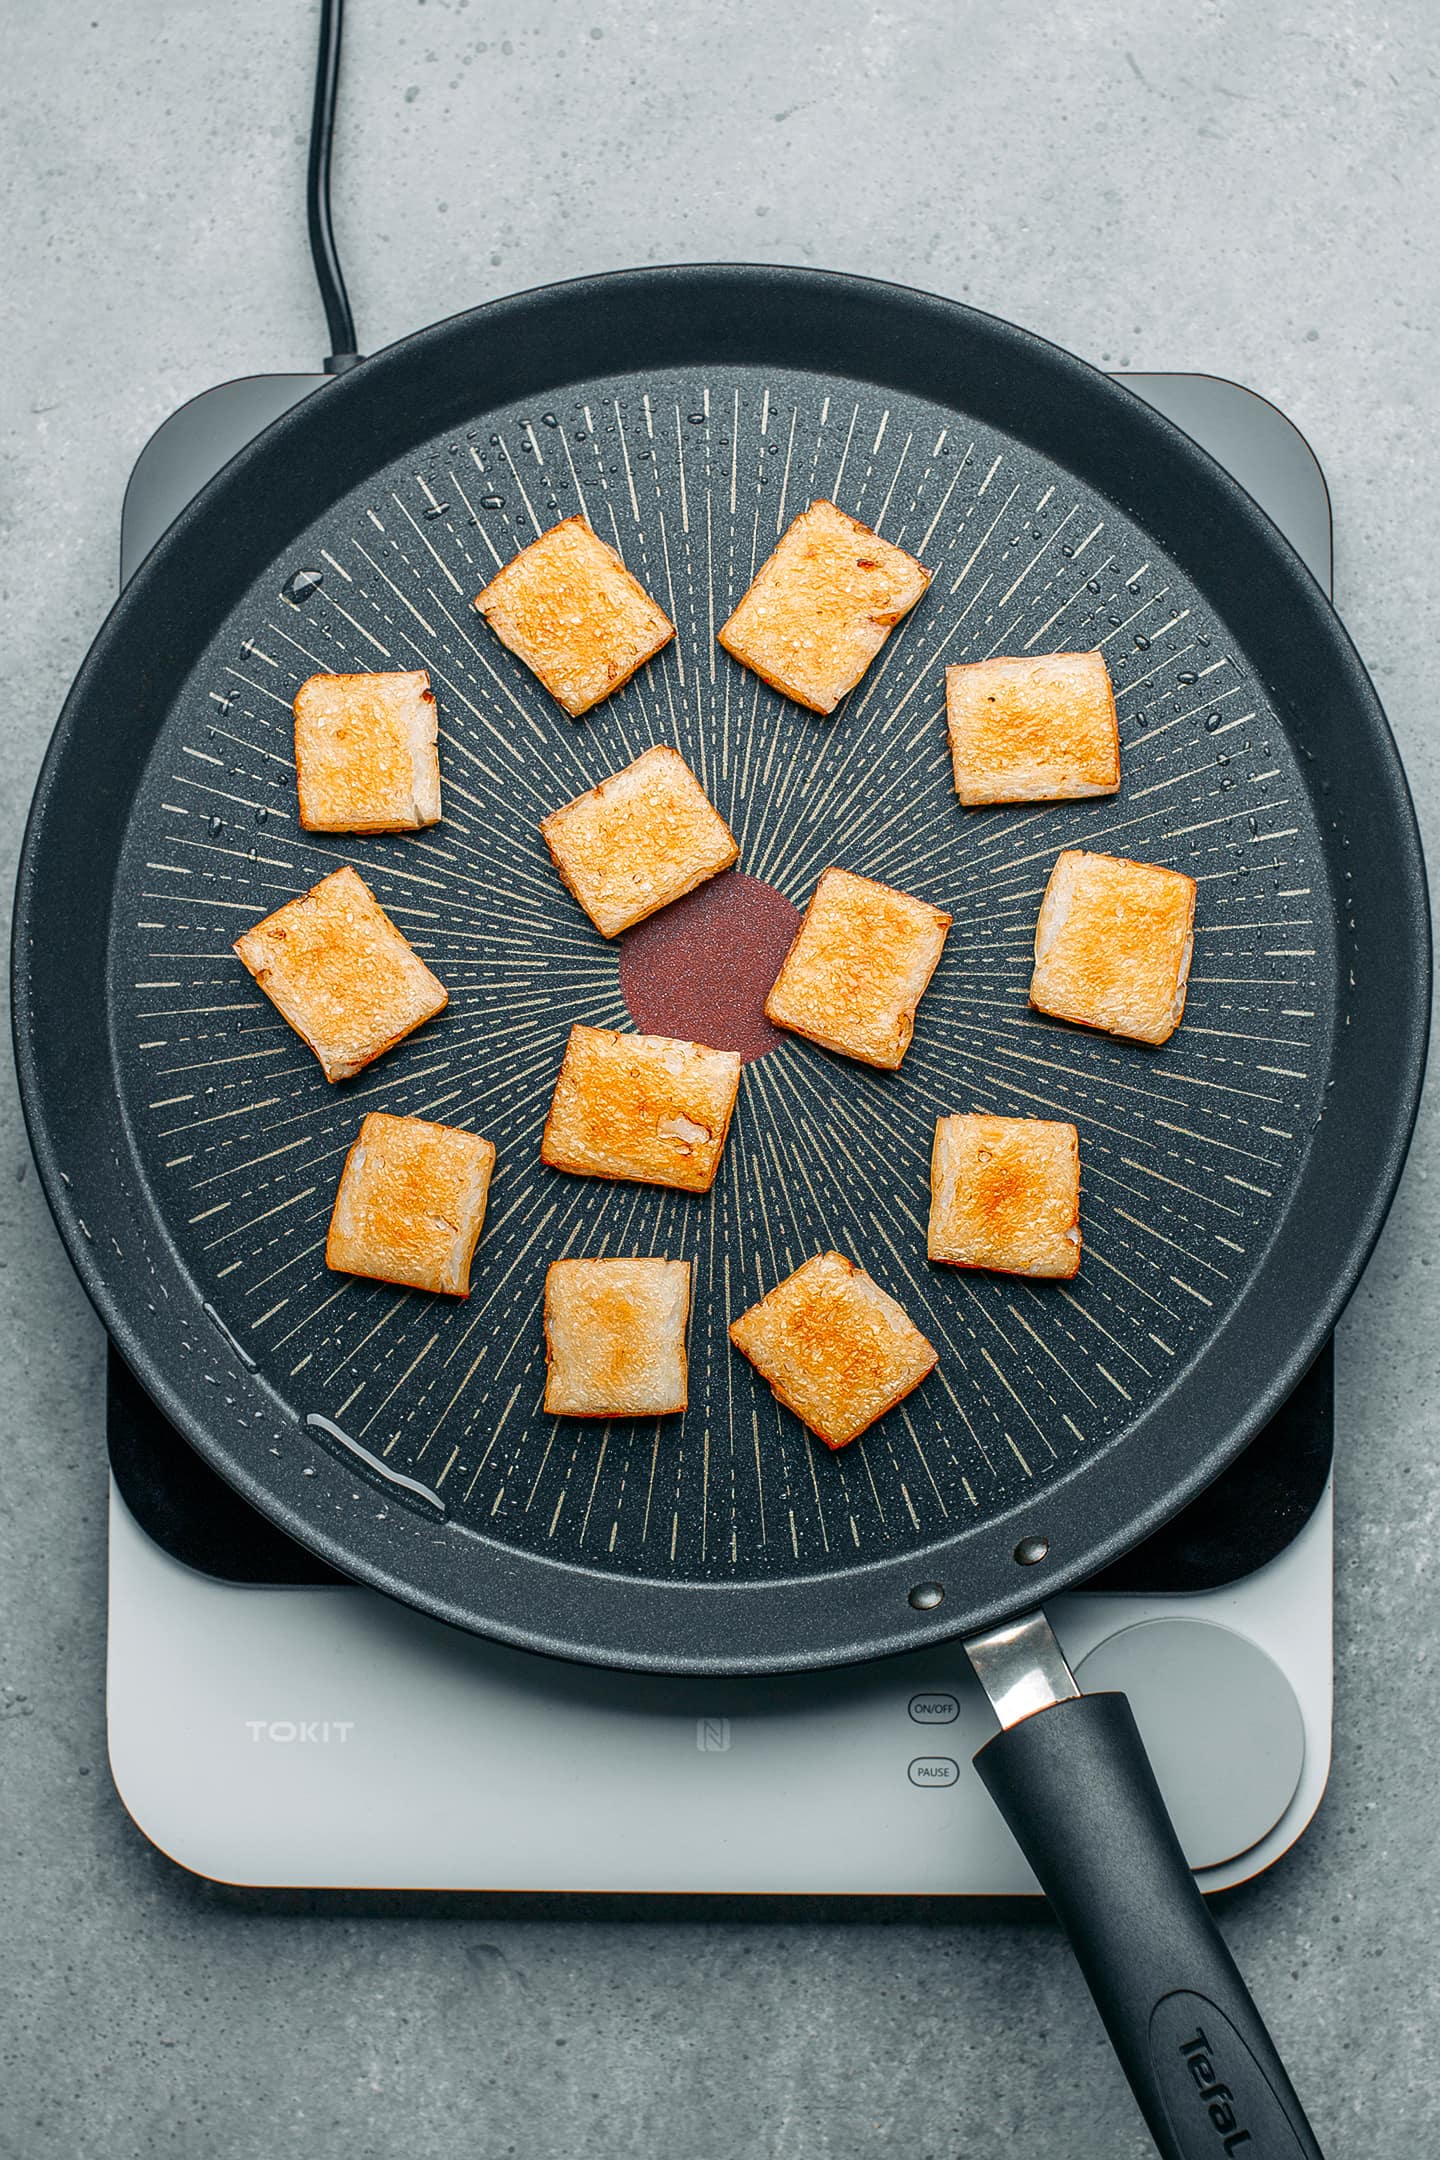
- Pan-fry until golden brown. Heat one tablespoon of oil in a large non-stick skillet over medium heat. Once hot, add the rice cakes and cook for 5-8 minutes or until crispy and golden brown.
- Flip. Next, flip the rice cakes and cook on the other side for another 5-8 minutes.
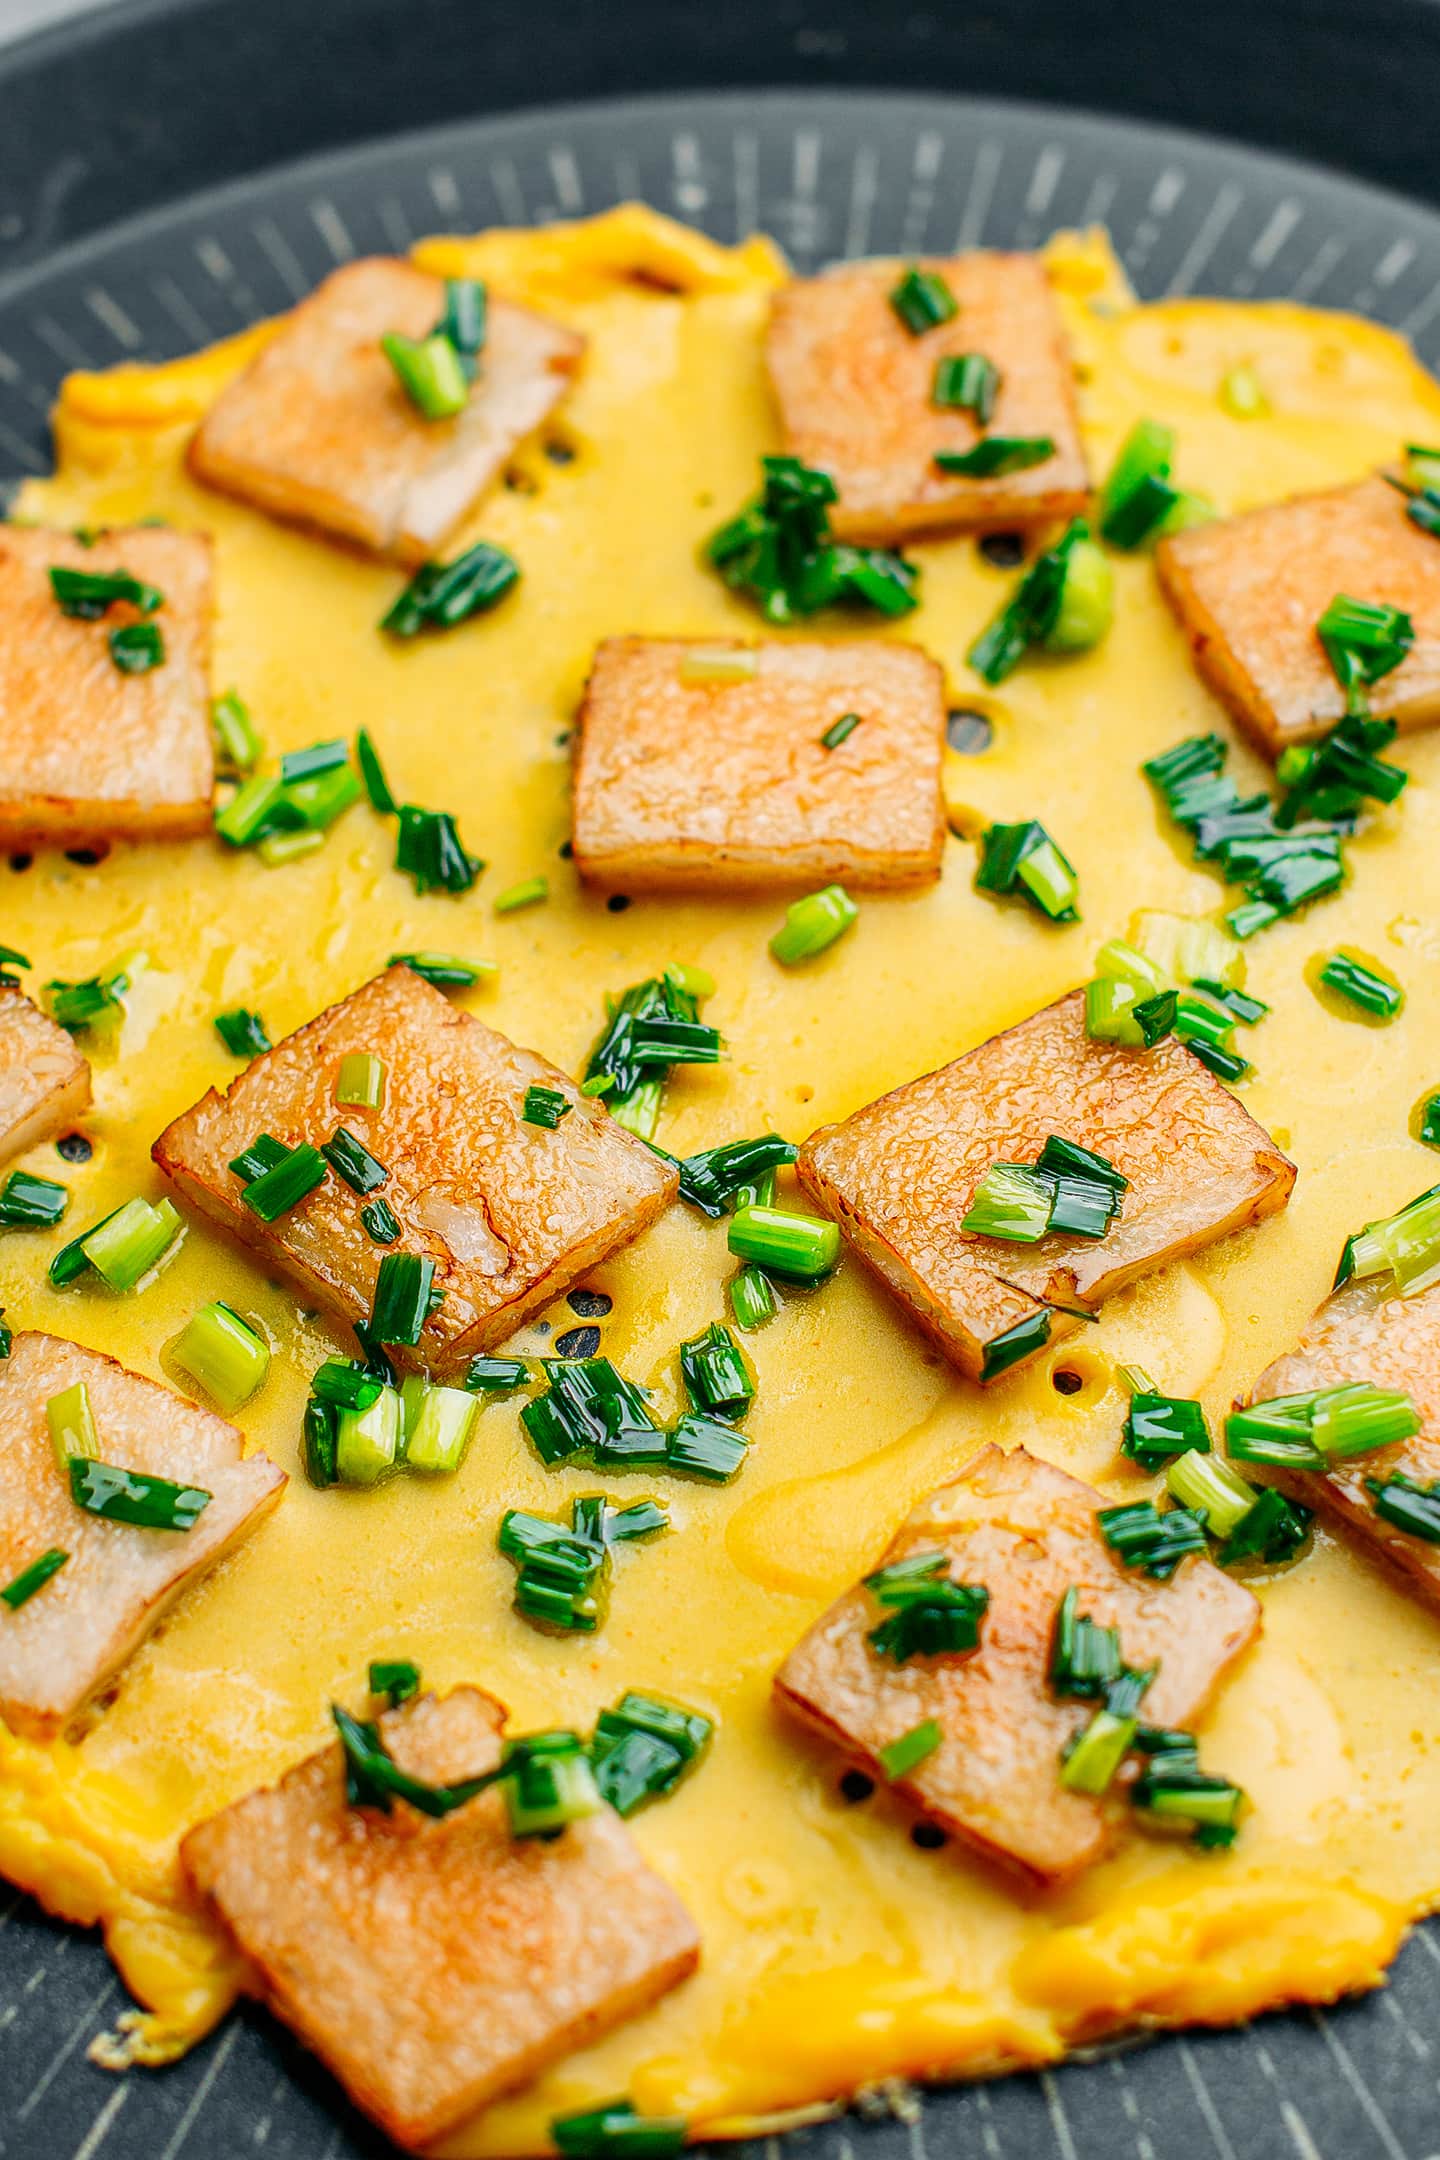
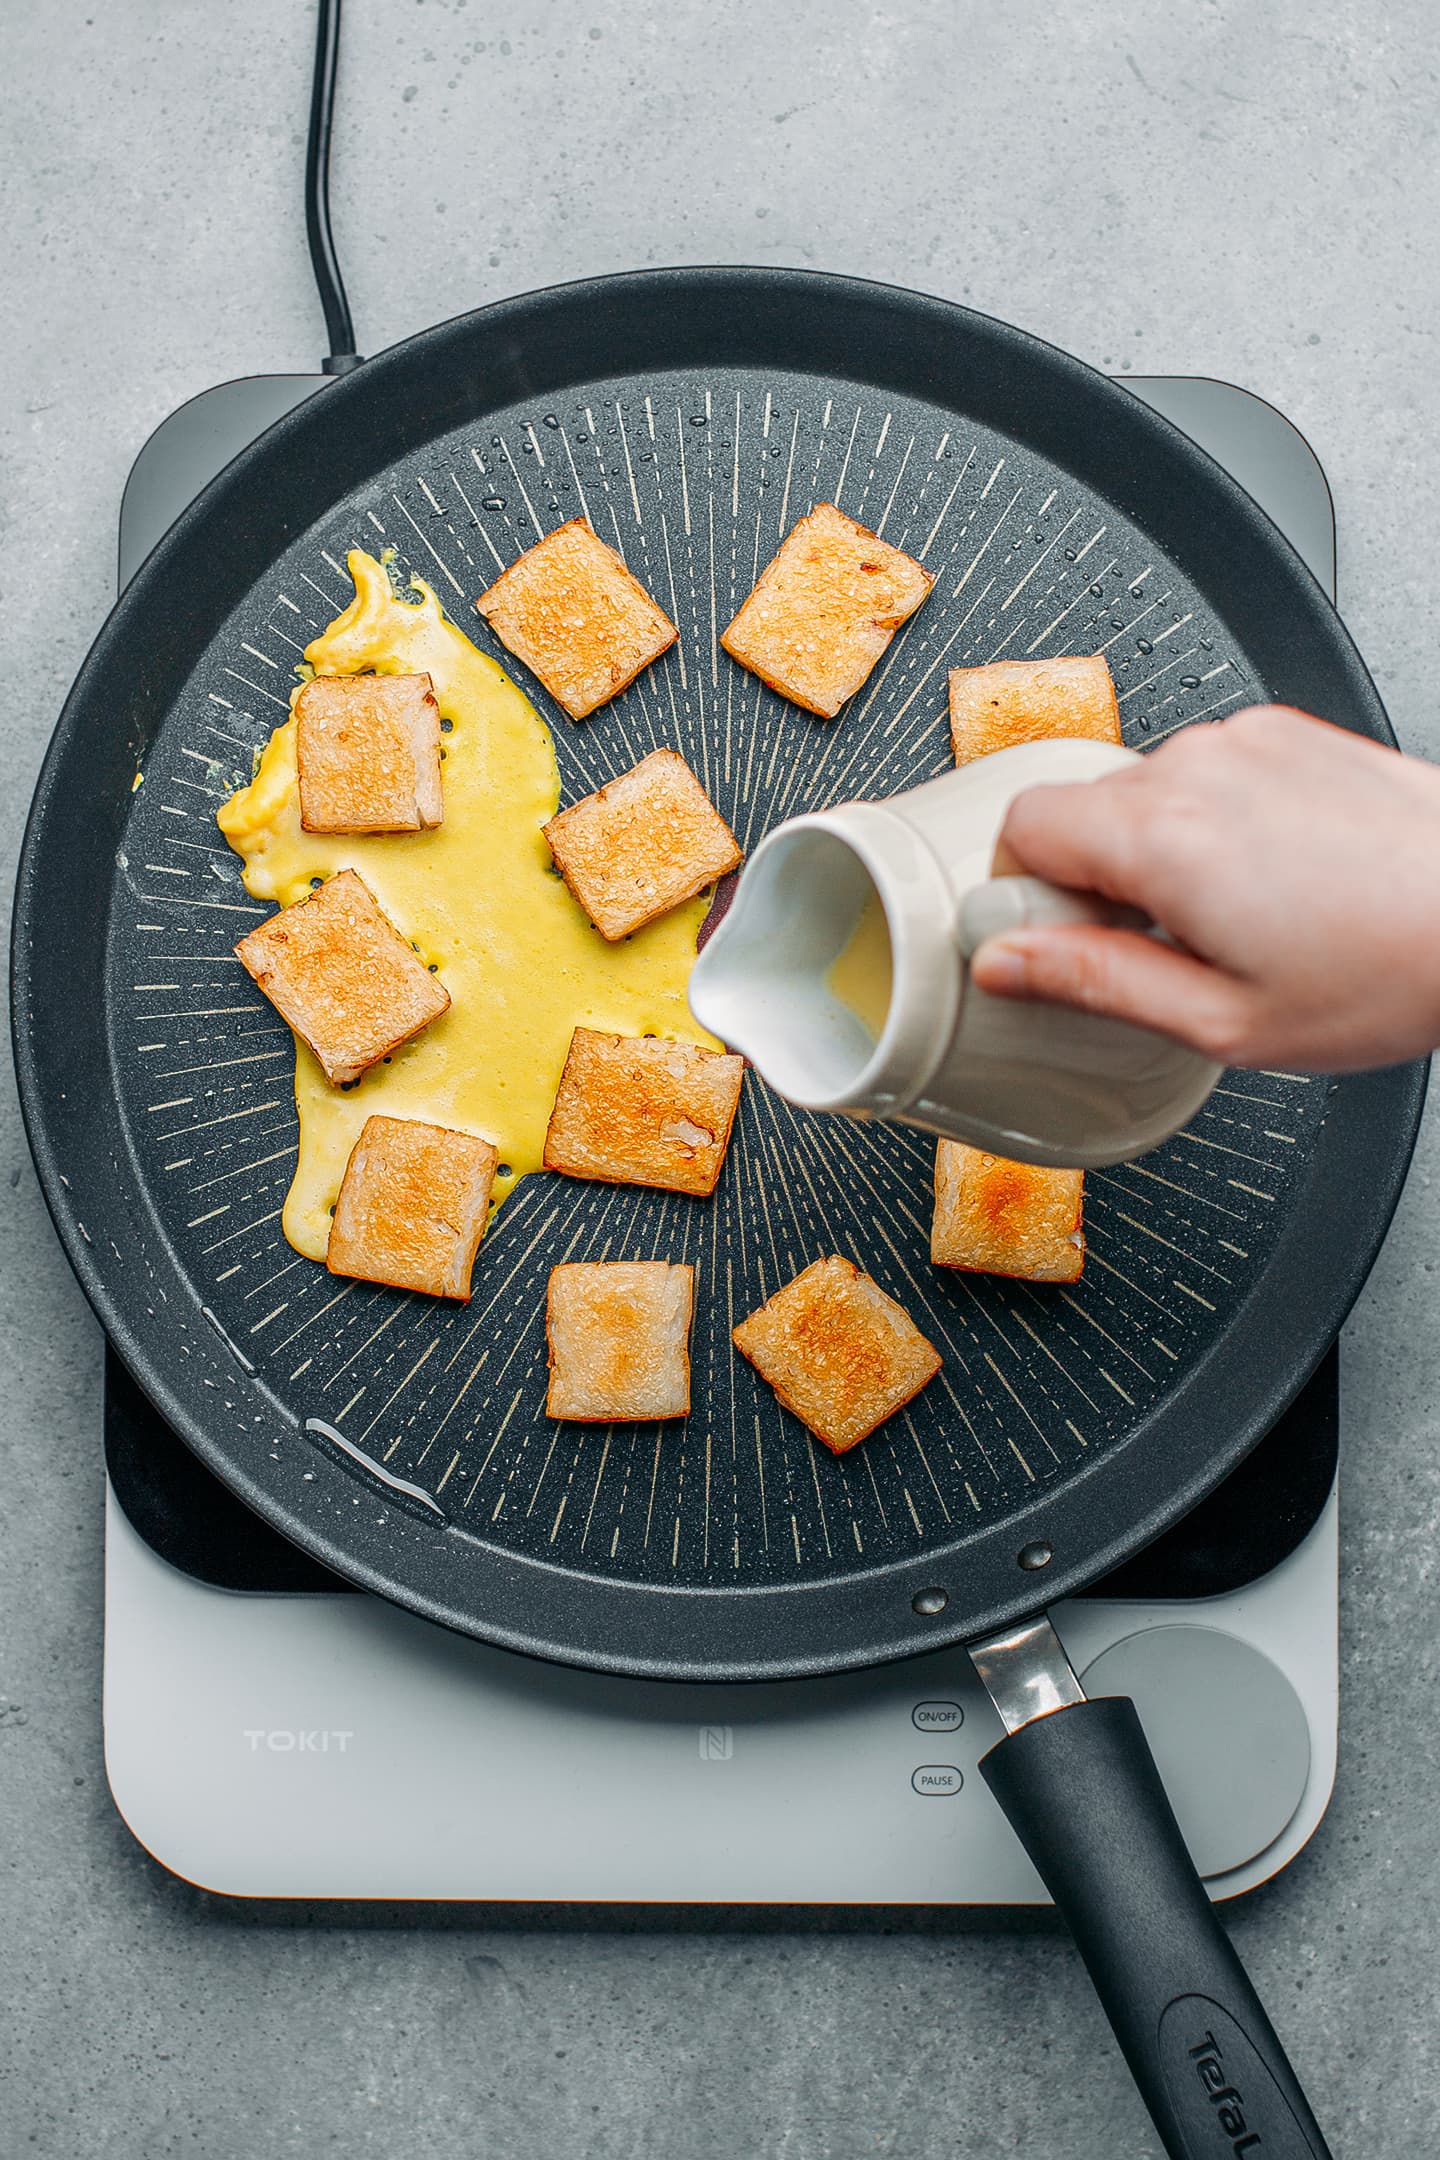
- Pour in the vegan egg. Using a spoon or a small jug, pour the vegan egg in between the rice cakes to create a round “omelet.”
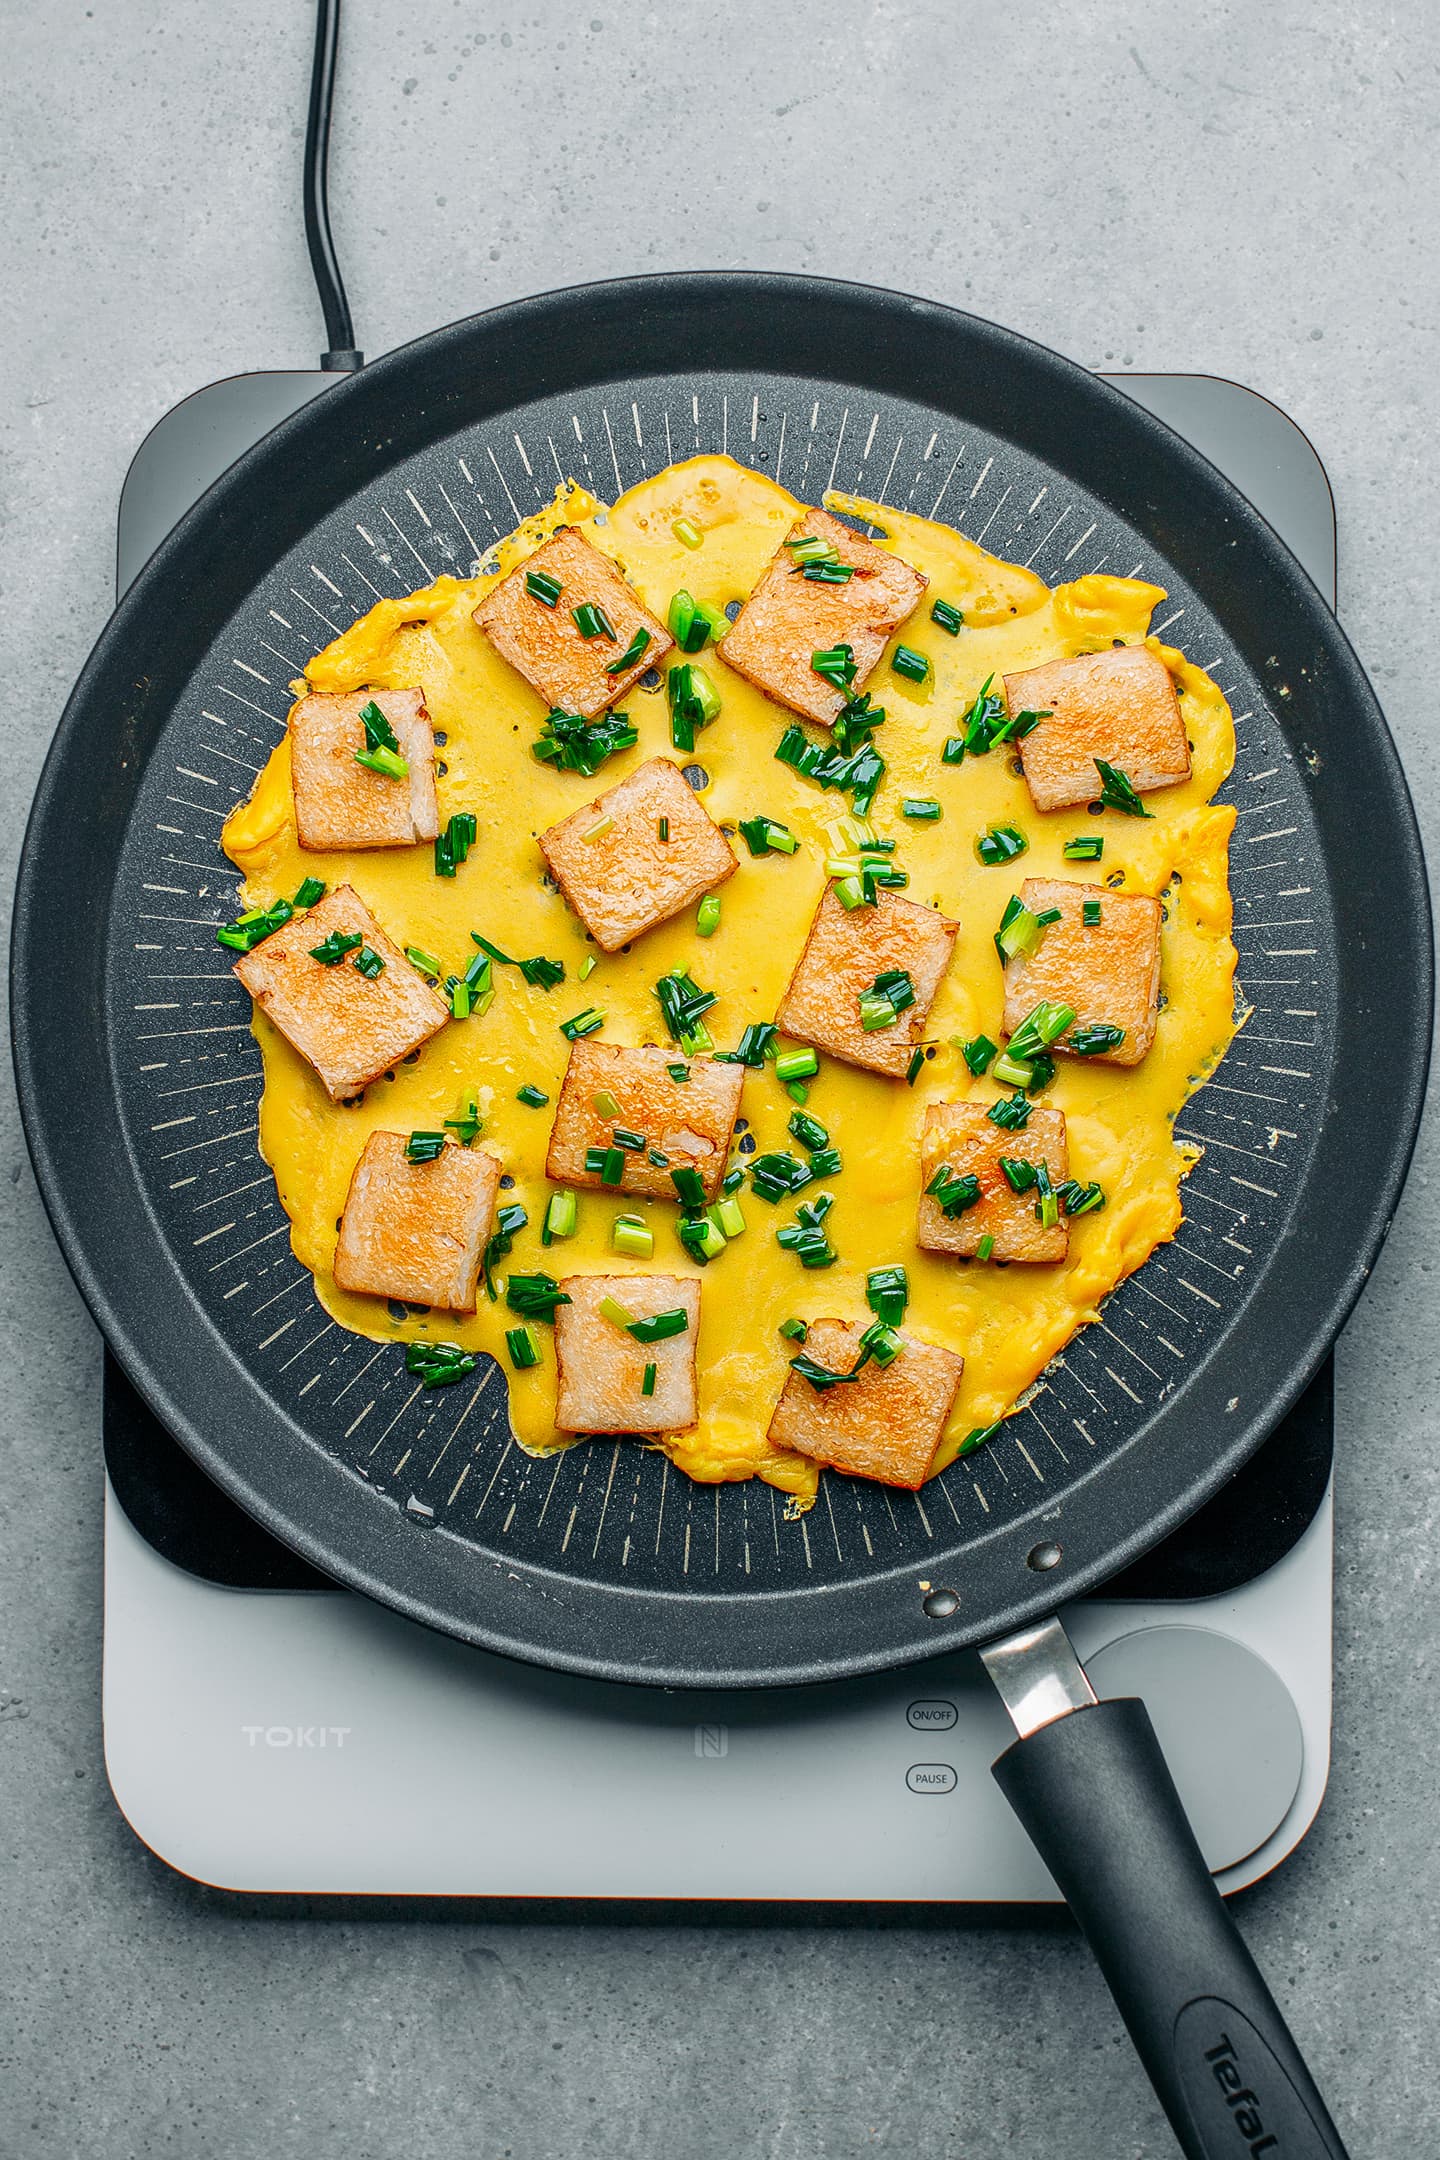
- Cook until set. Cook for 2-3 minutes or until the vegan egg mixture appears set and slightly browned on the bottom. Use a spatula to carefully transfer the rice cakes and vegan egg to a large plate.
- Assemble. Finally, to assemble bột chiên: garnish with sautéed green onions, generously drizzle with the sauce, and top with grated green papaya, Vietnamese pickles, and Thai basil!
How to Sauté Green Onions
While you can top bột chiên with raw green onions, it’s best to sauté them in oil before using. This step softens the onions, reduces their sharpness, and imparts a sweet flavor to them. To sauté green onions:
- Heat a tablespoon of oil in a saucepan over medium heat.
- Once hot, add about 1/4 cup of chopped green onions and cook for 15-30 seconds. Remove from heat.
📔 Tips
- Smooth the rice paste. In case the rice flour paste is not smooth and has visible clumps, you can either smooth it with a spatula or transfer it to a stand mixer fitted with the paddle attachment and “knead” the dough for a few seconds or until it is smooth. Then, proceed with the steaming step.
- Use a non-stick pan. Rice cakes tend to stick easily to the pan so you must absolutely use a non-stick skillet to pan-fry them.
🌶️ Variations
The recipe we are sharing here is the classic one, but every household has their own unique way of preparing it, so do not hesitate to customize it to your liking as well. Here are a couple of ideas:
- Add vegetables: Feel free to sauté thinly sliced mushrooms, pak choi, or carrots with the rice cakes.
- Make it spicy: After cooking, drizzle bột chiên with either sweet chili sauce or saté for a kick of heat.
- Make it cheesy: Top with grated vegan cheese or scrambled vegan ricotta.
🌿 What to Serve It With
Bột chiên is usually served on its own and enjoyed as a snack or light meal but you can pair it with:
- Green salads: Like carrot & kale salad, lettuce, arugula, green mango salad, or grated carrot salad.
- Sweet drinks: Such as peach, orange, and lemongrass iced tea, iced green tea, or taro milk tea.
❄️ Storing
- To store: Bột chiên tastes best when served immediately. The rice cakes are tender on the inside and crispy on the outside. Hence, we do not recommend preparing it ahead of time or storing leftovers. You can, however, keep the steamed rice cakes in an airtight container in the refrigerator for up to 4 days and fry them just before serving.
💬 FAQ
Yes, you should let the batter rest for about 10 minutes to allow the water to soften the flour.
Yes, you can air-fry the rice cakes. To do so, preheat your air fryer to 365°F (185°C). In a small bowl, toss the rice cakes with a tablespoon of oil. Arrange the rice cakes in a single layer in the air fryer and air fry for about 15 minutes, flipping once halfway through air frying.
The rice cakes are cooked when they are golden brown on both sides.


Save this recipe!
Enter your email below and I’ll send it to your inbox!
Plus, you will receive new recipes every week!

Bột Chiên (Vietnamese Fried Rice Cakes)
Ingredients
Bot Chien (Rice cakes)
- 3/4 cup (120 g) white rice flour
- 2 tbsp (15 g) tapioca starch
- 1/4 tsp salt
- 1 cup (240 ml) water
- 1 tbsp (15 ml) oil
Vegan "Egg"
- 2/3 cup (160 ml) unsweetened almond milk
- 1/4 cup (35 g) chickpea flour
- 2 tsp (6 g) nutritional yeast
- 2 tsp (8 g) cornstarch
- 1/8 tsp turmeric
- 1/8 tsp kala namak salt
Sauce
- 2 tbsp (30 ml) soy sauce
- 1 tbsp (15 ml) white vinegar
- 1 tbsp (12 g) sugar
- 2 tbsp (30 ml) water
For topping
- 1 cup grated green papaya
- 1/4 cup Vietnamese pickles
- sweet chili sauce
- fresh herbs such as green onions and/or Thai basil
Instructions
Rice Cakes
- Whisk together the dry ingredients. Add the rice flour, tapioca starch, and salt to a mixing bowl. Whisk until combined.
- Add the wet ingredients. Next, pour in the water and oil and whisk until smooth. The batter will be very liquid, this is normal.
- Let it rest. Let the batter rest for about 10 minutes. This will allow the flour to absorb some of the water.
- Thicken the batter. Transfer the batter to a saucepan and heat it over medium heat. Using a wooden spoon or spatula, keep stirring until the batter transforms into a paste. At first, the batter will clump, keep heating and stirring until it comes together into a very thick paste. Once the consistency is thick, remove the saucepan from the heat.
- Press the dough into a pan. Lightly oil a 4.5-inch-wide pan (We used a round glass pan). Note: The shape of your pan doesn’t matter much as long as the paste is about 1.5 inches thick. Ensure you pick a pan that is heat-safe and can fit in your steamer.
- Steam it. Place a bamboo steamer basket on top of a large pot filled with about 2 cups of water. Bring the water to a boil. Once boiling, place the pan into the steamer and close with the lid. Steam for 20 minutes over medium heat.
- Let cool. Remove the pan from the steamer and let it cool for at least 25 minutes. Next, carefully remove the rice cake from the pan, wrap it in plastic wrap, and transfer it to the refrigerator.
- Chill overnight. The rice cake should be chilled in the refrigerator for at least 4 hours, preferably overnight.
Assemble
- Wrap a knife with plastic wrap. It’s now time to slice the rice cakes into small rectangles. To do that, wrap the blade of a knife with plastic wrap, this will prevent the rice cakes from sticking to the blade.
- Cut the rice cakes. Next, cut the rice cake into 1×1.5-inch rectangles with a thickness of about 1/2-inch thickness.
- Toss with soy sauce. Transfer the sliced rice cakes to a mixing bowl. Drizzle with the dark soy sauce and toss to coat them evenly. This step essentially gives the rice cakes a more appetizing color; it doesn’t really affect the flavor. Set aside while you prepare the vegan “egg.”
- Make the vegan "egg." To the bowl of a blender, add the plant-based milk, chickpea flour, nutritional yeast, cornstarch, turmeric, and kala namak salt. Blend on high speed for 15-30 seconds or until smooth. Set aside.
- Pan-fry until golden brown. Heat one tablespoon of oil in a large non-stick skillet over medium heat. Once hot, add the rice cakes and cook for 5-8 minutes or until crispy and golden brown.
- Flip. Next, flip the rice cakes and cook on the other side for another 5-8 minutes.
- Pour in the vegan egg. Using a spoon or a small jug, pour the vegan egg in between the rice cakes to create a round “omelet.”
- Cook until set. Cook for 2-3 minutes or until the vegan egg mixture appears set and slightly browned on the bottom. Use a spatula to carefully transfer the rice cakes and vegan egg to a large plate.
- Assemble. Finally, to assemble bột chiên: garnish with sautéed green onions, generously drizzle with the sauce, and top with grated green papaya, Vietnamese pickles, and Thai basil!
- To store: Bột chiên tastes best when served immediately. The rice cakes are tender on the inside and crispy on the outside. Hence, we do not recommend preparing it ahead of time or storing leftovers. You can, however, keep the steamed rice cakes in an airtight container in the refrigerator for up to 4 days and fry them just before serving.
Notes
- Smooth the rice paste. In case the rice flour paste is not smooth and has visible clumps, you can either smooth it with a spatula or transfer it to a stand mixer fitted with the paddle attachment and “knead” the dough for a few seconds or until it is smooth. Then, proceed with the steaming step.
- Use a non-stick pan. Rice cakes tend to stick easily to the pan so you must absolutely use a non-stick skillet to pan-fry them.
Nutrition

About the Author
Thomas Pagot is the founder, photographer, and recipe developer behind Full of Plants. He created the blog in 2016 as a personal cookbook for vegan recipes. Through years of recipe development, Thomas has successfully grown Full of Plants into a trusted resource for plant-based recipes.




Leave a Comment
I’d never made fried rice cakes before. I usually just bought them when I was still living in Saigon. This was my first time making them at home, and your step-by-step instructions really helped me through it. Truly a great recipe ♥️
Thanks for your comment, glad you enjoyed the recipe!
We tried Bot Chien a couple of years ago when we were in Saigon, a city in Vietnam. It was one of the street foods that my whole family enjoyed. There were many sellers but our favorite one was the one selling Bot Chien near Nguyen Thi Dieu High School. Darn, I forgot the street’s name.
Tbh, I hesitated to try this recipe at first because it was a bit tricky to find green papaya here. I know we can omit it but I wanted to make the authentic one as close as possible. I had to ask the owner of an Asian grocery store near our home to get one for me. It was not cheap but still worth ordering from time to time.
After trying your recipe, all I can say is one word: Perfection! The taste, the texture, the sauce, everything is as delicious as the authentic one, sure without the eggs.
Thanks to your recipe, now we can make the vegan version at home easily. We really miss eating this for snacking time, one of the things we used to do.
Lucky to know your blog!!!
Thanks for your rating Emy!
The best vegan omelette I’ve eaten so far is one made with tofu. So, when I make a dish requiring omelette, I will change it to one made with tofu. 🙂
Sure! Feel free to adapt the recipe to your liking 😉
Just make sure that your vegan omelet recipe can hold together otherwise you won’t be able to lift it with the rice cakes from the pan.