
This post may contain affiliate links. Please read our disclosure policy.

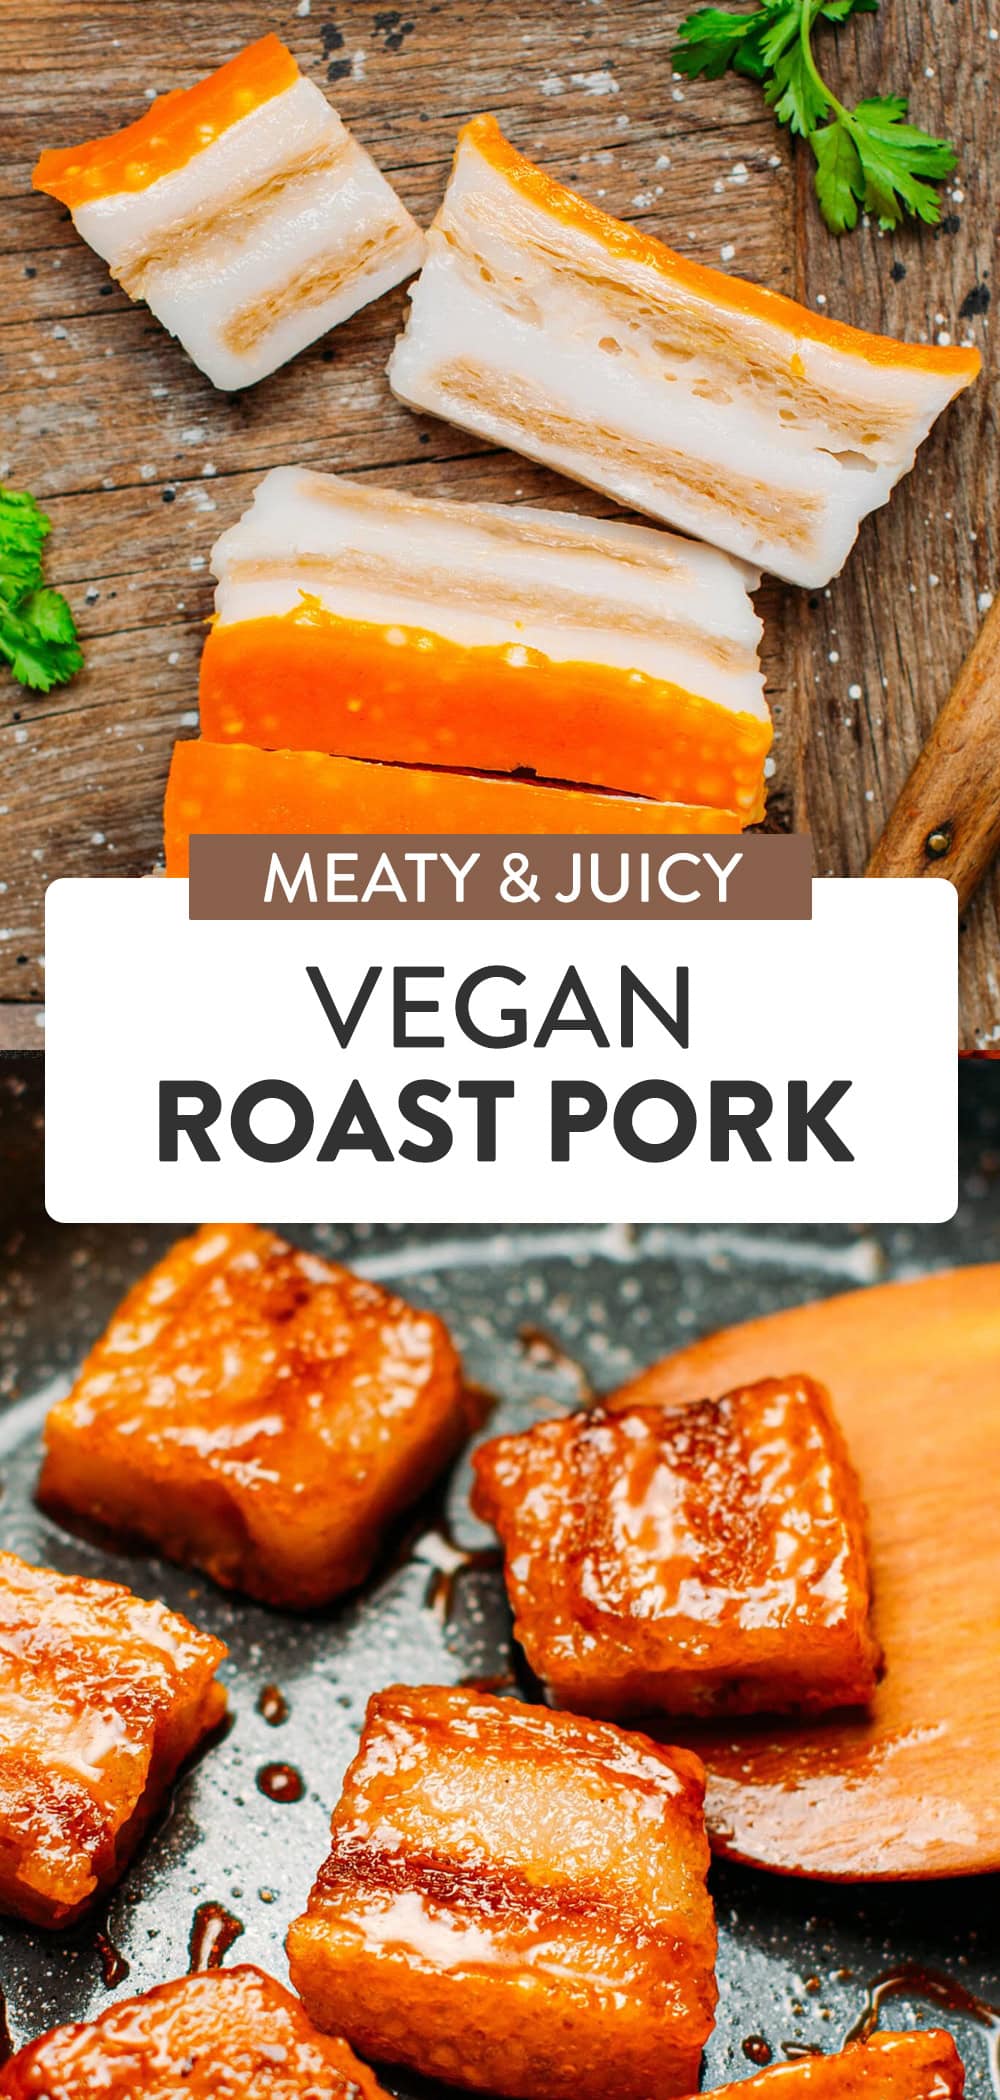
Incredibly meaty and juicy vegan pork belly! With layers of (coconut) fat that melt in your mouth and a crispy crust, this plant-based meat alternative is a must-try! Plus, it looks surprisingly real!
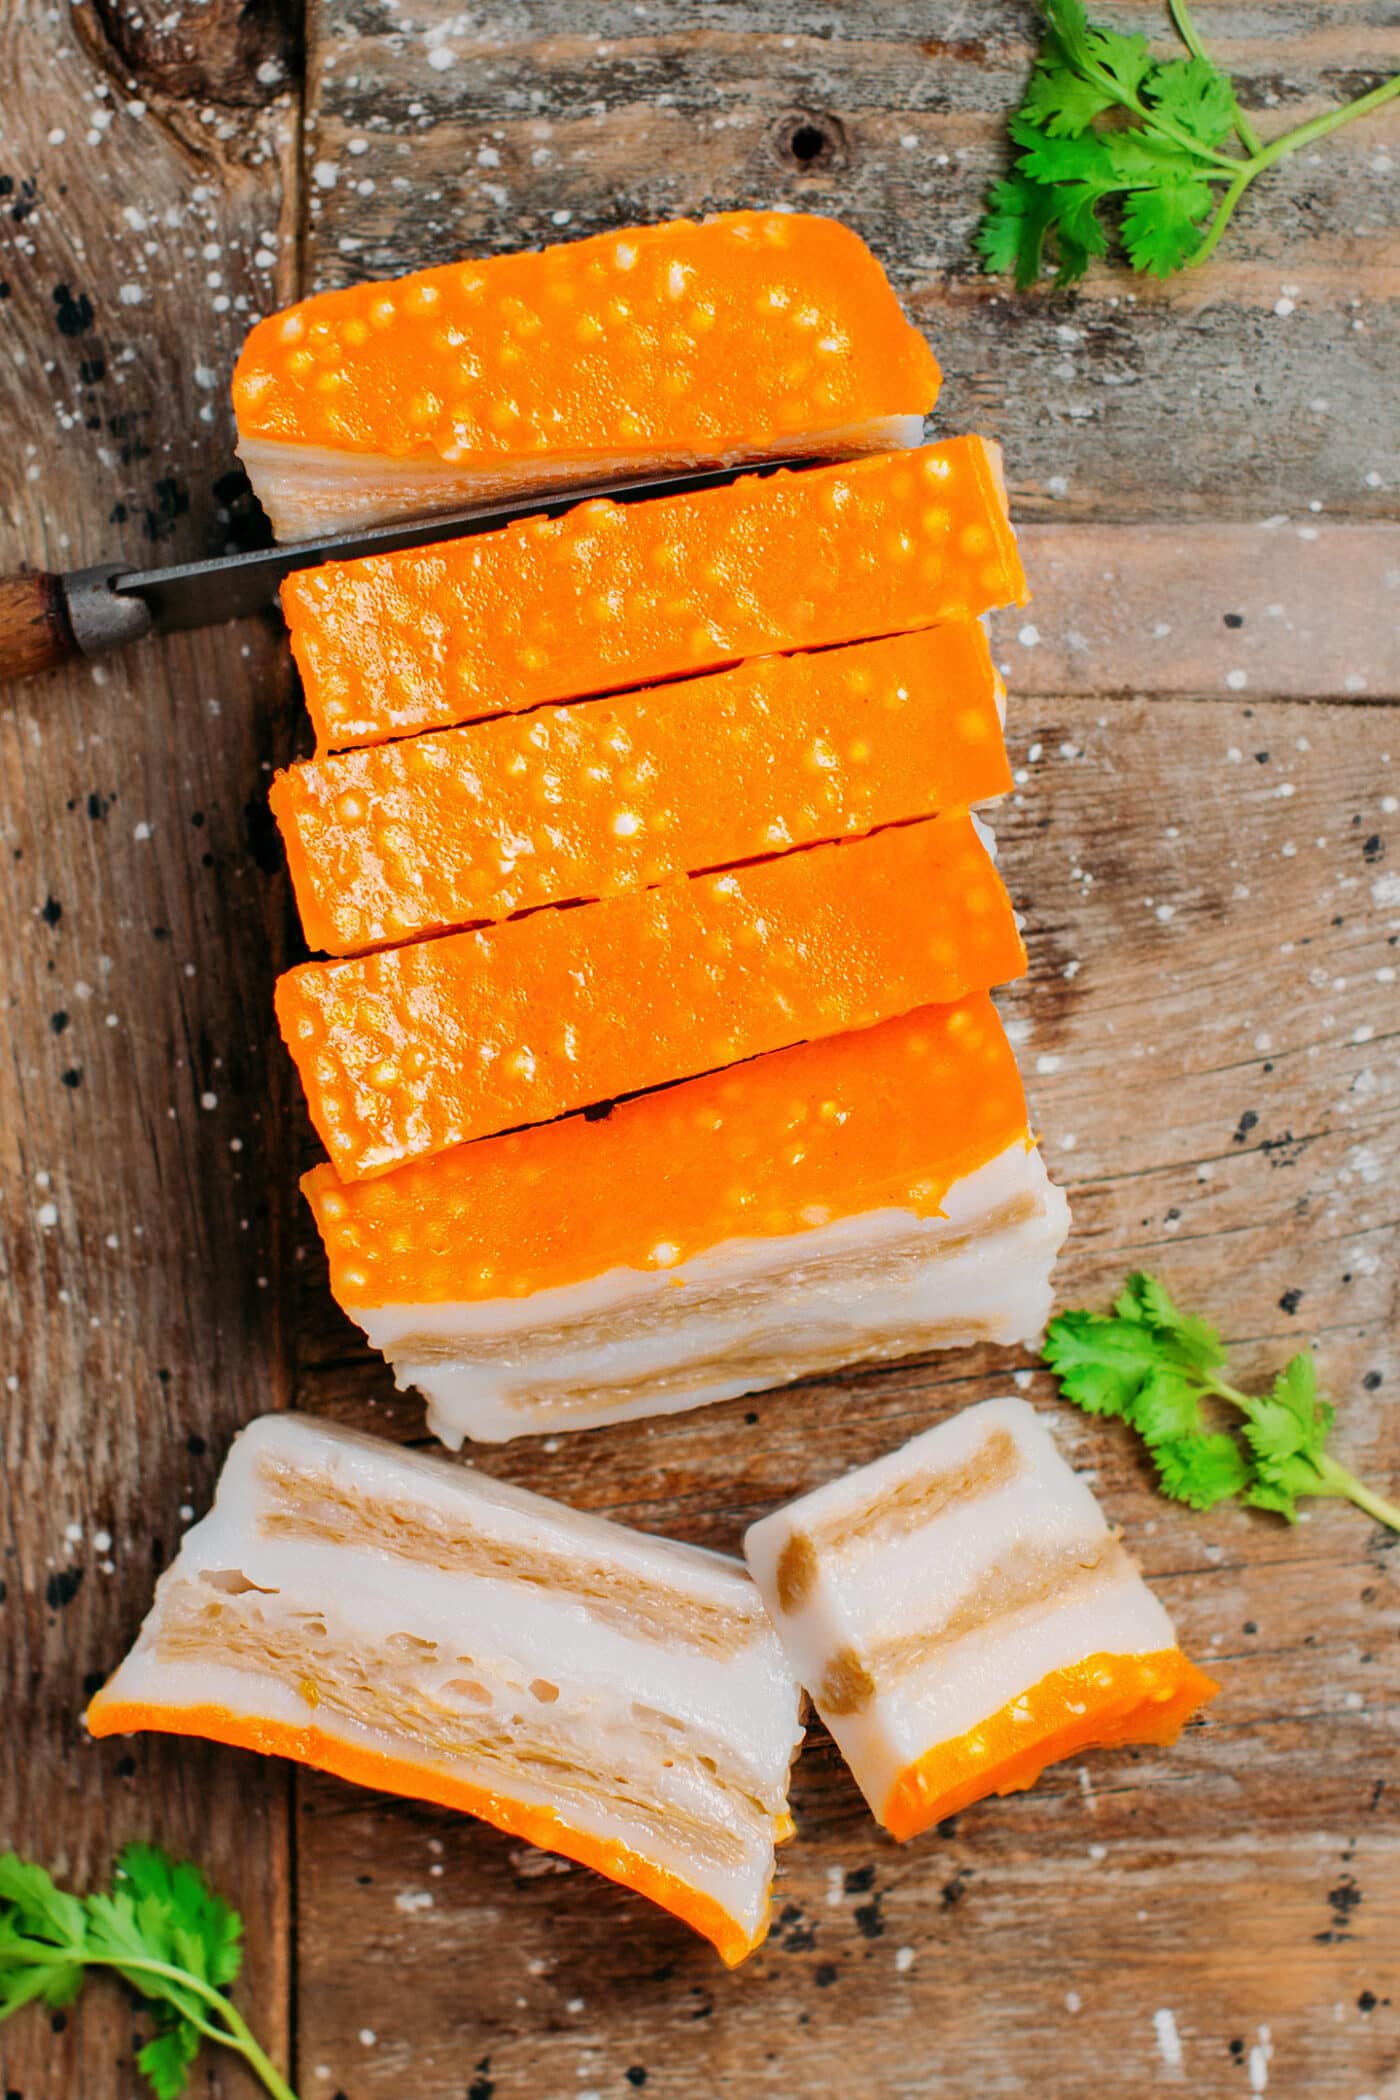
Introducing vegan roast “pork”! I’m so excited to share this recipe!
Once again, this is a dish that I came across during my time in Vietnam. I remember the day I decided to randomly order “heo quay chay” (vegetarian roast pork) from Grab Food, one of the most popular food delivery apps in the country. When I received the dish and gave it a try, it was so surprisingly meaty that I had to double-check and ask my Vietnamese wife if I had accidentally ordered from a non-vegan restaurant.
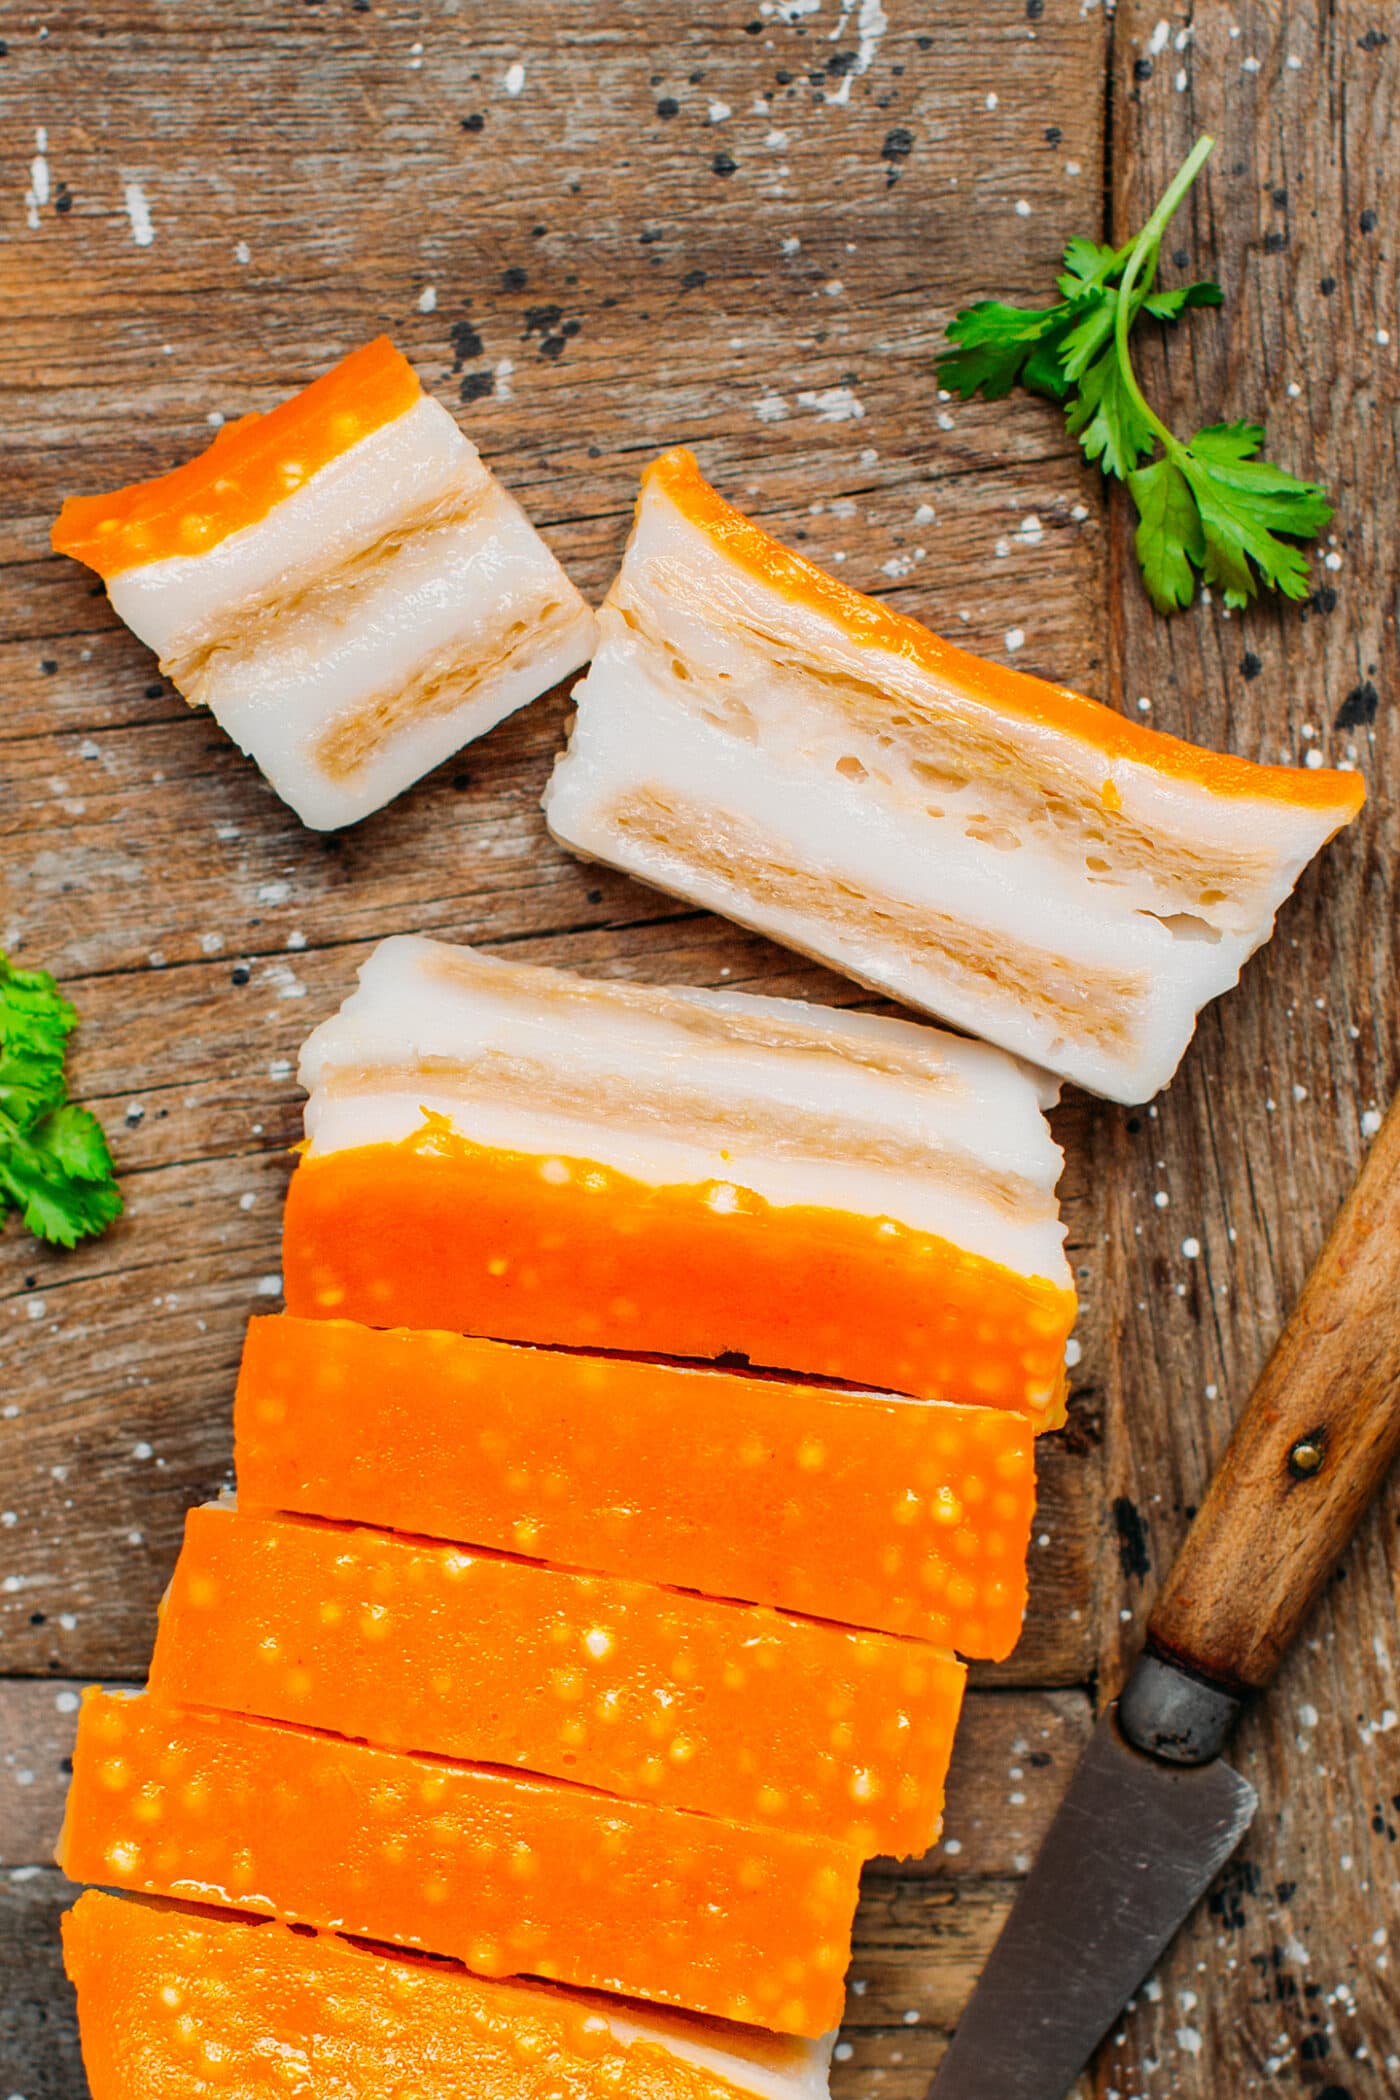
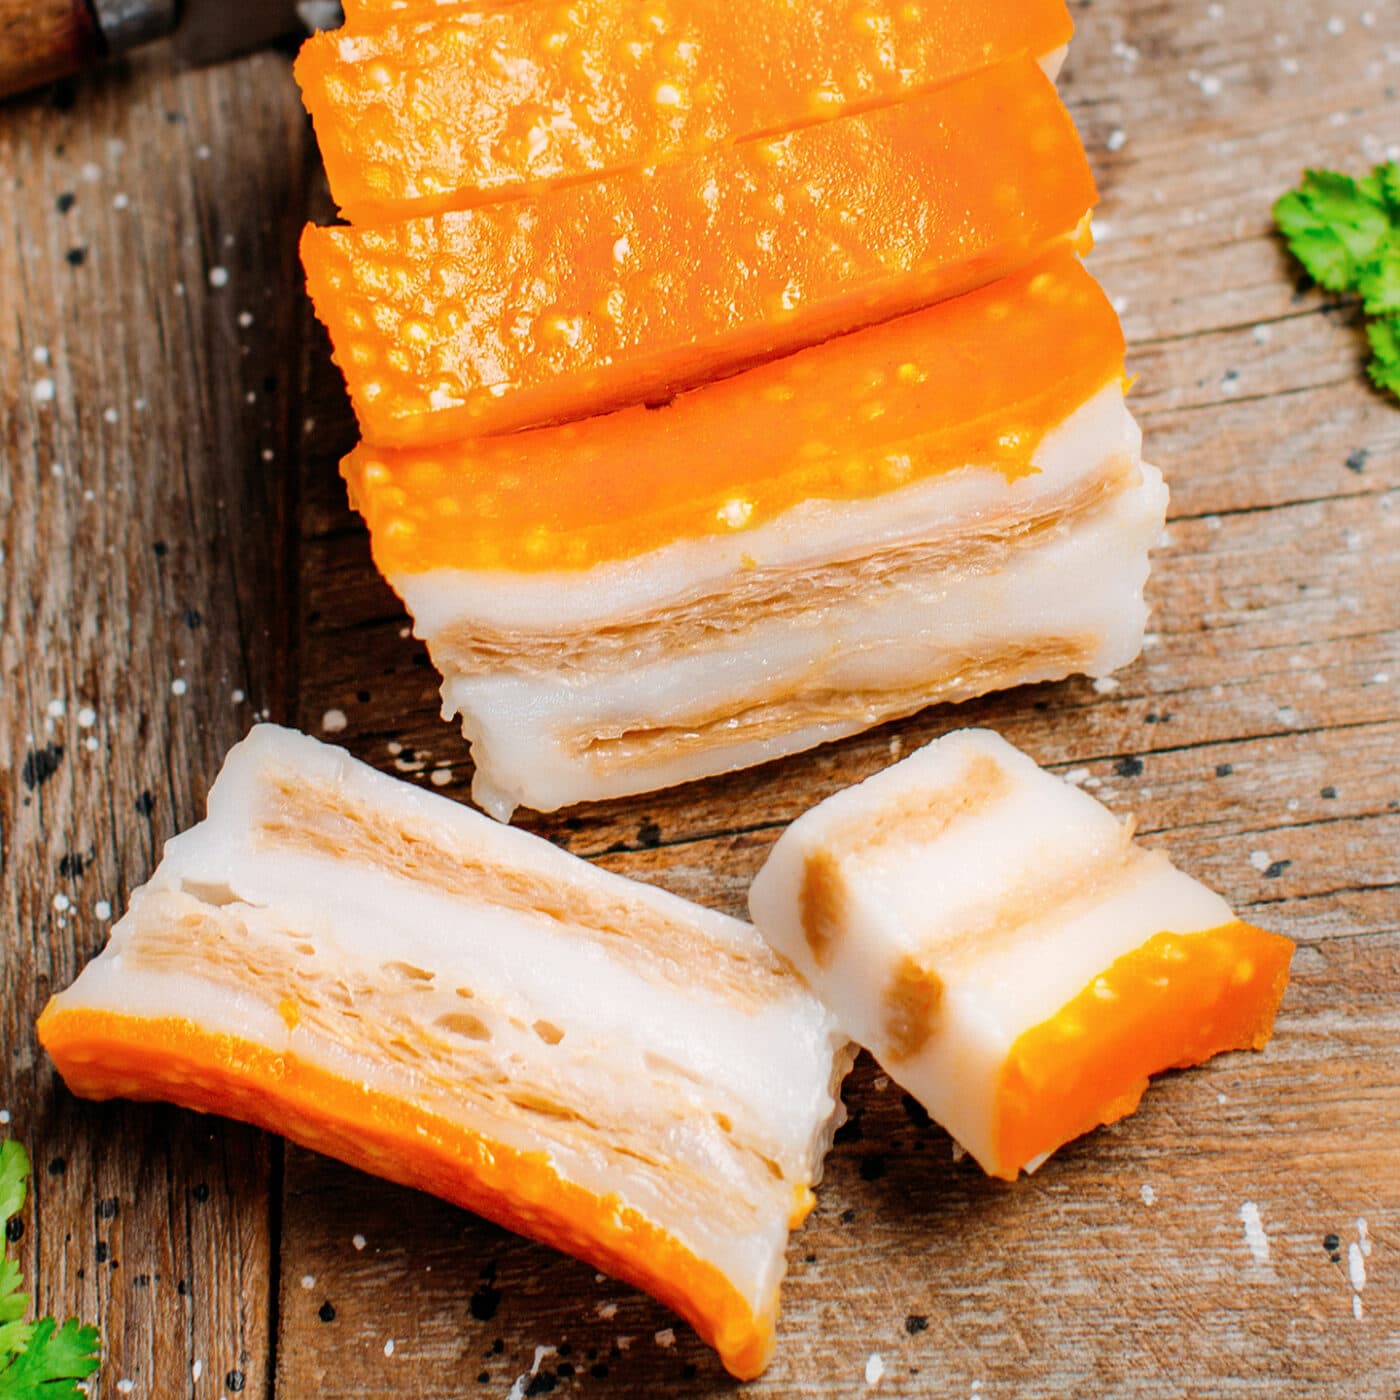
Well, there is no plot twist here, it was 100% VEGAN. I am blown away by how creative Vietnamese cuisine can be when it comes to making vegetarian dishes. This plant-based version of roast pork is typically made with layers of vegan meat (usually some TVP slices) and coconut “fat”. It’s then topped with a crust that is naturally colored with annatto to mimic the pork skin! It is usually deep-fried to create a crispy outside while maintaining the inside soft and meaty.
My recipe is adapted from Vietnamese recipes, and I can’t wait for you to give it a try as it’s definitely unique and super fun to make! Let’s do it!
⭐️ Why You Will Love It
Surprisingly meaty.
My recipe is just as meaty and tasty as the one I tried in Vietnam years ago. If you have never tried vegan roast pork, you’re going to be shocked by how wonderful this meat alternative is!
Picture this: Rich and juicy layers of coconut fat, chewy layers of vegan meat, and a super crispy exterior. Toss that with a sweet and salty char siu sauce, and I can guarantee you that it’s going to fool many!
A great vehicle for flavor.
Think of this vegan roast pork as a blank canvas. Similar to tofu, it doesn’t taste much on its own but is the perfect vehicle for flavor. The main point of this recipe is to recreate a texture and look similar to roast pork. Then, once you have that, you can season it to your liking. I personally think it tastes the best with a char siu sauce, just like traditional Vietnamese roast pork, but you can also season it with teriyaki sauce or your favorite marinade.
It can then be used in a multitude of dishes such as stir-fries, sandwiches, bao buns, noodle dishes, or simply served as a side with steamed white rice!
Easy to make.
While it may seem like a lot of labor, it’s actually not! You will need only 10 ingredients and less than 1 hour to make it. The process is very simple as it only consists of arranging each layer one by one and steaming each. It’s the most time-consuming step of the recipe but also the most rewarding!
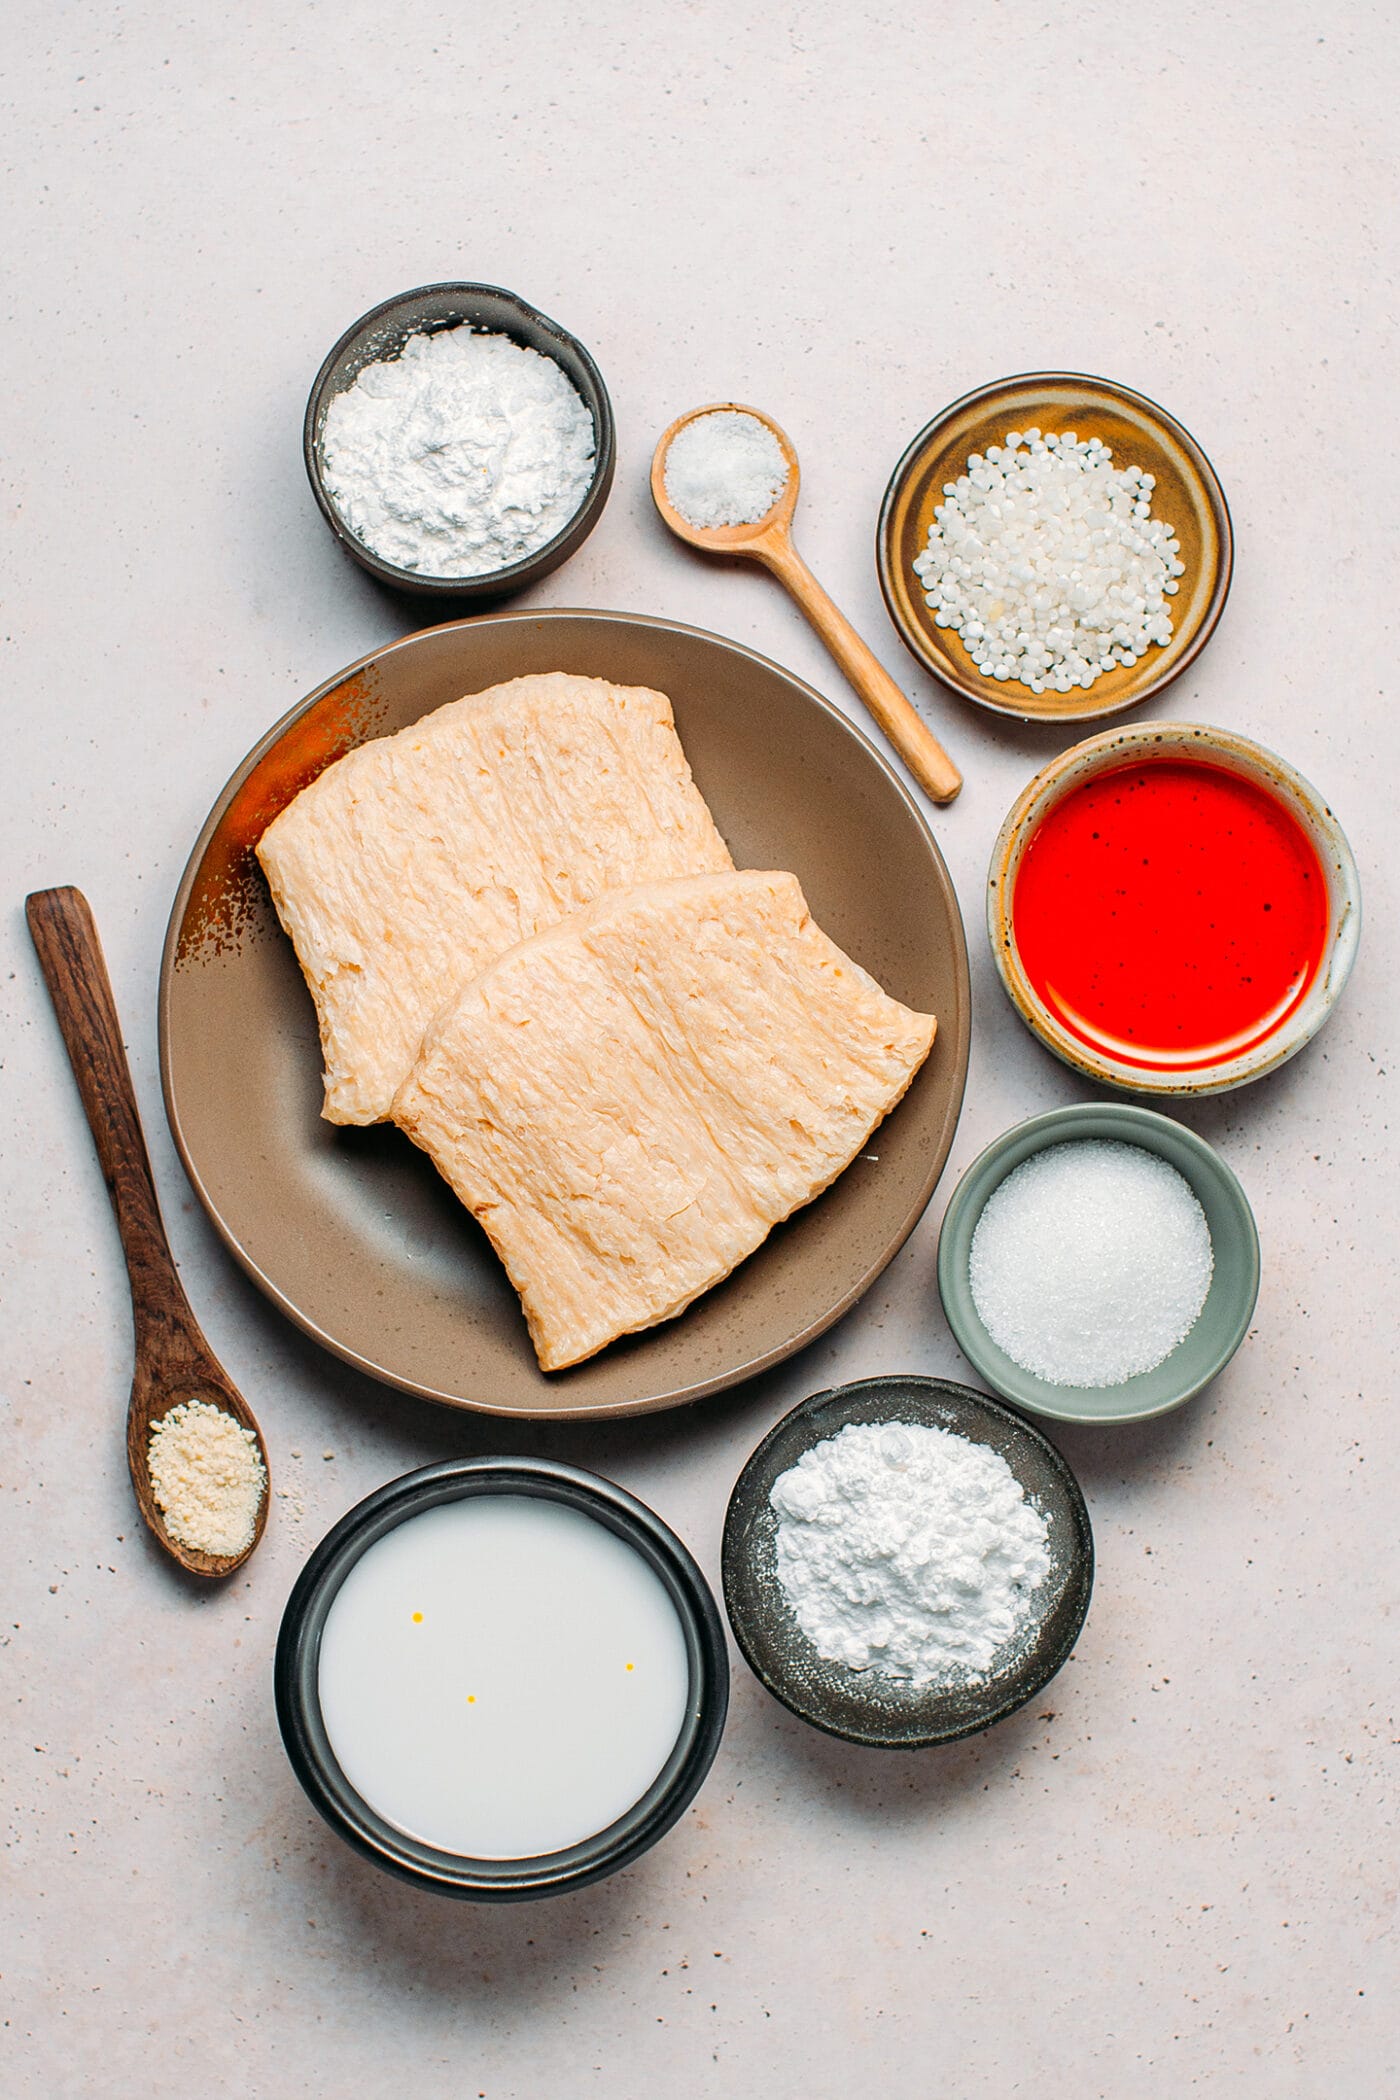
🥛 Ingredient Notes
TVP slices
To create the “meat” layers, I use TVP (textured vegetable protein) slices. If you know soy curls, then you will feel familiar with TVP slices, as they are basically the same thing but in a different shape. TVP is sold dried and must be rehydrated before using.
Recommendations: I recommend using either thin TVP slices like these Unflavored strips or these Vegan Chicken Slices.
Substitute: You can replace the TVP with basically any strip of plant-based meat, like slices of vegan chicken, for example. Tempeh might work as well, but I haven’t tried it yet. I would recommend staying away from tofu as it won’t stick to the fat layers.
Coconut milk
Then, to mimic the layers of fat present in real roast pork, I rely on full-fat coconut milk. It creates the needed richness and is responsible for the white color. If you wonder if it imparts a coconut flavor, then yes, it does. However, since this roast pork is supposed to be fried and then seasoned, you won’t taste the coconut in the final result.
Note: Other plant-based milks will work but won’t yield the same richness.
Tapioca starch and rice flour
Tapioca starch gives the fatty coconut layer a chewier, more elastic consistency, while the rice flour helps it thicken during steaming. Both are essential to create the desired consistency.
Salt and sugar
To season the fat layers. Vietnamese cuisine almost always relies on sugar to balance the saltiness.
Tapioca pearls
In order to give the vegan roast pork a look closer to the authentic pork belly, I am using small tapioca pearls (the same pearls used to make sago!). They help create a grainy texture on the orange “skin” layer.
Annatto oil
I am using annatto oil as a natural coloring for the skin layer. It adds a vibrant orange color.
Note that the annatto oil is not essential – it’s mostly for aesthetics. If you plan to fry this roast pork, the color won’t pop out much, so don’t stress too much about this one.
Substitute: If you don’t have annatto oil, you can use some orange food coloring or 1/8 teaspoon of turmeric. It won’t be as vibrant and more yellow, but it still works great.
⏲️ Equipment
Steamer
Since the process consists of steaming each layer one after the other, you will need a steamer that can be opened easily. I recommend using a bamboo steamer basket placed on a pot of boiling water. Alternatively, an Instant Pot covered with a glass lid will work too.
Mini loaf pan
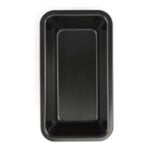
I am using a mini loaf pan measuring 3.5×6-inch for this recipe as it fits in my bamboo basket steamer. It is quite small but will make enough roast pork for 2-3 servings. Feel free to use a larger loaf pan and double the recipe if you desire.
🥣 How to Make It
This recipe consists of 3 steps:
- Preparation: First, you will rehydrate the TVP slices and make the coconut milk “fat.”
- Steaming: Then, you will steam the loaf, layer by layer, finishing with the orange “skin” layer.
- Refrigeration: Before cutting it into slices, you will need to chill the vegan roast pork overnight. This will allow it to firm up and make it easier to cut.
- Frying: Finally, to give this vegan “pork” a crispy texture and help prevent it from crumbling in stir-fries, you will need to deep-fry it.
1. Prepare the “meat” and fat layers
Let’s start by rehydrating the TVP slices. To do so:
- Soak the TVP. Add the TVP slices to a large bowl and cover with hot water. Allow the slices to rehydrate for about 30 minutes or until they are soft.
- Drain. Drain and rinse the slices under cold water a couple of times. Squeeze the slices very tightly with your hands to remove as much excess moisture as possible. Set aside.
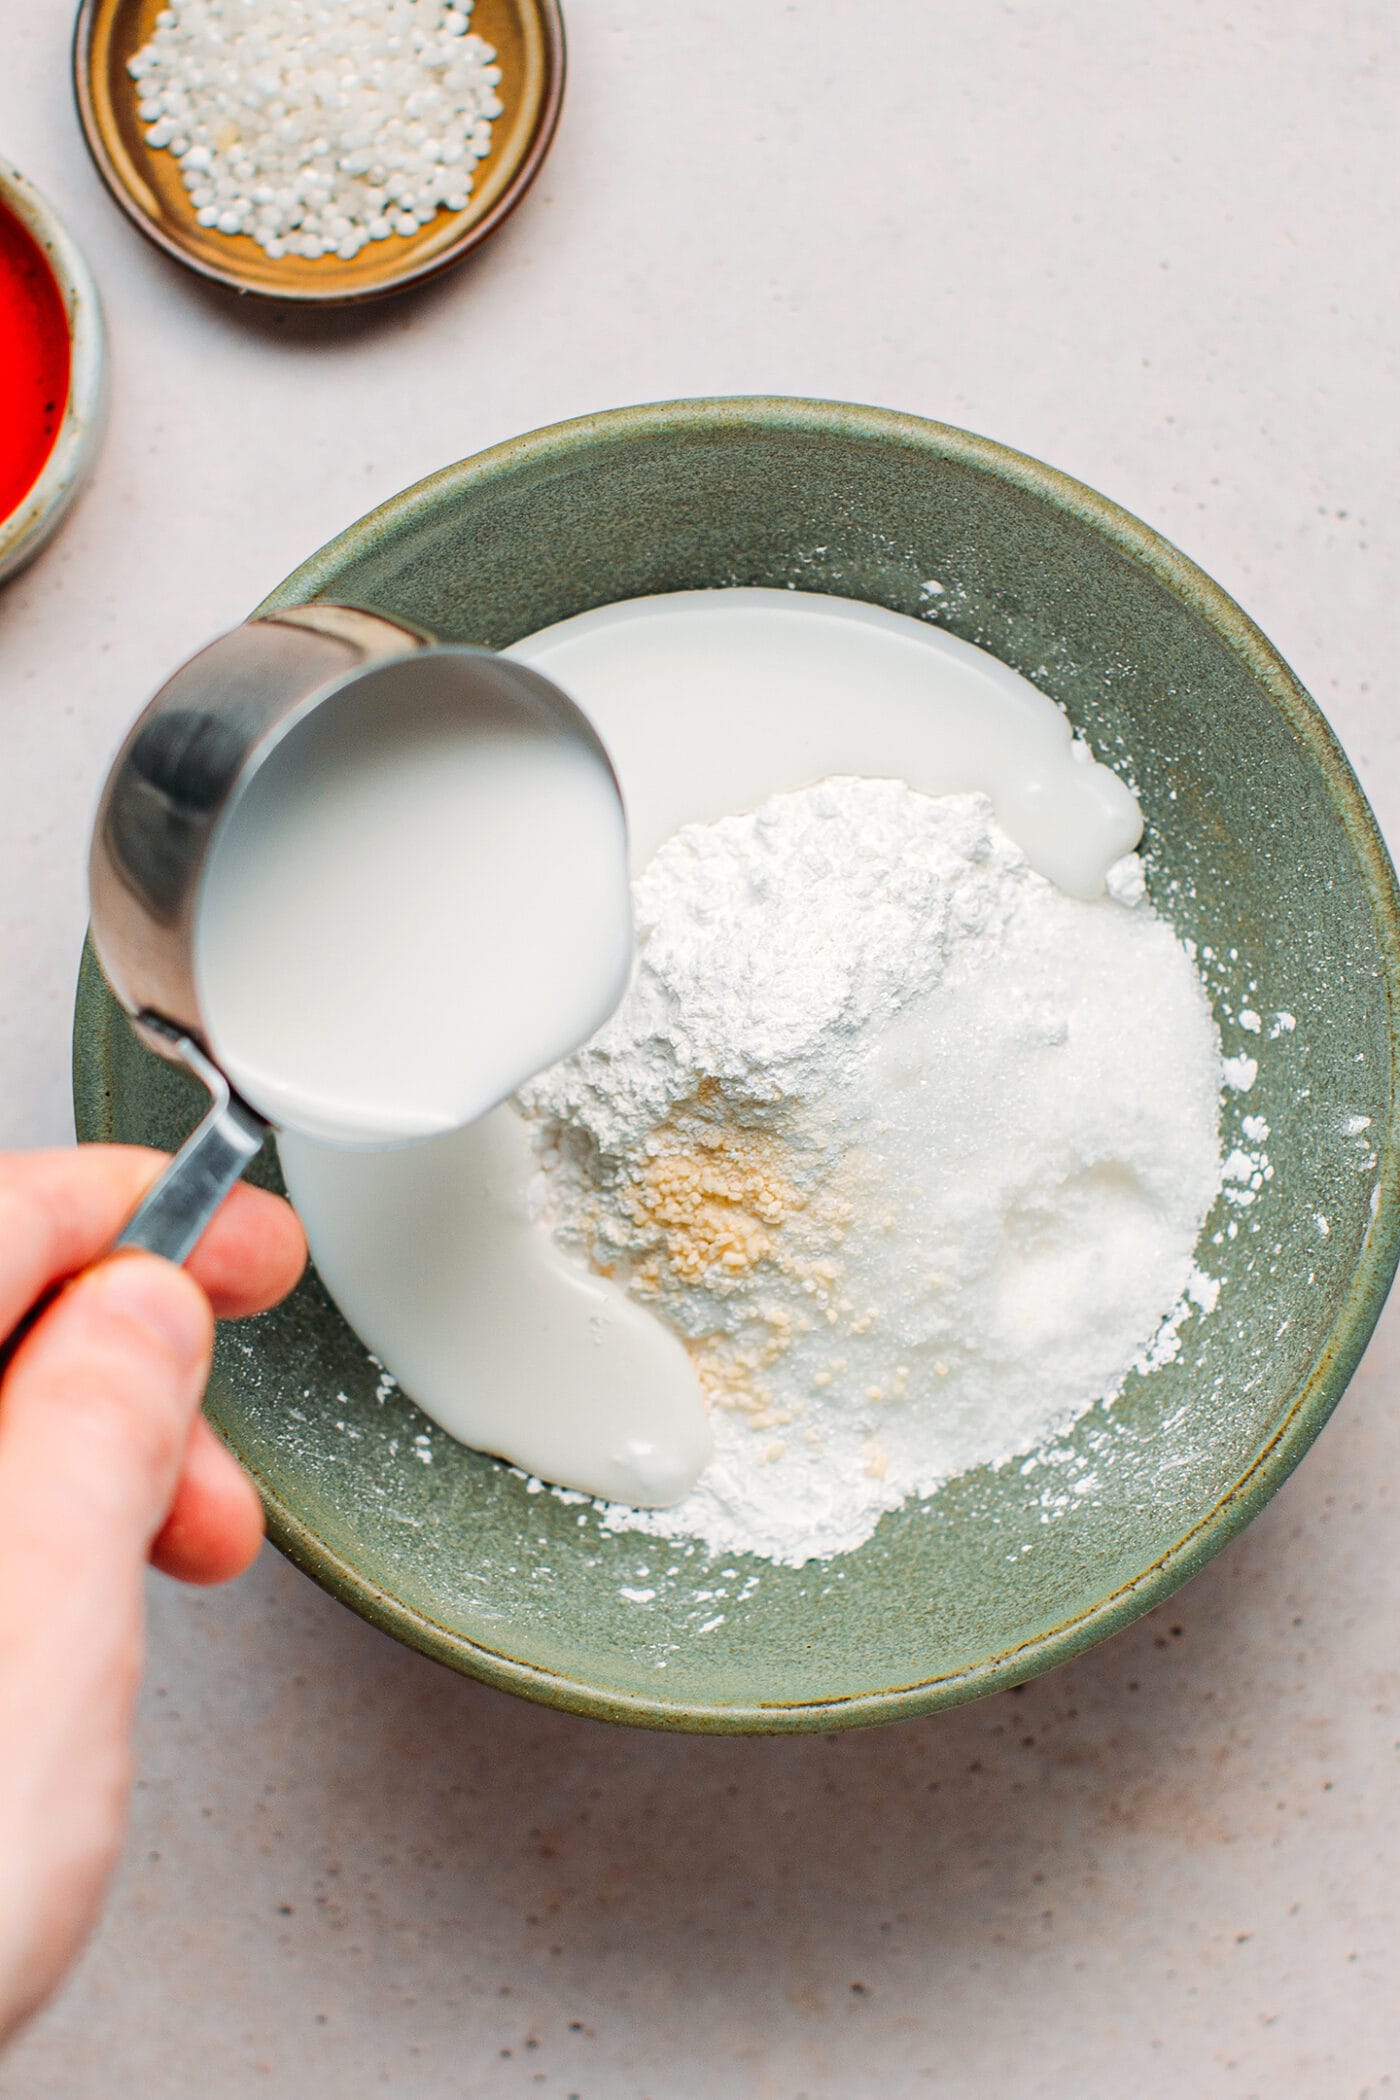
Then, it’s time to prepare the coconut “fat” and soak the TVP slices into it:
- Whisk together the ingredients. In a medium mixing bowl, whisk together the tapioca starch, rice flour, coconut milk, water, salt, and sugar.
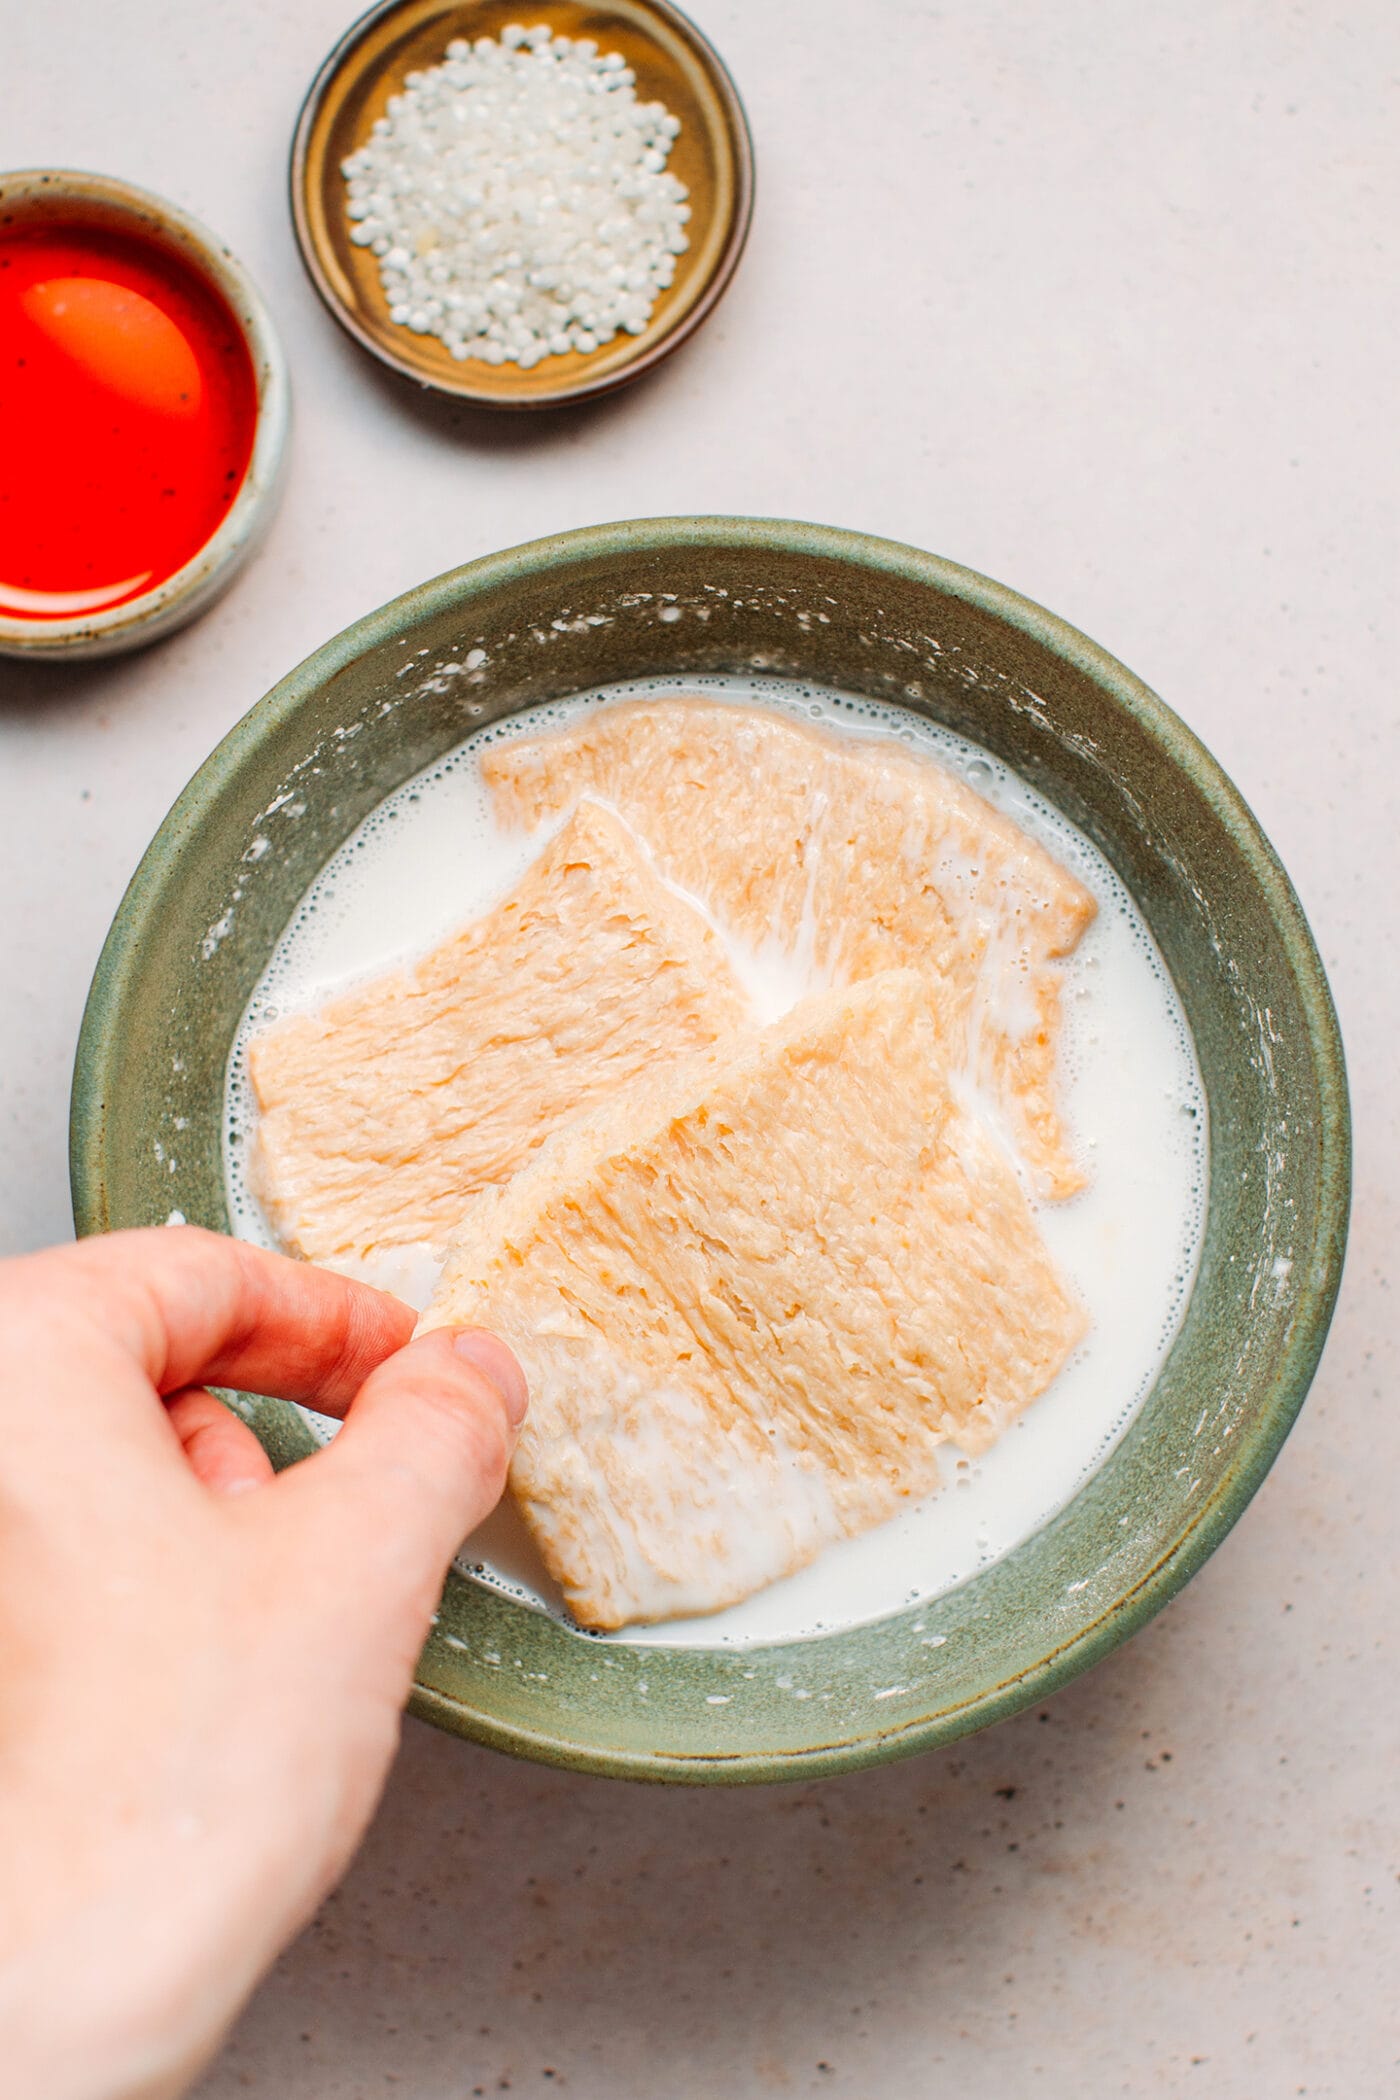
- Soak the TVP. Add the TVP slices to the bowl and let them soak for about 30 minutes. This step will allow the slices to soak up some of the coconut milk, resulting in a better texture.
2. Prepare the skin layer
To make the orange layer that is meant to resemble the skin of the roast pork:
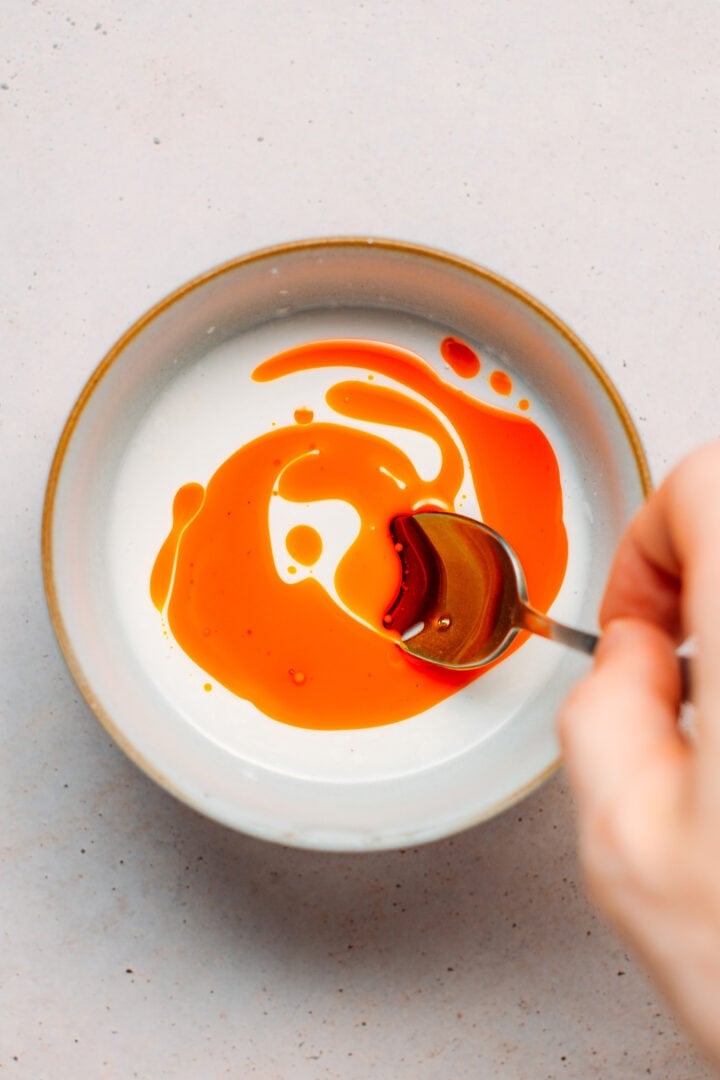
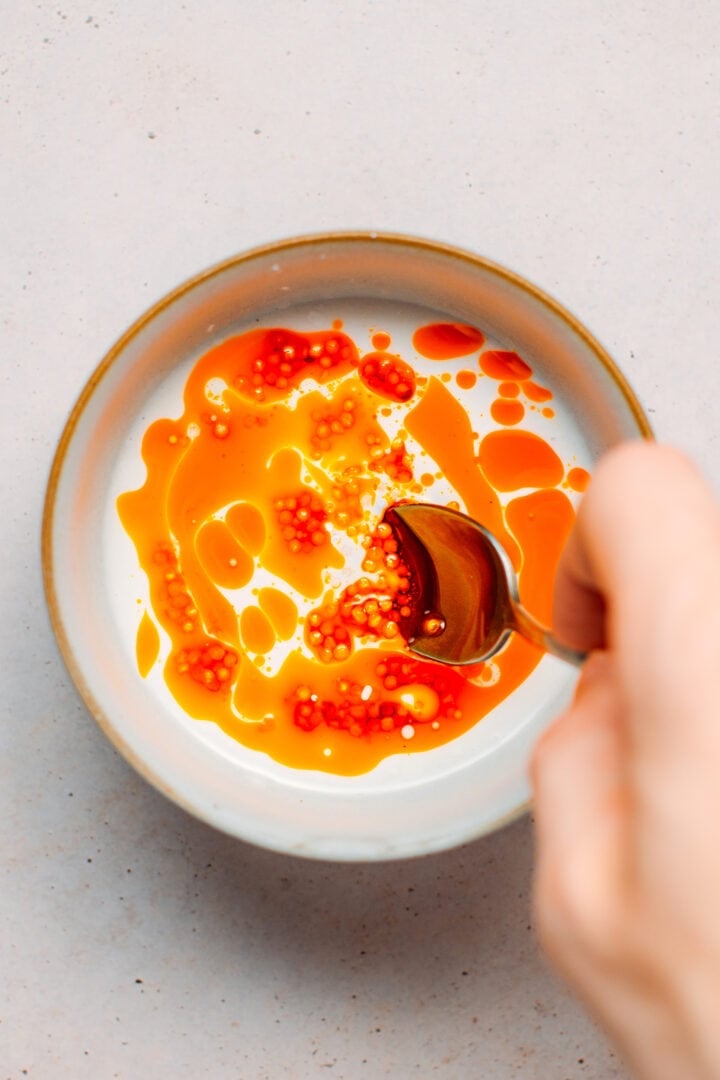
- Take 3 tablespoons of the coconut milk mixture and transfer it to a small bowl. Next, add 1 teaspoon of annatto oil and 1 and 1/2 teaspoons of tapioca pearls. Stir to combine and set aside.
That’s it, the preparation is already done. It’s now time to assemble and steam our roast pork!
3. Steam
Now comes the fun part, steaming the “pork” loaf! You will be steaming the loaf layer by layer to ensure each layer is cooked properly. To do so:
- Prepare your pan. Lightly oil your loaf pan or line it with a sheet of parchment paper.
- Heat a steamer. Bring a large pot of water to a boil and place your bamboo basket steamer on top.
- Add the first layer. Arrange a layer of TVP slices to the bottom of the pan (feel free to cut them if they don’t fit). Pour about 2 tablespoons of the coconut milk mixture over the slices, just to cover. Steam for 5 minutes. The coconut “fat” should have firmed up.
- Add the second layer. Next, to create a layer of fat, pour 3 tablespoons of the coconut milk mixture over the TVP slices and steam for another 5 minutes. This will make the first layer of fat.

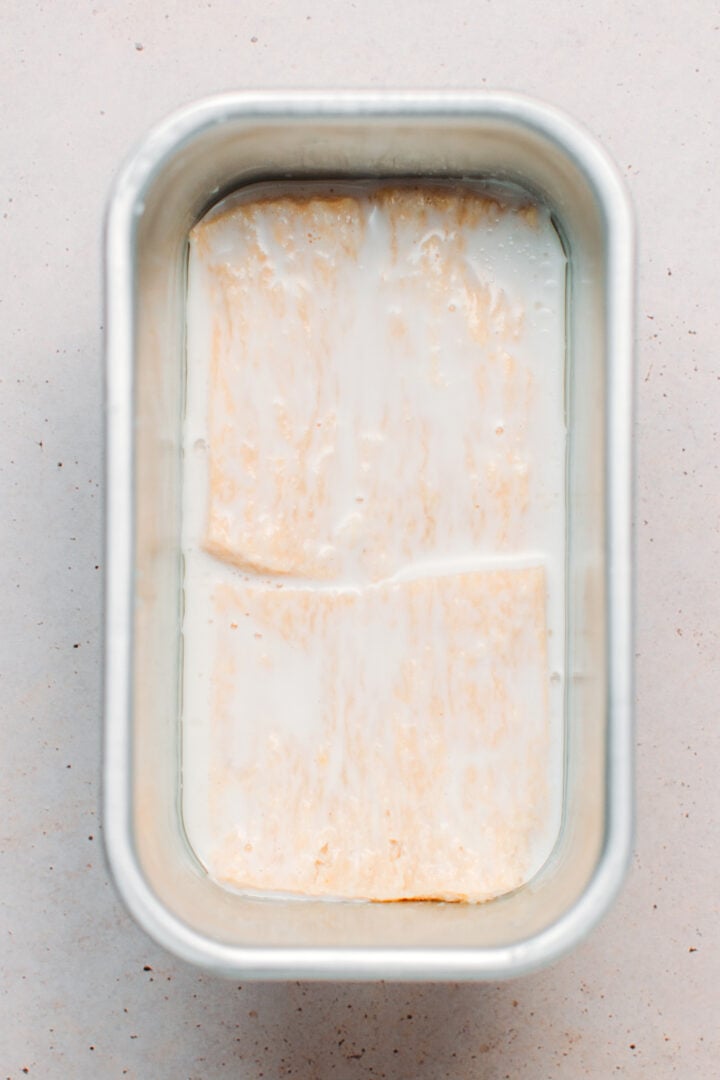
- Repeat. Repeat one more time with another layer of TVP slices and another layer of coconut milk mixture, steaming each for 5 minutes.
- Add the “skin” layer. Finally, pour in the orange coconut milk mixture (including the tapioca pearls) over the last layer of fat. Steam for another 4 minutes.
- Let cool. Carefully remove the pan from the steamer and let it cool completely at room temperature before transferring it to the refrigerator for at least 5 hours. After that, you can remove it from the pan and cut it into slices! I usually cut it into thick rectangles as they hold better during frying, but feel free to cut it into large slices or slightly thinner strips.
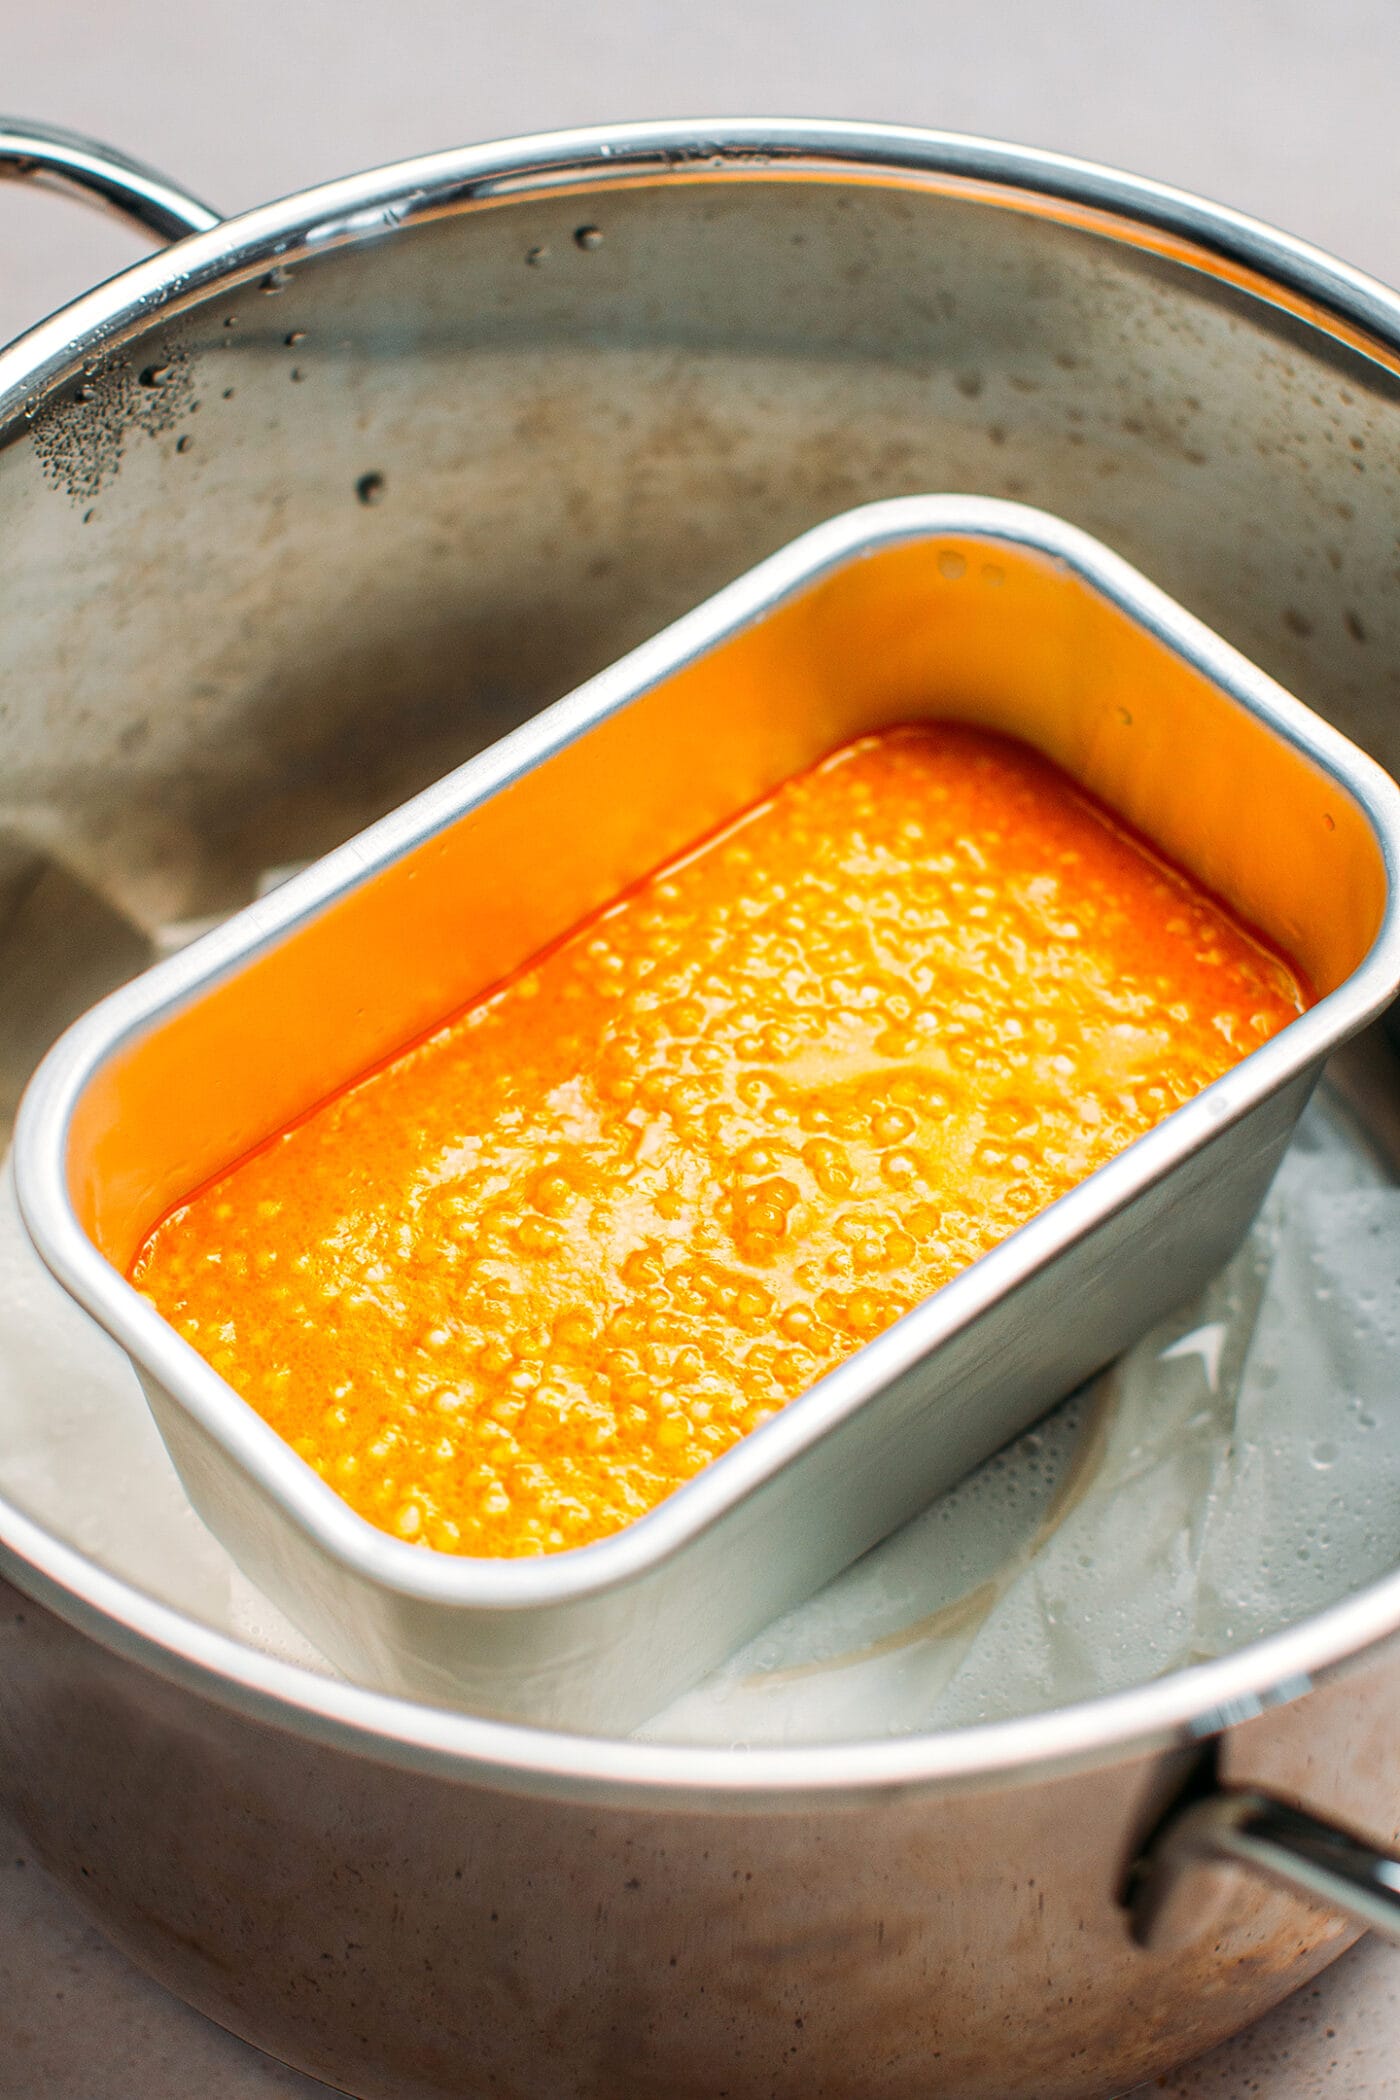
4. Deep-fry
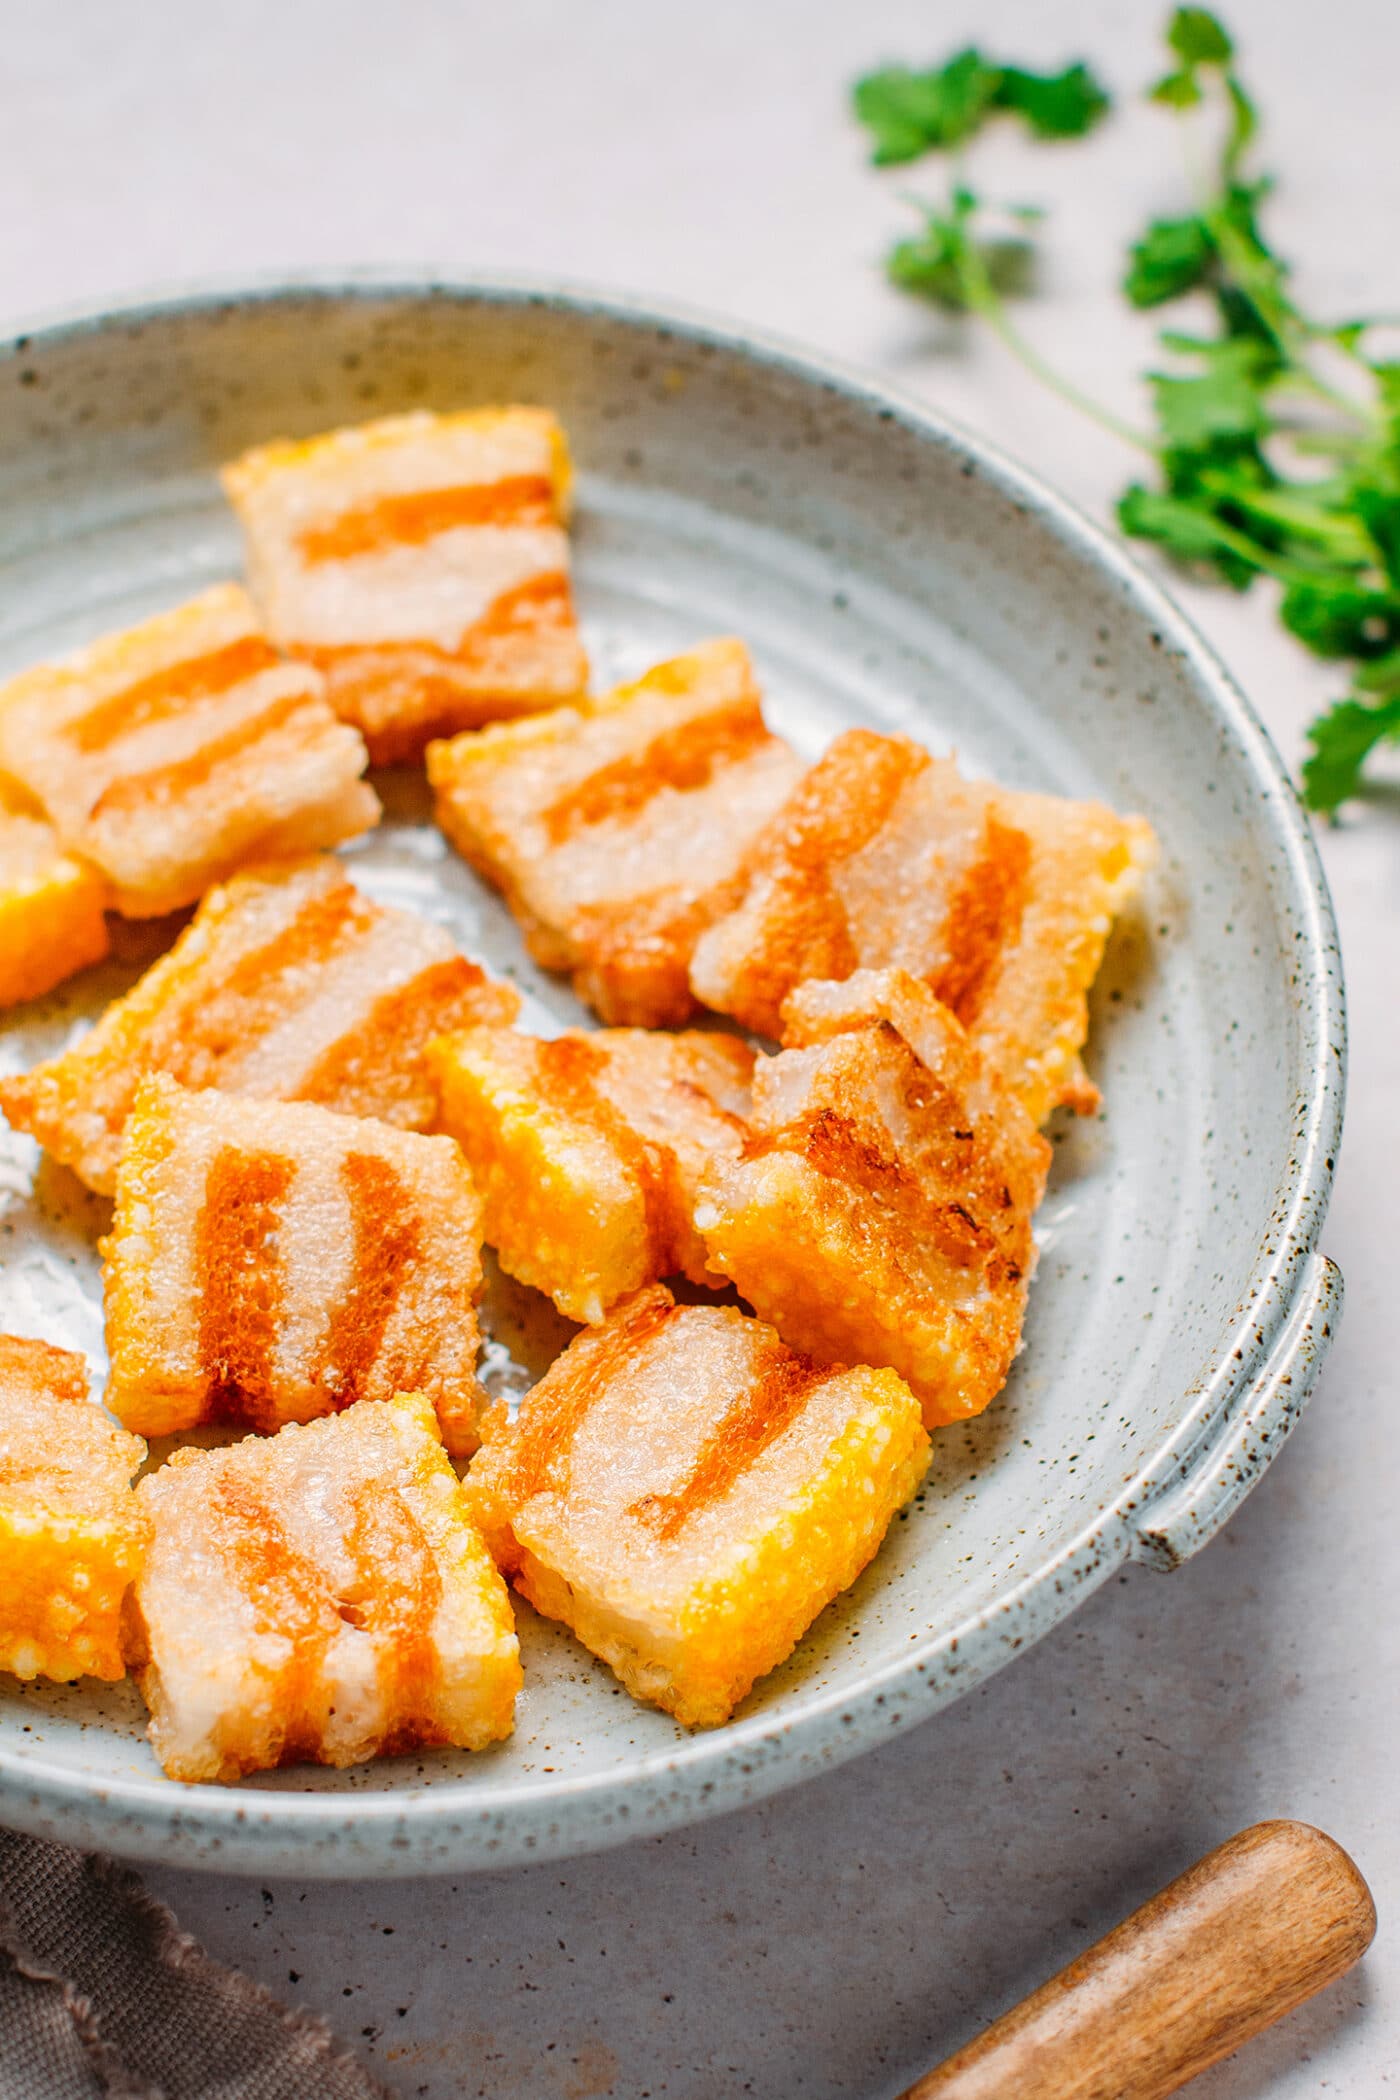
To add crispiness and even more richness, I highly recommend deep-frying the pork slices. Actually, vegan roast pork is always served deep-fried and tossed with a sauce in Vietnam, it’s never served as is. To do so:
- Heat the oil. Heat about 1/3 cup of oil in a non-stick skillet over medium heat.
- Fry. Once the oil is hot, add the vegan pork slices and fry for 7-10 minutes, flipping halfway through frying. Once the vegan pork is golden brown and crispy, remove it from the oil and transfer it to a plate lined with kitchen paper towels to remove the excess oil.
5. Season it
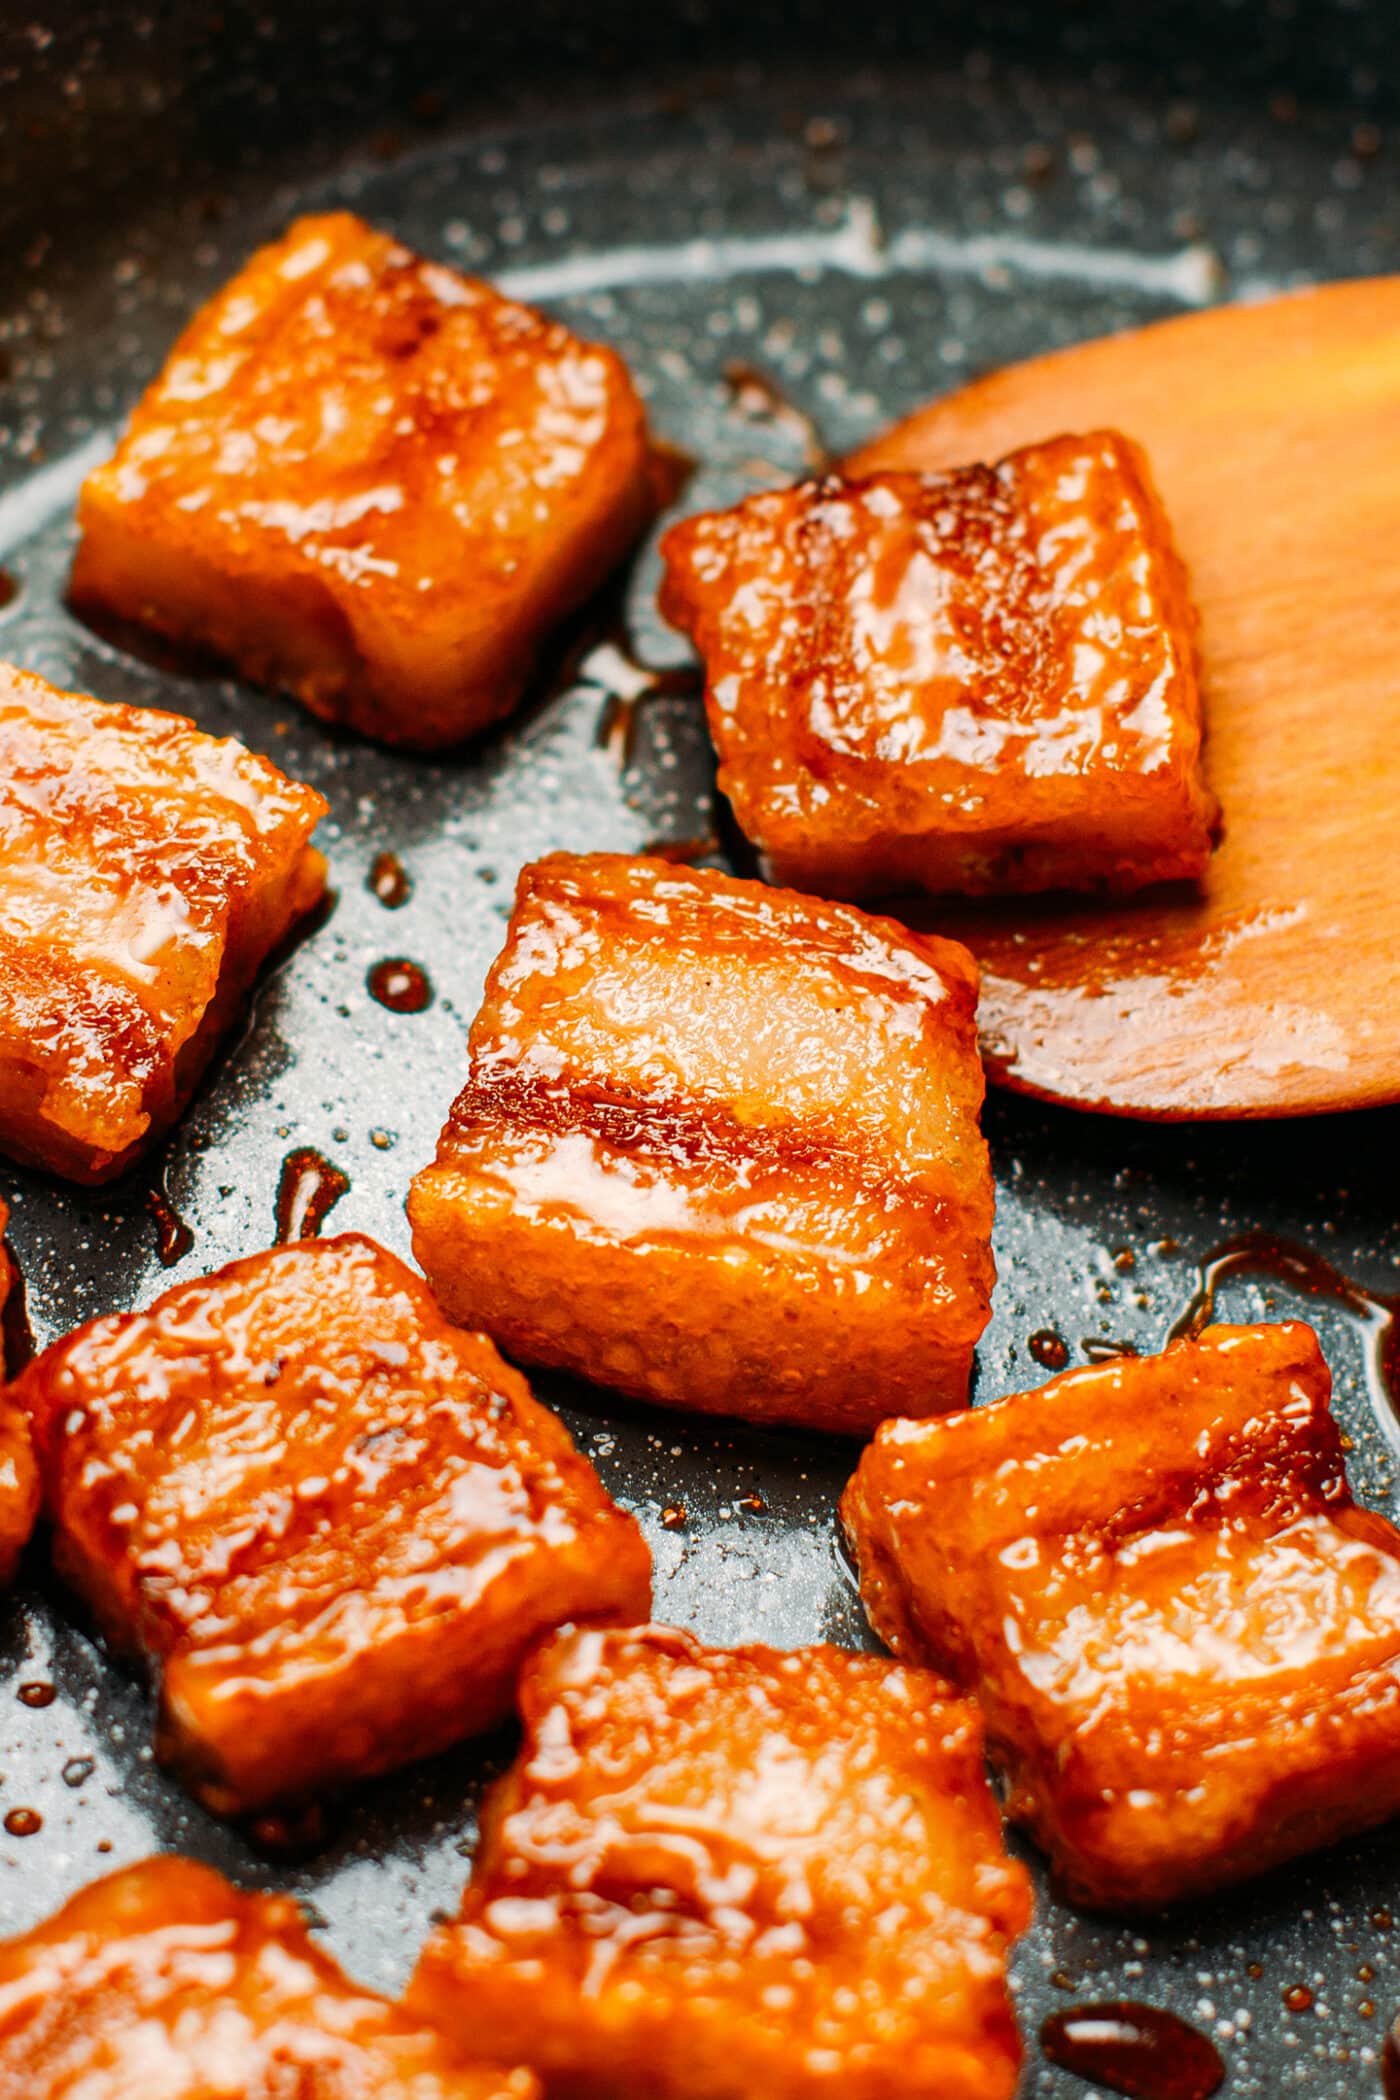
Since this vegan roast pork has a very mild flavor, you want to coat it with a sauce after deep-frying. You can use teriyaki sauce, gochujang sauce, BBQ sauce, or your favorite stir-fry sauce.
I personally love to serve it with a char siu sauce. You can prepare this sauce by combining 1 tbsp of char siu sauce, 3 tbsp of water, 1 tbsp of sugar, and 1/8 tsp of five spice in a skillet. Cook the sauce for 2-3 minutes or until almost syrupy. Add the fried vegan pork and stir to coat. Enjoy!
📔 Tips
- Adjust the ratio of fat and TVP. This recipe yields a loaf with two layers of fat and two layers of “meat.” However, you can add more meat layers if you want. You can also adjust the ratio of meat-to-fat layers by adding more or less coconut milk. For example, for meatier “pork,” only use two tablespoons of coconut milk for each layer of fat for thinner layers.
- Steam until firm. It’s essential to steam each layer until the coconut milk has firmed up. It should be soft but no longer be liquid. If it’s still liquid, steam for another 1-2 minutes.
🍚 How to Serve It
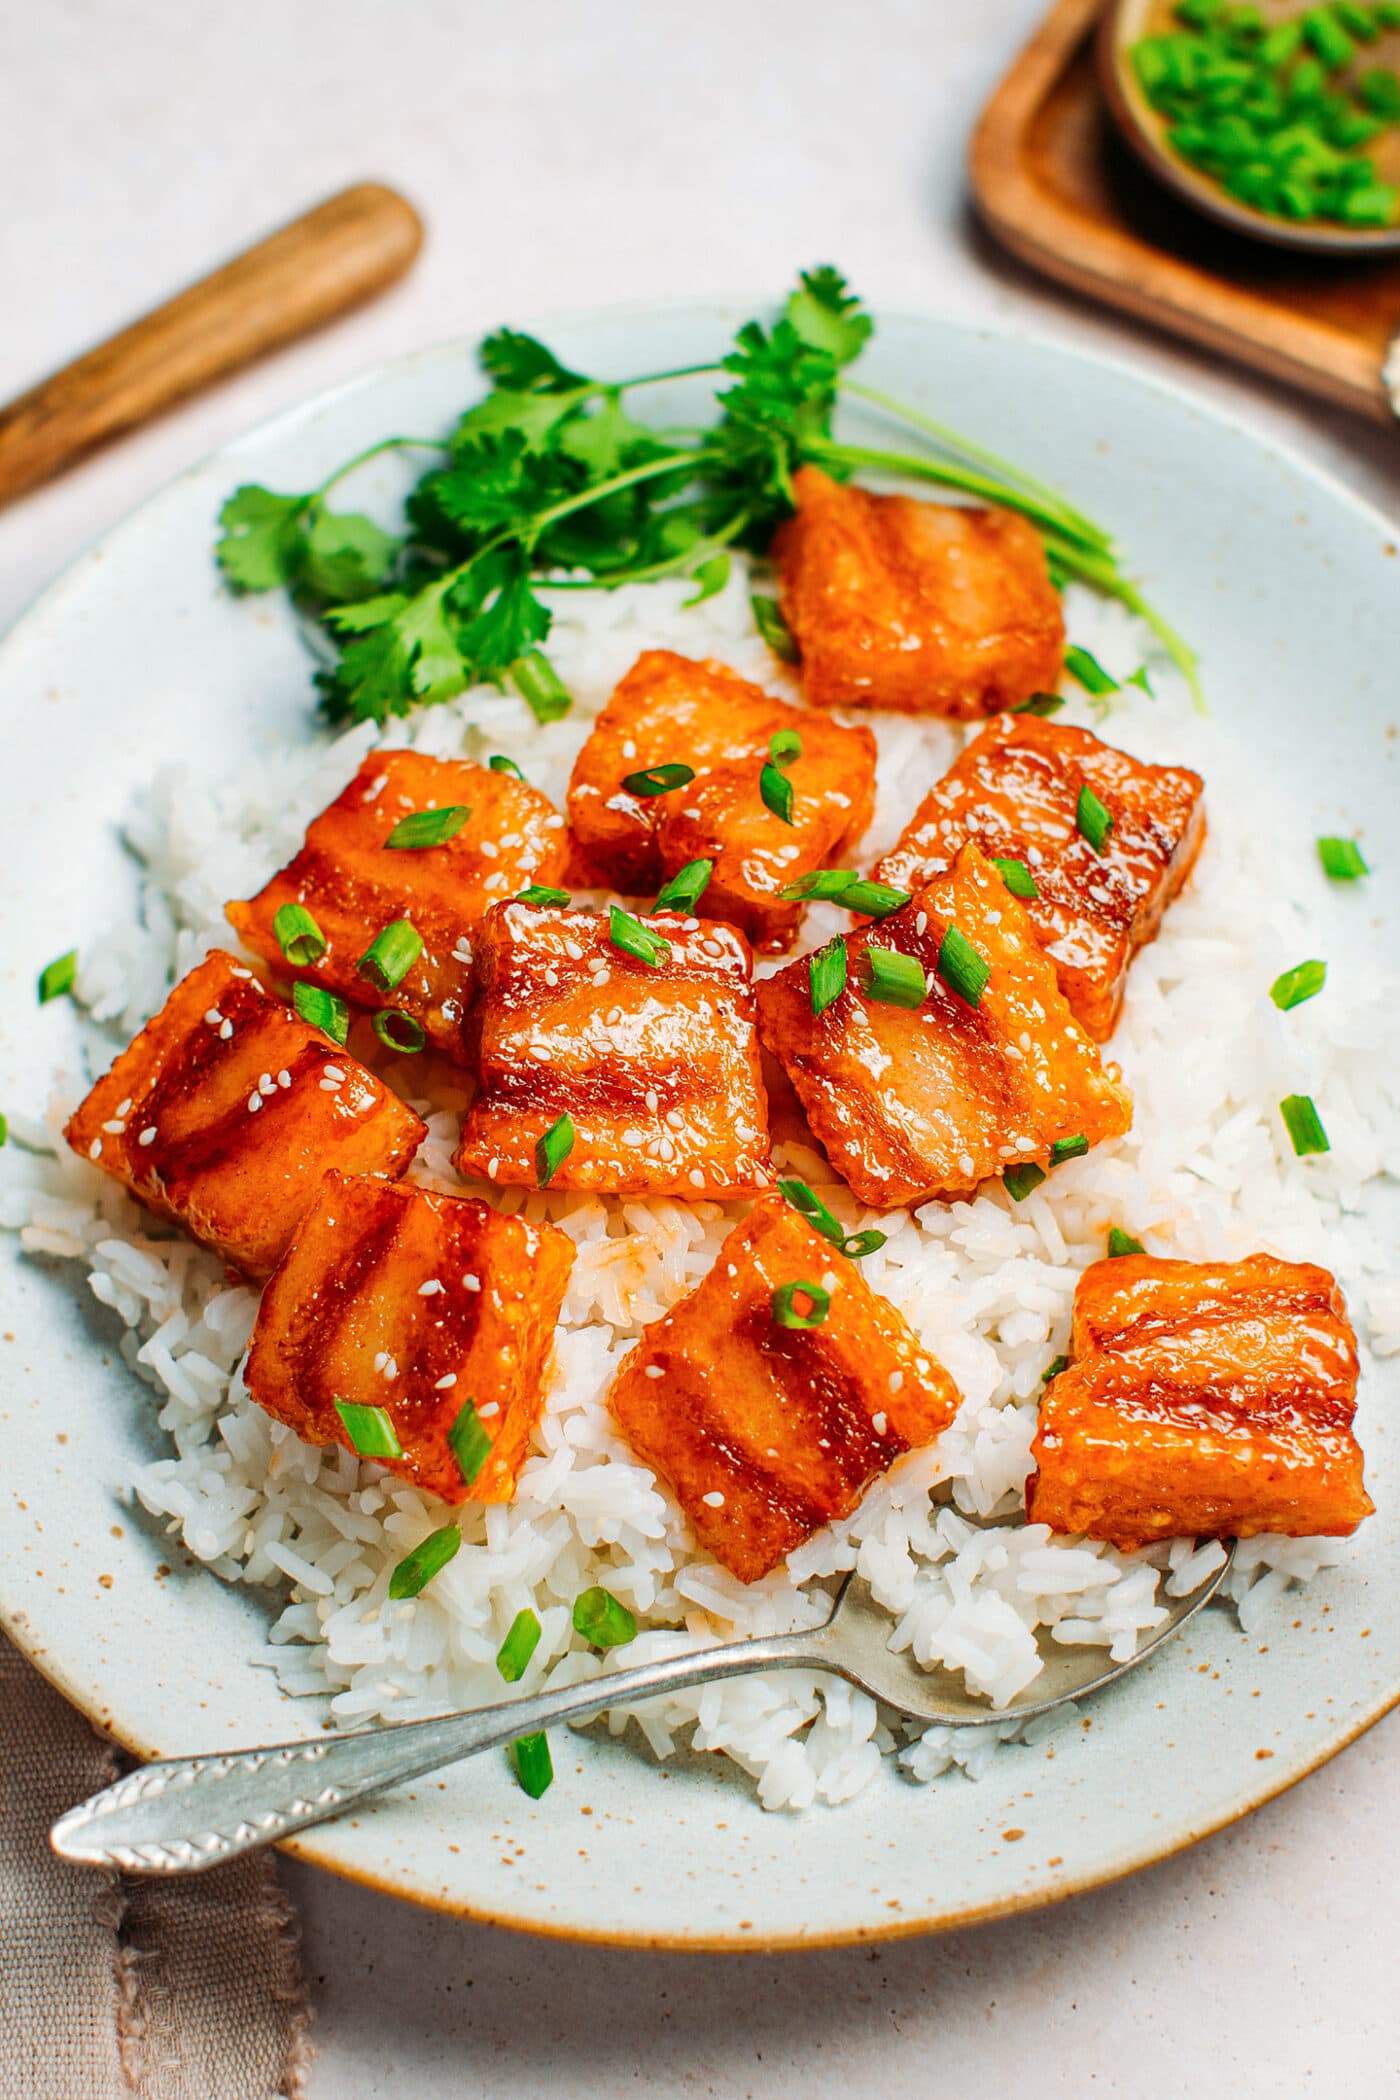
After stir-frying the “pork” in your favorite sauce, you can simply serve it on top of white rice, quinoa, noodles, or your favorite grain. This vegan roast pork is also delicious in bao buns; you can, for example, swap the tofu in these Sate Tofu Baos for roast pork!
It can also be used in Vegan Spring Rolls (cut into thinner slices), vegetable stir-fries, or Vegan Bánh Mì!
❄️ Storing and Freezing
- To store: This vegan “pork” can be stored for up to 7 days in the refrigerator.
- To freeze: You can freeze it either whole or in slices. Wrap the slices in plastic wrap and transfer them to a freezer bag. You can freeze it for up to 3 months. Thaw overnight in the refrigerator.

💬 FAQ
It doesn’t. It just gets softer after cooking.
You can, but the texture won’t be the same, and your pieces of “pork” won’t hold well if you want to stir-fry them. I highly recommend frying it. If you want a healthier alternative, you can, of course, air-fry it.
I haven’t personally tried it yet, but I think it should work. Arrange thick slices of vegan pork on a baking sheet and generously brush with oil. Then bake at 355°F (180°C) for 15-20 minutes or until golden brown. You can then stir-fry it with your favorite sauce.
Since this vegan pork belly doesn’t have much flavor on its own, you want to cook it in a sauce. Just like tofu, it’s a great vehicle for flavor and will soak up the sauce perfectly.
This vegan meat alternative is so good! You will be surprised by how meaty it tastes, the crust adds a nice crunch (or should I say crisp!), and the fat layer brings richness and chewiness.
🍔 More Vegan Meat Alternatives

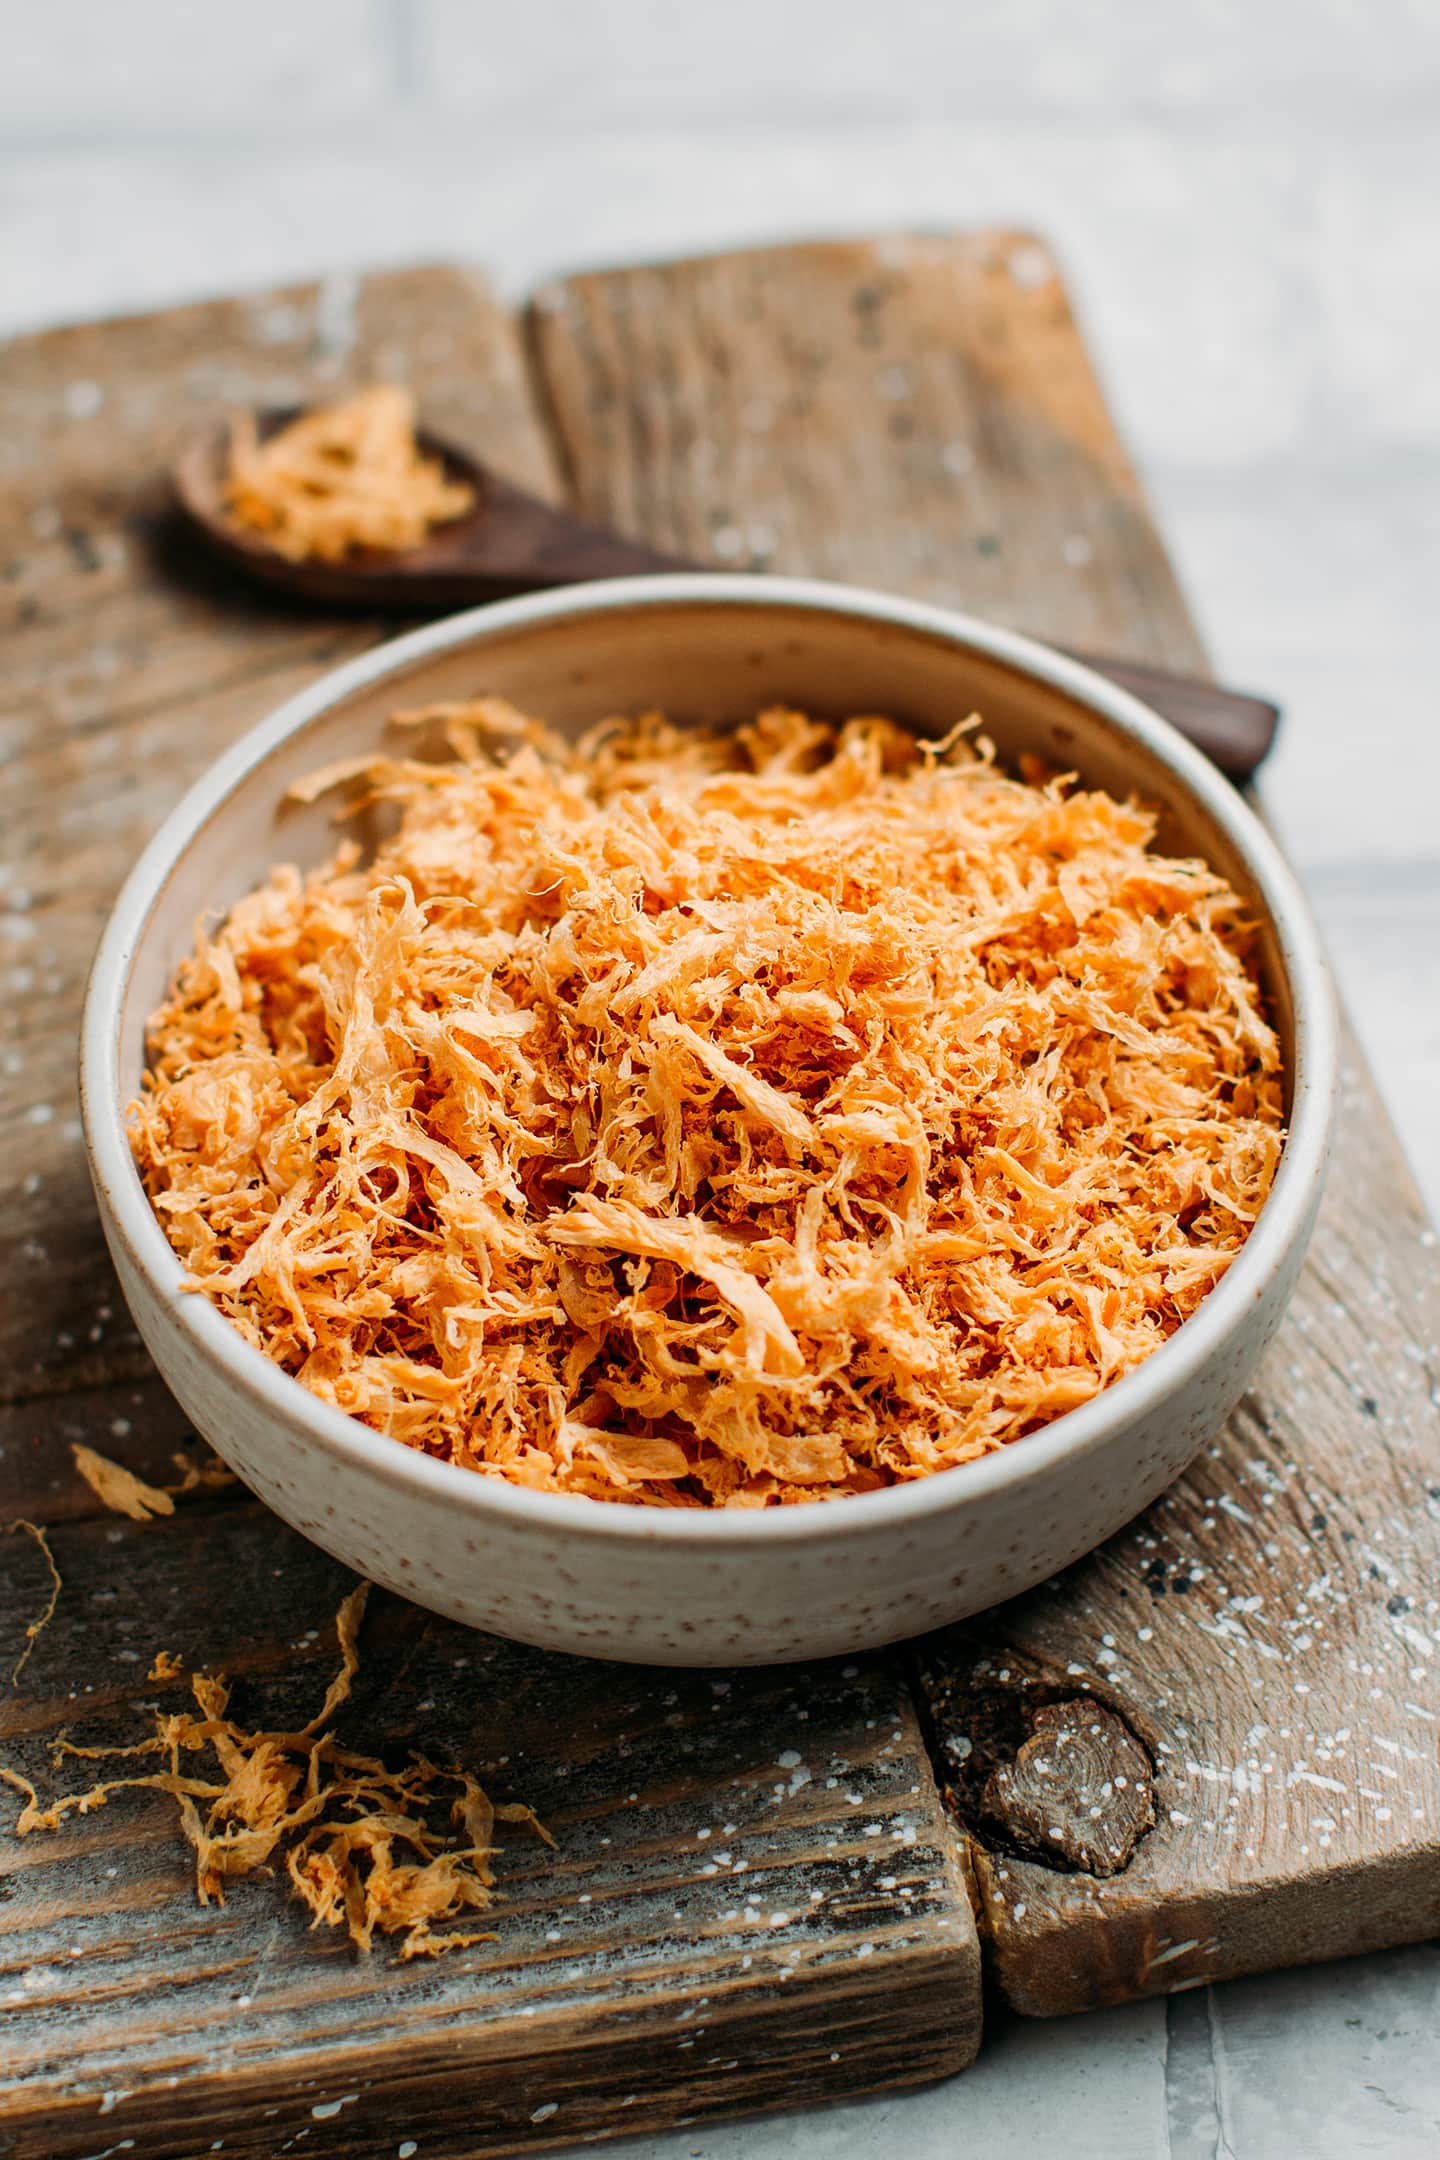


⭐️ Did you like this recipe? Let us know in the comments below, and tag us on Facebook, Instagram, or Pinterest!
Updated on June 8, 2024: The recipe has been revamped with new photos, tips, and a fully reworked recipe.

Save this recipe!
Enter your email below and I’ll send it to your inbox!
Plus, you will receive new recipes every week!
Vegan “Roast Pork”

Ingredients
Coconut "Fat" and Meat Layers
- 4 (40 g) TVP "chicken" slices
- 1/2 cup (60 g) tapioca starch
- 3 tbsp (30 g) white rice flour
- 1/3 cup (80 ml) full-fat coconut milk
- 1/3 cup (80 ml) water
- 1/4 tsp salt
- 1 tbsp (12 g) sugar
- 1/4 tsp mushroom seasoning optional
Skin Layer
- 1 and 1/2 tsp (4 g) small tapioca pearls
- 1 tsp (5 ml) annatto oil
Char Siu Sauce
- 1 tbsp (15 ml) char siu sauce
- 3 tbsp (45 ml) water
- 1 tbsp (12 g) sugar
- 1/8 tsp five-spice powder
Instructions
Prepare the “meat” and fat layers
- Soak the TVP. Add the TVP slices to a large bowl and cover with hot water. Allow the slices to rehydrate for about 30 minutes or until they are soft.
- Drain. Drain and rinse the slices under cold water a couple of times. Squeeze the slices very tightly with your hands to remove as much excess moisture as possible. Set aside.
- Make the coconut fat. In a medium mixing bowl, whisk together the tapioca starch, rice flour, coconut milk, water, salt, sugar, and mushroom seasoning if using.
- Soak the TVP. Add the TVP slices to the bowl containing the coconut milk mixture and let them soak for about 30 minutes. This step will allow the slices to soak up some of the coconut milk, resulting in a better texture.
Prepare the skin layer
- Take 3 tablespoons of the coconut milk mixture and transfer it to a small bowl. Next, add 1 teaspoon of annatto oil and 1 and 1/2 teaspoons of tapioca pearls. Stir to combine and set aside.
Steam
- Prepare your pan. Lightly oil a 3.5×6-inch loaf pan or line it with a sheet of parchment paper.Heat a steamer. Bring a large pot of water to a boil and place your bamboo basket steamer on top.
- Add the first layer. Arrange a layer of TVP slices to the bottom of the pan (feel free to cut them if they don’t fit). Pour about 2 tablespoons of the coconut milk mixture over the slices, just to cover. Steam for 5 minutes. The coconut “fat” should have firmed up.
- Add the second layer. Next, to create a layer of fat, pour 3 tablespoons of the coconut milk mixture over the TVP slices and steam for another 5 minutes. This will make the first layer of fat.
- Repeat. Repeat one more time with another layer of TVP slices and another layer of coconut milk mixture, steaming each for 5 minutes.
- Add the “skin” layer. Finally, pour in the orange coconut milk mixture (including the tapioca pearls) over the last layer of fat. Steam for another 4 minutes.
- Let cool. Carefully remove the pan from the steamer and let it cool completely at room temperature before transferring it to the refrigerator for at least 5 hours. After that, you can remove it from the pan and cut it into slices! I usually cut it into thick rectangles as they hold better during frying, but feel free to cut it into large slices or slightly thinner strips.
Fry
- Heat the oil. Heat about 1/3 cup of oil in a non-stick skillet over medium heat.
- Fry. Once the oil is hot, add the vegan pork slices and fry for 7-10 minutes, flipping halfway through frying. Once the vegan pork is golden brown and crispy, remove it from the oil and transfer it to a plate lined with kitchen paper towels to remove the excess oil.
Season with the Char Siu sauce
- To a non-stick skillet, add the char siu sauce, water, sugar, and five-spice powder. Heat over medium heat and cook for 3-5 minutes or until the sauce has thickened.
- Add the fried vegan pork slices and stir to coat. Cook for 2 more minutes, stirring regularly.
- Enjoy the char siu pork on top of white rice, quinoa, or use in sandwiches, bao buns, banh mi, etc.
- This vegan “pork” can be stored for up to 7 days in the refrigerator.
Notes
- Adjust the ratio of fat and TVP. This recipe yields a loaf with two layers of fat and two layers of “meat.” However, you can add more meat layers if you want. You can also adjust the ratio of meat-to-fat layers by adding more or less coconut milk. For example, for meatier “pork,” only use two tablespoons of coconut milk for each layer of fat for thinner layers.
- Steam until firm. It’s essential to steam each layer until the coconut milk has firmed up. It should be soft but no longer be liquid. If it’s still liquid, steam for another 1-2 minutes.
- Recipe adapted from Suc Khoe Tam Sinh and Mai Loves Cooking.
Nutrition

About the Author
Thomas Pagot is the founder, photographer, and recipe developer behind Full of Plants. He created the blog in 2016 as a personal cookbook for vegan recipes. Through years of recipe development, Thomas has successfully grown Full of Plants into a trusted resource for plant-based recipes.
Leave a Comment