This post may contain affiliate links. Please read our disclosure policy.
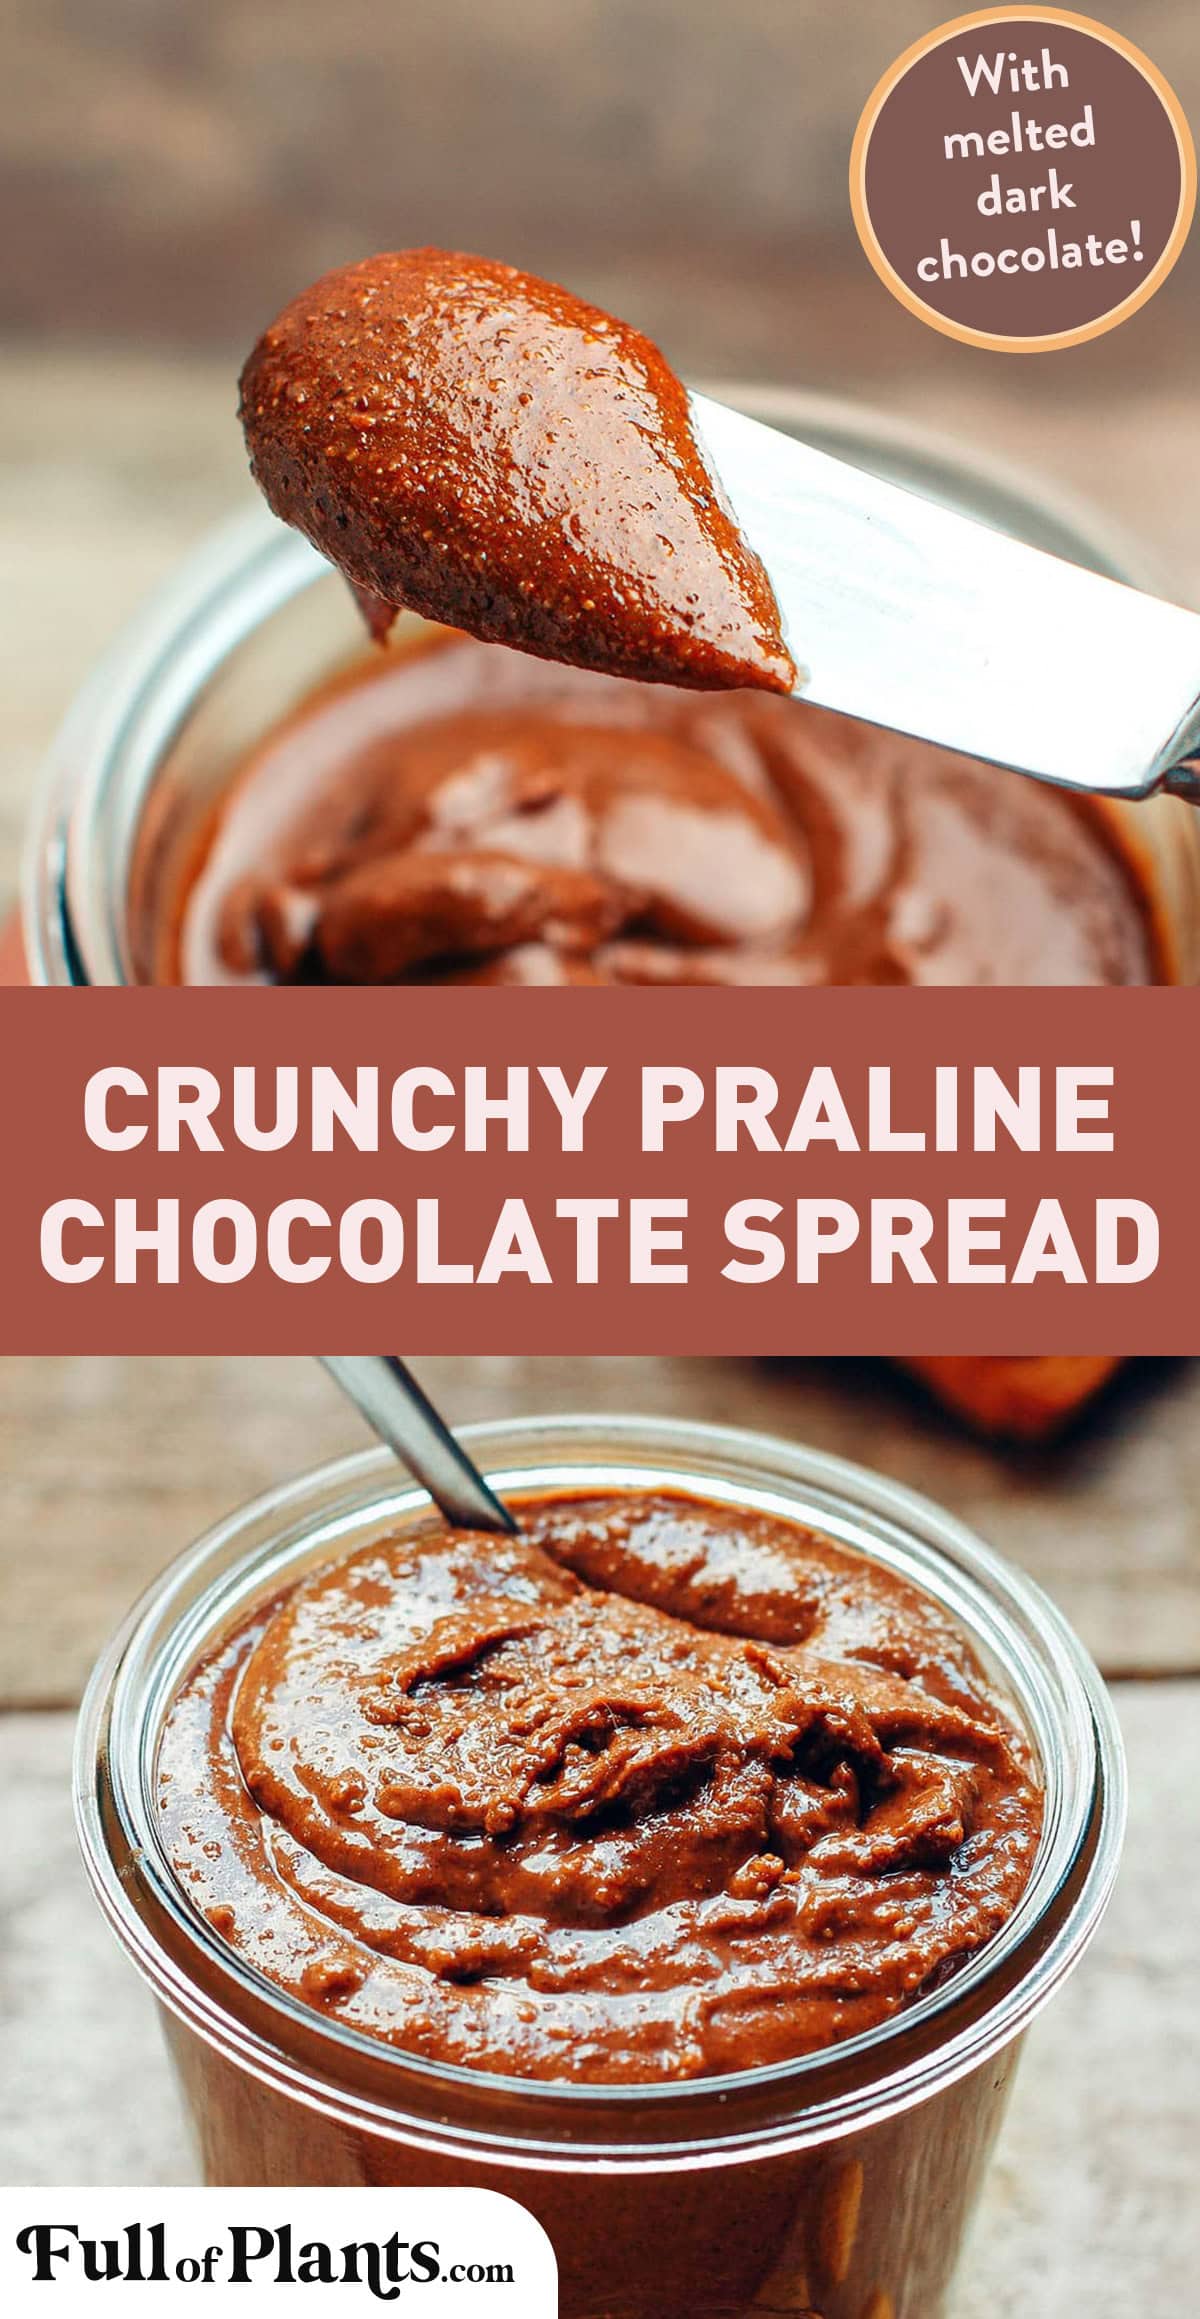
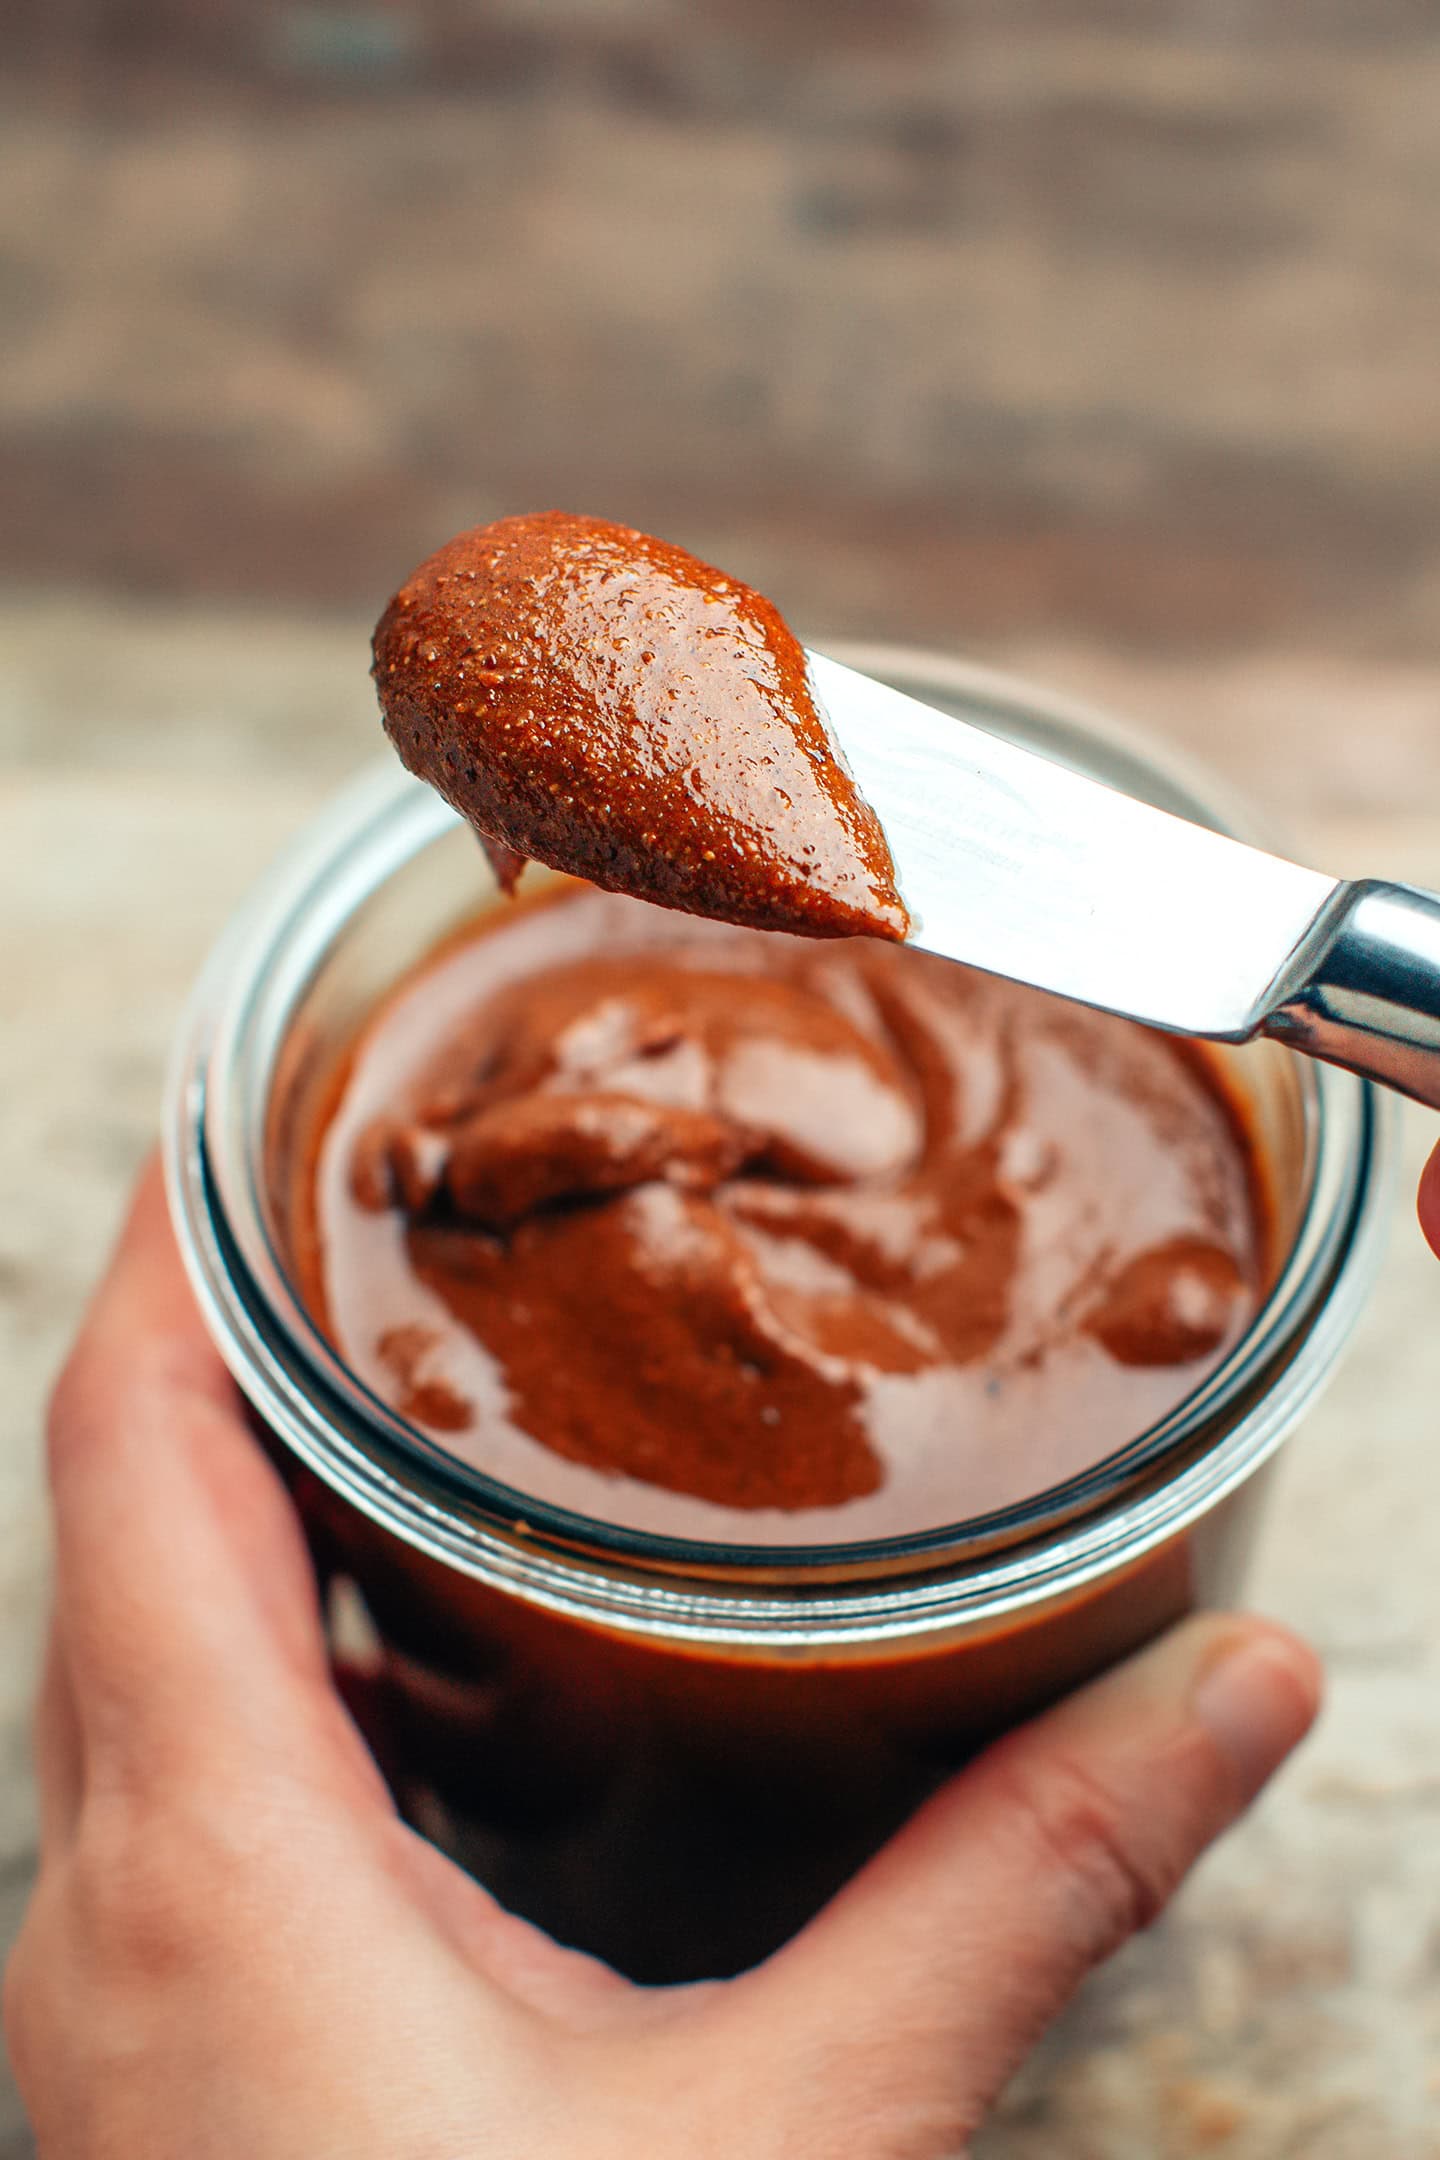
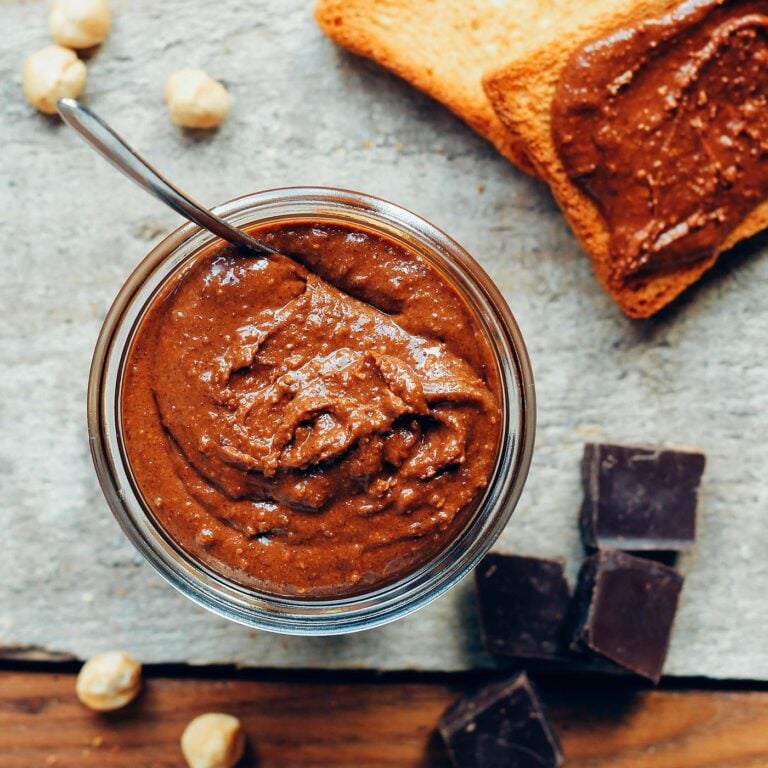
This praline chocolate spread is made with caramelized hazelnuts and almonds processed into a paste and combined with melted dark chocolate. It’s crispy and delightfully nutty, making it the perfect topping for toast, pancakes, or crêpes!

I have always been a fan of crunchy things. Crunchy peanut butter, raw carrots, rice crisps, cereals, and I could go on and on. So when you combine nuts, chocolate, caramel, and crunchiness, it becomes MAGICAL.
If you have never heard of praline, it’s basically a paste made with caramelized hazelnuts, almonds, or a mix of both that is processed until it reaches a peanut butter consistency.
This chocolate spread has a really rustic vibe to it. I’m not sure why, maybe because of the crispy and grainy texture, but I feel this would be the Nutella of our ancestors. The kind of spread you would find on the table of a little farm in the highlands in the 15th century or something. Okay, let’s stop dreaming and focus again.
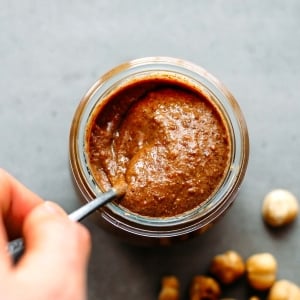
I voluntarily kept the texture grainy because, in my opinion, it’s what makes this spread so addictive: small and crispy bits of caramelized nuts with each spoonful!
⭐️ Why You Will Love It
A match made in heaven.
My praline chocolate spread is not trying to compete with Nutella. Although its flavor may remind you a bit of the famous spread, it actually packs more complex flavors.
The main difference lies in the way I process the hazelnuts and almonds. Once the nuts are roasted, I coat them with a generous amount of caramel before blending them into a grainy paste. That’s right, the paste is grainy because it packs hundreds of crispy bits of caramel, adding a lot to the texture!
Combine that with melted dark chocolate, and you end up with a spread that is dangerously addictive. I can literally eat the stuff by the spoonful!
Long shelf life.
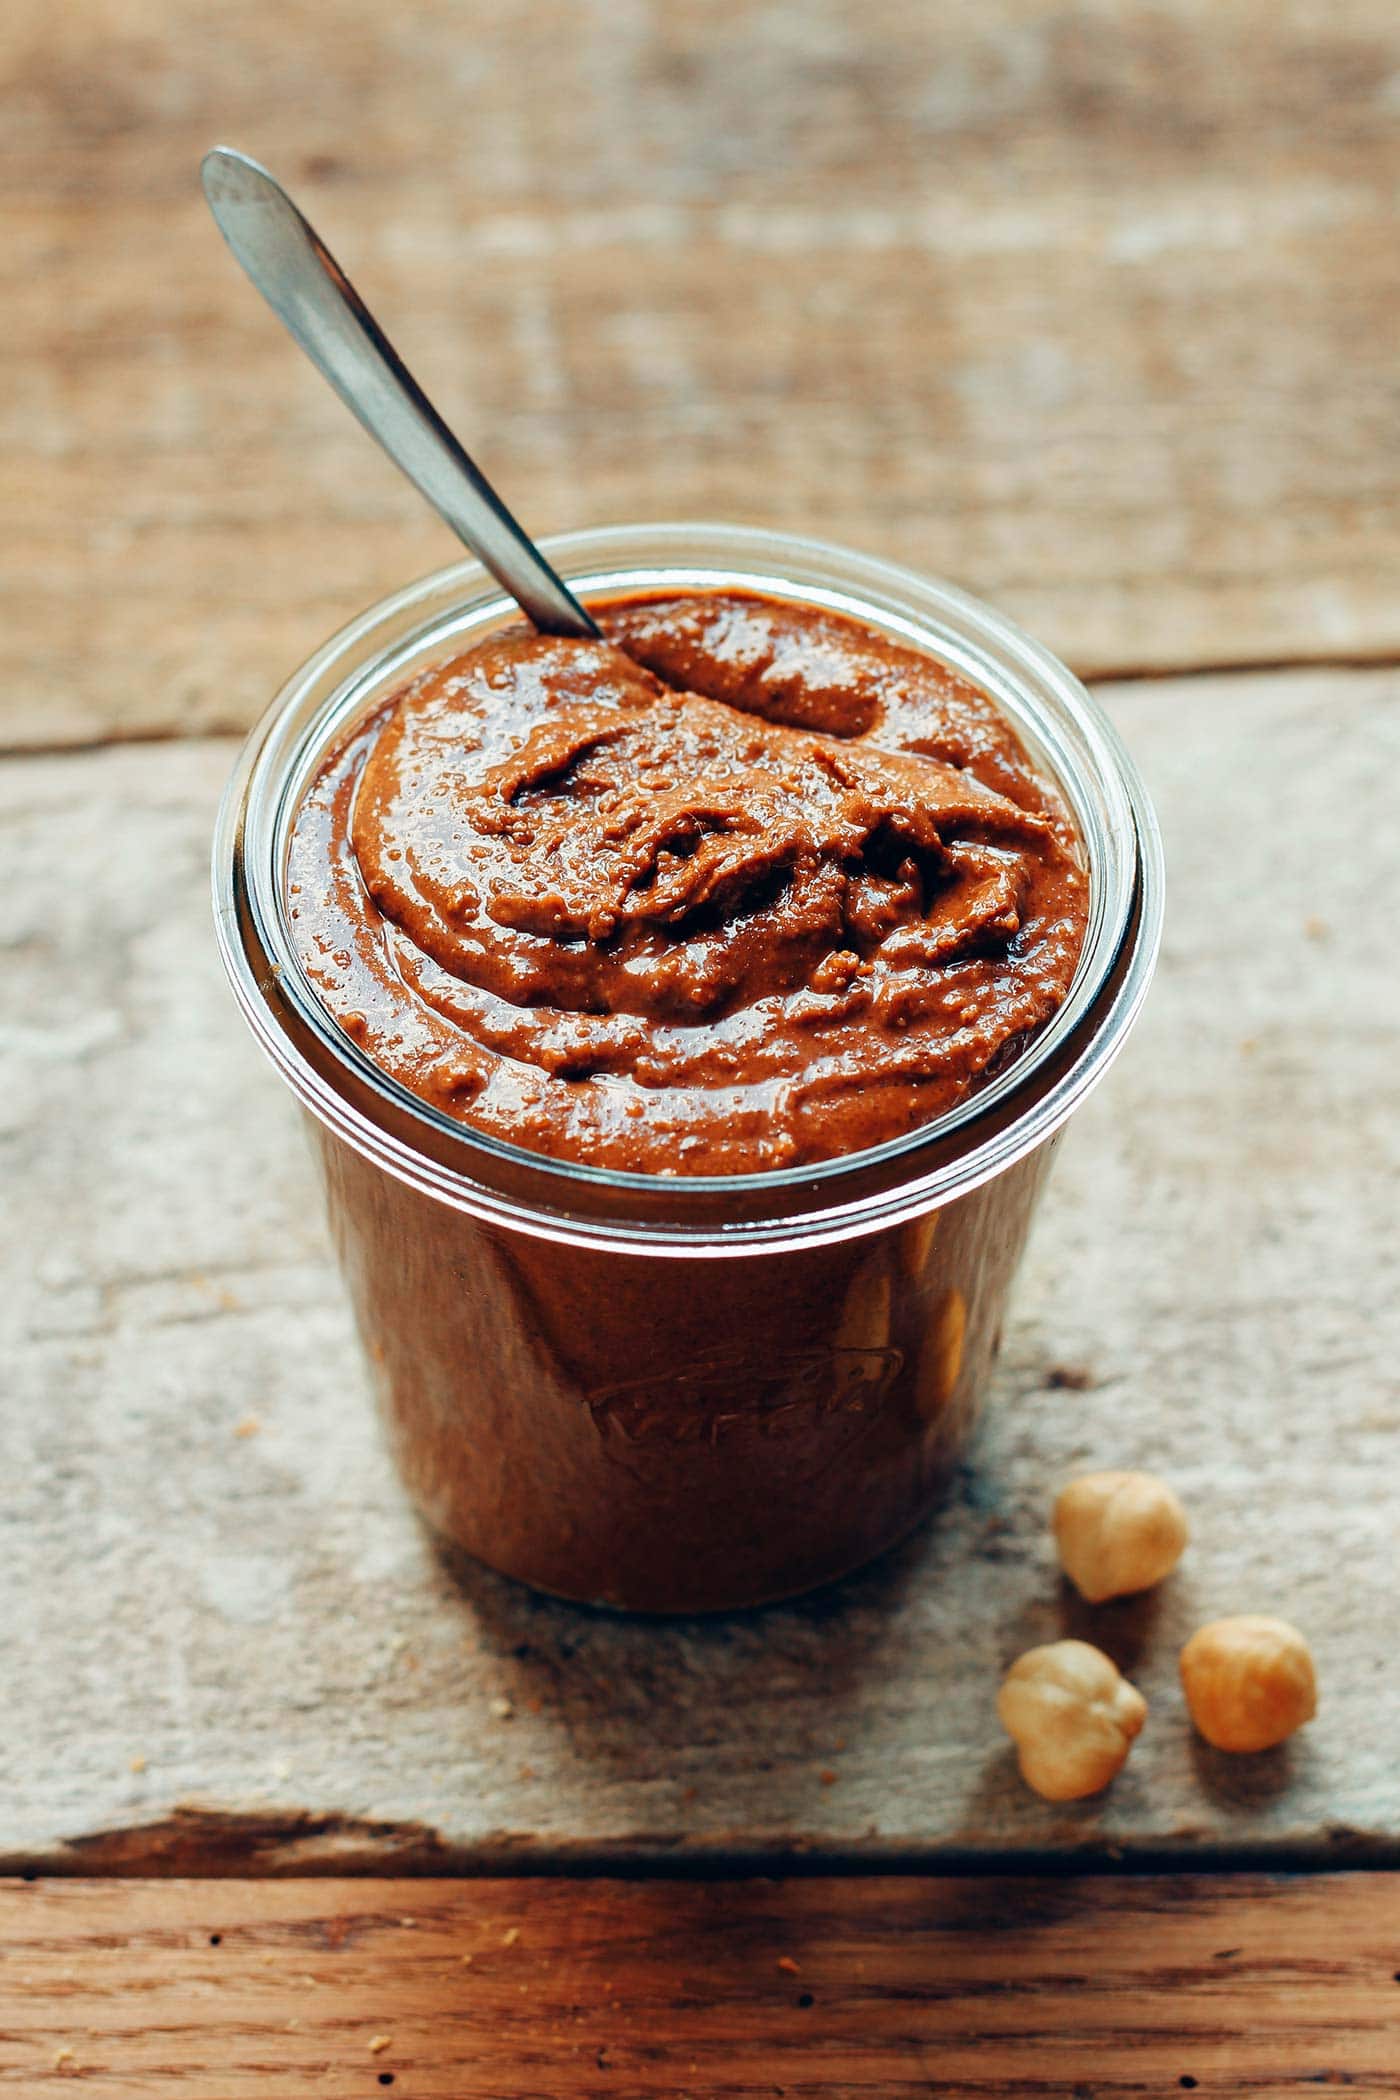
My chocolate praline spread contains only nuts, sugar, chocolate, and vanilla, meaning that just like any nut butter, it can be kept at room temperature for months! Oh, and you can even put it in a nice glass jar, add a cute label, and gift it to family and friends.
📘 What Is a Praline?
Praline is a sweet nut paste that first appeared in France around 1600. It consists of nuts, usually a combination of almonds and hazelnuts, coated with caramelized sugar and then processed into a paste.
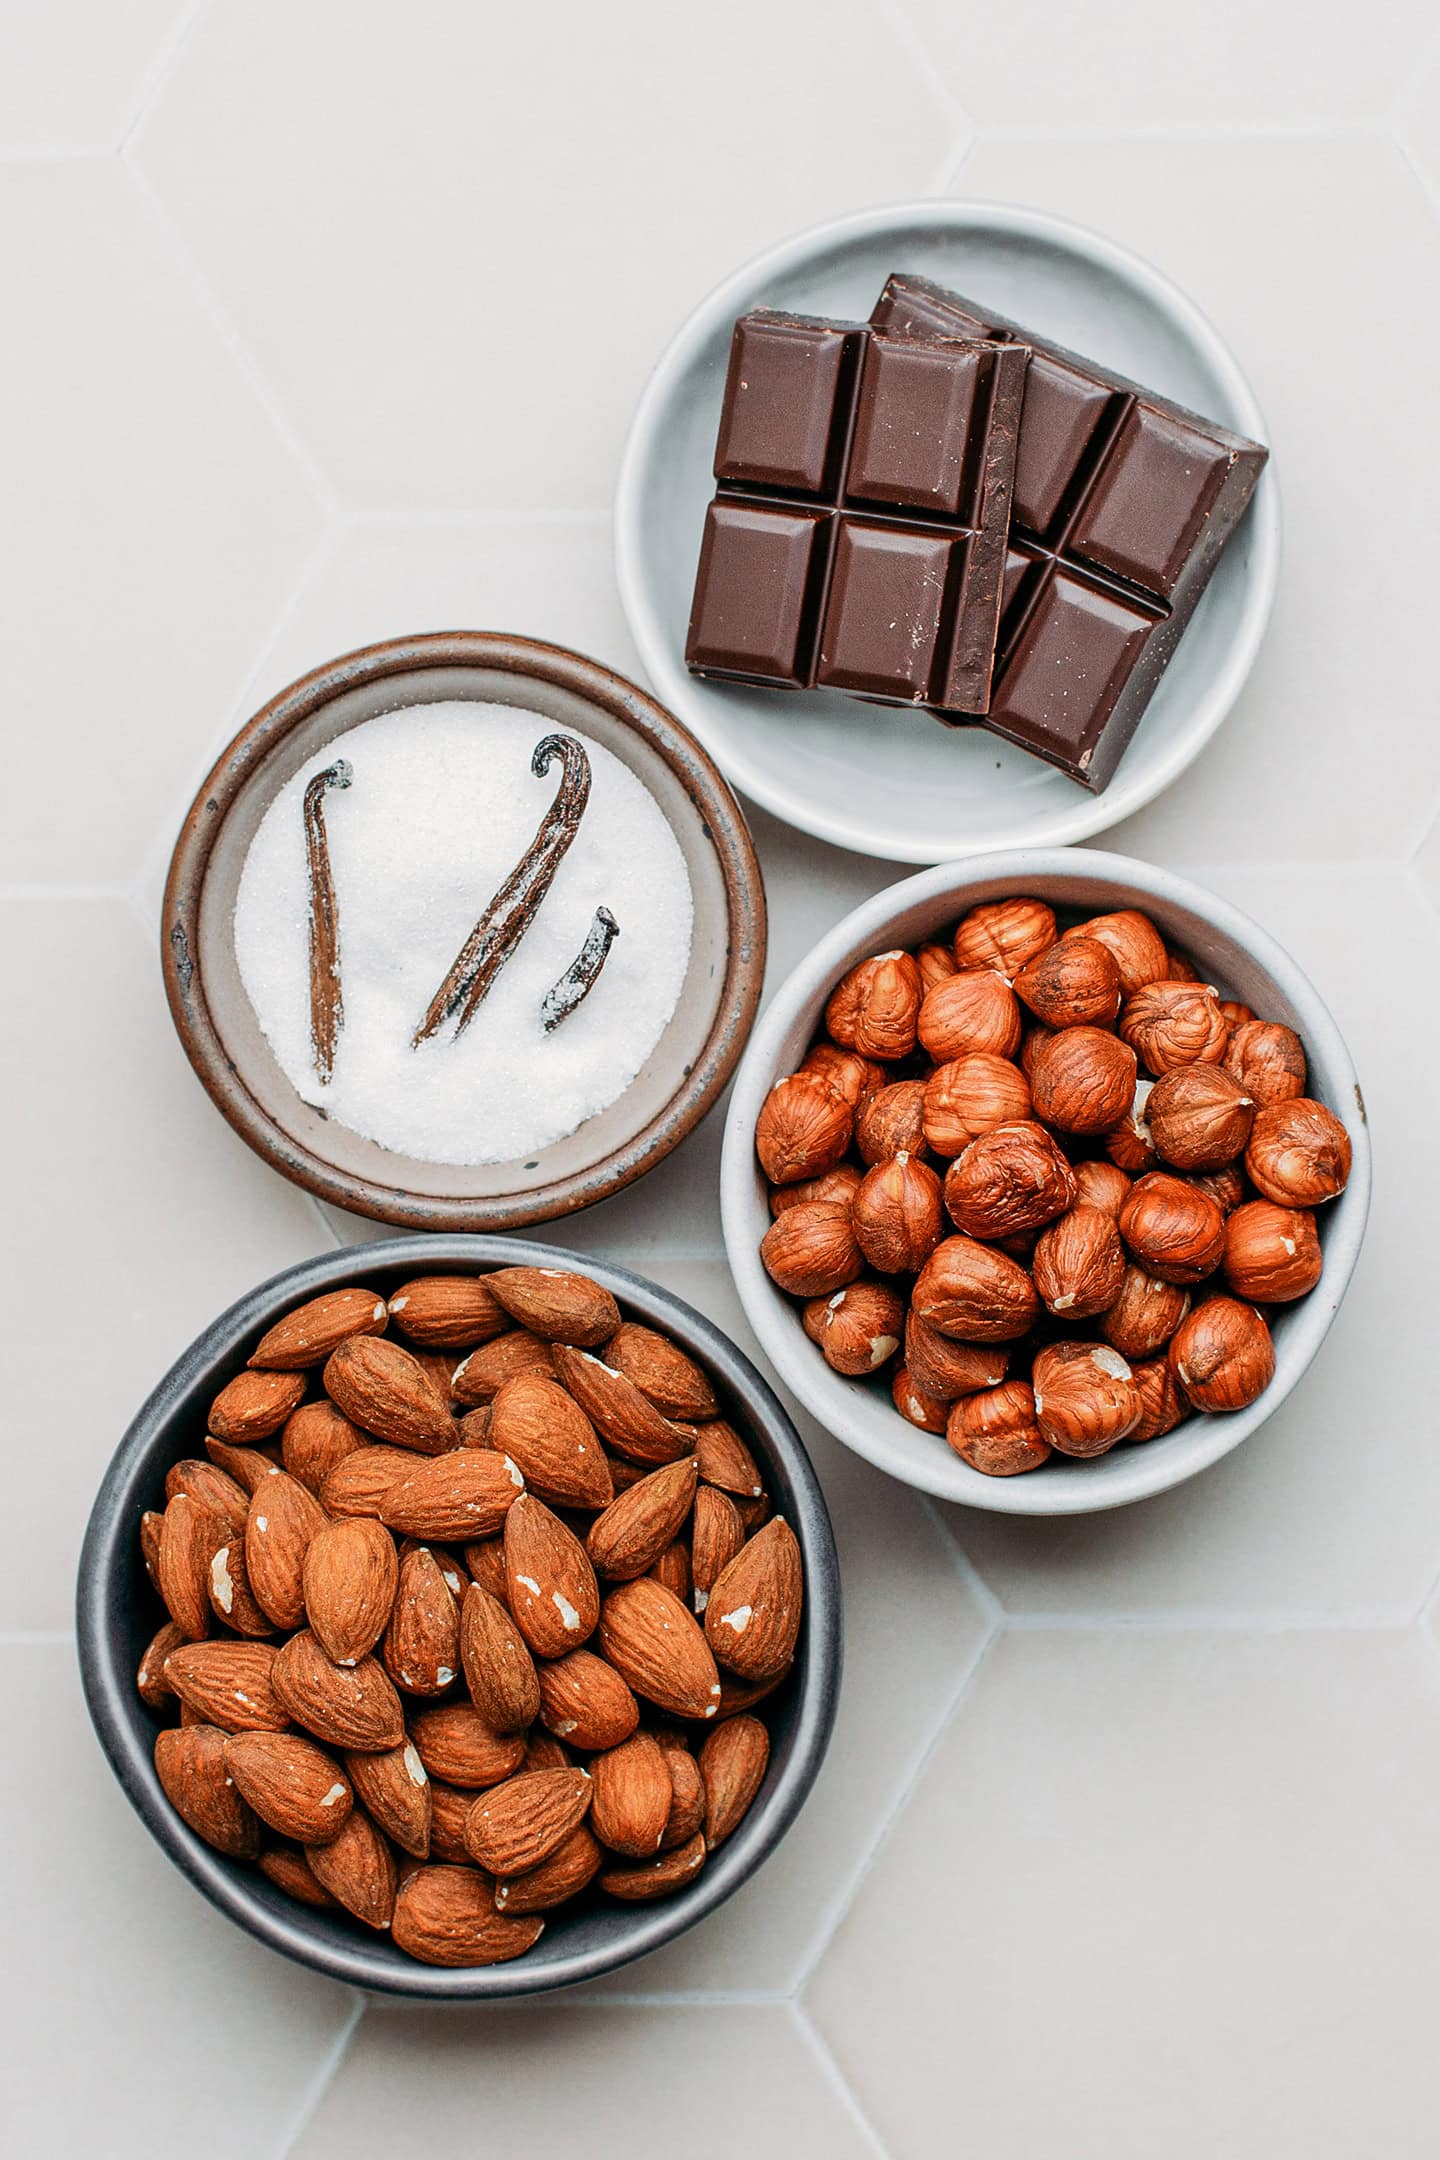
🌰 Ingredient Notes
Almonds and hazelnuts
The base of this praline consists of raw almonds and raw hazelnuts that are first roasted until golden brown and then coated with caramel. Although you could use already roasted almonds and hazelnuts and skip the roasting step, I would suggest not doing so. Roasting the nuts by yourself yields a fresher flavor and allows you to control the roast level.
Substitute: You can replace the almonds or hazelnuts with the same amount (2 cups) of your favorite nuts! Alternatively, you can use only hazelnuts or only almonds, depending on your preference.
Sugar
I tried to make this recipe refined sugar-free by using coconut sugar. Unfortunately, it didn’t work at all. Coconut sugar doesn’t caramelize the way cane sugar does, and you end up with a big mess. Hence, you absolutely need to use granulated white sugar for this recipe.
Vanilla
For a delicate floral aroma and gourmet flavor, I use 1/2 fresh vanilla bean. The bean is blended with the nuts to release as much flavor as possible.
Note: I’m aware that fresh vanilla beans are pricey, so you can definitely replace them with about 2 teaspoons of vanilla extract ( In that case, add the vanilla extract while blending the caramelized nuts) or simply use vanilla sugar in place of the regular sugar.
Dark chocolate
Dark chocolate pairs very well with the caramelized nuts and helps thicken the paste slightly. Just a quick disclaimer: this spread is not super chocolatey, as I wanted the caramelized nuts flavor to shine more, so if you prefer a richer chocolate flavor, feel free to double the amount of dark chocolate.
Note: Since the praline paste is already sweet, I highly recommend using at least 60% dark chocolate.
🥣 How to Make It
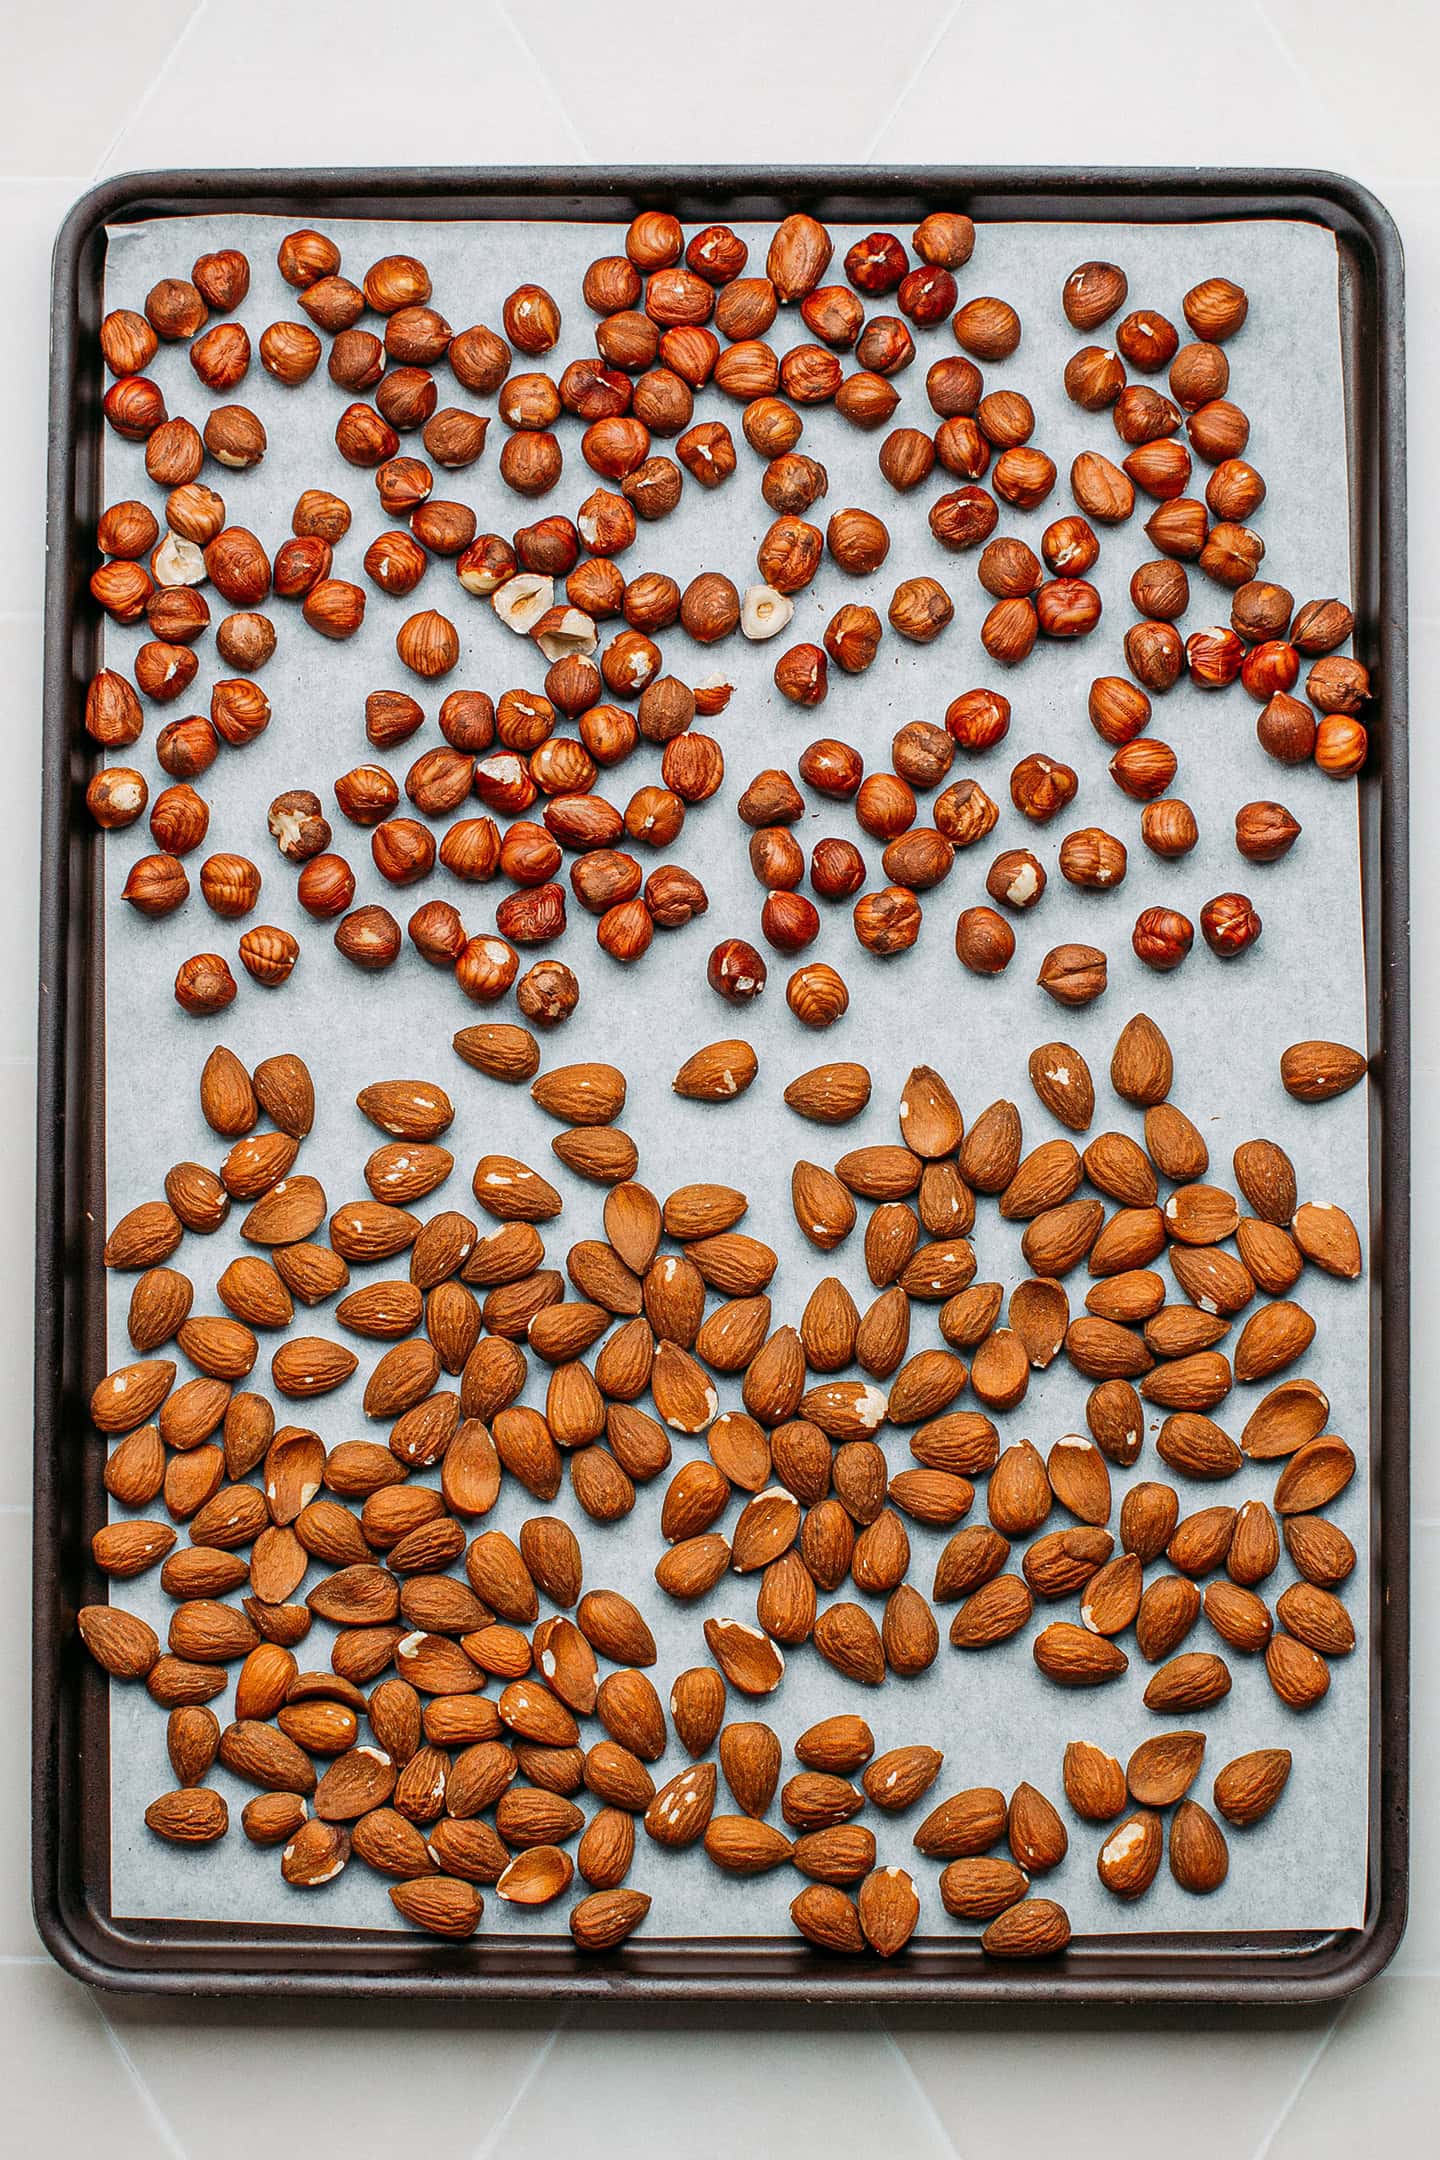
1. Roast the nuts
- Roast the nuts. Preheat the oven to 325°F (165°C). Line a baking sheet with parchment paper and spread out the almonds and hazelnuts in an even layer. I recommend separating the almonds from the hazelnuts so it will be easier to remove the skin from the hazelnuts later. Roast the nuts for about 17-18 minutes or until the hazelnuts are golden brown.
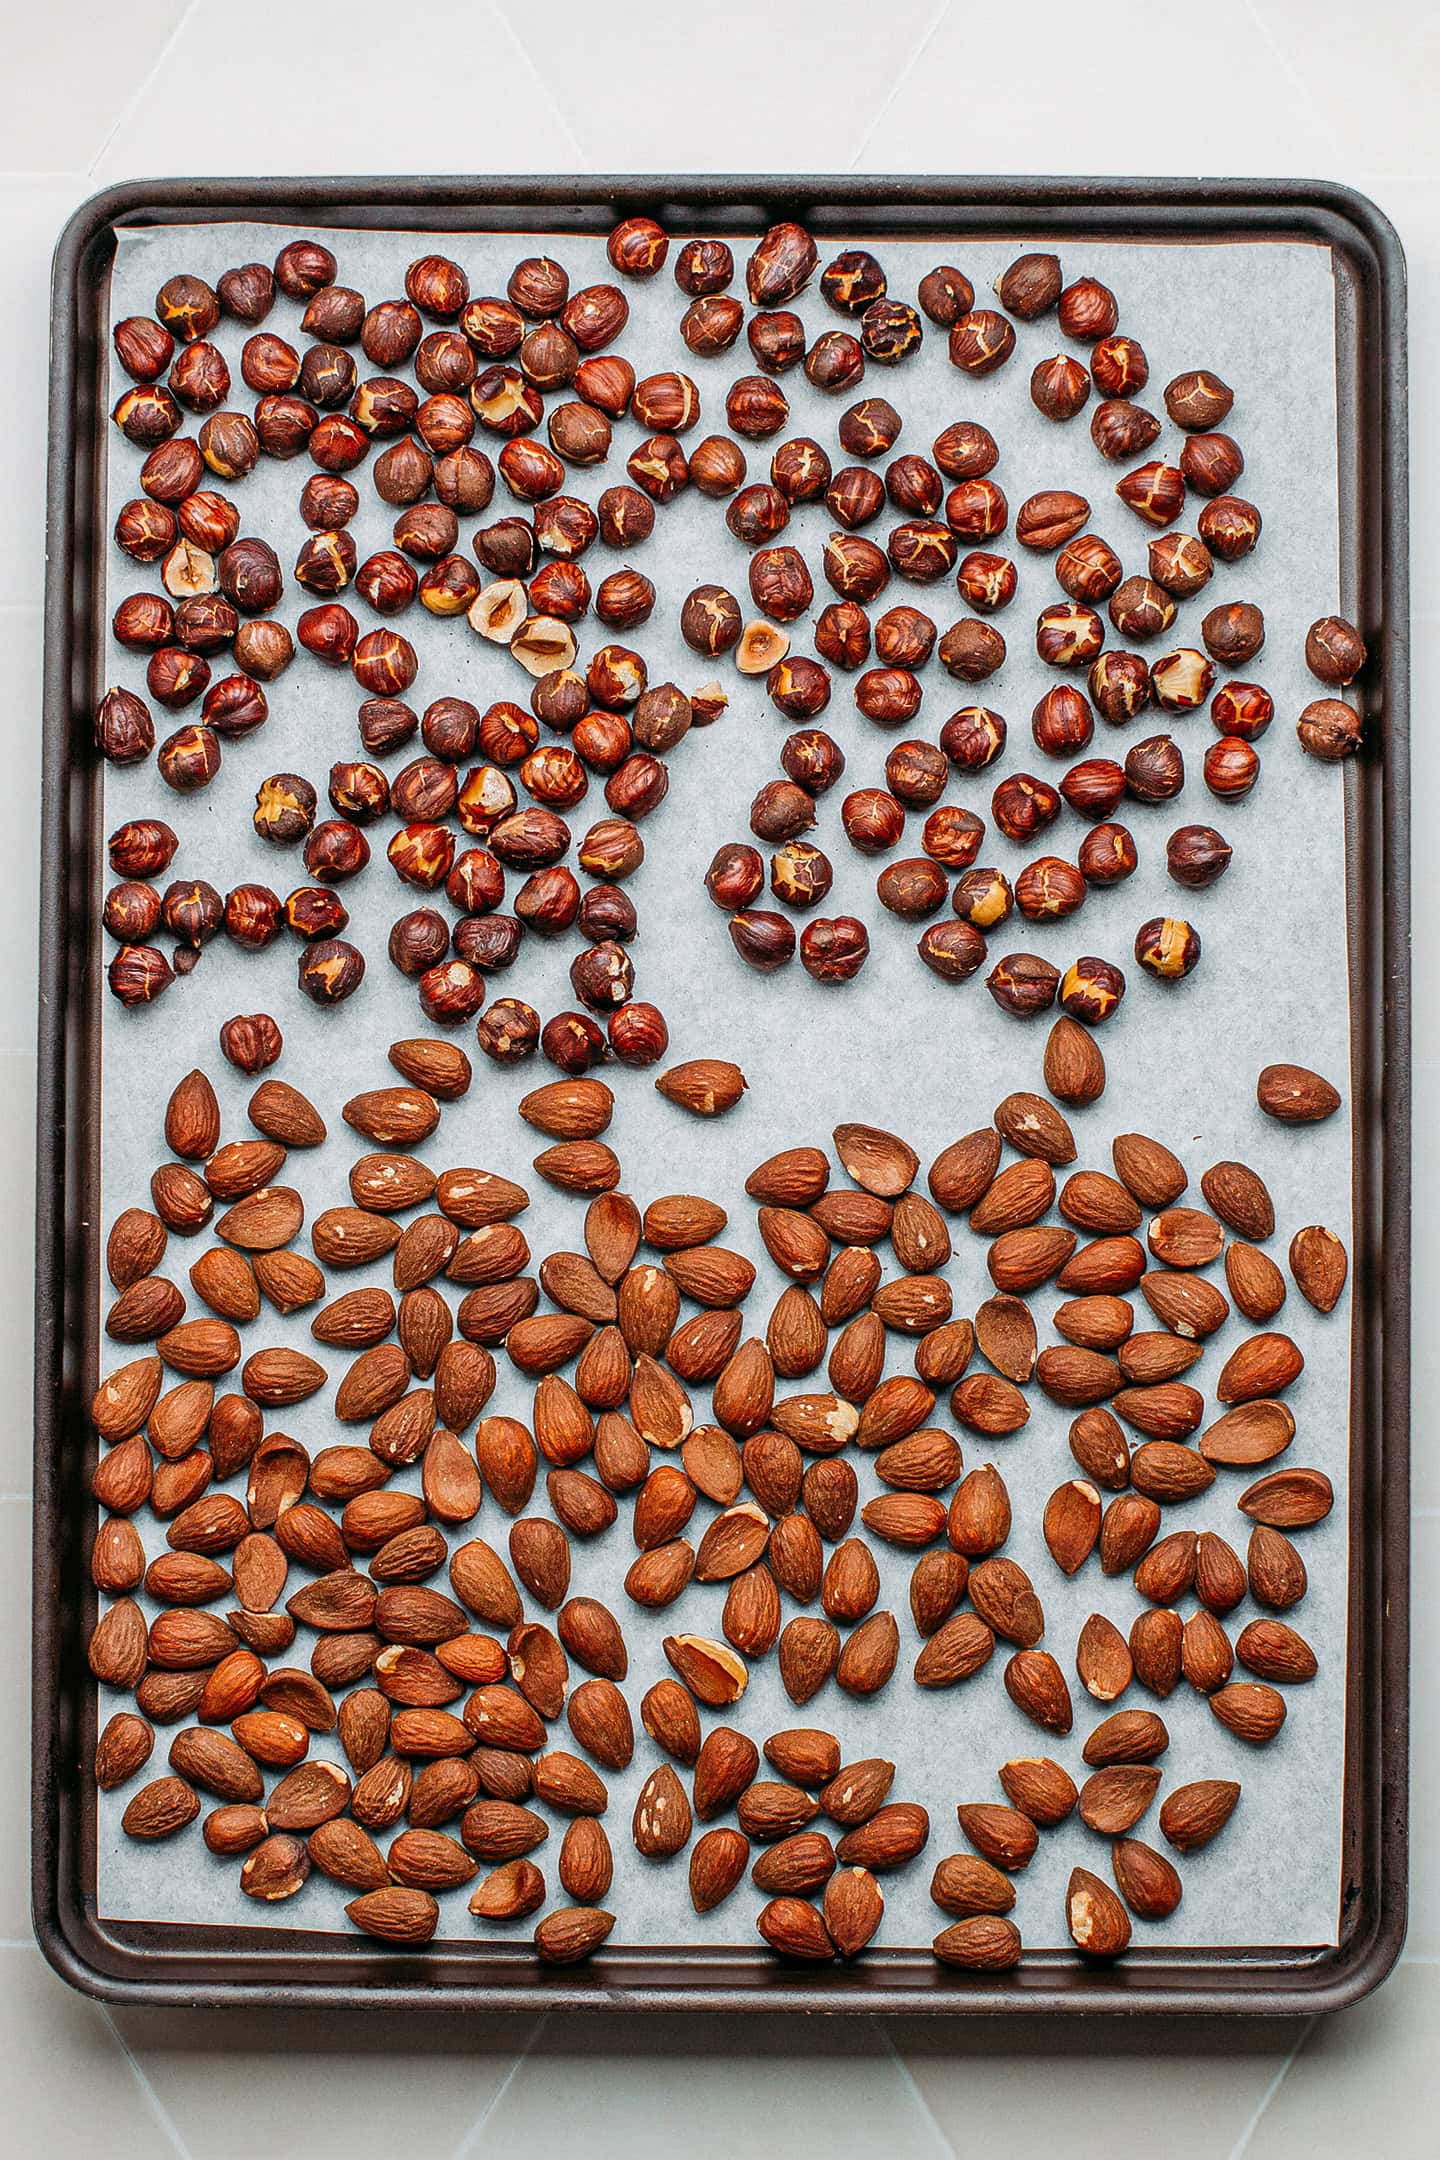
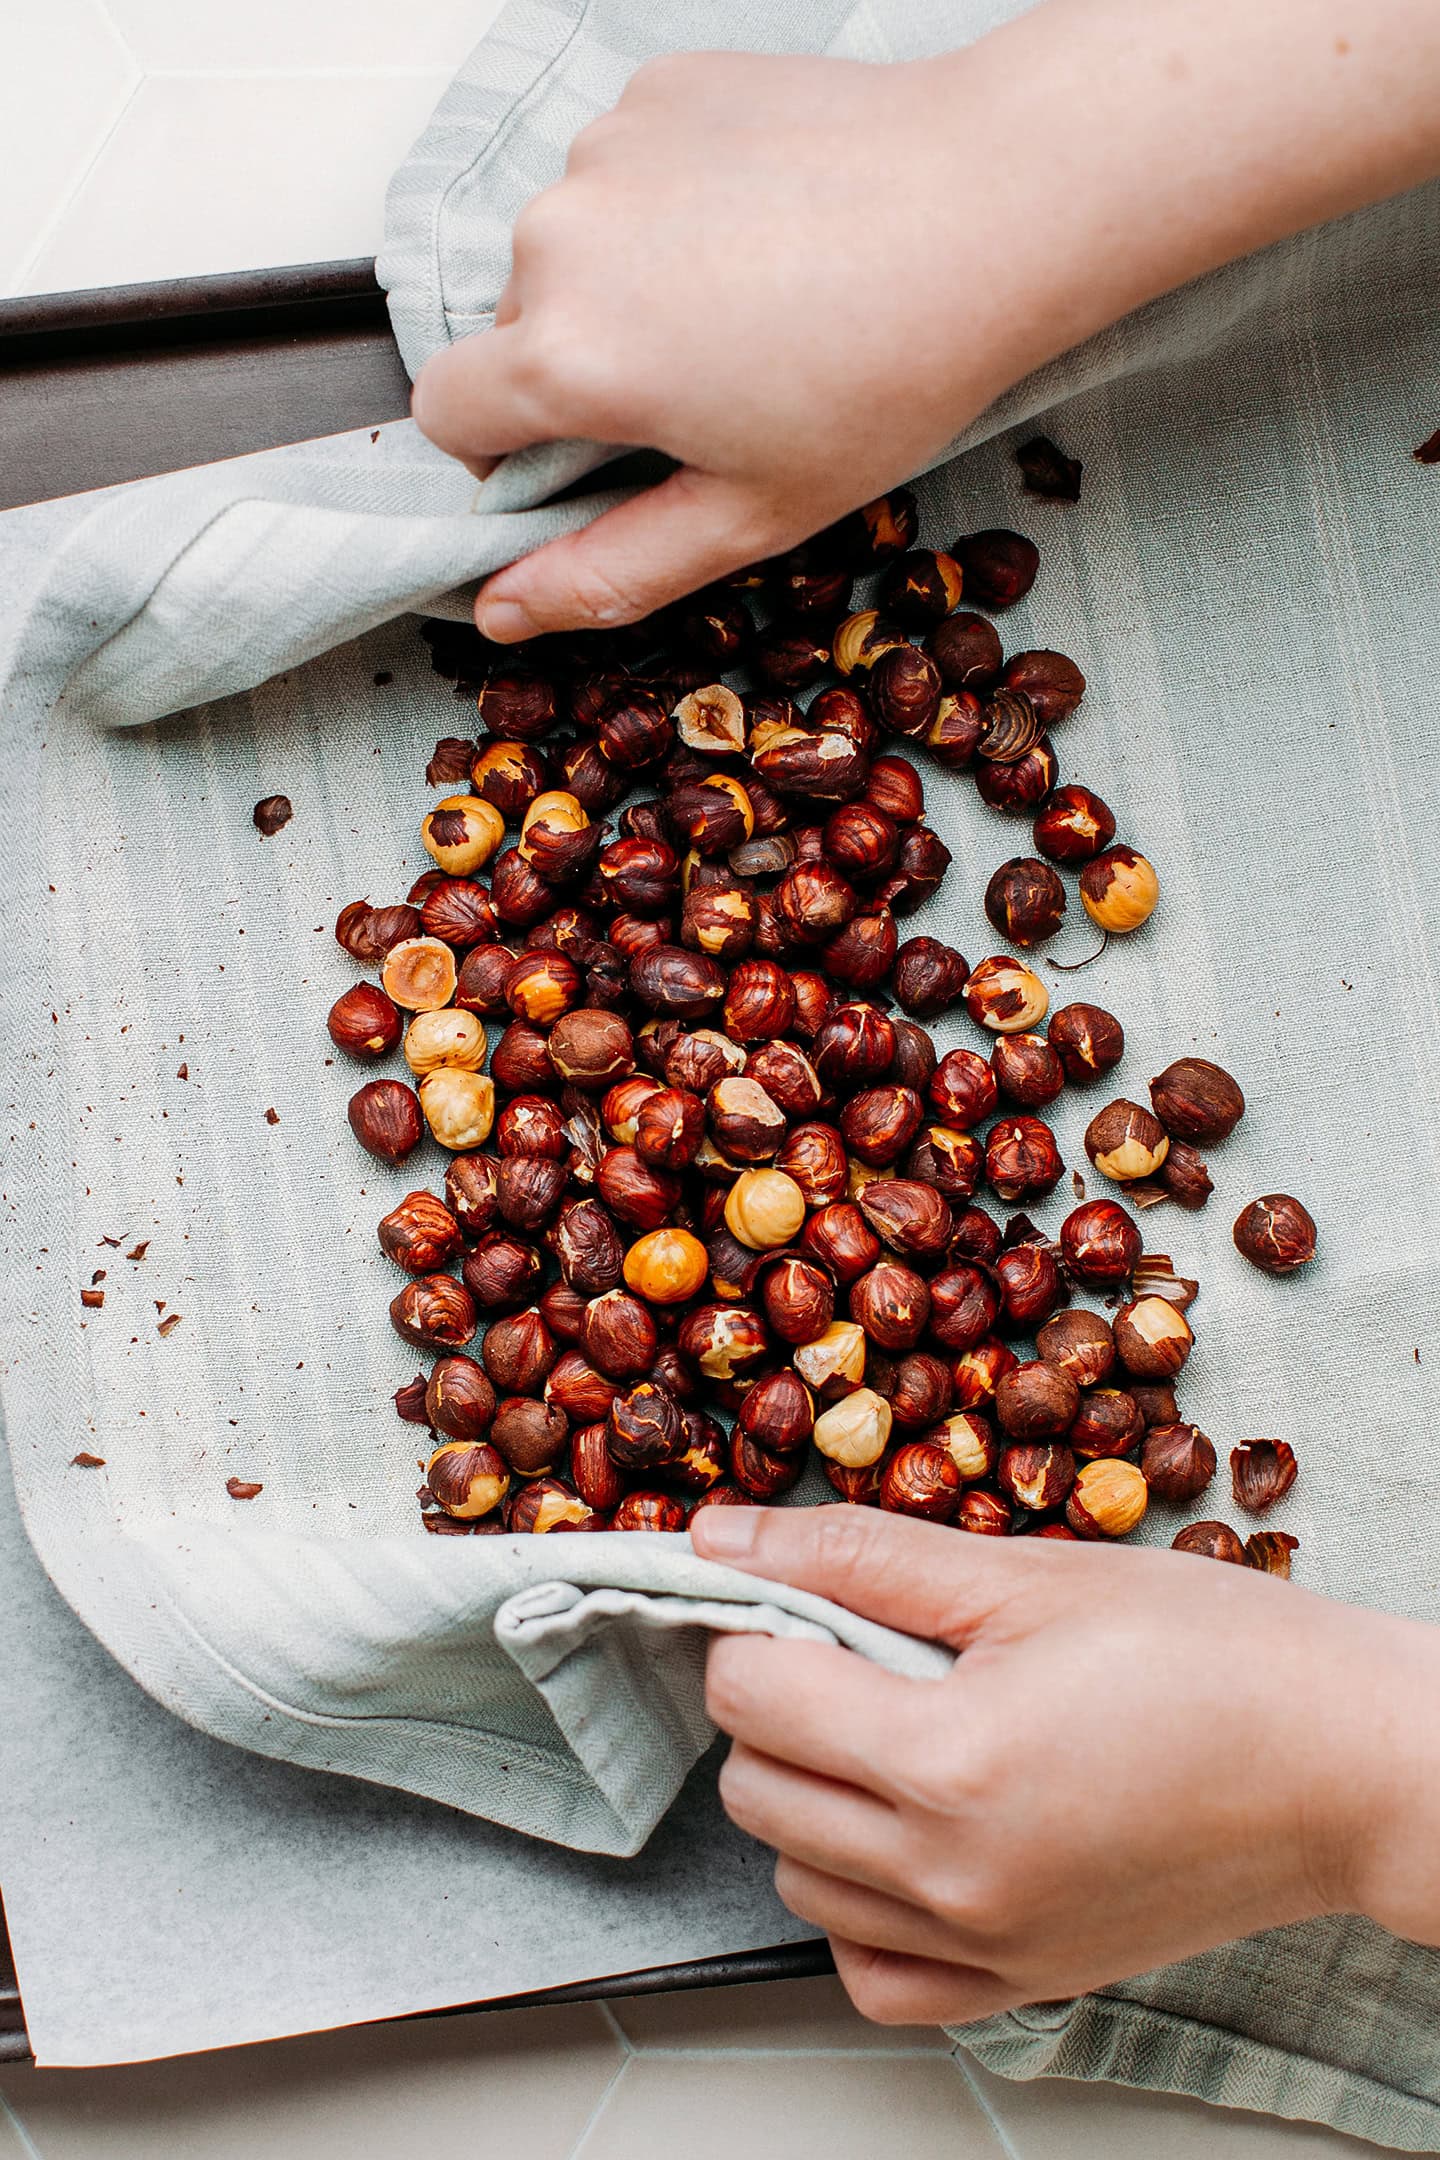
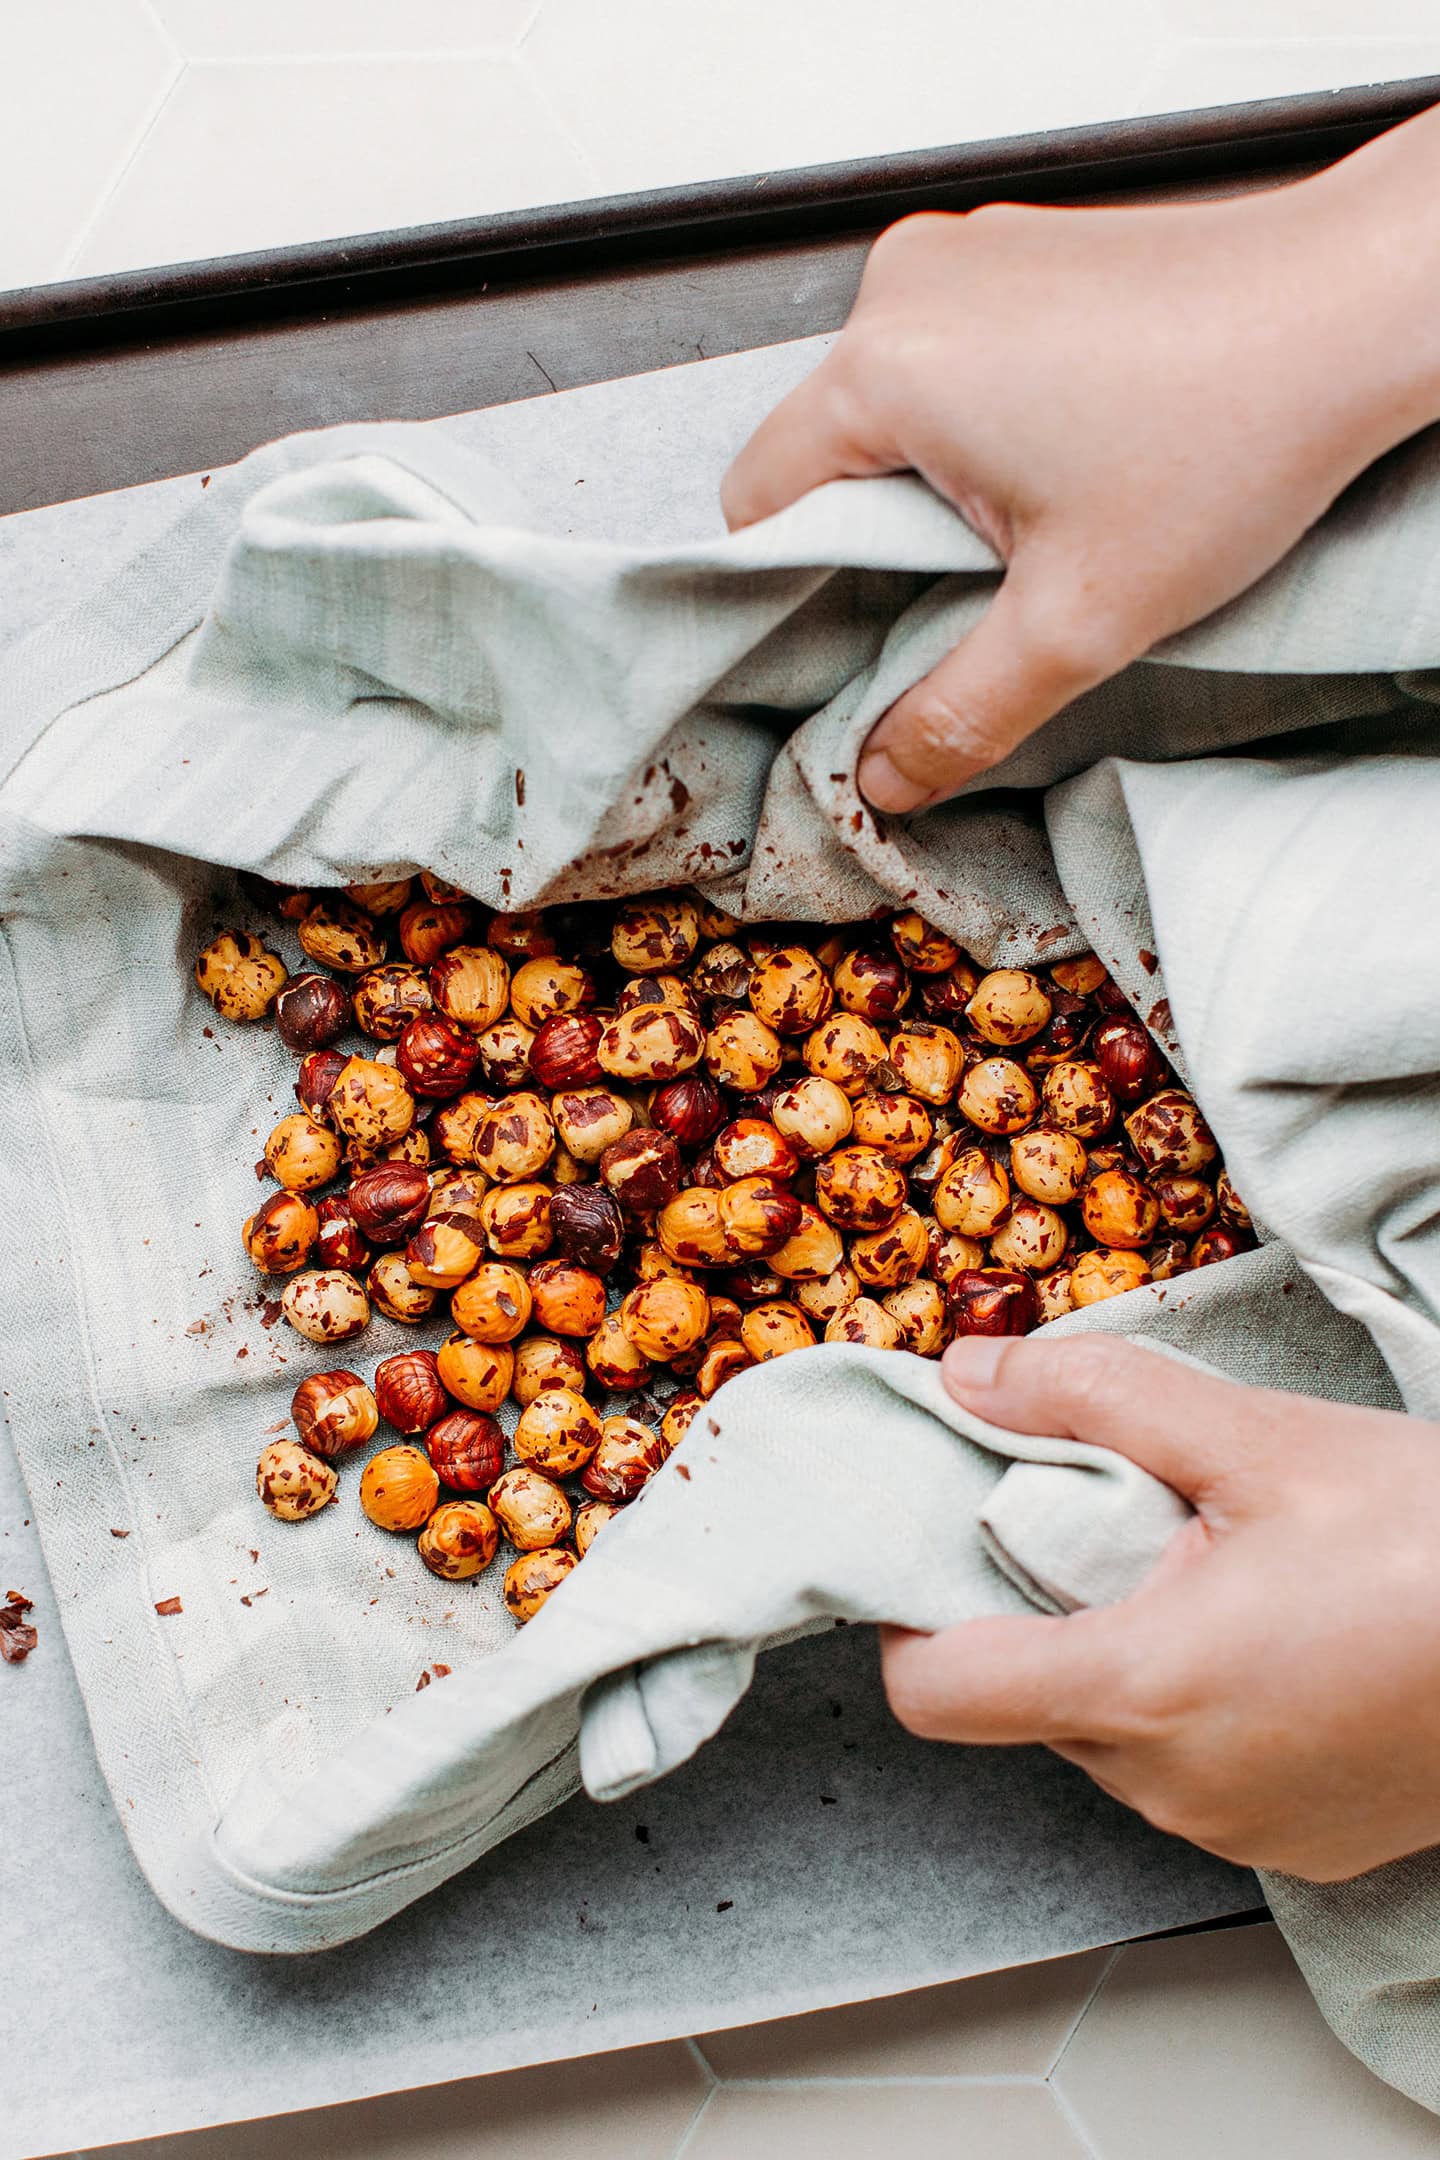
- Remove the skins. Remove the baking sheet from the oven and transfer the hazelnuts to a clean kitchen towel. Rub with your hands to remove their skins. You only want to remove the skin from the hazelnuts, not from the almonds.
- Set aside. Next, discard the hazelnut skins and transfer both the hazelnuts and almonds to a bowl or deep plate. Set aside.
2. Caramelize them
- Prepare a baking sheet. Line a large baking sheet with parchment paper and very lightly oil it. Set aside.
- Heat the sugar. Add the granulated sugar and water to a light-bottomed saucepan or skillet. Heat it over medium heat for about 5-6 minutes or until the sugar dissolves and the water starts to boil.
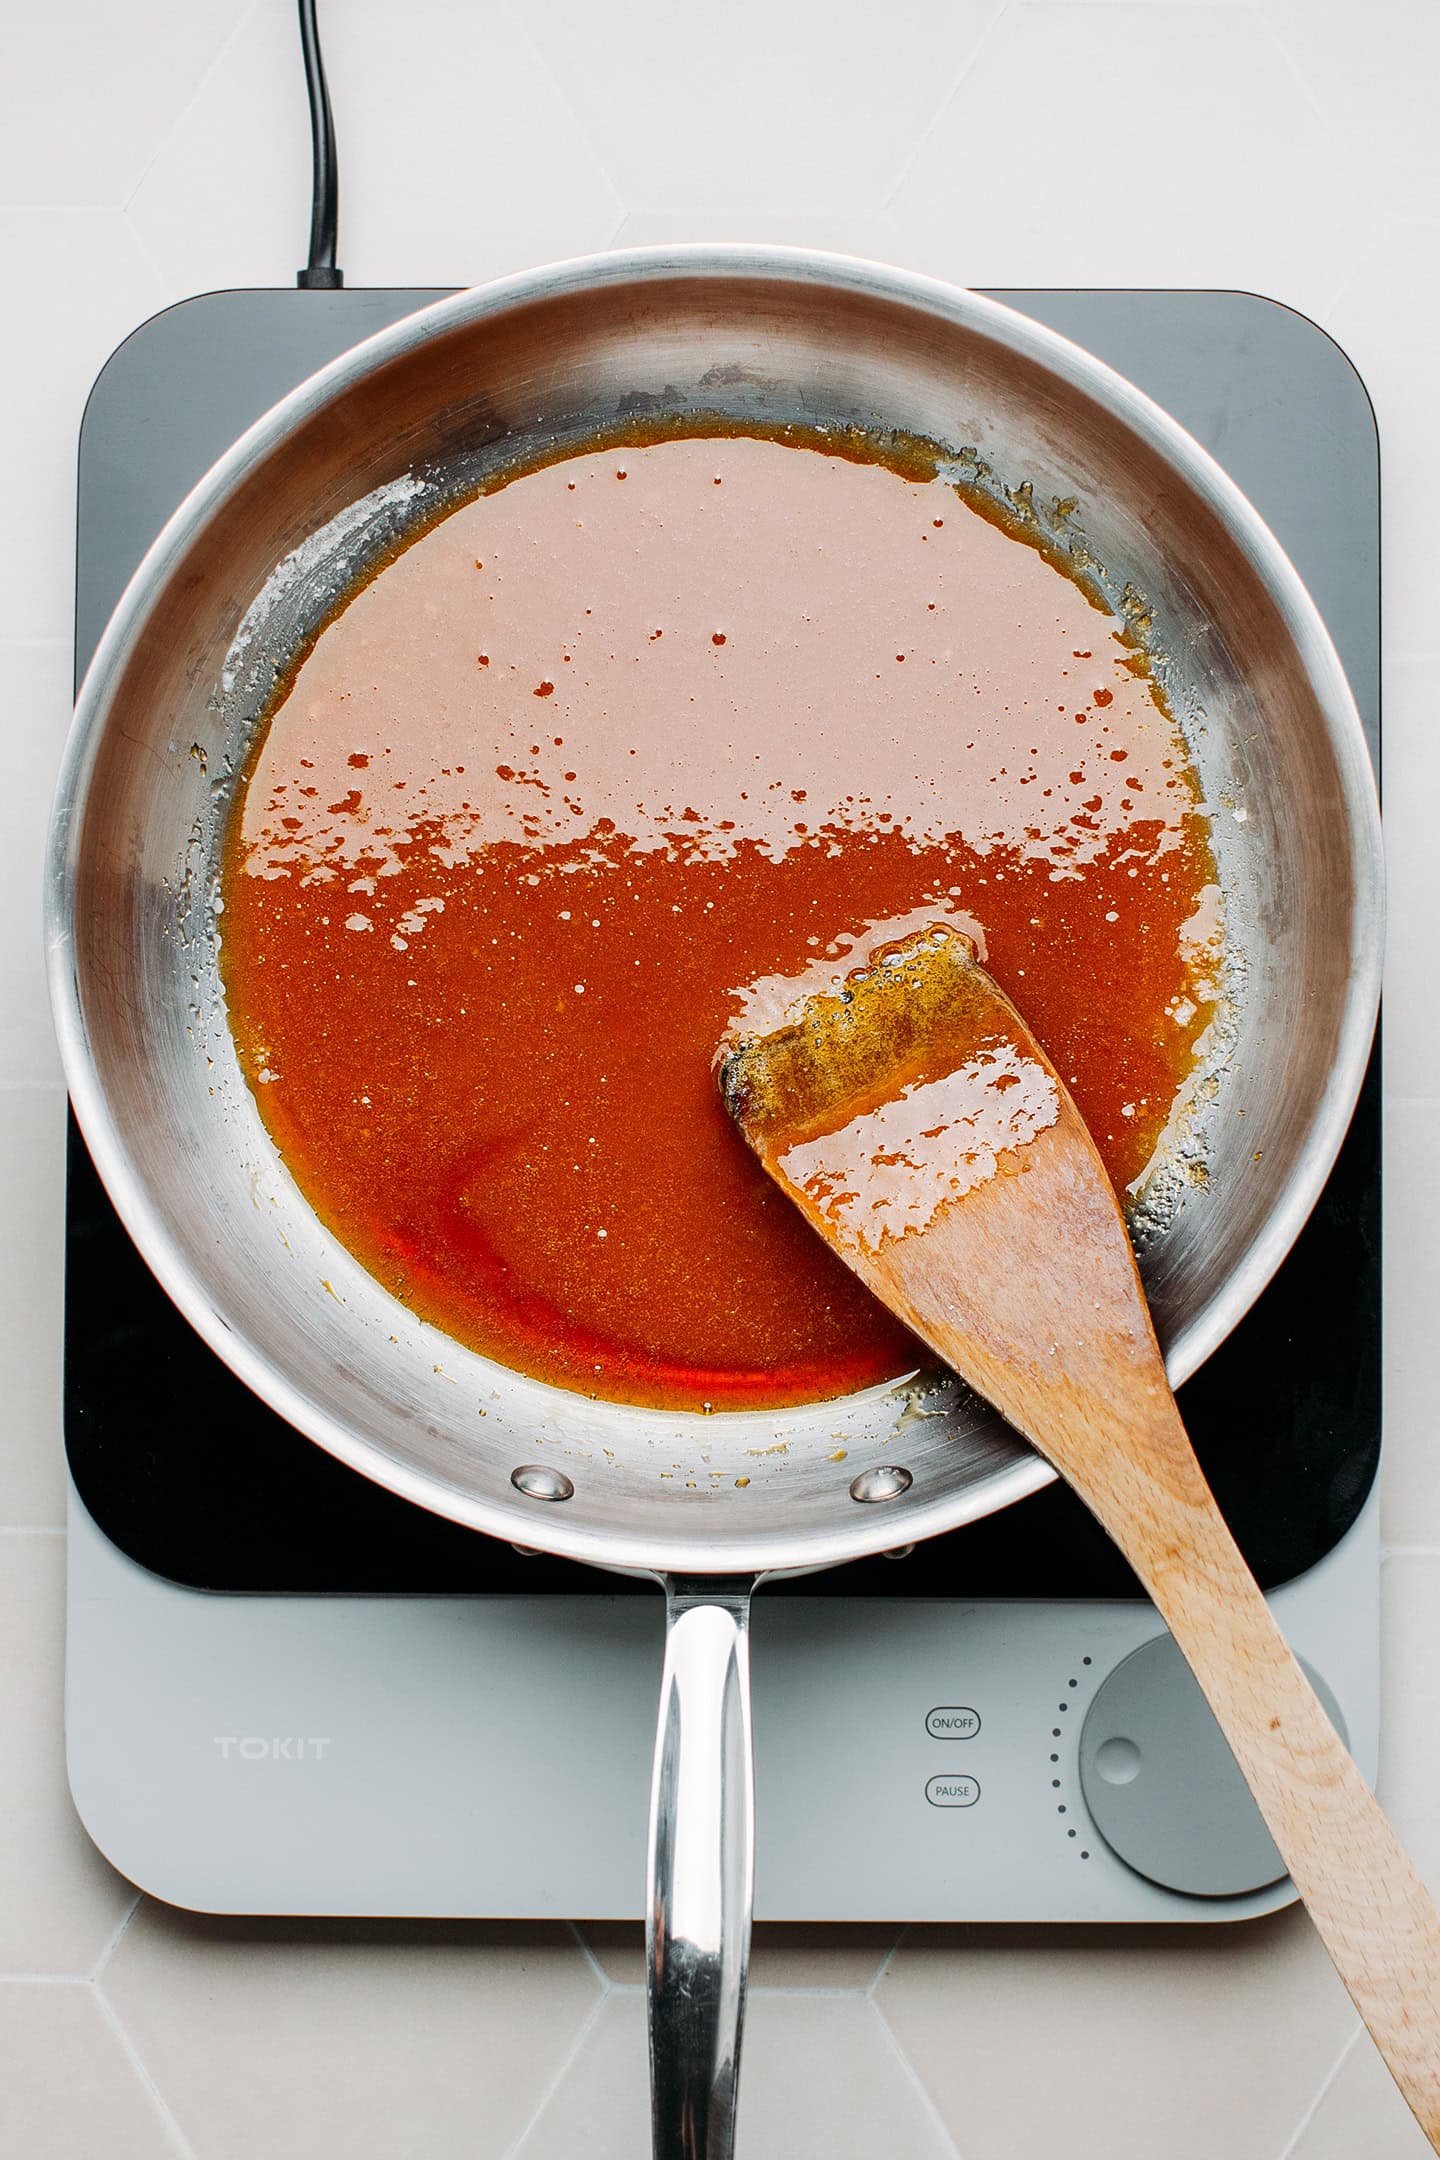
- Caramelize it. Once there is no more water, the sugar will crystallize and become hard. This is normal. Keep heating over medium heat until the sugar melts again and starts to caramelize. This step might take another 2-3 minutes. Do not stir.

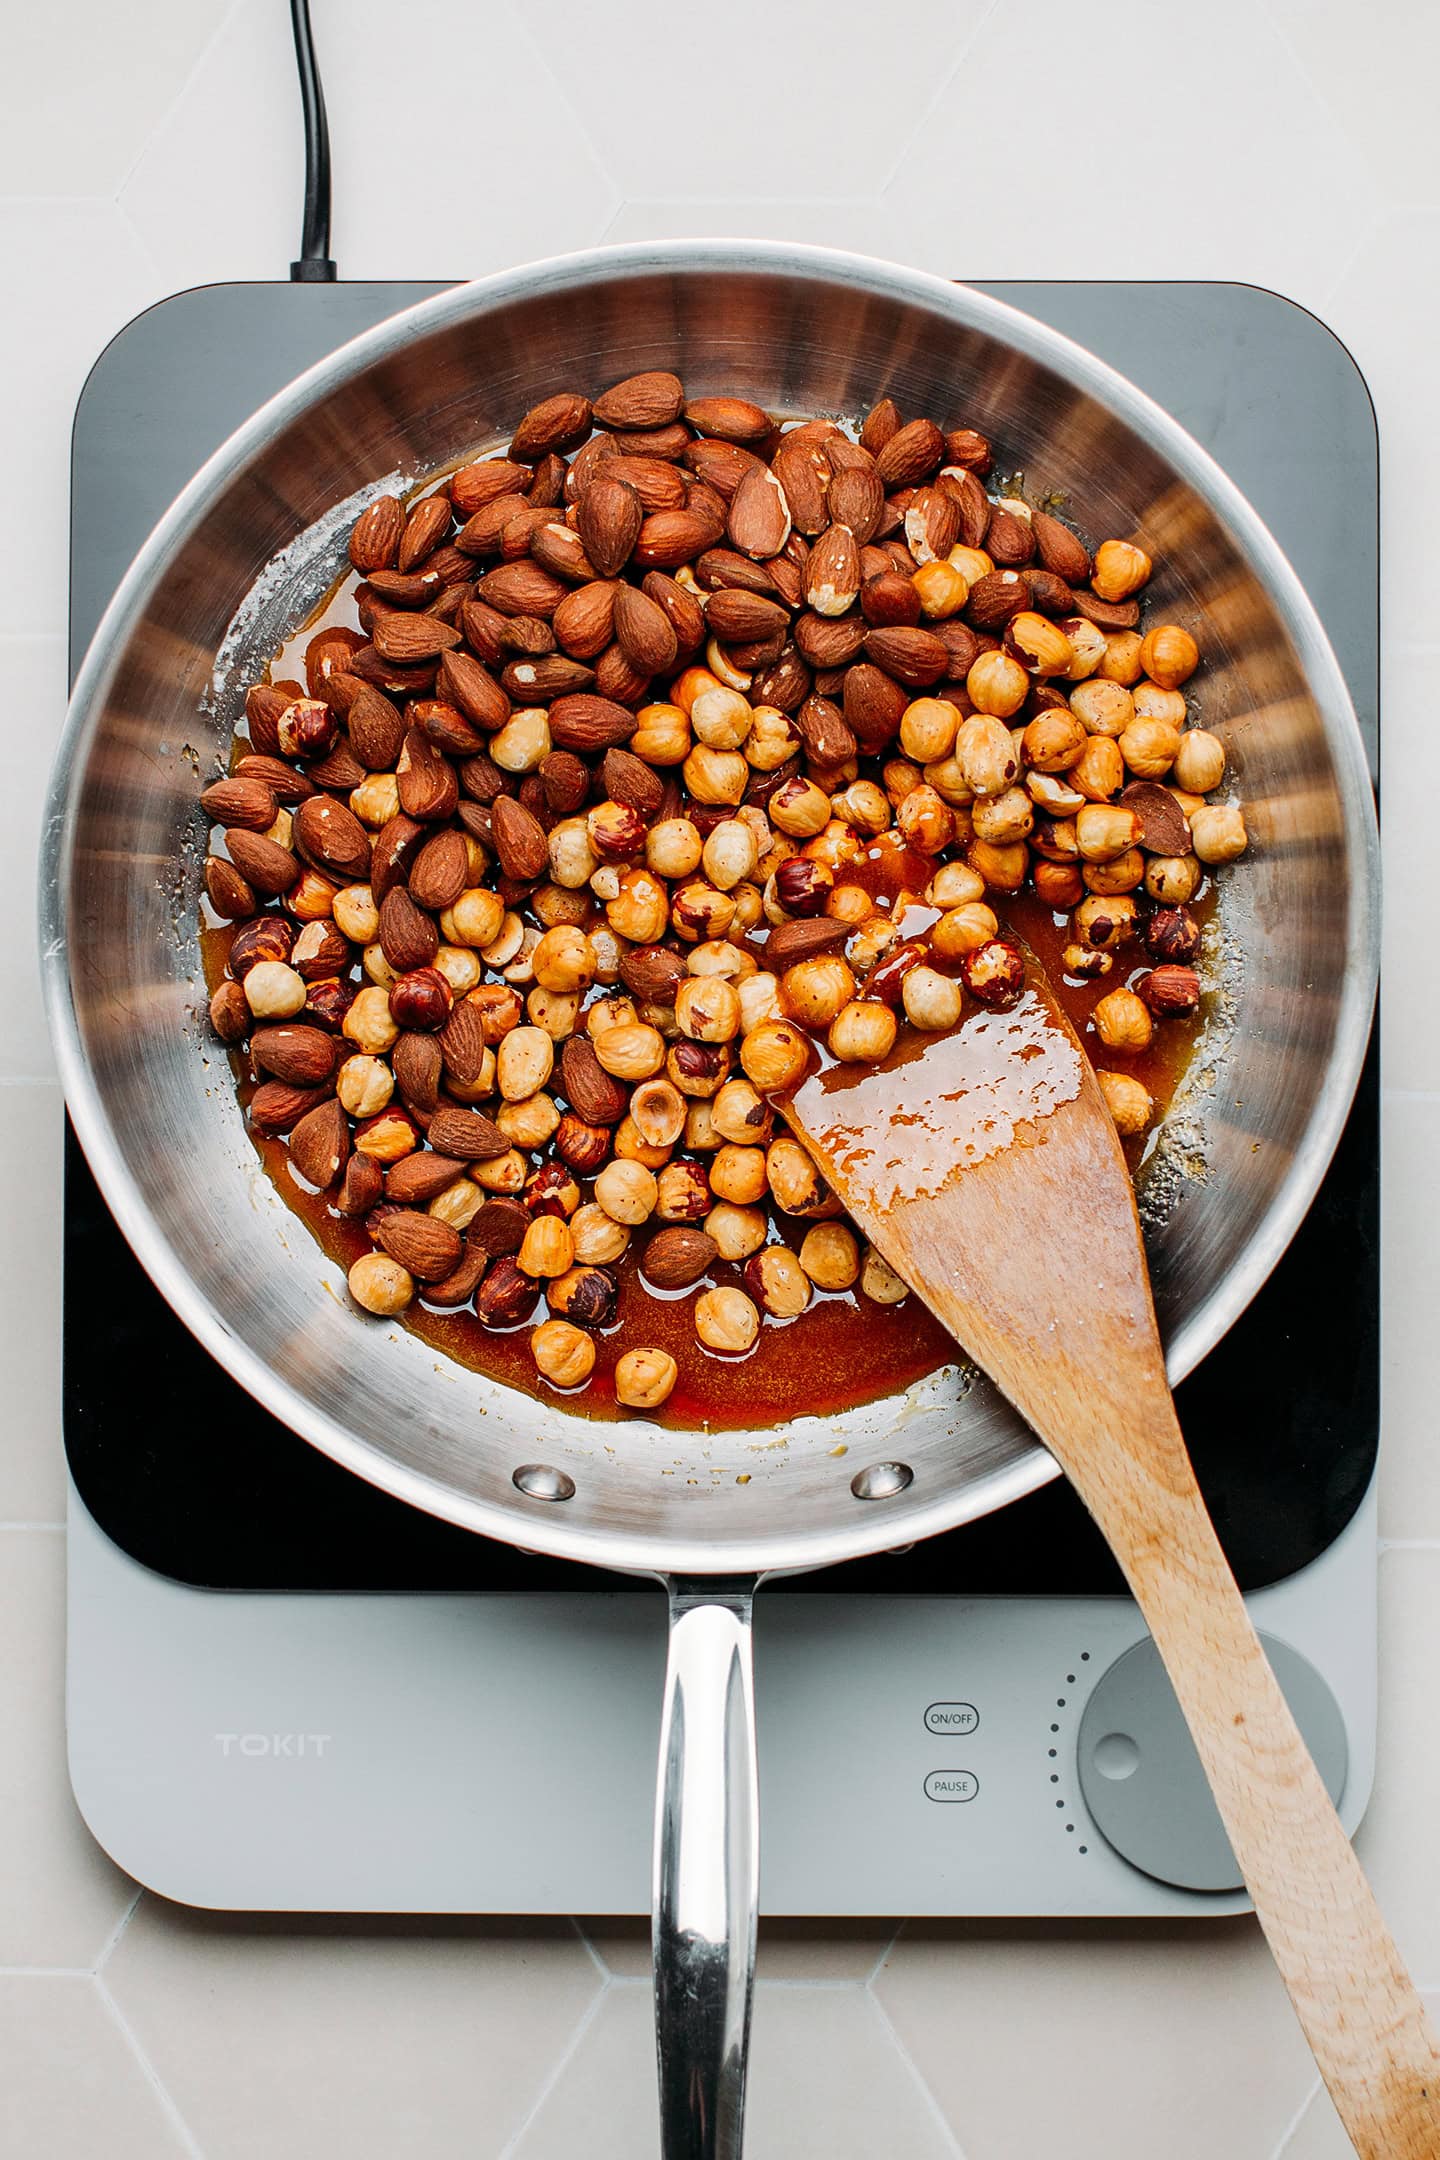
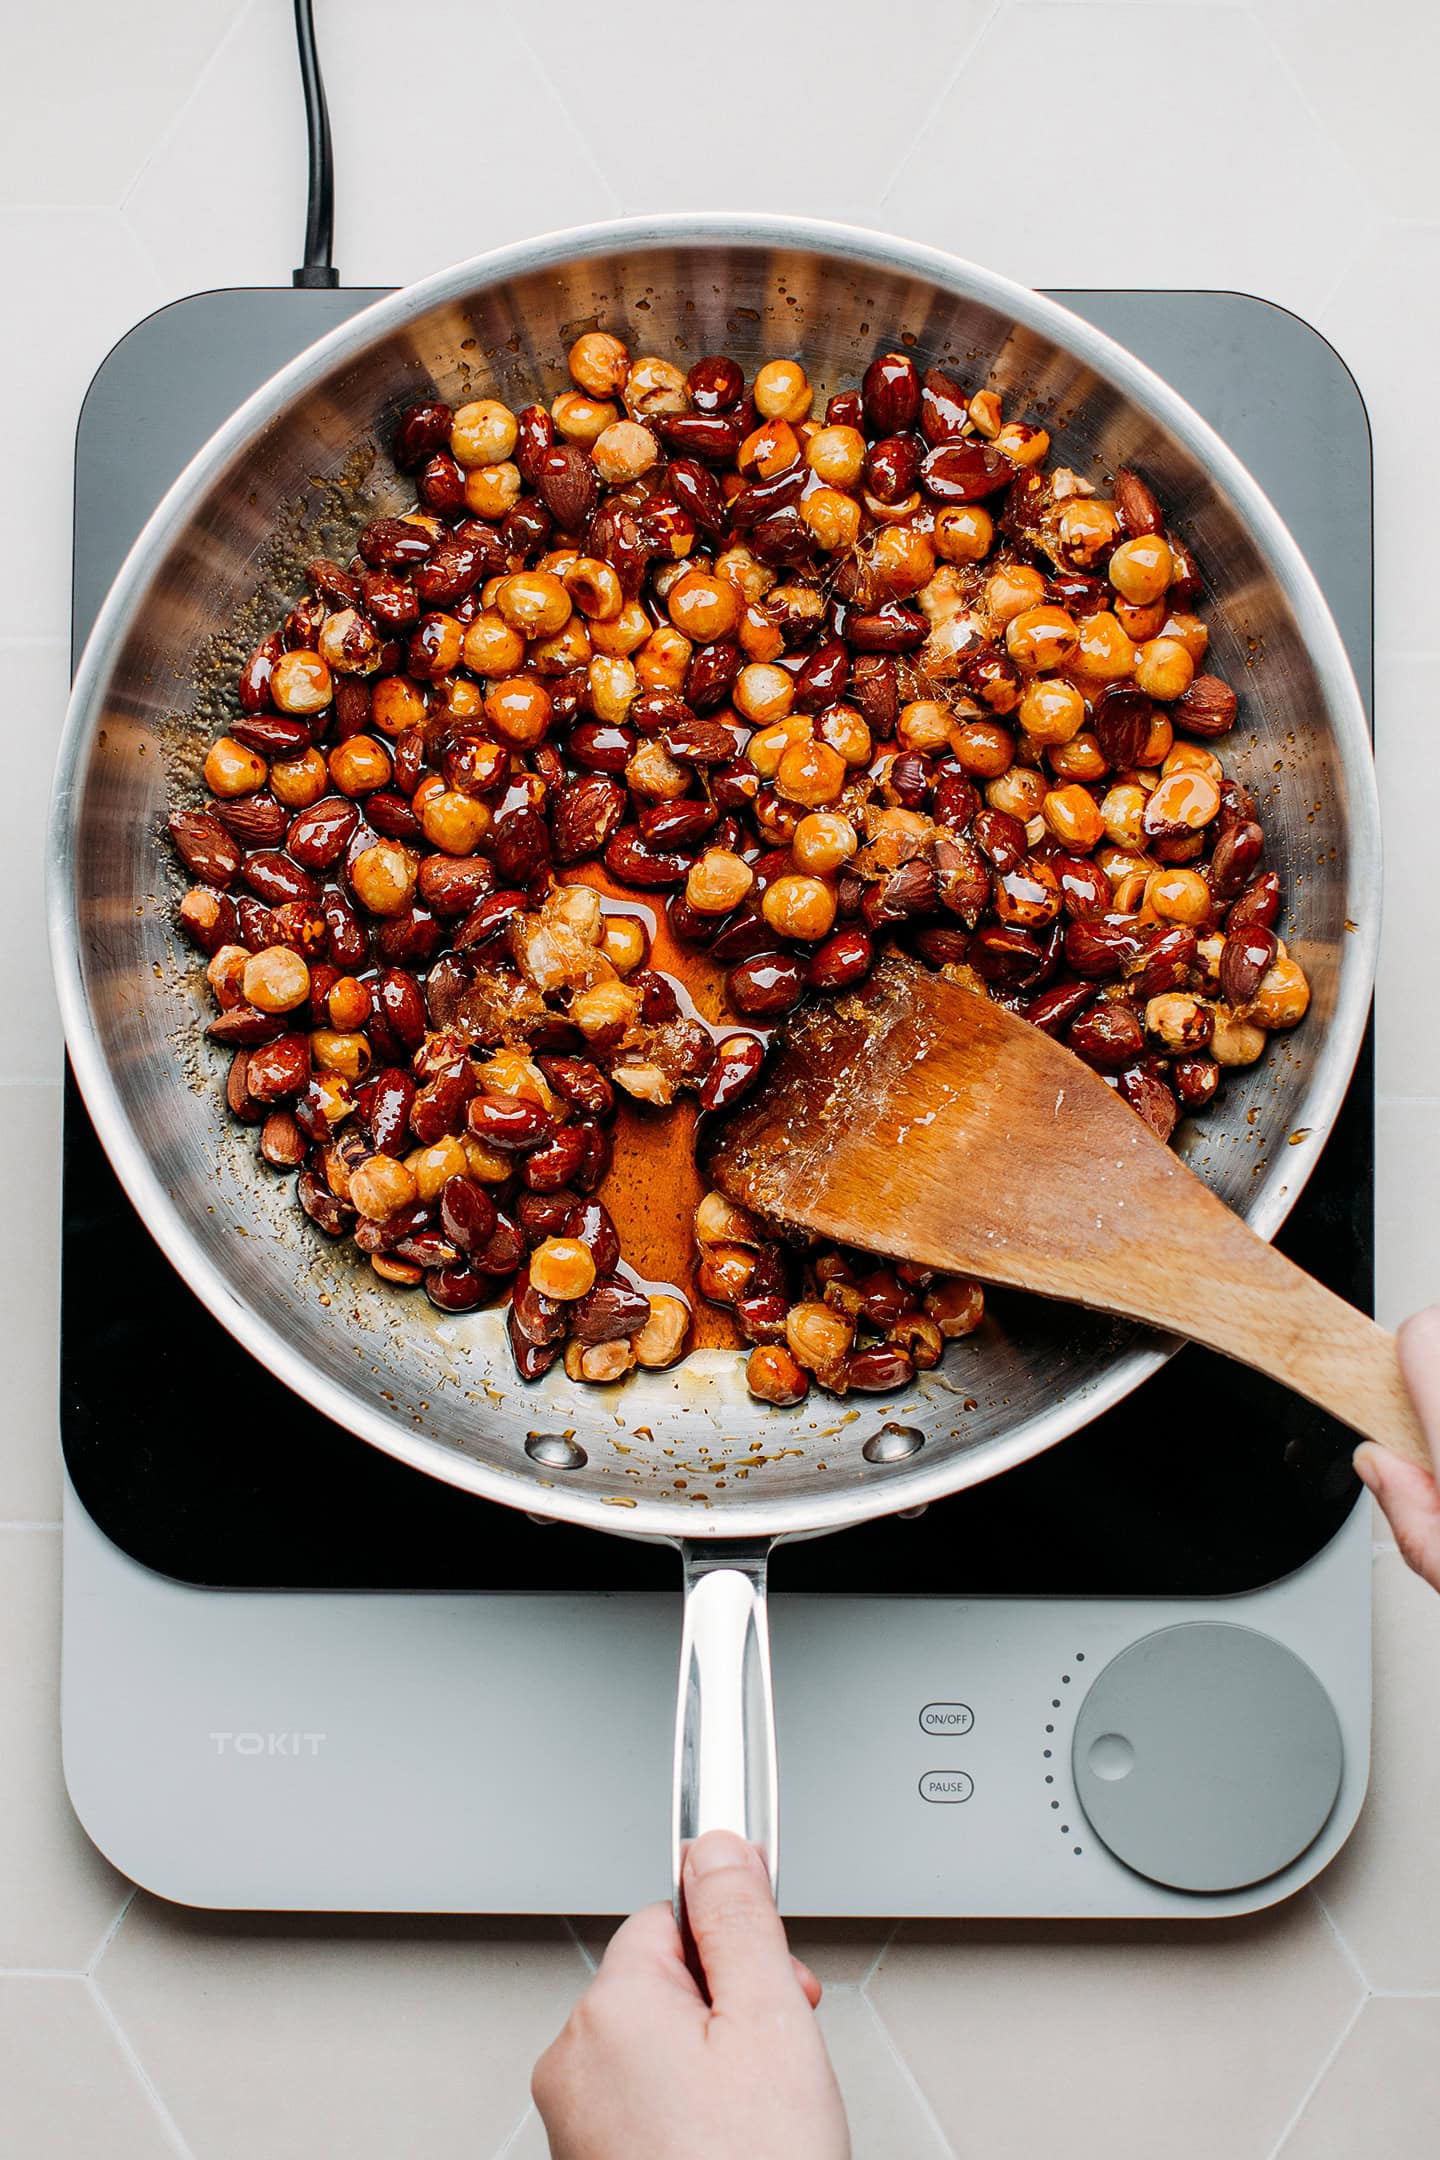
- Add the nuts. Once your caramel has a nice golden brown color, add the nuts and vanilla bean to the pot. Stir quickly using a wooden spatula to coat the nuts with the caramel. Heat for another 2 minutes, constantly stirring to coat the nuts evenly. Tip: Do not heat for too long, or your caramel might burn.
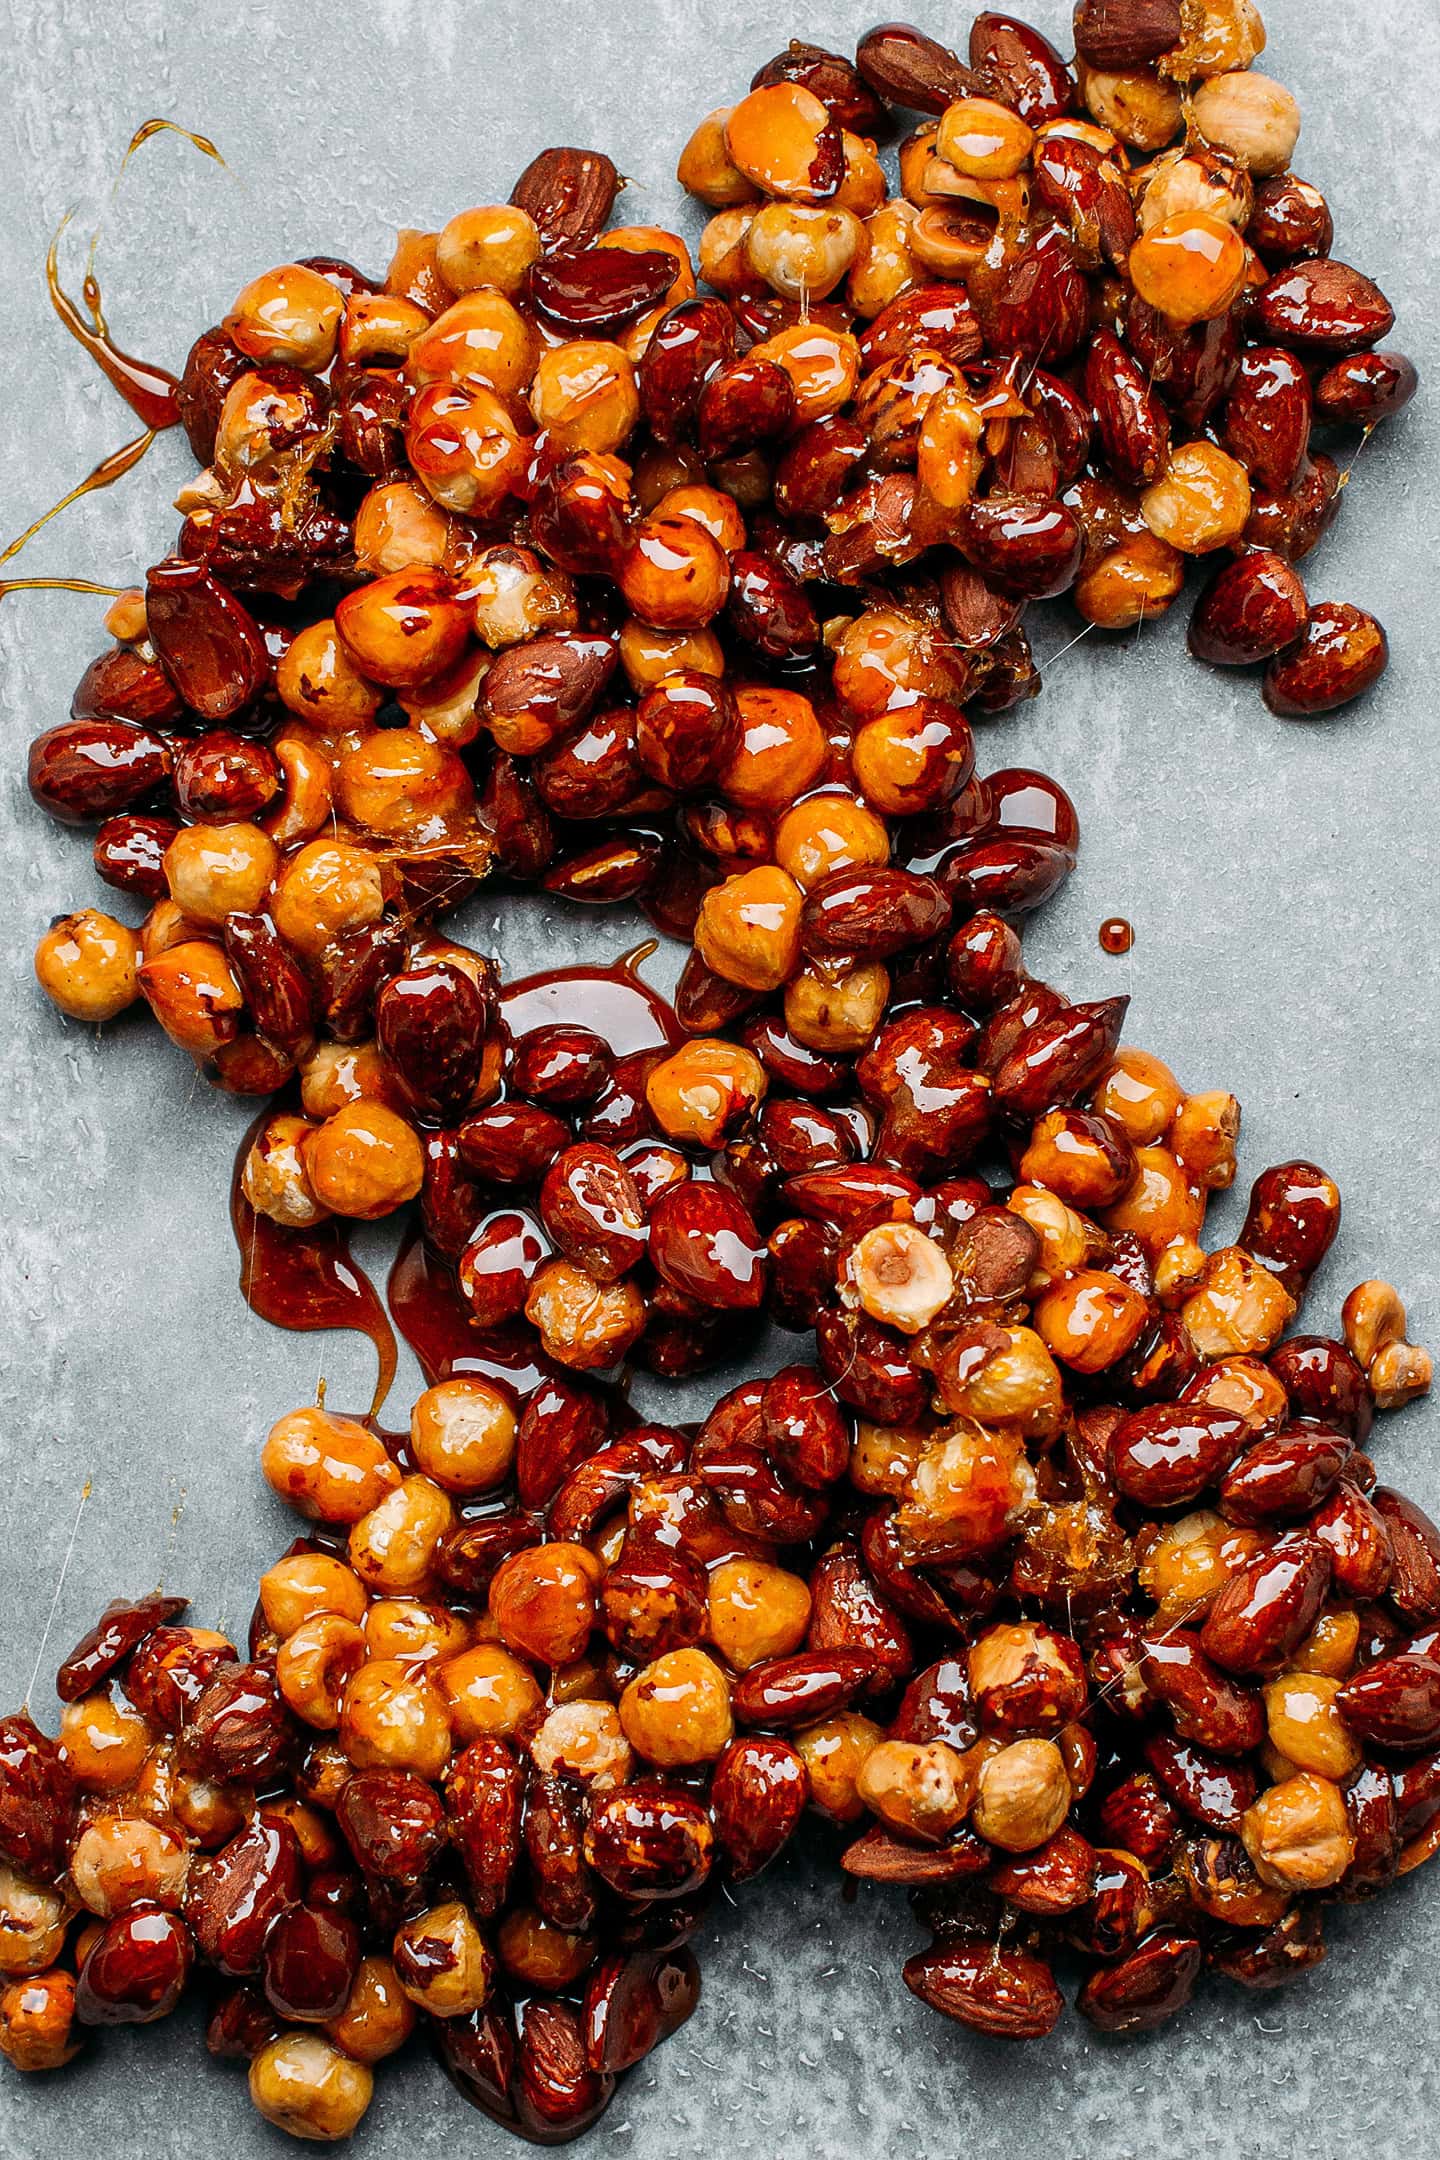
- Transfer to the baking sheet. Carefully transfer the caramelized nuts to the prepared baking sheet and flatten them into a thinner layer using a wooden spatula. The caramel will harden very quickly. This is normal. Allow the caramel and nuts to cool down for at least 25 minutes.
- Break it into pieces. Once the caramel is hard, carefully break it into large pieces. Be very careful, as the caramel can be very sharp.
3. Process into a paste
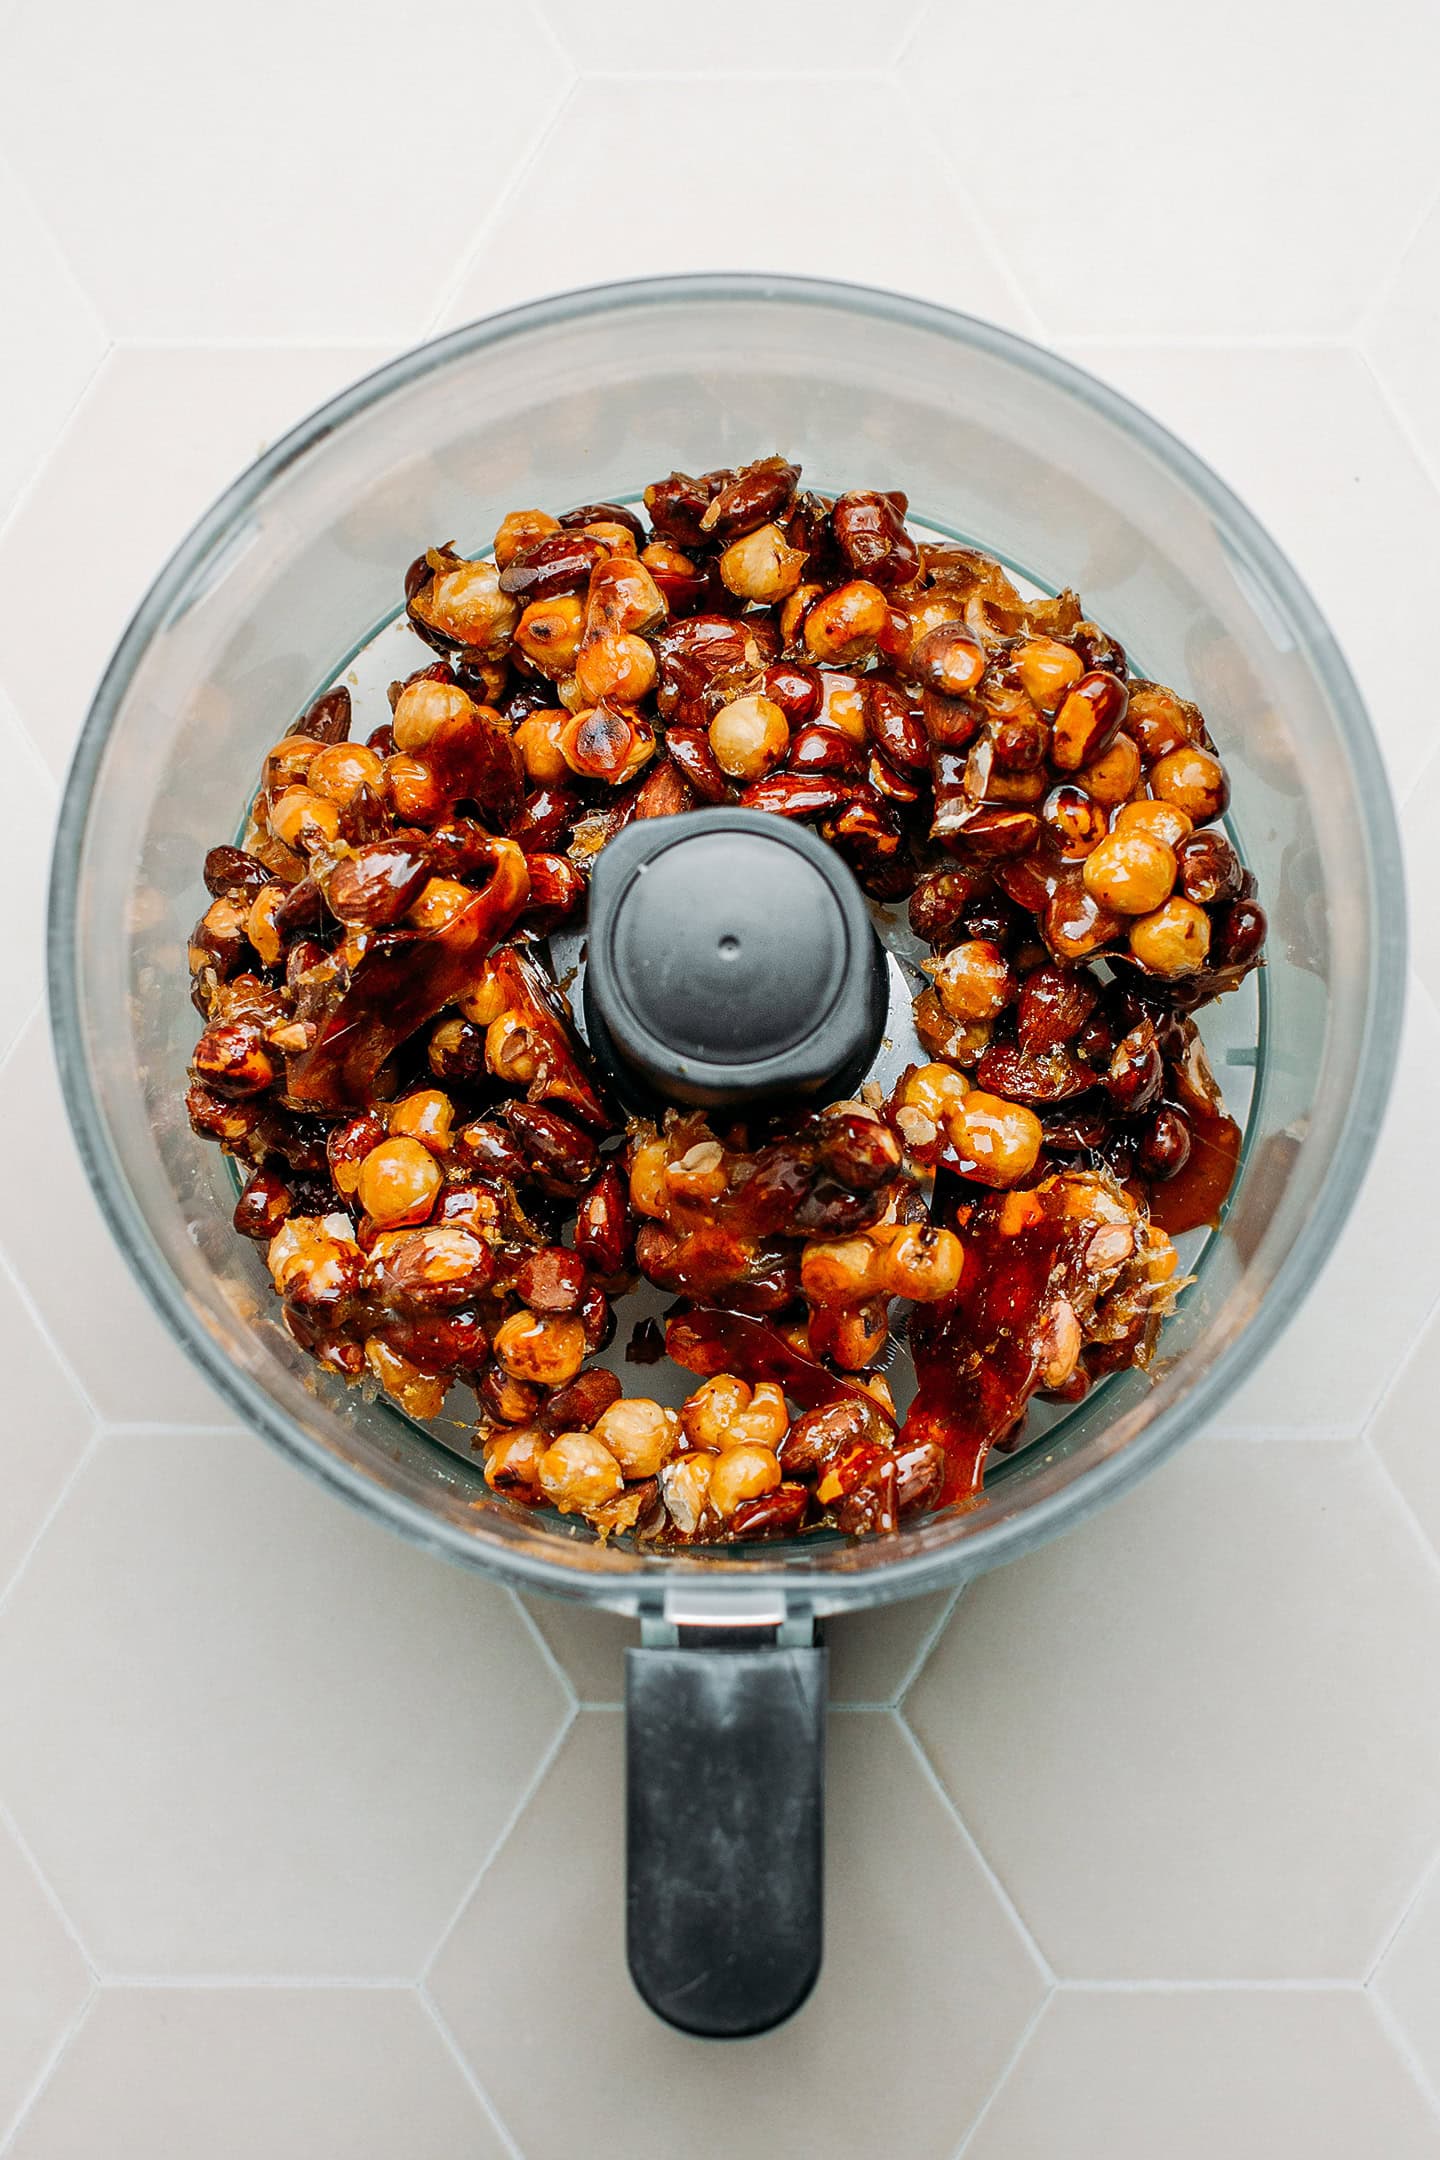
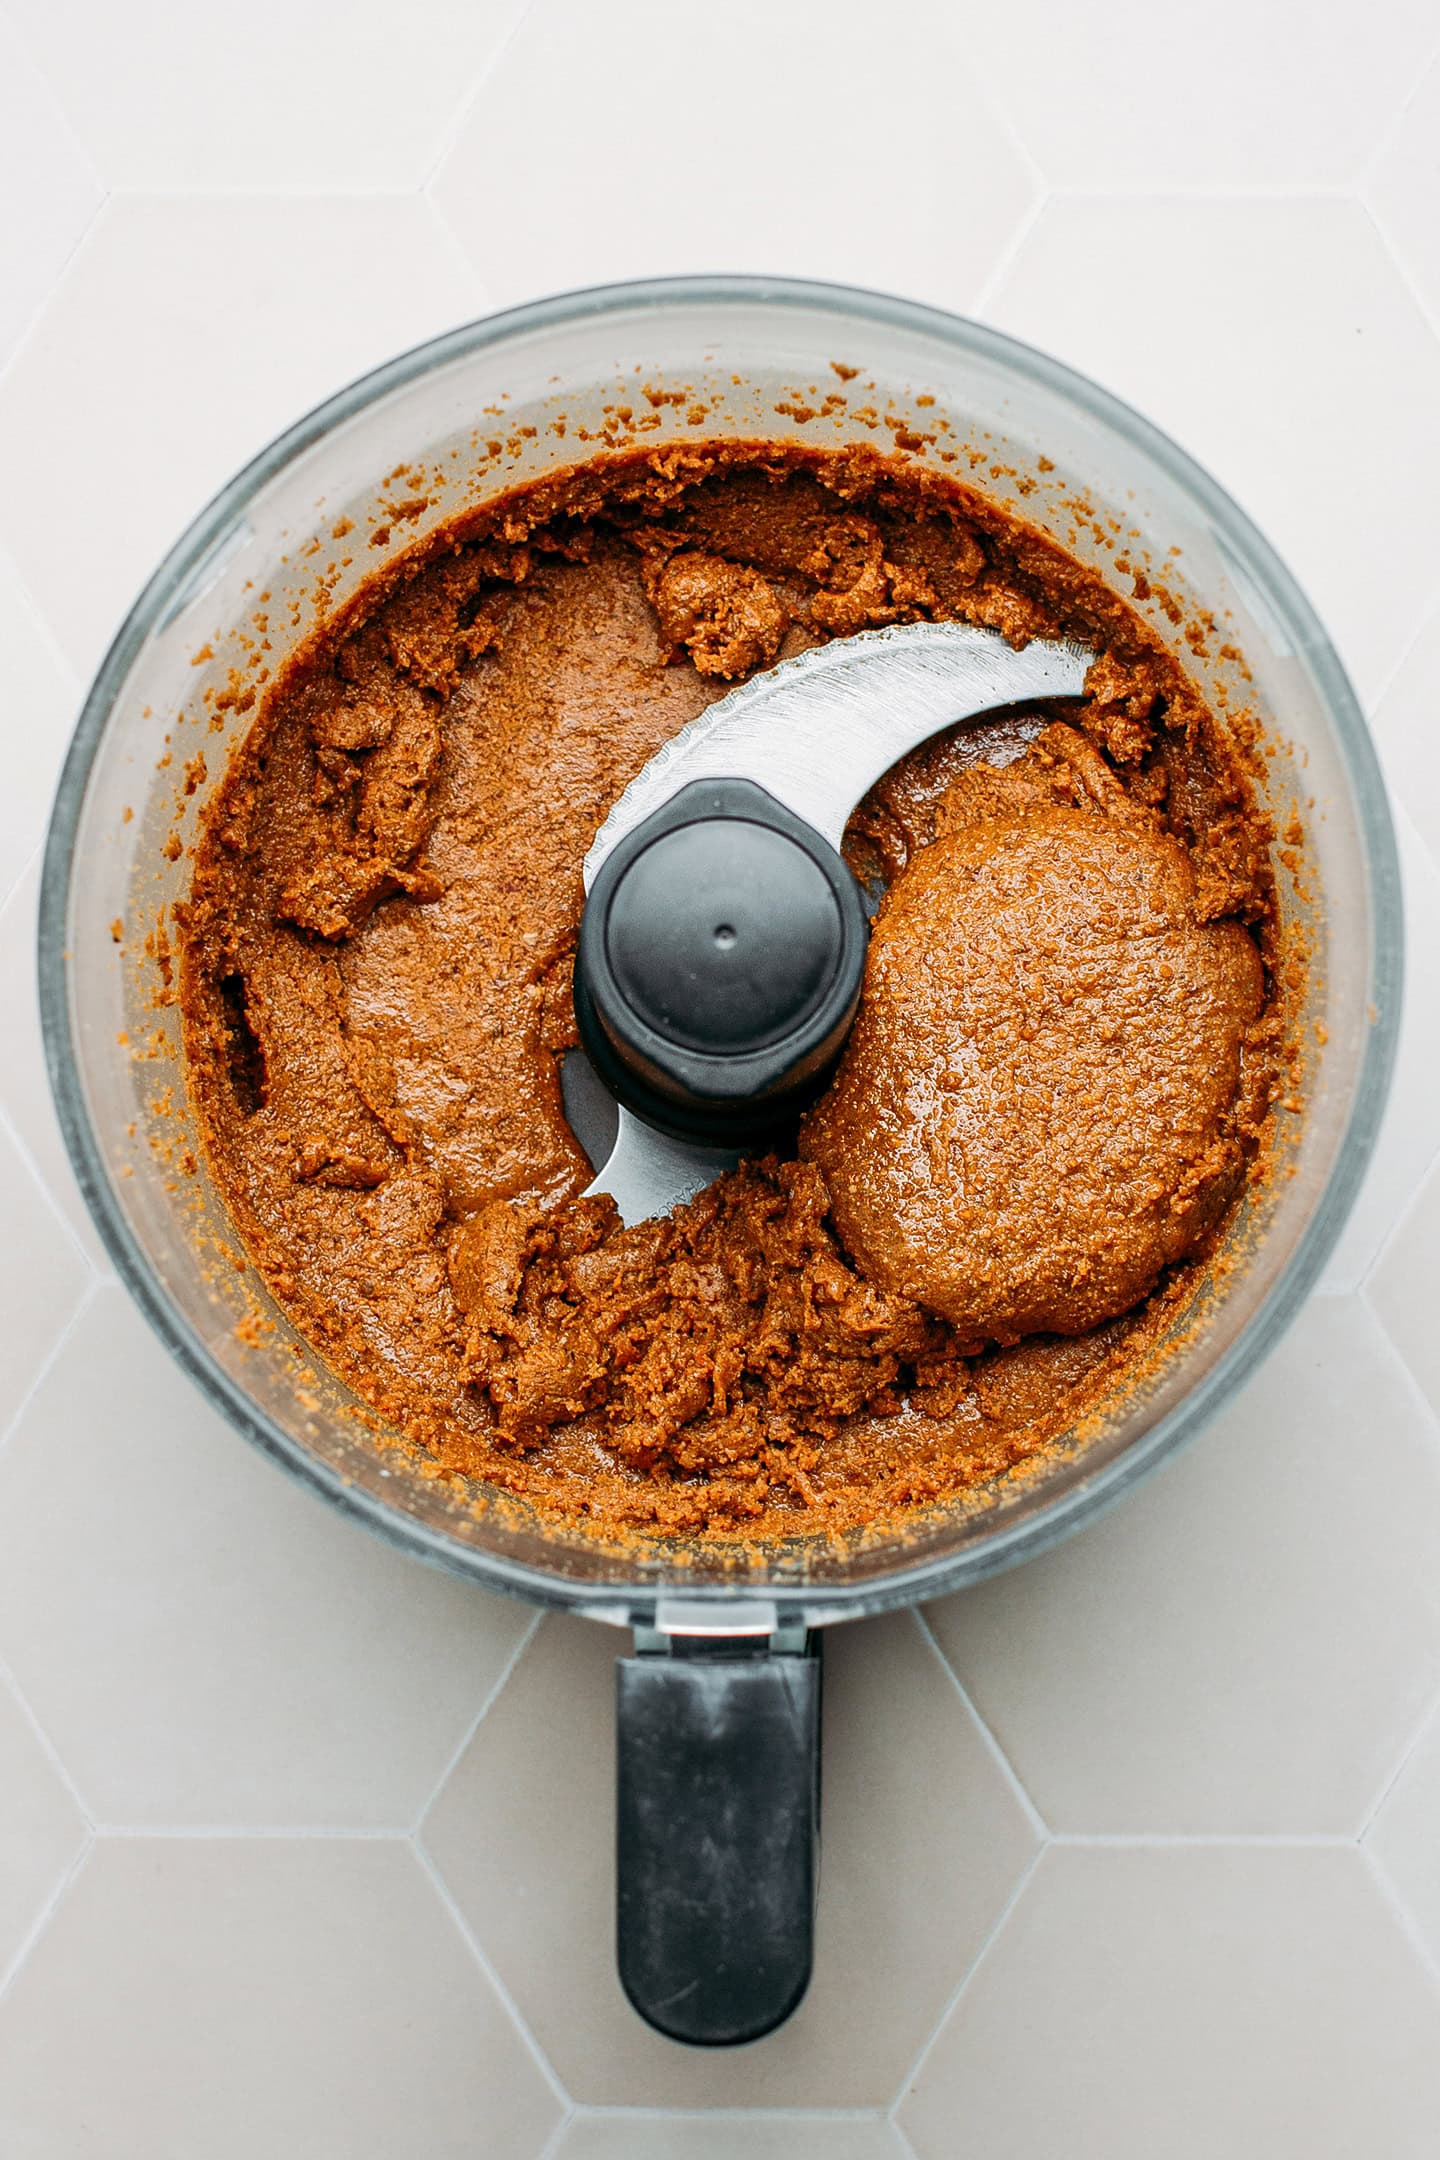
- Process. Transfer the caramelized nut pieces to a food processor bowl. Pulse a few times until you get smaller pieces. Continue to process until it turns into a paste, about 5-7 minutes, depending on your food processor. At first, it will turn into a powder, but as you keep processing, it will turn into a thin paste.
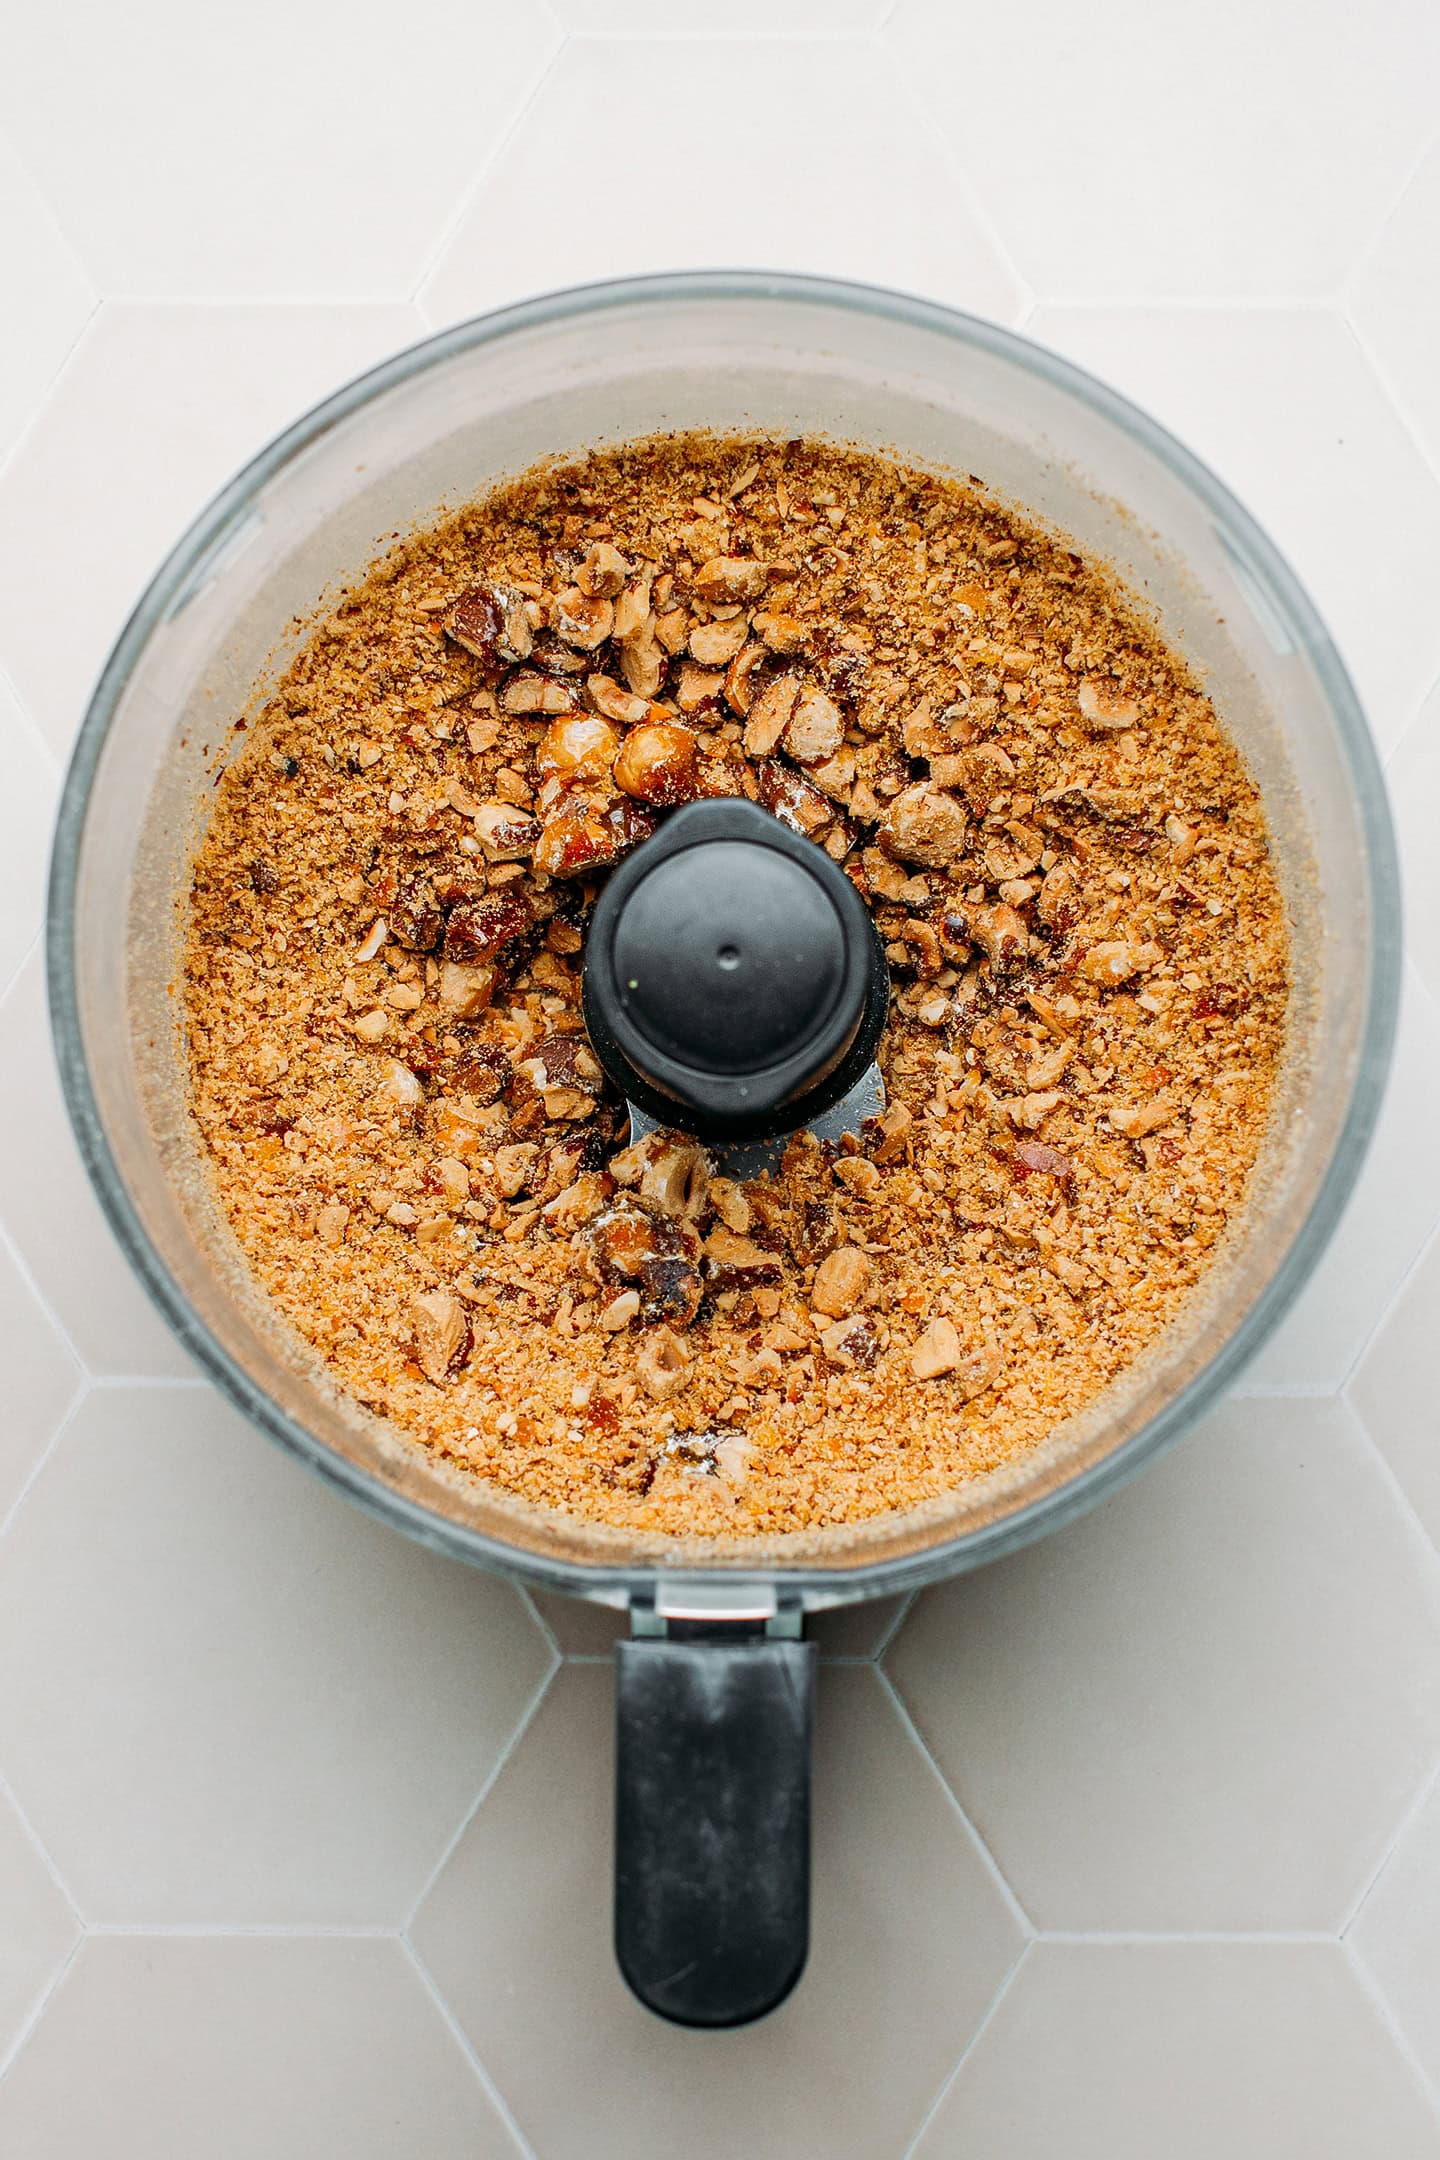
Note: I like to keep a crispy texture with very small bits of caramelized nuts – it makes it so addictive! However, if you prefer a smoother texture, you can process it for another 10 minutes and strain it through a fine-mesh sieve.
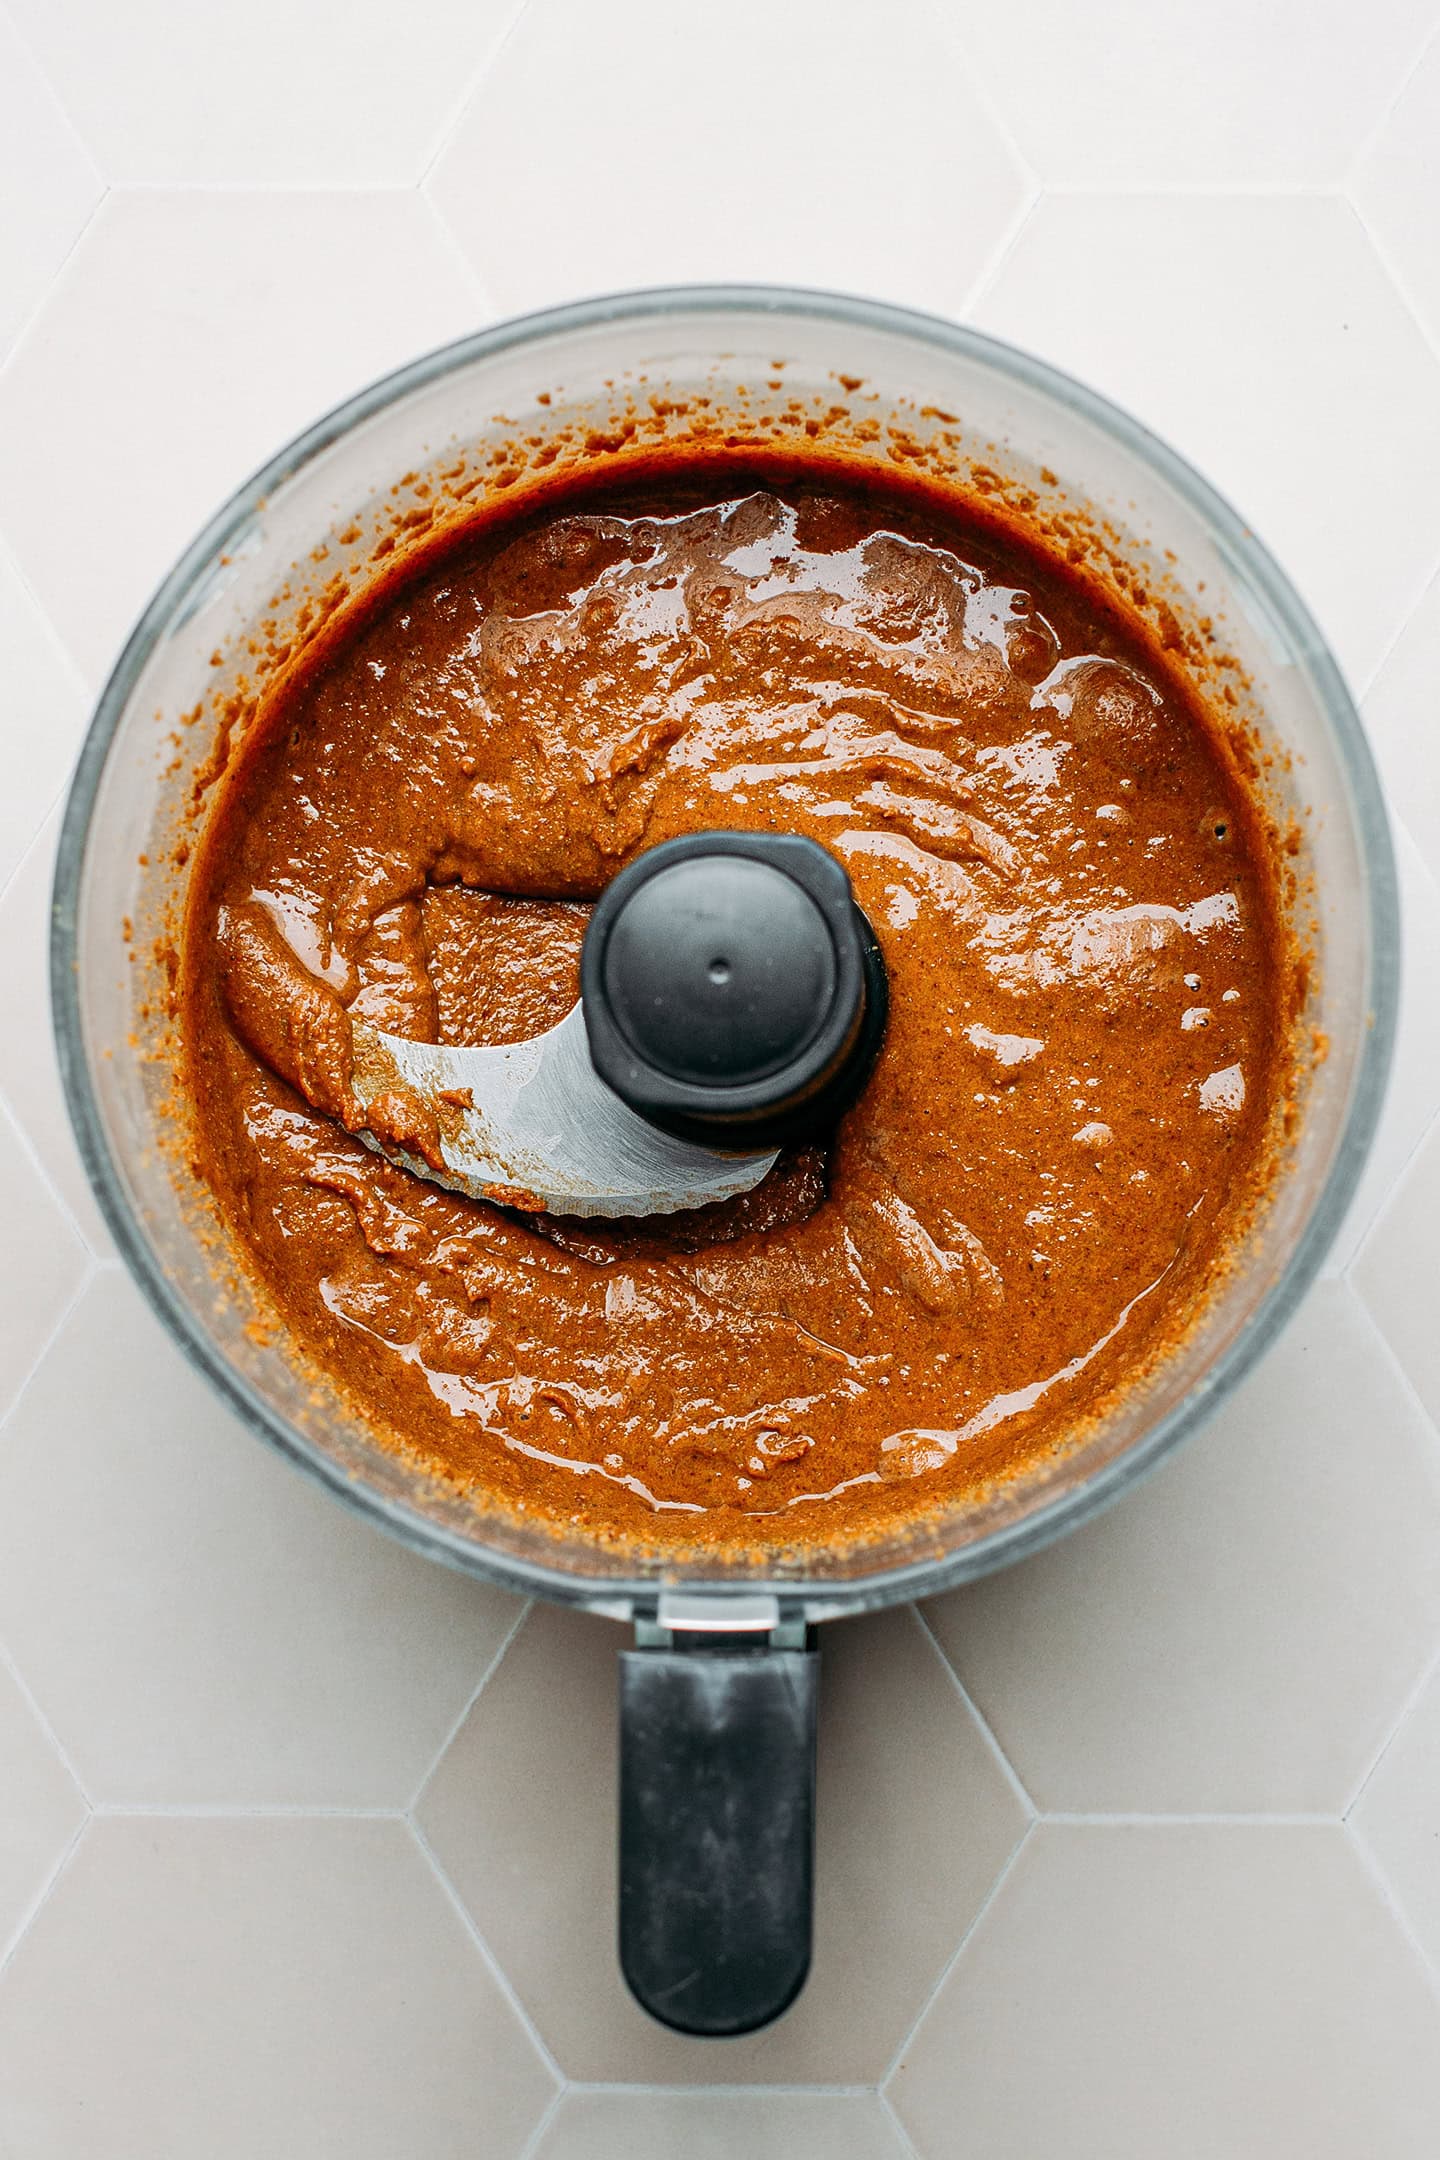
- Transfer to a bowl. Once the caramelized nuts have turned into a liquid praline paste, transfer it to a mixing bowl.
4. Combine with chocolate
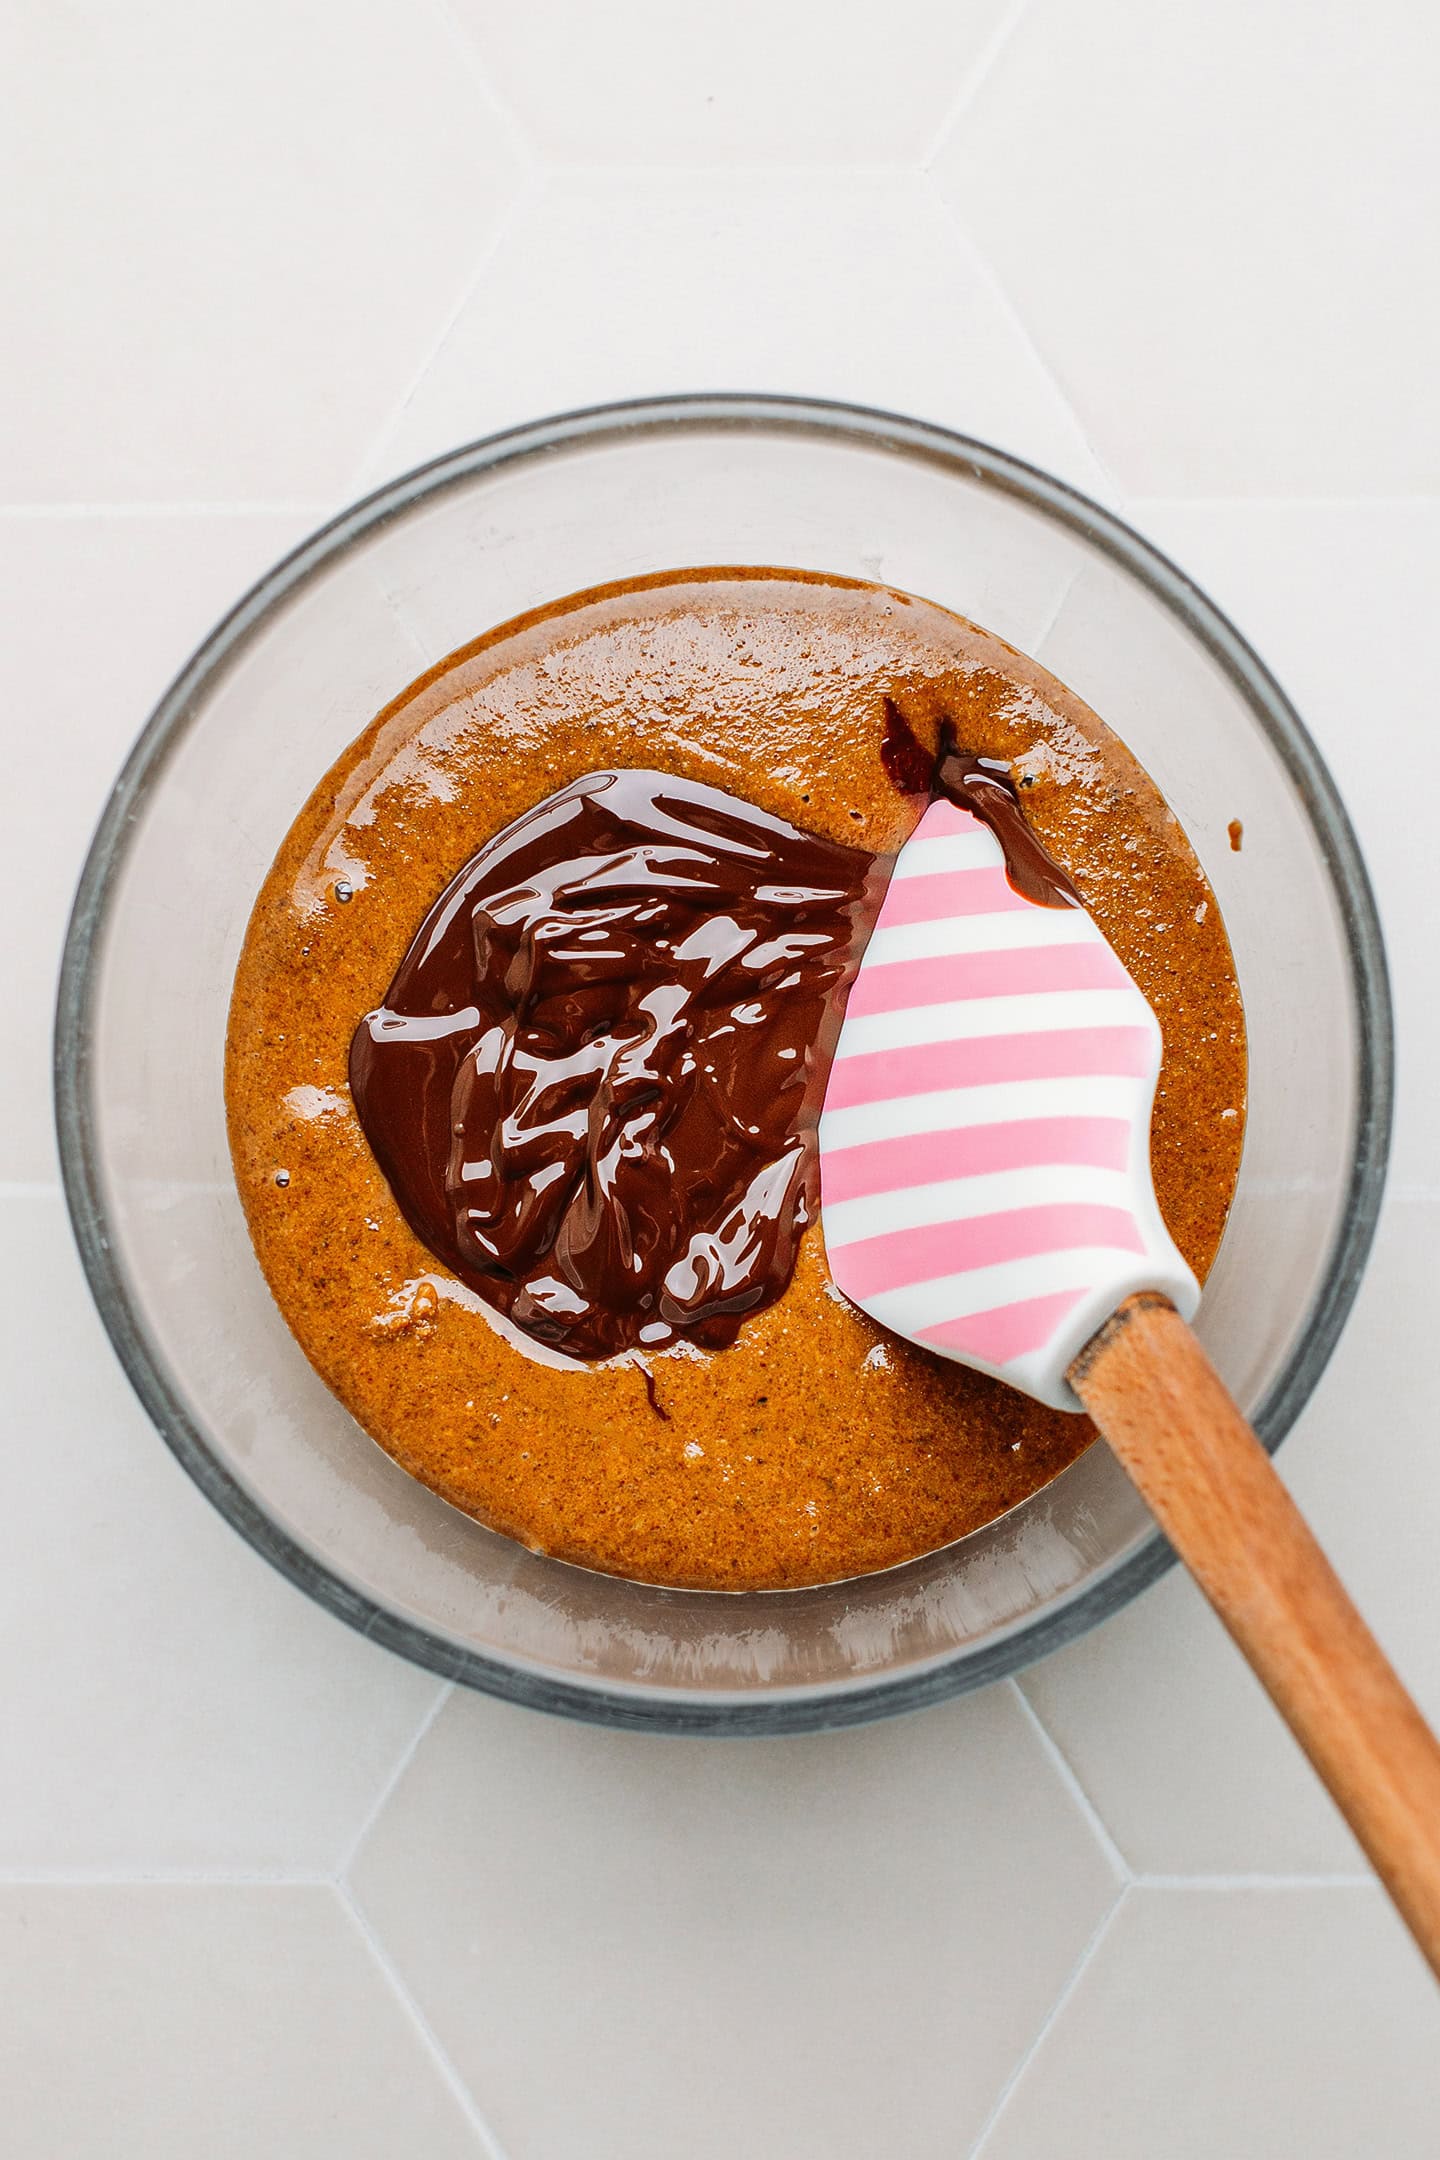
- Melt the chocolate. Add the chopped dark chocolate to a small glass bowl. Place the bowl over a saucepan filled with about 1 cup (240 ml) of water. Make sure that the glass bowl sits on the edges of the saucepan, but do not touch the water. Heat over medium heat until the chocolate is melted.
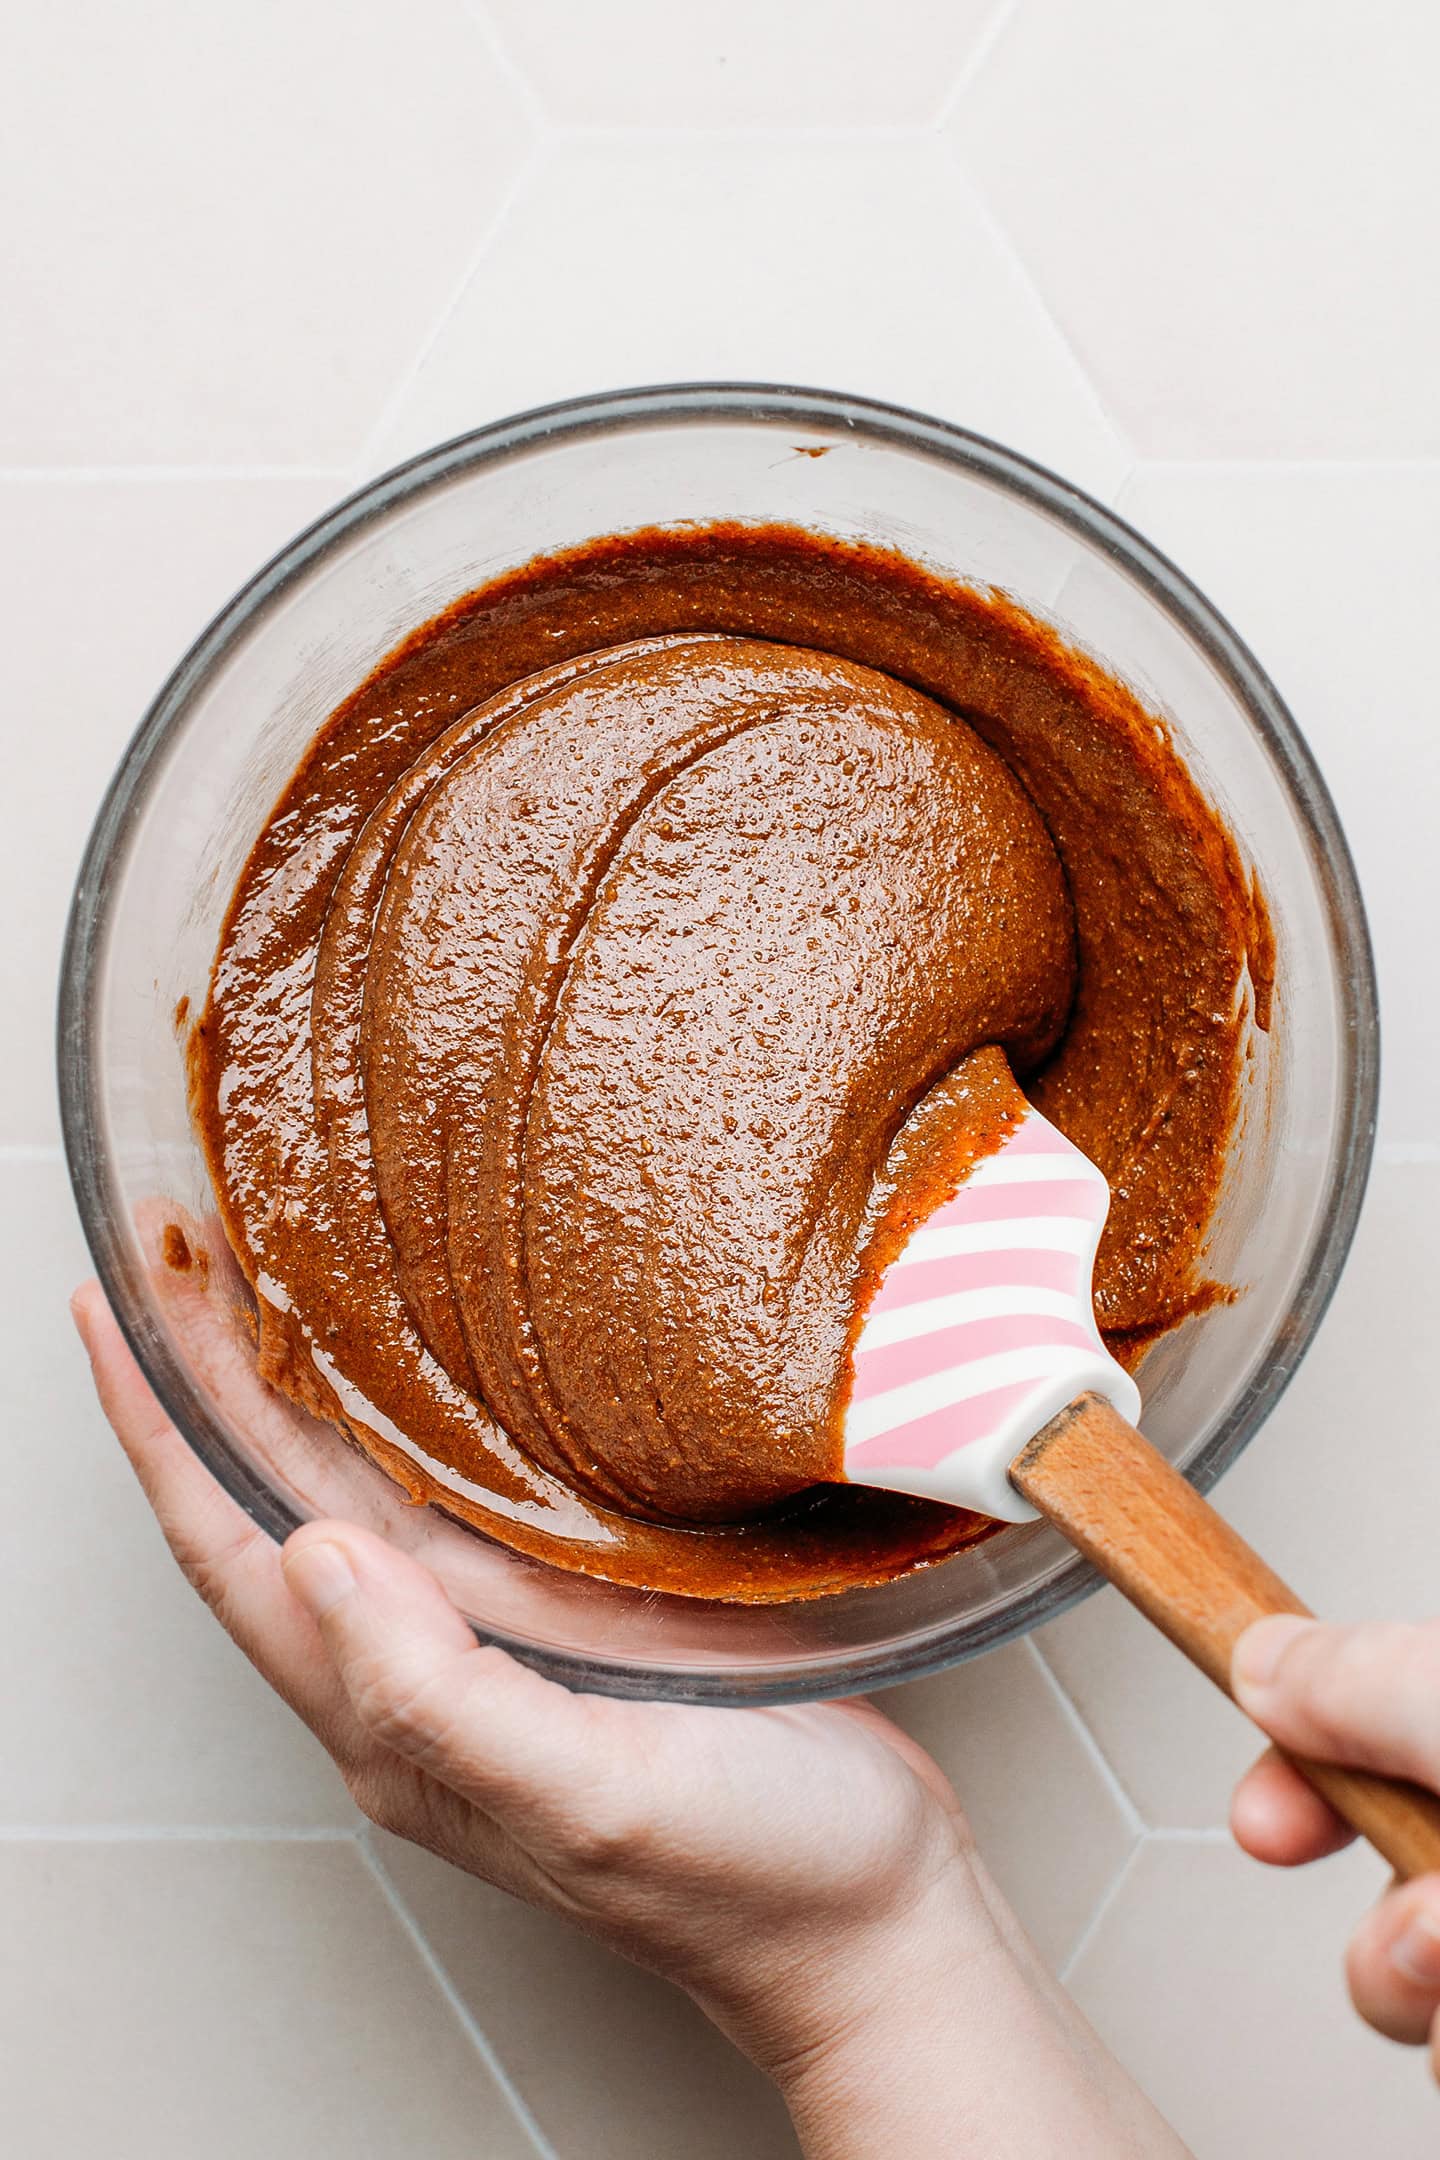
- Combine with the praline paste. Pour the melted chocolate into the bowl containing the praline paste. Stir well using a whisk or spatula until well combined. Finally, transfer the chocolate praline paste to a clean jar and store it at room temperature.
📔 Tips
Be careful with the caramel.
As the caramel cools down, it hardens and can be very sharp. I can’t stress this enough: be very careful when breaking the caramelized nuts into pieces. If you own kitchen gloves, use them to prevent cutting your hands.
Adjust the consistency.
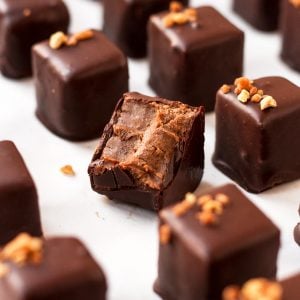
You can make a thicker or thinner spread by playing with the amount of chocolate. If you prefer a runnier consistency, decrease the amount of dark chocolate. On the other hand, if you want a firmer consistency (like ganache, to use in chocolates or as a filling), you can increase the amount of dark chocolate. Just remember that it will also alter the flavor, making your spread more chocolatey.
🍫 Variations
You can customize this paste to your liking by:
- Reducing the amount of sugar: You can reduce the amount of sugar by up to 20% for a slightly less sweet paste.
- Adding spices: Add a generous pinch of cinnamon or cardamom for woody and citrusy notes!
- Increasing the chocolate flavor: You can either increase the amount of dark chocolate or add up to 3 tablespoons of unsweetened cocoa powder.

🍞 How to Serve It
You can use this chocolate spread on toast, crêpes, pancakes, and waffles, or simply drizzle it over warm oatmeal! It’s also delicious stirred into greek yogurt!
❄️ Storing
- To store: You can store this chocolate spread for at least 3 weeks at room temperature. You can store it in the refrigerator if you want a thicker consistency.
💬 FAQ
The nuts are done once you can see that the hazelnuts are golden brown, and their skins are dark brown and have begun to crack.
Yes! It’s totally fine if your hazelnuts still have some skins on. As long as you remove around 80% of the skins, your paste won’t taste bitter.
I’m sure you will all love this praline chocolate spread. It’s sweet, chocolatey, and has a strong caramel flavor. Use it on toast for breakfast, on top of oatmeal, on pancakes, or eat it by the spoonful!


⭐️ Did you like this recipe? Let us know in the comments below, and tag us on Facebook, Instagram, or Pinterest!
Note: This recipe was first released in November 2016 and updated with new process shots and detailed instructions in January 2025.

Want to Save This Recipe?
Enter your email below & we’ll send it straight to your inbox! Plus, you will receive new recipes every week!
I’d like to receive more tips & recipes from Full of Plants.
This site is protected by reCAPTCHA and the Google Privacy Policy and Terms of Service apply.
Crunchy Praline Chocolate Spread
Ingredients
- 1 cup (130 g) raw almonds
- 1 cup (130 g) raw hazelnuts
- 1 cup (200 g) cane sugar
- 2 tbsp (30 ml) water
- 1/2 vanilla pod
- 2 ounces (56 g) dark chocolate
Instructions
Roast the nuts
- Roast the nuts. Preheat the oven to 325°F (165°C). Line a baking sheet with parchment paper and spread out the almonds and hazelnuts in an even layer. I recommend separating the almonds from the hazelnuts so it will be easier to remove the skin from the hazelnuts later. Roast the nuts for about 17-18 minutes or until the hazelnuts are golden brown.
- Remove the skins. Remove the baking sheet from the oven and transfer the hazelnuts to a clean kitchen towel. Rub with your hands to remove their skins. You only want to remove the skin from the hazelnuts, not from the almonds.
- Set aside. Next, discard the hazelnut skins and transfer both the hazelnuts and almonds to a bowl or deep plate. Set aside.
Caramelize them
- Prepare a baking sheet. Line a large baking sheet with parchment paper and very lightly oil it. Set aside.
- Heat the sugar. Add the granulated sugar and water to a light-bottomed saucepan or skillet. Heat it over medium heat for about 5-6 minutes or until the sugar dissolves and the water starts to boil.
- Caramelize it. Once there is no more water, the sugar will crystallize and become hard. This is normal. Keep heating over medium heat until the sugar melts again and starts to caramelize. This step might take another 2-3 minutes. Do not stir.
- Add the nuts. Once your caramel has a nice golden brown color, add the nuts and vanilla bean to the pot. Stir quickly using a wooden spatula to coat the nuts with the caramel. Heat for another 2 minutes, constantly stirring to coat the nuts evenly. Tip: Do not heat for too long, or your caramel might burn.
- Transfer to the baking sheet. Carefully transfer the caramelized nuts to the prepared baking sheet and flatten them into a thinner layer using a wooden spatula. The caramel will harden very quickly. This is normal. Allow the caramel and nuts to cool down for at least 25 minutes.
- Break it into pieces. Once the caramel is hard, carefully break it into large pieces. Be very careful, as the caramel can be very sharp.
Process into a paste
- Process. Transfer the caramelized nut pieces to a food processor bowl. Pulse a few times until you get smaller pieces. Continue to process until it turns into a paste, about 5-7 minutes, depending on your food processor. At first, it will turn into a powder, but as you keep processing, it will turn into a thin paste.
- Transfer to a bowl. Once the caramelized nuts have turned into a liquid praline paste, transfer it to a mixing bowl.
Combine with chocolate
- Melt the chocolate. Add the chopped dark chocolate to a small glass bowl. Place the bowl over a saucepan filled with about 1 cup (240 ml) of water. Make sure that the glass bowl sits on the edges of the saucepan, but do not touch the water. Heat over medium heat until the chocolate is melted.
- Combine with the praline paste. Pour the melted chocolate into the bowl containing the praline paste. Stir well using a whisk or spatula until well combined. Finally, transfer the chocolate praline paste to a clean jar and store it at room temperature.
- You can store this chocolate spread for at least 3 weeks at room temperature. You can store it in the refrigerator if you want a thicker consistency.
Notes
Be careful with the caramel.
As the caramel cools down, it hardens and can be very sharp. I can’t stress this enough: be very careful when breaking the caramelized nuts into pieces. If you own kitchen gloves, use them to prevent cutting your hands.Adjust the consistency.
You can make a thicker or thinner spread by playing with the amount of chocolate. If you prefer a runnier consistency, decrease the amount of dark chocolate. On the other hand, if you want a firmer consistency (like ganache, to use in chocolates or as a filling), you can increase the amount of dark chocolate. Just remember that it will also alter the flavor, making your spread more chocolatey.Nutrition

About the Author
Thomas Pagot is the founder, photographer, and recipe developer behind Full of Plants. He created the blog in 2016 as a personal cookbook for vegan recipes. Through years of recipe development, Thomas has successfully grown Full of Plants into a trusted resource for plant-based recipes.
Leave a Comment
I followed your recipe, and the praline turned out wonderful! Your instructions were so clear and I really appreciated the tips and variation suggestions.
Thank you for sharing this recipe!
Glad you liked it Lise!
It taste incredibly good! Just have a HUGE leftover of praline. Feels like there is way not enough chocolate. Is this happened to you too ?
Thanks Teddy! 🙂
If you want a more chocolatey flavor, feel free to add cacao powder, or a bit more melted chocolate. Also, I recommend using at least 70% dark chocolate for a stronger chocolate flavor 🙂
Oh my gosh this looks so good! I’m trying to make some vegan Guylian-inspired chocolate seashells and this recipe looks perfect for the filling! I’ll update you on how it goes! 🙂
Awesome! I would try to thicken the filling with more melted chocolate, or cocoa butter 😉
Thanks for this awesome recipe, Thomas!
I made it today, and it is delicious!
I had to add some water at step 7 as I ended up with a flour-like texture instead of cream after blending the caramel bits – is that normal?
You’re welcome Britta! Well, it’s exactly like making peanut butter, first it looks like coarse meal, then it turns into a compact ball and finally it becomes creamy and more liquid.
I think you should just have let your food processor run a bit longer.