
This post may contain affiliate links. Please read our disclosure policy.


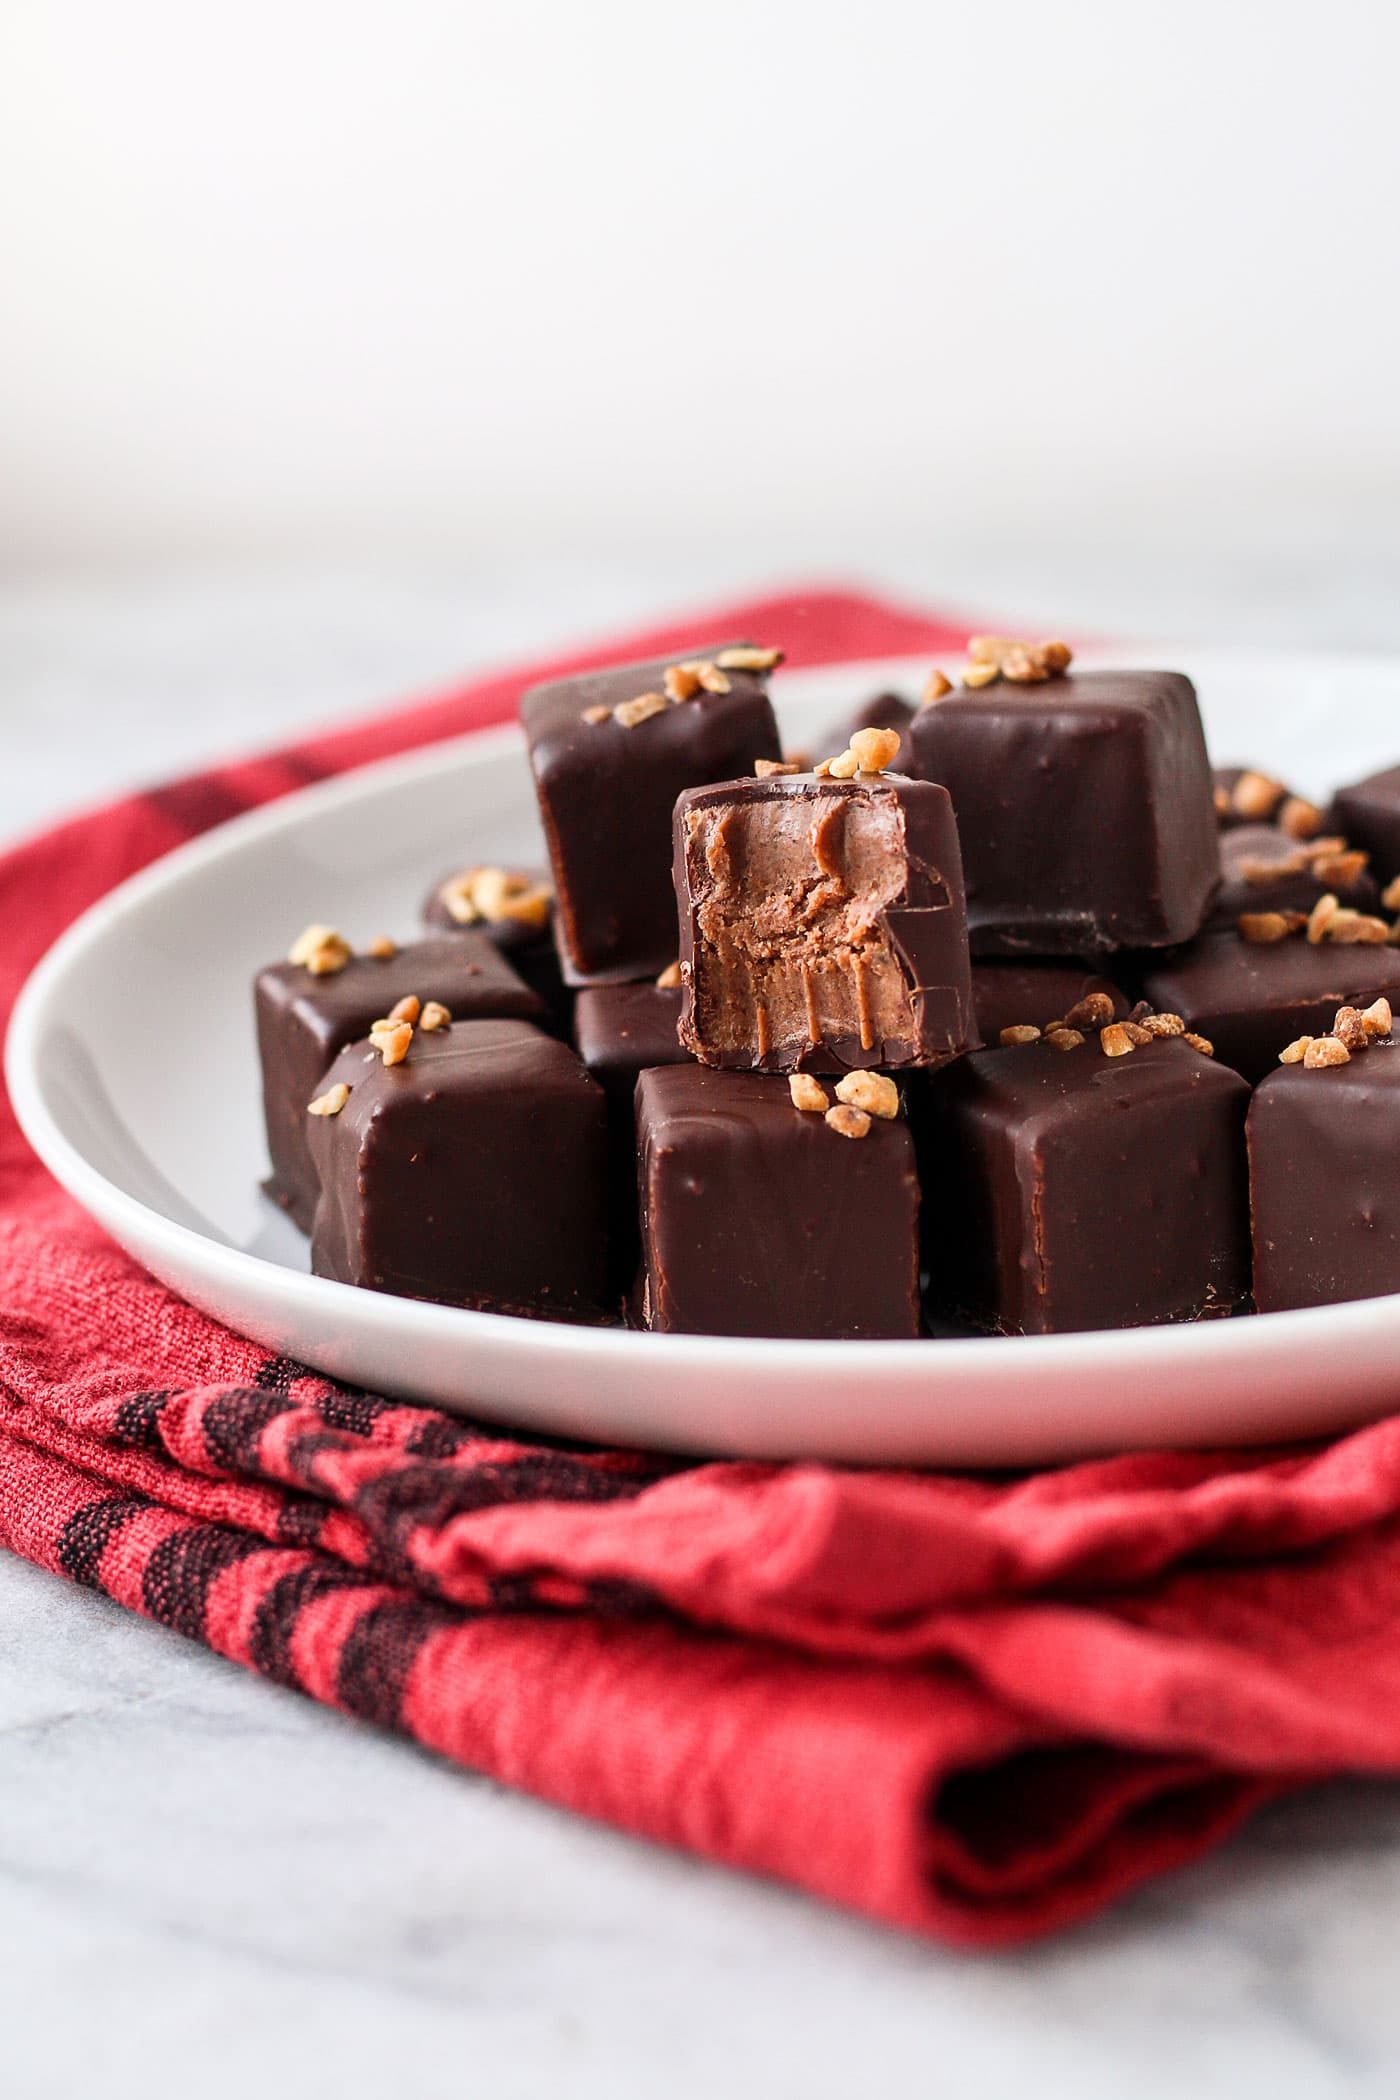
For a long time, I have been looking for a recipe for vegan praline chocolates like the ones you find at luxury chocolate makers with no success. The recipe I’m sharing with you today is the result of many trials and errors. I created it about two years ago, and I never changed it since then.
While this is far from being an easy recipe (especially if you have never worked with chocolate), I believe it’s worth the work, especially considering I only make them once or twice a year to offer as Christmas gifts.
So how do these taste? Simply delicious. Okay, but what else? Imagine a crispy layer of dark chocolate coating around a soft, melt-in-your-mouth praline filling with small bits of caramelized almonds and hazelnuts. Give me 2 minutes I’m going to get myself another one to go with my coffee.

Are you convinced yet? I hope you are because this is not a recipe to miss! Let’s dig into it.
It all starts with the praline paste, which is basically caramelized nuts that are processed until you get the texture of peanut butter. You roast the almonds and hazelnuts in the oven, make caramel in a large pan, and coat all the nuts with the caramel. There are several different methods to make praline, I prefer to make a dry caramel in a pan and then add the nuts. Some recipes recommend heating the sugar until it starts to crystallize, adding the nuts, and continuing to cook while stirring regularly until the sugar caramelizes. Both methods work, but I feel you have more control with the first one.
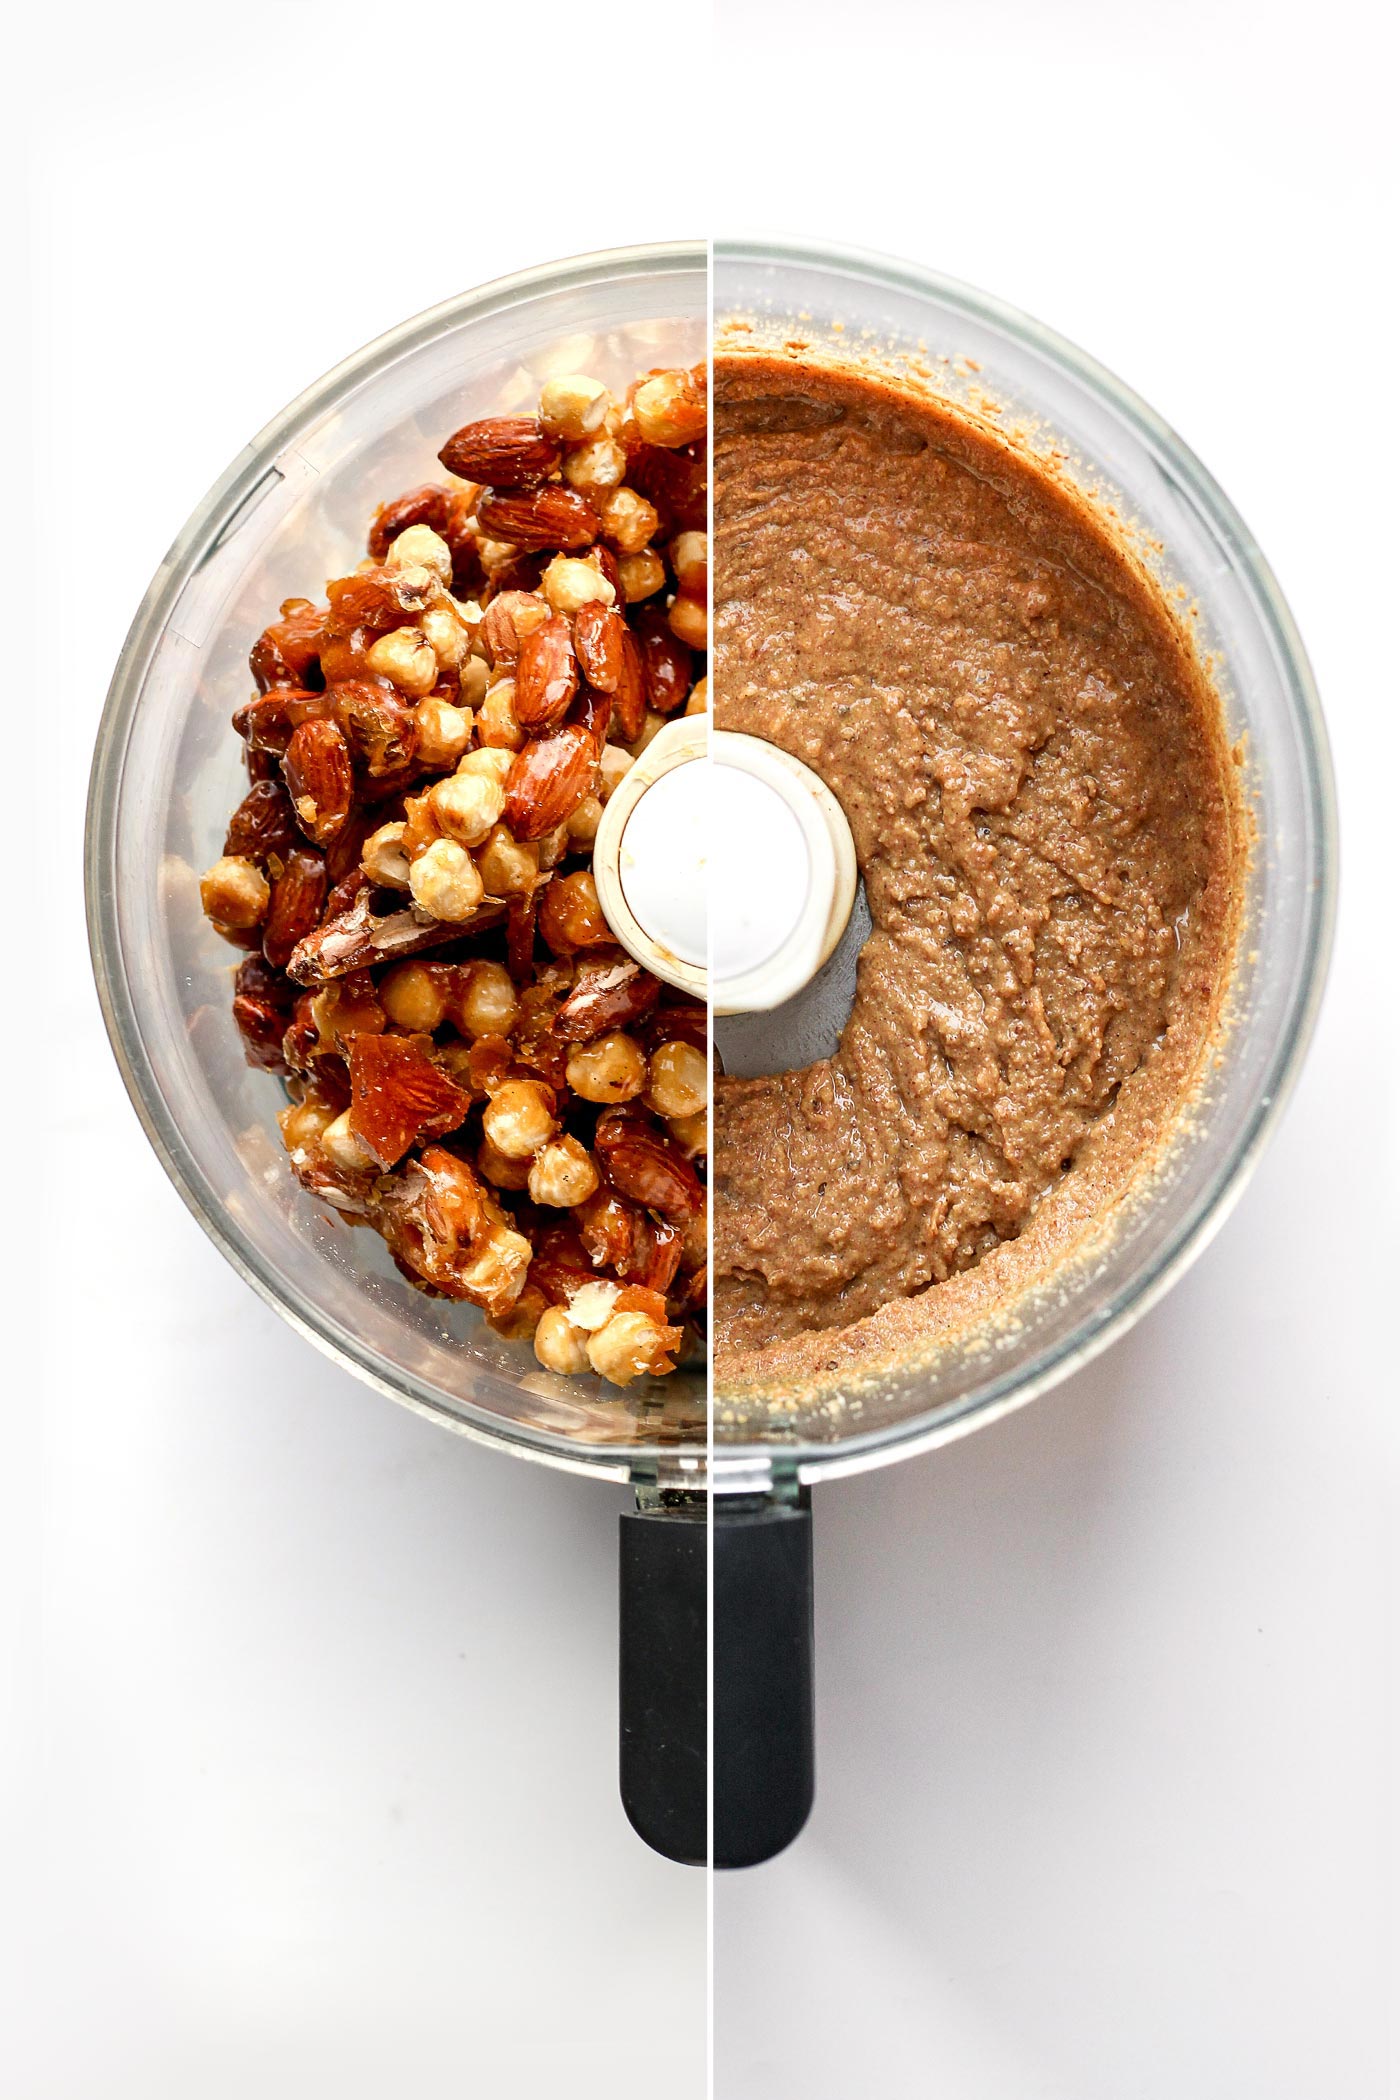
Once your nuts are coated with caramel, you can remove them from heat and transfer them to a silpat to cool. The caramel is VERY hot; be careful. When completely cool, here comes the fun: place everything in the bowl of a food processor and process until you get a thick and almost smooth paste. You know I like crunchy things, so I like to keep small bits of caramelized nuts, but you can process them longer if you prefer a smoother texture. Smooth lovers, you can even finish the praline paste in a blender. A super smooth finish is guaranteed.
Praline paste is the base for these chocolates. To make it harden and hold its shape, we will mix it with dark chocolate and cocoa butter. The ratio of praline/dark chocolate/cocoa butter will define the softness of the chocolates. I tried several ratios before finding one I was happy with. The ratio I use leads to a soft, melt-in-your-mouth texture that is not very intense in chocolate but makes the caramelized nuts flavor really shine. It also contrasts well with the dark chocolate coating.

To make the filling, you melt the chocolate with the cocoa butter and then combine it with the praline paste. Your praline paste will start to thicken about 1 hour after you have mixed it with the cocoa butter and dark chocolate. Once thick but still pourable, you can transfer it to a square springform pan or what you have on hand. I used two 3-inch square cookie cutters.
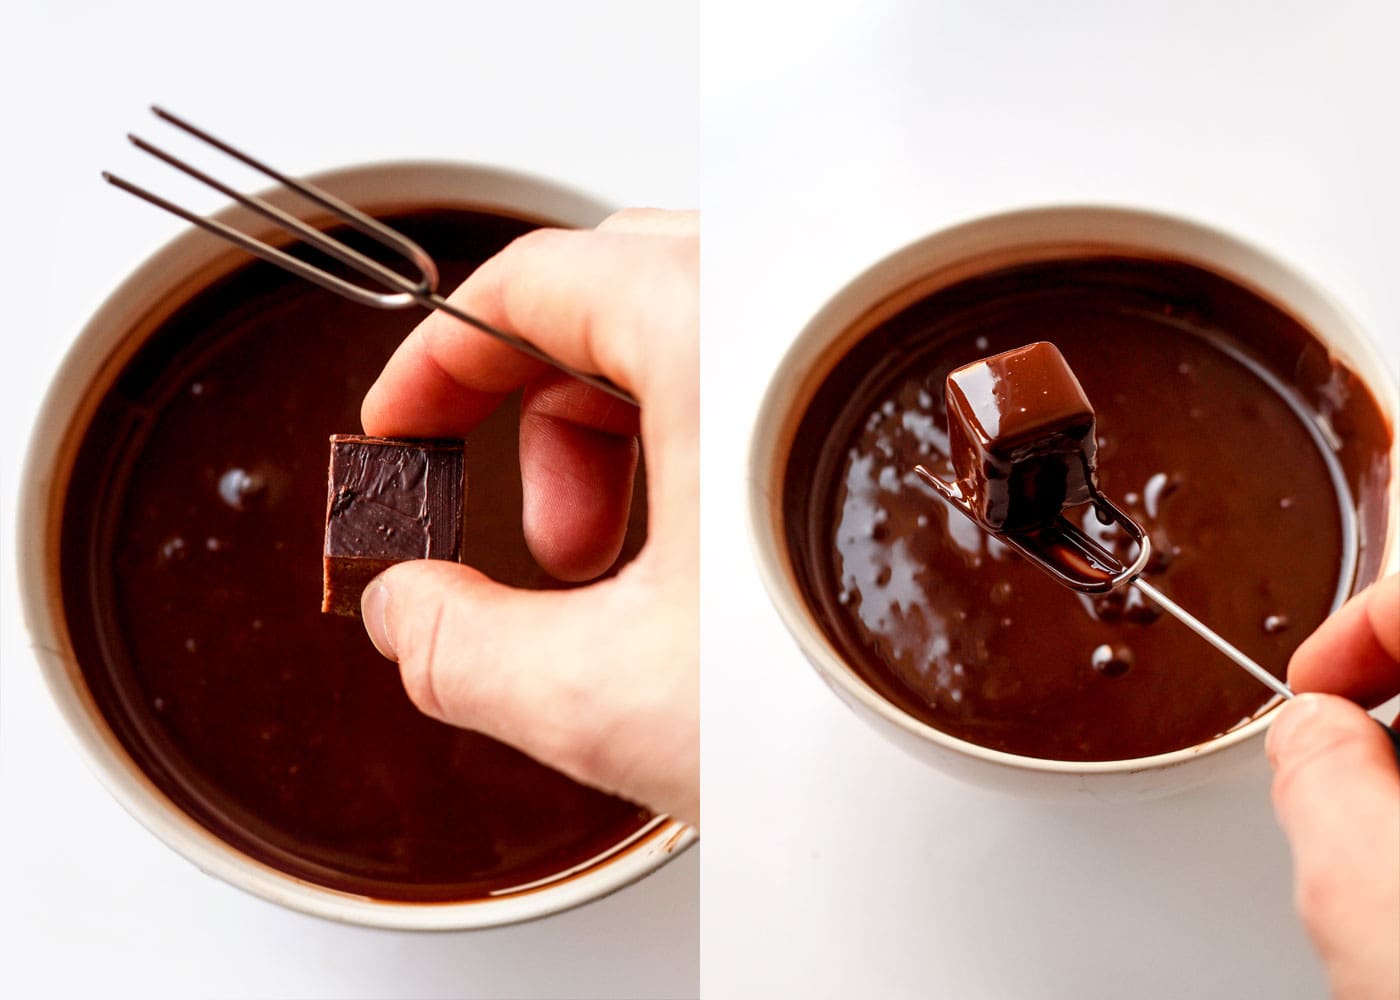
When the praline filling has hardened it’s time to dip them into melted chocolate! There is an extra step that is optional but yields better-looking chocolates. It consists of spreading a thin layer of chocolate onto your praline filling before cutting it into individual chocolates. It will prevent the chocolates from sticking to your dipping tool, and they will have a better shape.
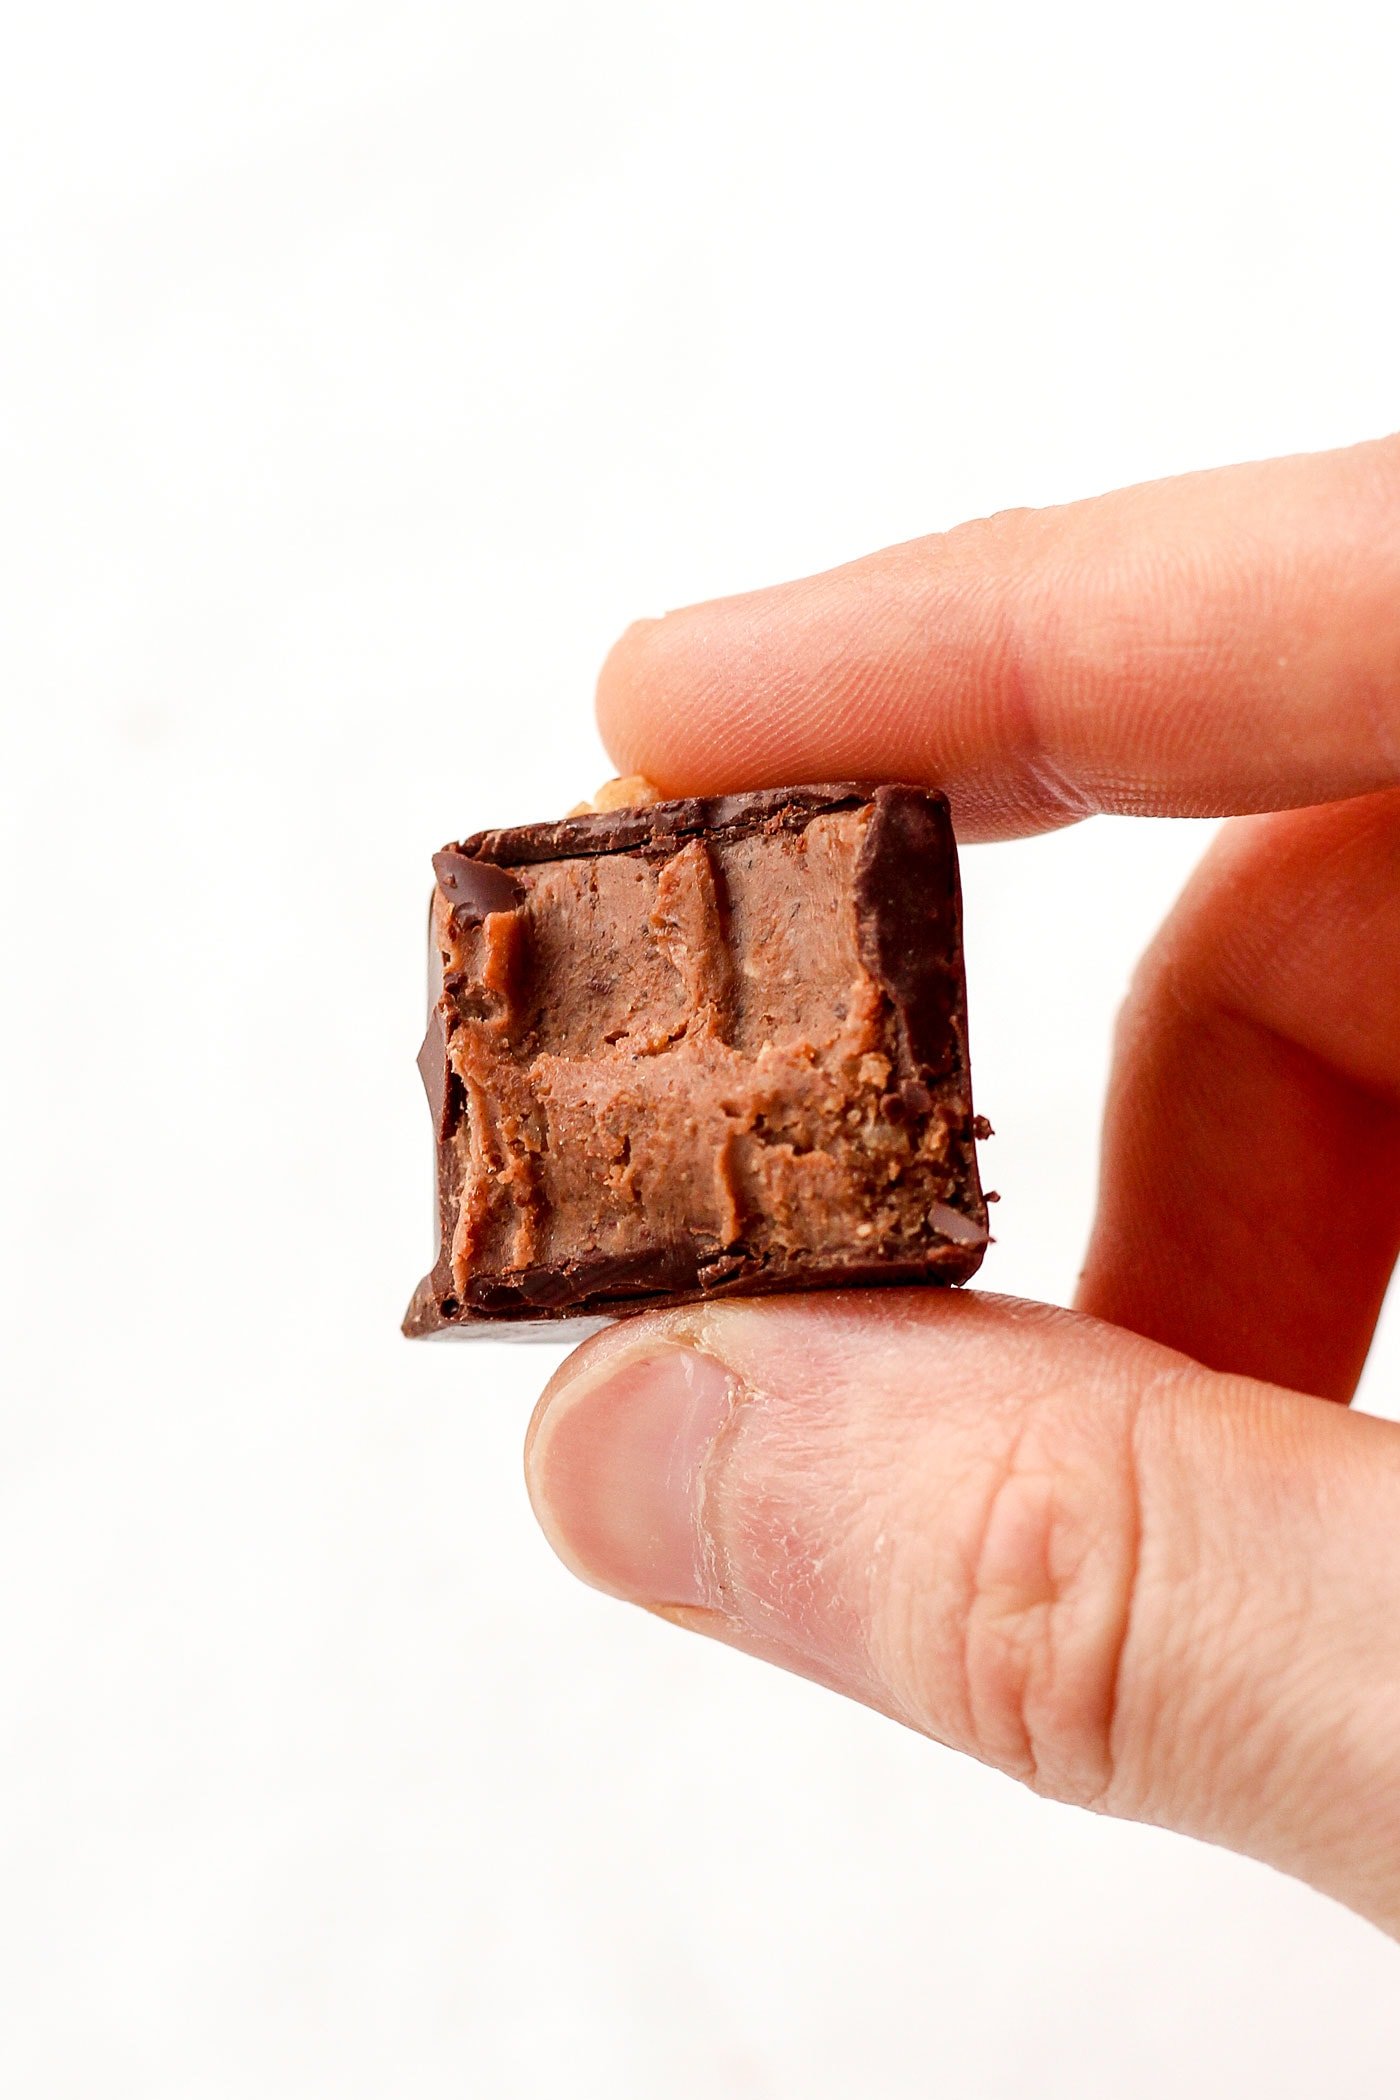
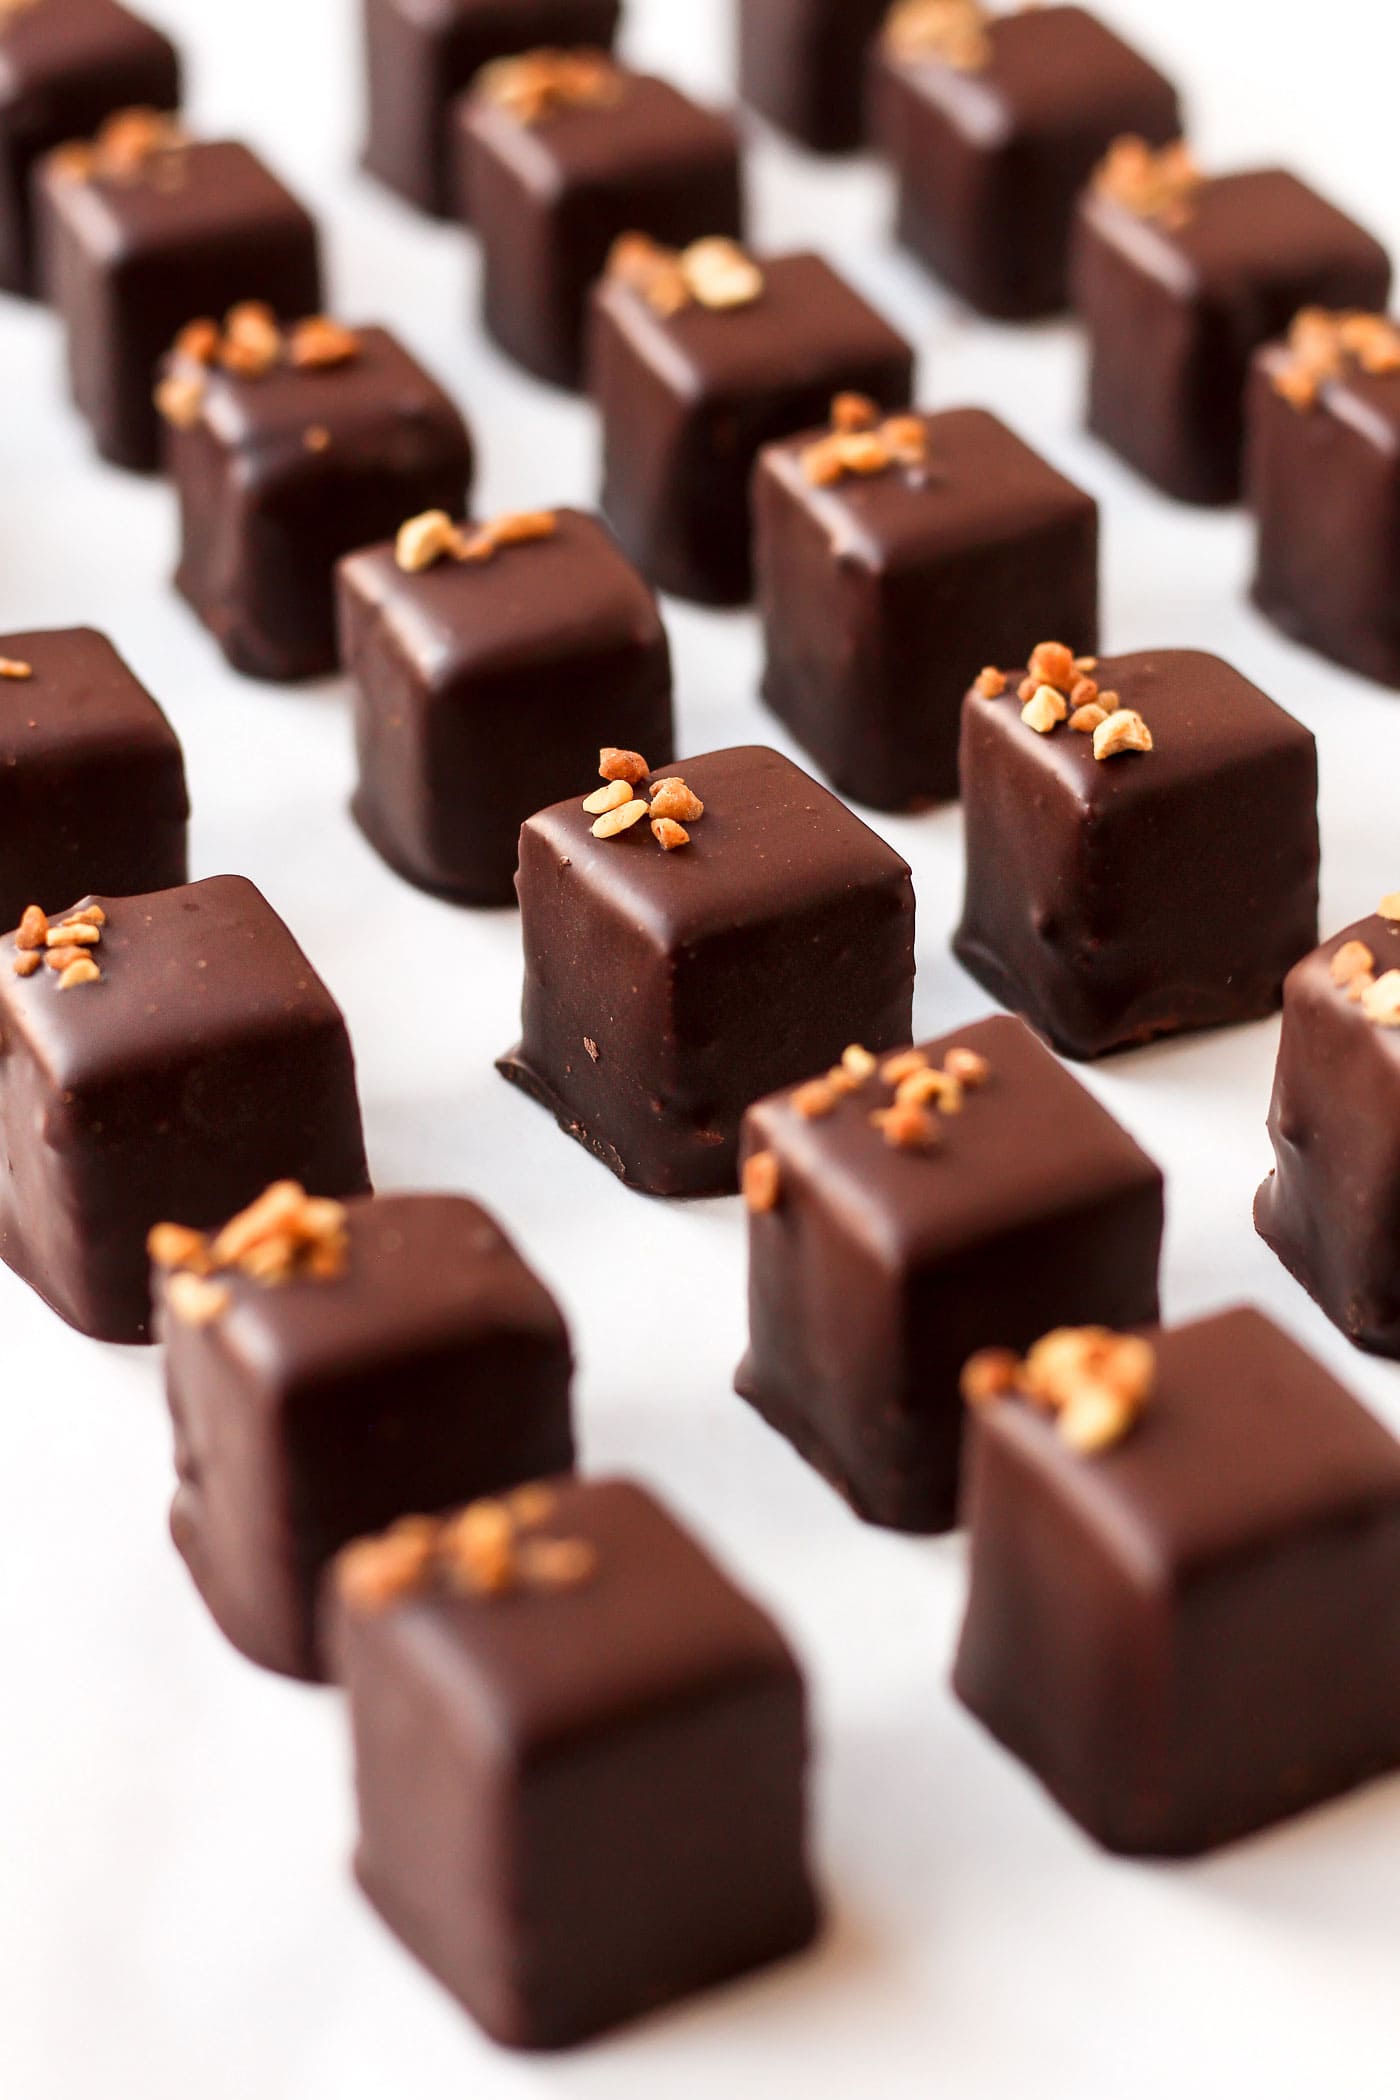
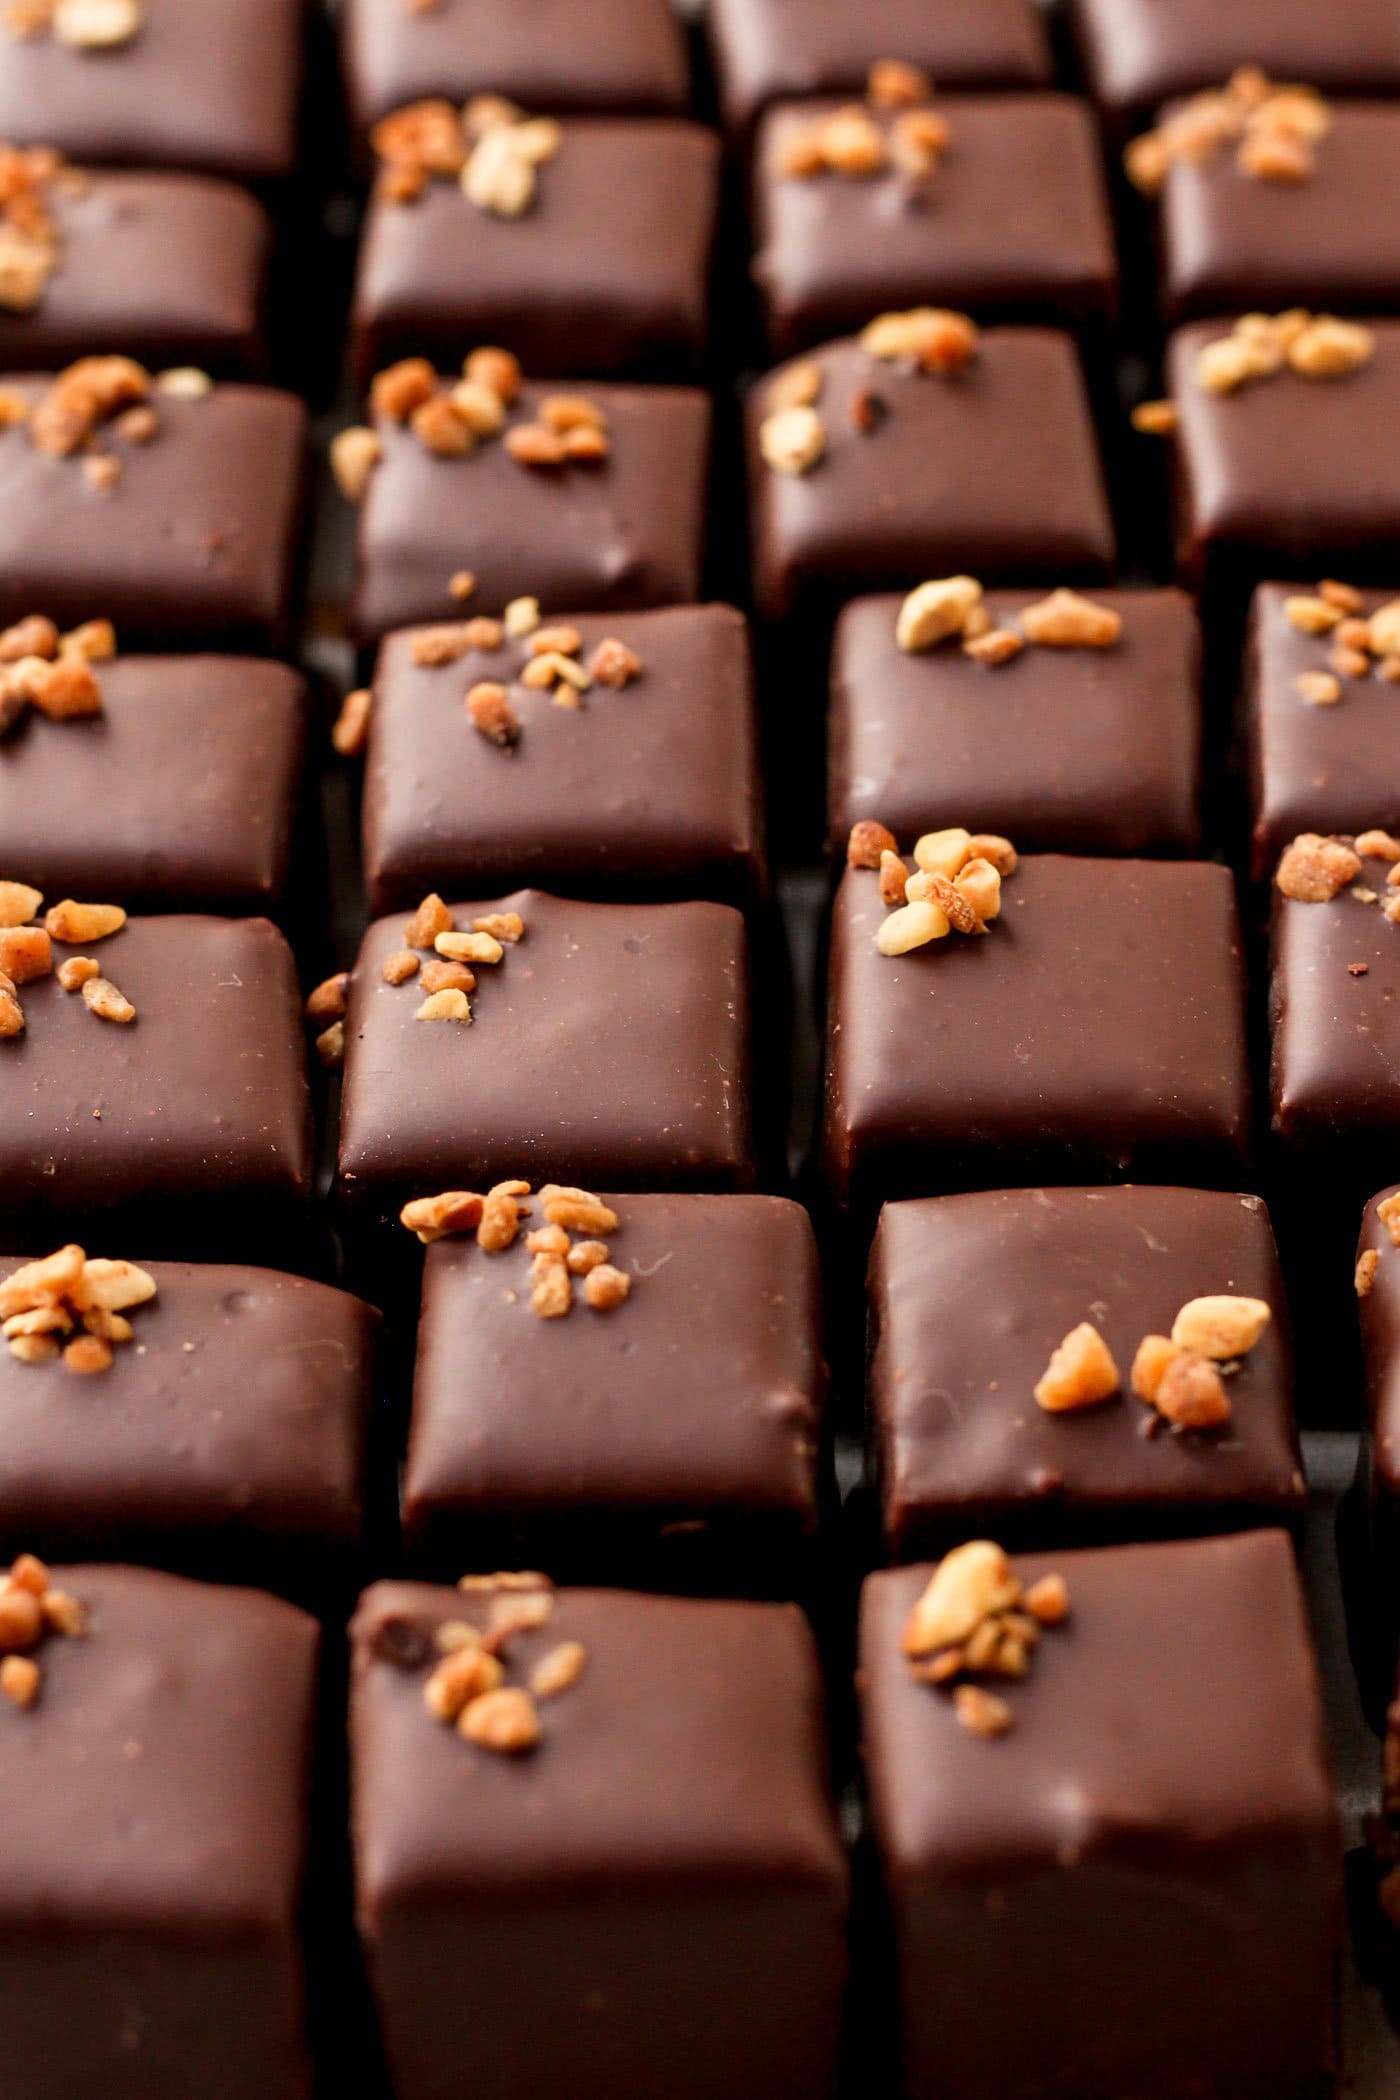
Depending on the type of dark chocolate you use, the coating will be more or less thinner. For a thin coating, I recommend you add some cocoa butter to make it more fluid. Do not use chocolate chips. The coating would be way too thick.
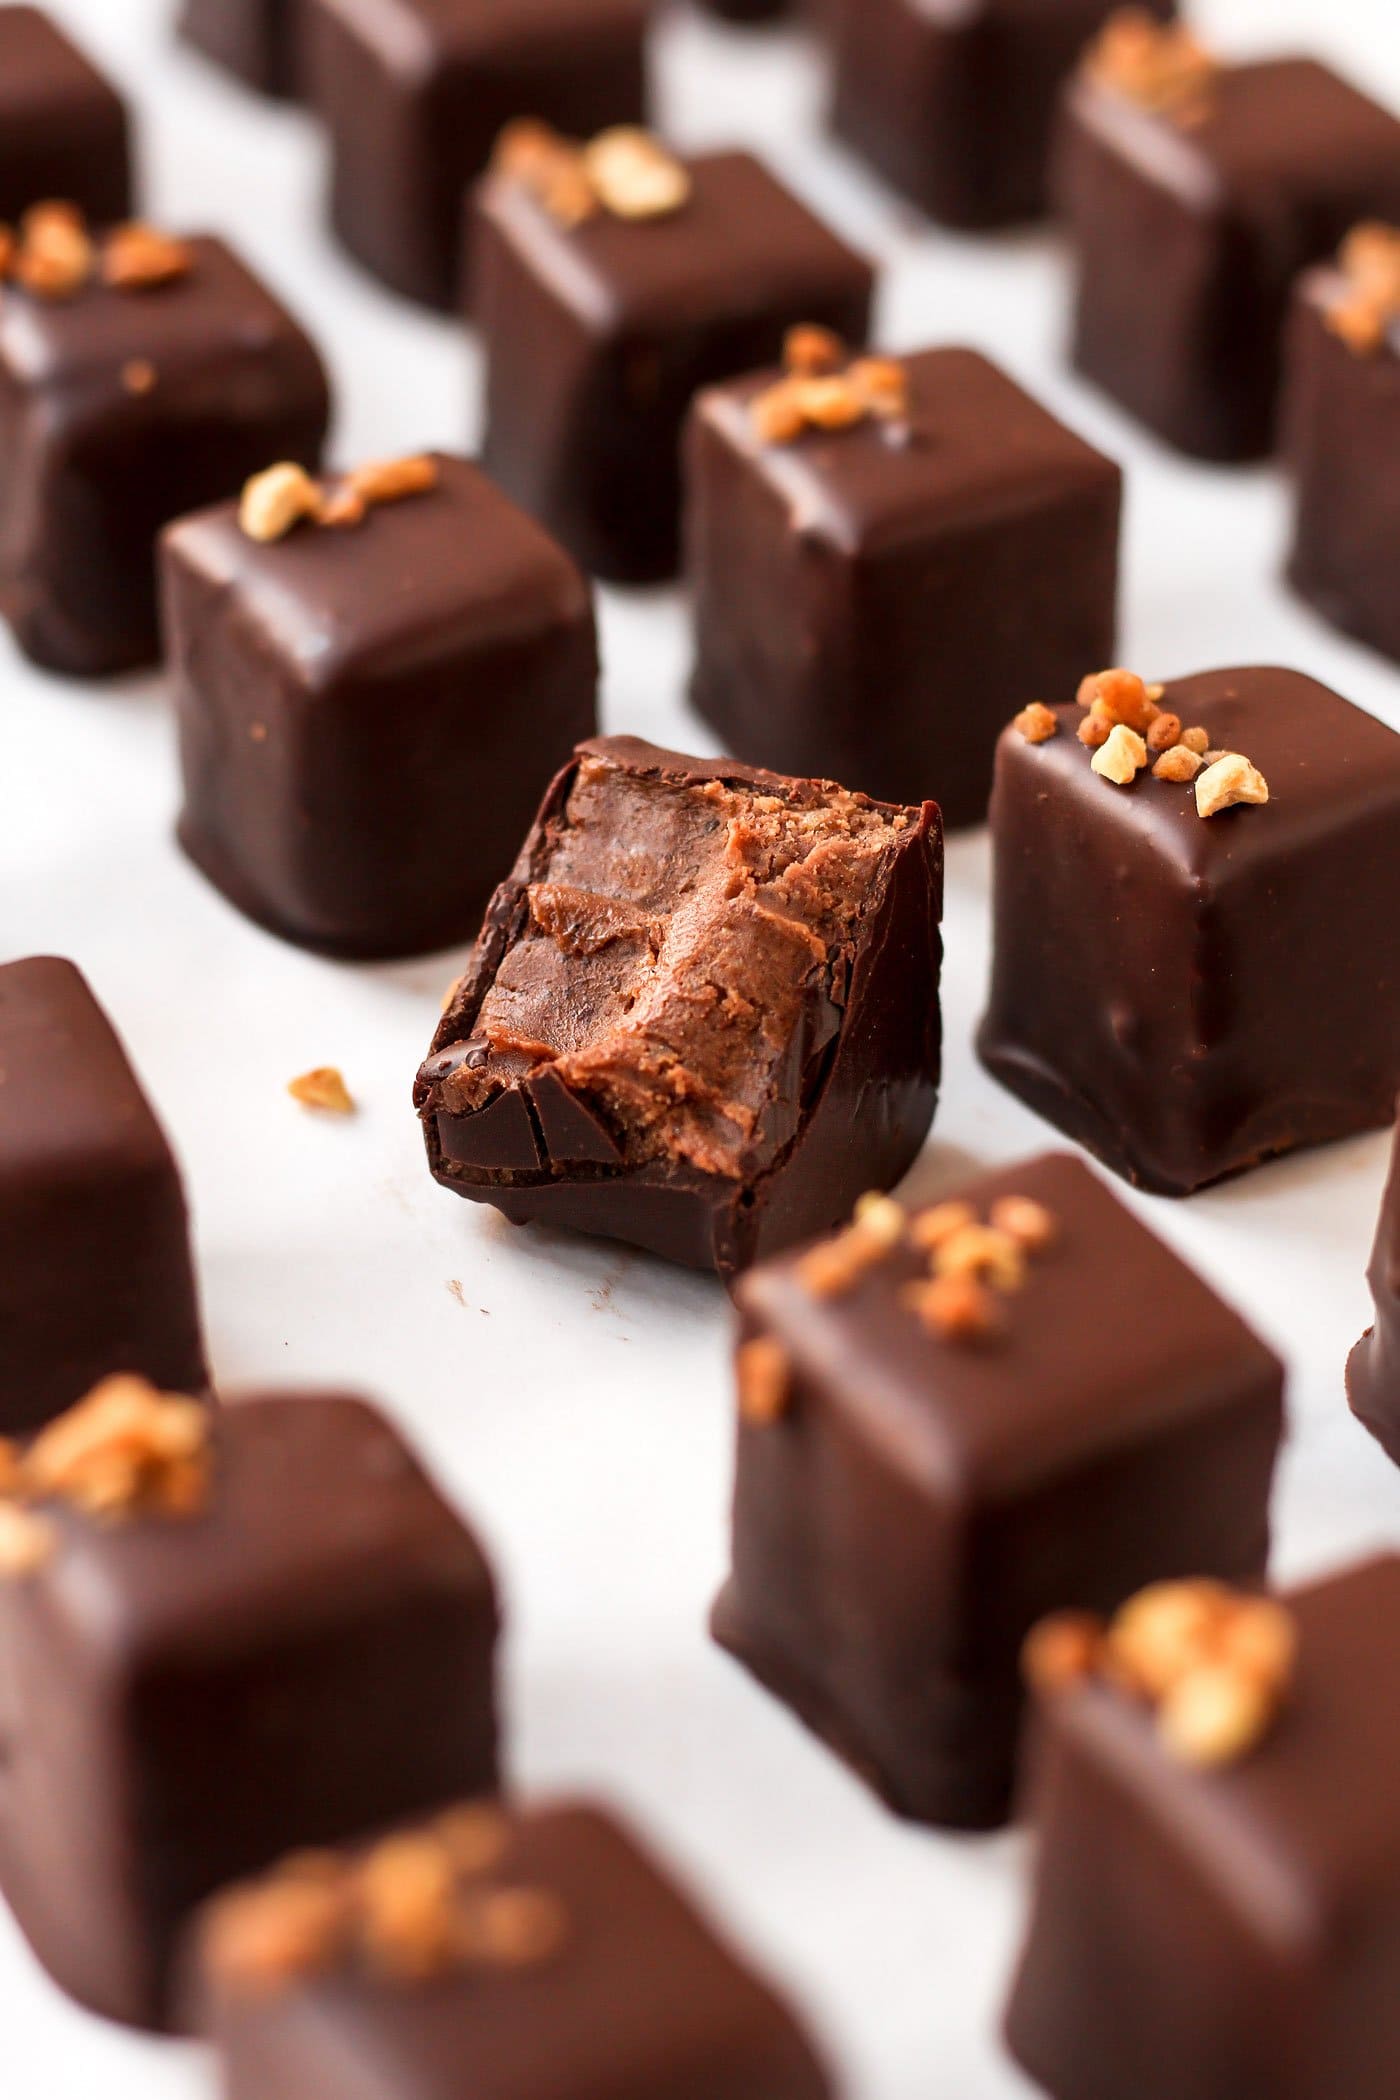
If you want to impress your guests for Christmas or just want to make gifts, these vegan praline chocolates are perfect! A crispy dark chocolate coating that contains a soft and flavorful caramelized nuts center.
Let me know in the comments if you try this recipe!

Save this recipe!
Enter your email below and I’ll send it to your inbox!
Plus, you will receive new recipes every week!
Vegan Praline Chocolates
Ingredients
Praliné paste (makes 2 and 1/2 cup)
- 1 and 2/3 cup (250 g) hazelnuts
- 1 and 1/2 cup (250 g) raw almonds
- 2 cups (400 g) cane sugar
- 1/4 cup water
- 1/2 vanilla bean
Chocolates
- 3/4 cup (300 g) praline paste
- 1.5 ounces (45 g) dark chocolate
- 1.5 ounces (45 g) cocoa butter
Coating
- 10 ounces (280 g) dark chocolate
- 1 ounce (28 g) cocoa butter (optional)
- 1 tsp micro planned cocoa butter
Optional
- crushed almonds or hazelnuts
Instructions
Praliné paste
- Preheat oven to 325°F and line a baking sheet with parchment paper.
- Spread out the almonds and hazelnuts in an even layer. (Separate the almonds from the hazelnuts so it will be easier to remove the skin from the hazelnuts later.)
- Roast the nuts for about 16 minutes, or until the hazelnuts are golden brown.
- Remove from the oven, place the hazelnuts in a kitchen towel and rub with your hands to remove their skins. You only want to remove the skin from the hazelnuts, not from the almonds. Let cool.
- Combine the sugar and water in a large saucepan. Heat on medium heat for about 5-6 minutes, the sugar will dissolve and the water will start to boil. Once there is no more water the sugar will start to caramelize. Do not stir. When the sugar has a light caramel color, add the nuts to the pan and stir quickly using a wood spatula to make sure all nuts are coated with caramel. The caramel will harden very quickly, this is okay. Pour the caramel and nuts onto a baking sheet or silpat. Let cool completely.
- Once the caramel is hard, carefully break it into large pieces. Be very careful, the caramel is so hard that it can be sharp.
- Place the praline pieces in the bowl of a food processor with the whole vanilla bean (not just the seeds) and pulse a few times until you get smaller pieces. Continue to process until it turns into a paste, about 5-7 minutes depending on your food processor. I like to keep a crispy texture with very small bits of caramelized nuts, if you prefer a smoother texture, process for another 10 minutes. The paste should be thick but pourable.
Chocolates
- Place two 3-inch square cookie cutters on a baking sheet (or flat plate) lined with parchment paper.
- Place the praline paste in a medium bowl, set aside.
- Add the dark chocolate and cocoa butter to a double-boiler and heat on medium heat until fully melted. Once melted, pour the dark chocolate/cocoa butter into the praline paste bowl and whisk until well combined. Let sit at room temperature for about one hour, or until the paste has thicken.
- When the paste is thick but still pourable, pour it into the cookie cutters. Place them in the fridge for about 2 hours, or until hard.
- Remove from the fridge and unmold the praline paste. Let sit at room temperature for at least one hour. This step is important, if you try to dip the chocolates when they are still cold the coating will be too thick and there are great chances it will have white streaks.
Coating
- Melt the dark chocolate and cocoa butter over a double boiler (I used a small bowl placed on top of a saucepan with water) . Cocoa butter is optional but helps thin out the chocolate, resulting in a thinner coating. Depending on the type of chocolate you use you might not need it (the higher the percentage of cocoa butter, the more fluid the chocolate will be).
- Once melted, let the chocolate cool to 95°F. Stir in the micro planned cocoa butter and stir well to make sure it is well incorporated. This step will temper the chocolate, resulting in a crispy and glossy coating, without any white streaks.
- Spread out a thin layer of melted chocolate on top of the two praline squares. Wait about 1 minute, flip them and spread a thin layer of chocolate on the other face.
- Using a sharp knife, cut the two squares into 32 smaller squares. Using a dipping fork, dip each square, one at a time, into the melted chocolate. Tap the fork on the side of the bowl to remove excess chocolate and place the chocolate covered praline on a silpat or parchement paper. Sprinkle with some crushed hazelnuts or almonds. Repeat with the other pralines.
- Let the chocolate harden at room temperature, do not place them in the fridge or you might get white streaks.
- Chocolates will keep in a box for a least 1 month at room temperature.
Nutrition

About the Author
Thomas Pagot is the founder, photographer, and recipe developer behind Full of Plants. He created the blog in 2016 as a personal cookbook for vegan recipes. Through years of recipe development, Thomas has successfully grown Full of Plants into a trusted resource for plant-based recipes.
Leave a Comment