This post may contain affiliate links. Please read our disclosure policy.
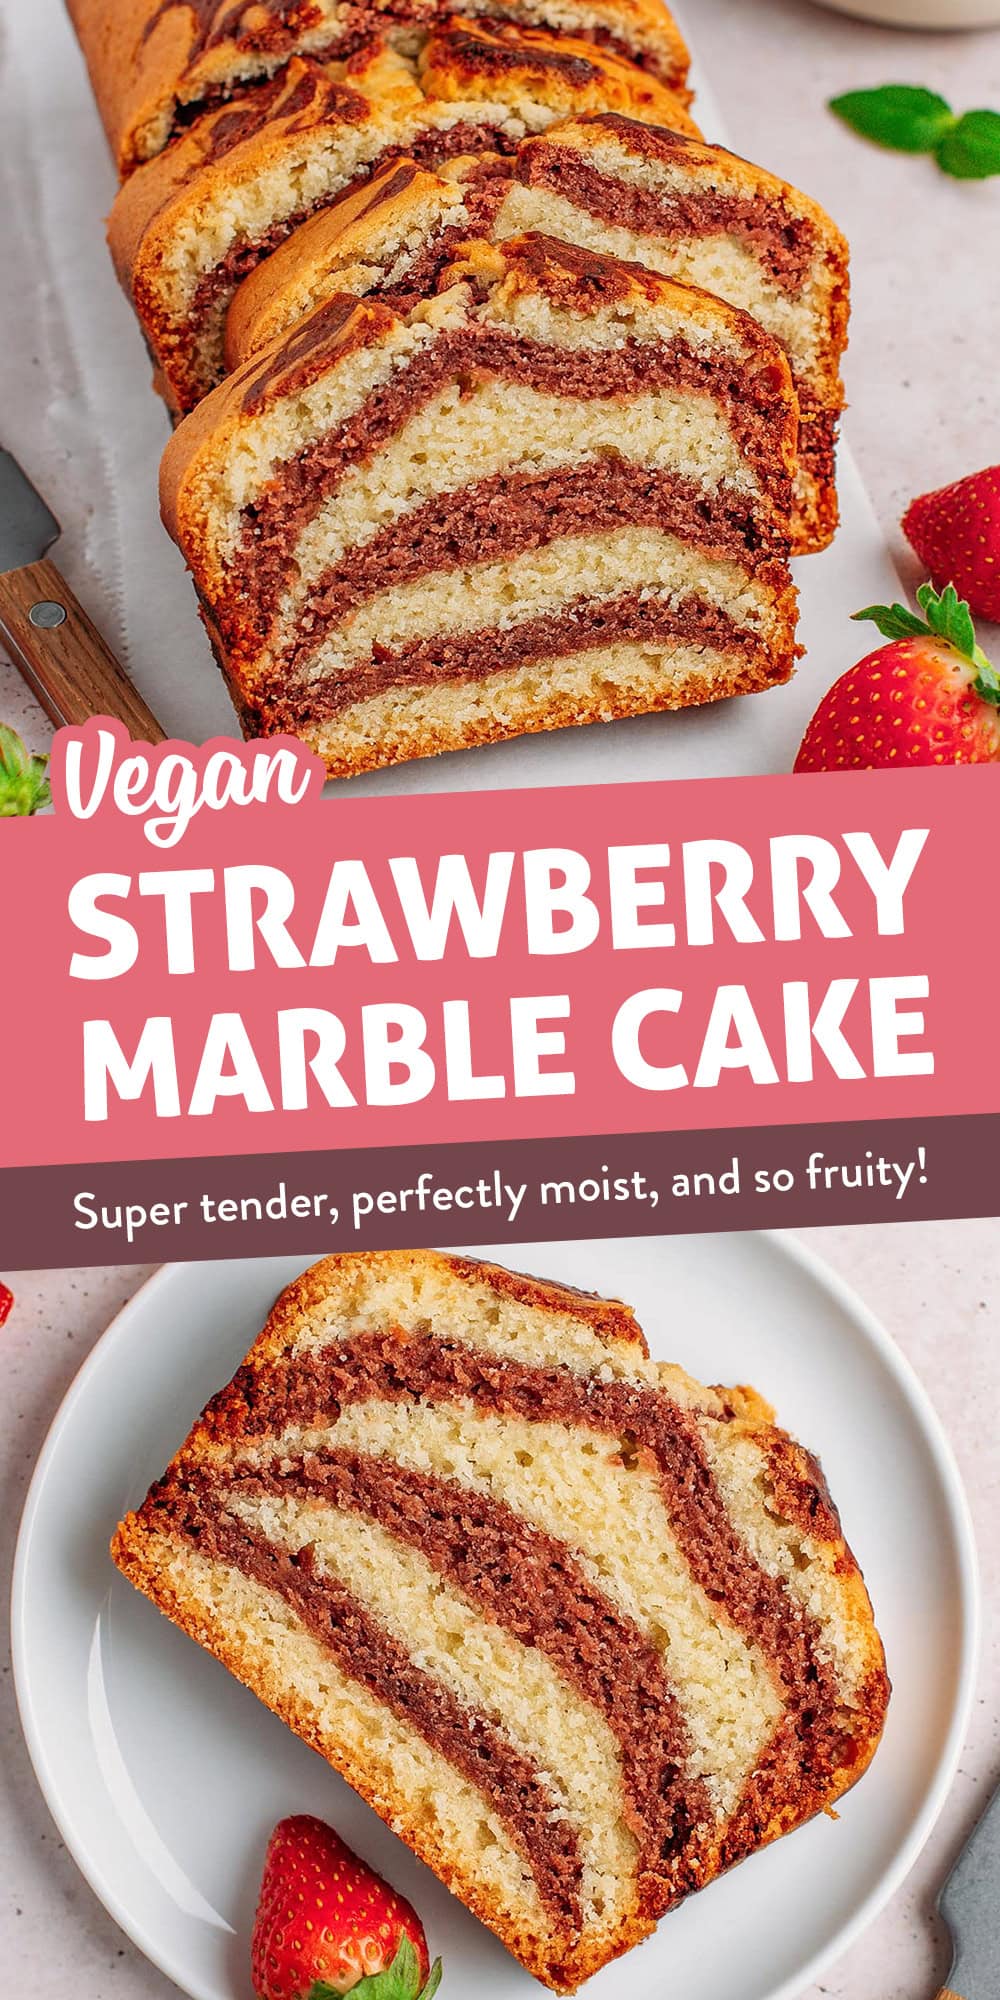
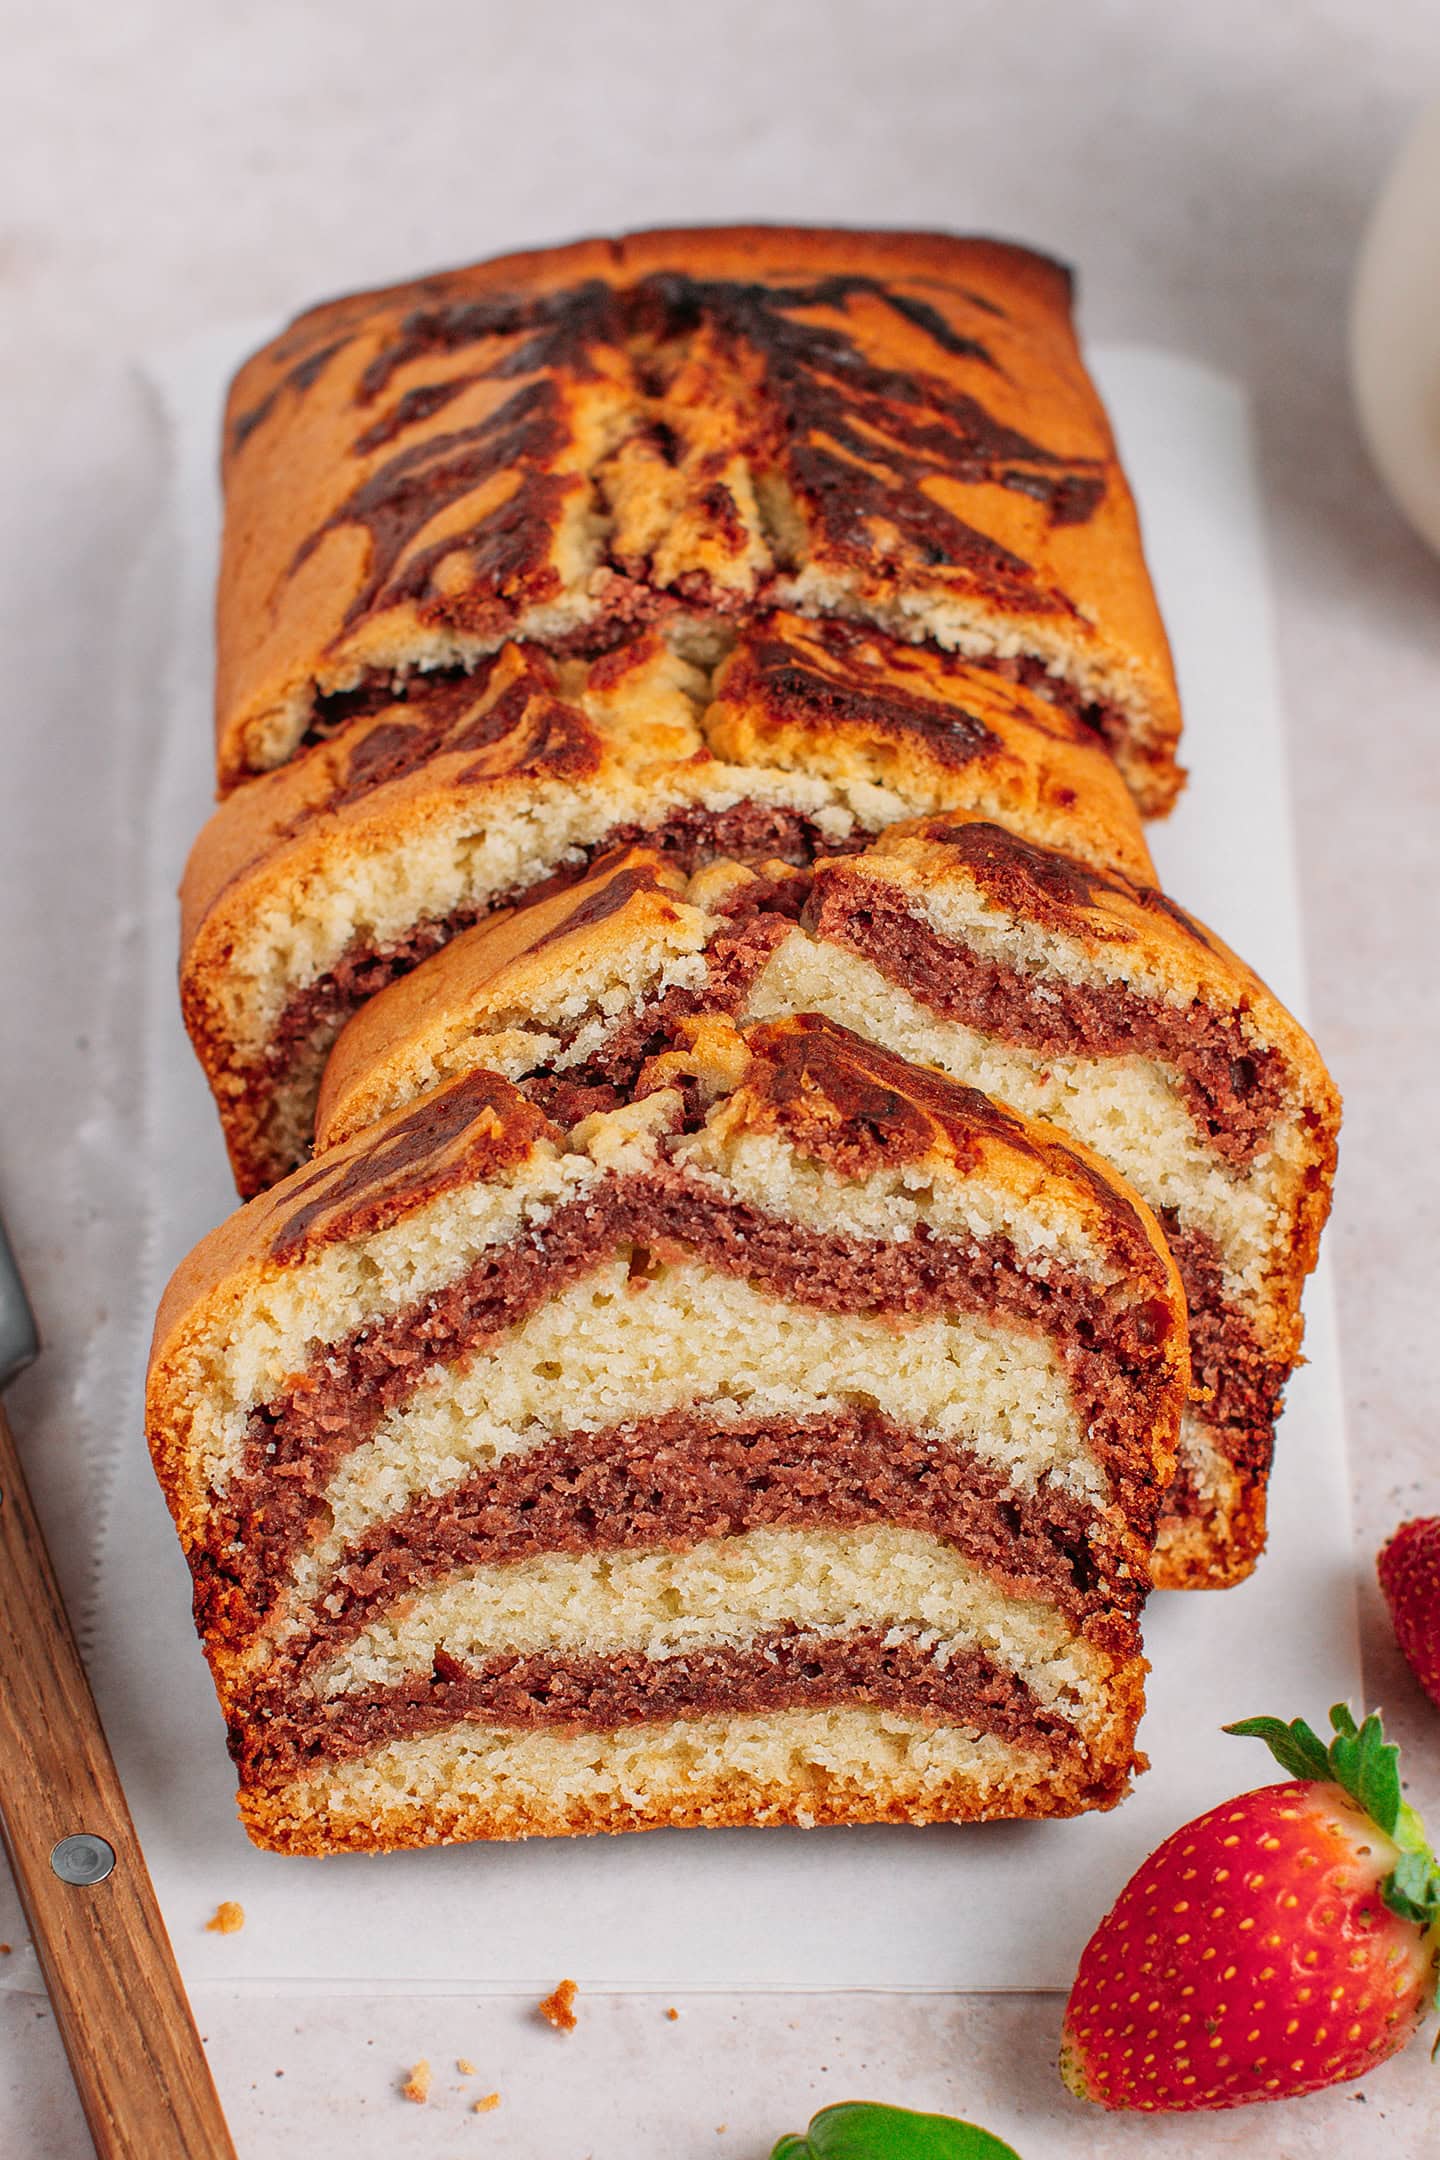
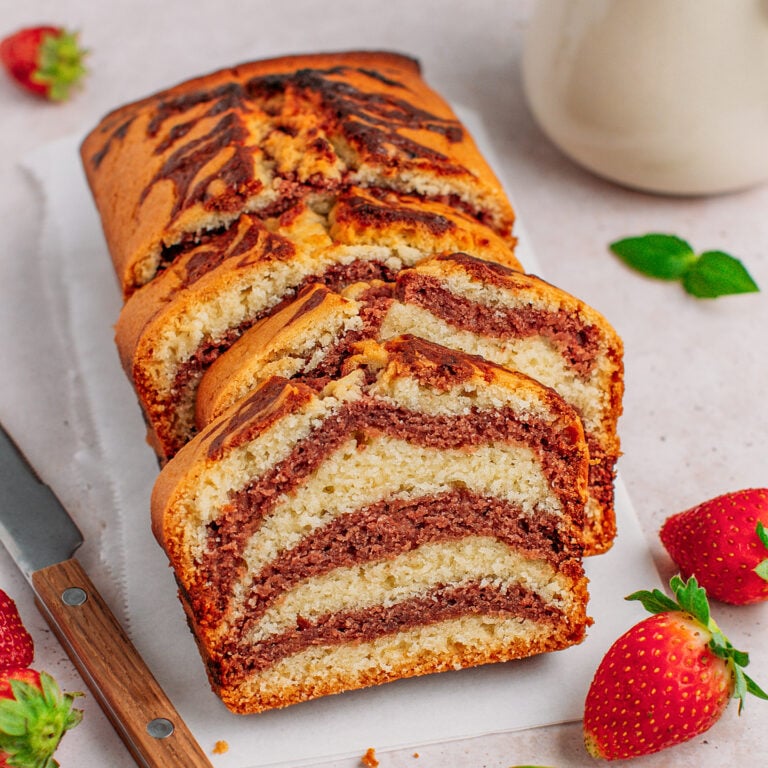
This vegan strawberry marble cake is pure nostalgia in every bite! Super tender, perfectly moist, and buttery, it features layers of ultra-fruity strawberry and floral vanilla. A simple, family-friendly treat that requires only 10 easy-to-find ingredients. No artificial coloring or flavoring here!
I’m excited to share the ultimate snack for kids (and grown-ups too): strawberry and vanilla marble cake!
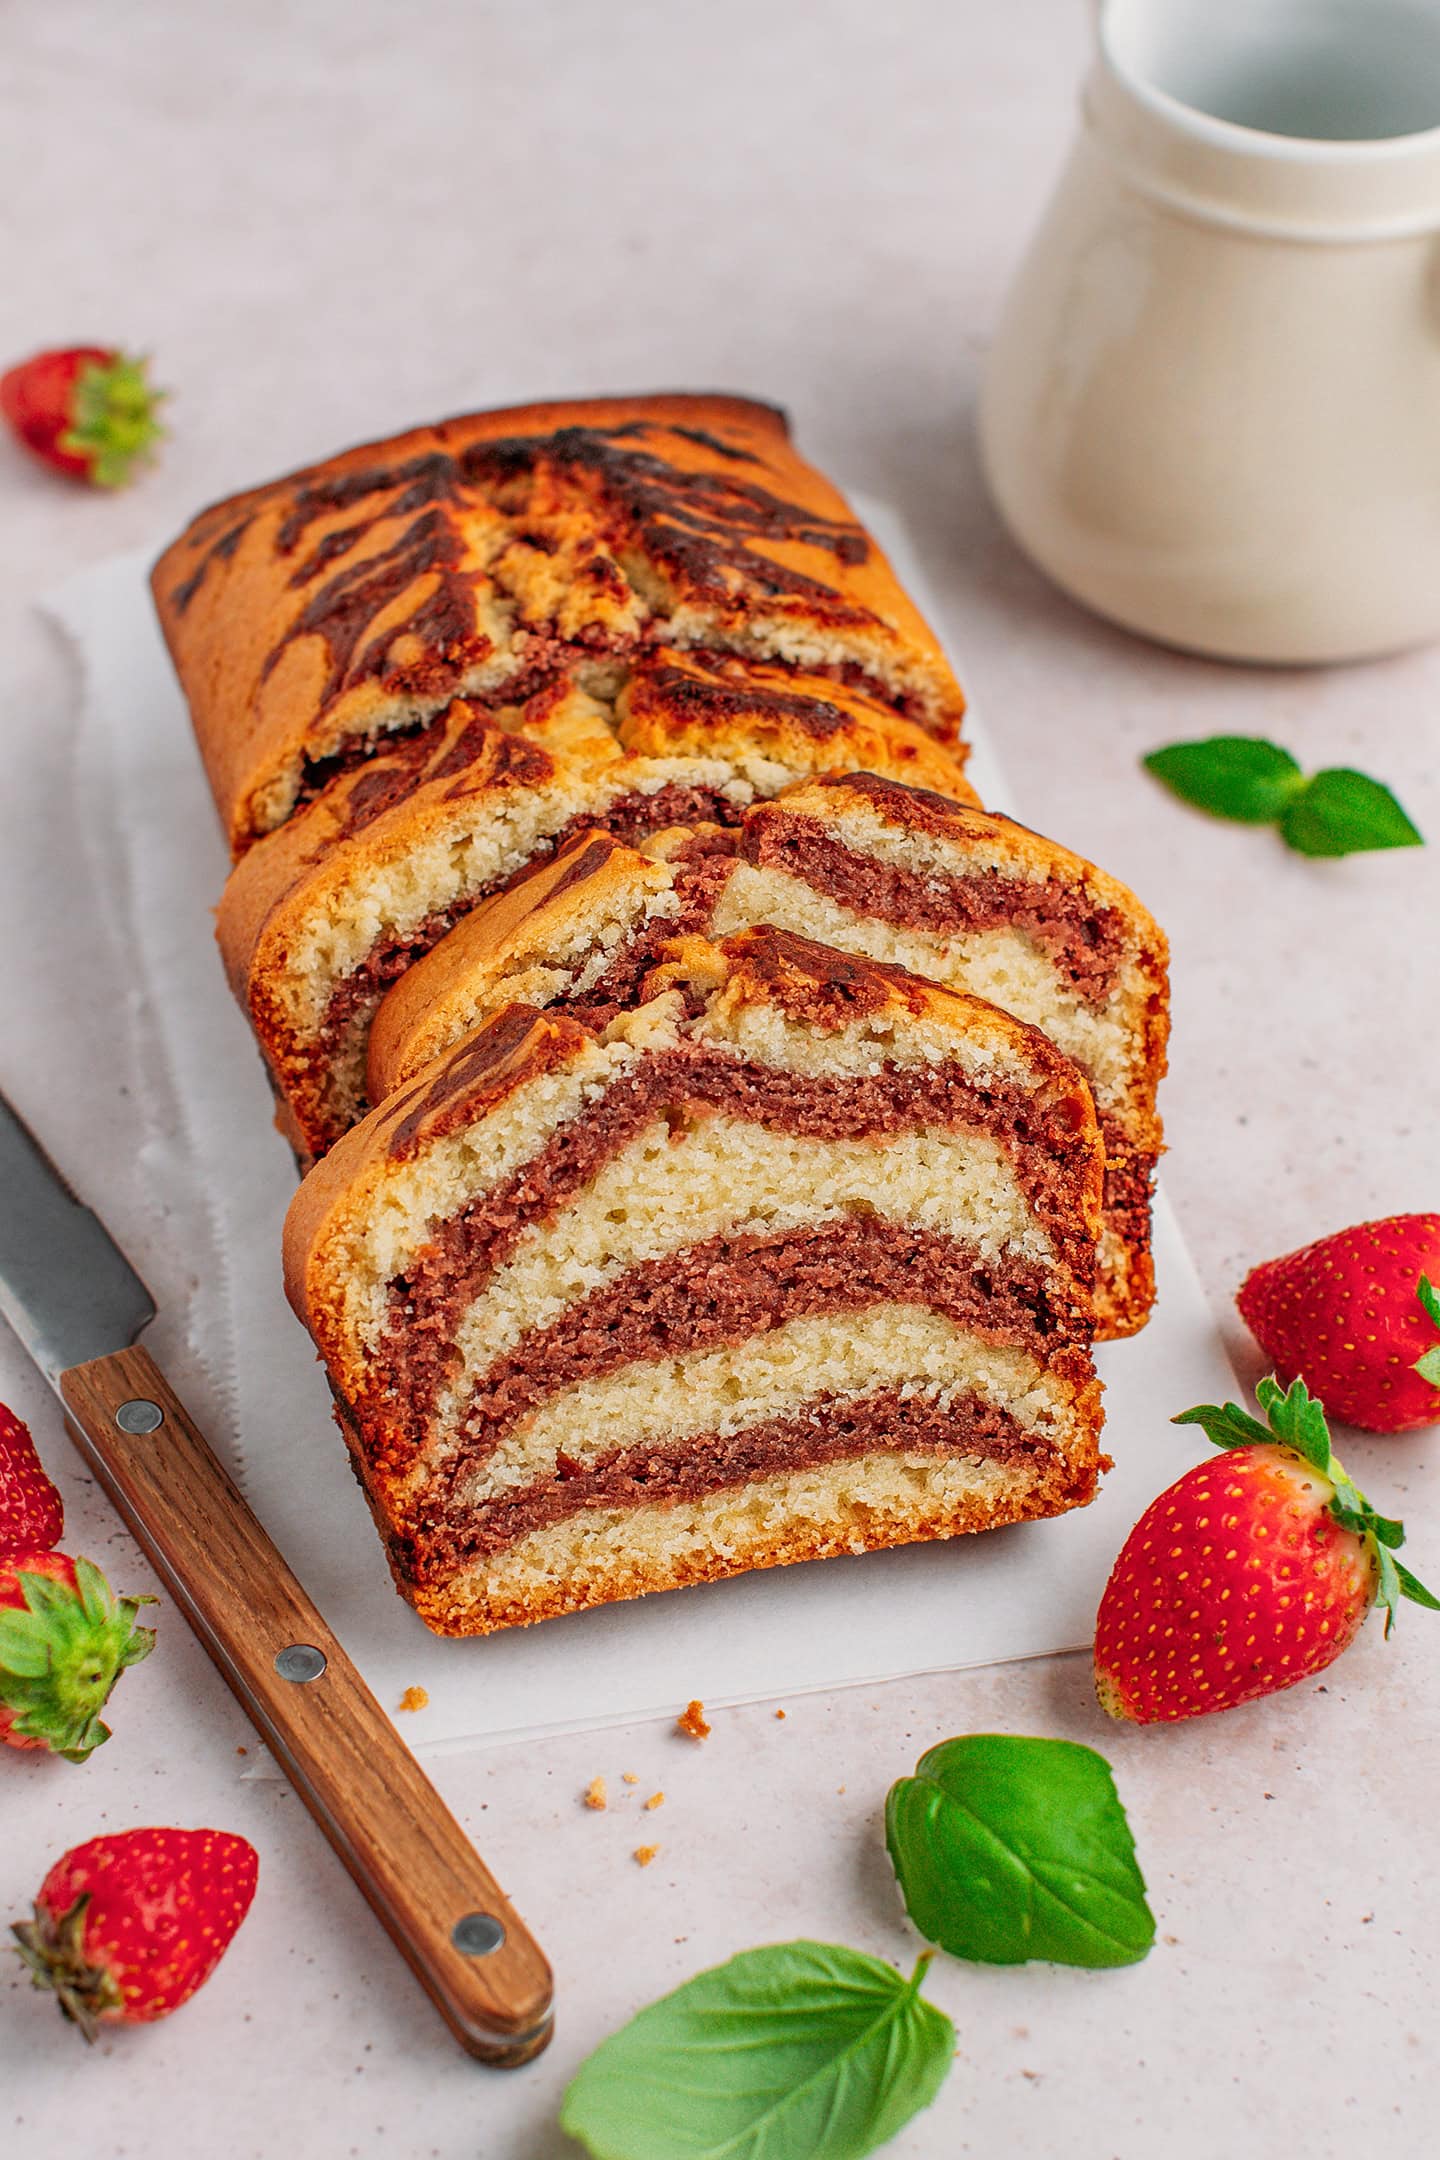
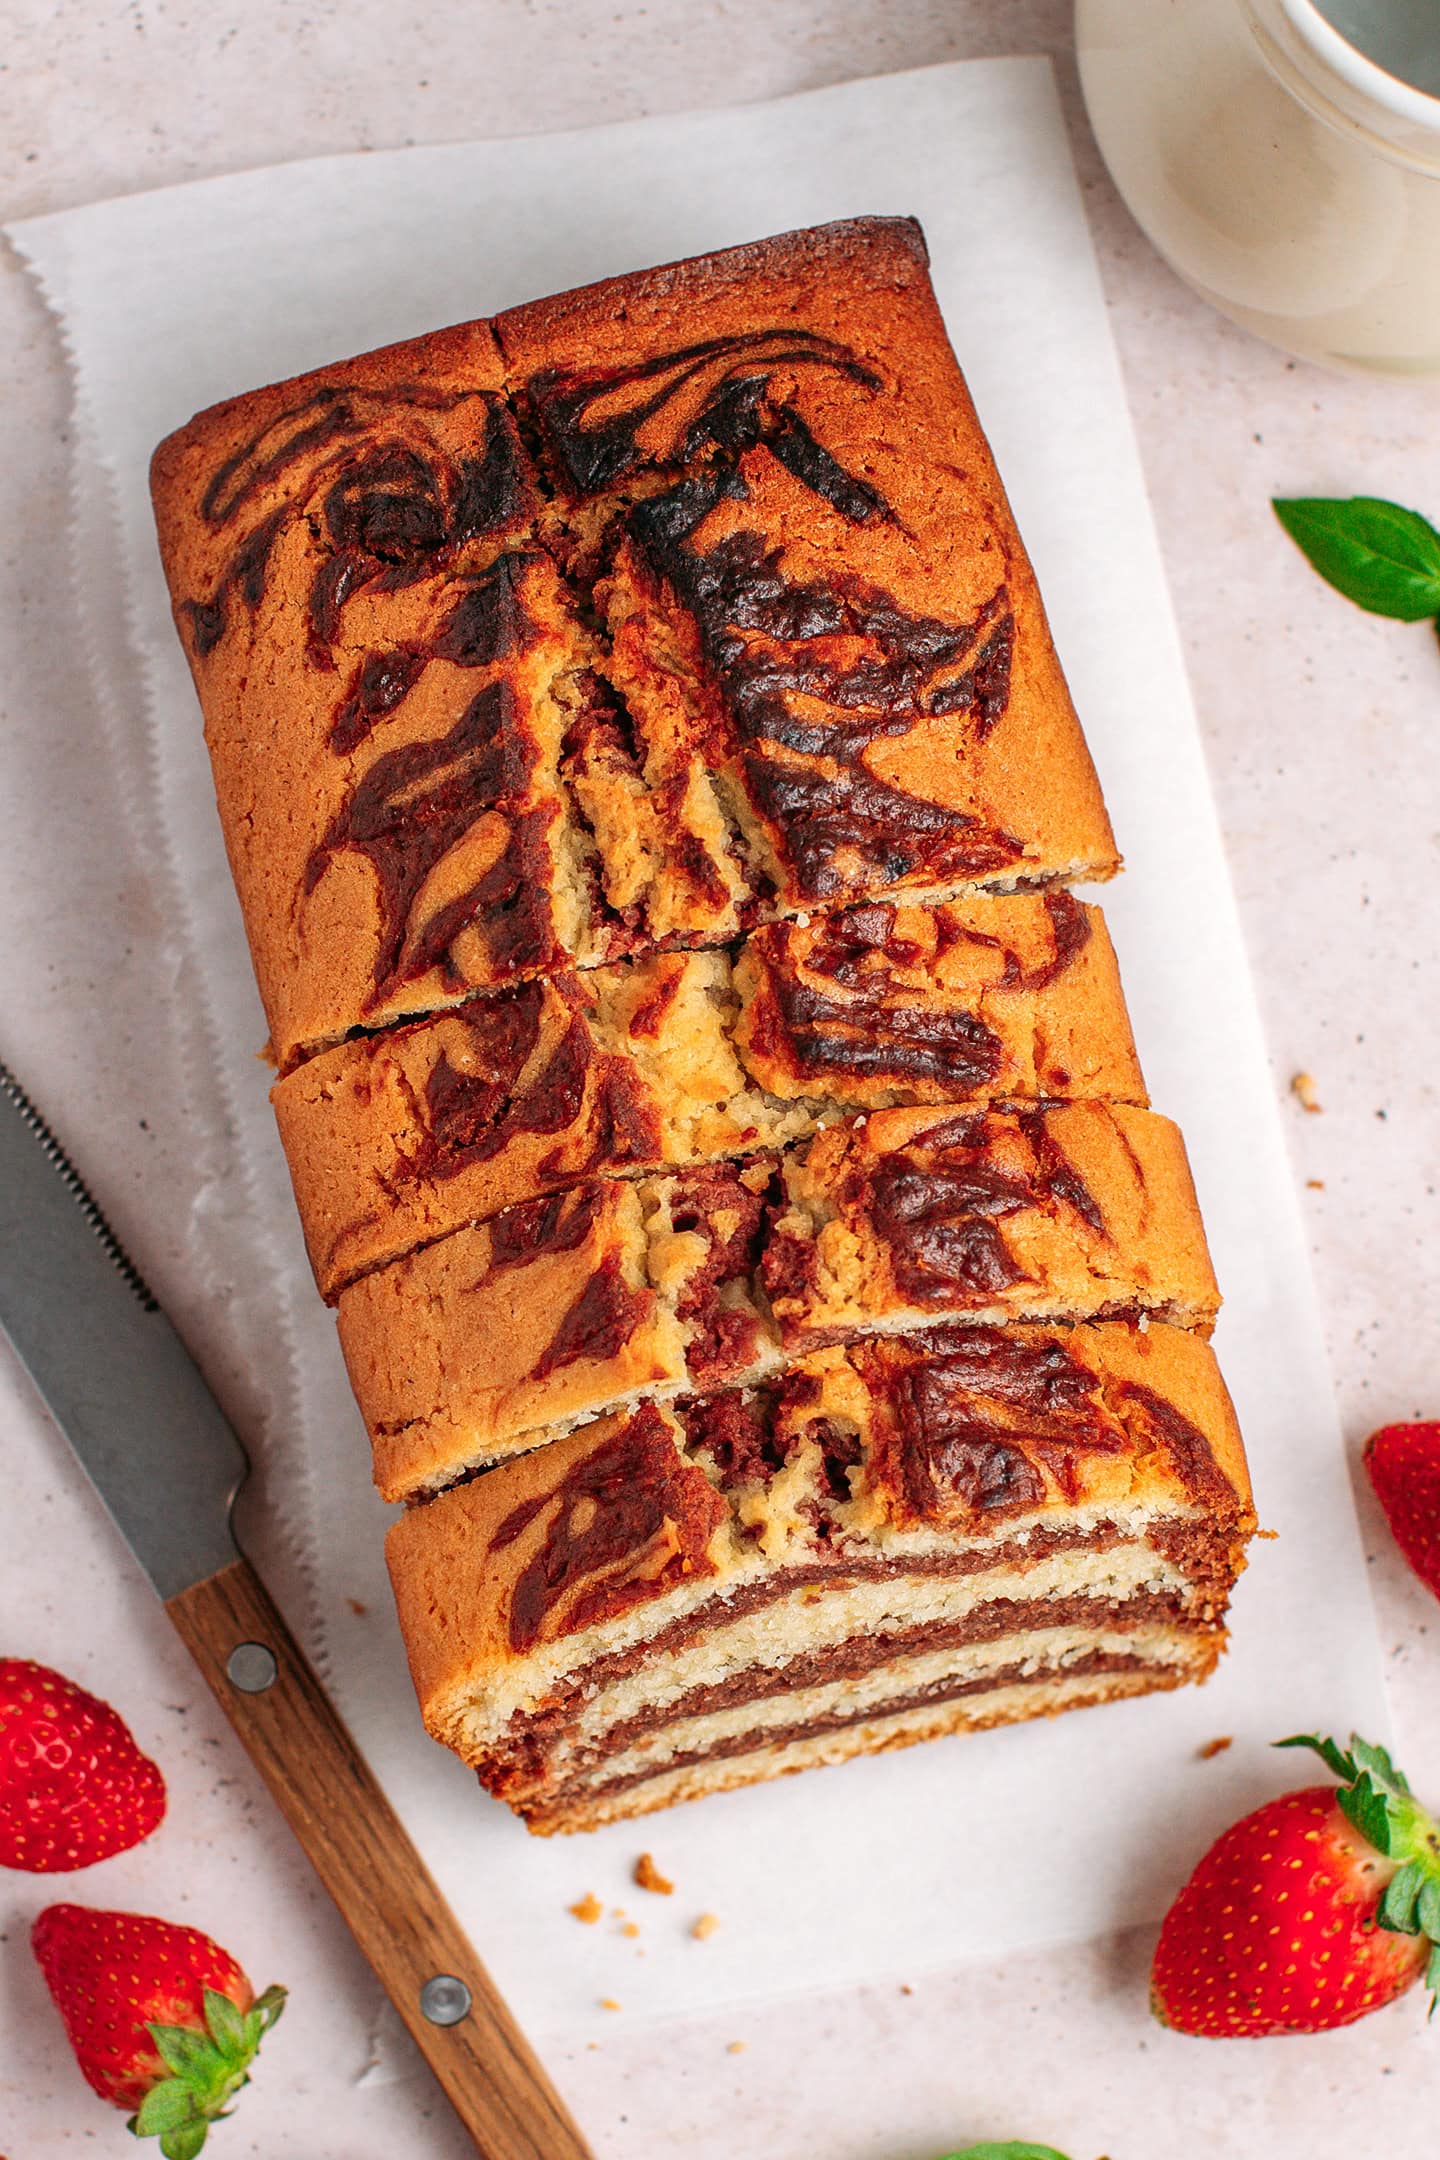
I revisited my classic chocolate and vanilla marble cake by replacing the chocolate with strawberries! The result is a cake that’s very fruity, slightly tangy, wonderfully soft, and full of nostalgic vibes. One bite and it feels like going back to school!
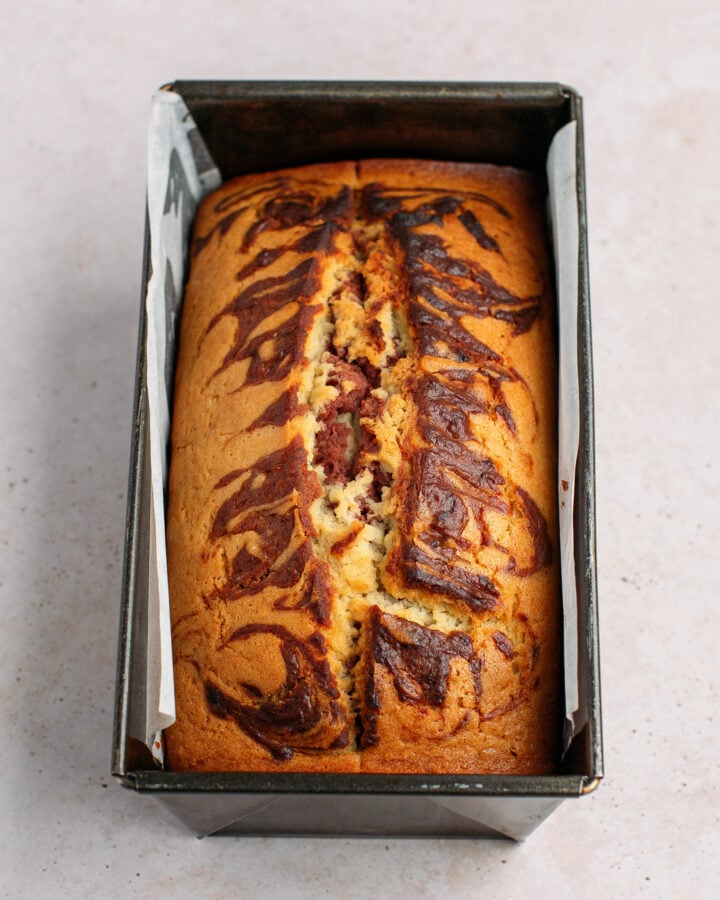
Oh, and don’t let its color fool you. At first glance, it might look like an ordinary chocolate marble cake, but it’s not. That deep, almost Bordeaux red comes from the fact that I rely only on freeze-dried strawberries (no artificial coloring or flavoring here!). During baking, the strawberry layer darkens a bit, but no worries – the strawberry flavor is still very much there!
♥️ What Makes It So Good
Full strawberry flavor.
The strawberry batter gets its rich flavor from FIVE whole tablespoons of freeze-dried strawberry powder (which equals roughly 15 fresh strawberries!). This yields a cake that packs a ton of fruity goodness! The downside is that it doesn’t yield a cute pink hue, but I always prioritize flavor over appearance, so in the end, it doesn’t matter since this cake delivers all the strawberry punch you could want!
Bonus point: Because you won’t even need fresh strawberries, you can have this cake year-round!
Perfect crumb.
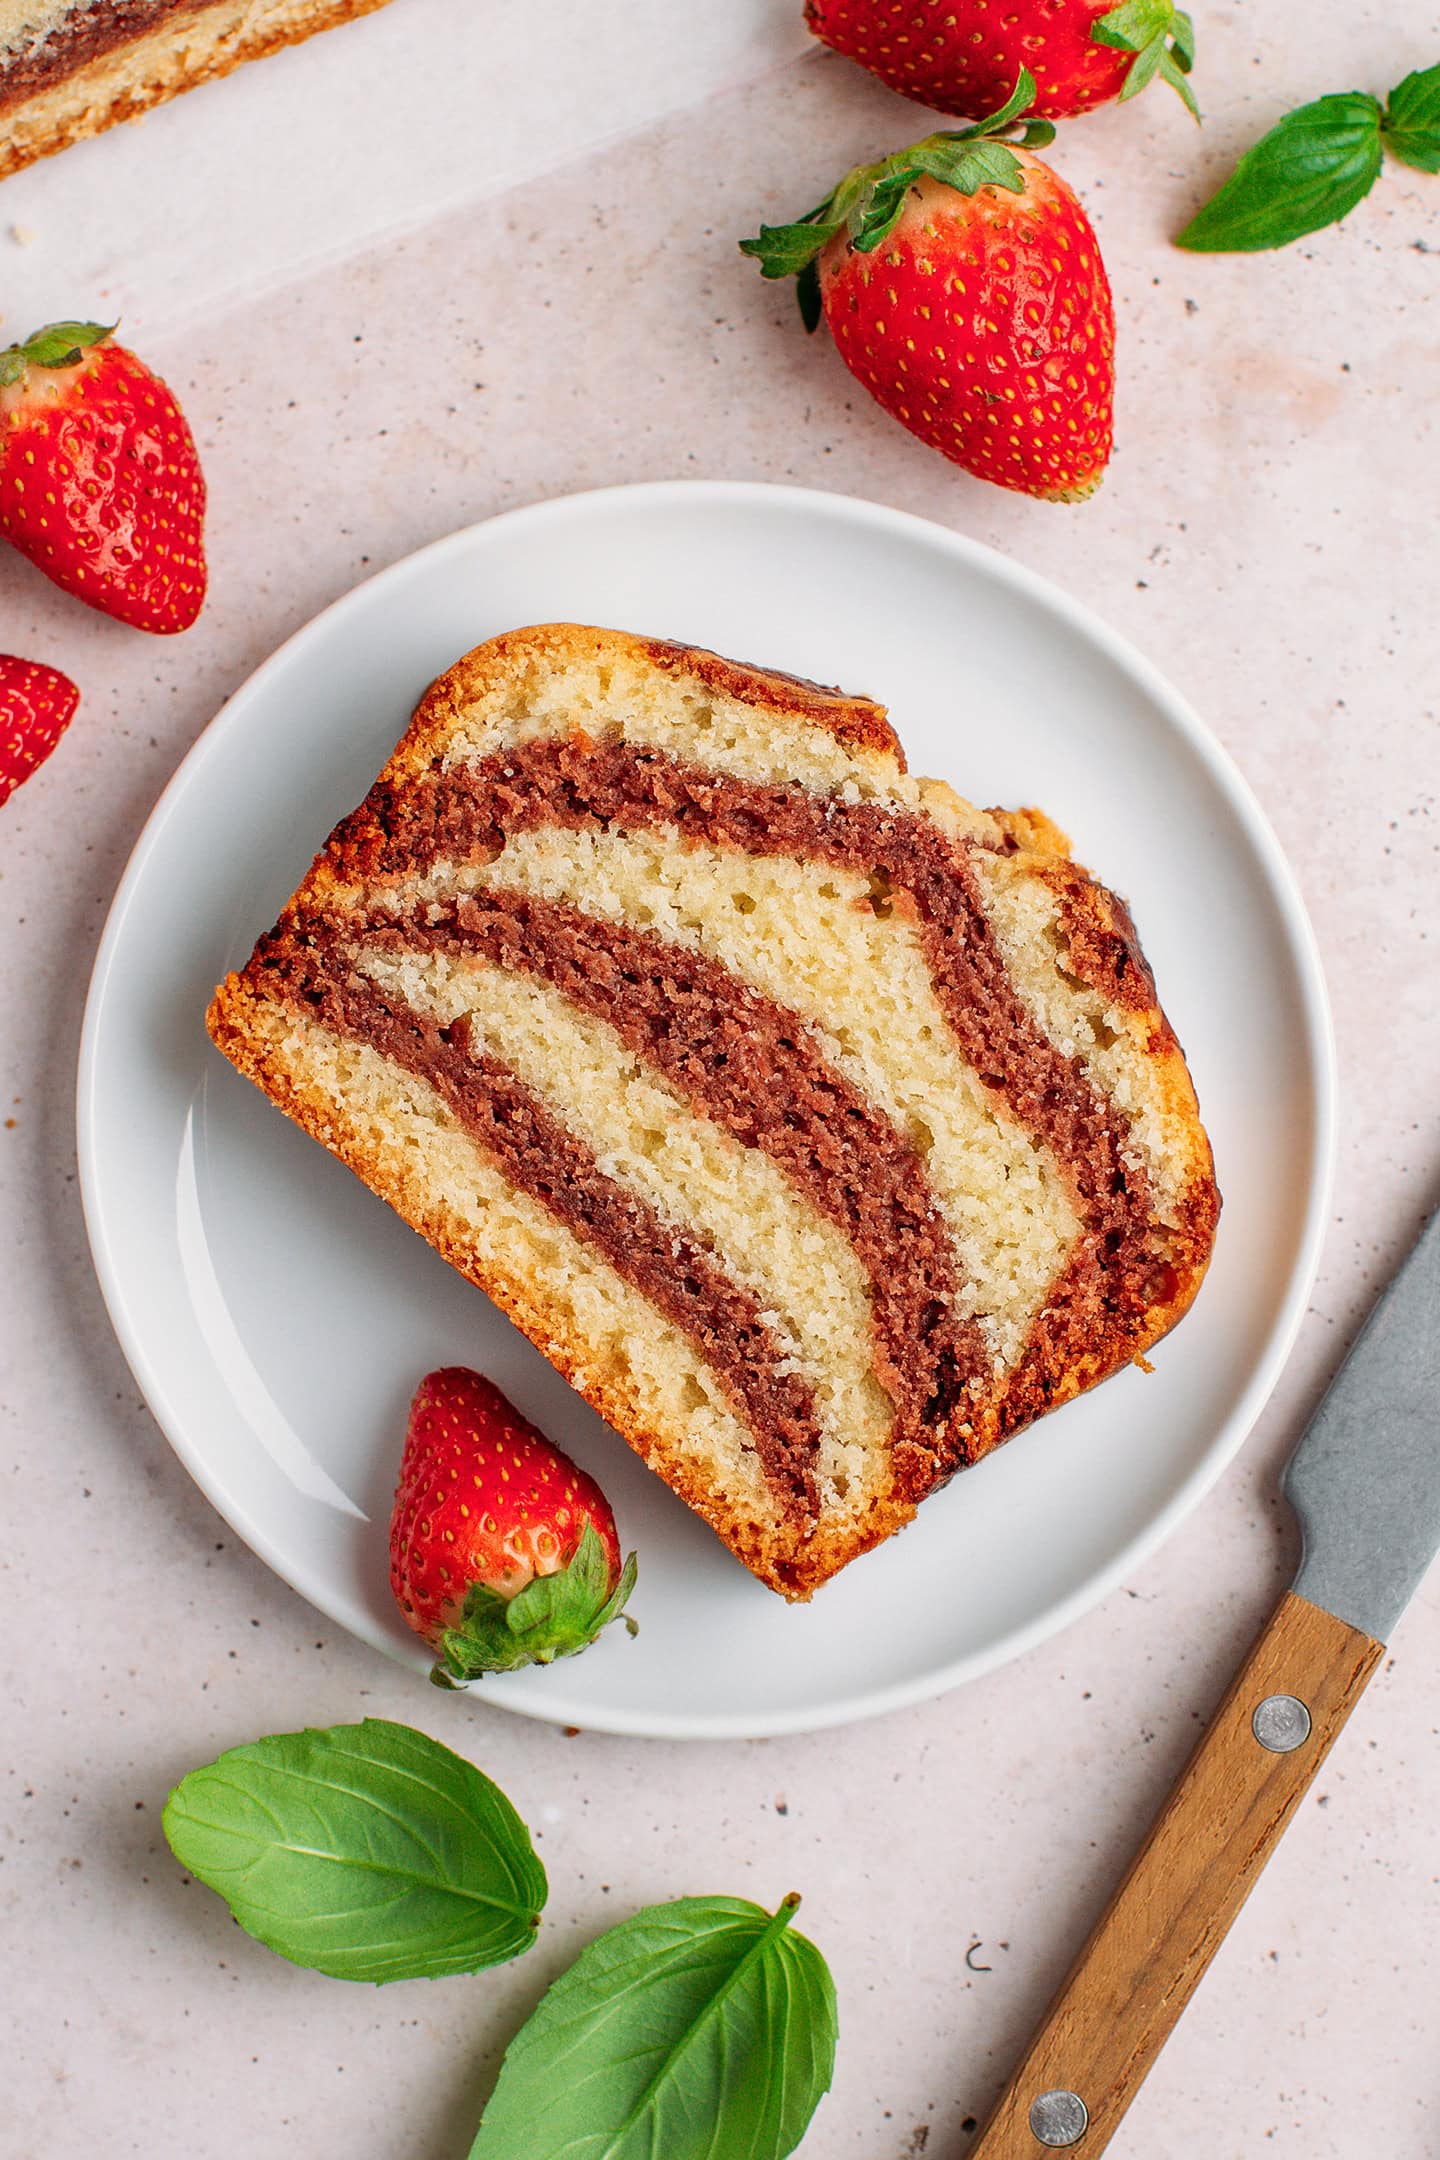
When it comes to the crumb, it’s delicate and extra tender with a buttery mouthfeel. It has the perfect amount of moisture: not too moist, nor too dry, and can be sliced easily without crumbling. If you’ve tried my pound cake before, the texture is quite similar.
Made in two bowls with simple ingredients.
This recipe keeps things simple: only 10 ingredients and approximately 20 minutes of active time.
Even better, there is no need to whip up two completely separate batters. You will first prepare the main vanilla batter, then set aside a portion of it to mix with strawberry powder, lemon juice, and a splash of milk. From there, it’s just a matter of layering both batters in the loaf pan and baking!
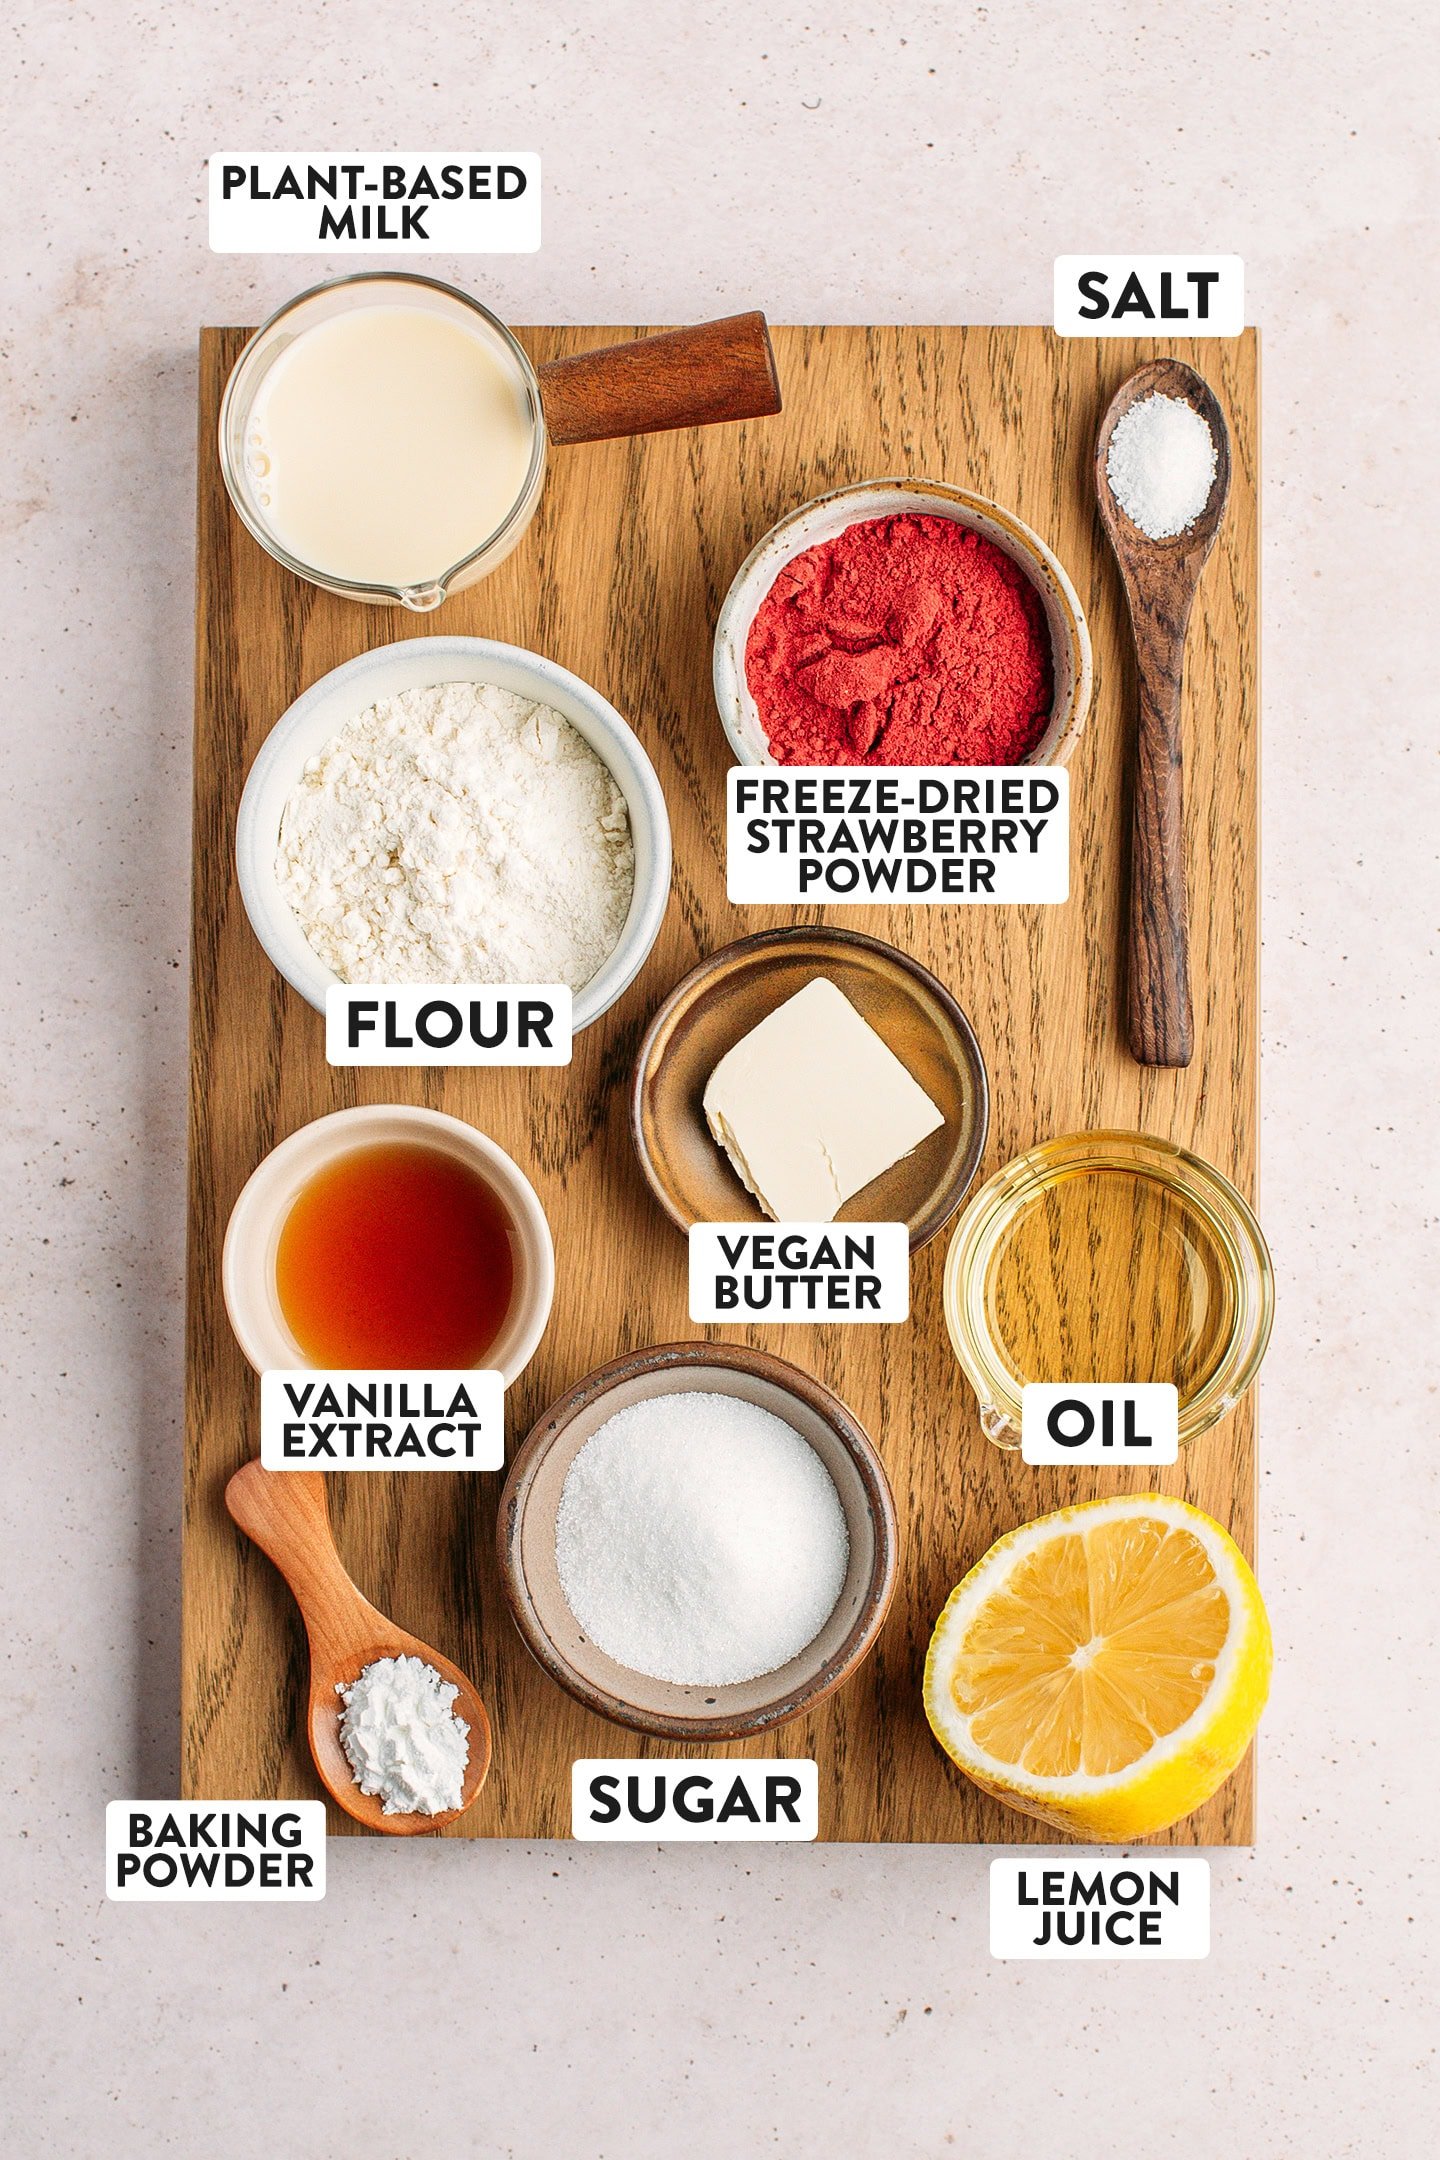
🍓 Ingredient Notes
Flour
To keep things simple, I stick with regular, all-purpose flour for this recipe.
Sugar
Granulated white sugar works best here as it doesn’t overpower the vanilla or strawberry layers. I highly advise against using a darker sugar for this recipe.
Oil and butter
I have been using the combination of oil and butter in many of my cakes. I like combining both for a simple reason: While butter adds a delicious buttery flavor, it tends to make baked goods denser and a bit drier. Replacing a portion of butter with oil yields a more tender and airy crumb, which helps the cake remain tender for several days.
Strawberry powder
That’s right, you won’t find any fresh strawberries here! Not because I didn’t want to use them, but because my tests were far from satisfying. When you blend fresh strawberries, you end up with a watery juice that is not only mild in flavor but also thins out the batter. Even reducing it to a concentrated syrup didn’t help much. The cake looked nice, but the fruitiness was missing.
Now, you might assume strawberry powder alone wouldn’t bring enough strawberry flavor. Honestly, I thought the same…until I really started experimenting with it. Let me tell you, freeze-dried strawberry powder is truly an amazing ingredient. It delivers bold, pure strawberry flavor in a dry form, meaning you get an intense fruity flavor without adding excess liquid to the batter.
Regarding the price: Freeze-dried strawberry powder is not cheap, but considering the amount used, one bag of 3.5 ounces (100g) should be enough to make up to 4 marble cakes.
Tip: After opening the package, I suggest adding an oxygen absorber packet to prevent the powder from clumping. I usually save the ones that come with dried tteokbokki and reuse them in powders that tend to clump, such as onion powder and fruit powders.
Lemon juice
A tablespoon of lemon juice helps intensify the strawberry flavor and brings a touch of tanginess.
Can I omit it? Yes, you can omit the lemon juice. Your marble cake will still taste great, but the strawberry flavor will be a bit less intense.
Plant-based milk
Any mild unsweetened plant-based milk will work here. I used soy milk, but almond, cashew, or oat milk will work. Stronger nut milks, such as coconut or hazelnut milk, are not recommended as they may overpower the subtle vanilla flavor.
Vanilla extract
For optimal taste, use high-quality vanilla extract. You can also skip it and use vanilla sugar instead, or try vanilla bean paste if you would like to see small vanilla bean specks in your batter.
Baking powder
To help the cake rise!
📔 Success Tips
Ensure that all of your ingredients are at room temperature.
It’s important that both the melted butter and plant-based milk are at room temperature. If the milk is cold, it will cause the melted butter to solidify, making the batter grainy. On the other hand, if the melted butter is too hot, it will activate the baking powder too early, preventing your cake from rising correctly during baking.
Keep an eye on the cake during baking.
Depending on your oven, you may need to rotate the loaf pan occasionally to ensure even browning. If you notice the top of your cake getting brown too quickly, simply move the pan to the lower rack of your oven.
Don’t open the oven door too soon.
Do not attempt to open the oven door during the first 30 minutes of baking, as it may cause your cake to deflate.
Allow the cake to cool inside the loaf pan.
Once your cake is done, allow it to cool down in the loaf pan for at least 30 minutes before transferring it to a cooling rack. If you try to remove it too soon, it may crumble.
🥣 Step-by-Step Instructions
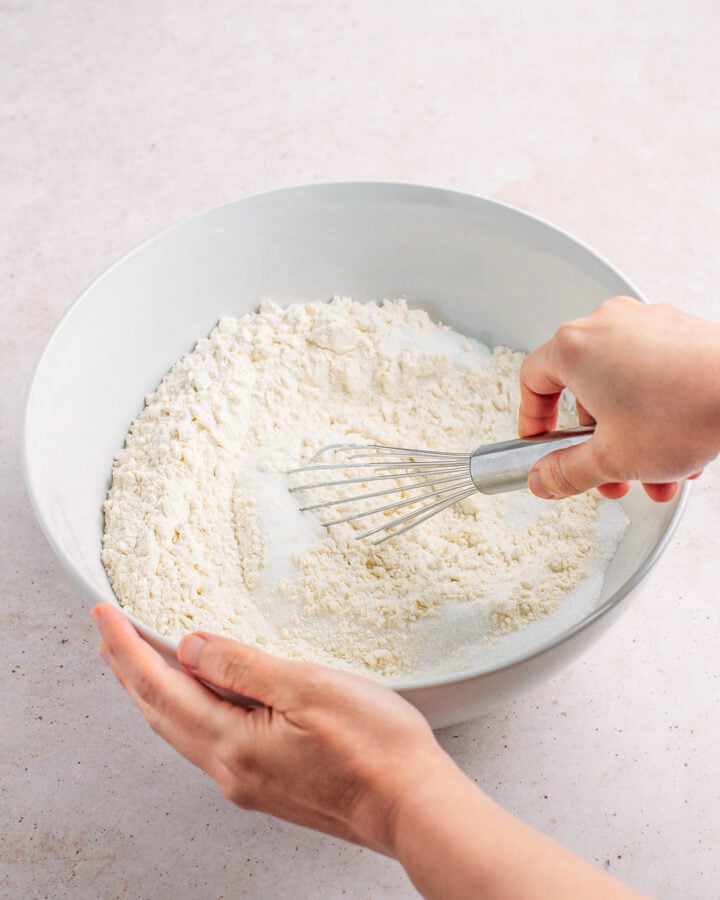
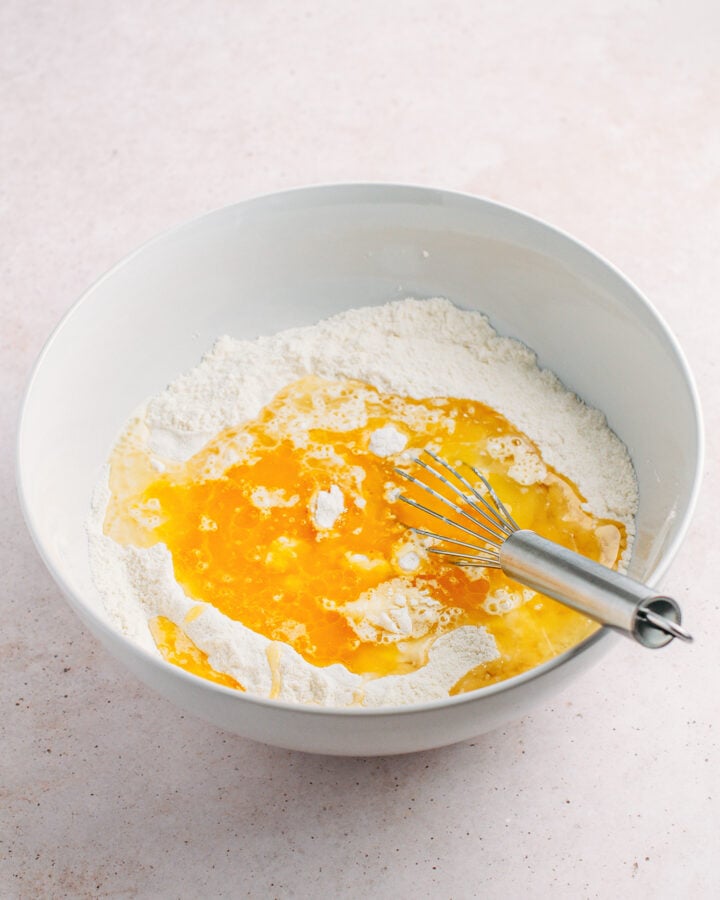
- Whisk the dry ingredients. Add the flour, sugar, baking powder, and salt to a large mixing bowl. Whisk until fully combined.

- Melt the butter. Dice the butter and add it to a small saucepan. Melt it over low heat. Set it aside and let it cool for 5-10 minutes. Important: Your butter should not be hot, just melted, otherwise it will activate the baking powder too early.
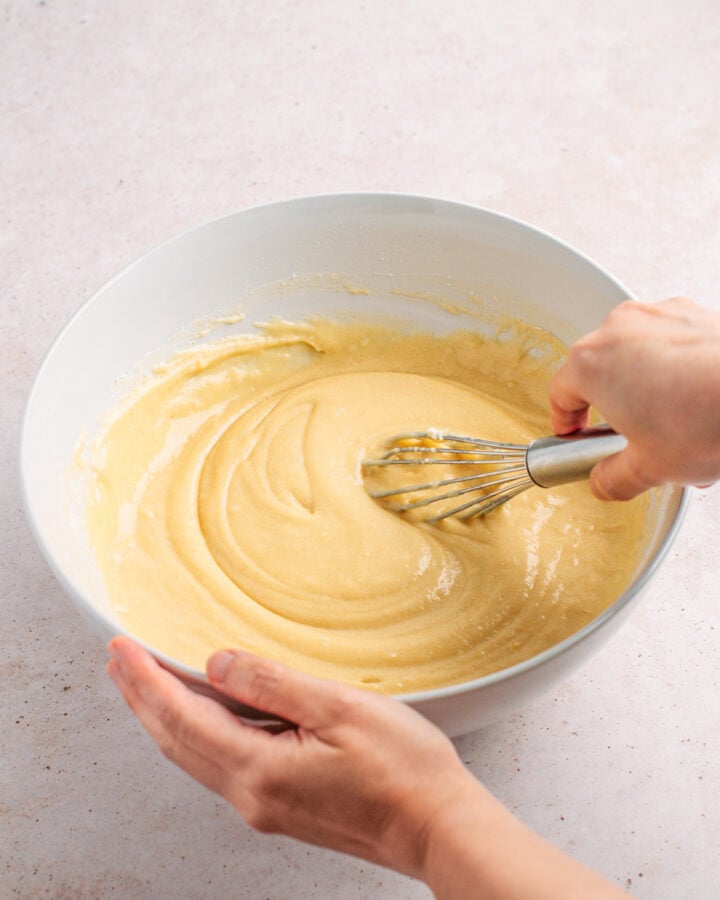
- Pour in the liquid ingredients. To the mixing bowl, add the unsweetened plant-based milk, oil, melted butter, and vanilla extract. Mix using a whisk until the batter forms a smooth consistency.
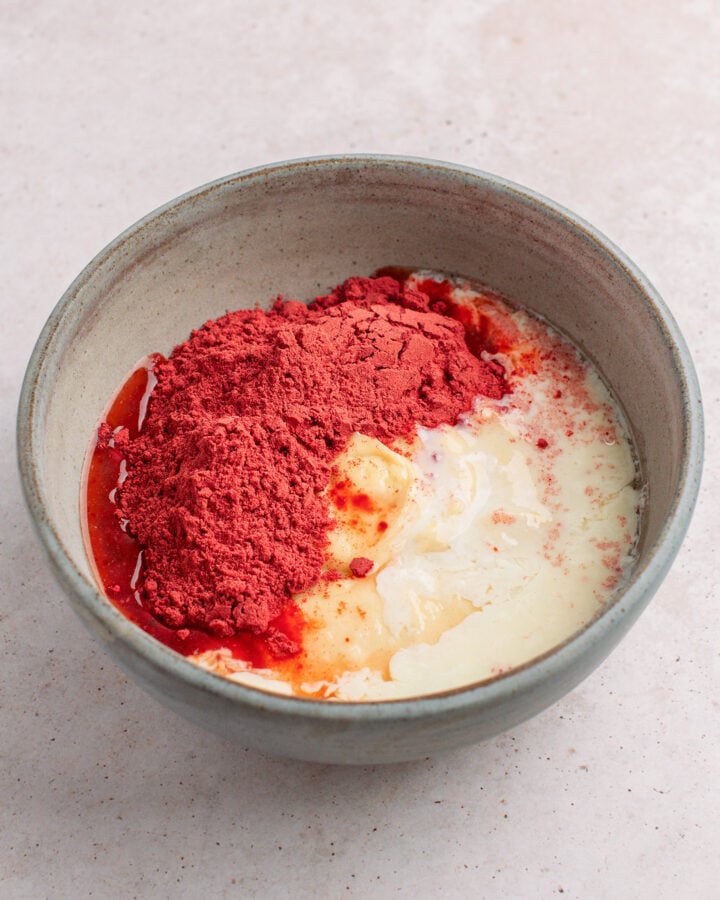
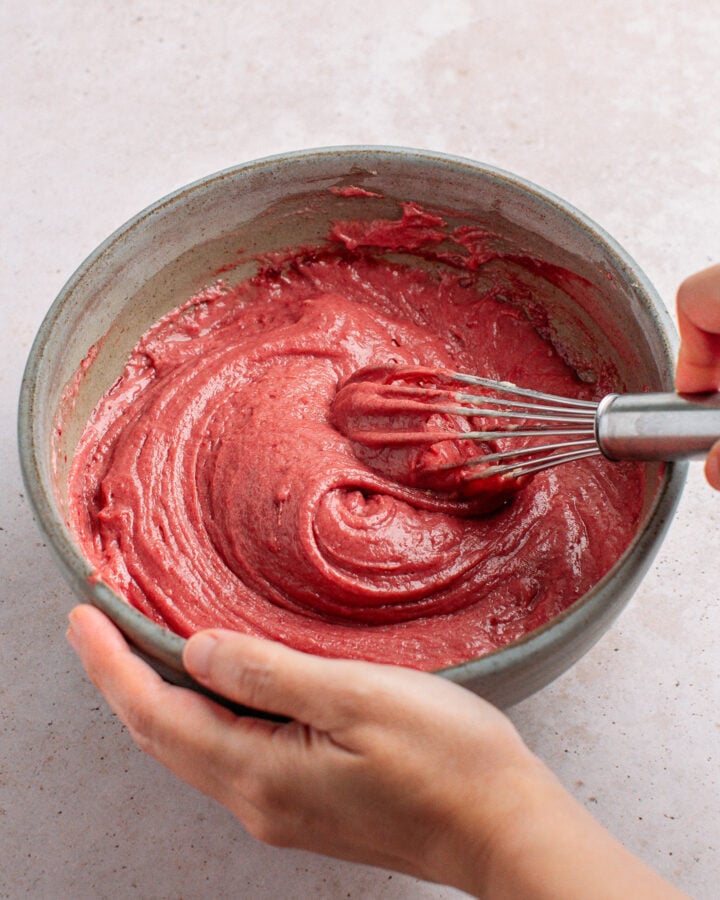
- Flavor the strawberry batter. Scoop out about 1 cup (roughly 12 ounces / 340 g) of the vanilla batter and transfer it to a smaller mixing bowl. Add the strawberry powder, plant-based milk, and lemon juice, and mix until well combined.
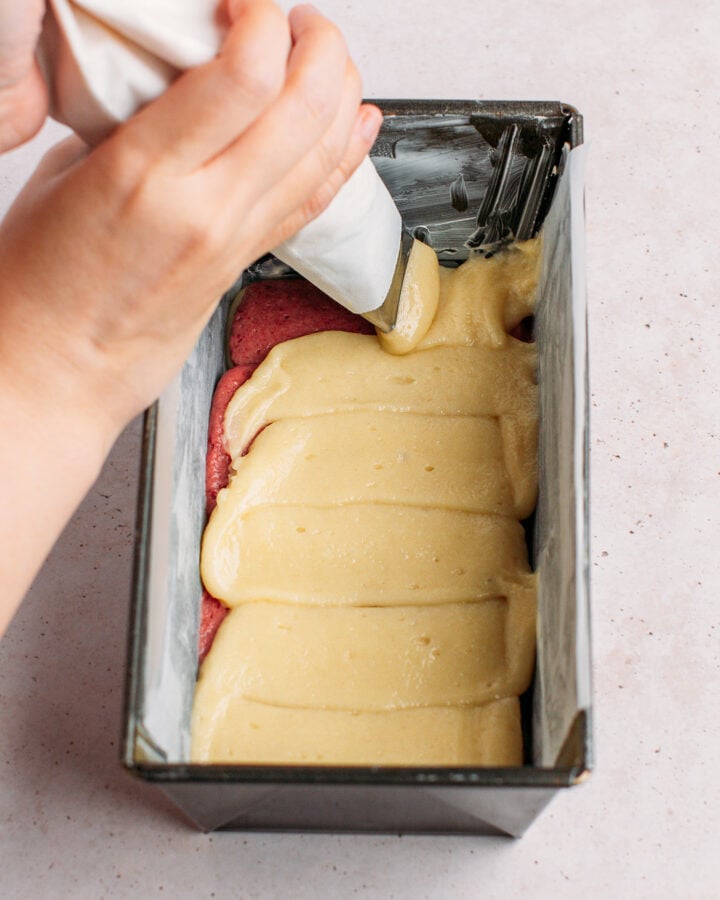
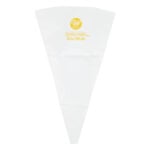
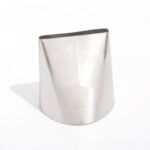
- Transfer to piping bags. Prepare two piping bags fitted with a 2-inch flat tip. Transfer the vanilla batter to one and the strawberry batter to the other.
- Assemble. Pipe a thin layer of the vanilla into the bottom of the loaf pan. Try to make it as even as possible. Next, pipe a layer of the strawberry batter on top. Keep alternating: vanilla, strawberry, and finish with a layer of vanilla. I ended up making three layers of strawberry, but that will depend on how thick your layers are.
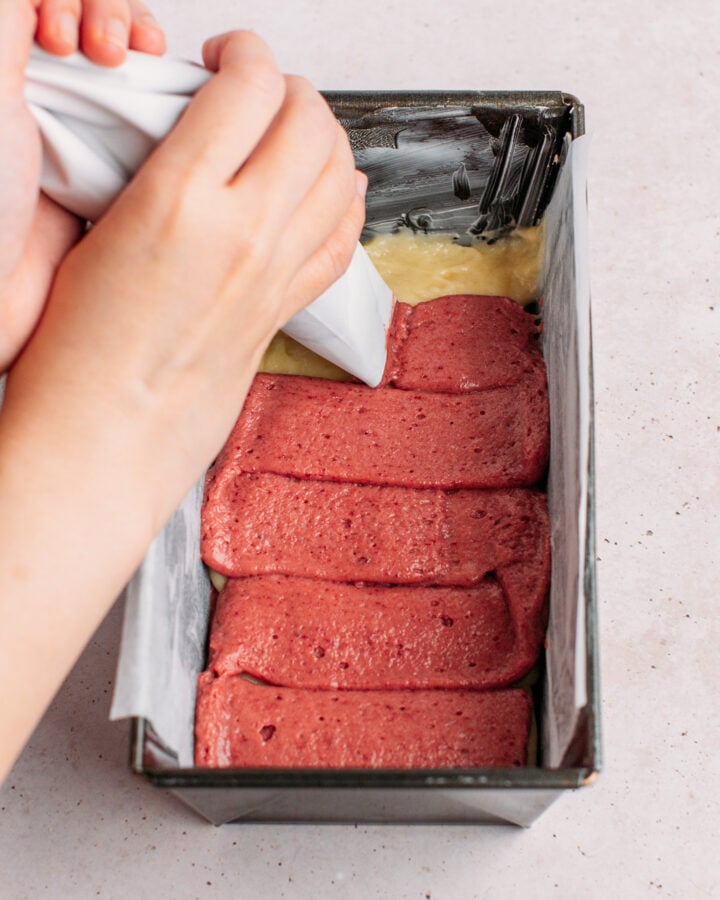
About Layering
When it comes to assembling this cake, there is no wrong way to do it. I personally prefer using two piping bags to create clean, distinct layers of vanilla and strawberry, but you can also simply spoon the batters into the loaf pan, alternating them.
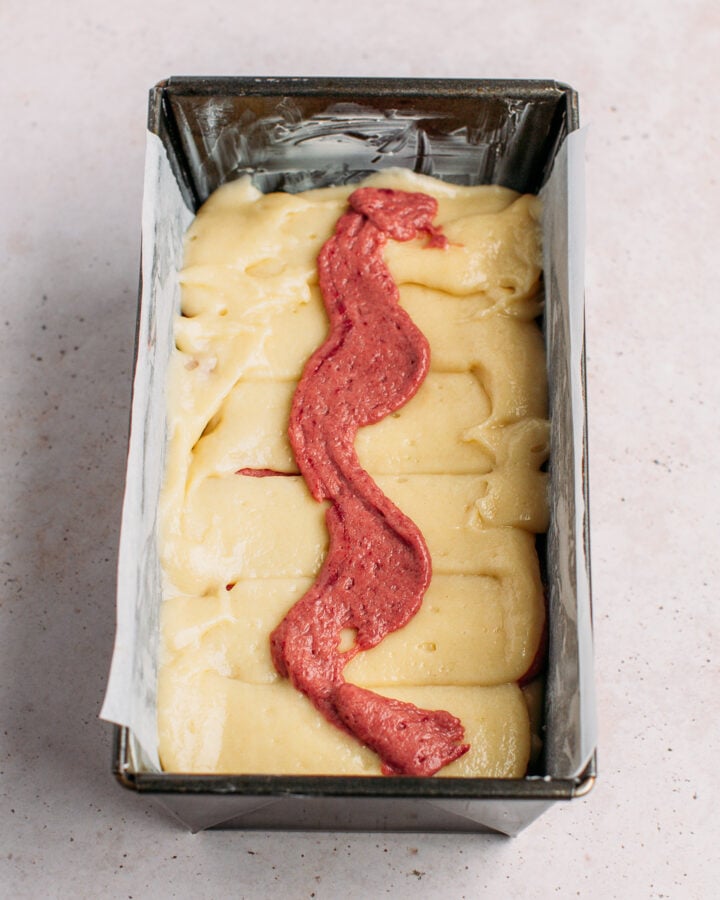
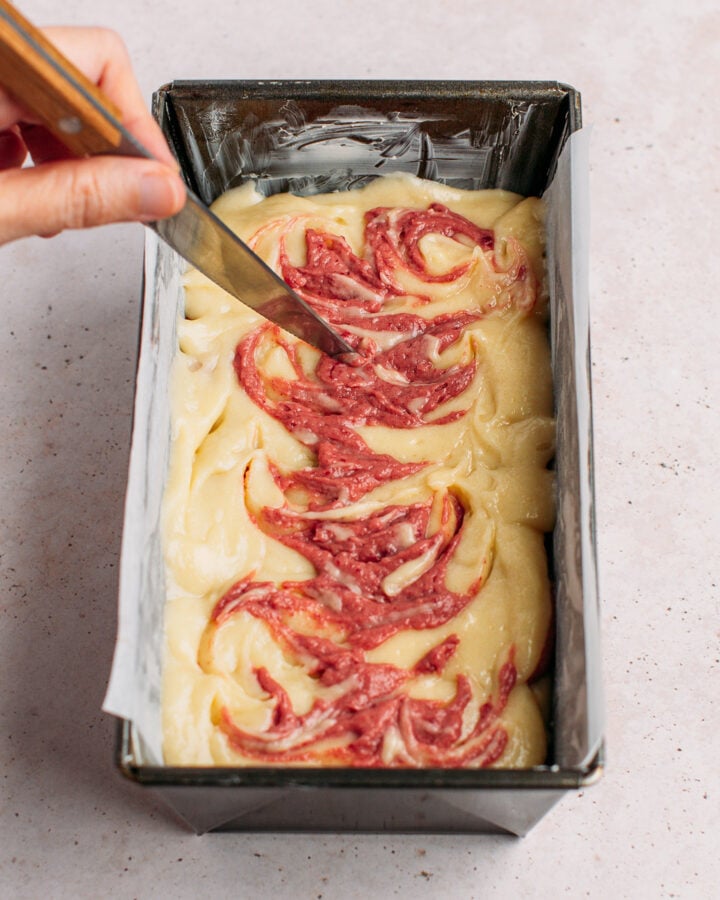
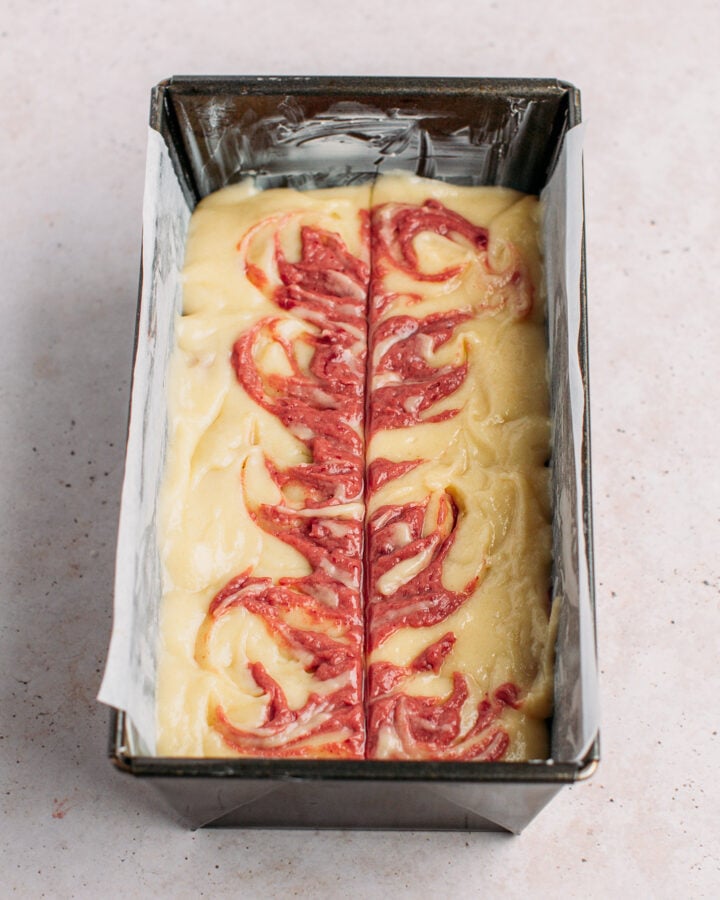
- Decorate the top (optional). Add a small drizzle of strawberry batter over the vanilla layer, then gently swirl it with a knife to create a marble effect. Do not go too deep, as you only want to swirl the top layer.
- Create a line in the middle. Here’s a little trick to make your cake crack exactly in the middle as it bakes: Dip a silicone spatula into a tablespoon of melted butter (or oil), then draw a straight line down the middle, about 1/2 inch (1 cm) deep, along the entire length of the batter.
- Bake. Finally, bake the marble cake for about 1 hour or until the top is golden brown. Allow it to cool down for at least 30 minutes before removing it from the loaf pan.
🍫 Variations
Looking for ways to customize this marble cake? Here are some ideas:
- Chocolate chips: Add sweetness by incorporating about 1/2 cup of either vegan white chocolate chips or dark chocolate chips. Do not add them directly to the batter, as this can cause trouble with the piping. Instead, sprinkle the chocolate chips evenly over each layer of batter in the loaf pan.
- Fresh basil: Strawberries and basil always marry beautifully. Feel free to infuse the milk with a few fresh basil leaves before making the batter. Just make sure to let the milk cool completely before mixing it with the other ingredients.
- Strawberry frosting: To make your cake even fancier, feel free to glaze or frost it! You can use your favorite frosting and give it a light pink color by mixing it with a few tablespoons of strawberry powder.
🥛 What to Serve It With
You can enjoy a slice of this cake for breakfast or as an afternoon pick-me-up paired with a glass of banana milk, plant-based milk, or vegan yogurt, such as my Greek-style cashew yogurt or almond milk yogurt.
For an even more decadent treat, you could also serve it with a scoop of vanilla ice cream or drizzle it with melted dark chocolate!
❄️ Storing and Freezing
- To store: This marble cake can be stored for up to 5 days. Just wrap it tightly in plastic wrap to prevent it from drying out.
- To freeze: Wrap leftover slices in plastic wrap and store in the freezer for up to 3 months. Thaw for a few hours on the counter before eating.
💬 FAQ
Unfortunately, it won’t work. I have developed this recipe specifically to work with freeze-dried strawberry powder. Blended fresh strawberries would completely alter the consistency of the cake batter.
Yes, you can transfer the strawberries to a blender and blend them until they form a thin powder.
The batter should be similar in consistency to a thick pancake batter. The strawberry may turn out slightly thicker, but overall, both batters should have about the same texture.
Two possible reasons: 1) You have made tweaks and reduced the amount of liquid, butter, or oil. This will yield a dryer crumb. 2) You baked the cake for too long. The cake is done once the top is just golden brown, and a toothpick inserted inside comes out with just a few crumbs.


Save this recipe!
Enter your email below and I’ll send it to your inbox!
Plus, you will receive new recipes every week!
Vegan Strawberry Marble Cake
Ingredients
Main Batter
- 2 and 1/2 cup (312 g) all-purpose flour
- 3/4 cup + 2 tbsp (187 g) granulated white sugar
- 1 and 1/2 tsp baking powder
- 1/2 tsp salt
- 5 tbsp (70 g) vegan butter melted
- 3/4 cup (180 ml) unsweetened plant-based milk
- 1/3 cup (80 ml) oil
- 1 tbsp + 1 tsp (20 ml) vanilla extract
Strawberry Batter
- 5 tbsp freeze-dried strawberry powder
- 2 tbsp (30 ml) unsweetened plant-based milk
- 1 tbsp (15 ml) lemon juice
Instructions
- Preheat your oven to
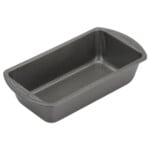
 350 °F (175°C). Lightly grease an 8×4-inch (20×10 cm) loaf pan with butter and line it with parchment paper.
Main Batter
- Whisk the dry ingredients. Add the flour, sugar, baking powder, and salt to a large mixing bowl. Whisk until fully combined.
- Melt the butter. Dice the butter and add it to a small saucepan. Melt it over low heat. Set it aside and let it cool for 5-10 minutes. Important: Your butter should not be hot, just melted, otherwise it will activate the baking powder too early.
- Pour in the liquid ingredients. To the mixing bowl, add the unsweetened plant-based milk, oil, melted butter, and vanilla extract. Mix using a whisk until the batter forms a smooth consistency.
- Flavor the strawberry batter. Scoop out about 1 cup (roughly 12 ounces / 340 g) of the vanilla batter and transfer it to a smaller mixing bowl. Add the strawberry powder, plant-based milk, and lemon juice, and mix until well combined.
- Transfer to piping bags. Prepare two piping bags fitted with a 2-inch flat tip. Transfer the vanilla batter to one and the strawberry batter to the other.
- Assemble. Pipe a thin layer of the vanilla into the bottom of the loaf pan. Try to make it as even as possible. Next, pipe a layer of the strawberry batter on top. Keep alternating: vanilla, strawberry, and finish with a layer of vanilla. I ended up making three layers of strawberry, but that will depend on how thick your layers are.
- Decorate the top (optional). Add a small drizzle of strawberry batter over the vanilla layer, then gently swirl it with a knife to create a marble effect. Do not go too deep, as you only want to swirl the top layer.
- Create a line in the middle. Here's a little trick to make your cake crack exactly in the middle as it bakes: Dip a silicone spatula into a tablespoon of melted butter (or oil), then draw a straight line down the middle, about 1/2 inch (1 cm) deep, along the entire length of the batter.
- Bake. Finally, bake the marble cake for about 1 hour or until the top is golden brown. Allow it to cool down for at least 30 minutes before removing it from the loaf pan.
- This marble cake can be stored for up to 5 days. Just wrap it tightly in plastic wrap to prevent it from drying out.
Notes
Ensure that all of your ingredients are at room temperature.
It’s important that both the melted butter and plant-based milk are at room temperature. If the milk is cold, it will cause the melted butter to solidify, making the batter grainy. On the other hand, if the melted butter is too hot, it will activate the baking powder too early, preventing your cake from rising correctly during baking.Keep an eye on the cake during baking.
Depending on your oven, you may need to rotate the loaf pan occasionally to ensure even browning. If you notice the top of your cake getting brown too quickly, simply move the pan to the lower rack of your oven.Don’t open the oven door too soon.
Do not attempt to open the oven door during the first 30 minutes of baking, as it may cause your cake to deflate.Allow the cake to cool inside the loaf pan.
Once your cake is done, allow it to cool down in the loaf pan for at least 30 minutes before transferring it to a cooling rack. If you try to remove it too soon, it may crumble.
About the Author
Thomas Pagot is the founder, photographer, and recipe developer behind Full of Plants. He created the blog in 2016 as a personal cookbook for vegan recipes. Through years of recipe development, Thomas has successfully grown Full of Plants into a trusted resource for plant-based recipes.
Leave a Comment
Guys, you should try this recipe. It is truly the BEST strawberry marble cake ever. Moist, tender, perfectly sweetened, and full of strawberry flavor. My little brothers and sisters loved it. Try it for yourself!
Thanks so much for your feedback Elly, I really appreciate it!
Wow, that marble cake looks amazing! Gotta try making it asap!
Thanks! Hope you will like it Vivian!
Yes, I really love it, Thomas. It tasted sooo good. We were all hooked. Thank you for such a fantastic recipe!!!
Happy to hear you liked it Vivian!