This post may contain affiliate links. Please read our disclosure policy.
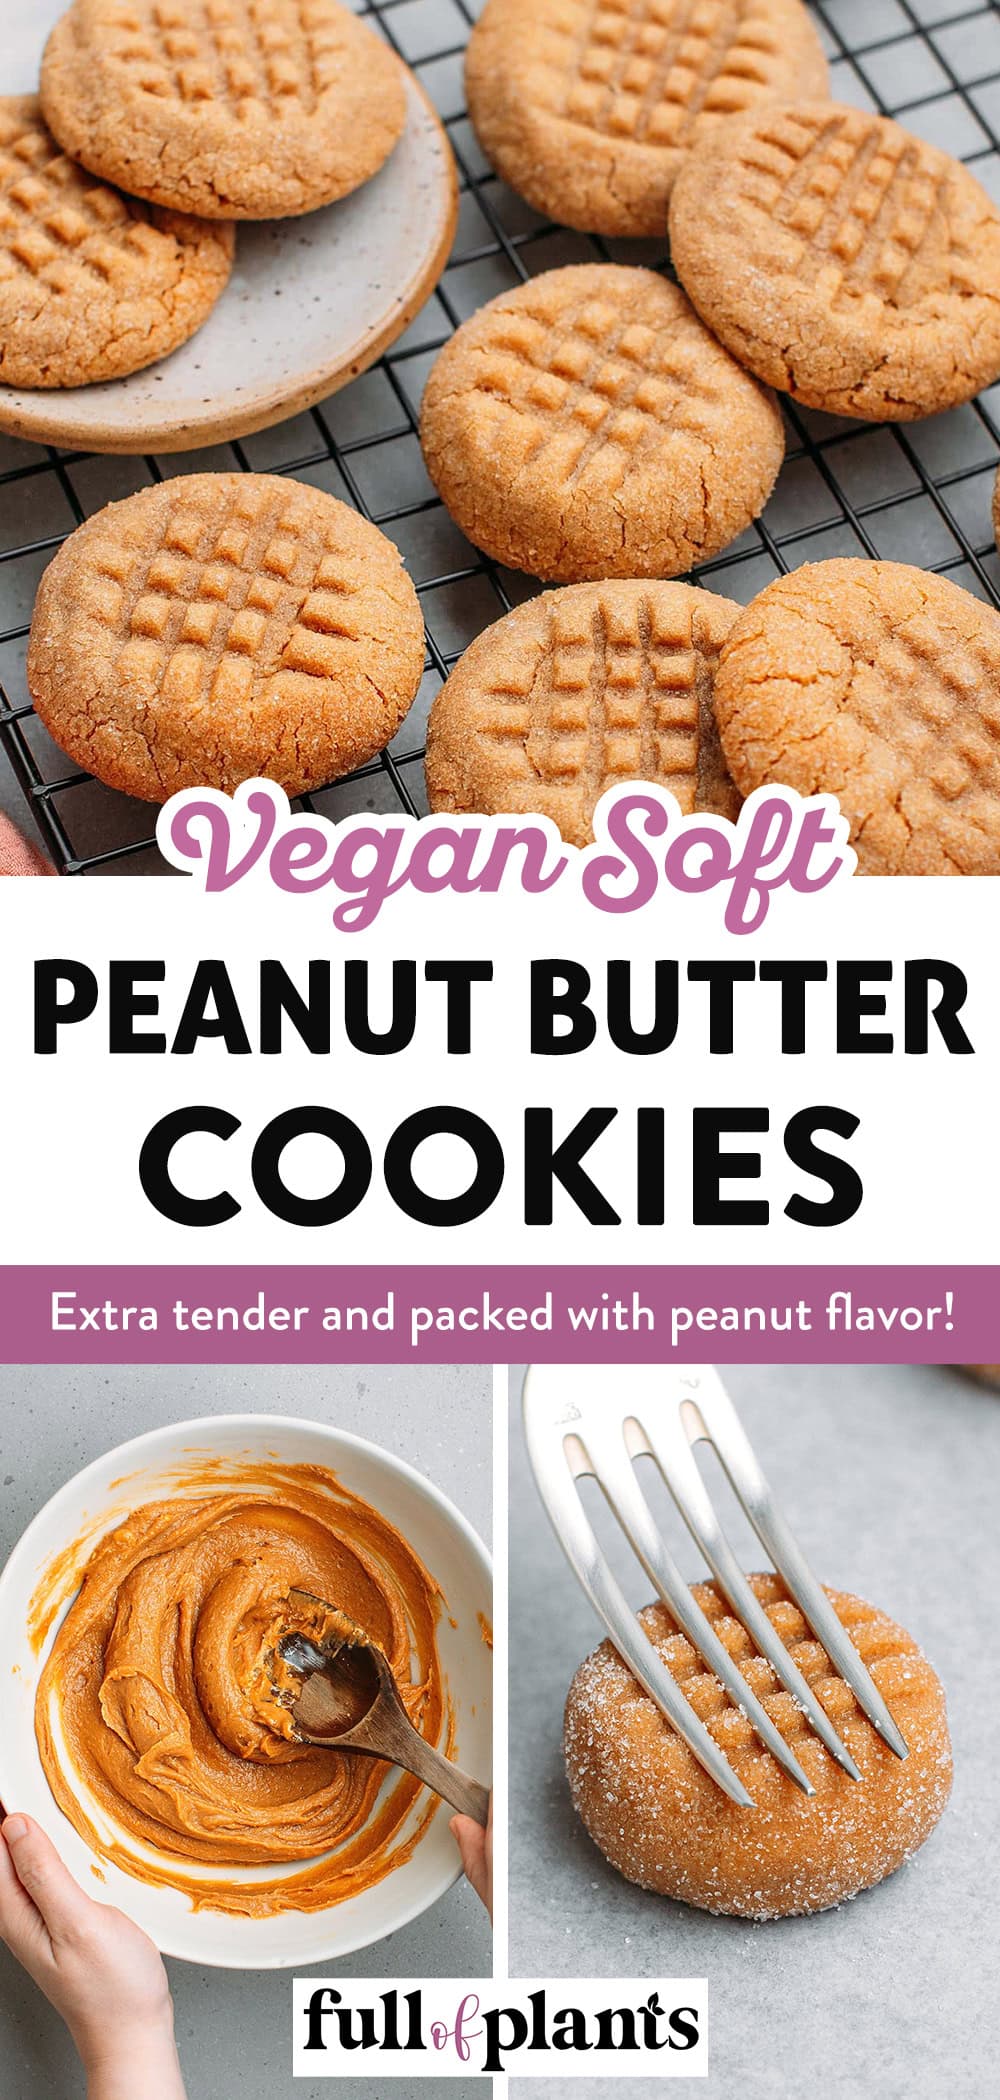
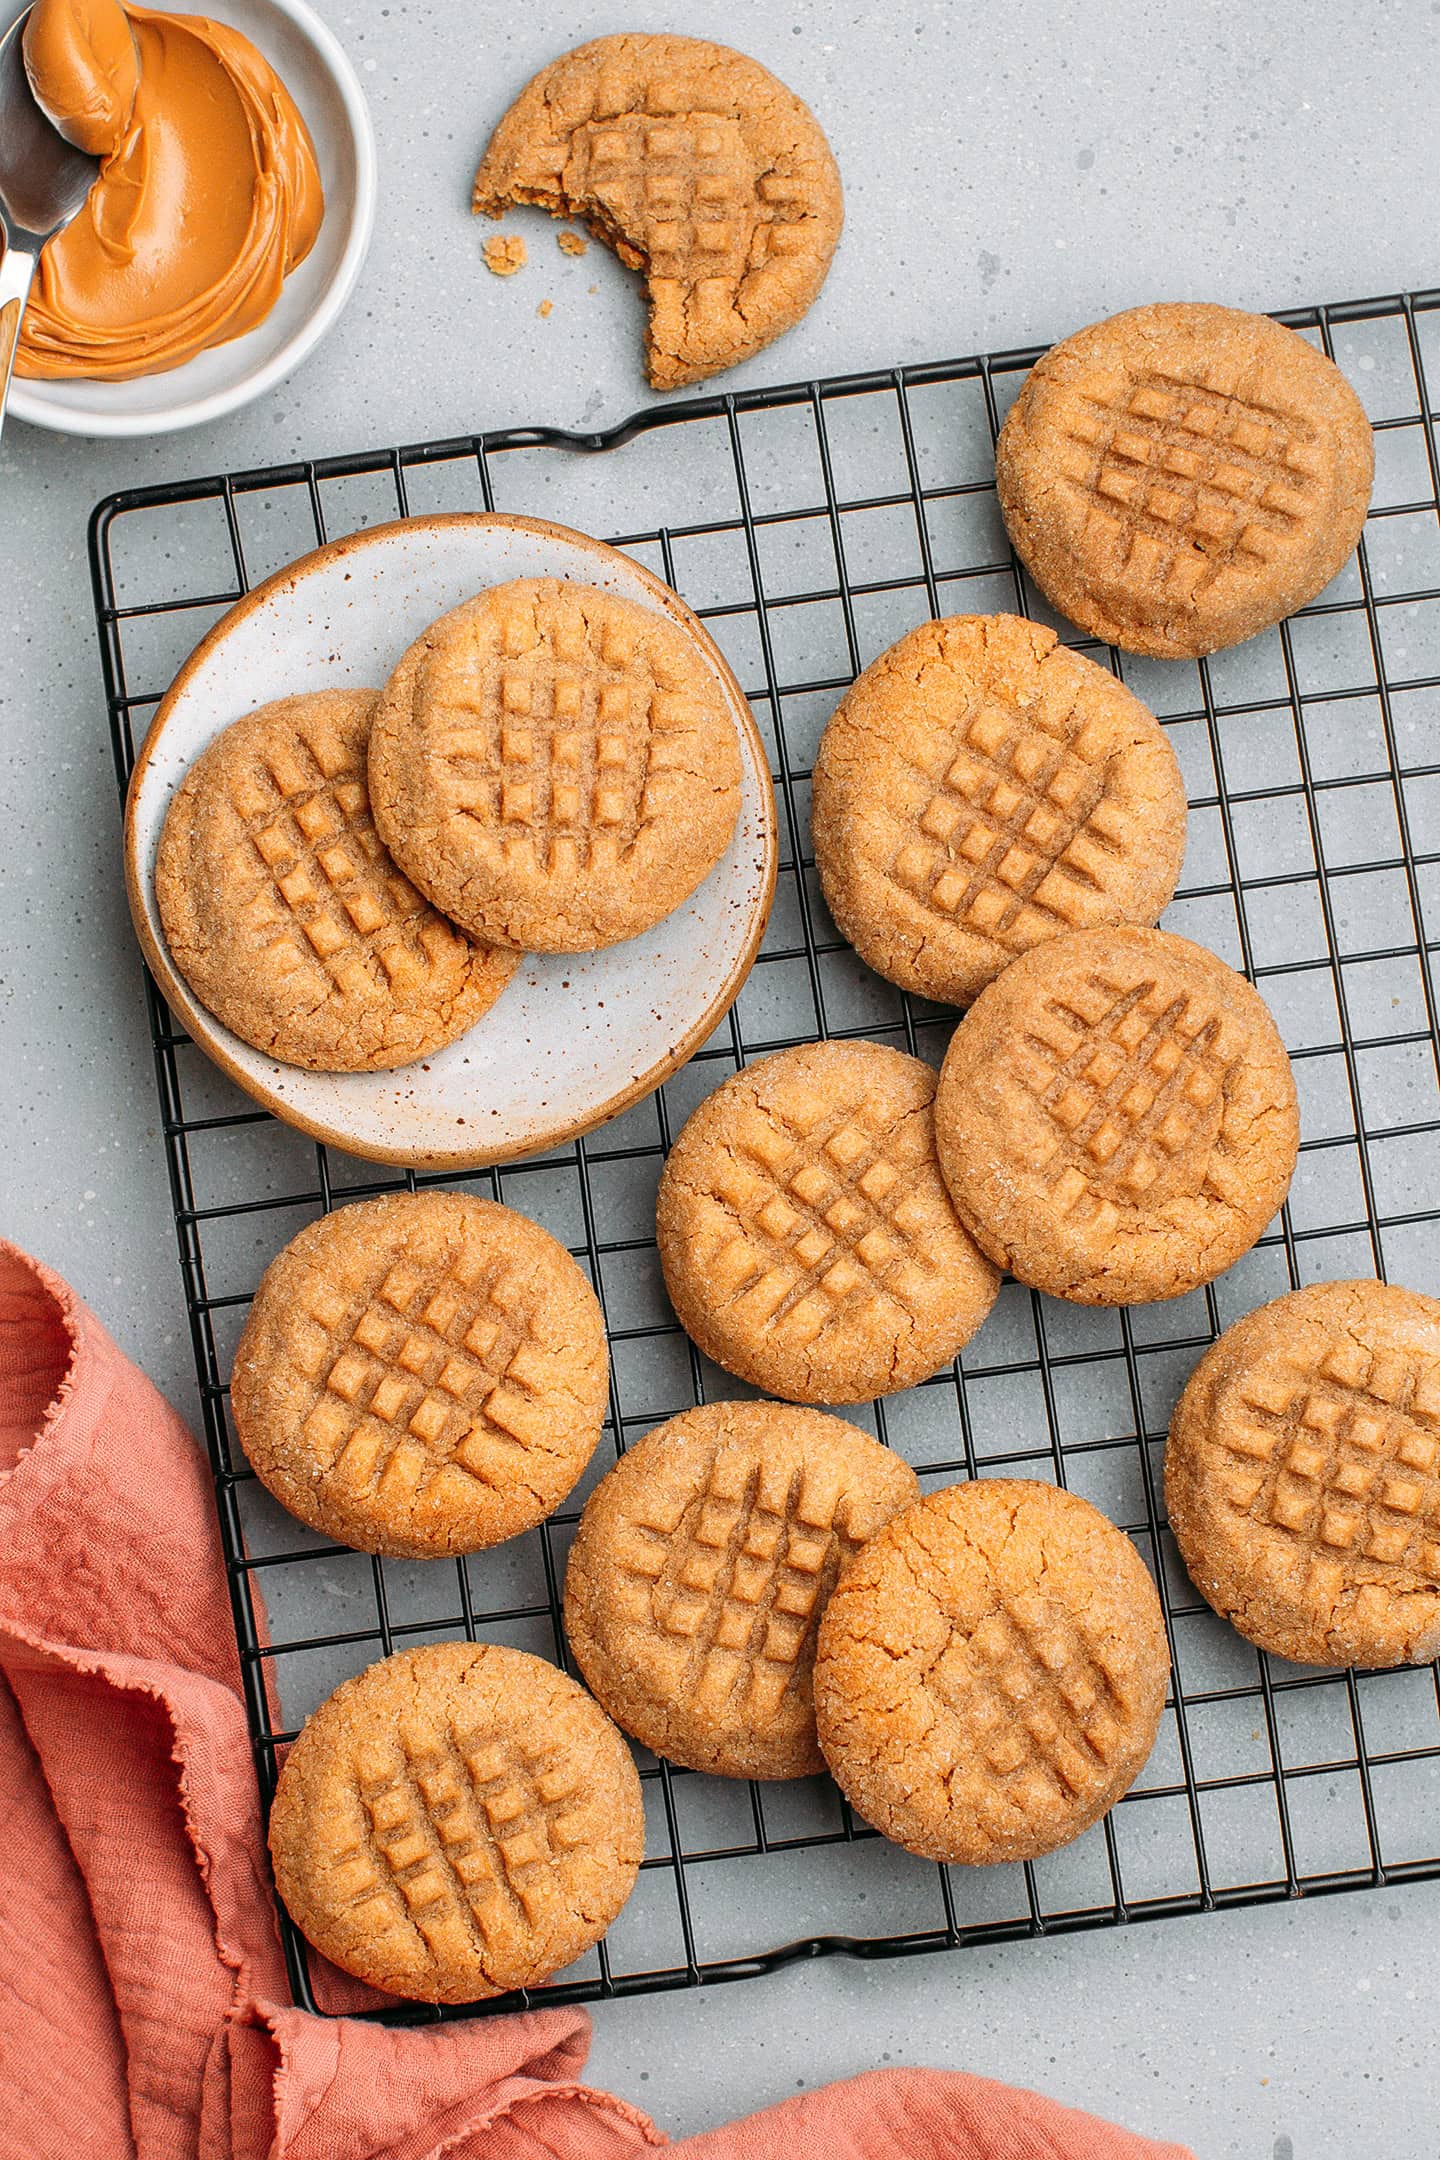
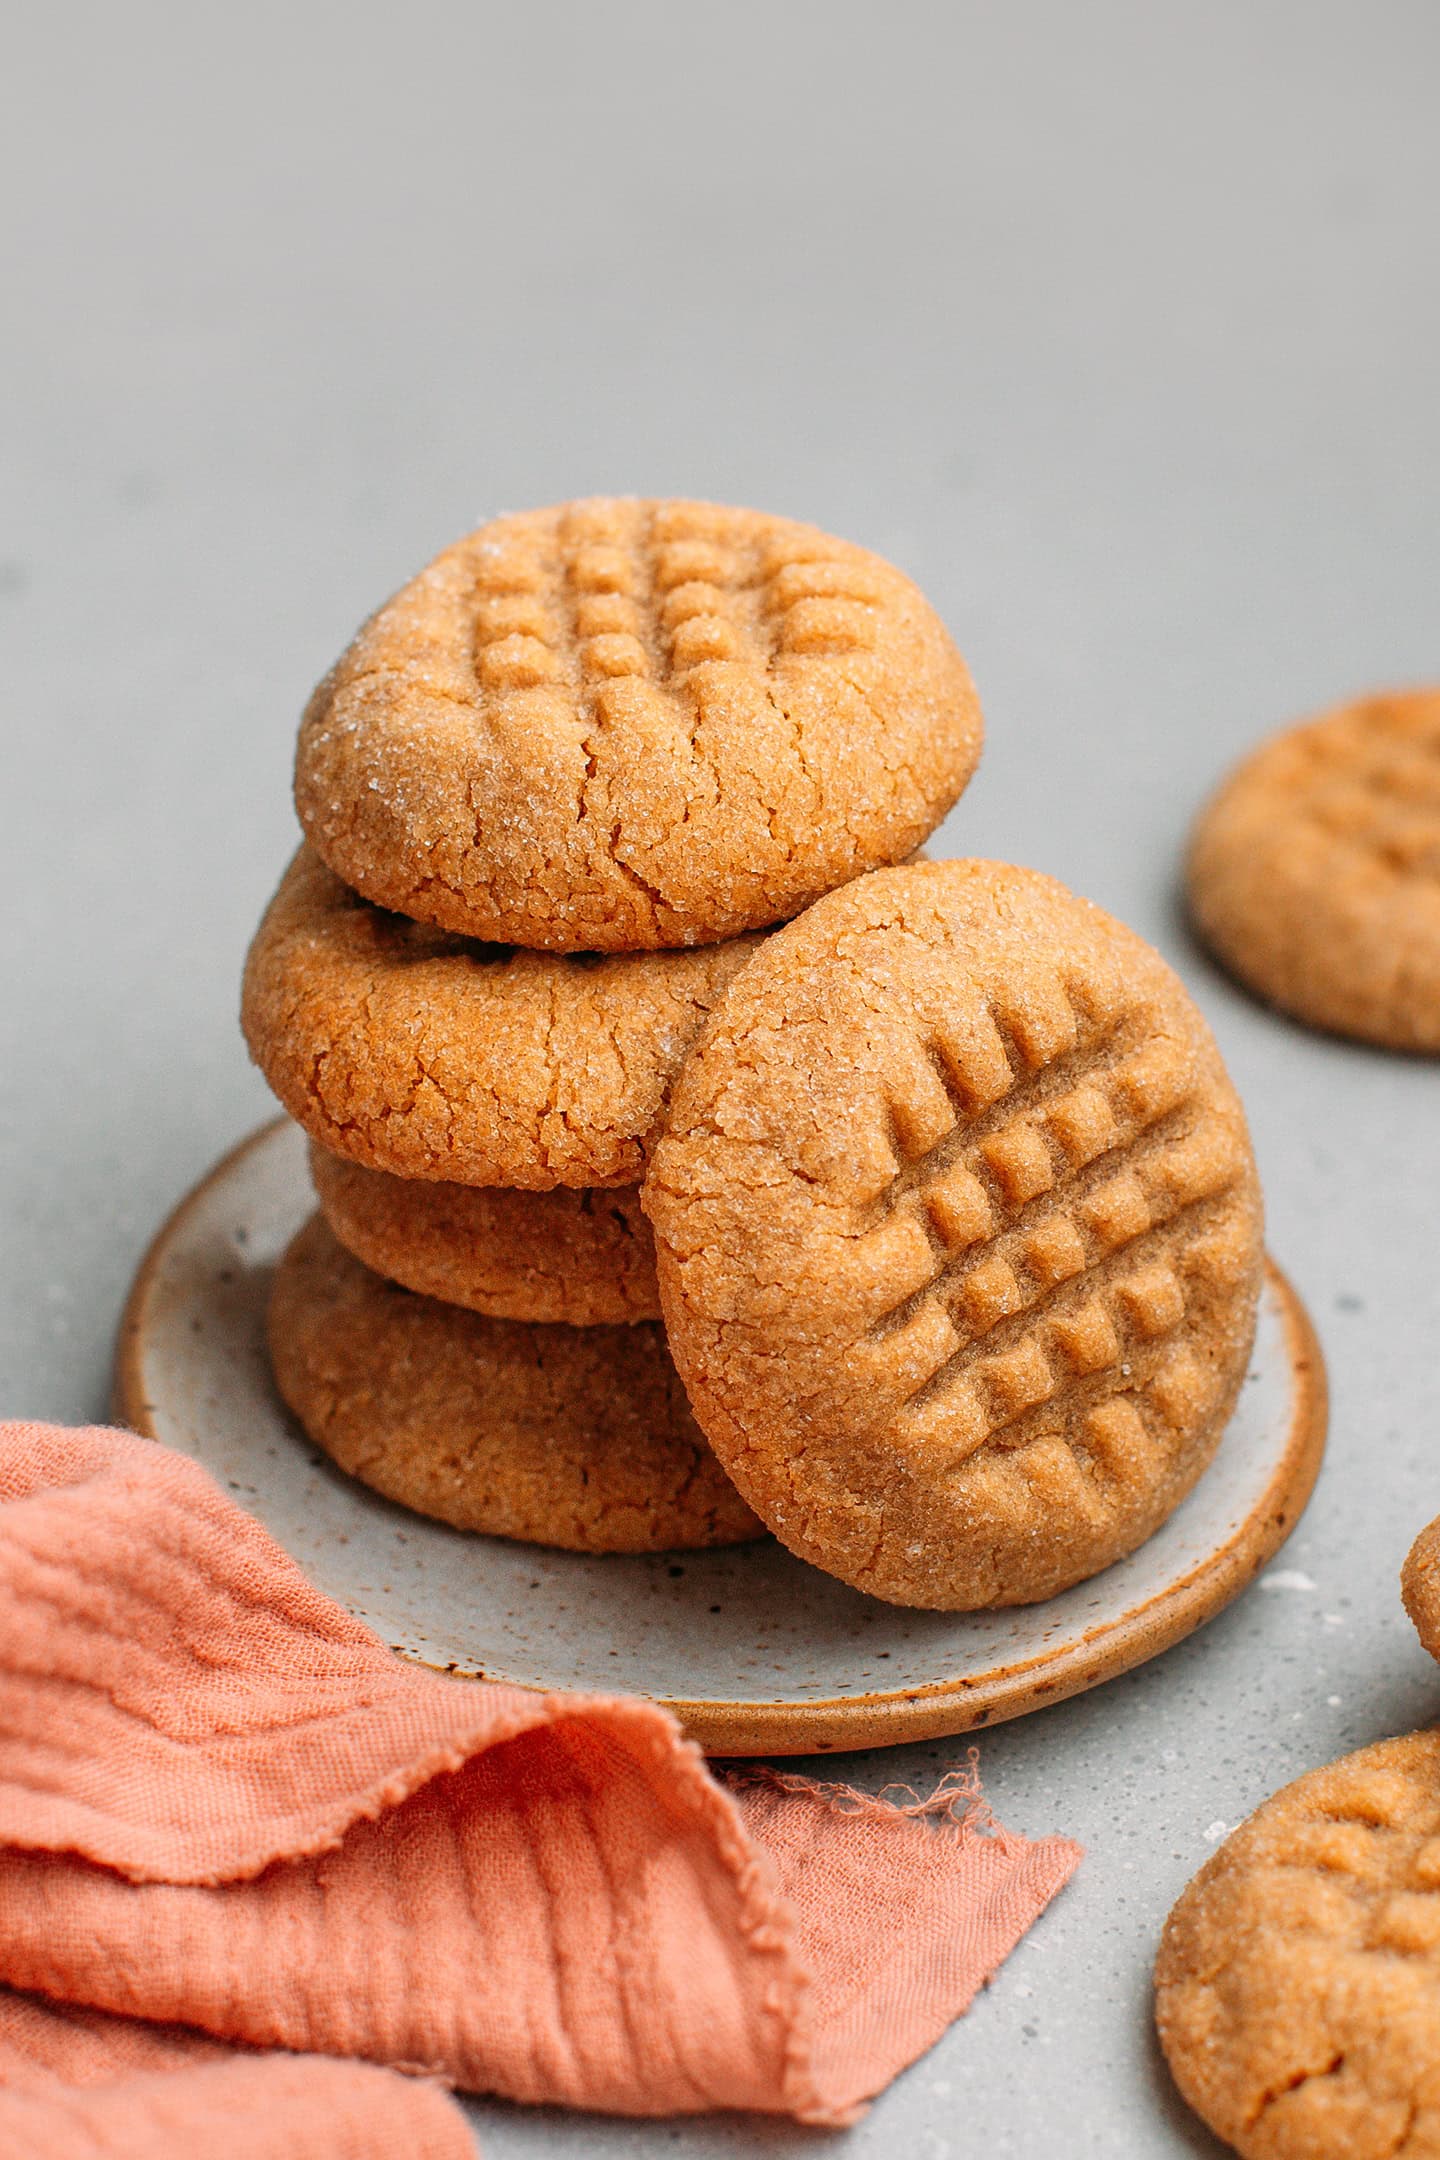
These vegan peanut butter cookies are extra tender with a buttery crumb and a TON of peanut flavor. Made with just 9 ingredients in one bowl, this classic is a must-try for any peanut butter lover!
Prior to switching to a vegan diet, I used to make peanut butter cookies on the regular (we are big fans of peanut butter here). But after making the switch, I completely left the recipe behind and have never really tried to make them vegan…until now.
The craving for peanut butter cookies grew too strong to ignore, so I decided to create a vegan recipe. To my surprise, I found that eggs weren’t even necessary for great cookies, as peanut butter works wonderfully as a binder on its own!
Now, there is a very subtle difference between my recipe and the one that I used to make before: the vegan cookies are just slightly less chewy. The good thing is, I think the cookies taste even better that way, and the fact that there are no eggs allows the peanut butter to truly shine!
⭐️ Why This Recipe Works
Melt-in-your-mouth texture.
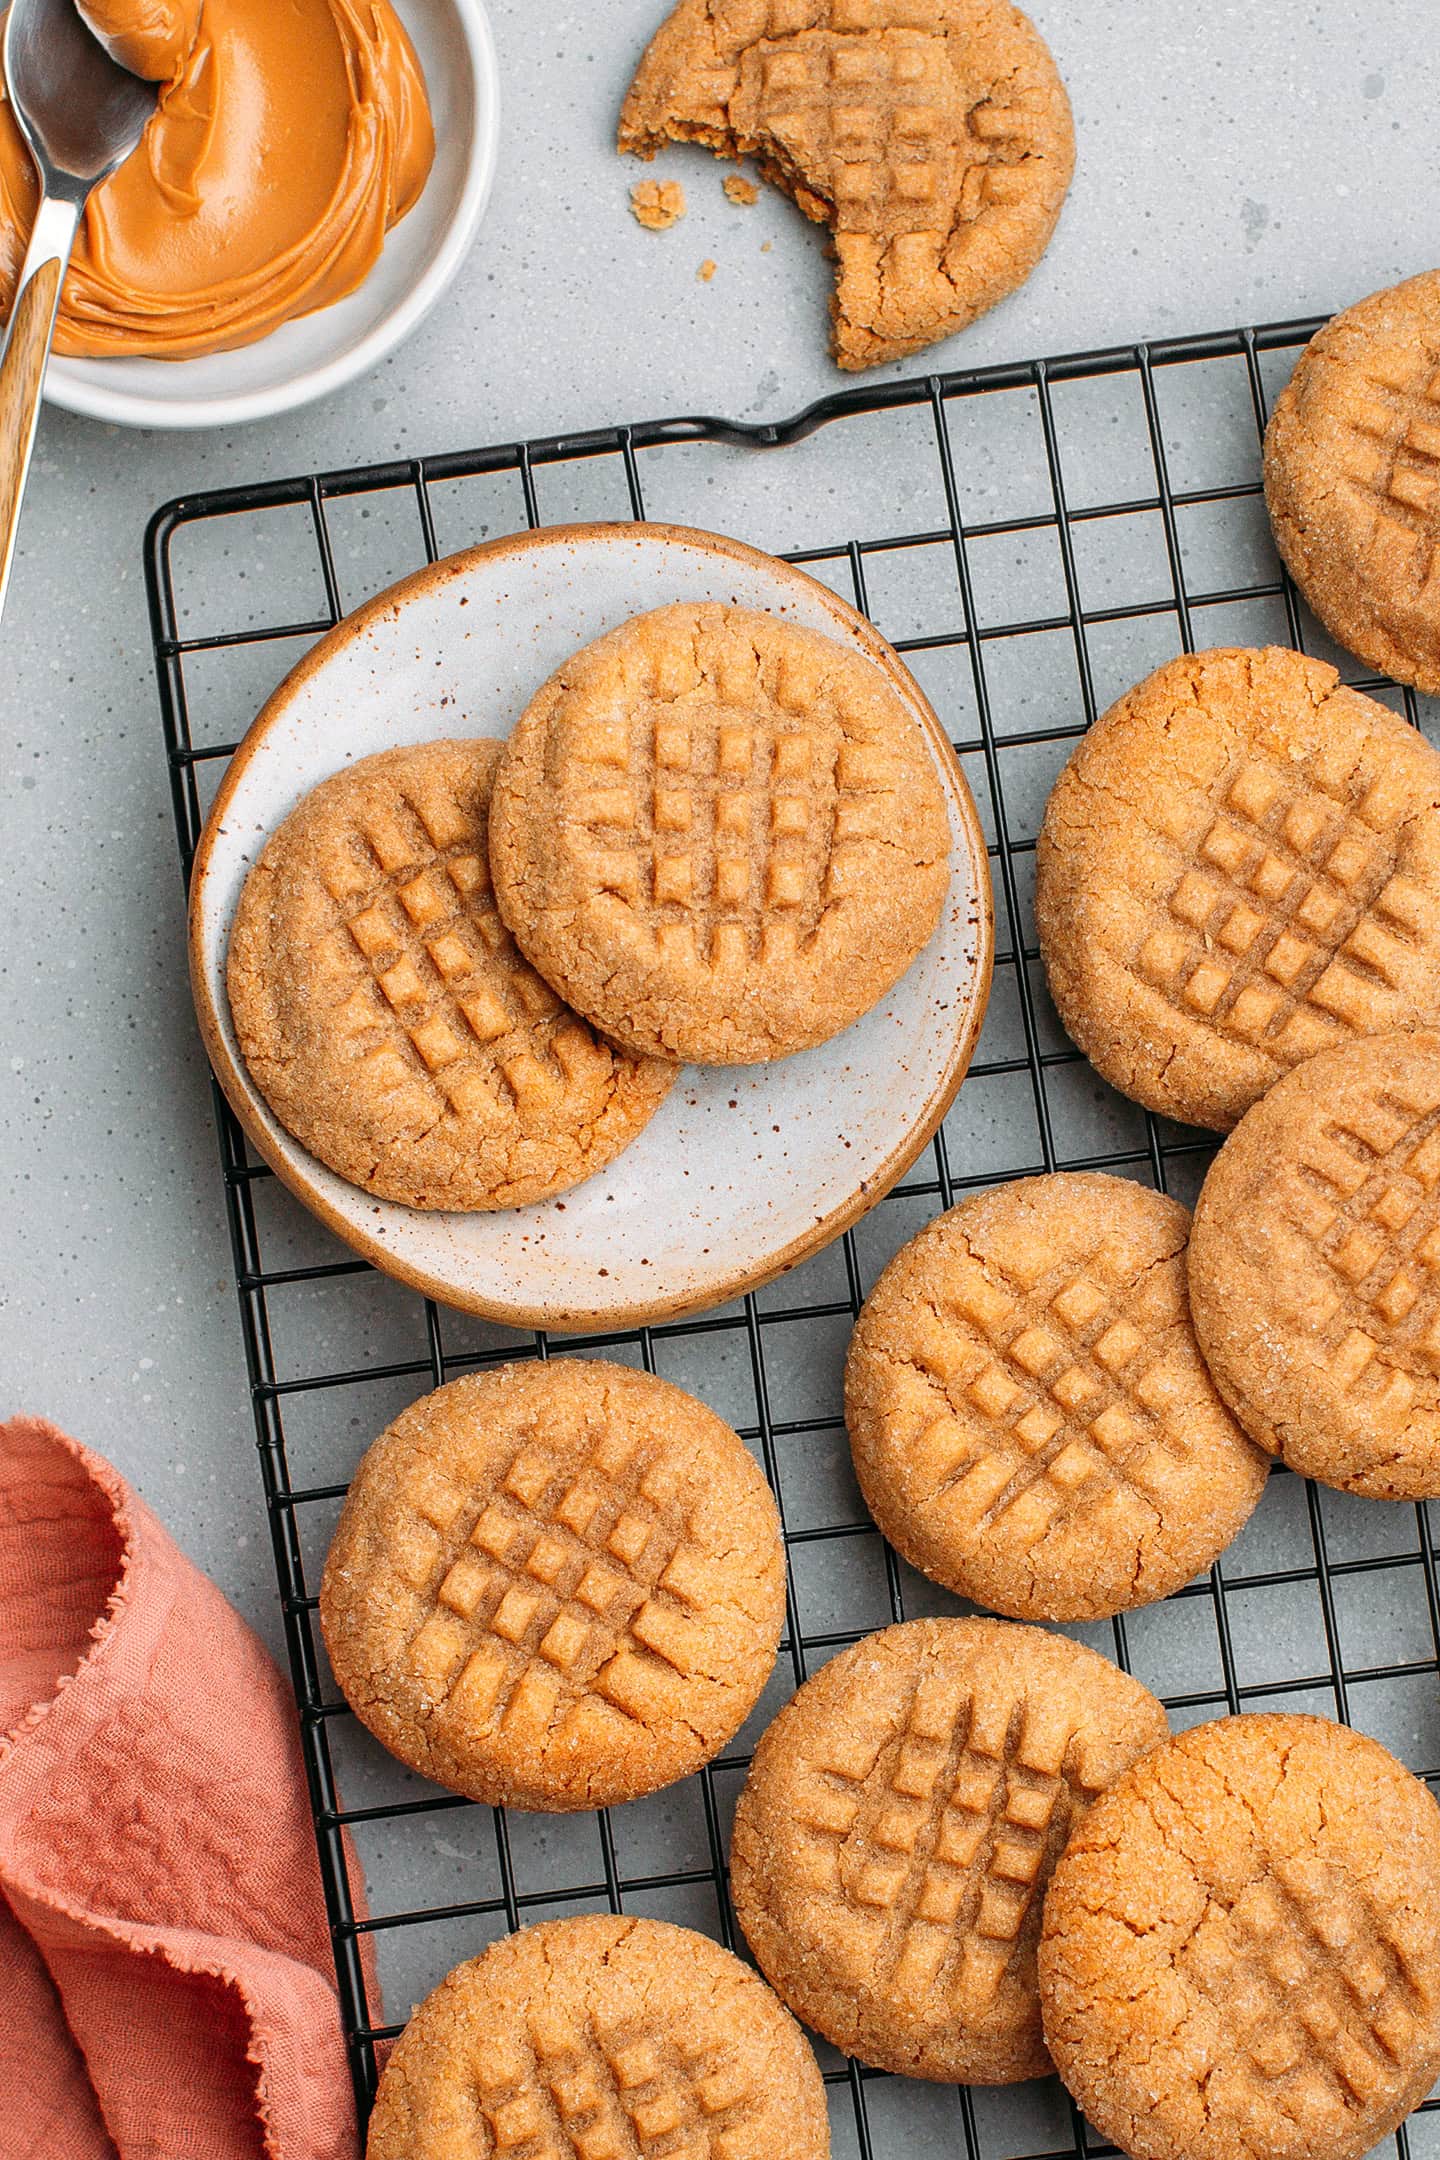
My cookies are like a pillow of peanut butter, if that makes sense. Do not expect them to be chewy, though, as they are not. Instead, they have crispy edges and a tender crumb that’s so buttery that it literally melts in your mouth.
They’re a cookie-form dream come true for peanut butter lovers!
Not overly sweet.
I have extensively tested this cookie recipe with different amounts of sugar and asked family members and friends to taste-test each version to fine-tune the sweetness. After a few adjustments, I have achieved what I believe is the perfect balance of sweetness. They are sweet enough to be a treat, yet not overly sweet to the point of causing you a headache or leaving you sluggish.
One bowl, 9 ingredients.
Like most of my cookie recipes, this one requires simple, everyday ingredients, and the dough is made in one bowl – this means fewer dishes to clean!
🥜 Ingredient Notes
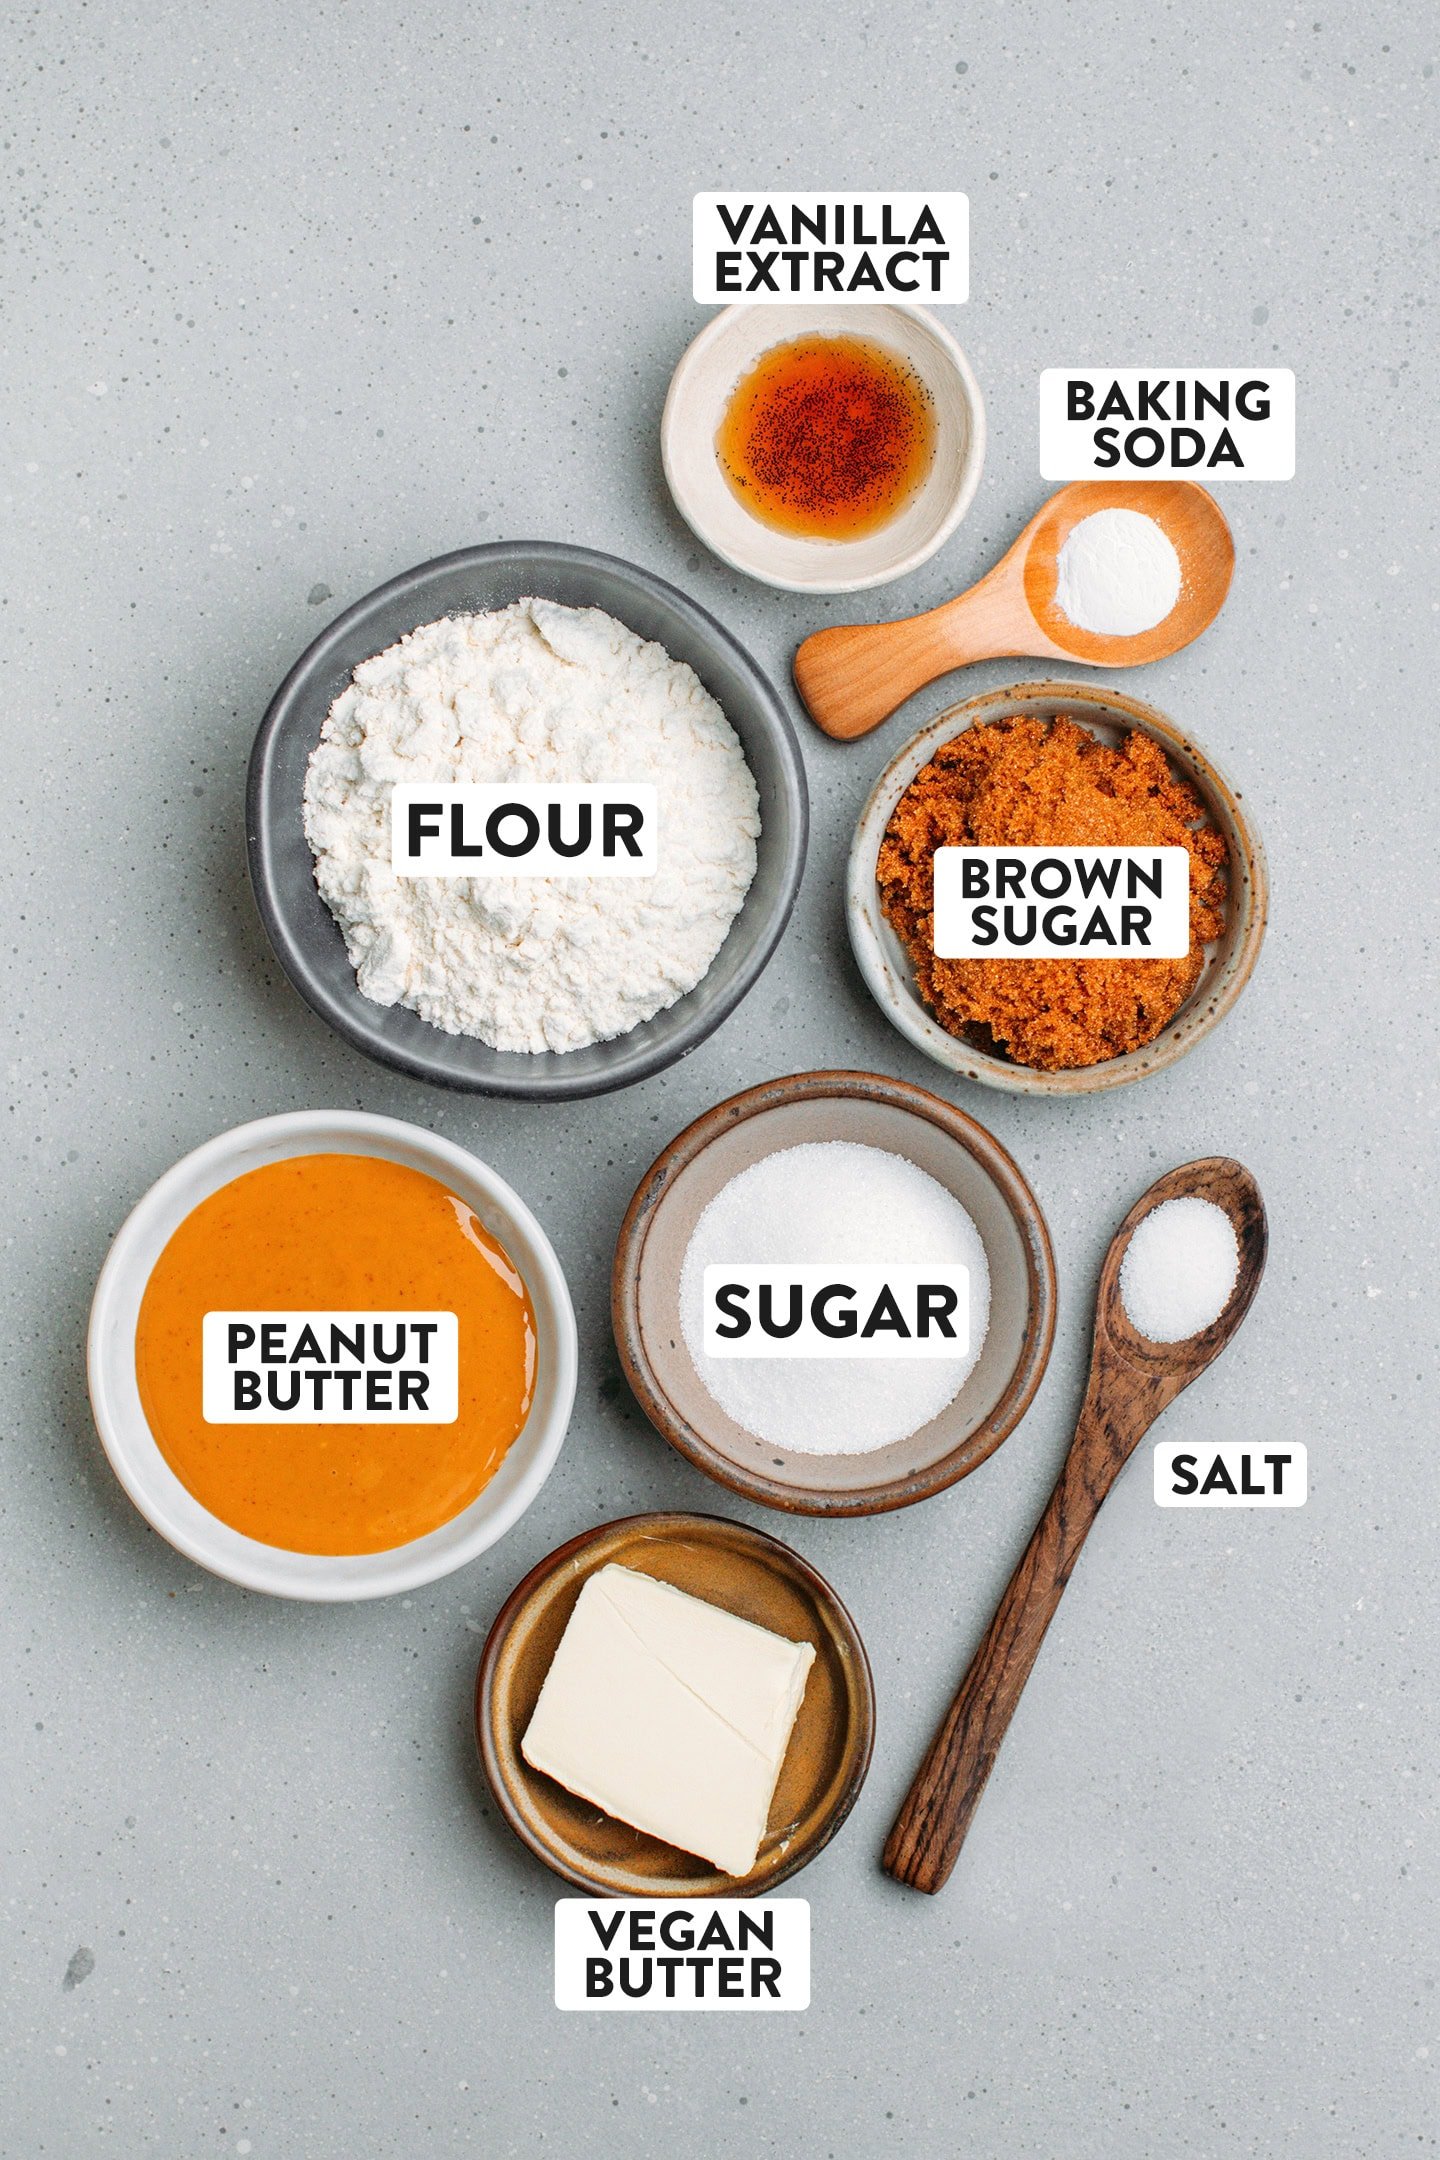
Peanut butter
The main ingredient of this recipe. I use even a tad bit more peanut butter than flour, so I let you imagine how peanutty these cookies are!
Processed vs. Natural Peanut Butter: I have tested this recipe with both 100% peanut butter and processed peanut butter containing around 85% peanuts. After test-tasting, we had a huge preference for the cookies made with natural peanut butter, which tasted much more peanutty and were less sweet compared to the ones made with processed peanut butter.
Regarding the shape or how they spread, I didn’t notice any significant difference.
Flour
Just like in my chewy chocolate chip cookies, regular all-purpose flour makes the base of the dough, providing structure.
Sugar
To sweeten the cookies, I like to use a combination of granulated white sugar and light brown sugar. The white sugar helps them crisp up on the edges, while the brown sugar creates a more tender and just slightly chewy crumb.
Butter
Although peanut butter already adds fat and richness, butter is essential to help the cookie dough spread during baking. It also keeps the cookies soft longer.
Baking soda
To make the cookies rise slightly and create a slightly more aerated crumb, I rely on a small amount of baking soda. Worry not, it won’t make your cookies cakey!
Note: Do not replace the baking soda with baking powder – this would yield a much sandier texture.
Vanilla extract
Finally, a dash of vanilla extract enhances the overall taste of the cookies! You can use high-quality store-bought vanilla extract or homemade vanilla extract. Alternatively, you can replace the granulated white sugar with vanilla sugar.
🥣 How to Make It
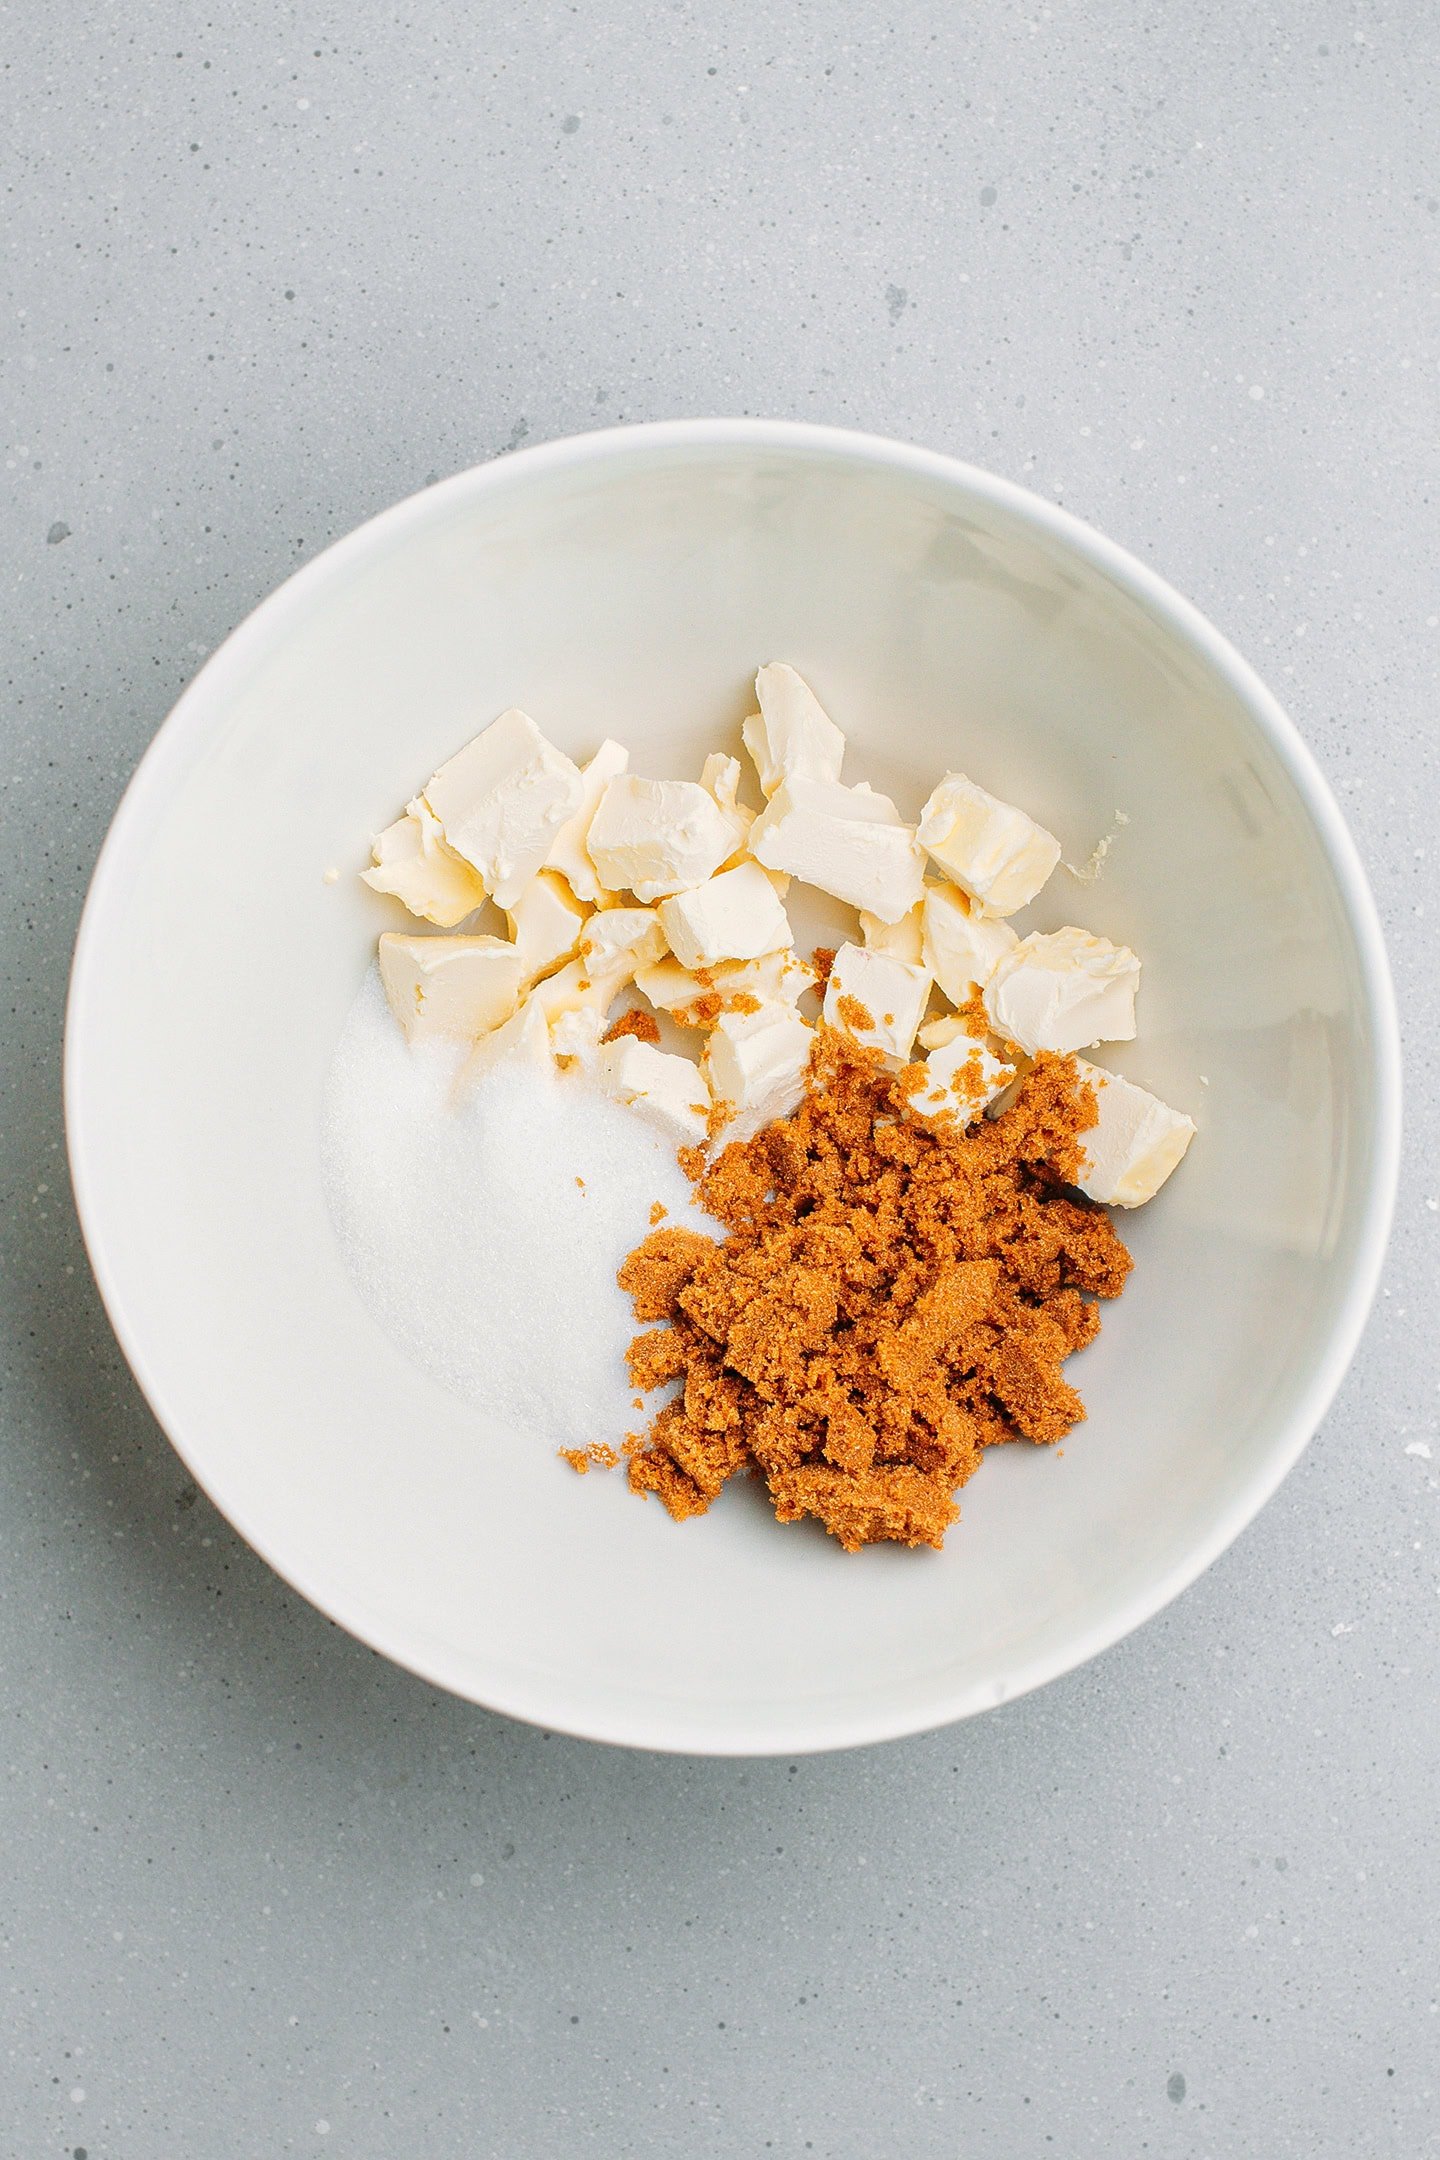
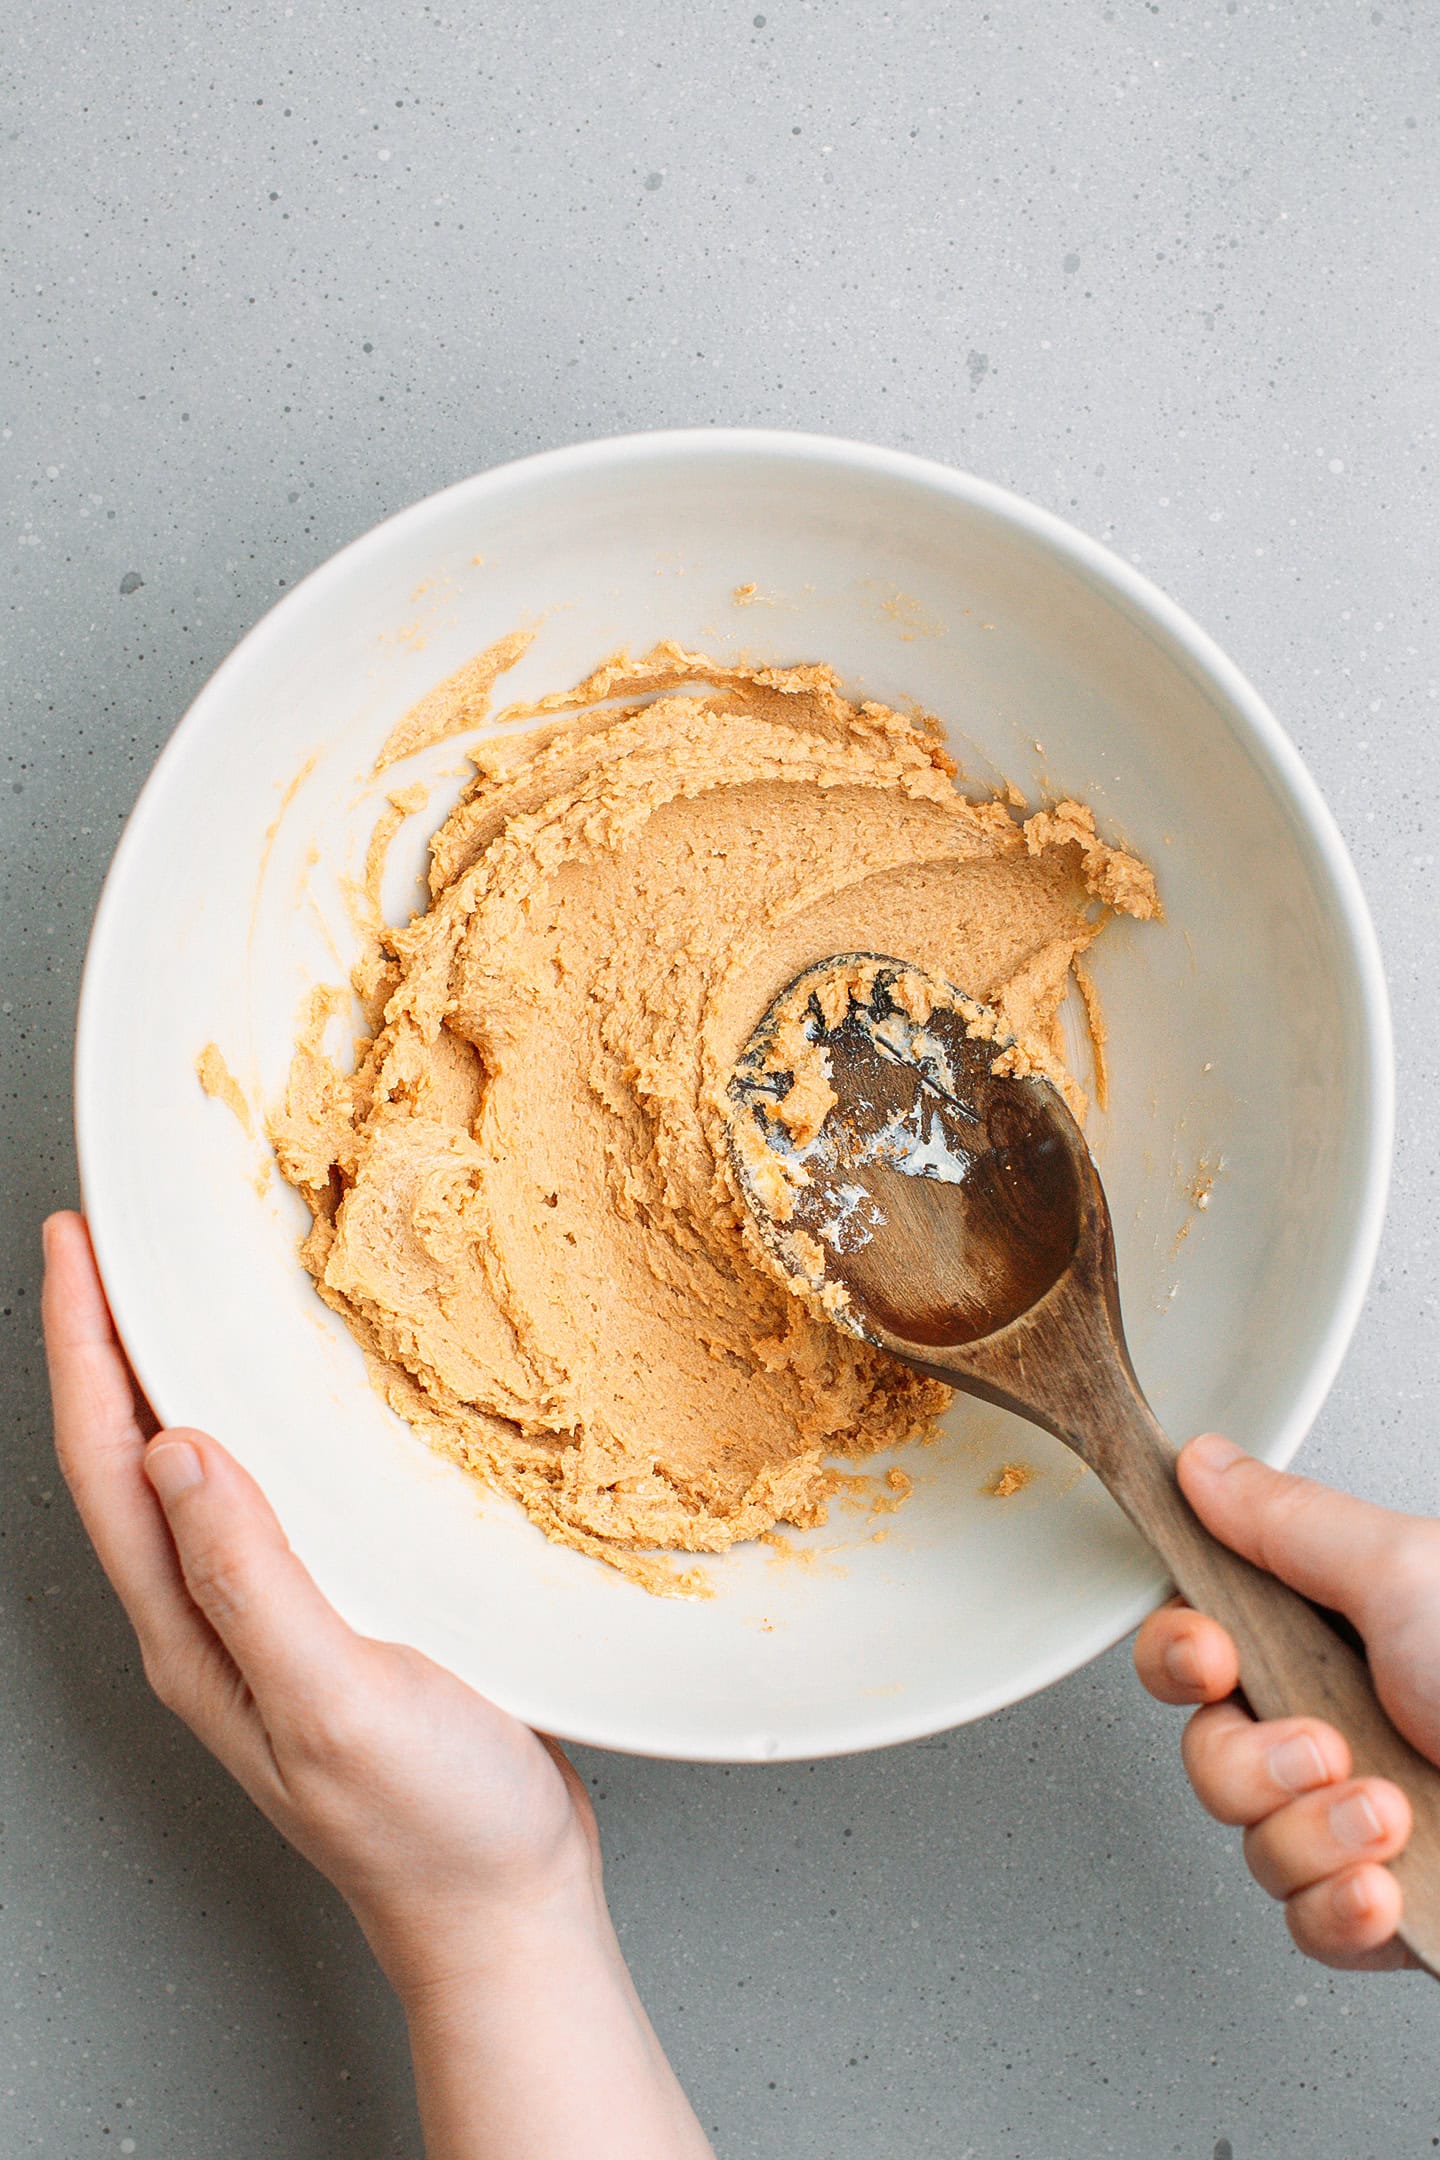
- Cream the butter. Add the room-temperature butter, granulated white sugar, and brown sugar to a mixing bowl. Use a wooden spoon to cream the butter with the sugar for 2-3 minutes or until light and creamy. Alternatively, you can use a stand mixer fitted with the flat beater to cream the butter.
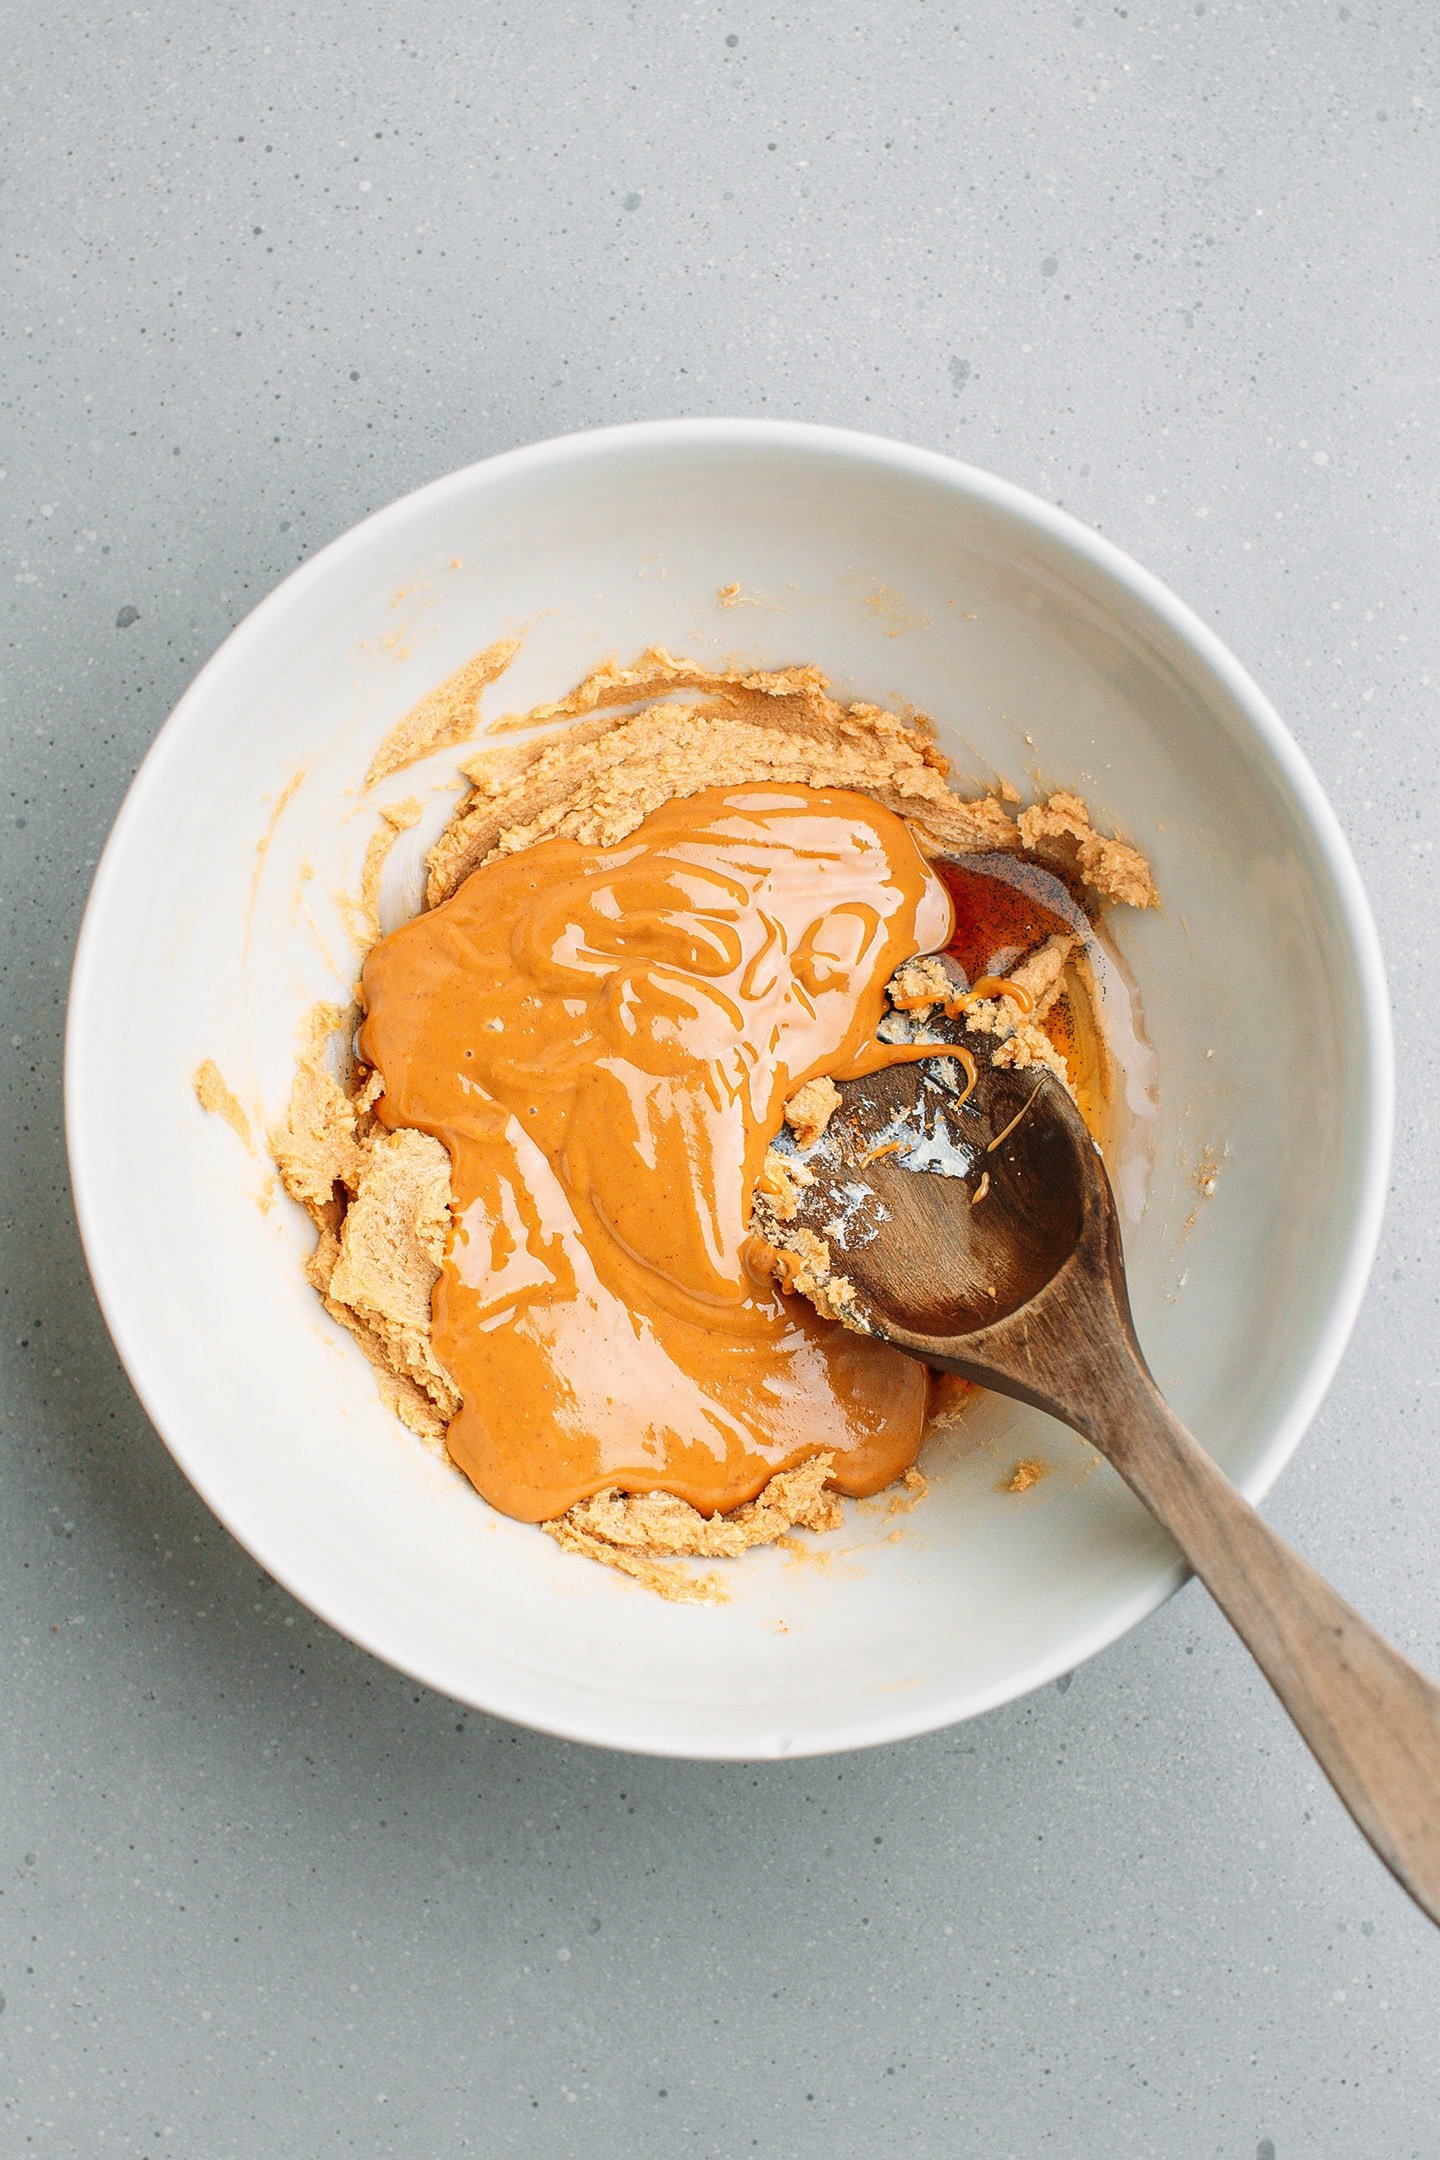
- Add the liquid ingredients. Add the peanut butter, water, and vanilla extract and mix until fully combined. The mixture should be smooth and creamy.

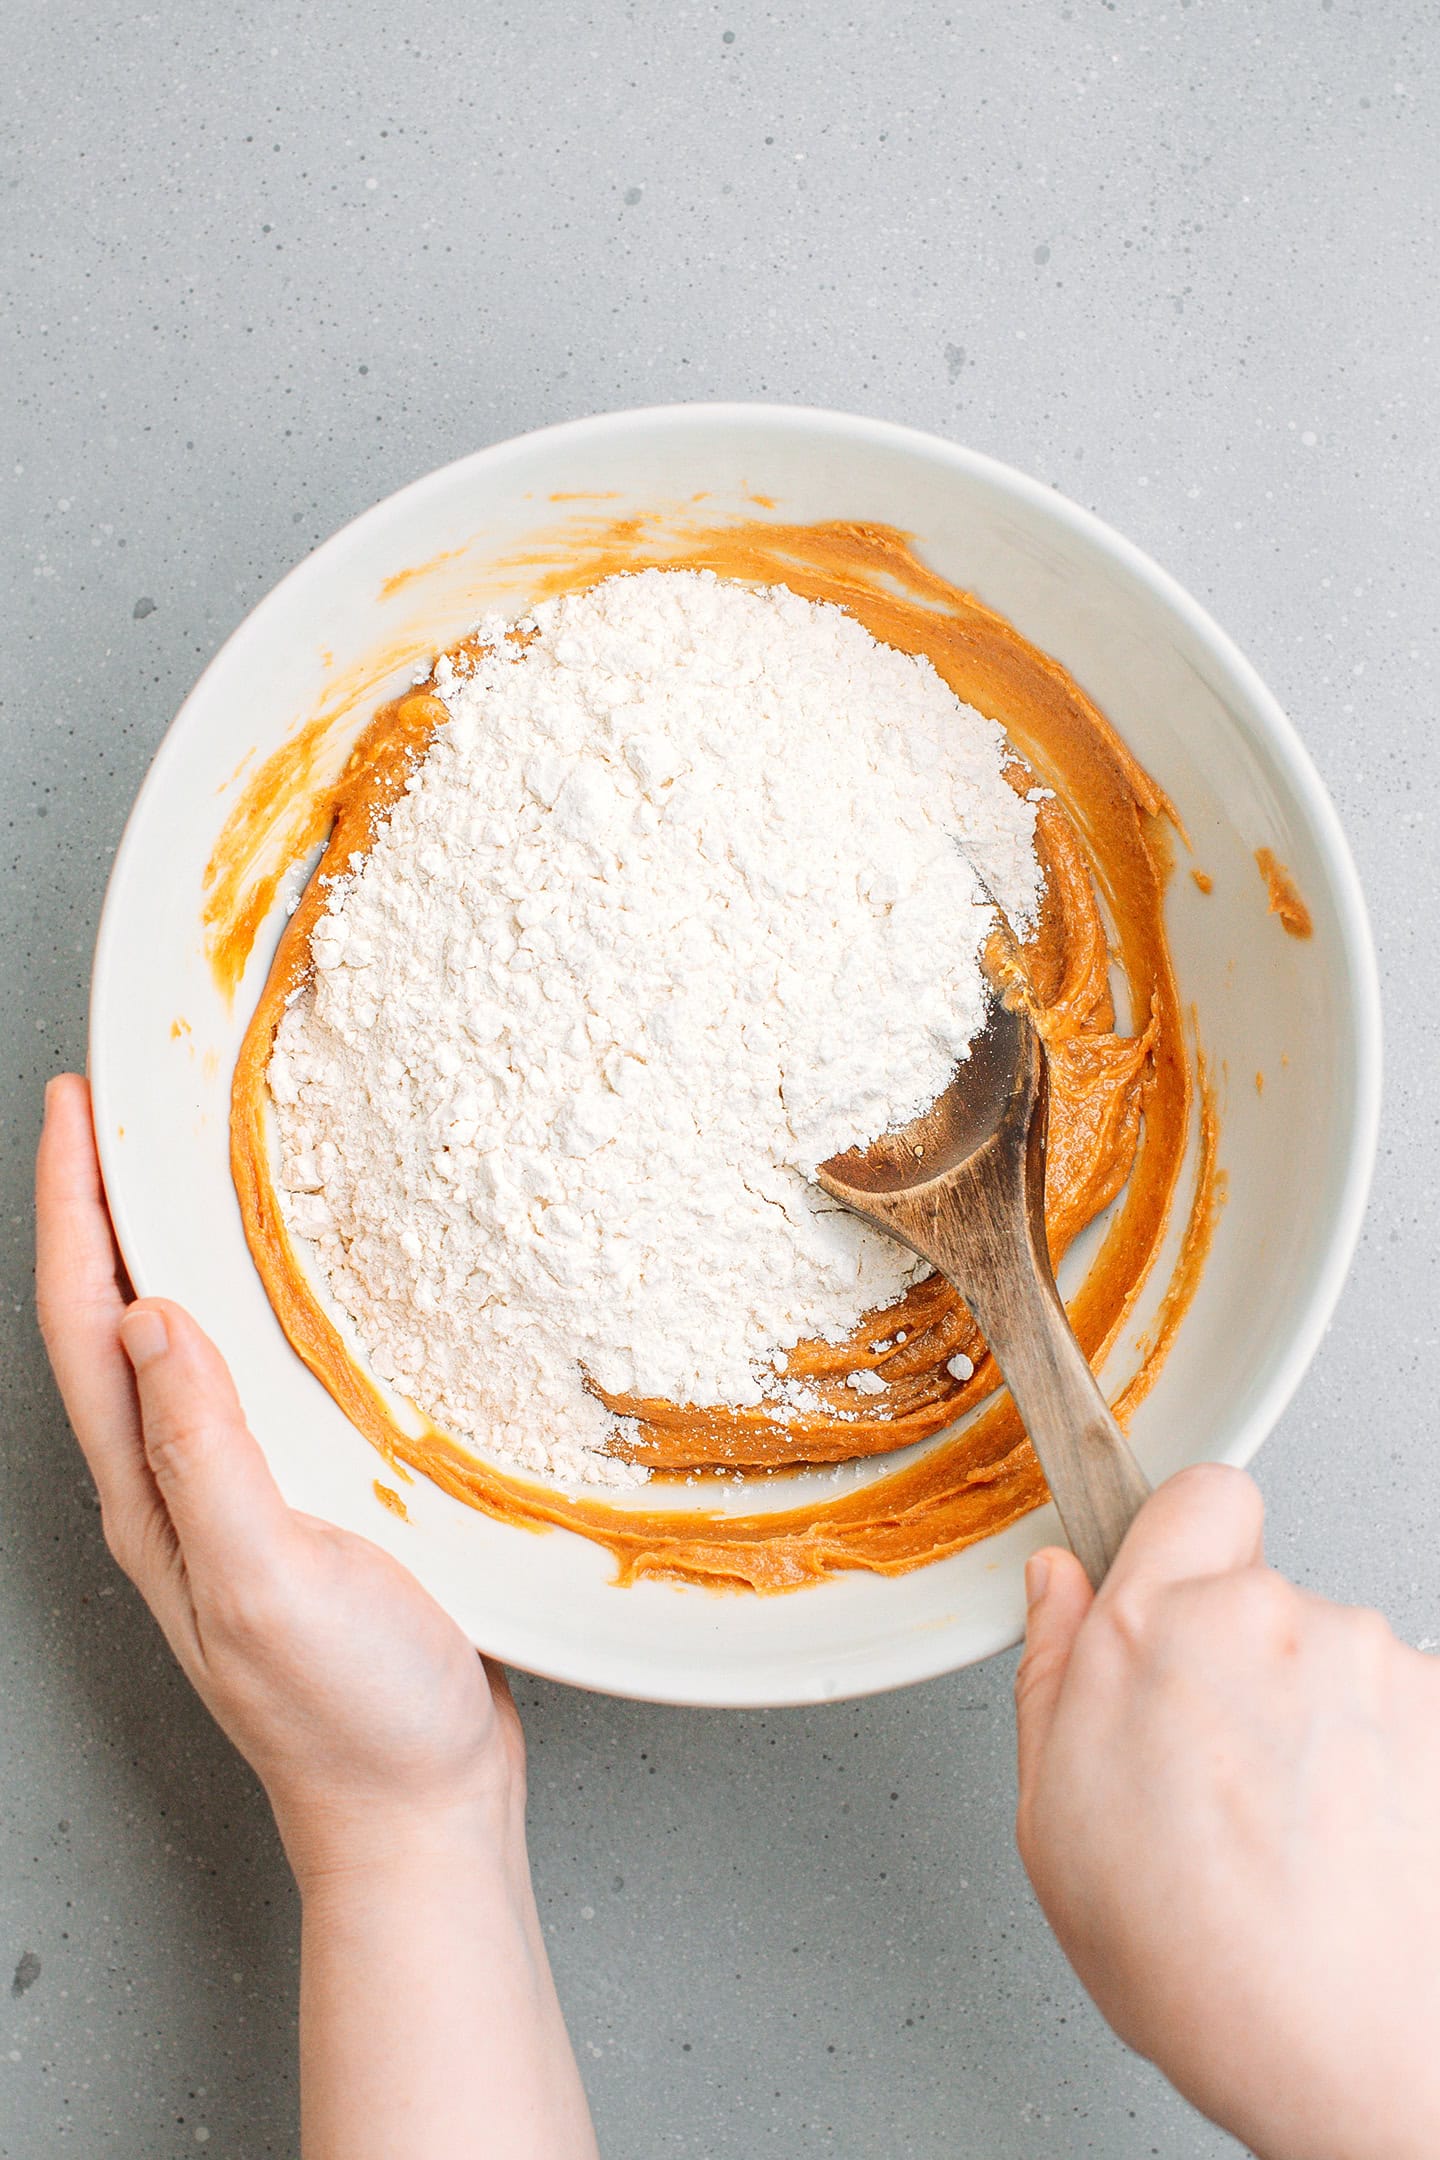
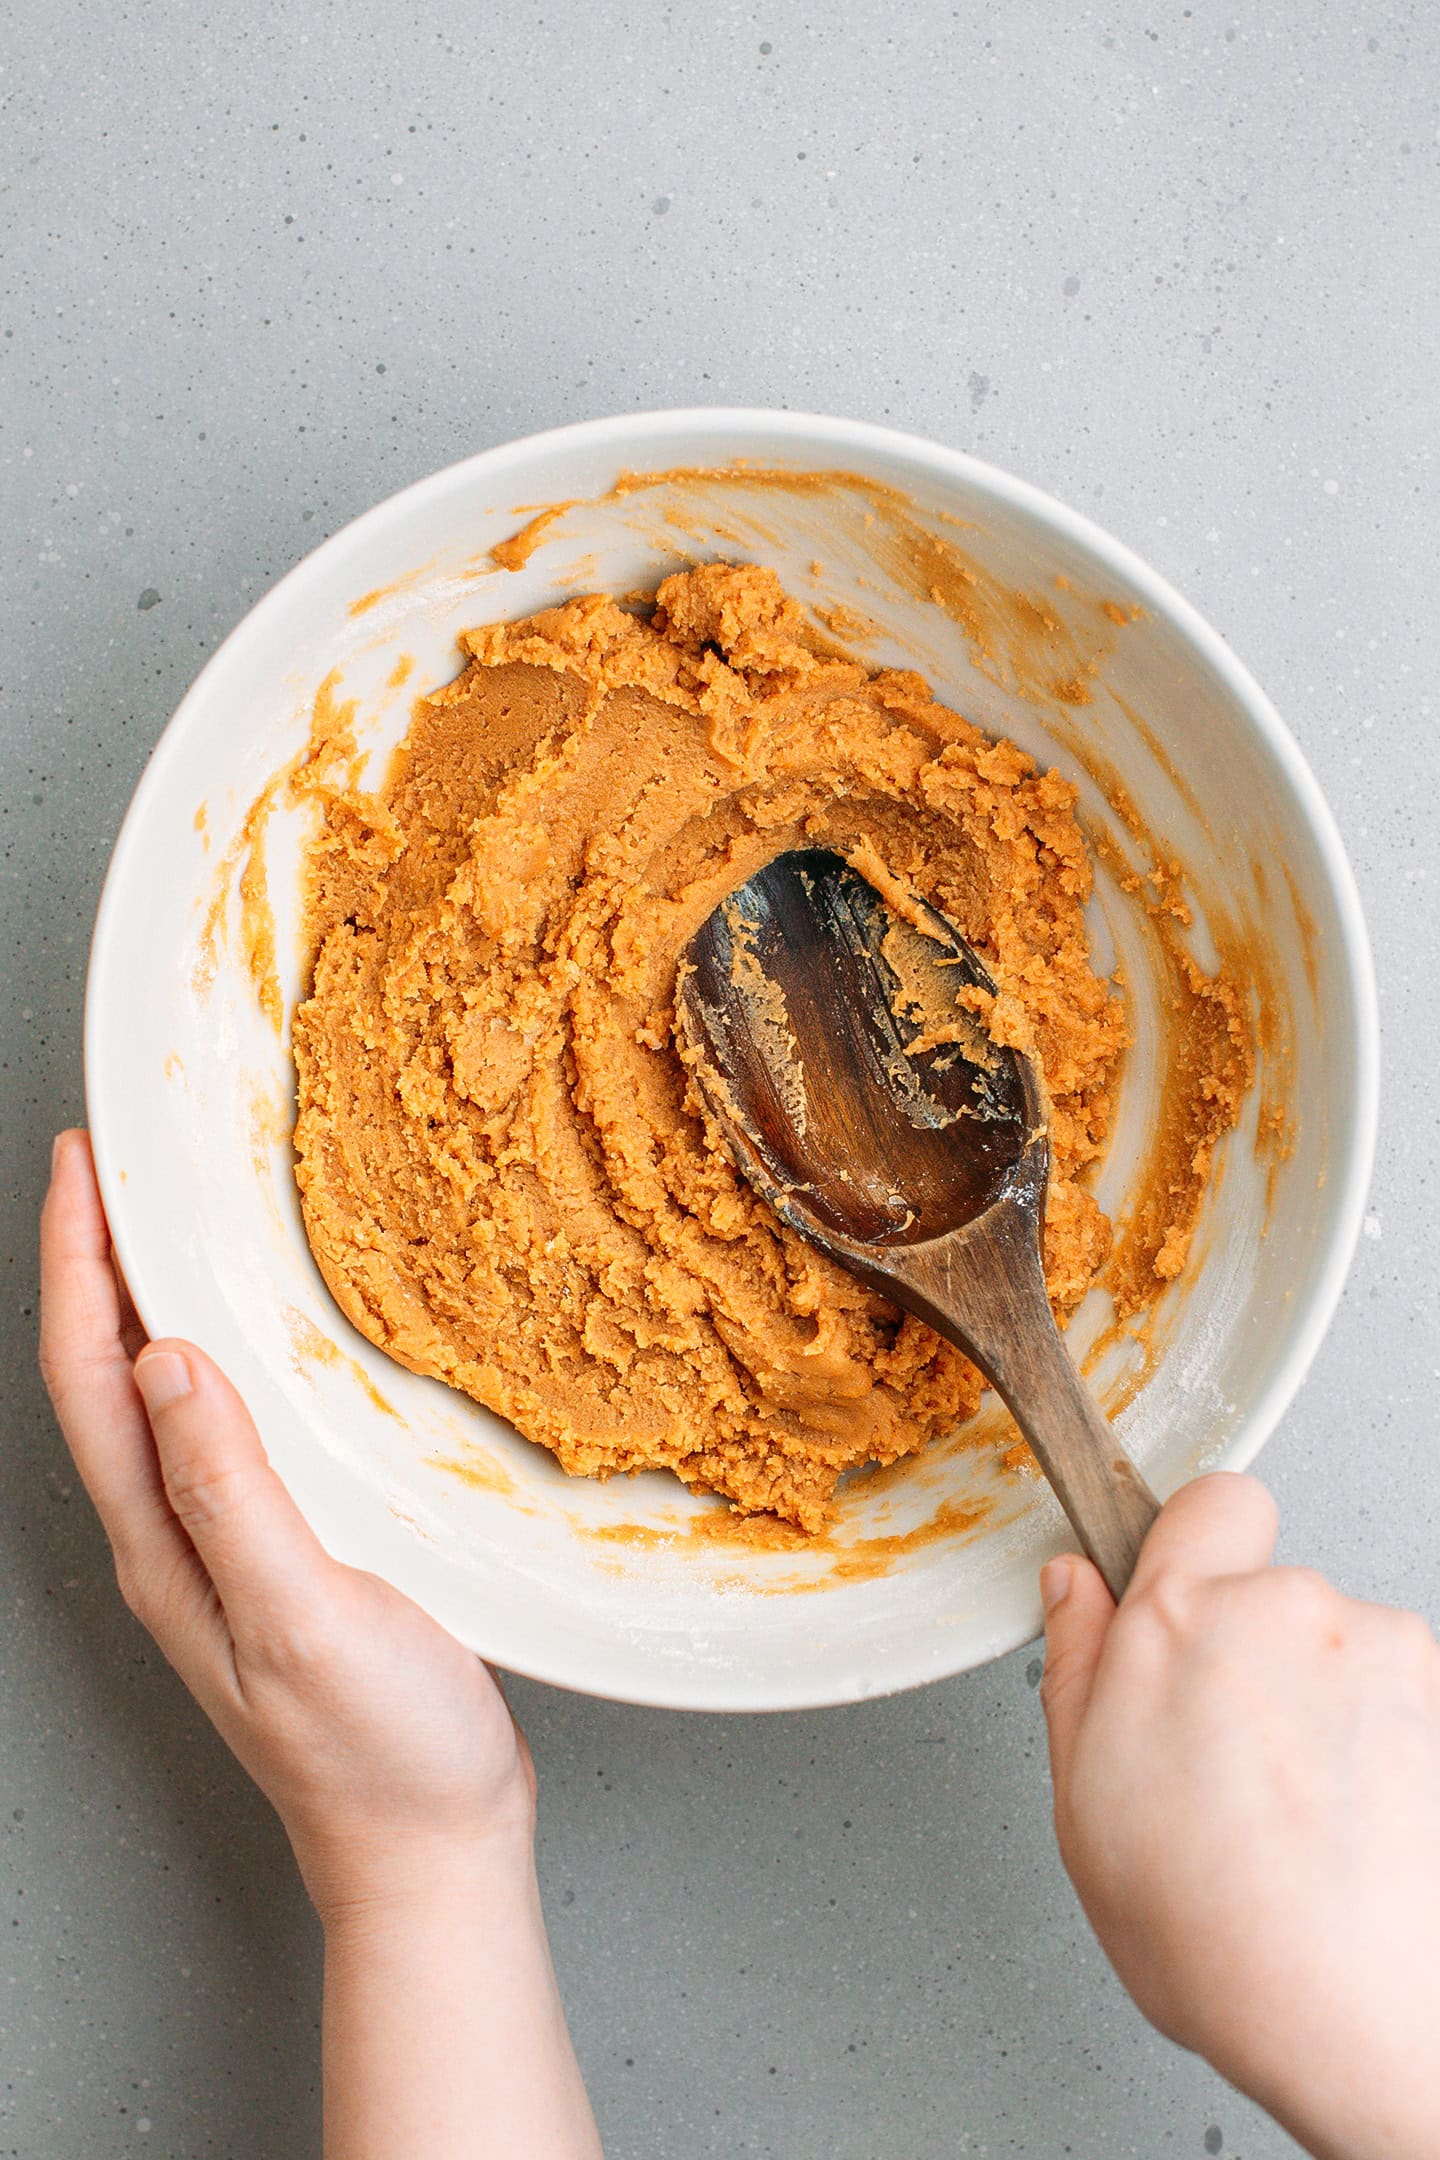
- Add the dry ingredients. Next, add the flour, salt, and baking soda. Mix until just combined. At this point, the dough will be very soft – this is normal.
- Chill the dough. Cover the bowl with plastic wrap and transfer to the refrigerator for at least 1 hour or overnight.
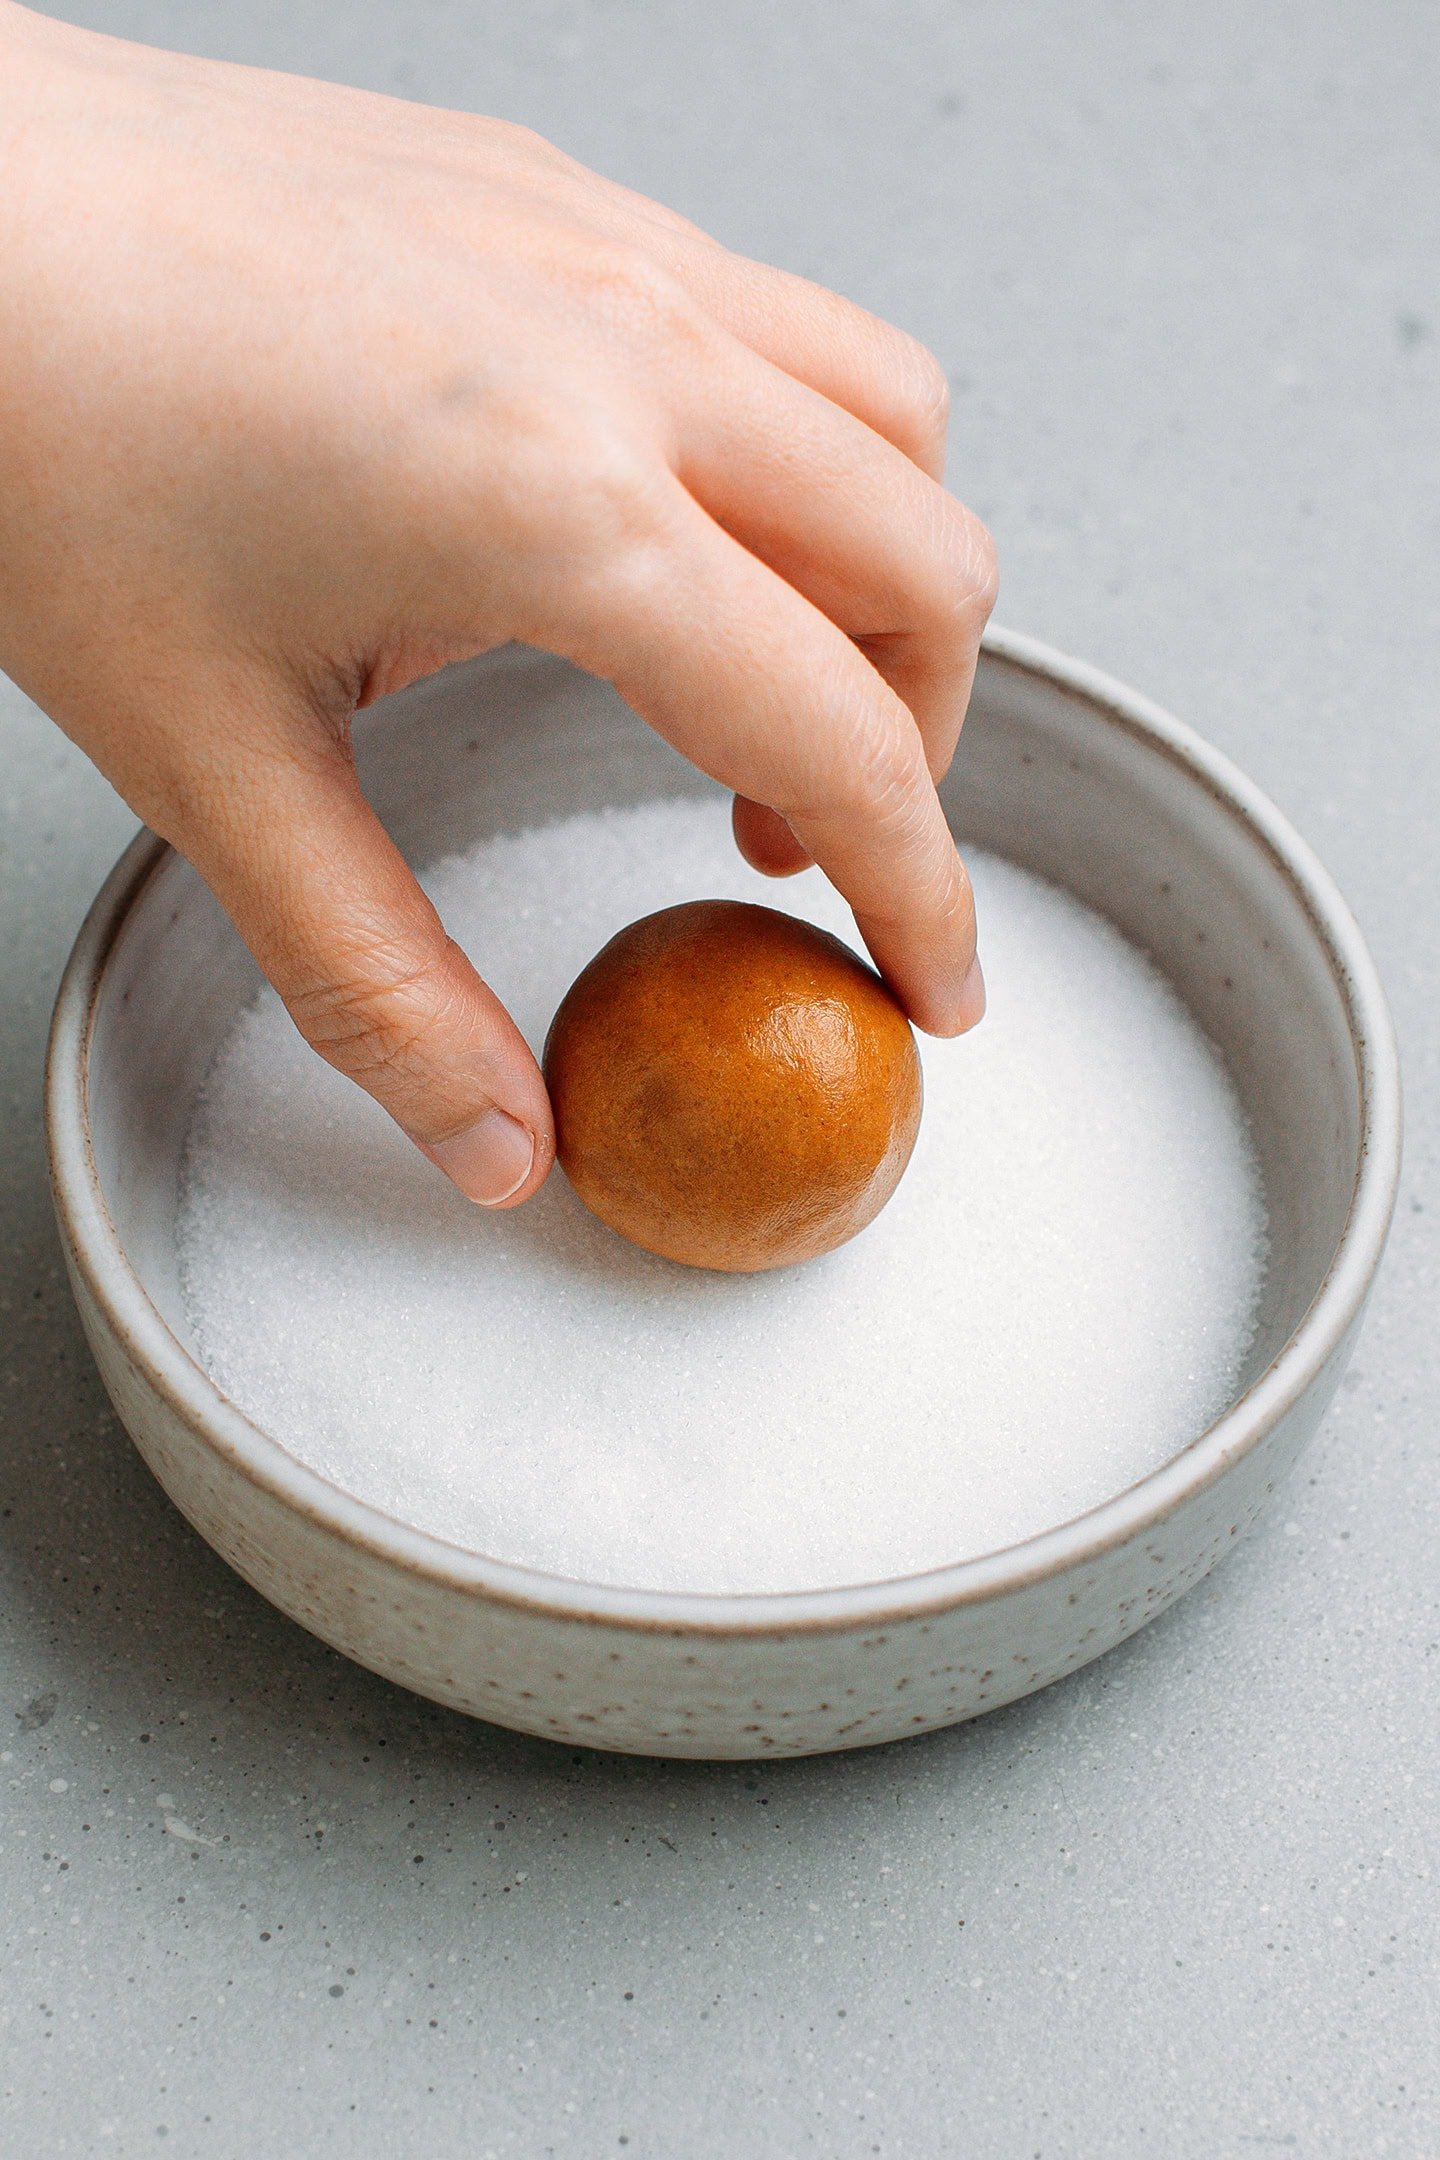
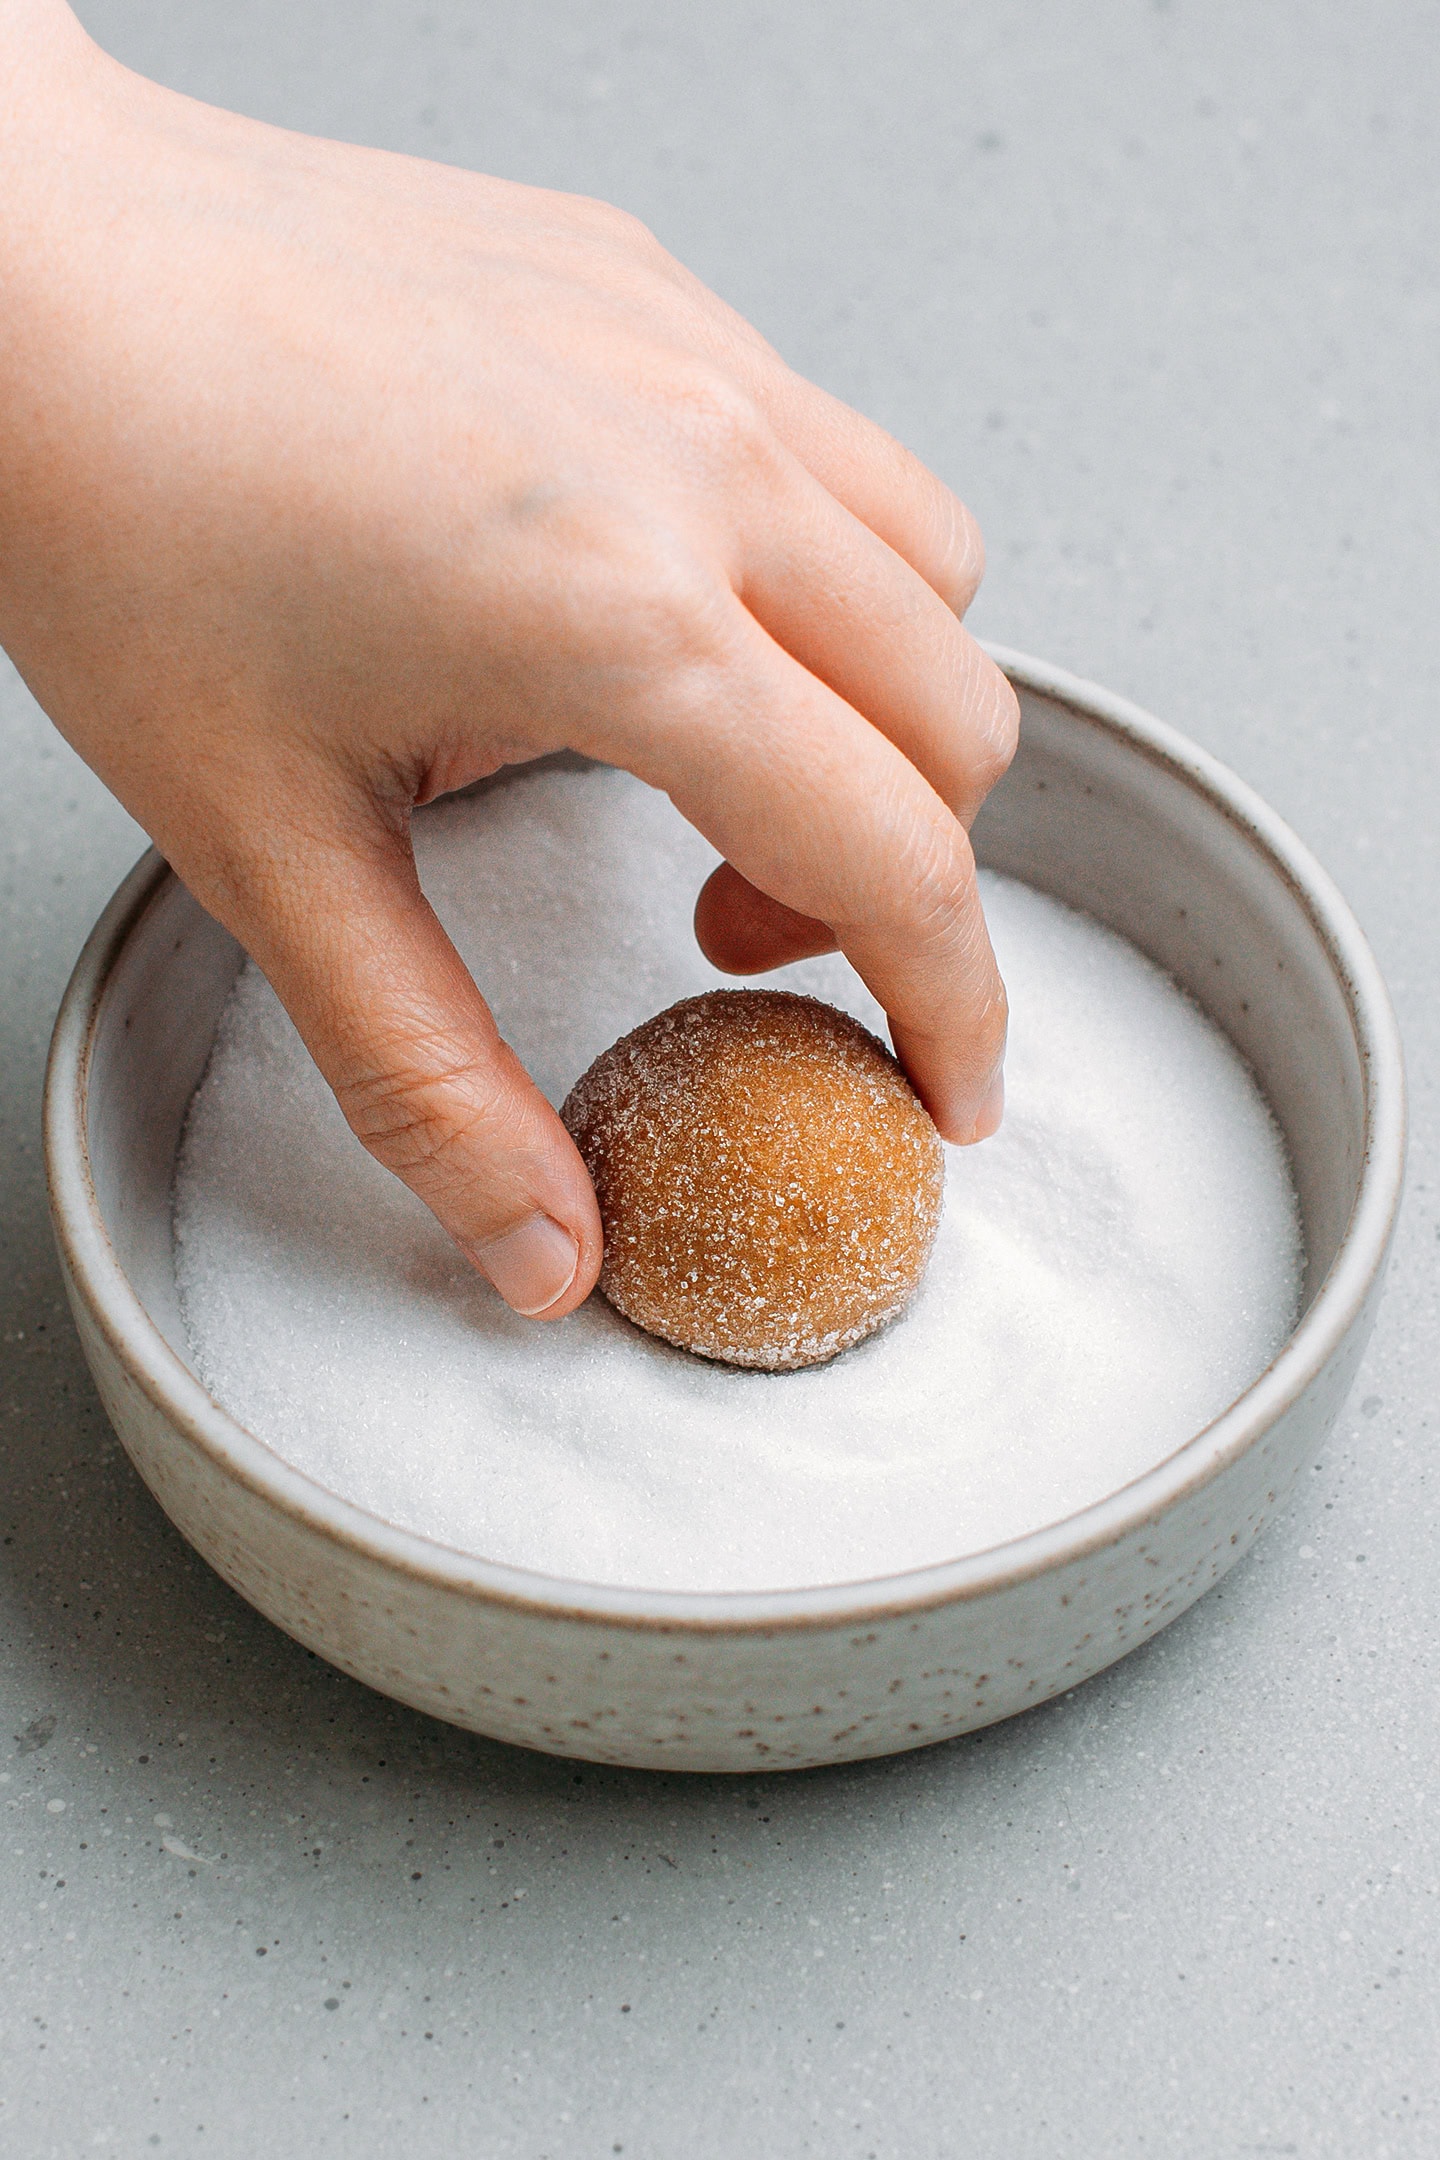
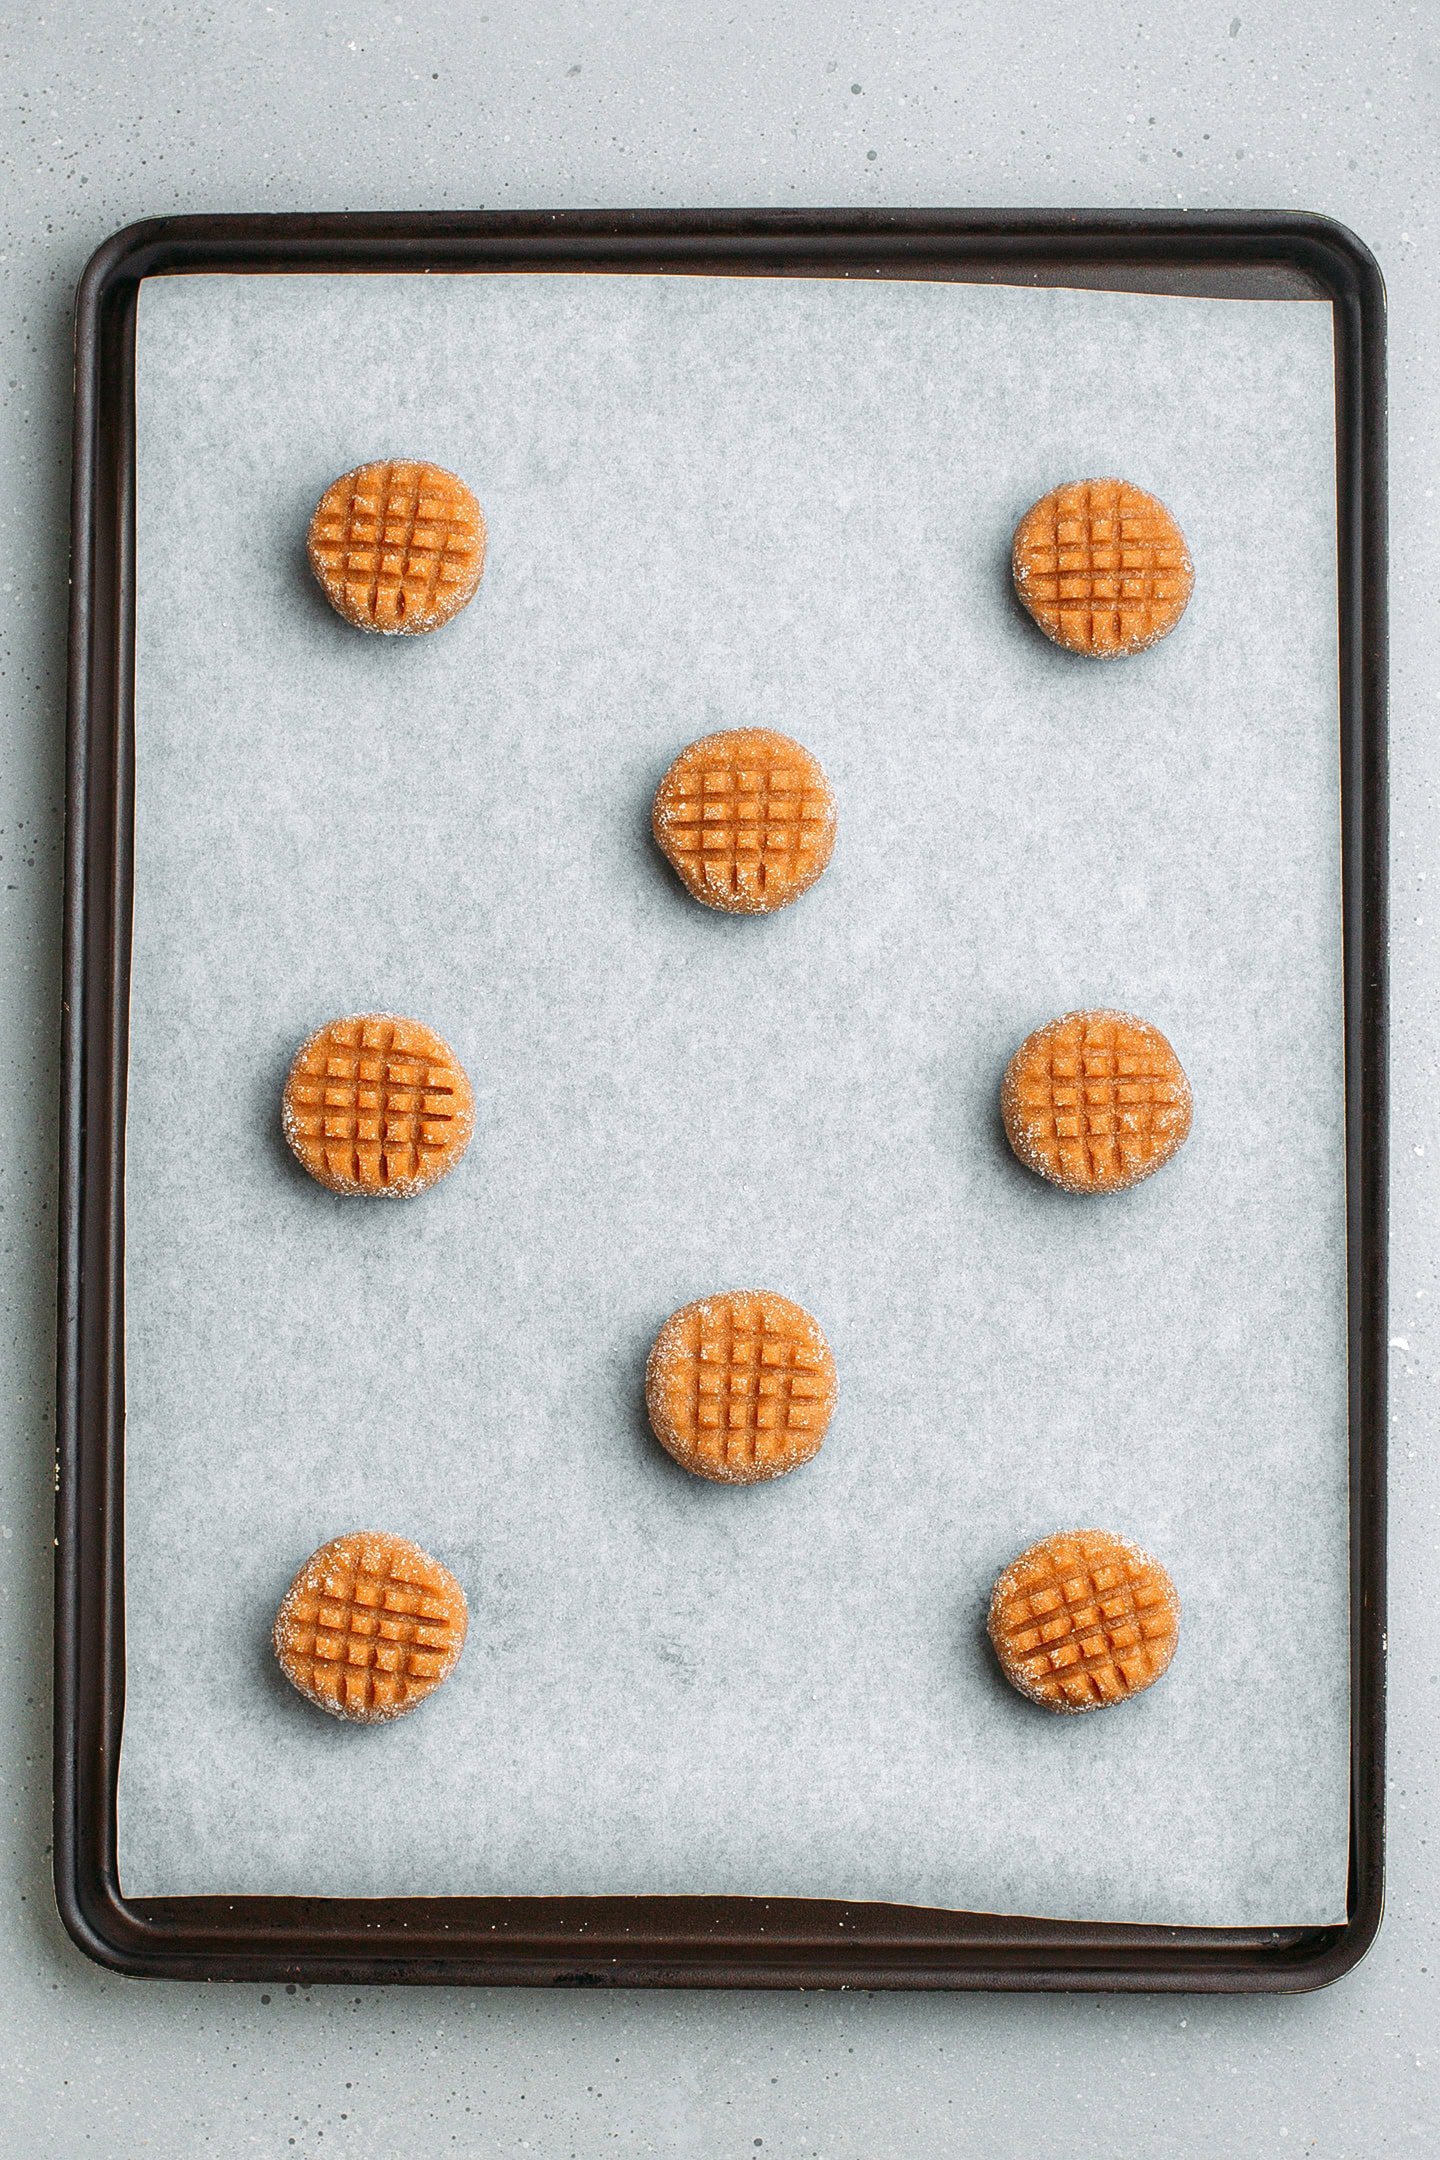
- Roll into balls. Scoop out about 1.5 tbsp of dough and roll it into a ball between the palms of your hands. Coat it with granulated sugar and transfer to a baking sheet. Repeat with the remaining dough, leaving about 2 inches (5 cm) between each ball.
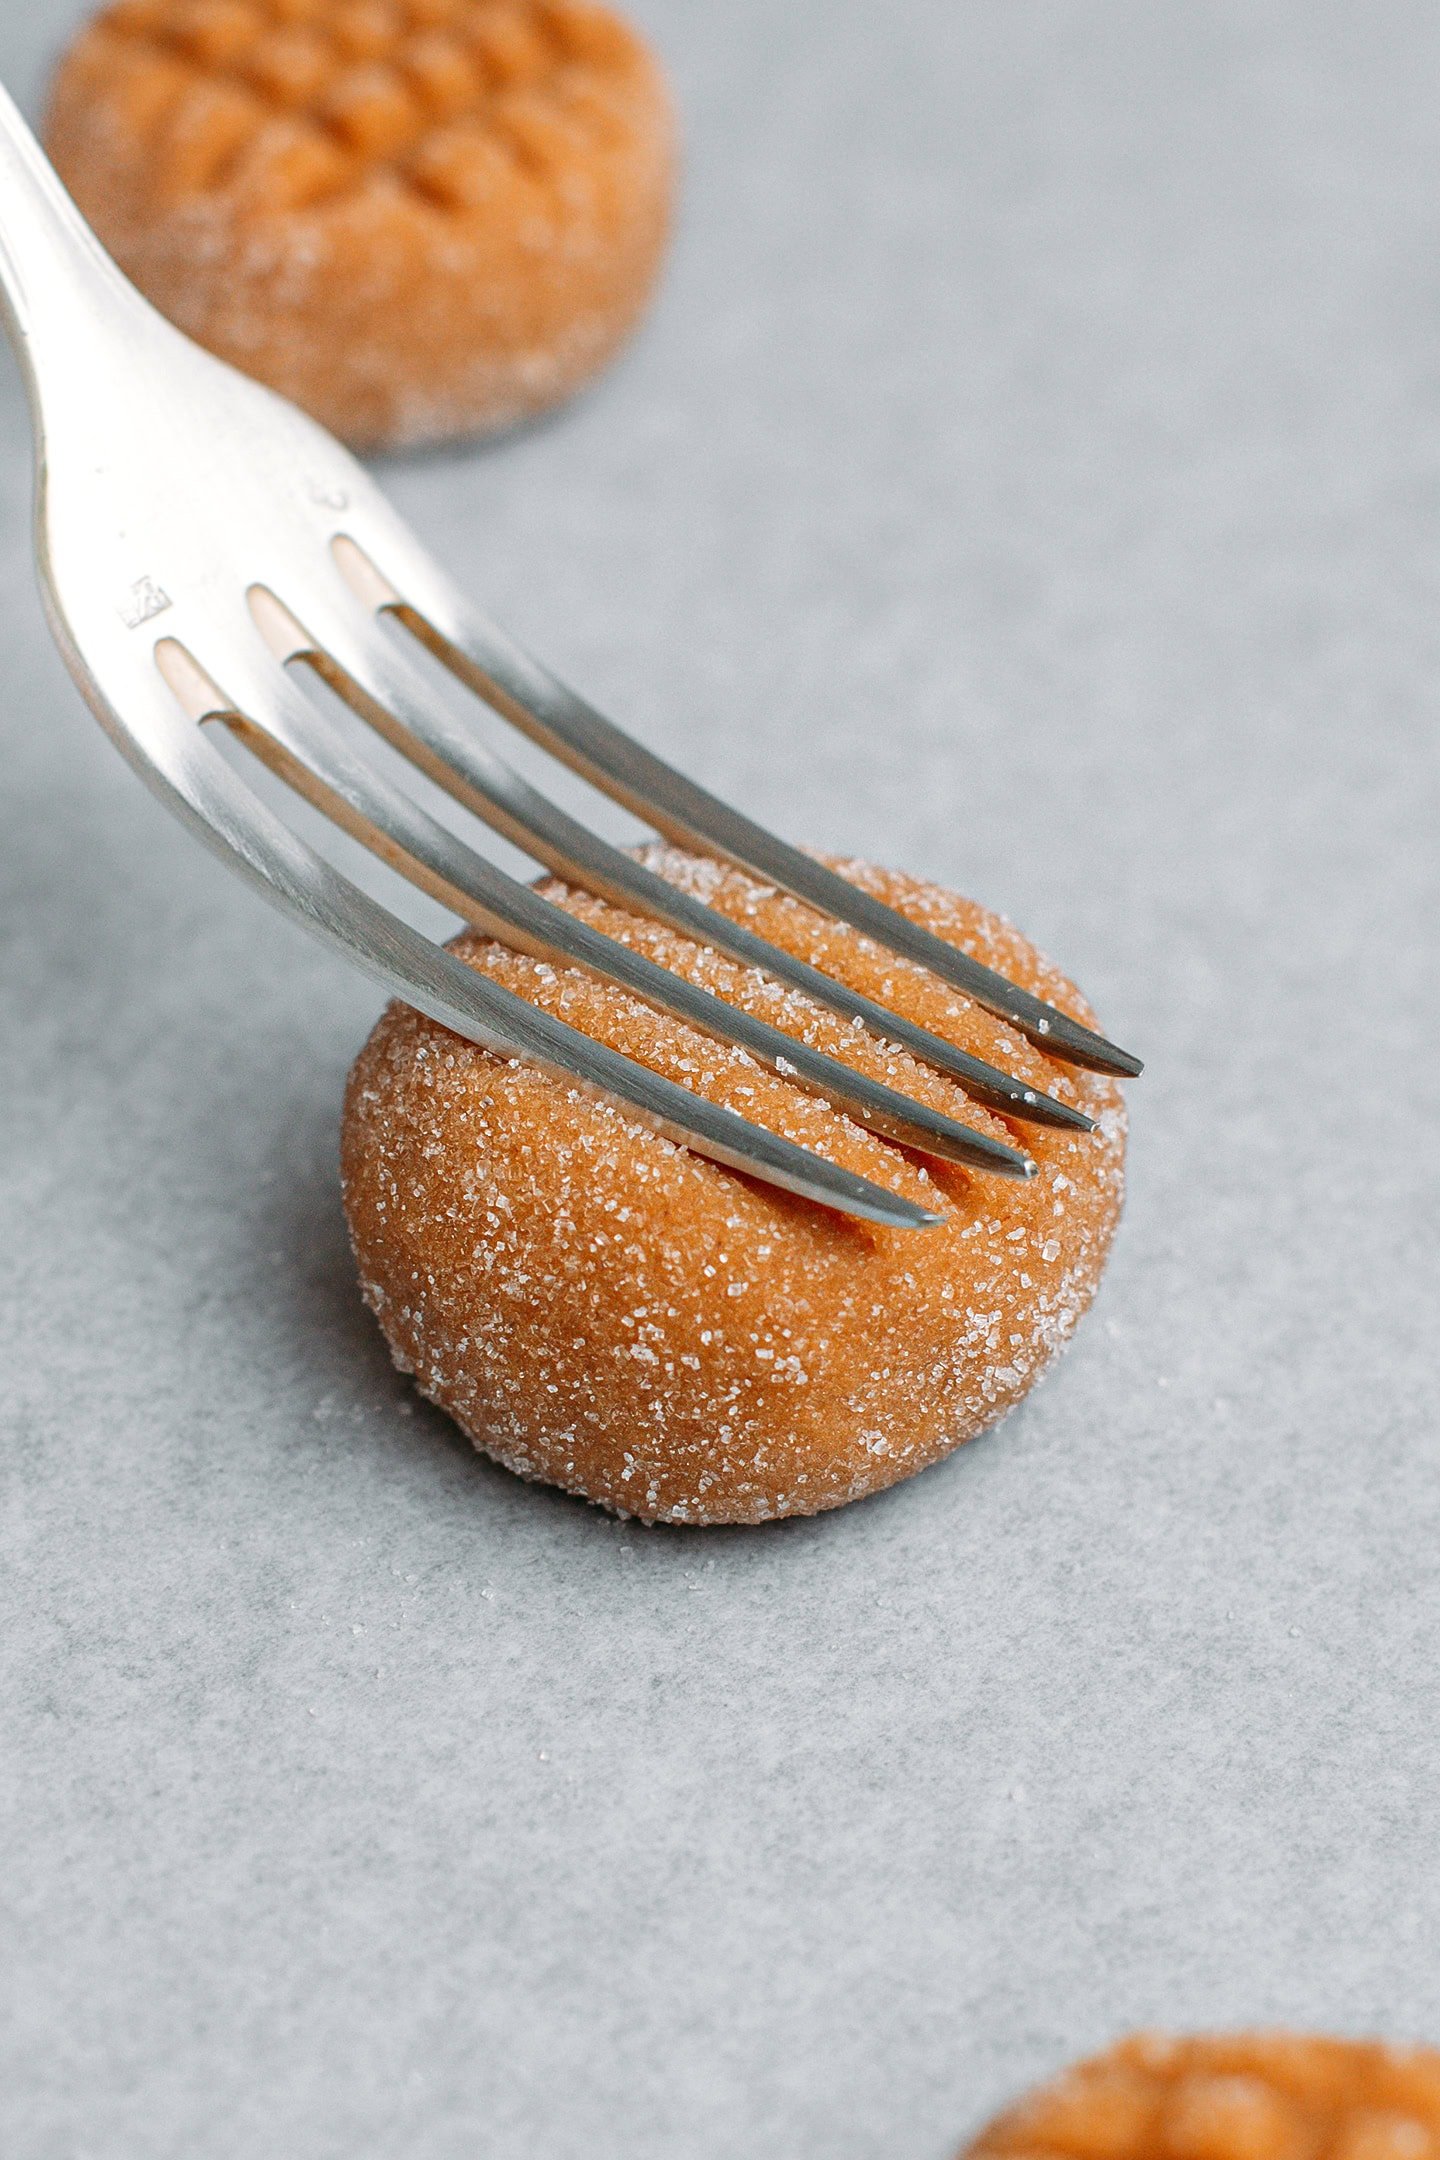
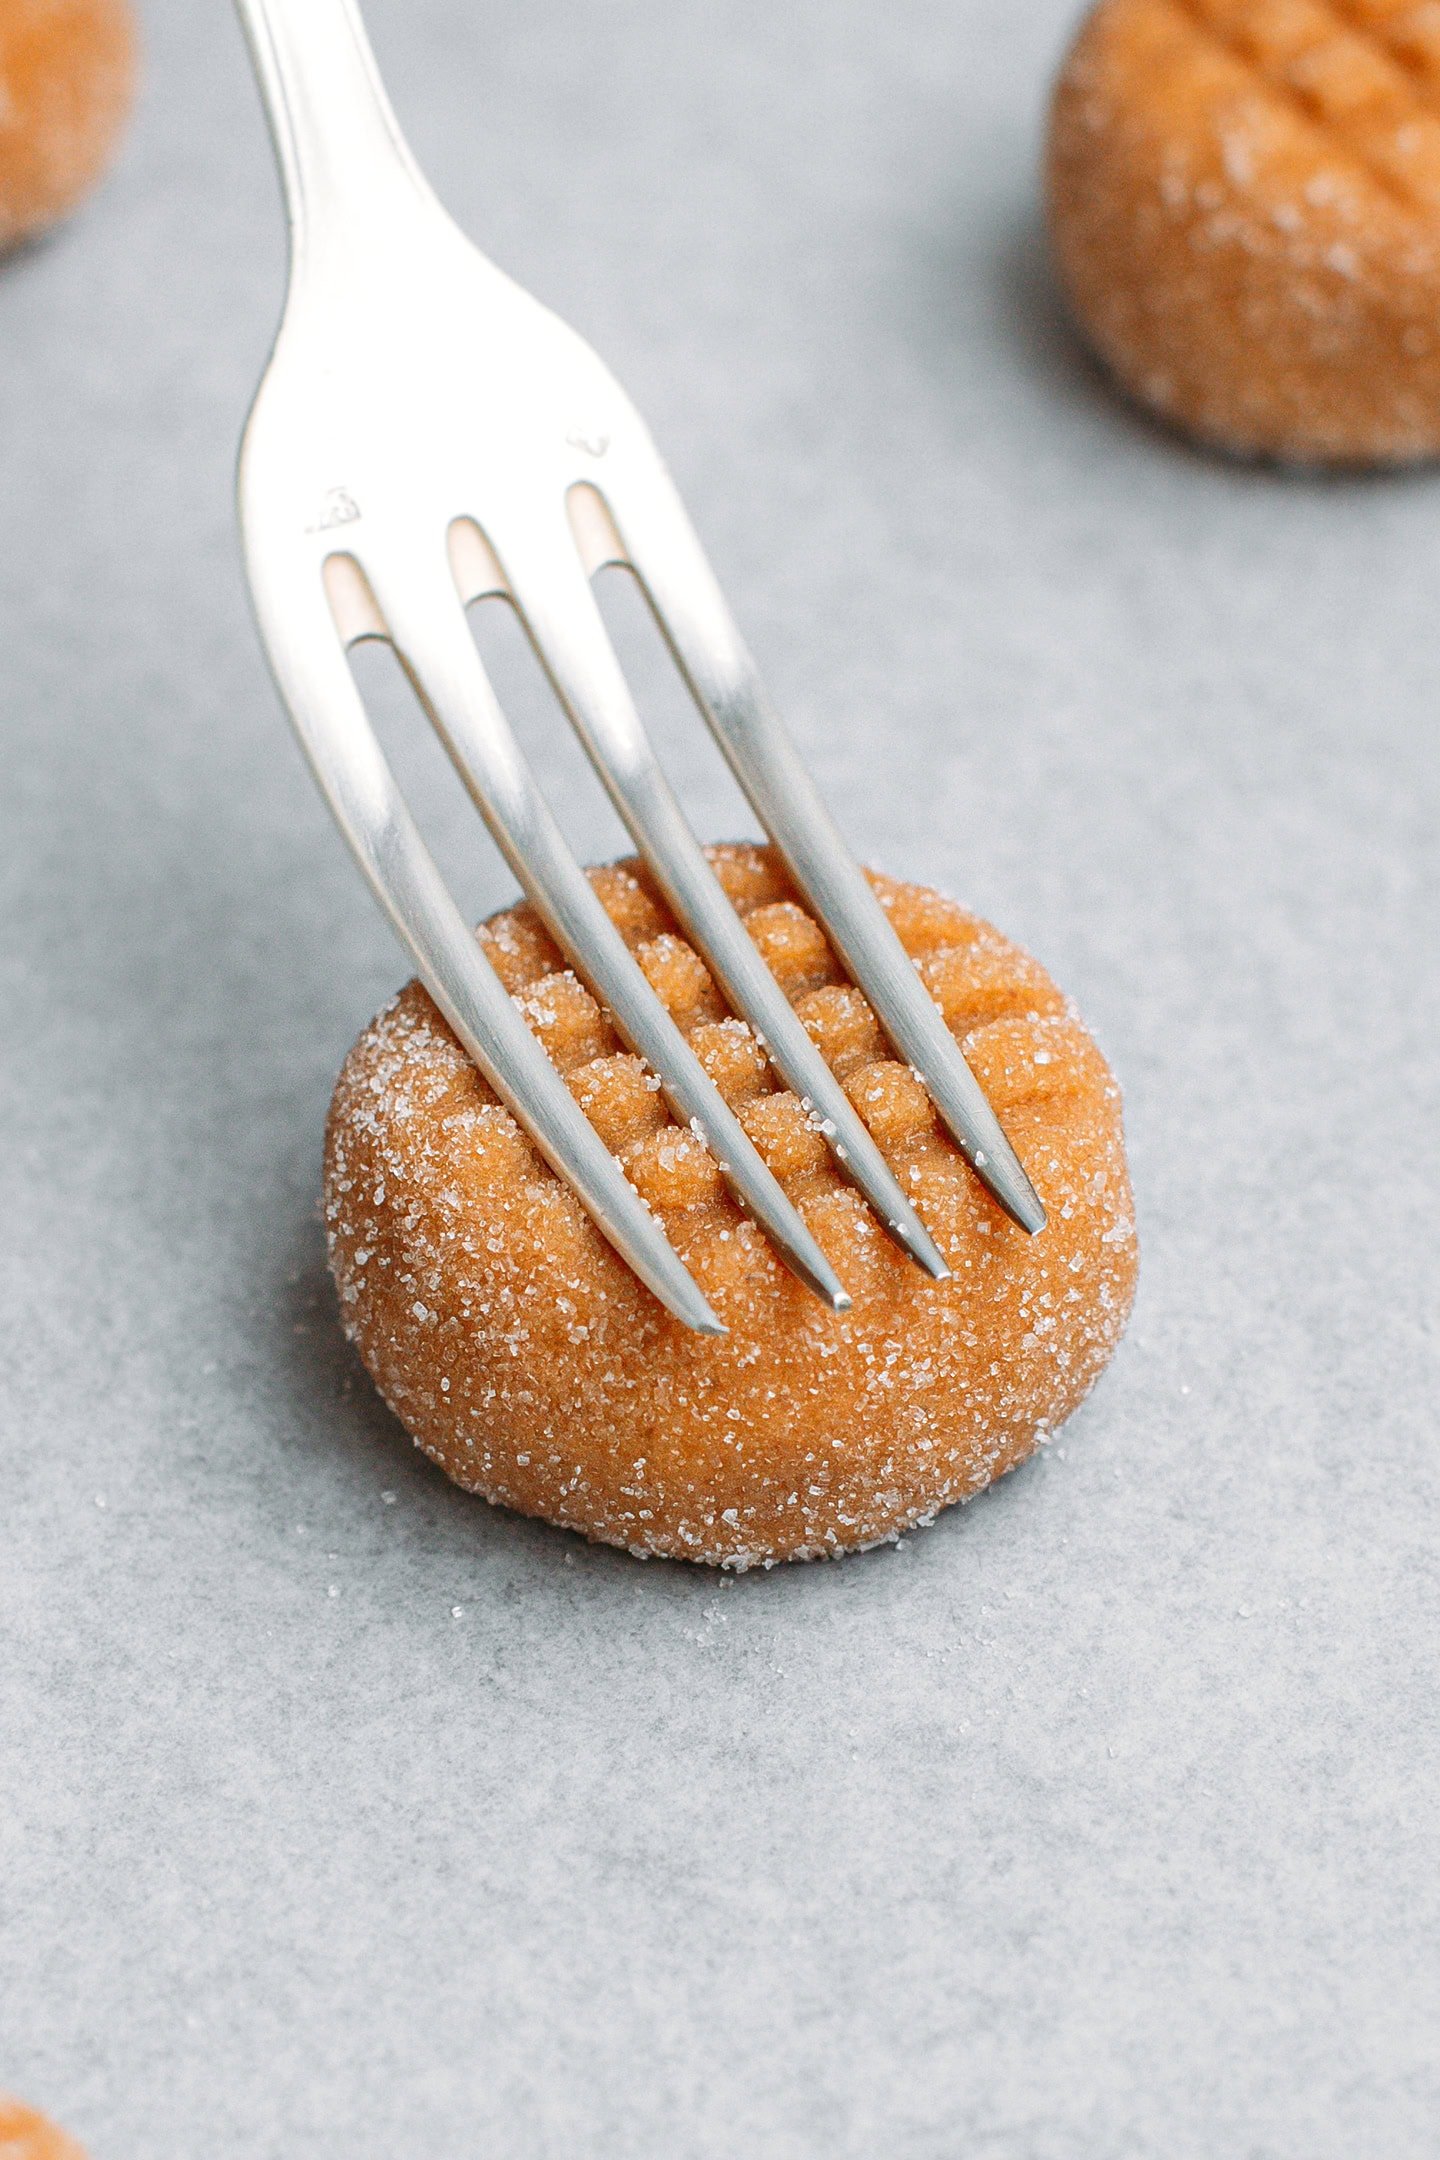
- Flatten them. Using a fork, make a criss-cross pattern on each cookie ball. Doing so will slightly flatten the balls into thick discs of about a bit less than 1 inch (2 cm) tall.
- Bake. Finally, bake the cookies for about 11 minutes or until the edges are slightly golden brown.
Note: It’s a good idea to rotate the baking sheet halfway through baking. While it may not be necessary for all ovens, I’ve noticed that doing this helps achieve a more even browning on the cookies.
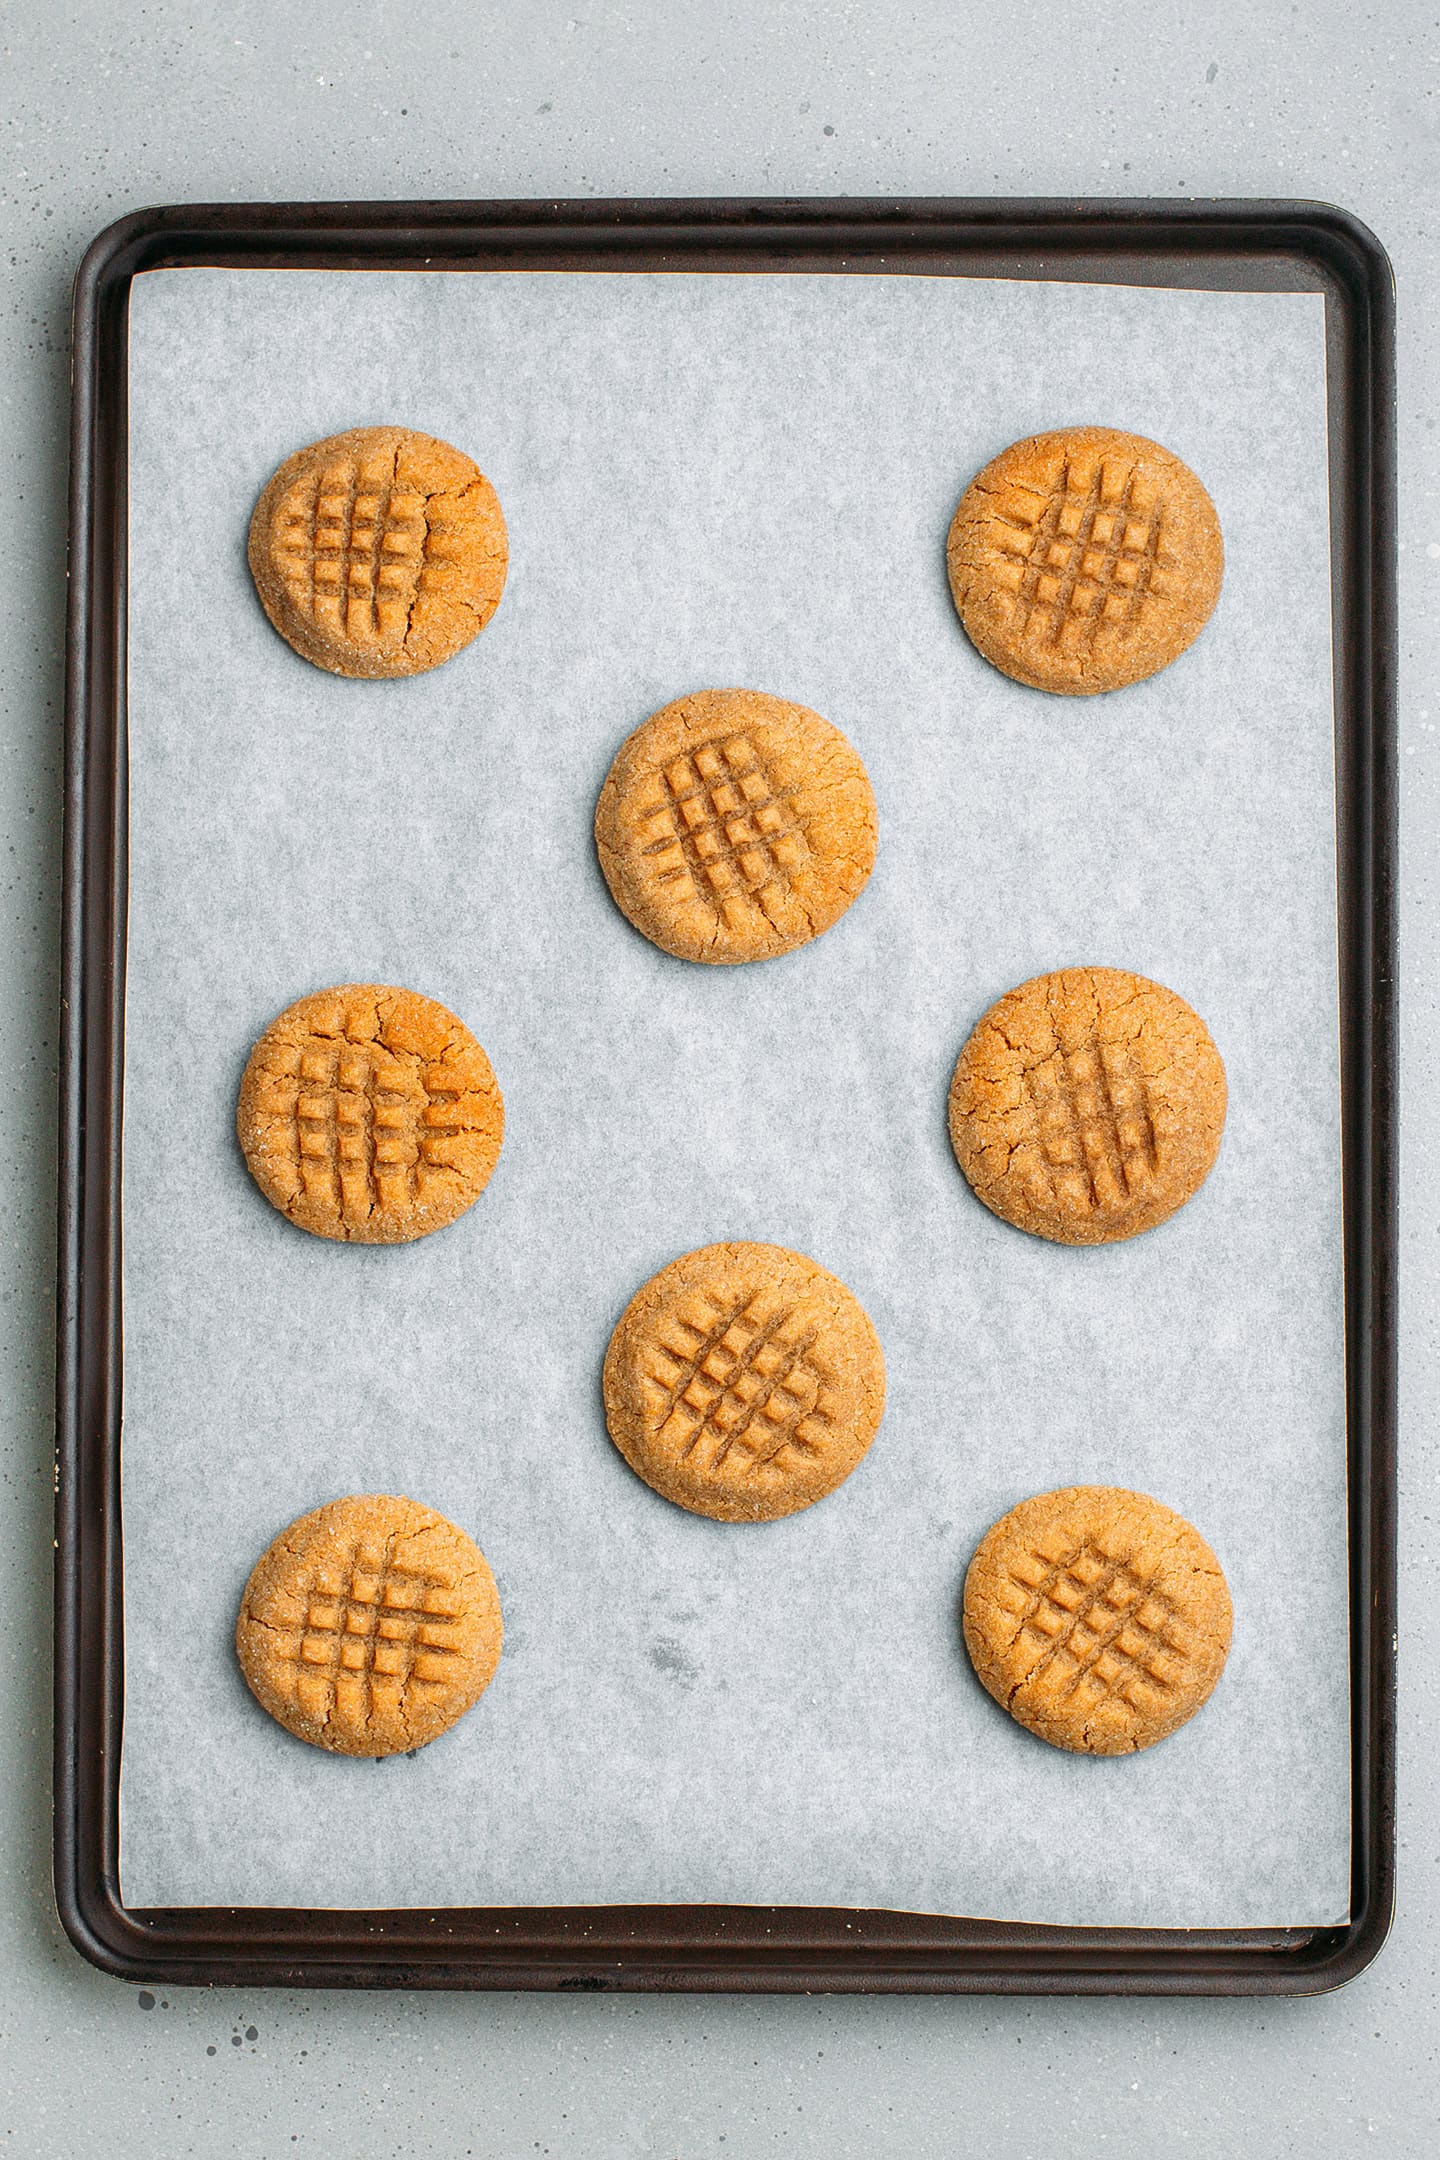
- Let cool. Allow the cookies to cool for at least 15 minutes on the baking sheet before transferring to a cooling rack.
📔 Tips
Cream the butter thoroughly.
Ensure that you cream the butter and sugar together until the mixture appears light and fluffy. Stop creaming only once there are no visible chunks of butter left, which should take about 1 minute if your butter is at room temperature.
Check your oven temperature.
I have noticed that if the oven is too hot, cookies tend to crack more. Although this won’t alter their taste and texture much, they won’t look as good, so ensure that your oven is at the right temperature. On the contrary, if your oven is not hot enough, the center of your cookies will remain uncooked. That’s why I recommend preheating your oven for at least 20 minutes before baking.
Allow the cookies to cool.
Wait until the cookies have cooled down for at least 20 minutes before transferring them to a cooling rack or plate. Cookies right out of the oven are very fragile, but they will firm up as they cool.
🍫 Variations
Although I believe these cookies are already fantastic as is, you can easily customize them to your liking. Here are some ideas:
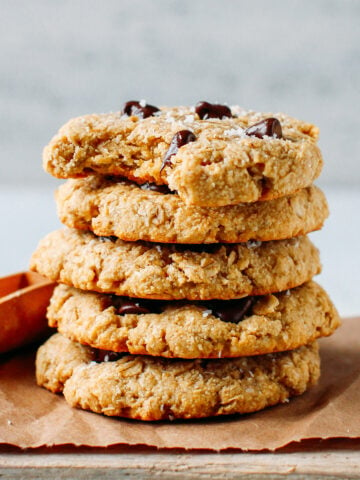
- Incorporate add-ins: Mini dark chocolate chips, chopped nuts or dried fruits, or rolled oats.
- Season with spices: Add a generous pinch of cinnamon, nutmeg, or ginger.
- Add some toppings: Press some mini marshmallows or mini peanut butter cups on top of your cookies right after baking.
- Make thumbprint cookies: Press a hole in the center of each cookie before baking and fill with your favorite jam after baking them.
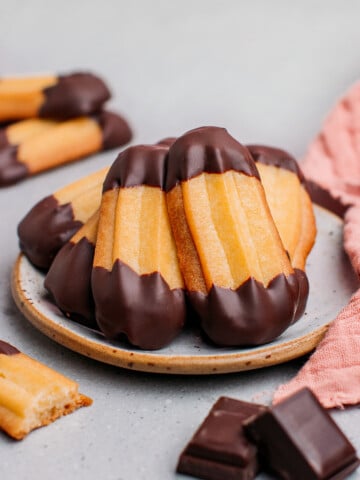
- Dip into chocolate: Melt dark chocolate over a double boiler. Once melted, dip one half of each cookie into the melted chocolate before transferring to a sheet of parchment paper. Allow the chocolate to harden and enjoy!
- Sprinkle with salt: For extra salty cookies, sprinkle flaky sea salt on top of the cookies before baking.
☕️ What to Serve Them With
- Milk: Quick-dip a cookie into either cold or warm plant-based milk and enjoy! Oh, and how about dipping them into banana milk for the ultimate combo!?
- Coffee or tea: Enjoy them as an afternoon pick-me-up with nitro cold brew, black coffee, Vietnamese coffee, chai tea, or even caramel latte!
- Hot chocolate: Creamy hot chocolate plus peanut butter cookies is the perfect combination during chilly or rainy days. Yes, it’s quite hearty, but how decadent!
- Ice cream: Use the cookies to make ice cream sandwiches! Sandwich vanilla ice cream or chocolate ice cream between two cookies and enjoy right away or freeze for 15-20 minutes.
❄️ Storing and Freezing
- To store: You can store the cookies in an airtight container for up to 4 days.
- To freeze the dough: Start by rolling the dough into balls and coating them with sugar. Then, flatten each ball slightly using a fork to create a criss-cross pattern. Afterward, place the baking sheet with the cookies in the freezer and freeze for at least 3 hours. You can then transfer the frozen cookies to a freezer-safe bag. Unbaked cookies can be stored in the freezer for up to 2 months. When you’re ready to bake them, just add an extra 3-4 minutes to the baking time.
- To freeze the cookies: You can also freeze the baked cookies for up to 2 months. Thaw for a couple of hours at room temperature.
💬 FAQ
Yes, this recipe will work with a 1:1 gluten-free flour blend.
You may have added too much flour. I highly recommend using metric measurements for any baking recipe, as those are more accurate than cups.
These cookies do not spread that much, so you shouldn’t have that problem. You can, however, make thicker cookies by reshaping them into taller discs after making the criss-cross pattern.


Save this recipe!
Enter your email below and I’ll send it to your inbox!
Plus, you will receive new recipes every week!
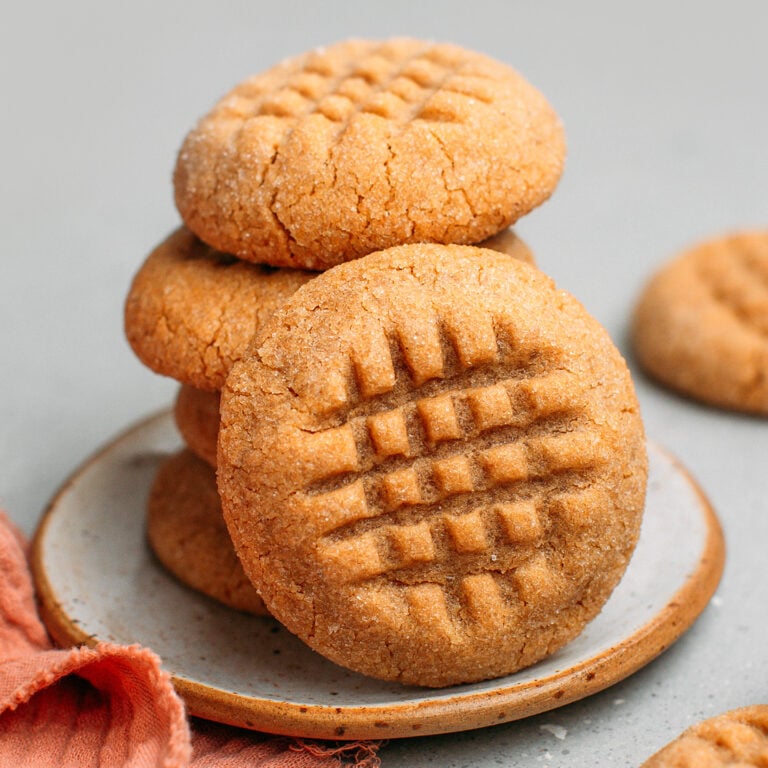
Vegan Soft Peanut Butter Cookies
Equipment

Ingredients
- 1/4 cup (44 g) light brown sugar
- 3 tbsp (37 g) granulated white sugar
- 6 tbsp (84 g) vegan butter at room temperature
- 1/2 cup (128 g) natural peanut butter
- 1 tbsp (15 ml) water
- 2 tsp (10 ml) vanilla extract
- 1 cup (125 g) all-purpose flour
- 1/4 tsp salt
- 1/4 tsp baking soda
For coating
- 3 tbsp granulated sugar
Instructions
- Cream the butter. Add the room-temperature butter, granulated white sugar, and brown sugar to a mixing bowl. Use a wooden spoon to cream the butter with the sugar for 2-3 minutes or until light and creamy. Alternatively, you can use a stand mixer fitted with the flat beater to cream the butter.
- Add the liquid ingredients. Add the peanut butter, water, and vanilla extract and mix until fully combined. The mixture should be smooth and creamy.
- Add the dry ingredients. Next, add the flour, salt, and baking soda. Mix until just combined. At this point, the dough will be very soft – this is normal.
- Chill the dough. Cover the bowl with plastic wrap and transfer to the refrigerator for at least 1 hour or overnight.
- Preheat your oven to
 350 °F (175°C) and line a baking sheet with parchment paper.
 - Transfer the 3 tablespoons of granulated sugar to a small ramekin or bowl.
- Roll into balls. Scoop out about 1.5 tbsp of dough and roll it into a ball between the palms of your hands. Coat it with granulated sugar and transfer to a baking sheet. Repeat this process with the remaining dough, leaving approximately 2 inches (5 cm) between each ball.
- Flatten them. Using a fork, make a criss-cross pattern on each cookie ball. Doing so will slightly flatten the balls into thick discs of about a bit less than 1 inch (2 cm) tall.
- Bake. Finally, bake the cookies for about 11 minutes or until the edges are slightly golden brown.
- Let cool. Allow the cookies to cool for at least 15 minutes on the baking sheet before transferring to a cooling rack.
Notes
Cream the butter thoroughly.
Ensure that you cream the butter and sugar together until the mixture appears light and fluffy. Stop creaming only once there are no visible chunks of butter left, which should take about 1 minute if your butter is at room temperature.Check your oven temperature.
I have noticed that if the oven is too hot, cookies tend to crack more. Although this won’t alter their taste and texture much, they won’t look as good, so ensure that your oven is at the right temperature. On the contrary, if your oven is not hot enough, the center of your cookies will remain uncooked. That’s why I recommend preheating your oven for at least 20 minutes before baking.Allow the cookies to cool.
Wait until the cookies have cooled down for at least 20 minutes before transferring them to a cooling rack or plate. Cookies right out of the oven are very fragile, but they will firm up as they cool.
About the Author
Thomas Pagot is the founder, photographer, and recipe developer behind Full of Plants. He created the blog in 2016 as a personal cookbook for vegan recipes. Through years of recipe development, Thomas has successfully grown Full of Plants into a trusted resource for plant-based recipes.
Leave a Comment
Honestly, I didn’t expect them to turn out this good. Crispy edges, soft middle, and that perfect peanut butter flavor. New favorite for sure!
I’m glad you liked the cookies Emy!
I got great results with these cookies. Perfect texture and just the right balance of sugar, peanut butter, and flour. Easily the best vegan peanut butter cookies I’ve had!
Thank you so much for your feedback and rating!:)