This post may contain affiliate links. Please read our disclosure policy.
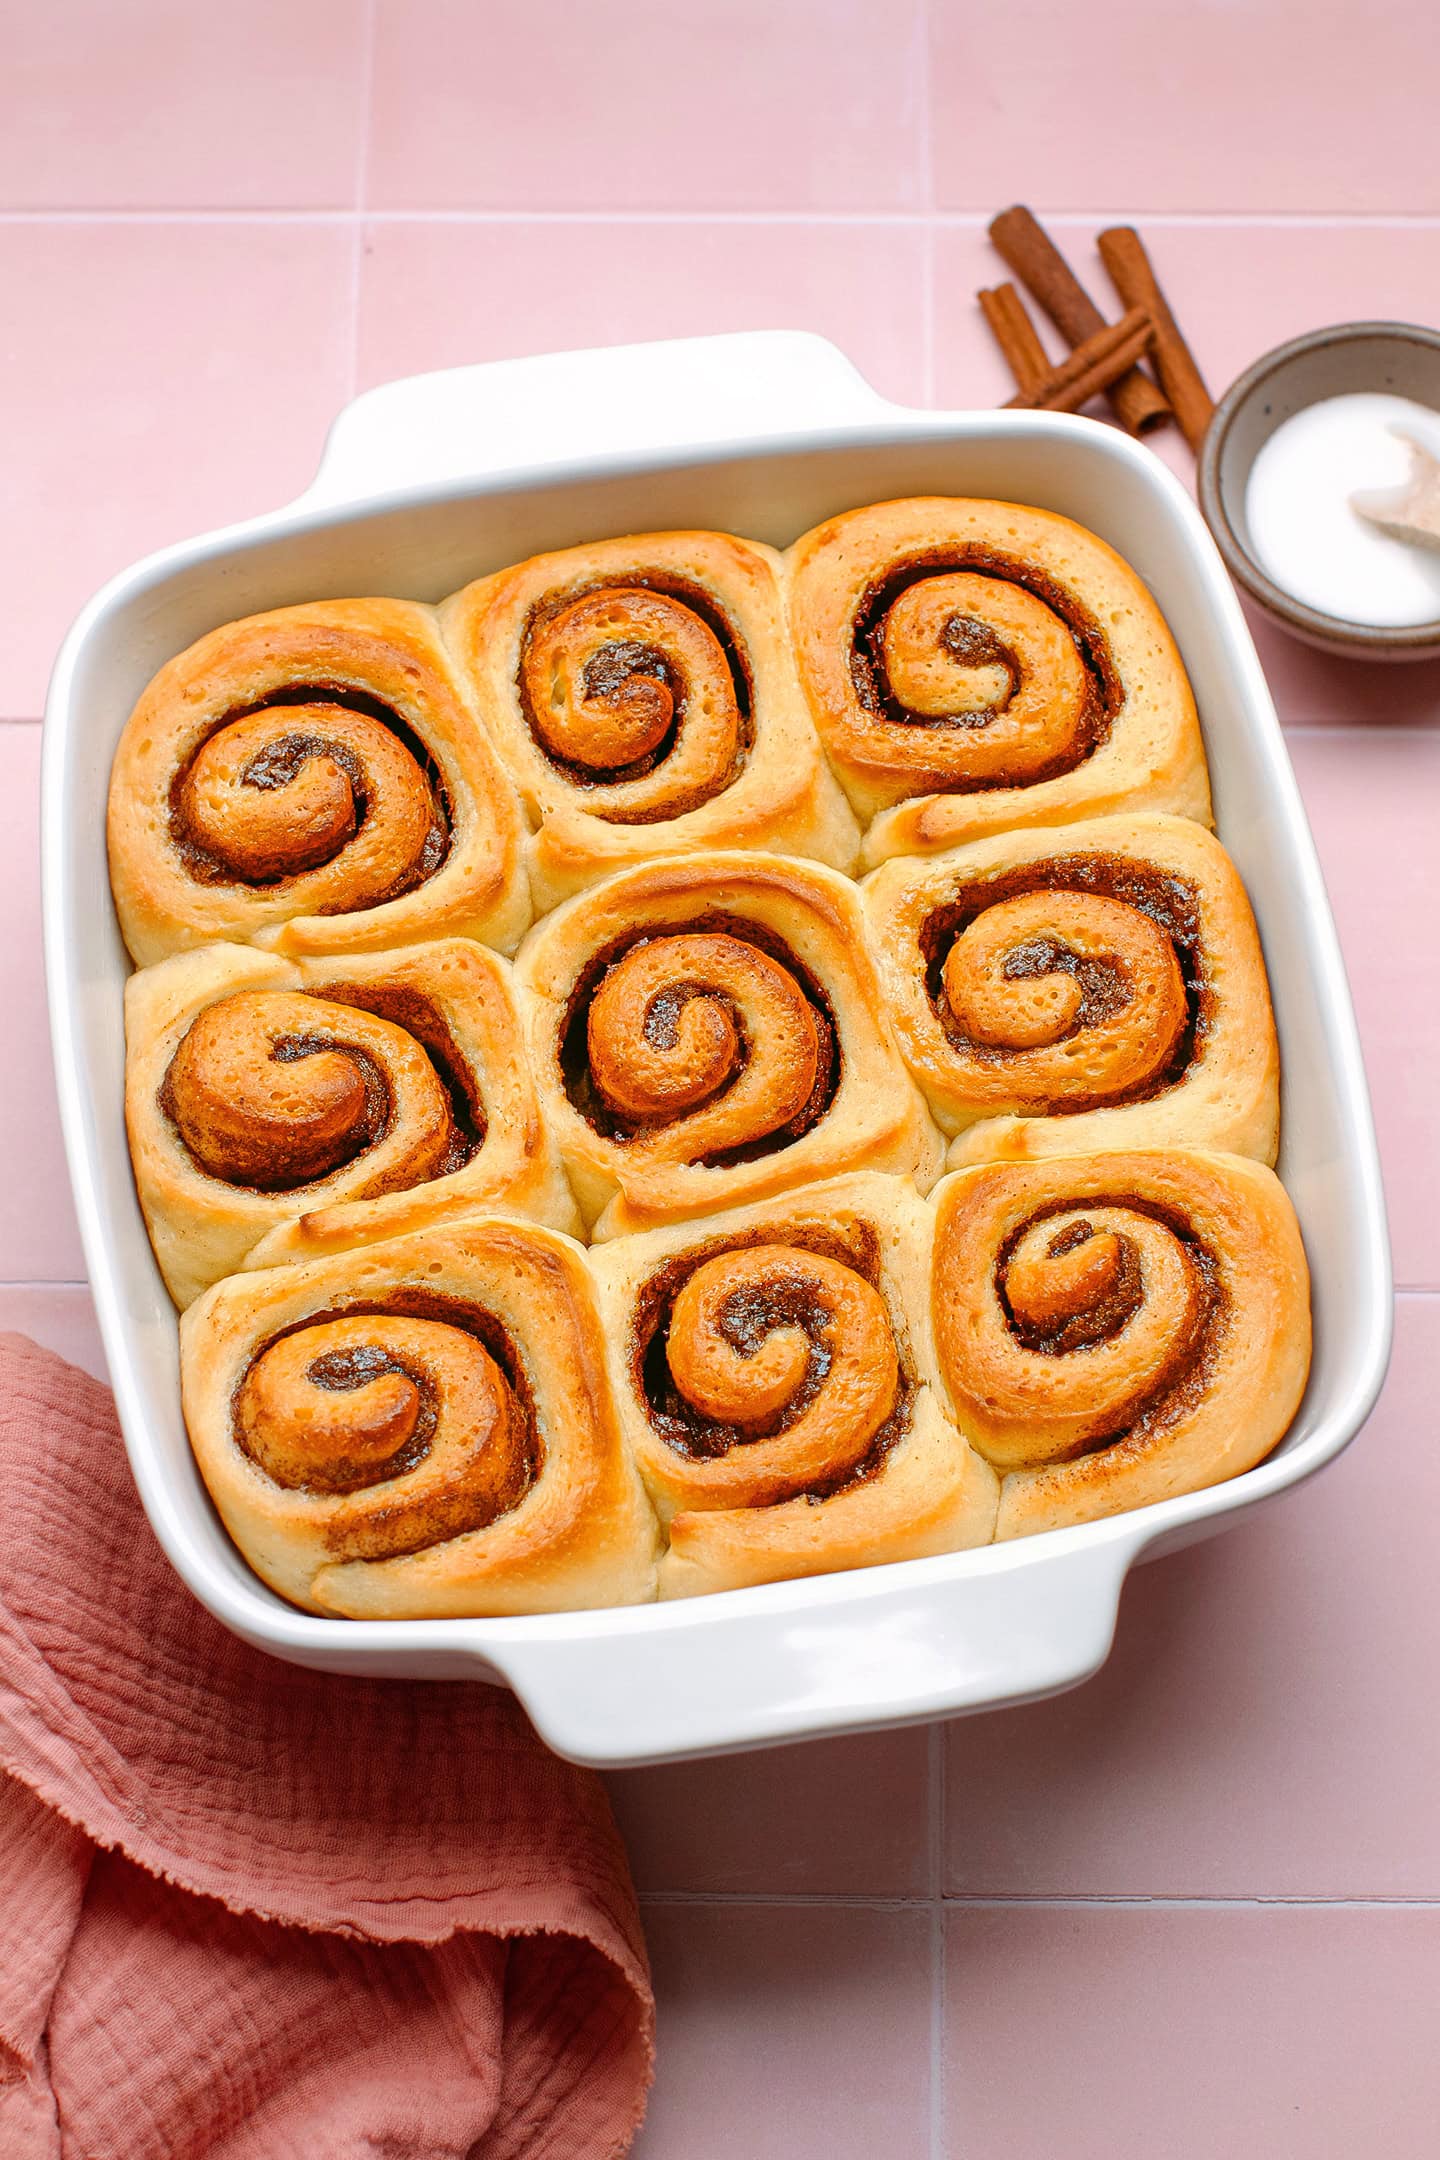
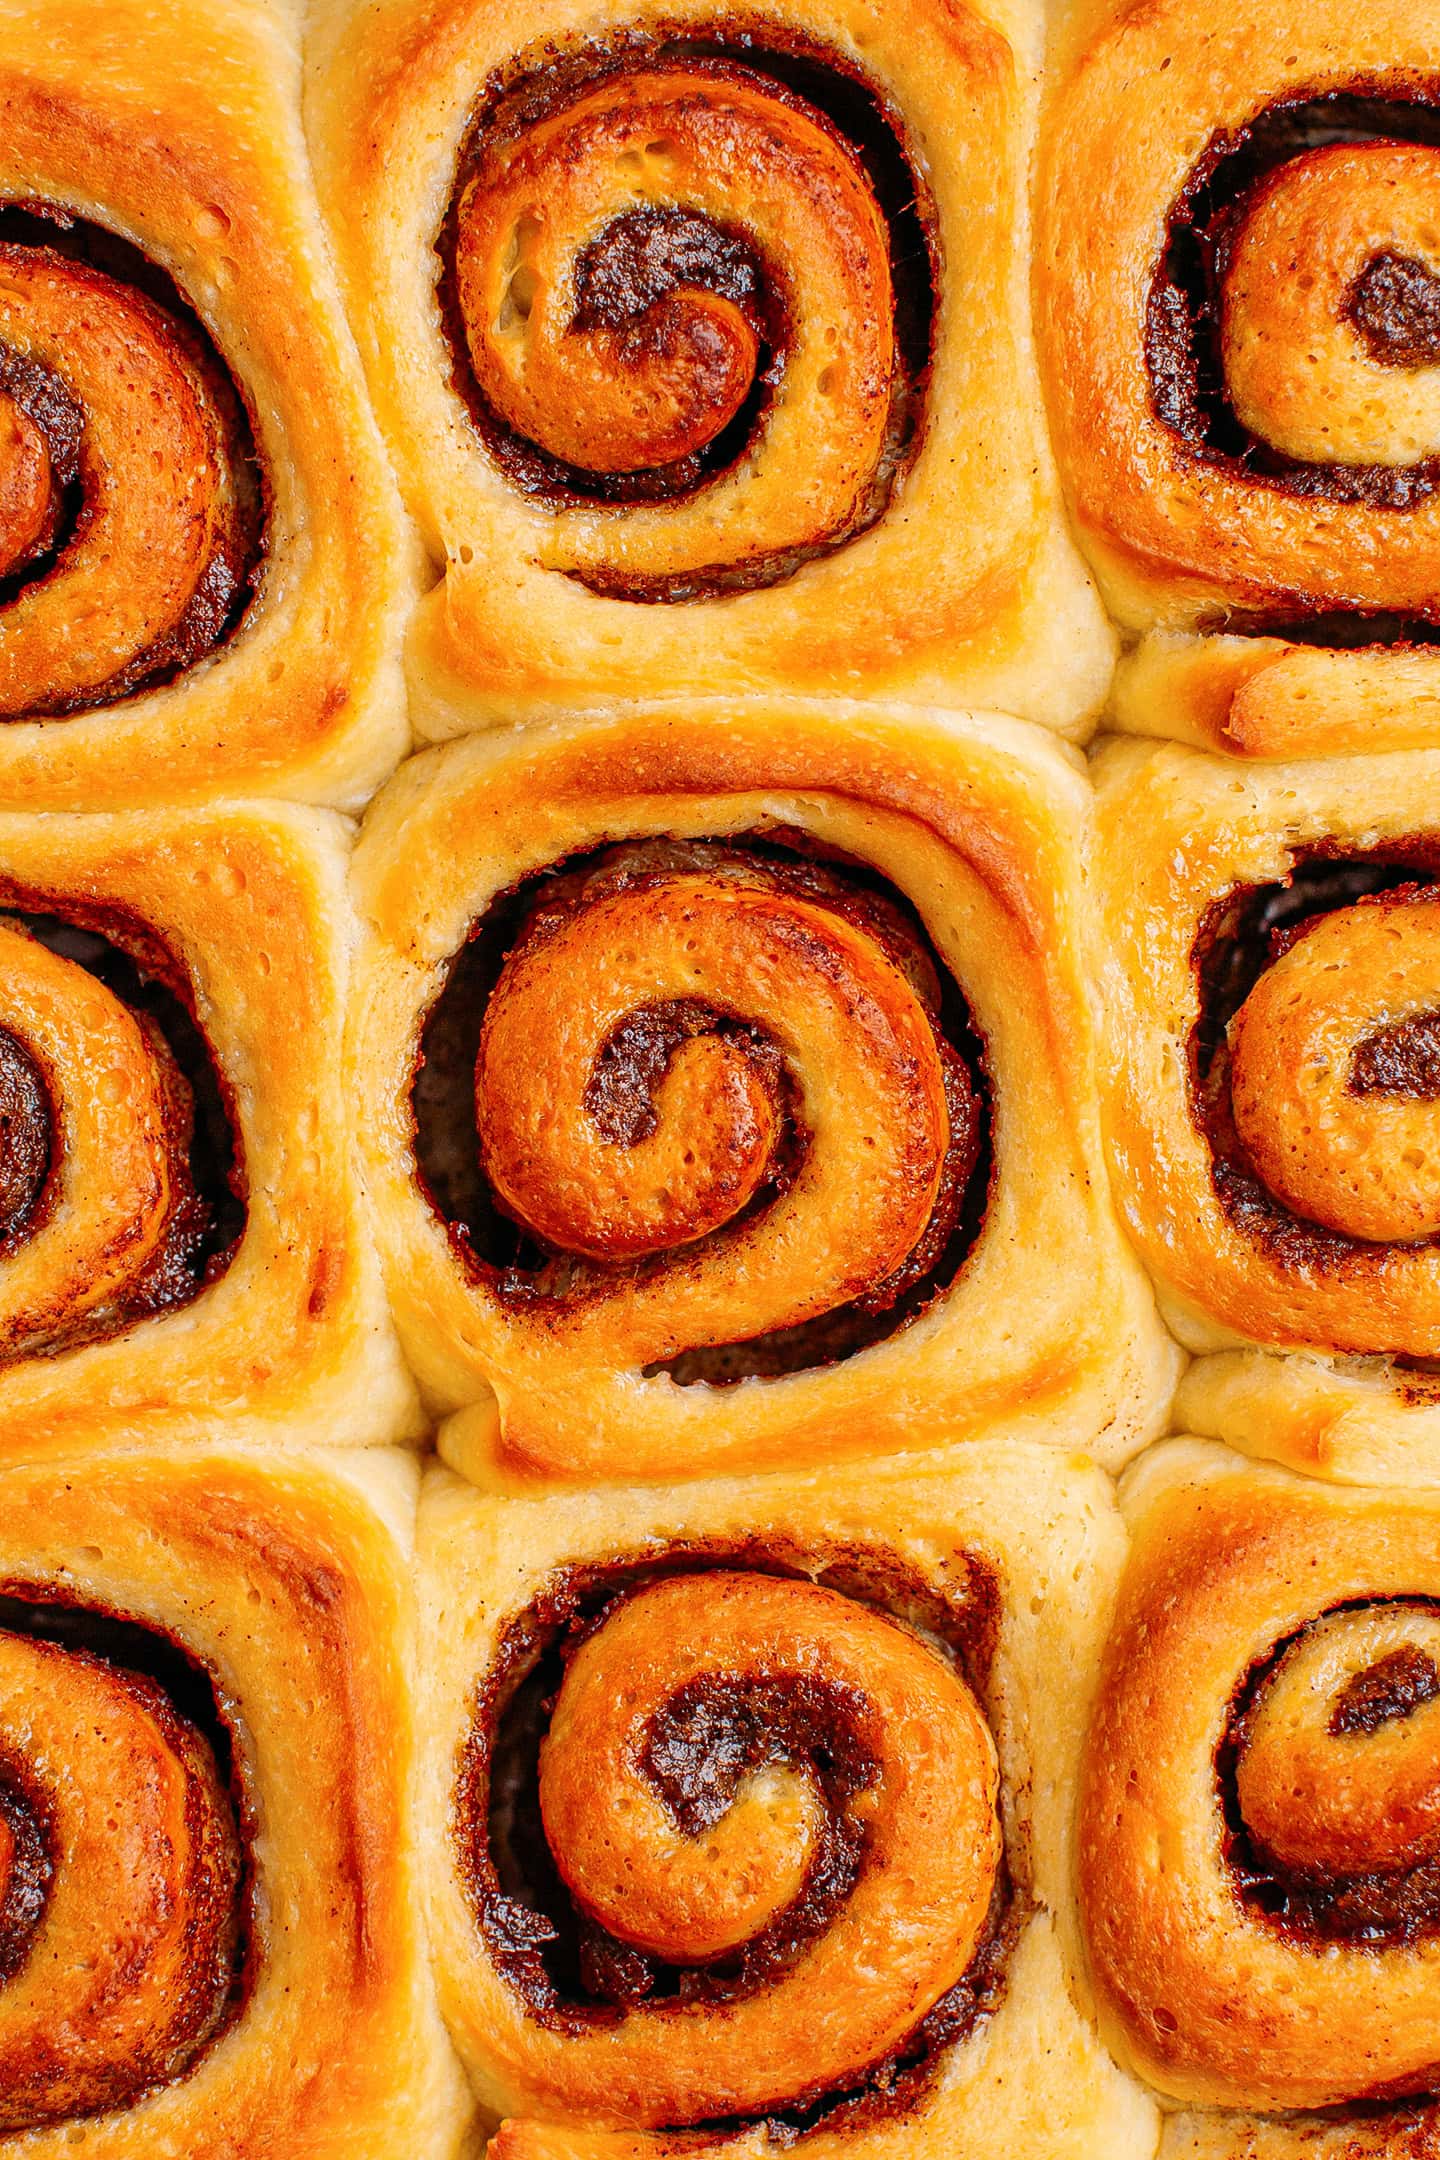
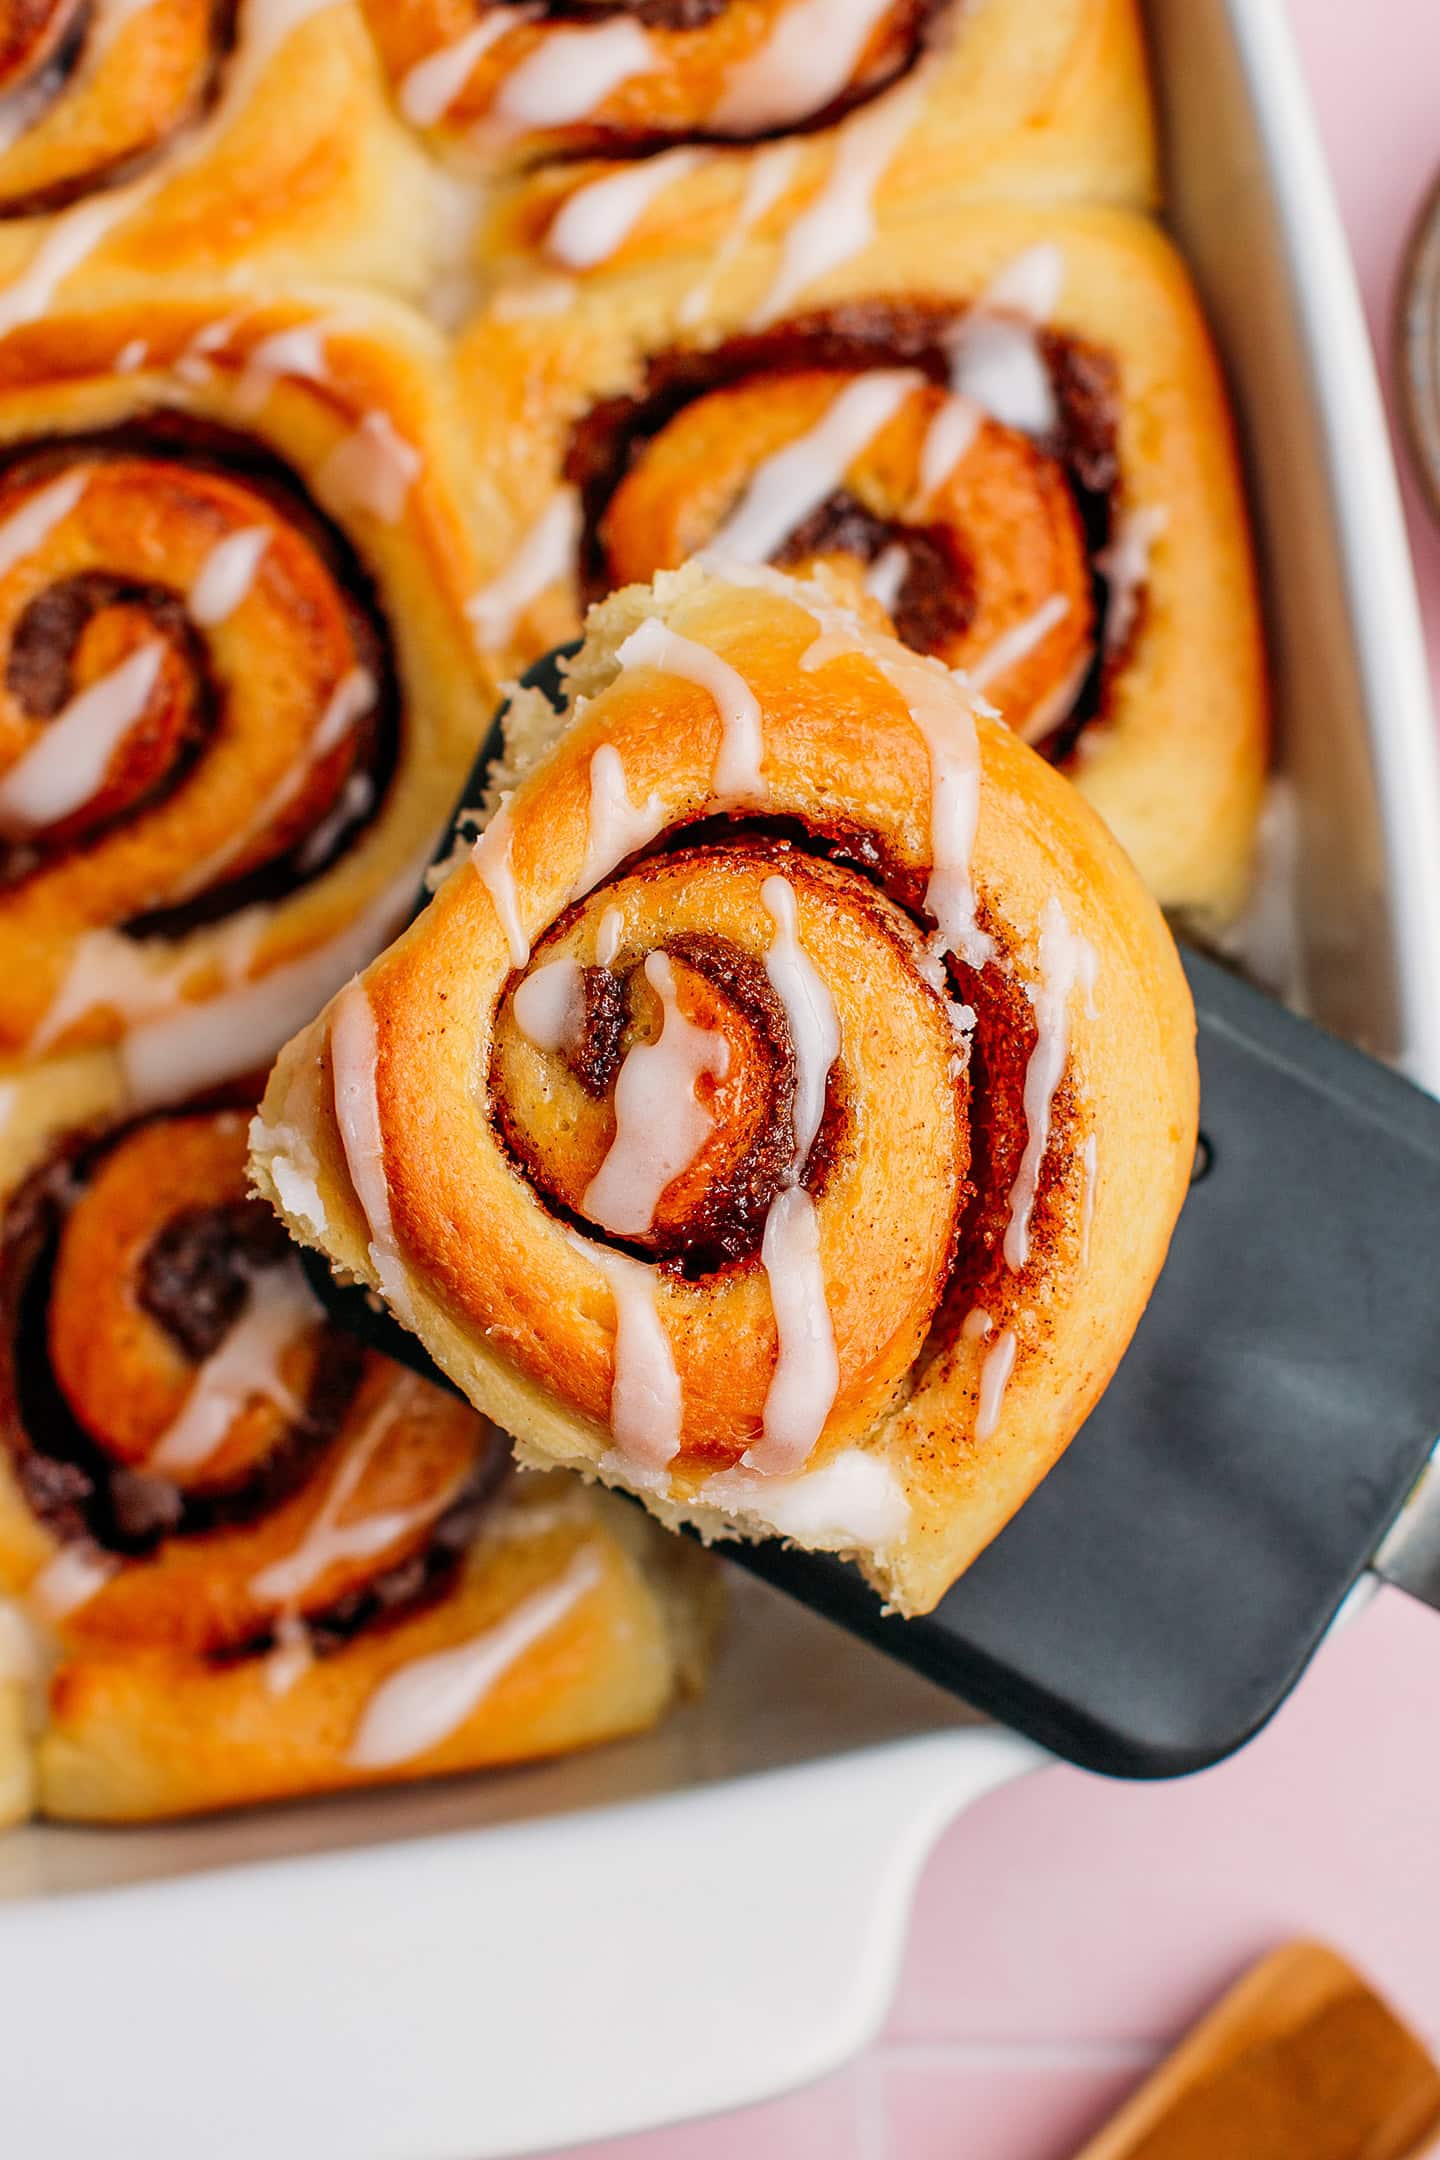
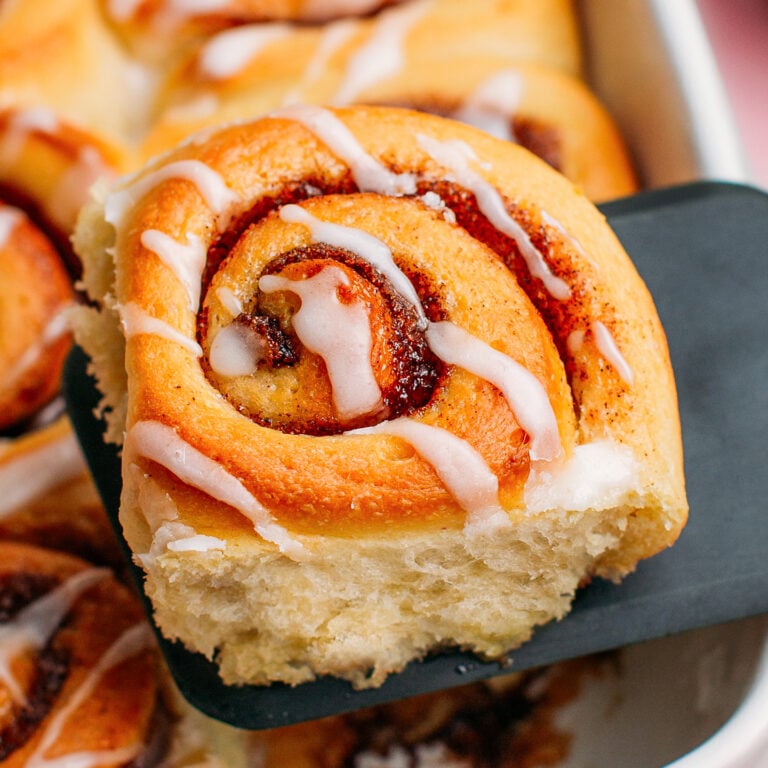
They are the most pillowy vegan cinnamon rolls you will ever try. Made with brioche dough and filled with a sweet and butter cinnamon filling, they are incredibly light and fluffy with a cotton candy texture! Enjoy them for breakfast during the Christmas holidays or for a special brunch!

I’m so excited to introduce to you the most pillowy cinnamon rolls you will ever experience! If you are thinking this is another basic vegan recipe, you couldn’t be further from the truth!
It’s been a long time since I wanted to release a cinnamon roll recipe, but I absolutely wanted it to be as great as possible, and that took a lot of trials.
So, what makes my cinnamon rolls so special? I’m glad you asked! The biggest difference between my recipe and the hundreds out there is that I use brioche dough to make the rolls! You heard it right: I based my cinnamon rolls on my vegan brioche recipe. This means the rolls are incredibly tender and pillowy, buttery, and STAY SOFT FOR DAYS! I can’t tell you how many times I’ve tried cinnamon roll recipes for them to be dry the next day (I’m almost choking just thinking about it!).
My brioche dough also relies on a few not-so-secret tips that help increase the moisture and create a cotton candy texture! You seriously HAVE TO try these cinnamon rolls!
⭐️ Why You Will Love Them
Not your classic cinnamon rolls.
There are a few key elements that differentiate my cinnamon rolls from the others out there.
First, I use a much higher percentage of butter compared to the other recipes. Secondly, I rely on a Japanese technique called “Yudane,” which helps retain more moisture, increasing the tenderness of the dough. Finally, I allow the dough to rise overnight in the refrigerator to allow the butter to develop its flavor.
The result is incredibly fluffy buns with a cotton-candy-like texture saturated in butter. Yes, they are richer and probably not the best if you are on a diet, but how decadent!
After trying these, I’m confident you will have trouble going back to your regular recipe!
They stay soft and fluffy for days.
That’s one point I want to insist on because very few cinnamon rolls will still be super tender on the second day. These are. Even on days 3 and 4, they are still soft. You can also reheat them for a few minutes, and they will be as tender as they were on day one!
They’ll infuse your kitchen with Christmas scents.
One of my favorite parts of whipping this recipe is that a few minutes after popping these in the oven, your kitchen will smell heavenly, creating the perfect Christmas mood. Get ready for your kitchen to smell like the best bakery in town!
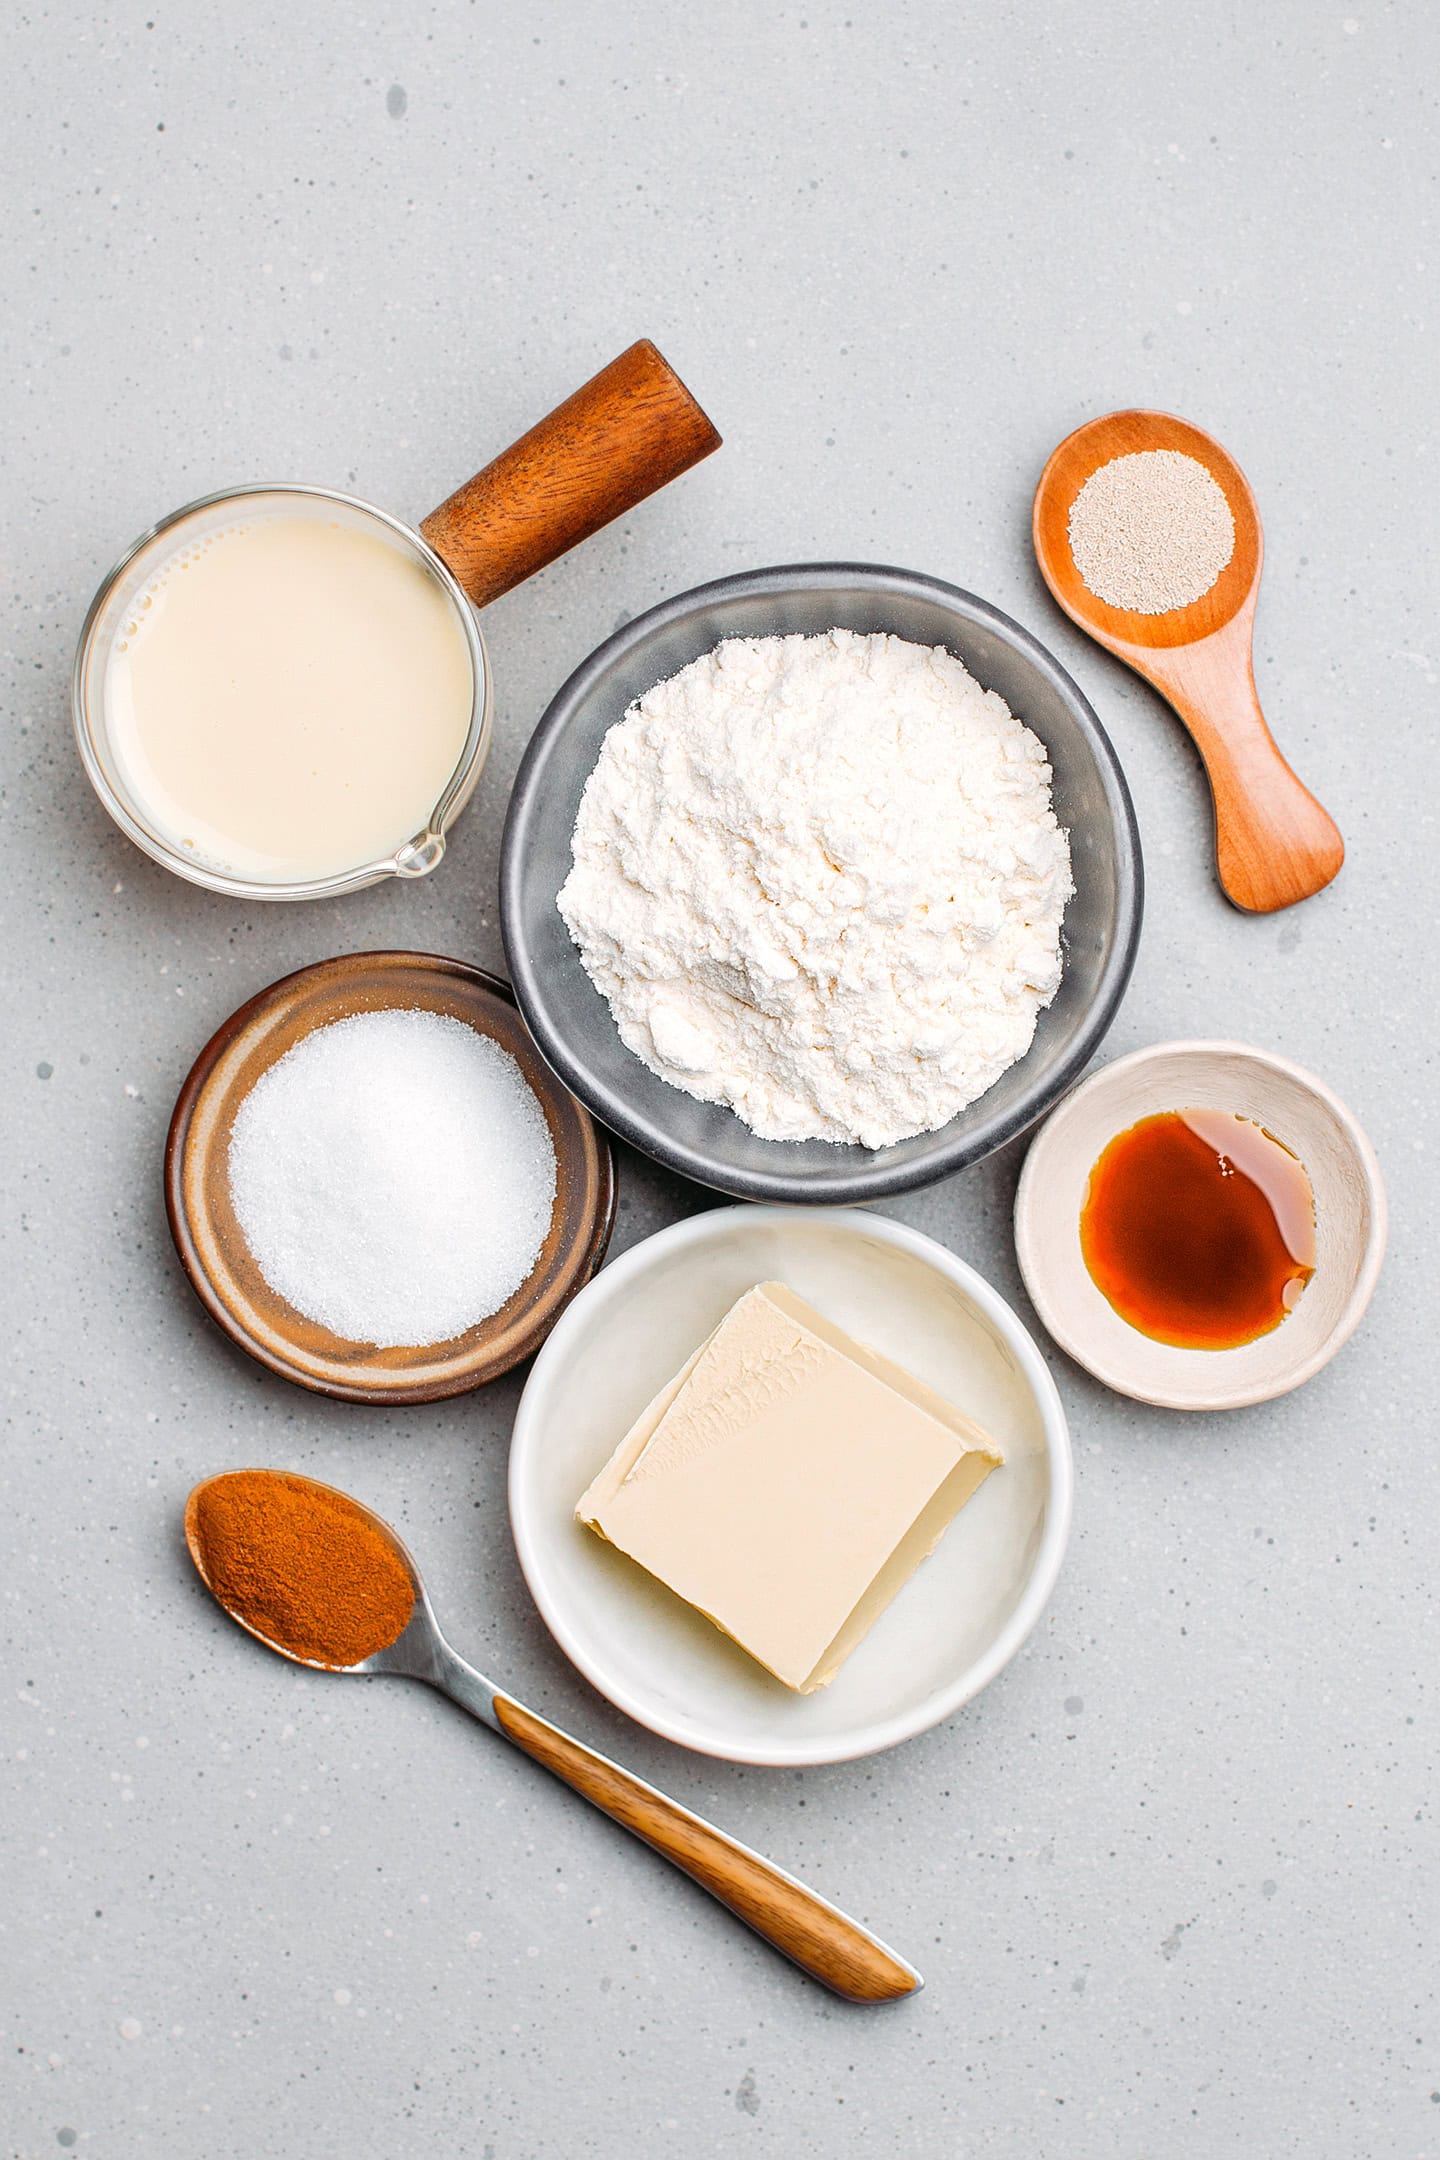
🧈 Ingredient Notes
Flour
I have tried this recipe with both bread flour and all-purpose flour and got great results each time. Bread flour yields a slightly fluffier texture, but I found the difference negligible.
Note: For more accurate and consistent results, I am sharing the ingredient quantities in metric measurements. This means you will need to use a kitchen scale. When it comes to baking, I find metric measurements are more reliable than volume measurements.
Butter
I use a high percentage of vegan butter in the dough to add richness and tenderness. It only infuses the dough with a wonderful buttery aroma.
Recommendations: You can use homemade vegan butter or store-bought. A few brands I like are Flora plant butter, Violife, and Country Crock plant butter. For information, the vegan butter I used here contains 70% fat.
Tip: Use your regular baking butter for the dough and spreadable butter for the cinnamon filling. Regular butter will firm up when chilled, making your dough less sticky and easier to handle. Spreadable butter is best to use for the filling as it will be much easier to spread on the flattened dough.
Milk
Any unsweetened plant-based milk will work. You can use soy, almond, cashew, or oat milk.
Yeast
Yeast allows the dough to rise and creates a fluffier texture.
Note: I personally prefer using instant yeast, but active or fresh yeast will work. If using active dry yeast, allow it to rehydrate in 3-4 tablespoons of warm milk (remove the same amount of milk from the recipe to make up for the extra liquid).
Cinnamon
There are no cinnamon rolls without cinnamon! You may have heard that Ceylan cinnamon is the superior kind of cinnamon. While this is true on many levels, I do not recommend using it here. Ceylan cinnamon tends to be milder and more woody. Cassia cinnamon, on the other hand, is much more fragrant and works best here.
Not sure which type of cinnamon you have in your cupboard? 90% of commercial brands of ground cinnamon are made with the Cassia variety. Unless it is stated on the label “Ceylan,” your cinnamon is probably Cassia cinnamon.
Vitamin C
Vitamin C, also known as ascorbic acid, is a natural preservative, meaning it slightly increases the shelf life of your rolls. On top of that, it helps strengthen and stabilize the gluten structure. What does that mean? It means that the crumb of your rolls will be finer and more tender.
Please note that vitamin C is completely optional and won’t alter the texture of your brioche considerably. It just keeps your rolls a bit more tender longer.
Substitute: You can replace the vitamin C with two tablespoons of lemon juice. In that case, remove two tablespoons of milk to make up for the extra liquid. If you have neither, simply omit it.
🥣 How to Make It
Before starting, here is a little disclaimer: This is not the fastest or easiest cinnamon roll recipe you will find. It’s prepared over three days and requires care and patience. I truly believe, though, that the result is completely worth it!
Planning
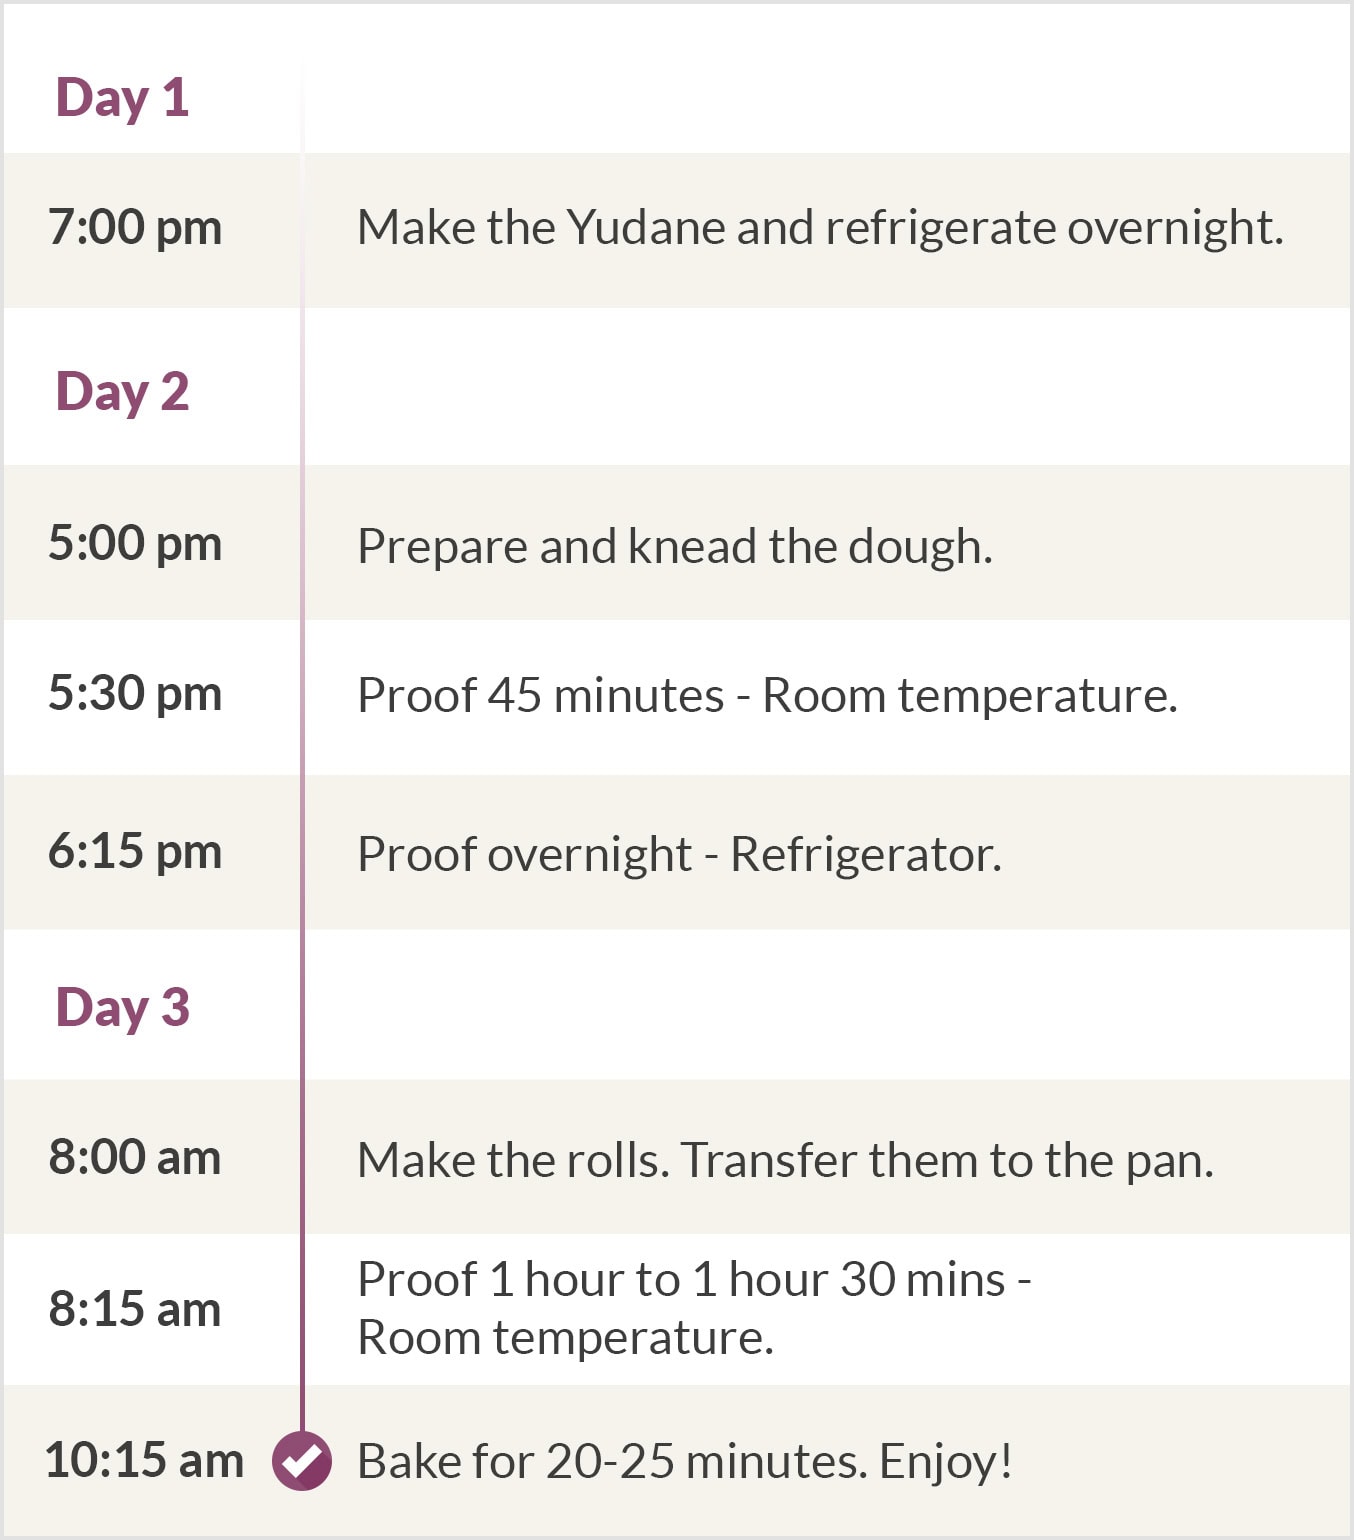
Since this recipe is made over three days, I created a small plan to make things clearer.
Note: If you are busy during the week, you should start Day 1 on a Thursday. This way, you can knead the dough on a Friday afternoon and bake the rolls on a Saturday morning. You can obviously adjust the times to fit your planning.
1. Prepare the yudane
What is Yudane
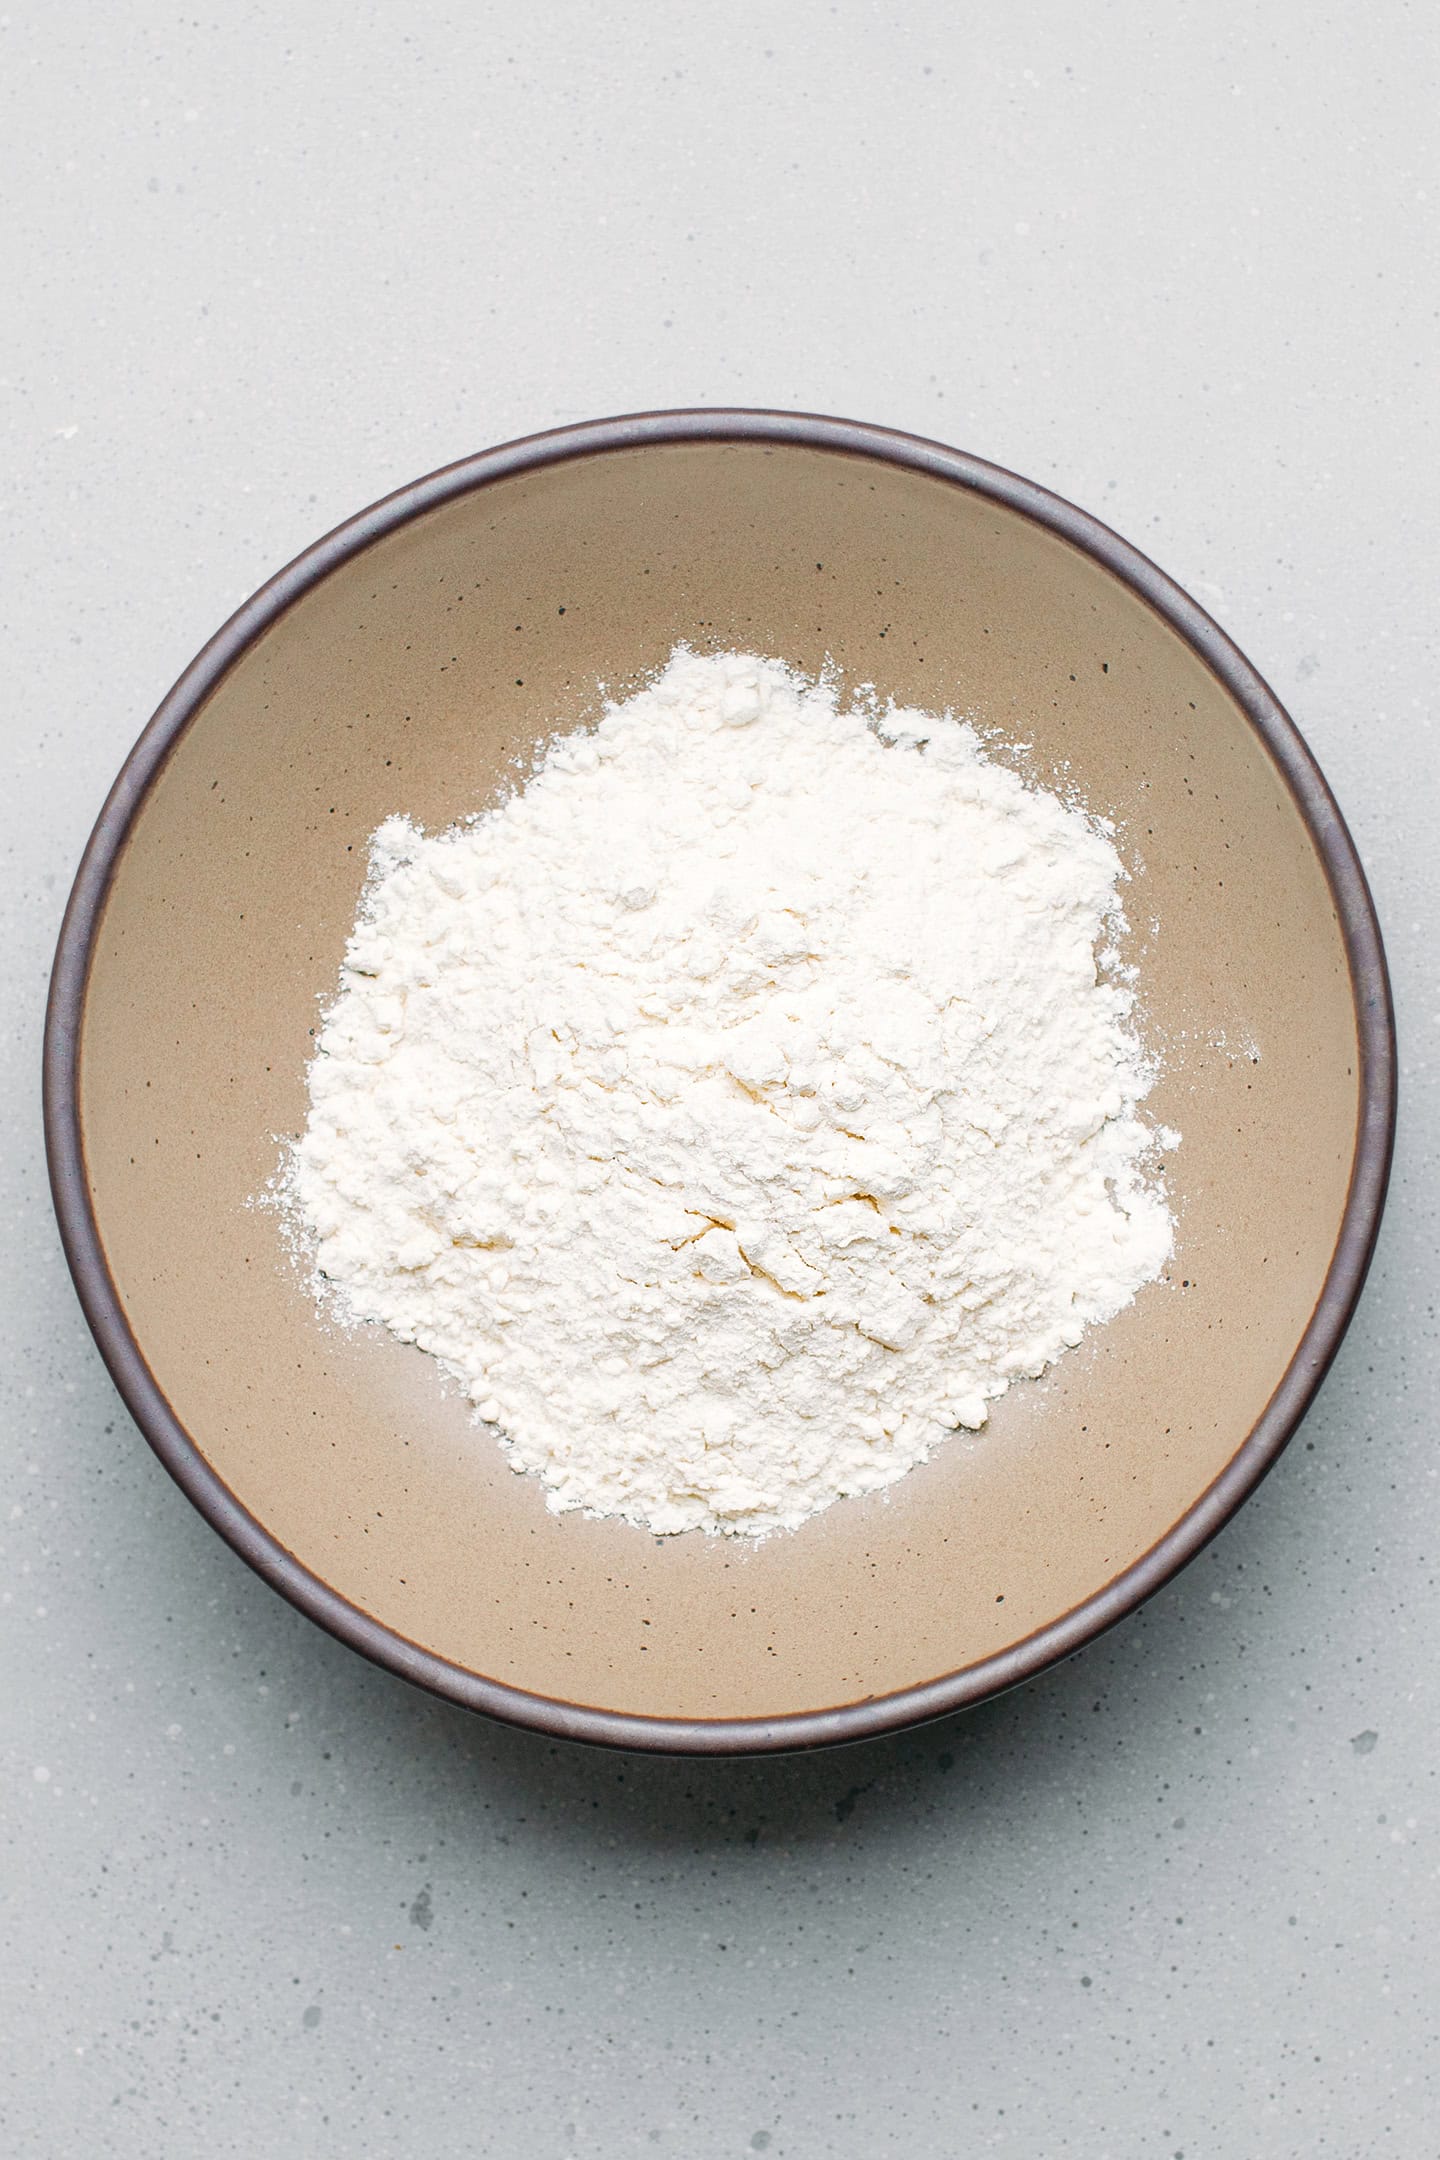
Yudane is a Japanese technique that consists of mixing equal parts of flour and hot water to create a gel. In contact with the boiling water, the starches of the flour gelatinize, trapping moisture. The resulting paste acts as a natural bread improver, increasing the shelf-life and creating a fluffier texture.
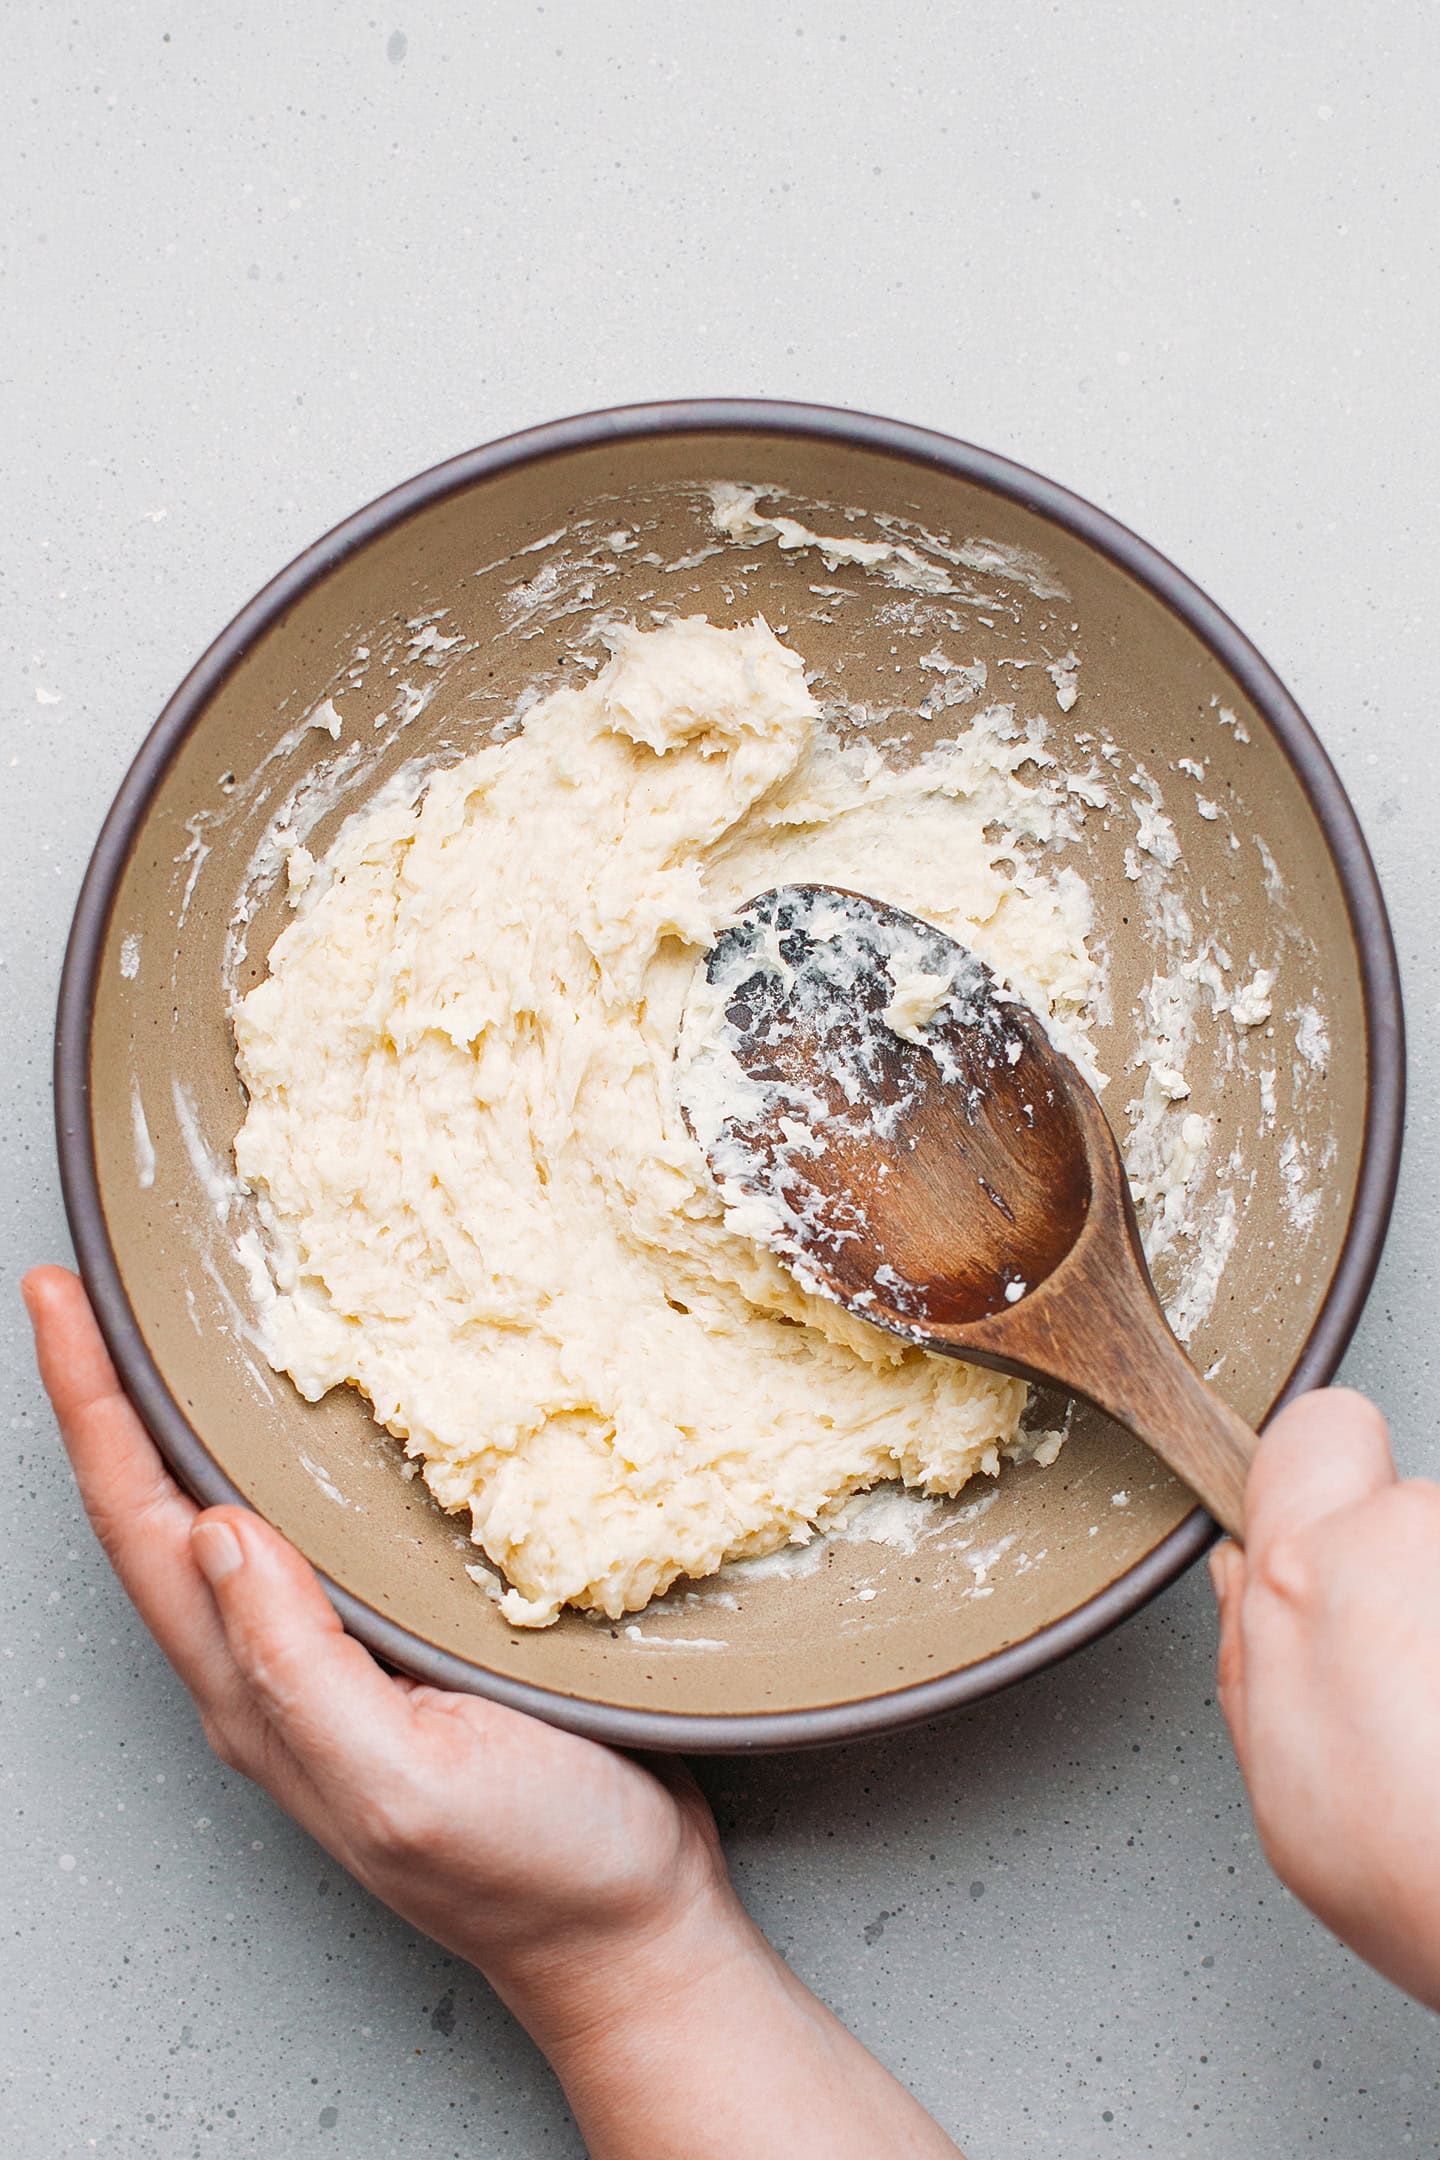
- Mix the flour and water. Add the flour to a bowl. Bring the water to a boil and pour it into the bowl. Use a wooden spoon to mix the flour with the water and create a thick paste.
- Refrigerate overnight. Cover the plastic wrap and refrigerate overnight. Note: do not skip the resting time. I tried using the paste right away but didn’t get great results.
2. Knead the dough
The next day, once the Yudane has chilled overnight, it’s time to knead the dough.
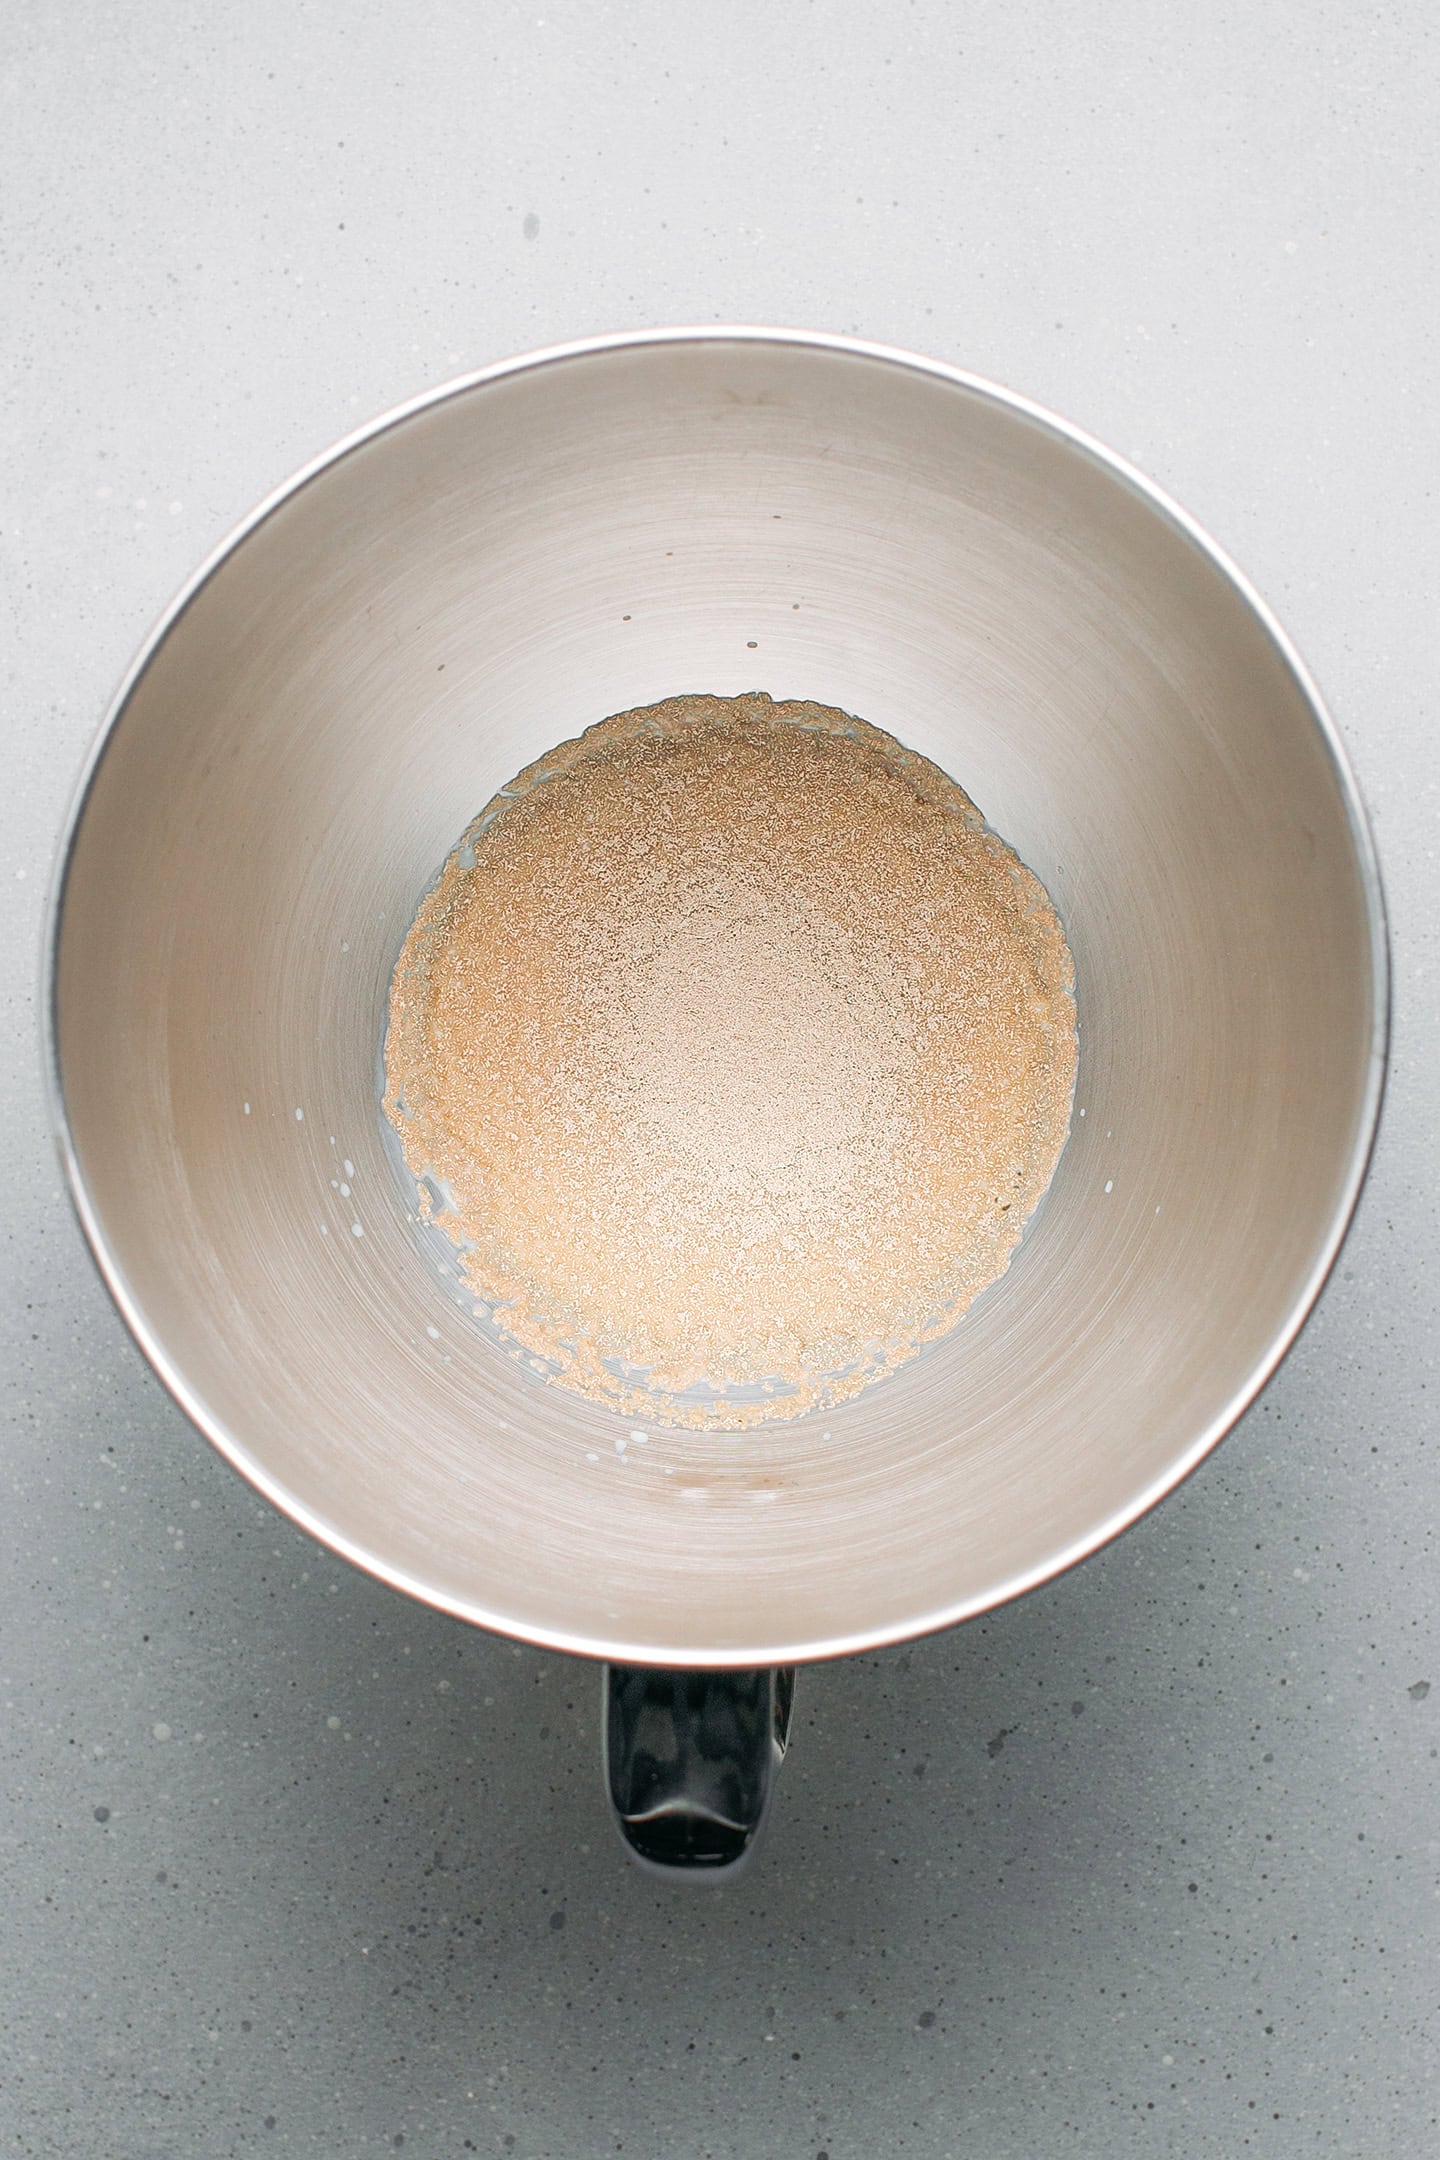
- Combine the wet ingredients. To the bowl of a stand mixer, add the vegan milk and vanilla extract.
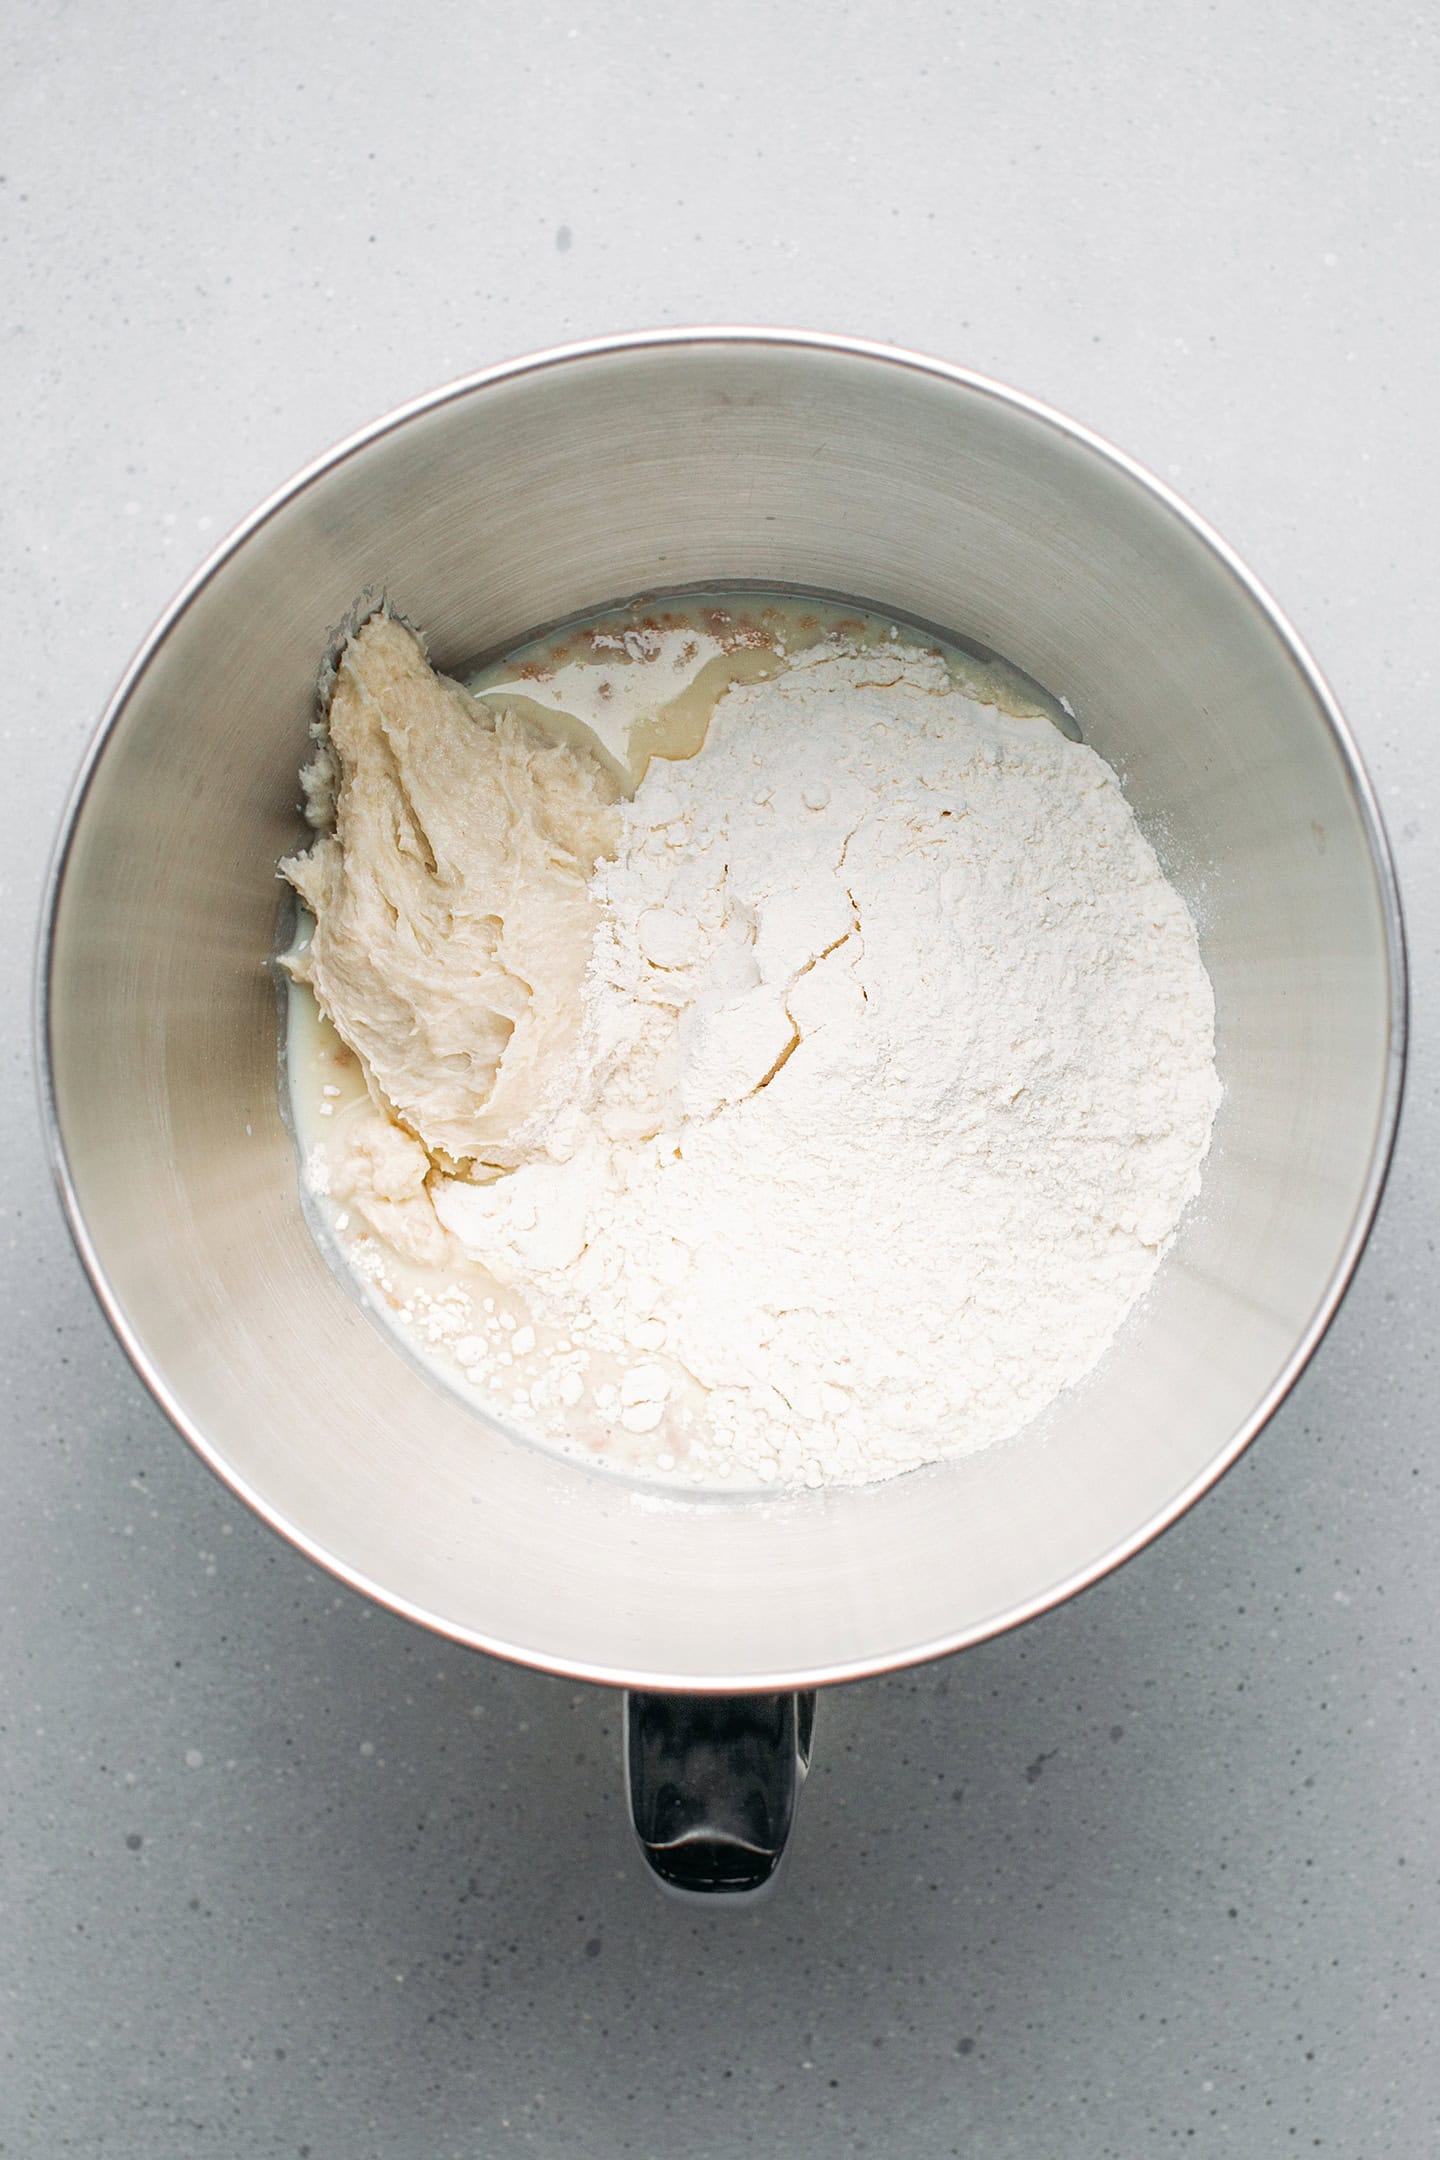
- Add the dry ingredients. Then, add the instant yeast, flour, sugar, vitamin C powder, and Yudane. Note: Do not add the salt yet, as it could kill the yeast.
- Knead on low speed. Using the dough hook attachment of your stand mixer, knead the dough on speed 2 for about 5 minutes. At this point, the dough will still have a grainy texture. This is normal.
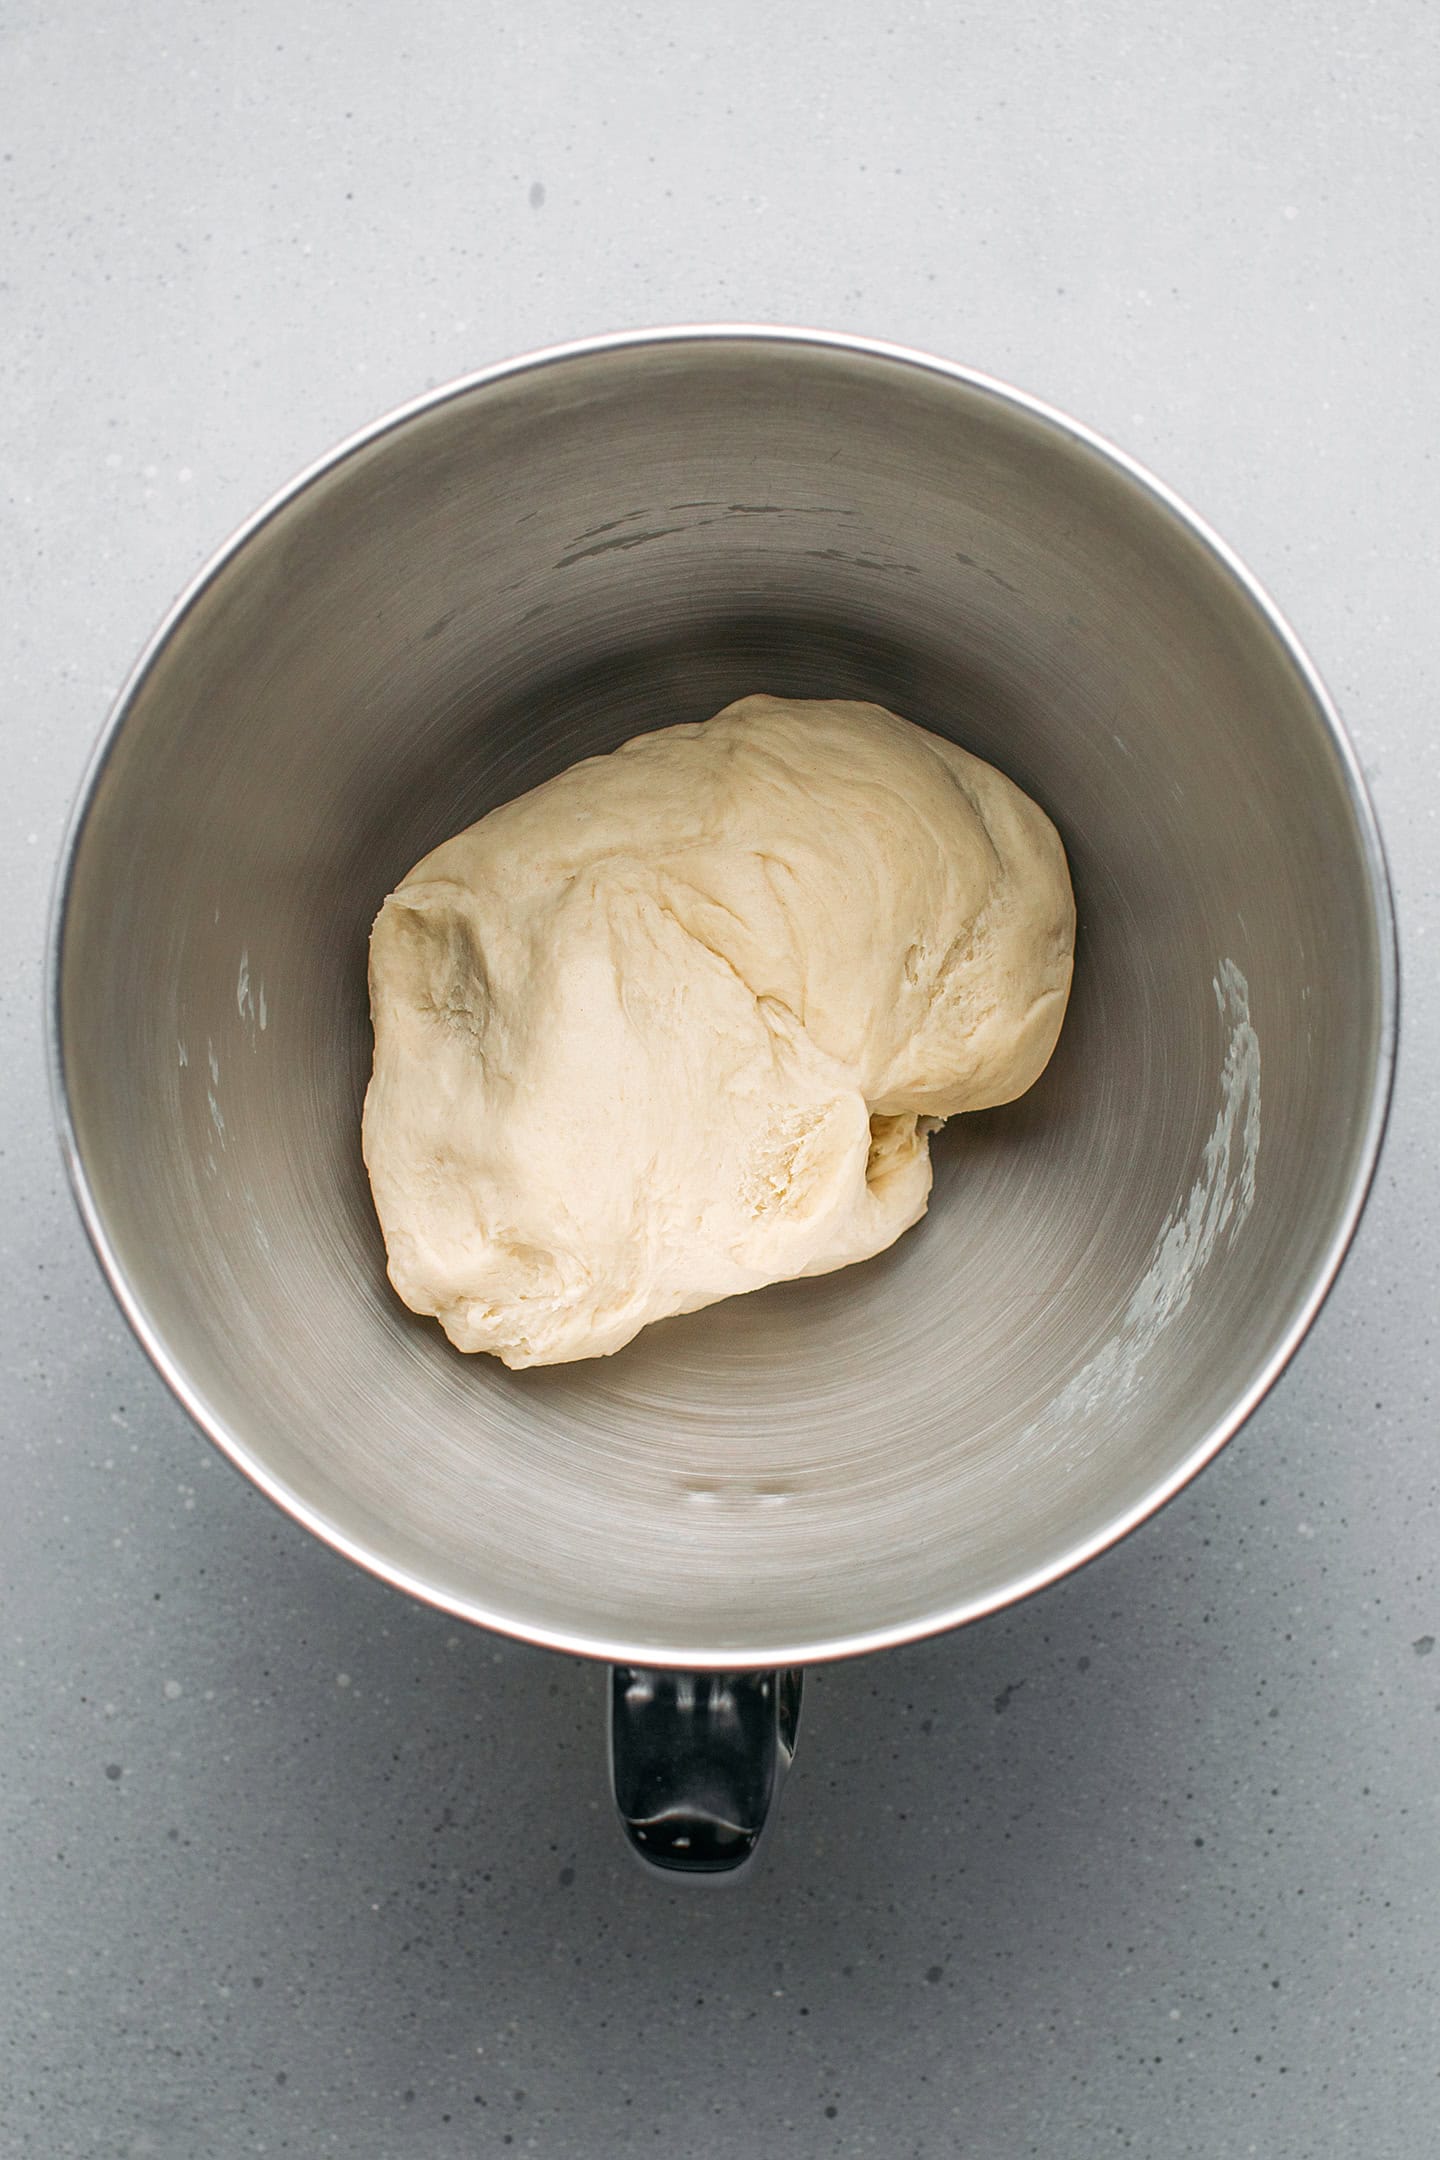
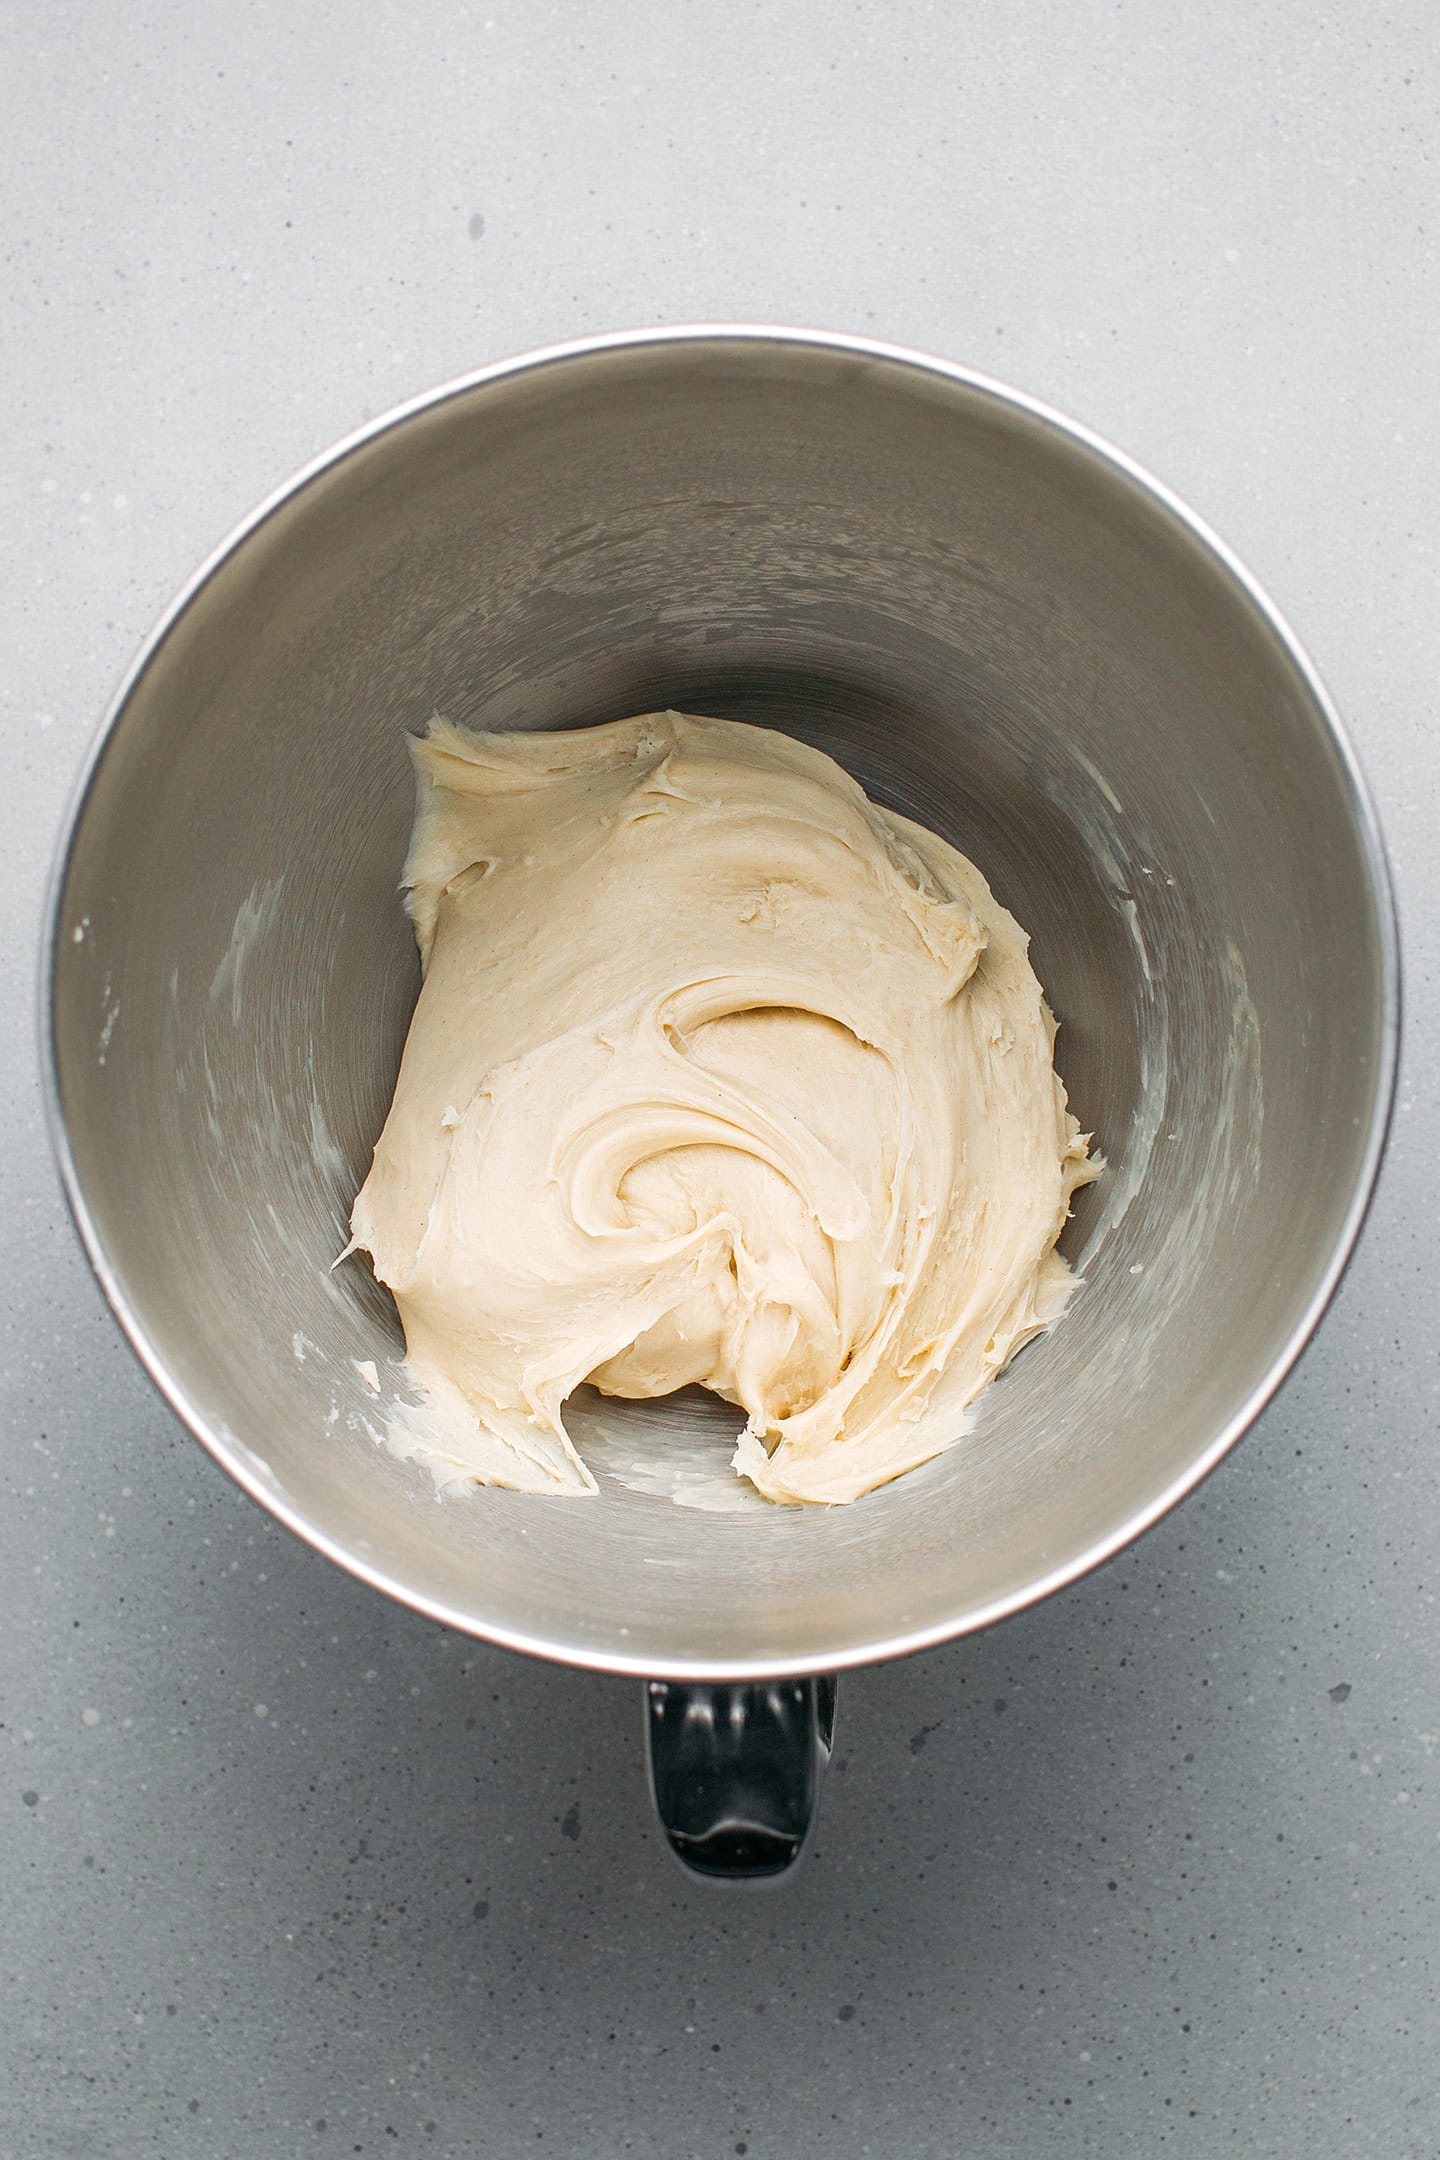
- Knead on medium speed. Add the salt and knead at a speed of 4-5 for another 20-25 minutes or until the dough is very smooth and stretchy. Ultimately, it should pass the windowpane test. You can learn more about this in my vegan brioche recipe. Do not add more flour – the dough is supposed to be soft and a bit sticky.
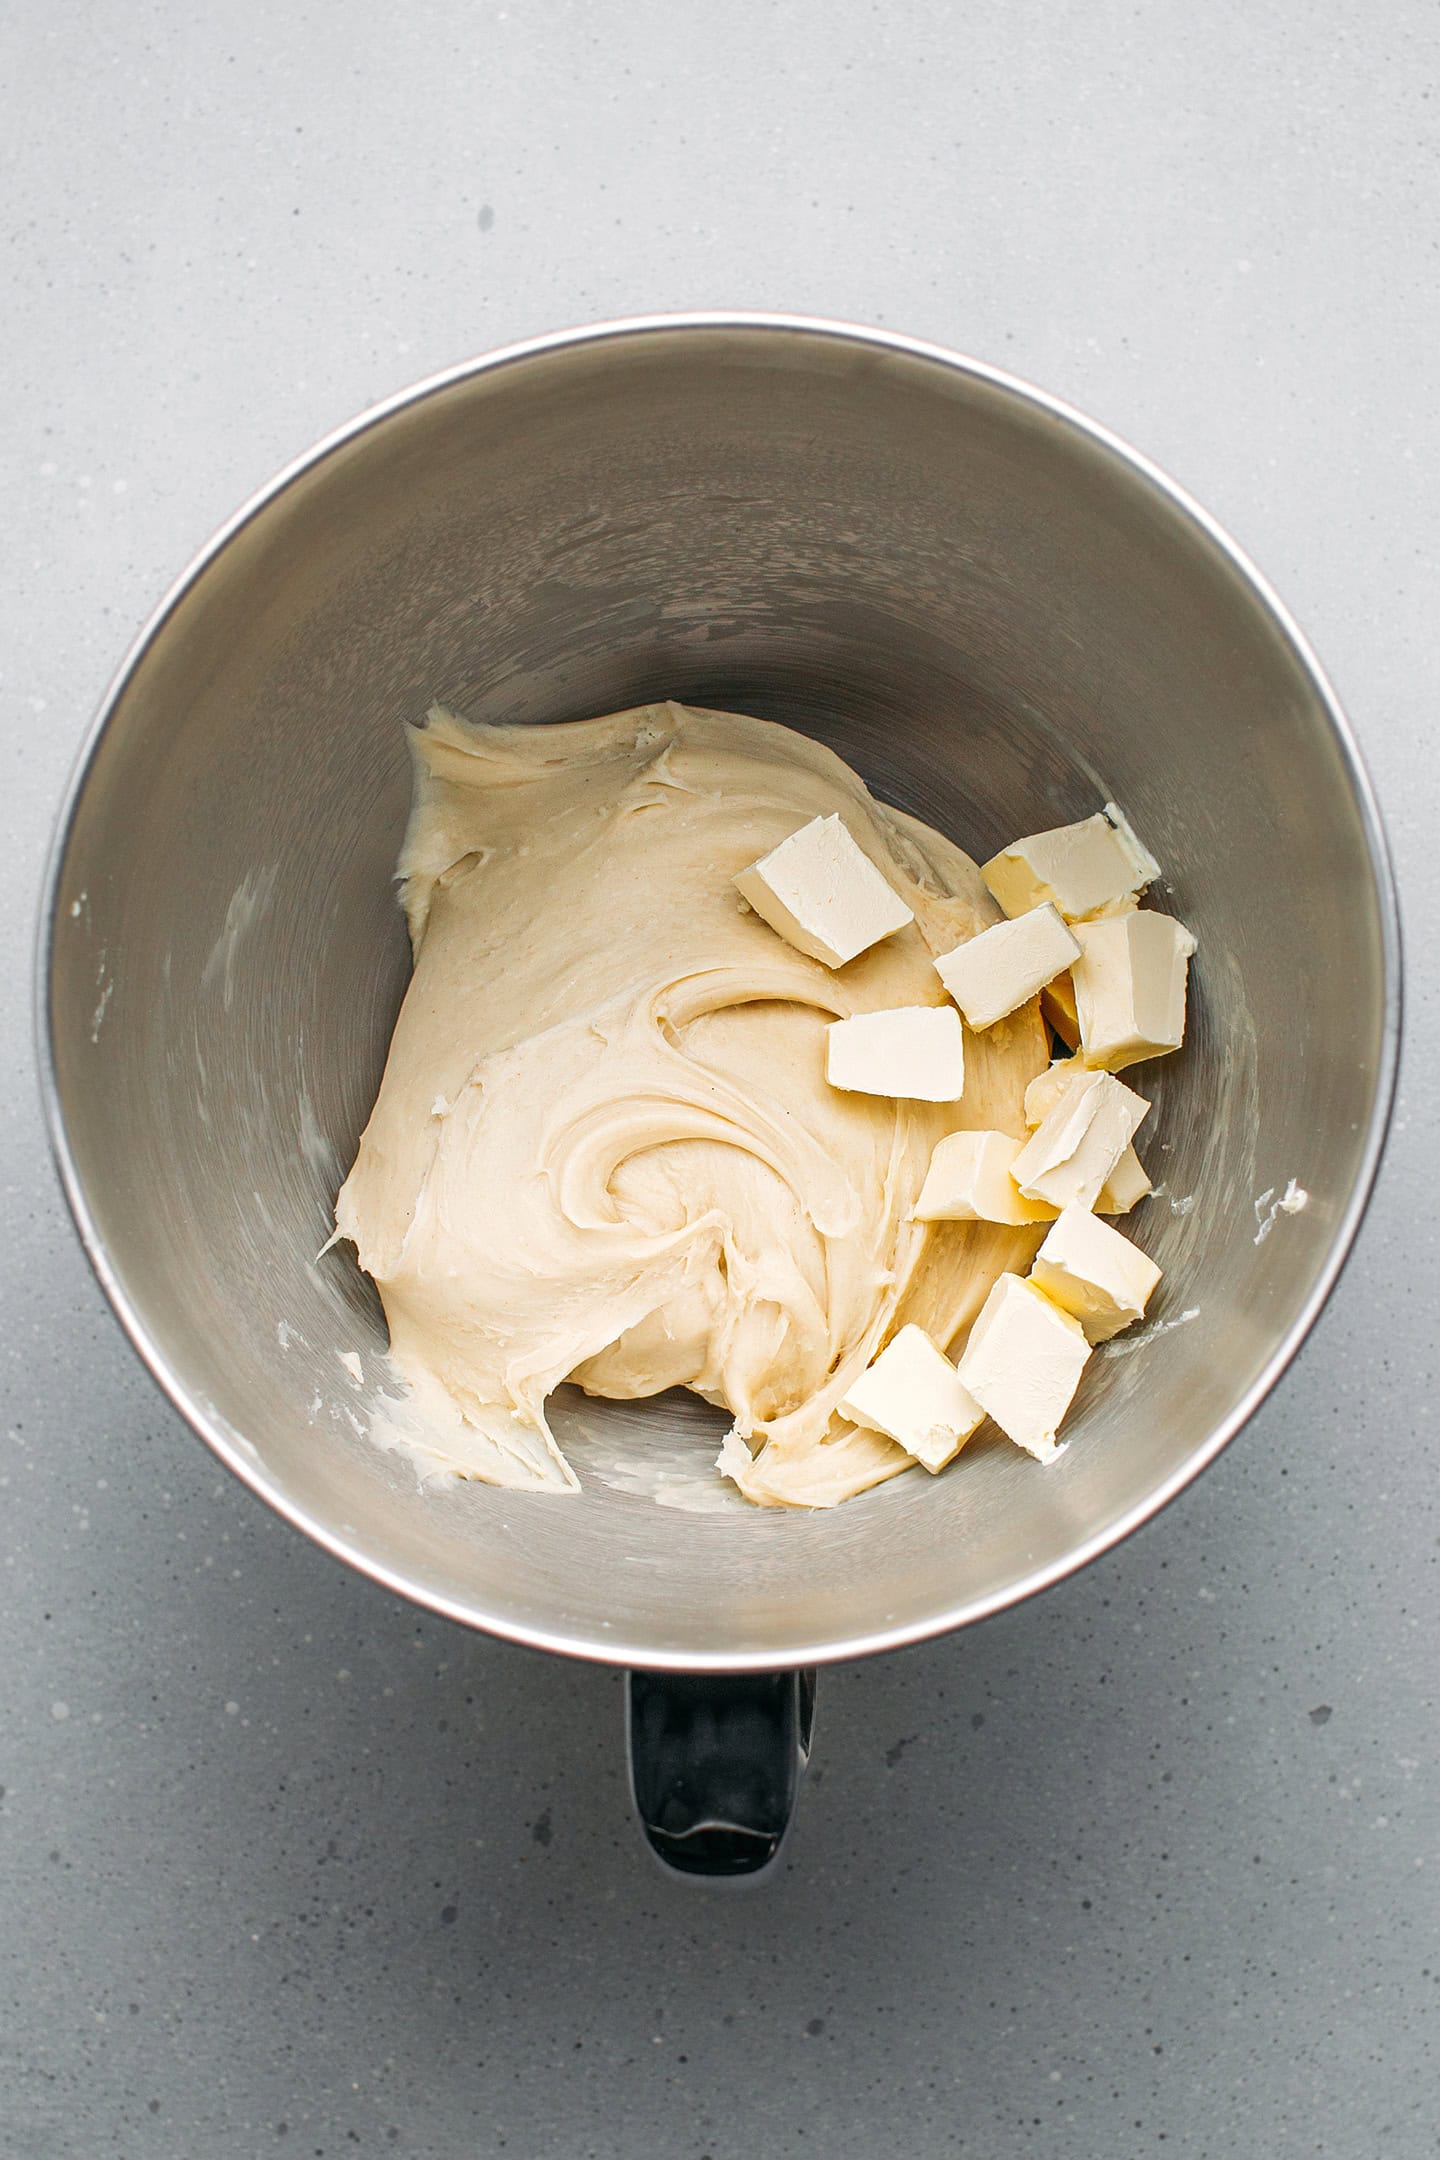
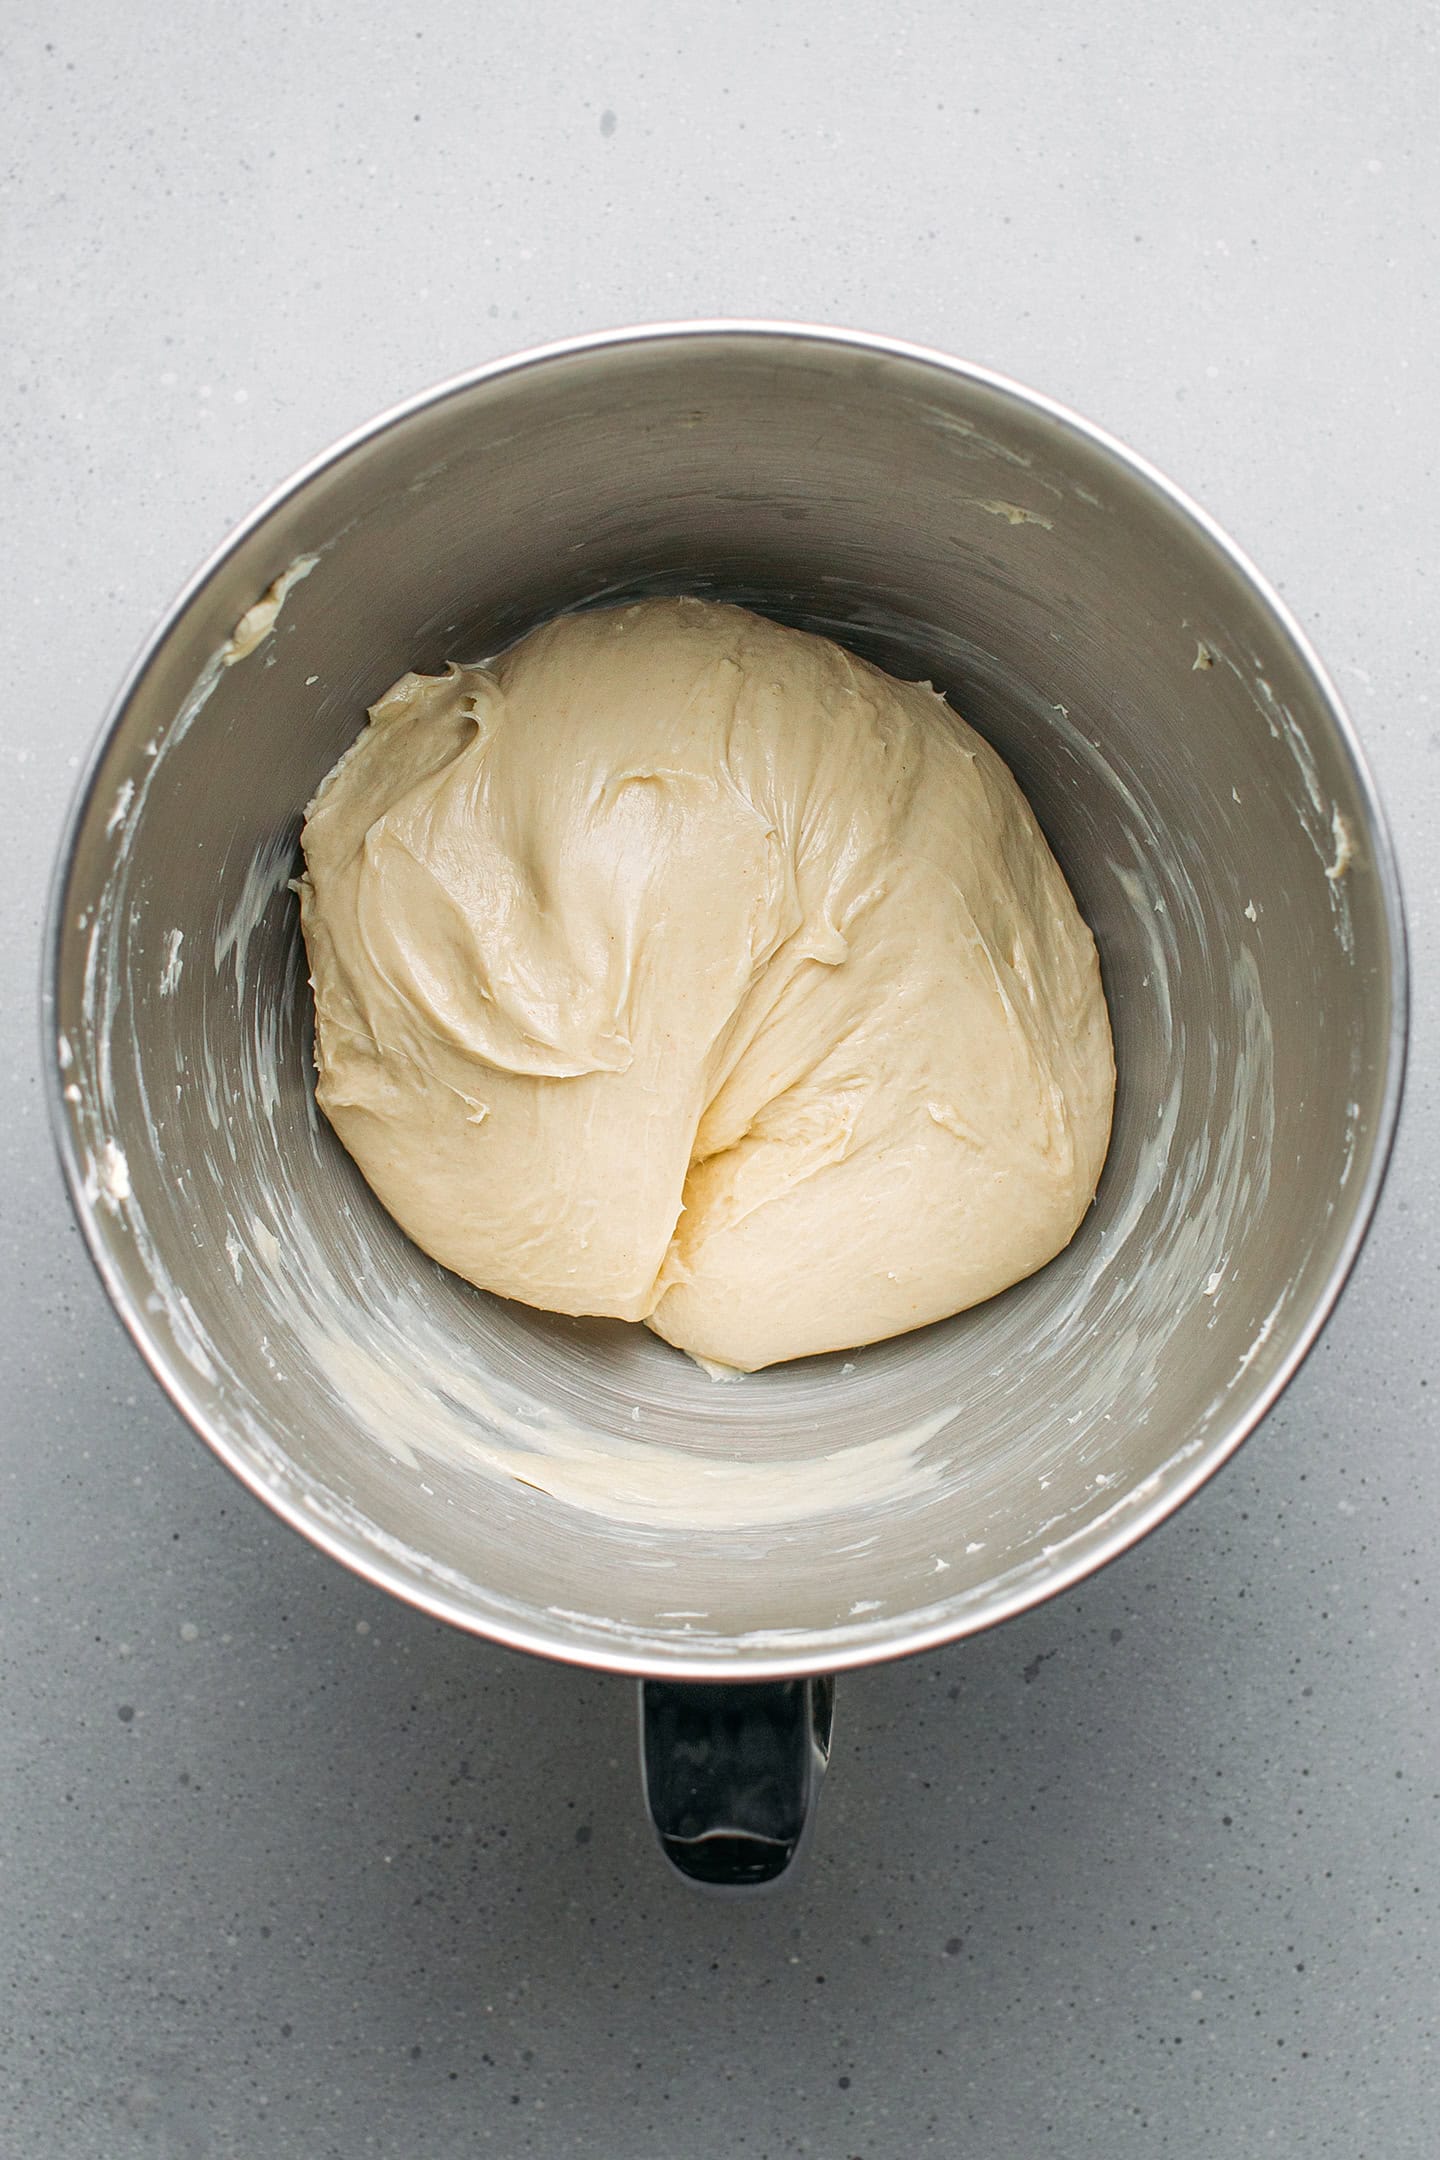
- Slowly add the butter. As the stand mixer runs on speed 4-5, slowly add the diced butter. I recommend adding about 1/3 of the butter and adding more once it is fully incorporated. It should take about 5 minutes for all of the butter to be fully incorporated into the dough. Note: The dough should be very smooth and almost shiny. Be aware that at this point, the dough will also be very soft and slightly sticky. Once again, this is normal.
3. Let it rise
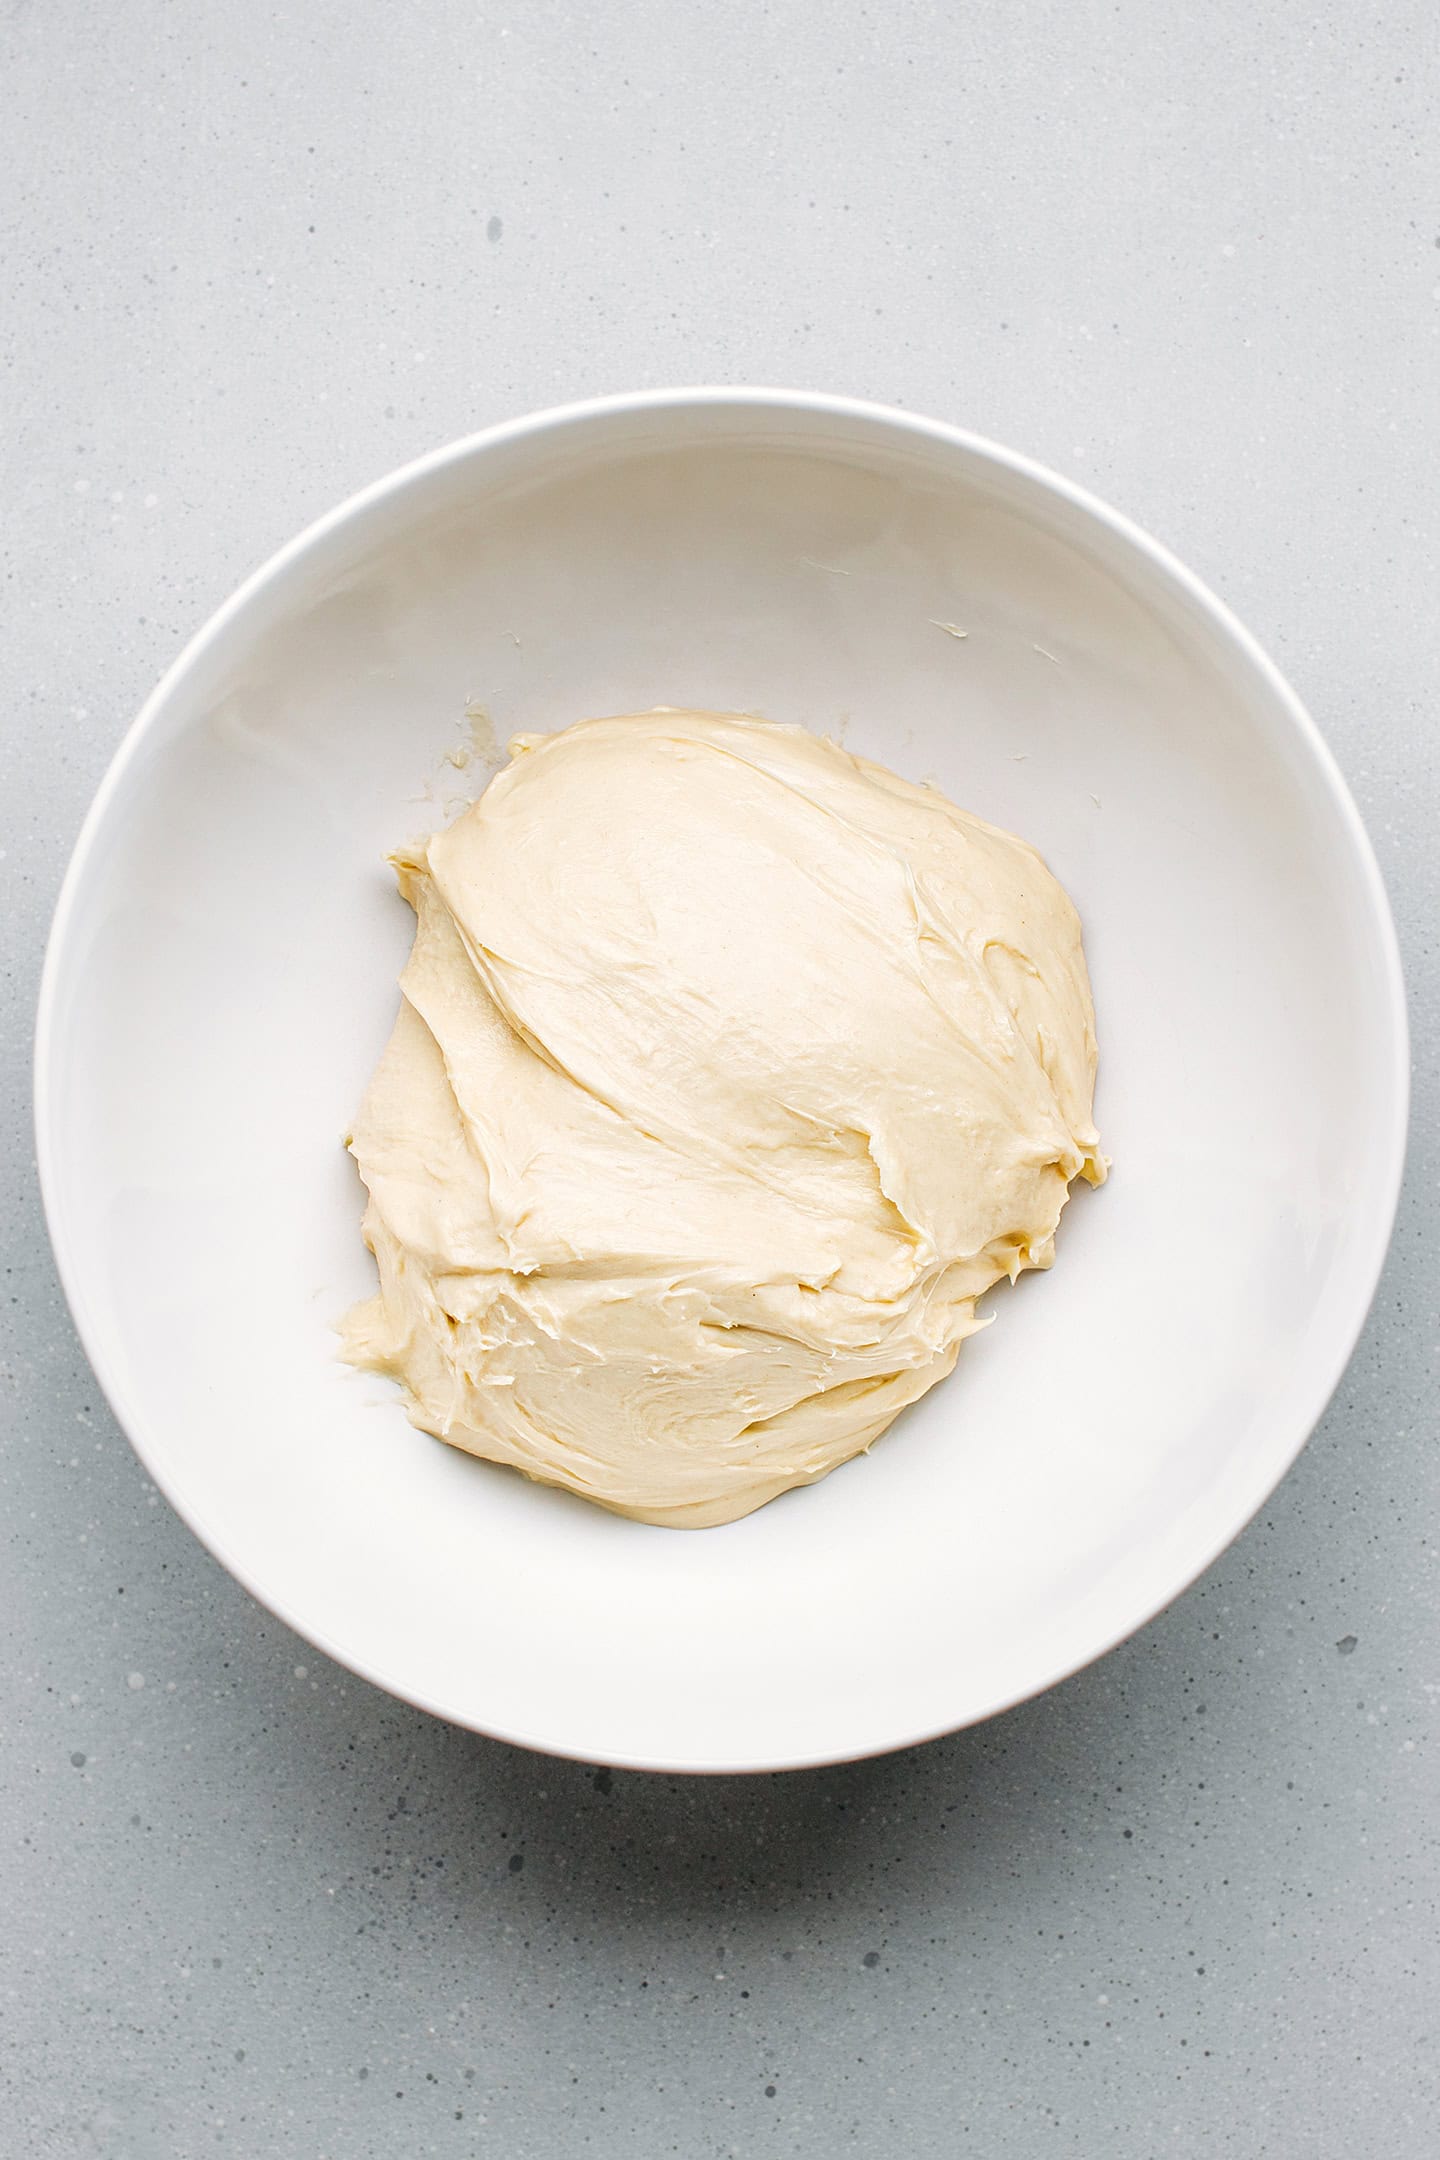
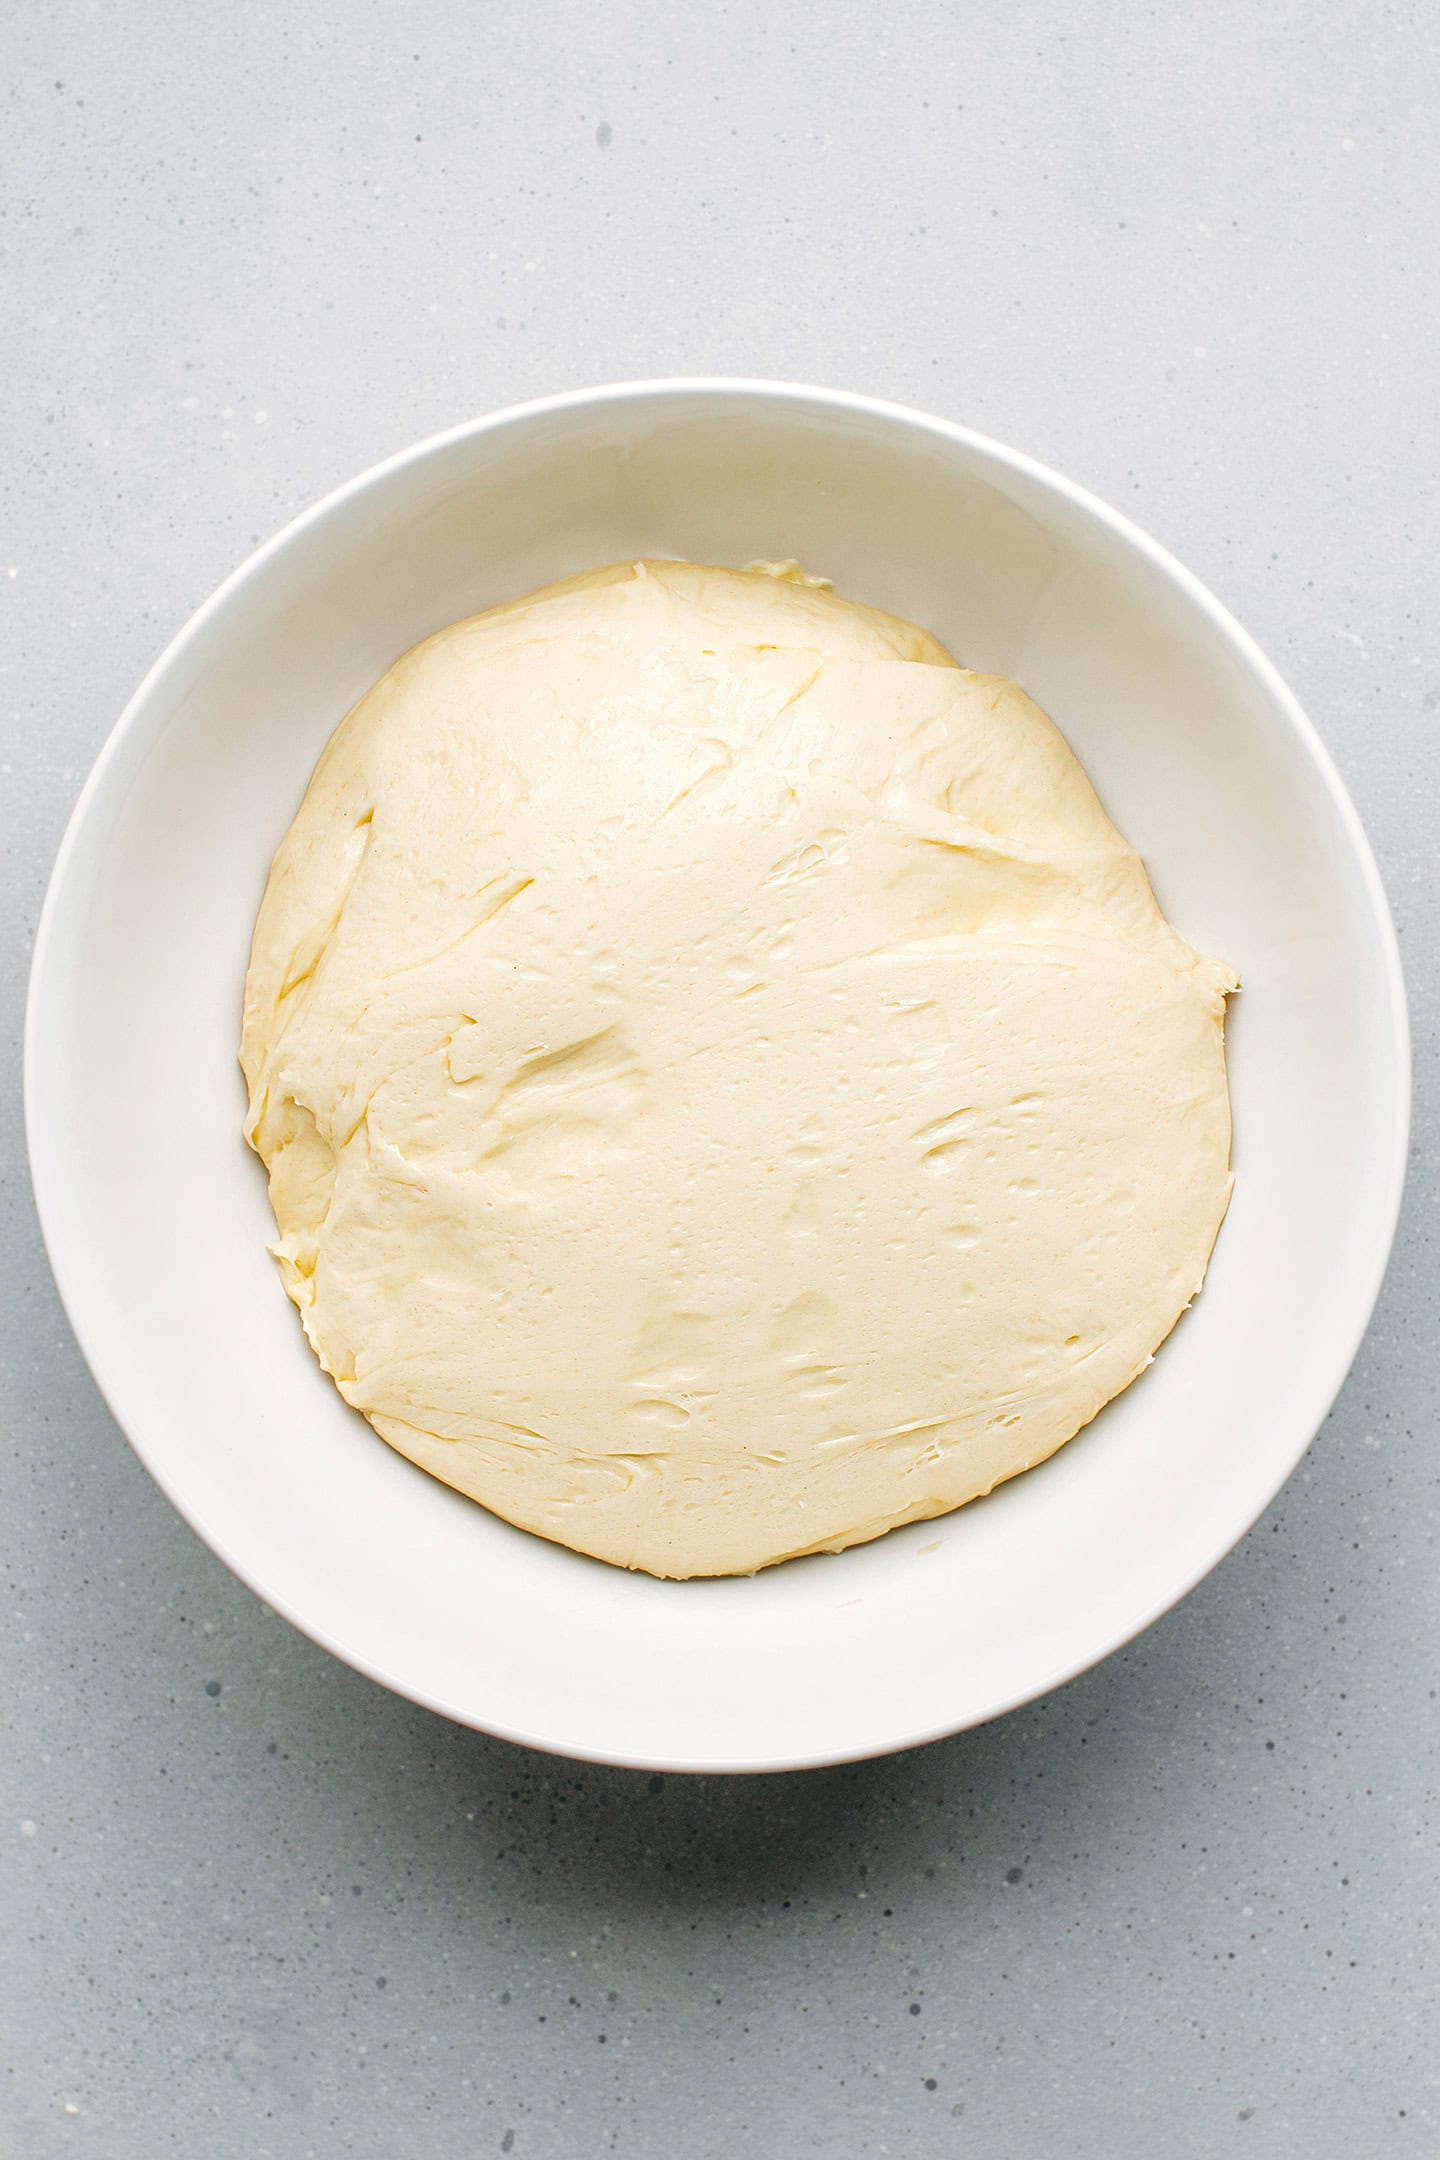
- First rise. Transfer the dough to a mixing bowl and cover it with plastic wrap touching the dough. This will prevent it from forming a crust. Allow the dough to rise in a warm place for about 45 minutes. I usually simply place it in my oven with the light turned on.
- Second rise. Once the dough has almost doubled in volume, punch it to deflate it and cover it with plastic wrap again. Transfer to the refrigerator and allow it to rise for at least 6 hours, preferably overnight. This will allow the dough to firm up.
4. Roll it out
- Grease a baking pan. Lightly grease an 8.5×8.5-inch (22×22 cm) baking pan with butter.
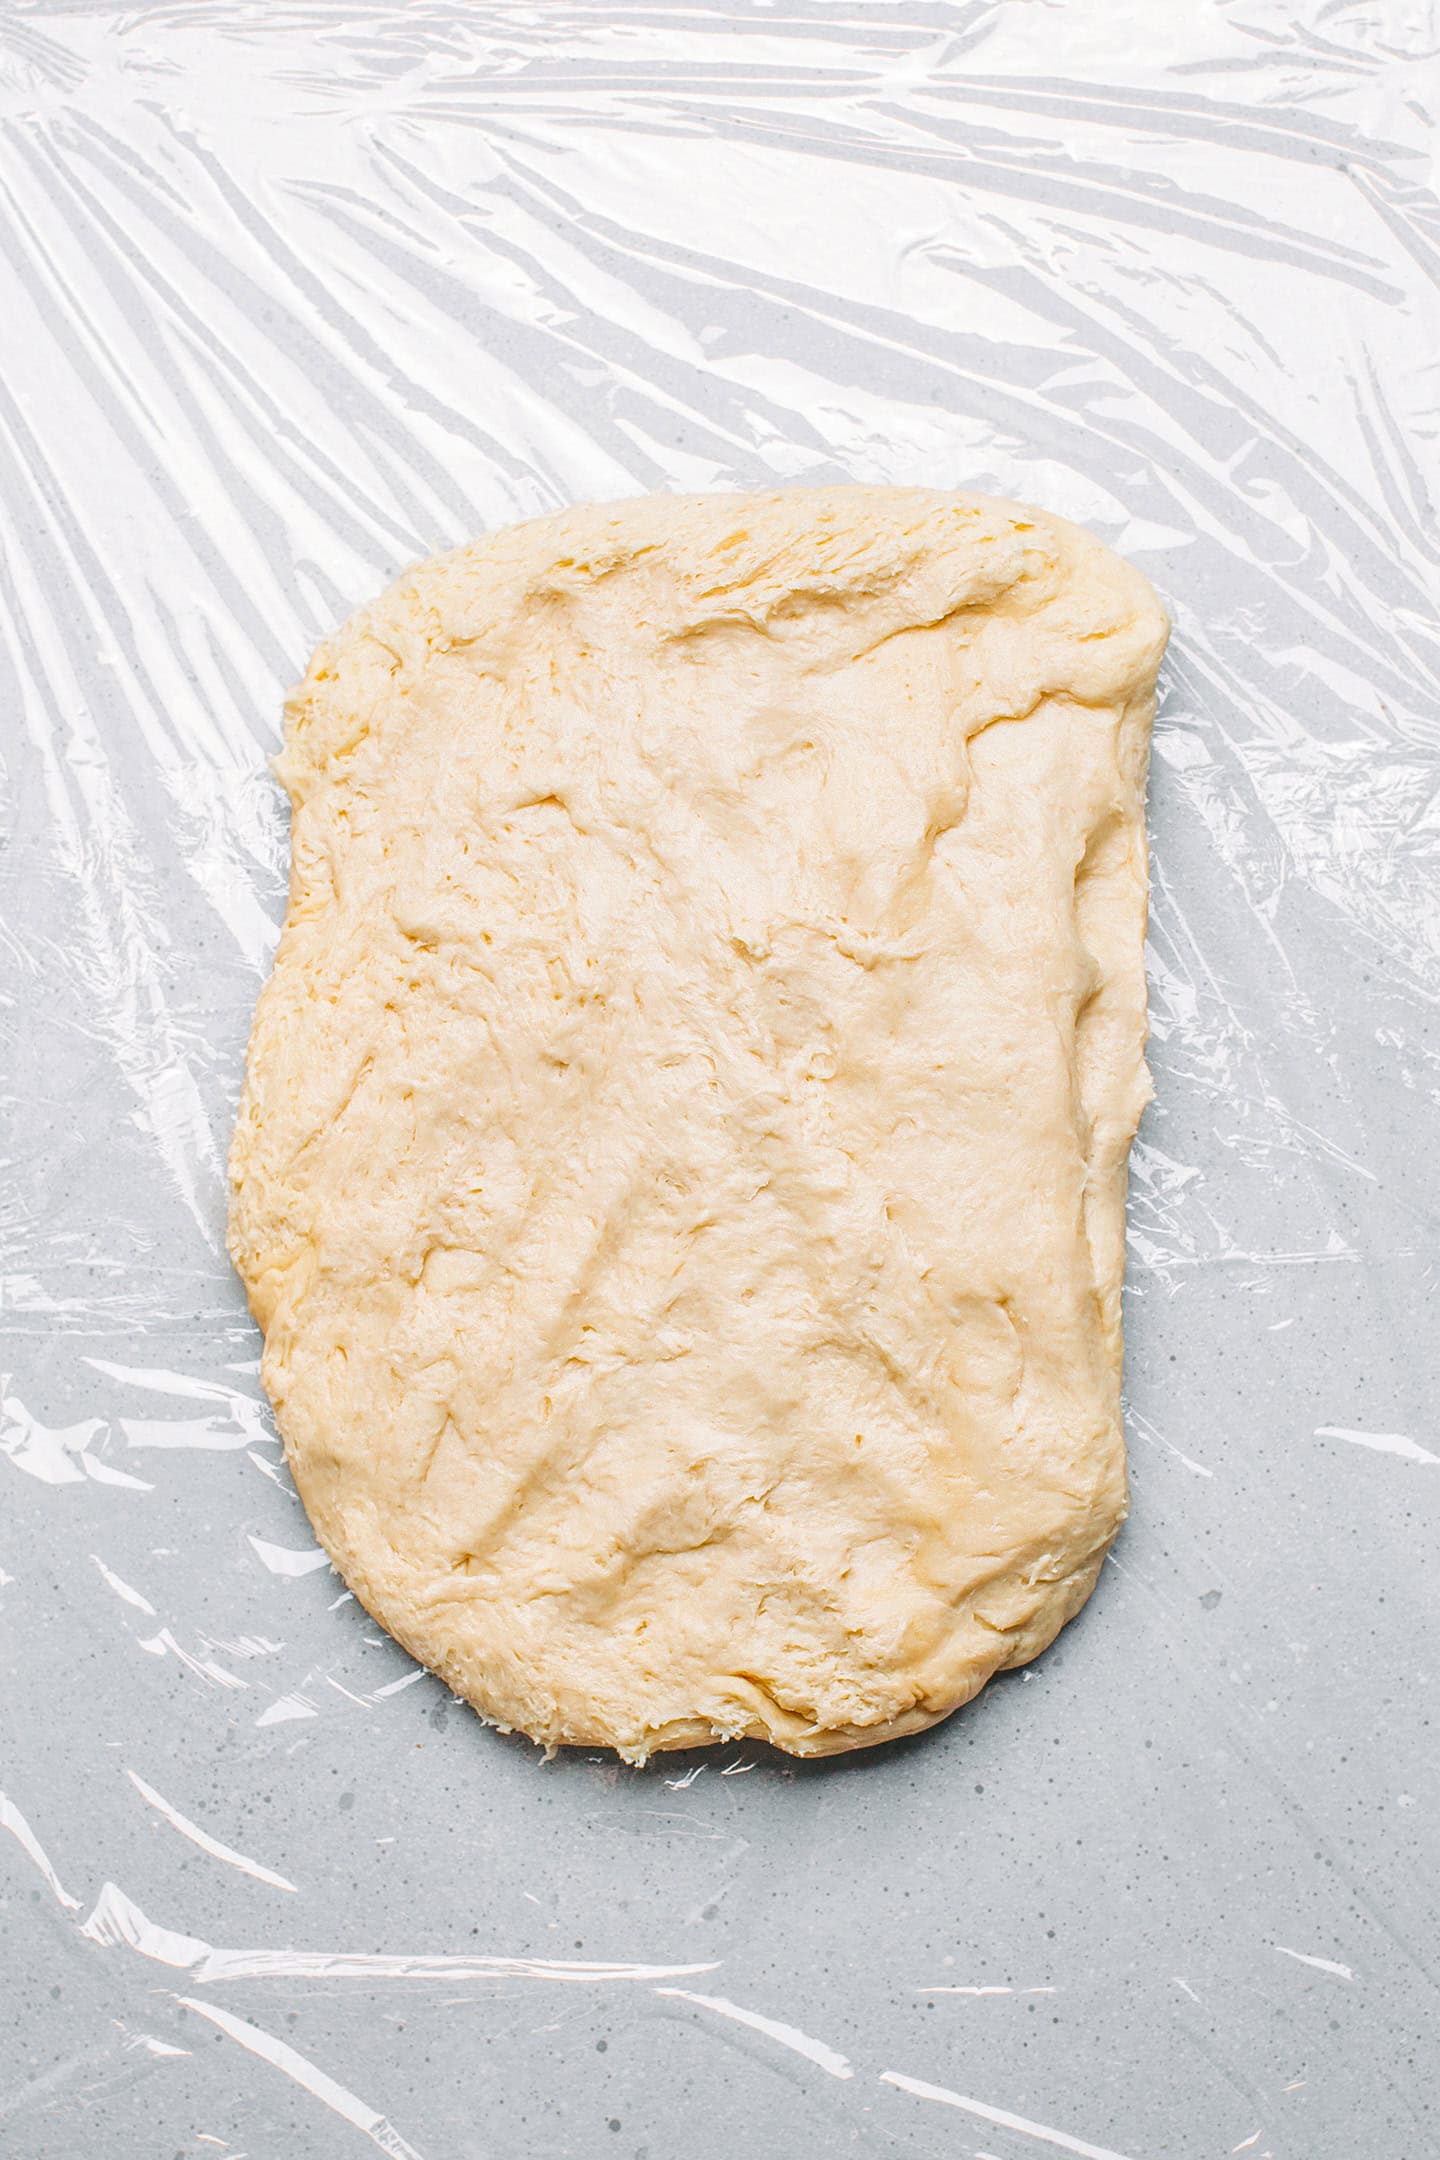
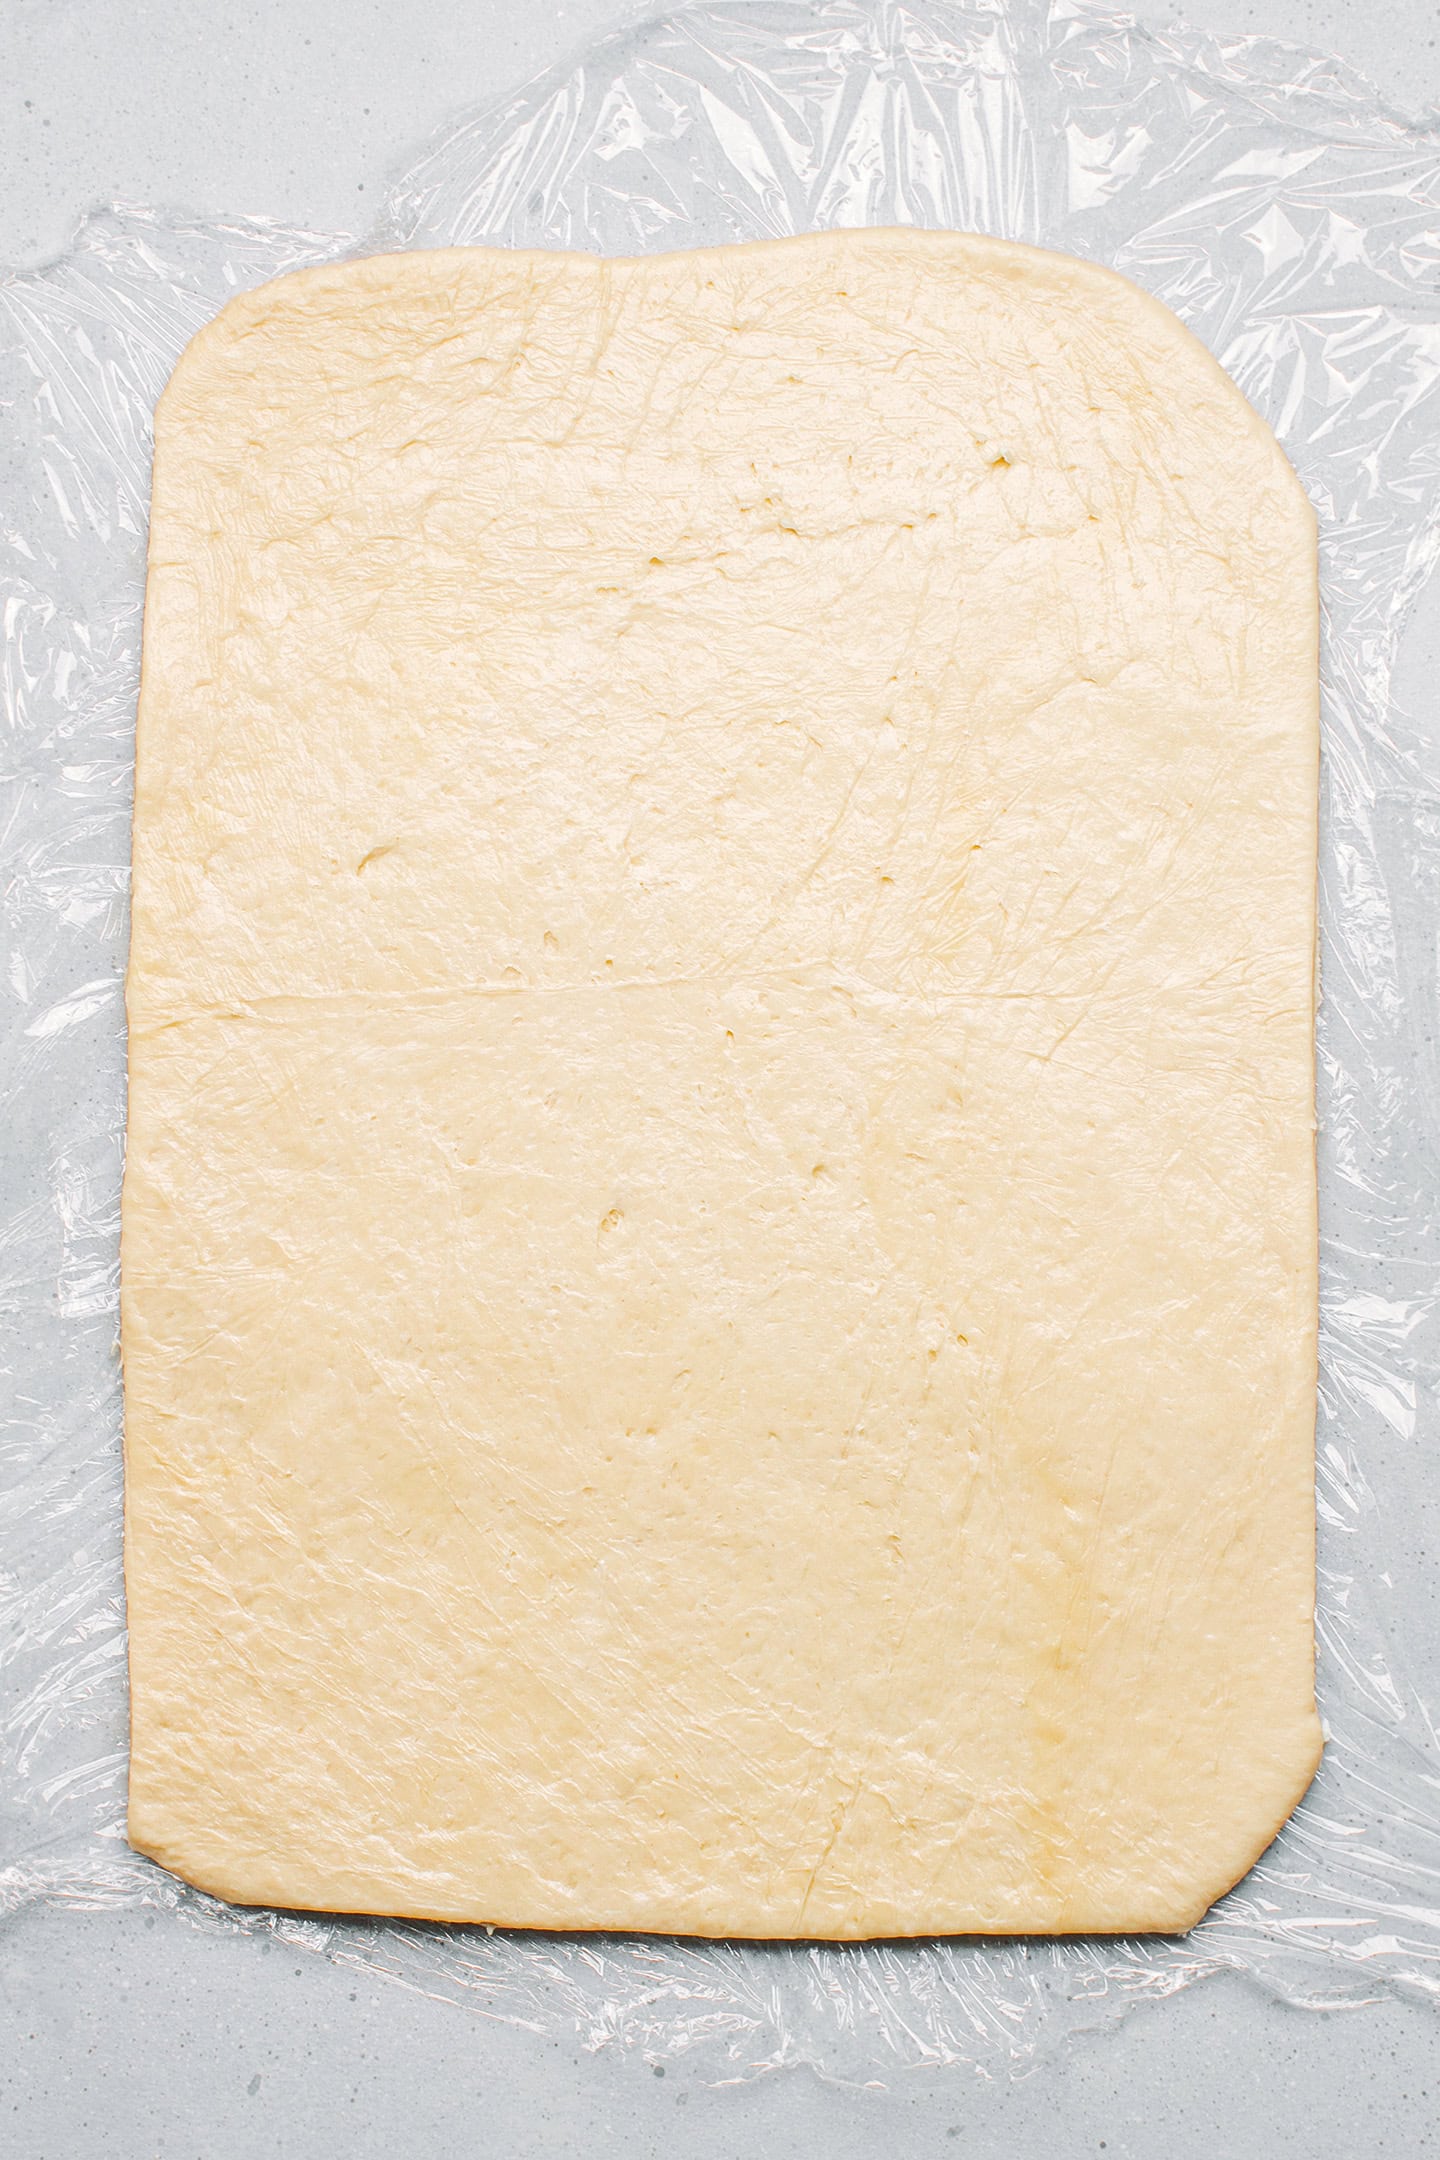
- Flatten. Once the dough has chilled overnight in the refrigerator, it’s time to flatten it. To do so, line a working surface with a layer of plastic wrap. Place the dough on top and shape it into a rectangle. Next, top the dough with another layer of plastic wrap and use a rolling pin to flatten the dough into a thin rectangle of about 16×11 inches (40x28cm).
5. Spread the cinnamon filling and roll
- Make the cinnamon sugar filling. Add the vegan butter, granulated sugar, and ground cinnamon to a small bowl and mix until fully combined. Set aside.
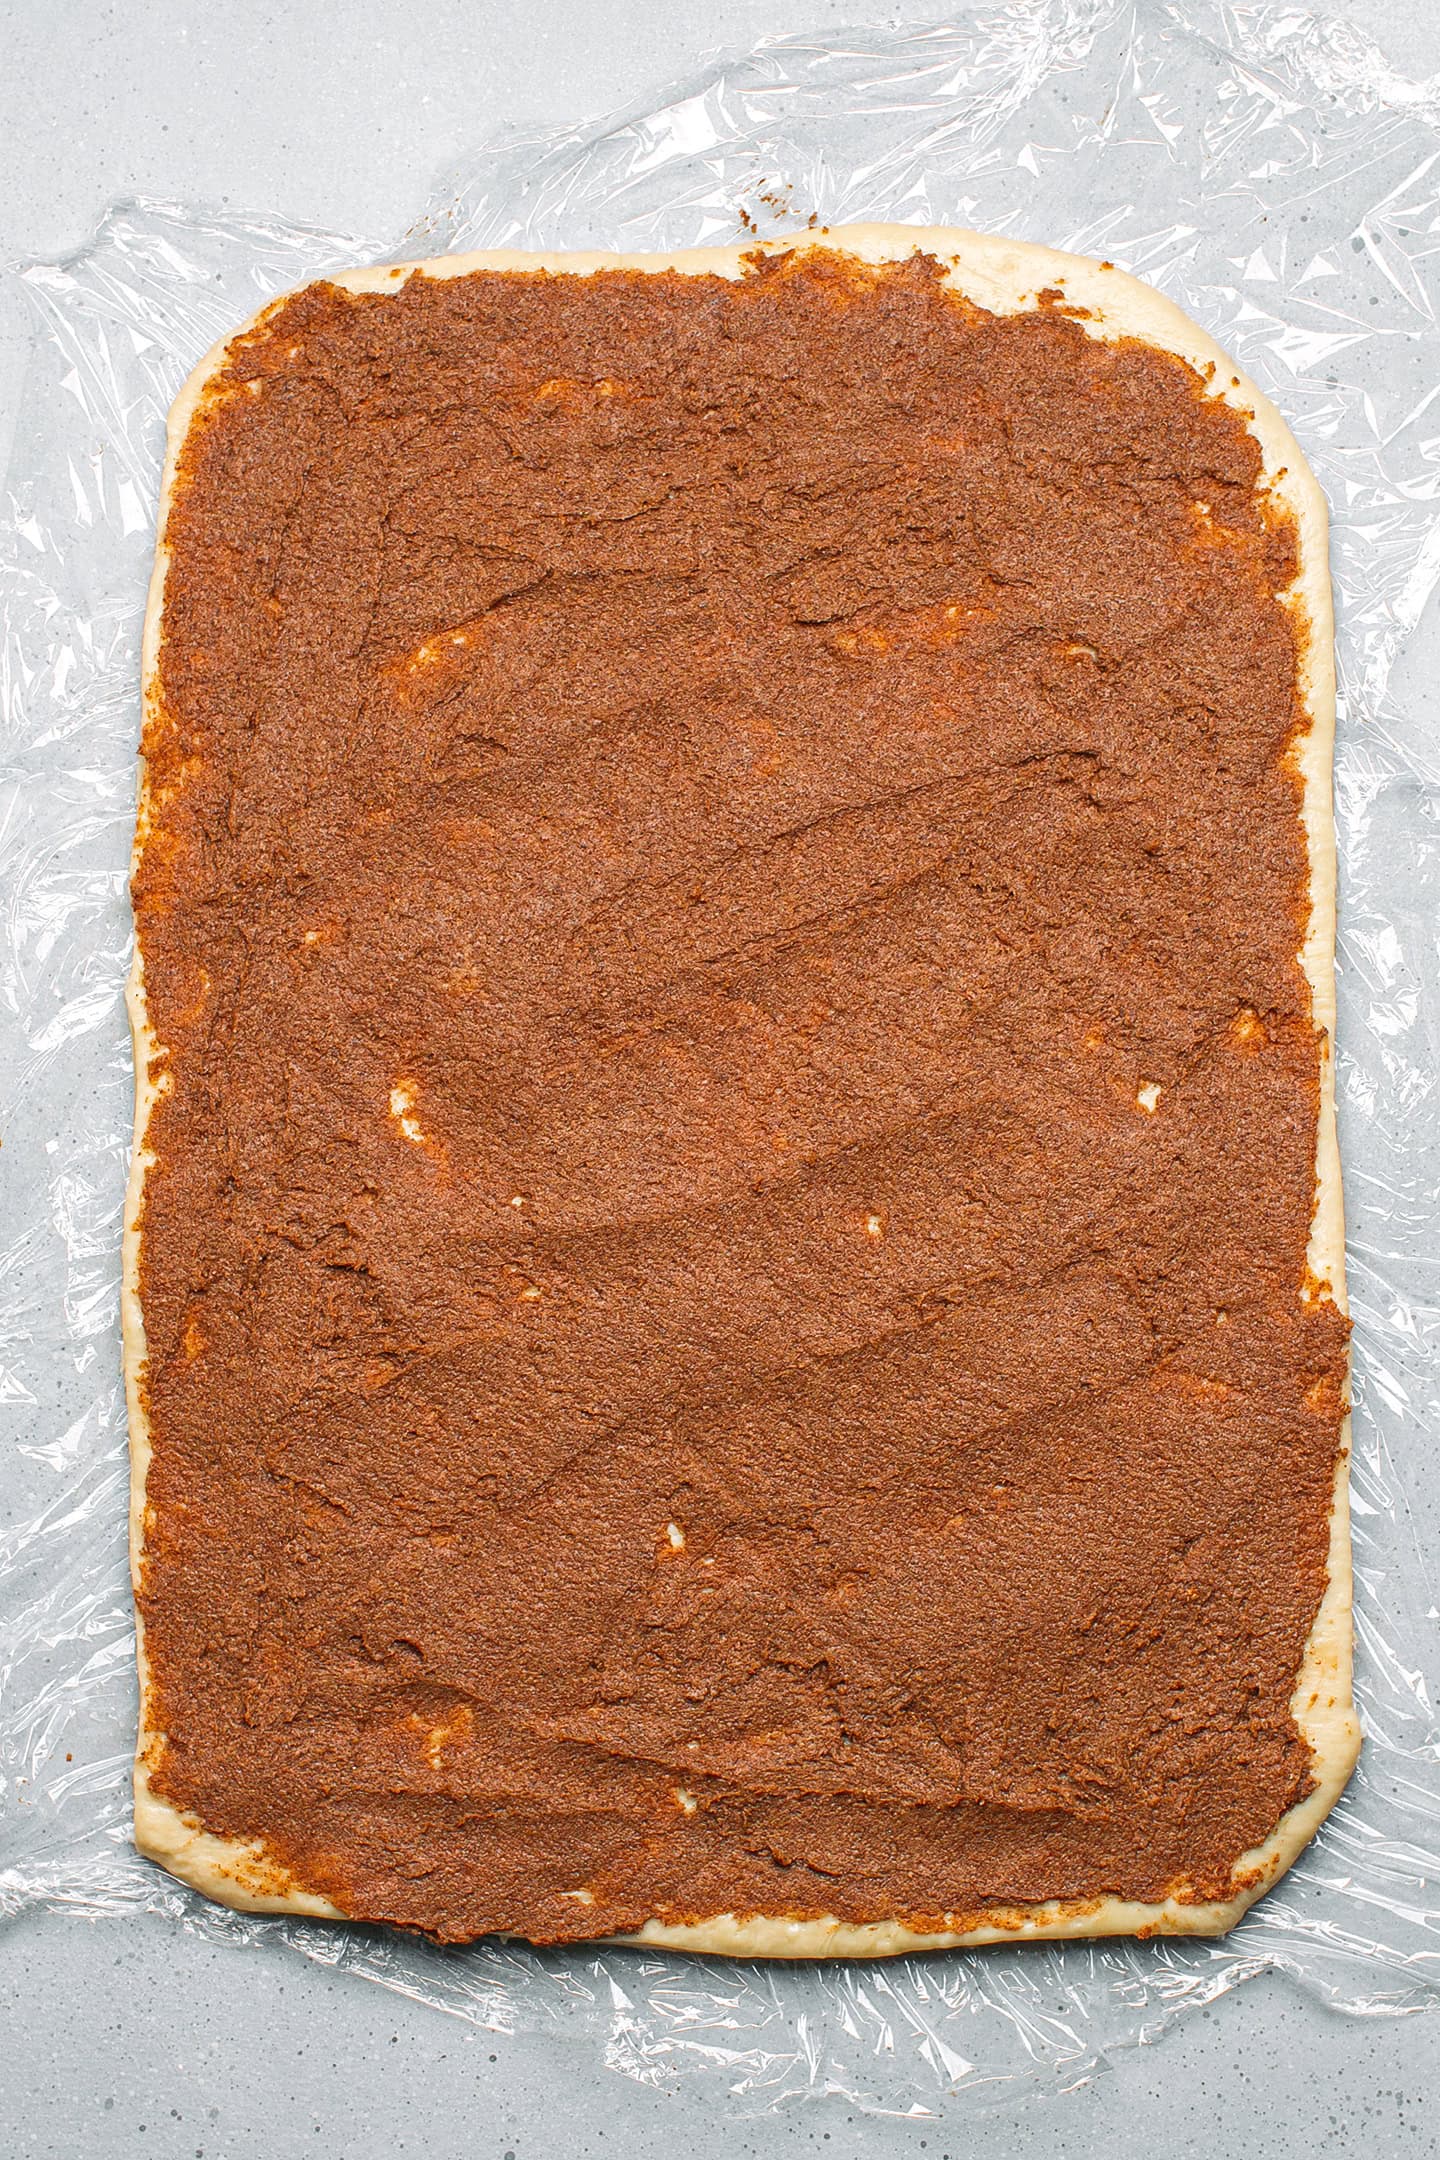
- Spread the filling. Using a spoon or spatula, spread the cinnamon sugar butter filling all over the dough into a thin layer.
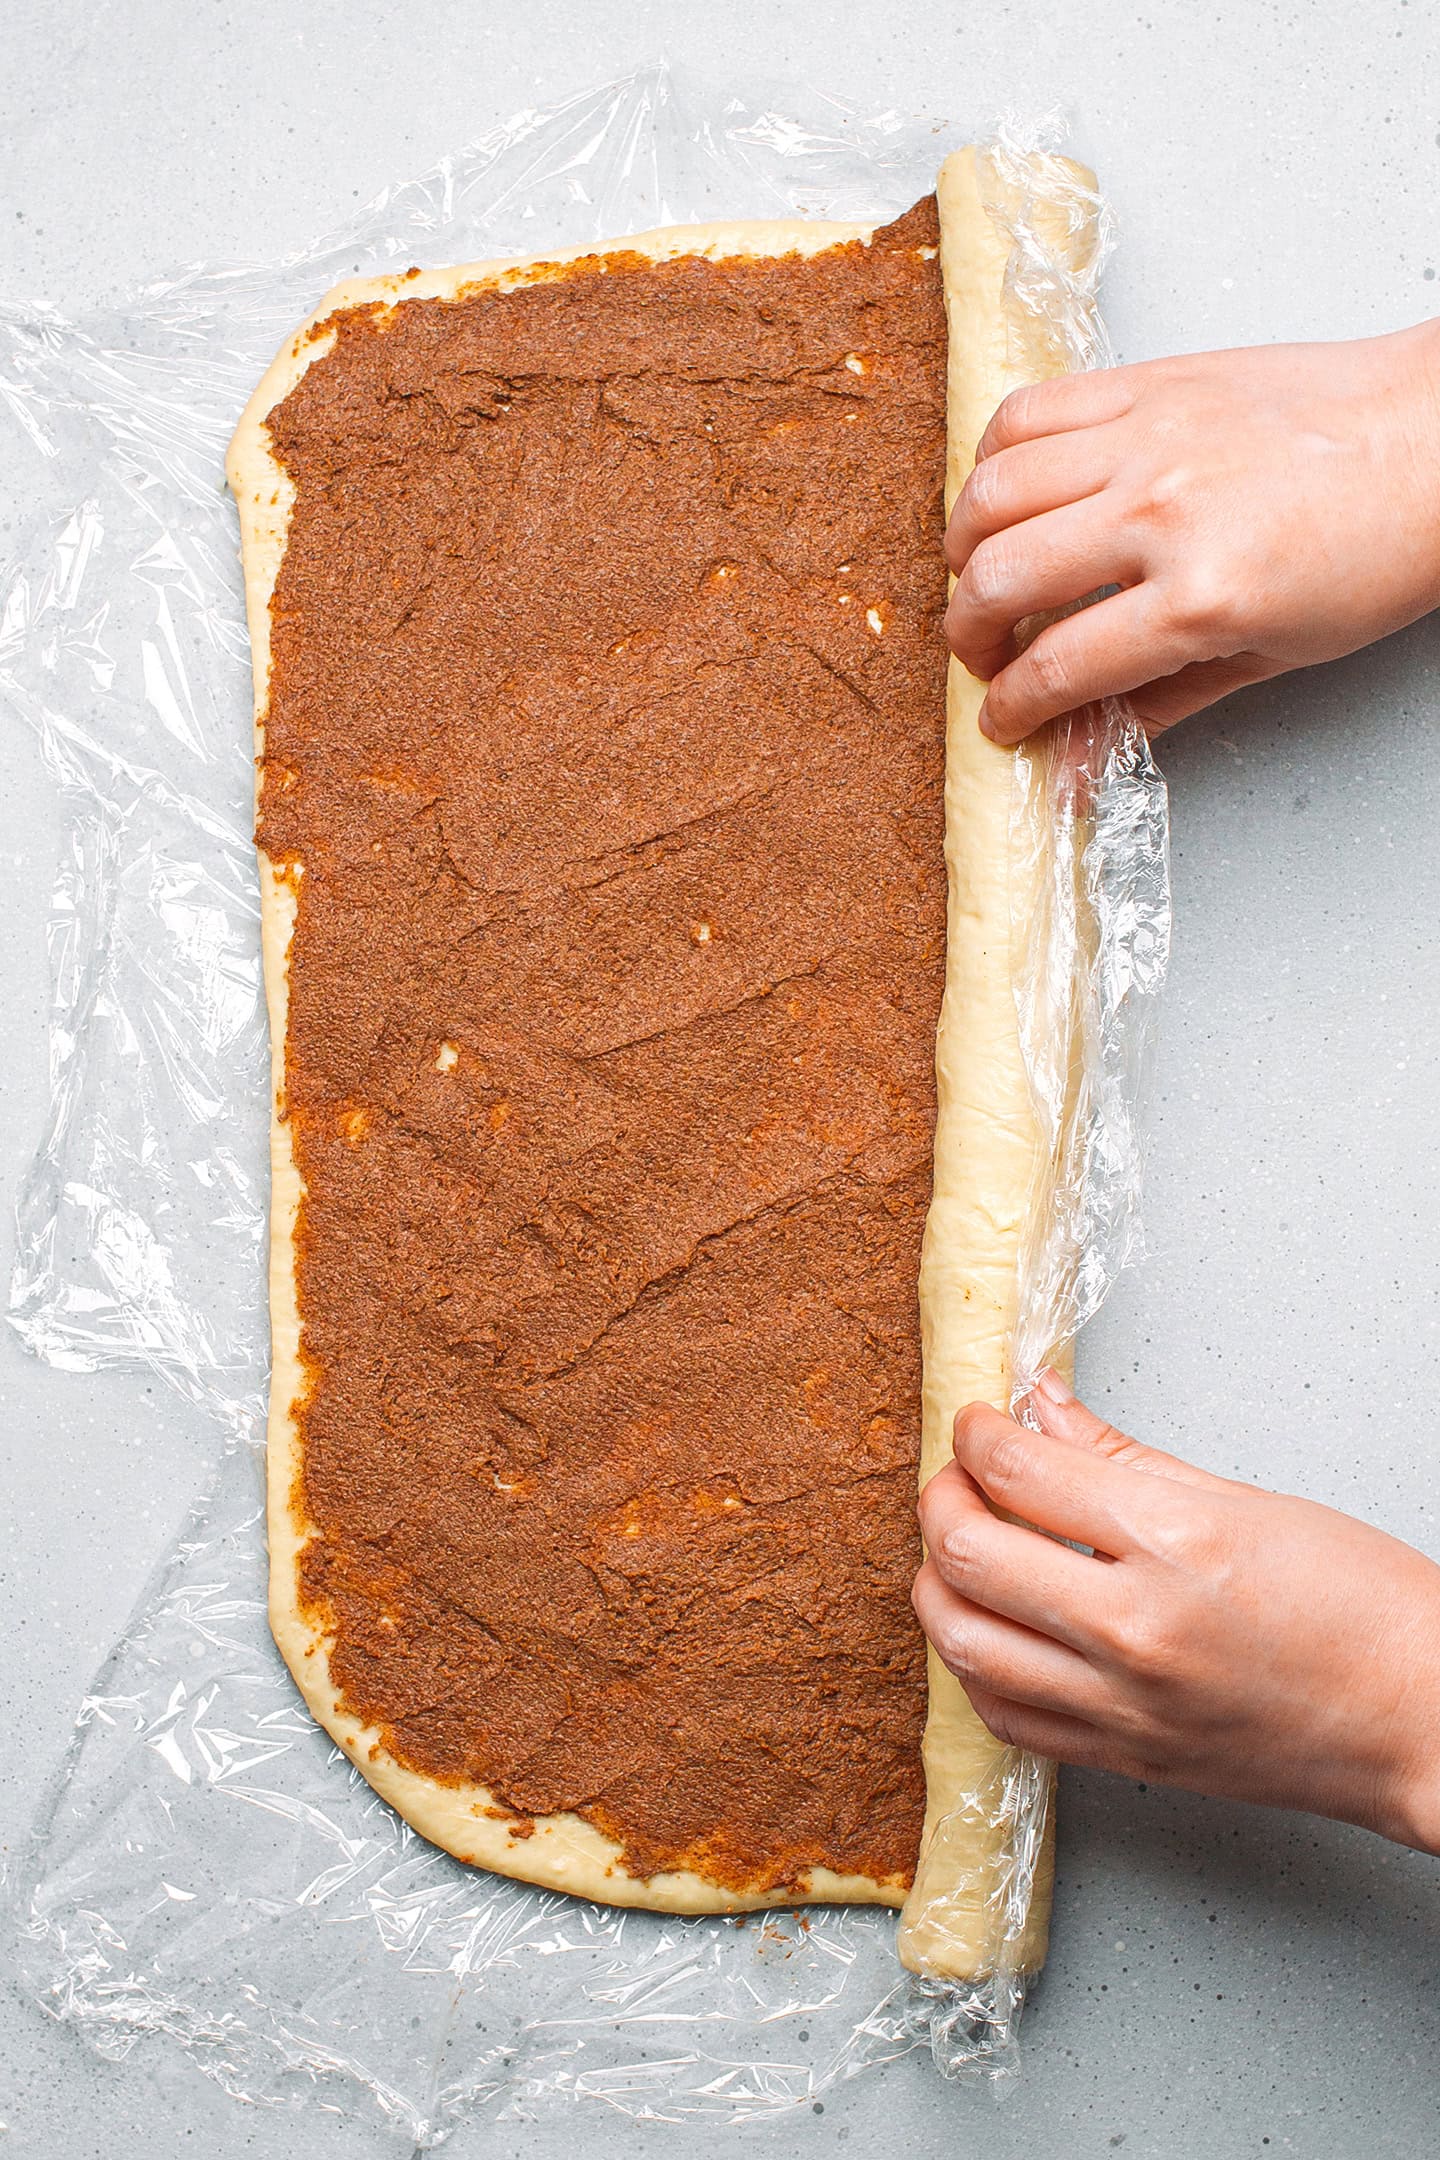
- Roll. Since the dough is quite soft and sticky, I recommend using the plastic wrap to help you roll the dough. Lift the longer side of the plastic wrap and use it to roll out the flattened dough into a log. It should be tight but not overly tight – otherwise, the brioche dough won’t be tender.
6. Slice
- Slice into shorter rolls. Once the dough has been rolled out, cut off about 2 inches (5 cm) on each side of the log. You can transfer those to a baking sheet and bake them as individual rolls. Measure the remaining log and divide the length by 9. Use a small knife to make marks on the dough, creating 9 equal pieces of about 1.4 inches (3.5 cm).
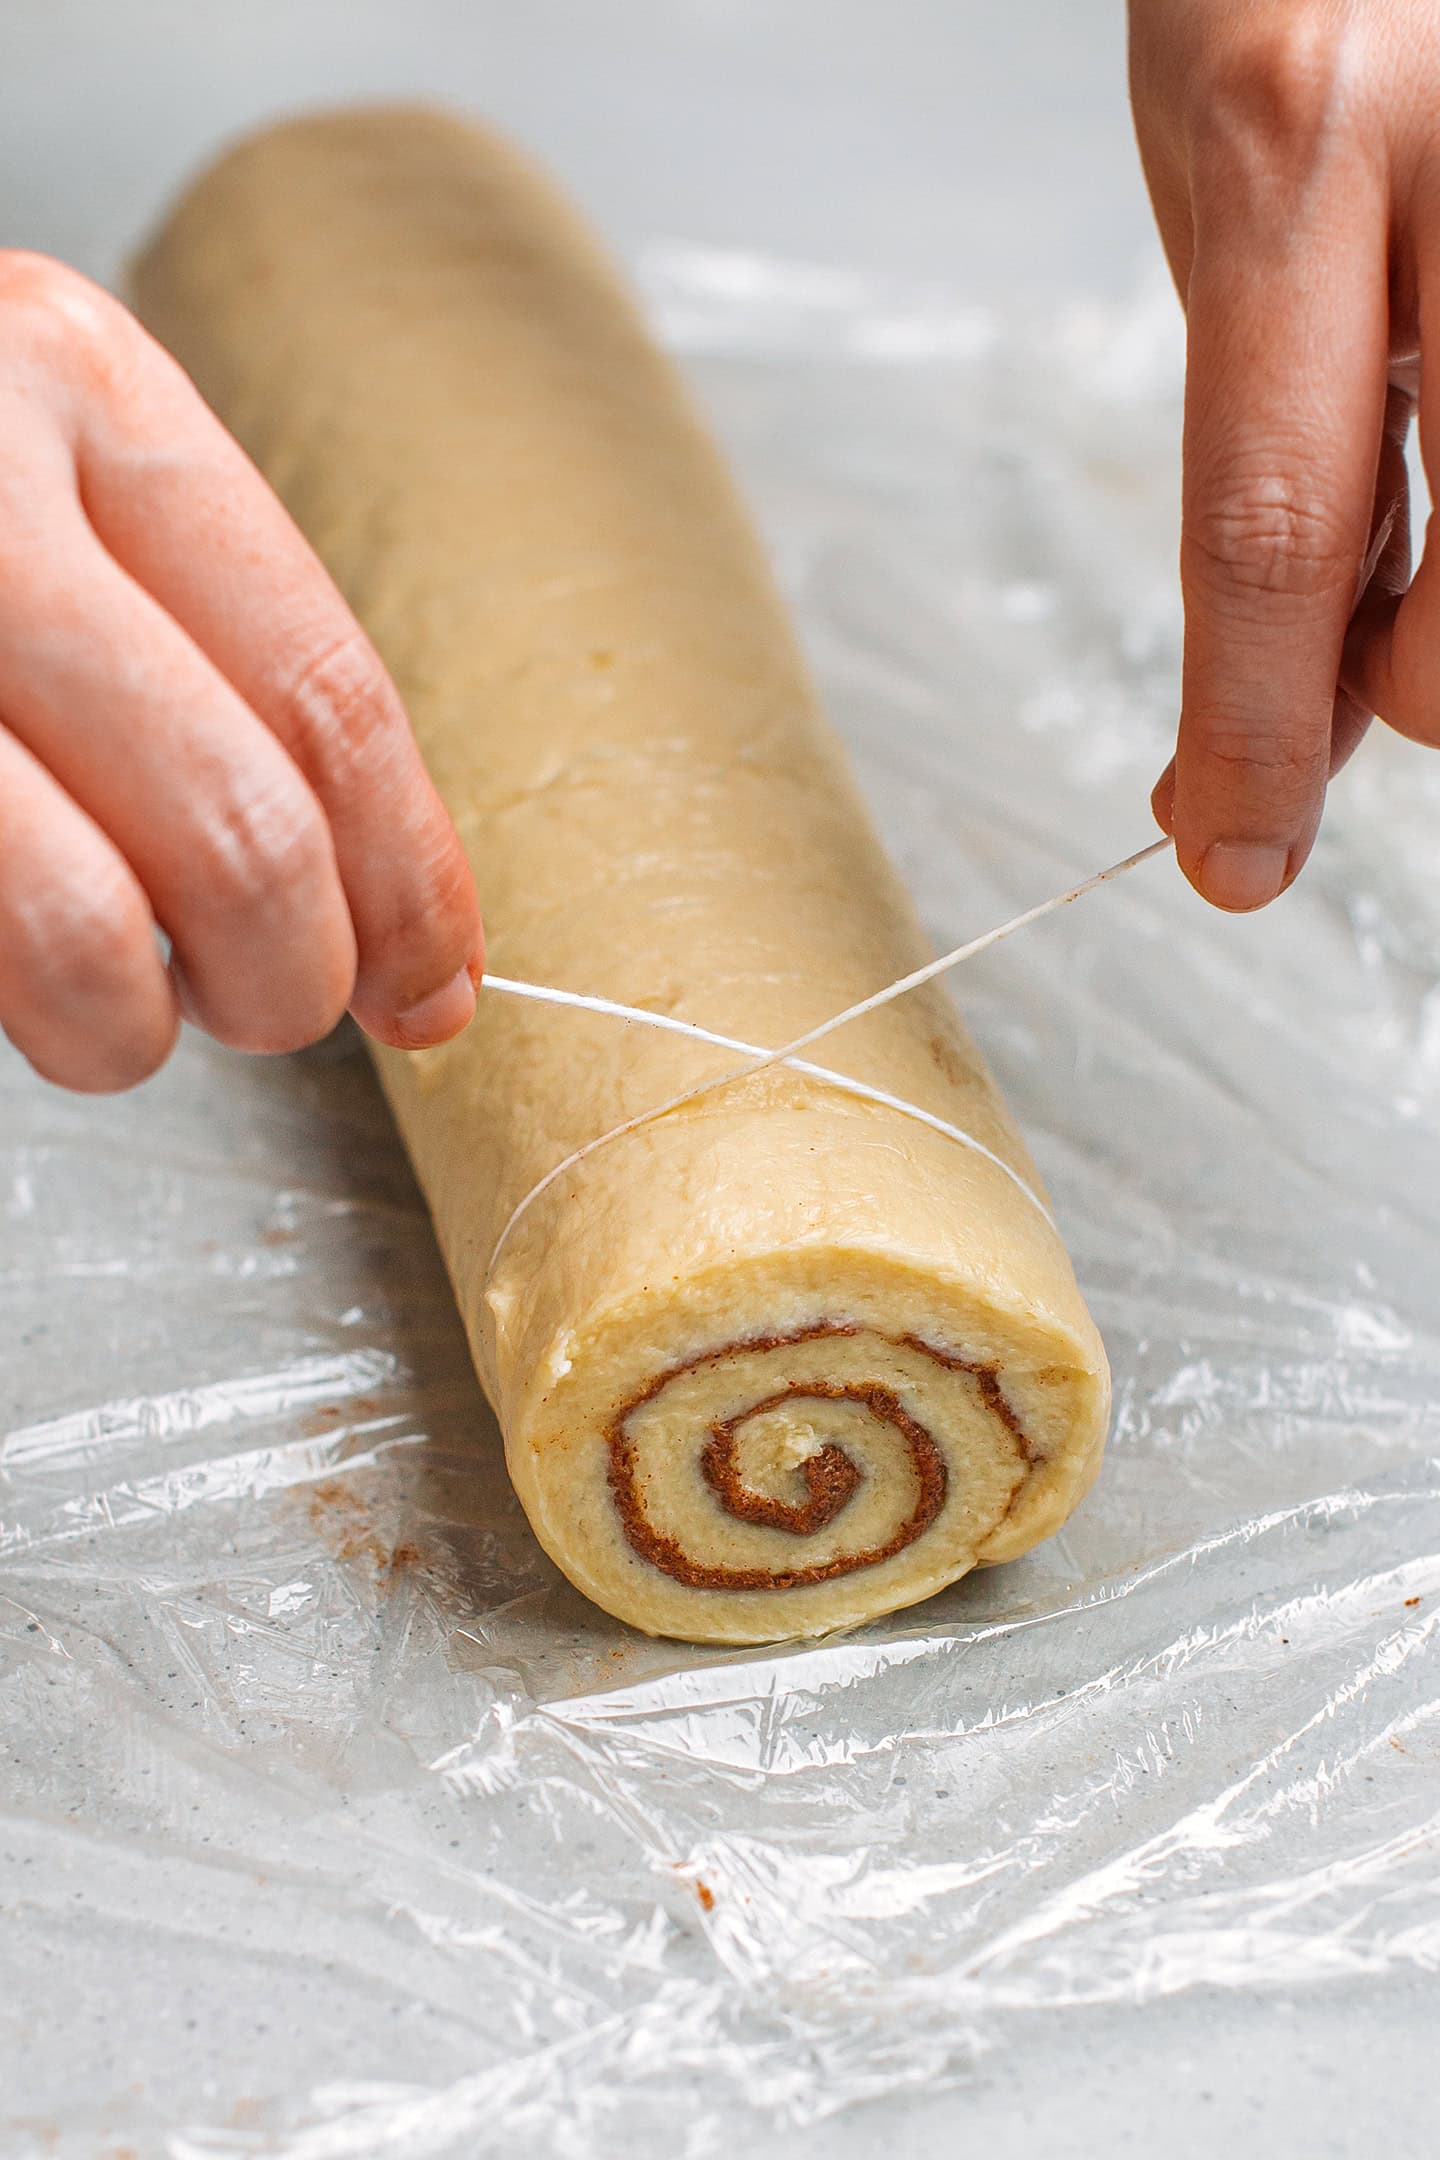
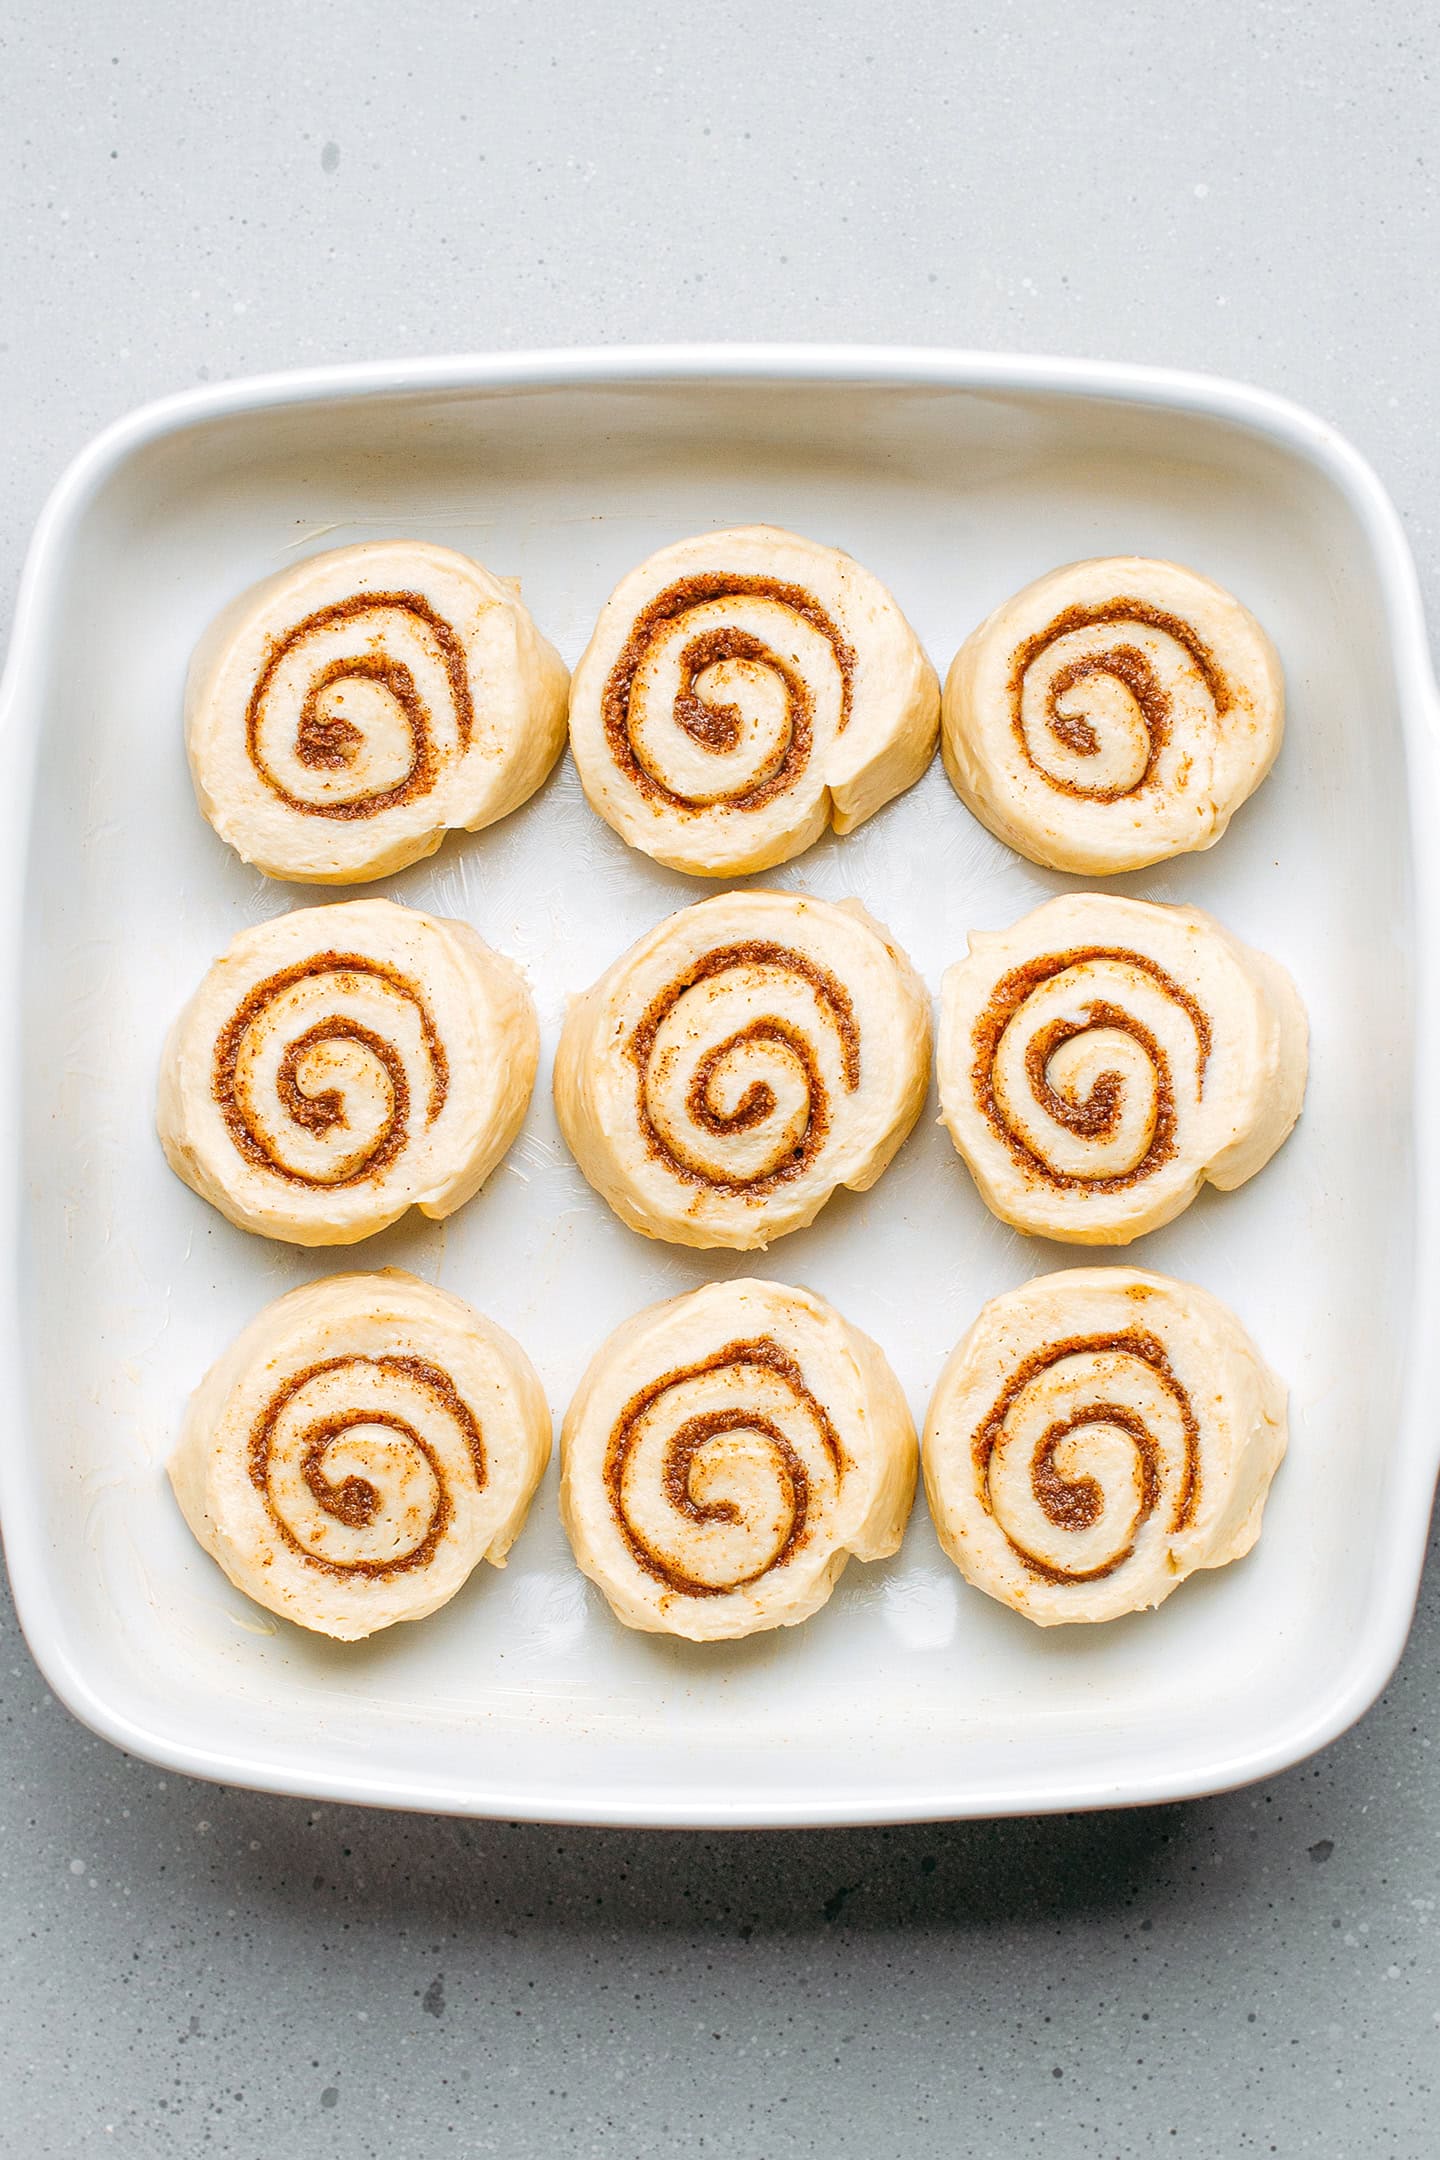
- Using dental floss or a thin thread, slice the log into 9 rolls and carefully place them side cut up in the baking pan.
7. Bake
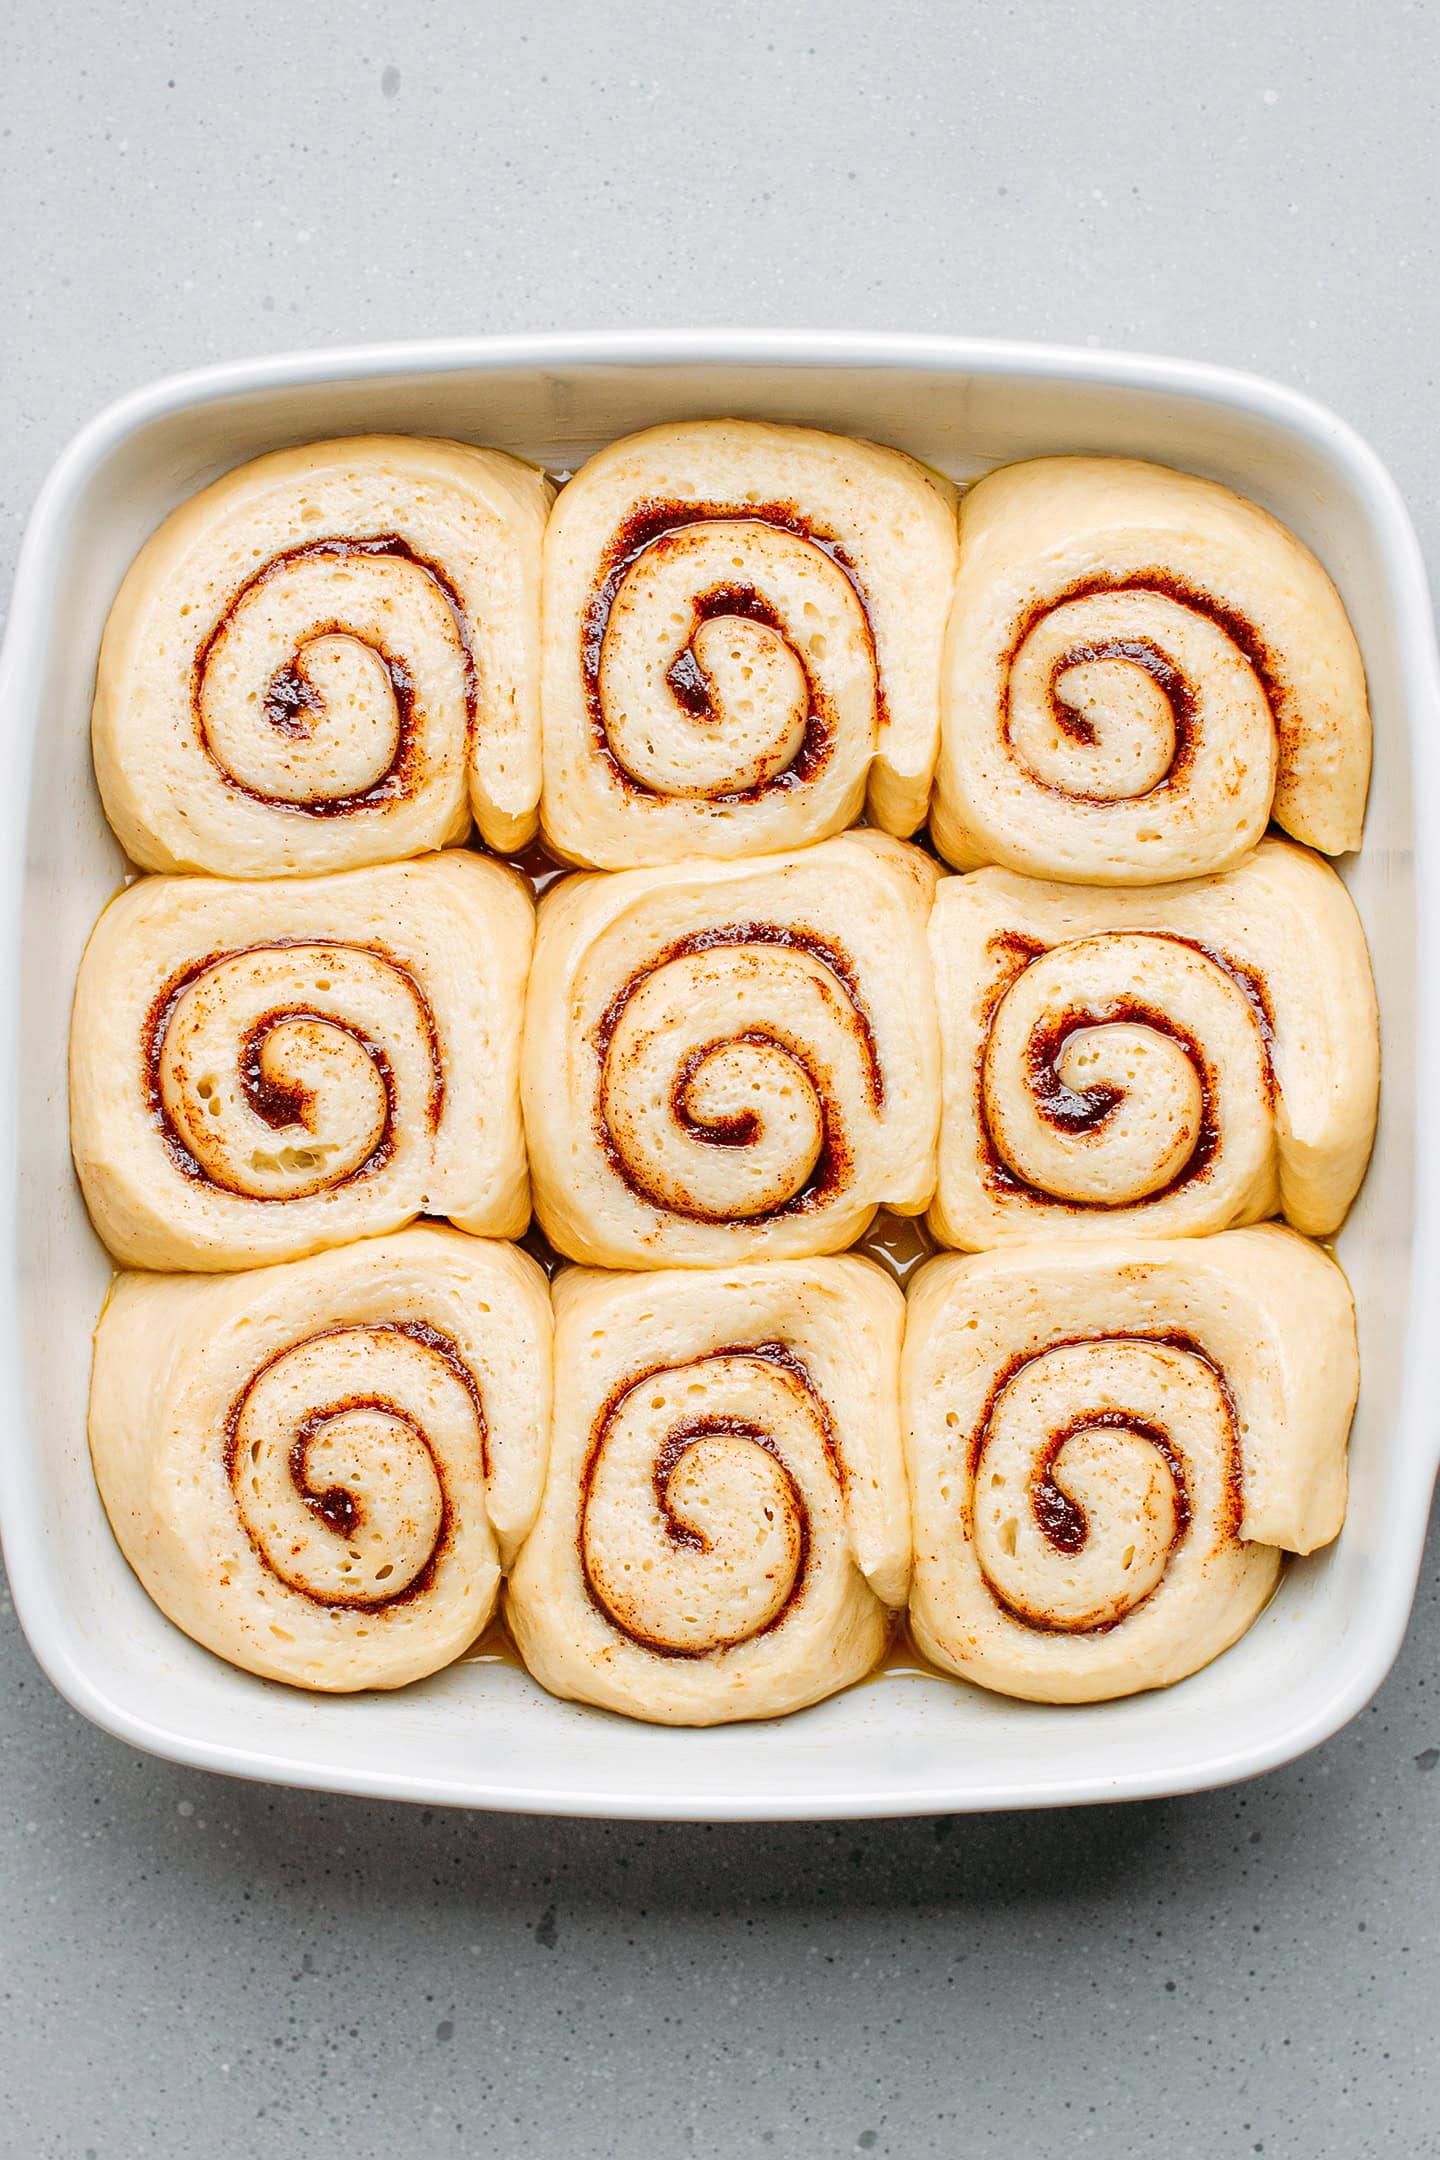
- Let them rise. Cover the cinnamon rolls loosely with plastic wrap and allow them to rise in a warm spot for 90-120 minutes or until they have doubled in size.
- Bake. Finally, bake the cinnamon rolls for 20-25 minutes or until golden brown on top.
- Enjoy. Allow them to cool down for 20-25 minutes before drizzling with the glaze and enjoying!
📔 Tips
Do not add extra flour.
Although it might be tempting to add more flour during kneading, do not! It is completely normal for the dough to be soft and slightly sticky. Since it contains large amounts of butter, the dough will firm up once it is cold, making it easier to flatten and roll.
Do not rush the process!
It’s very important that you carefully follow the process and do not try to rush any step. The resting time for the Yudane, the long kneading time, and the overnight rise are critical to success.
Let the rolls rise in a warm environment.
It’s essential to let the dough rise in a warm environment. If your kitchen is too cold, place the dough in an oven with the light on or near a heater.
Slice your rolls using dental floss.
There are different ways to slice your rolls. My preferred option is to use a thin sewing thread or dental floss. Slide the thread under the roll, cross it on top, and pull to slice a roll. This results in clean cuts as opposed to using a knife (where you would simply end up with flattened and messy rolls).
Another option is to use a pizza cutter wheel to slice the flattened dough into long strips before rolling them individually.
🌰 Variations
Looking to customize these? Here are a few ideas:
- Add crushed candied pecans: After spreading the cinnamon sugar butter on top of the dough, sprinkle crushed candied pecans! They will add extra texture and nuttiness to your rolls.
- Give it a floral orange aroma: either orange flavoring or orange blossom water to the dough to infuse it with a citrusy aroma.
- Add raisins: After kneading the dough, add a handful of raisins and knead for another 1-2 minutes or until incorporated. Alternatively, you can sprinkle raisins on top of the cinnamon sugar filling.
🥛 What to Serve Them With
These cinnamon rolls make the coziest breakfast ever! You can serve them with vegan yogurt, a glass of banana milk, or a scoop of vanilla ice cream!
❄️ Storing and Reheating
- To store: You can store the cinnamon rolls covered with plastic wrap for up to 4 days at room temperature.
- To freeze: Wrap the rolls individually with plastic wrap and transfer them to a freezer-safe bag and freezer for up to 2 months. Thaw for a few hours on the counter.
- To reheat: Cover with aluminum foil and reheat for about 10-15 minutes in a 300°F (150°C) preheated oven.
💬 FAQ
Although you can knead by hand, I do not recommend it as it would take too long. A stand mixer works best for this recipe.
You either added extra flour during kneading or didn’t let them rise for long enough.
If you use the exact same pan size as I recommend in the recipe and fill it with 9 rolls, they should rise evenly. The problem when they don’t rise evenly usually comes down to the fact that the baking pan is too small.
As noted in the ingredient notes, you can use one or the other. If you use active dry yeast, just remember to rehydrate it before adding it to the flour.

Want to Save This Recipe?
Enter your email below & we’ll send it straight to your inbox! Plus, you will receive new recipes every week!
I’d like to receive more tips & recipes from Full of Plants.
This site is protected by reCAPTCHA and the Google Privacy Policy and Terms of Service apply.
Pillowy Vegan Cinnamon Rolls
Equipment
Ingredients
Yudane
- 75 g all-purpose flour
- 75 ml water
Brioche Dough
- 100 ml unsweetened almond milk
- 2 tsp vanilla extract
- 4 g instant yeast
- 240 g all-purpose flour
- 45 g granulated sugar
- 1/16 tsp vitamin C powder
- 4 g salt
- 115 g diced vegan butter at room temperature
Cinnamon Filling
- 35 g vegan butter at room temperature, preferably spreadable butter
- 90 g granulated sugar
- 1 and 1/2 tbsp ground cinnamon
Sugar Icing (Optional)
- 4 tbsp powdered sugar
- 2 tsp milk
- 1/4 tsp vanilla extract
Instructions
Prepare the yudane
- Mix the flour and water. Add the flour to a bowl. Bring the water to a boil and pour it into the bowl. Use a wooden spoon to mix the flour with the water and create a thick paste.
- Refrigerate overnight. Cover the plastic wrap and refrigerate overnight. Note: do not skip the resting time. I tried using the paste right away but didn’t get great results.
Knead the dough
- Combine the wet ingredients. To the bowl of a stand mixer, add the vegan milk and vanilla extract.
- Add the dry ingredients. Then, add the instant yeast, flour, sugar, vitamin C powder, and Yudane. Note: Do not add the salt yet, as it could kill the yeast.
- Knead on low speed. Using the dough hook attachment of your stand mixer, knead the dough on speed 2 for about 5 minutes. At this point, the dough will still have a grainy texture. This is normal.
- Knead on medium speed. Add the salt and knead at a speed of 4-5 for another 20-25 minutes or until the dough is very smooth and stretchy. Ultimately, it should pass the windowpane test. You can learn more about this in my vegan brioche recipe. Do not add more flour – the dough is supposed to be soft and a bit sticky.
- Slowly add the butter. As the stand mixer runs on speed 4-5, slowly add the diced butter. I recommend adding about 1/3 of the butter and adding more once it is fully incorporated. It should take about 5 minutes for all of the butter to be fully incorporated into the dough. Note: The dough should be very smooth and almost shiny. Be aware that at this point, the dough will also be very soft and slightly sticky. Once again, this is normal.
- First rise. Transfer the dough to a mixing bowl and cover it with plastic wrap touching the dough. This will prevent it from forming a crust. Allow the dough to rise in a warm place for about 45 minutes. I usually simply place it in my oven with the light turned on.
- Second rise. Once the dough has almost doubled in volume, punch it to deflate it and cover it with plastic wrap again. Transfer to the refrigerator and allow it to rise for at least 6 hours, preferably overnight. This will allow the dough to firm up.
- Grease a baking pan. Once the dough has chilled overnight in the refrigerator, lightly grease an 8.5×8.5-inch (22×22 cm) baking pan with butter.
- Make the cinnamon sugar filling. Add the vegan butter, granulated sugar, and ground cinnamon to a small bowl and mix until fully combined. Set aside.
- Flatten the dough. Line a working surface with a layer of plastic wrap. Place the dough on top and shape it into a rectangle. Next, top the dough with another layer of plastic wrap and use a rolling pin to flatten the dough into a thin rectangle of about 16×11 inches (40x28cm).
- Spread the filling. Using a spoon or spatula, spread the cinnamon sugar butter filling all over the dough into a thin layer.
- Roll. Since the dough is quite soft and sticky, I recommend using the plastic wrap to help you roll the dough. Lift the longer side of the plastic wrap and use it to roll out the flattened dough into a log. It should be tight but not overly tight – otherwise, the brioche dough won’t be tender.
- Slice into shorter rolls. Once the dough has been rolled out, cut off about 2 inches (5 cm) on each side of the log. You can transfer those to a baking sheet and bake them as individual rolls. Measure the remaining log and divide the length by 9. Use a small knife to make marks on the dough, creating 9 equal pieces of about 1.4 inches (3.5 cm).
- Using dental floss or a thin thread, slice the log into 9 rolls and carefully place them side cut up in the baking pan.
- Let them rise. Cover the cinnamon rolls loosely with plastic wrap and allow them to rise in a warm spot for 90-120 minutes or until they have doubled in size.
- Preheat the oven. Preheat your oven to 350 °F (175°C).
- Bake. Finally, remove the plastic wrap from the cinnamon rolls and bake them for 20-25 minutes or until golden brown on top.
- Enjoy. Allow them to cool down for 20-25 minutes before drizzling with the glaze and enjoying!
- For the optional glaze: mix the powdered sugar with the milk and vanilla extract until fully combined. If the glaze is too thin, add more powdered sugar. If it's too thick, add more milk. Drizzle with a spoon over the cinnamon rolls.
- You can store the cinnamon rolls covered with plastic wrap for up to 4 days at room temperature.
Notes
Do not add extra flour.
Although it might be tempting to add more flour during kneading, do not! It is completely normal for the dough to be soft and slightly sticky. Since it contains large amounts of butter, the dough will firm up once it is cold, making it easier to flatten and roll.Do not rush the process!
It’s very important that you carefully follow the process and do not try to rush any step. The resting time for the Yudane, the long kneading time, and the overnight rise are critical to success.Let the rolls rise in a warm environment.
It’s essential to let the dough rise in a warm environment. If your kitchen is too cold, place the dough in an oven with the light on or near a heater.Slice your rolls using dental floss.
There are different ways to slice your rolls. My preferred option is to use a thin sewing thread or dental floss. Slide the thread under the roll, cross it on top, and pull to slice a roll. This results in clean cuts as opposed to using a knife (where you would simply end up with flattened and messy rolls).Another option is to use a pizza cutter wheel to slice the flattened dough into long strips before rolling them individually.

About the Author
Thomas Pagot is the founder, photographer, and recipe developer behind Full of Plants. He created the blog in 2016 as a personal cookbook for vegan recipes. Through years of recipe development, Thomas has successfully grown Full of Plants into a trusted resource for plant-based recipes.



Leave a Comment