This post may contain affiliate links. Please read our disclosure policy.
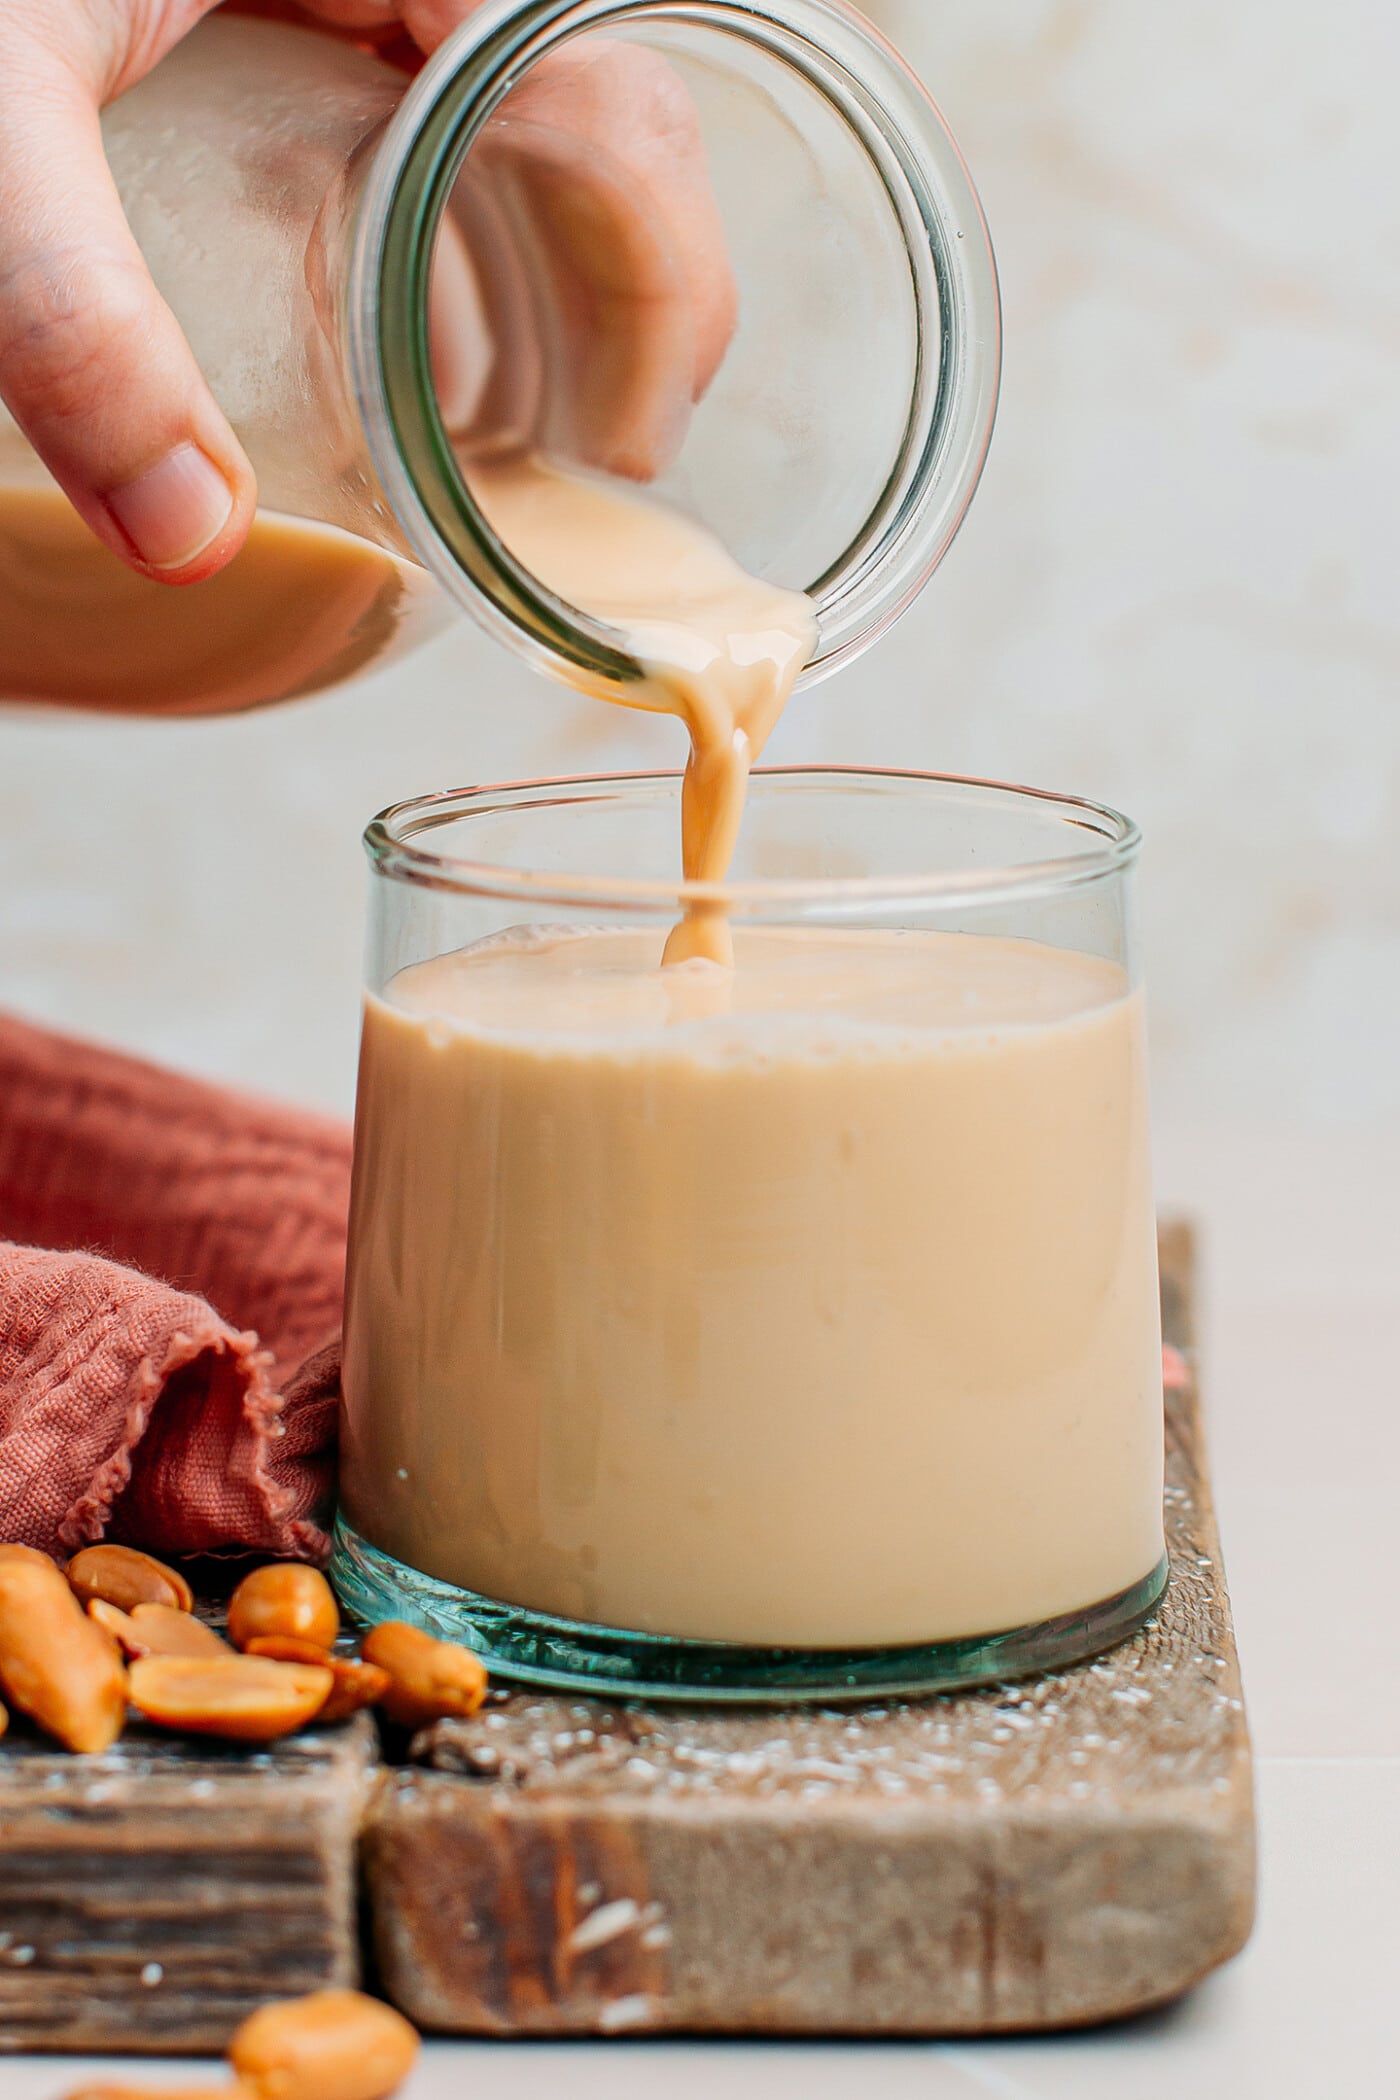
Prepared with simple ingredients like roasted peanuts, water, and sugar, this delightful vegan peanut milk is creamy and packs a wonderful nuttiness. It can be enjoyed iced or hot, added to coffee, served with cereals, or used in baked goods!
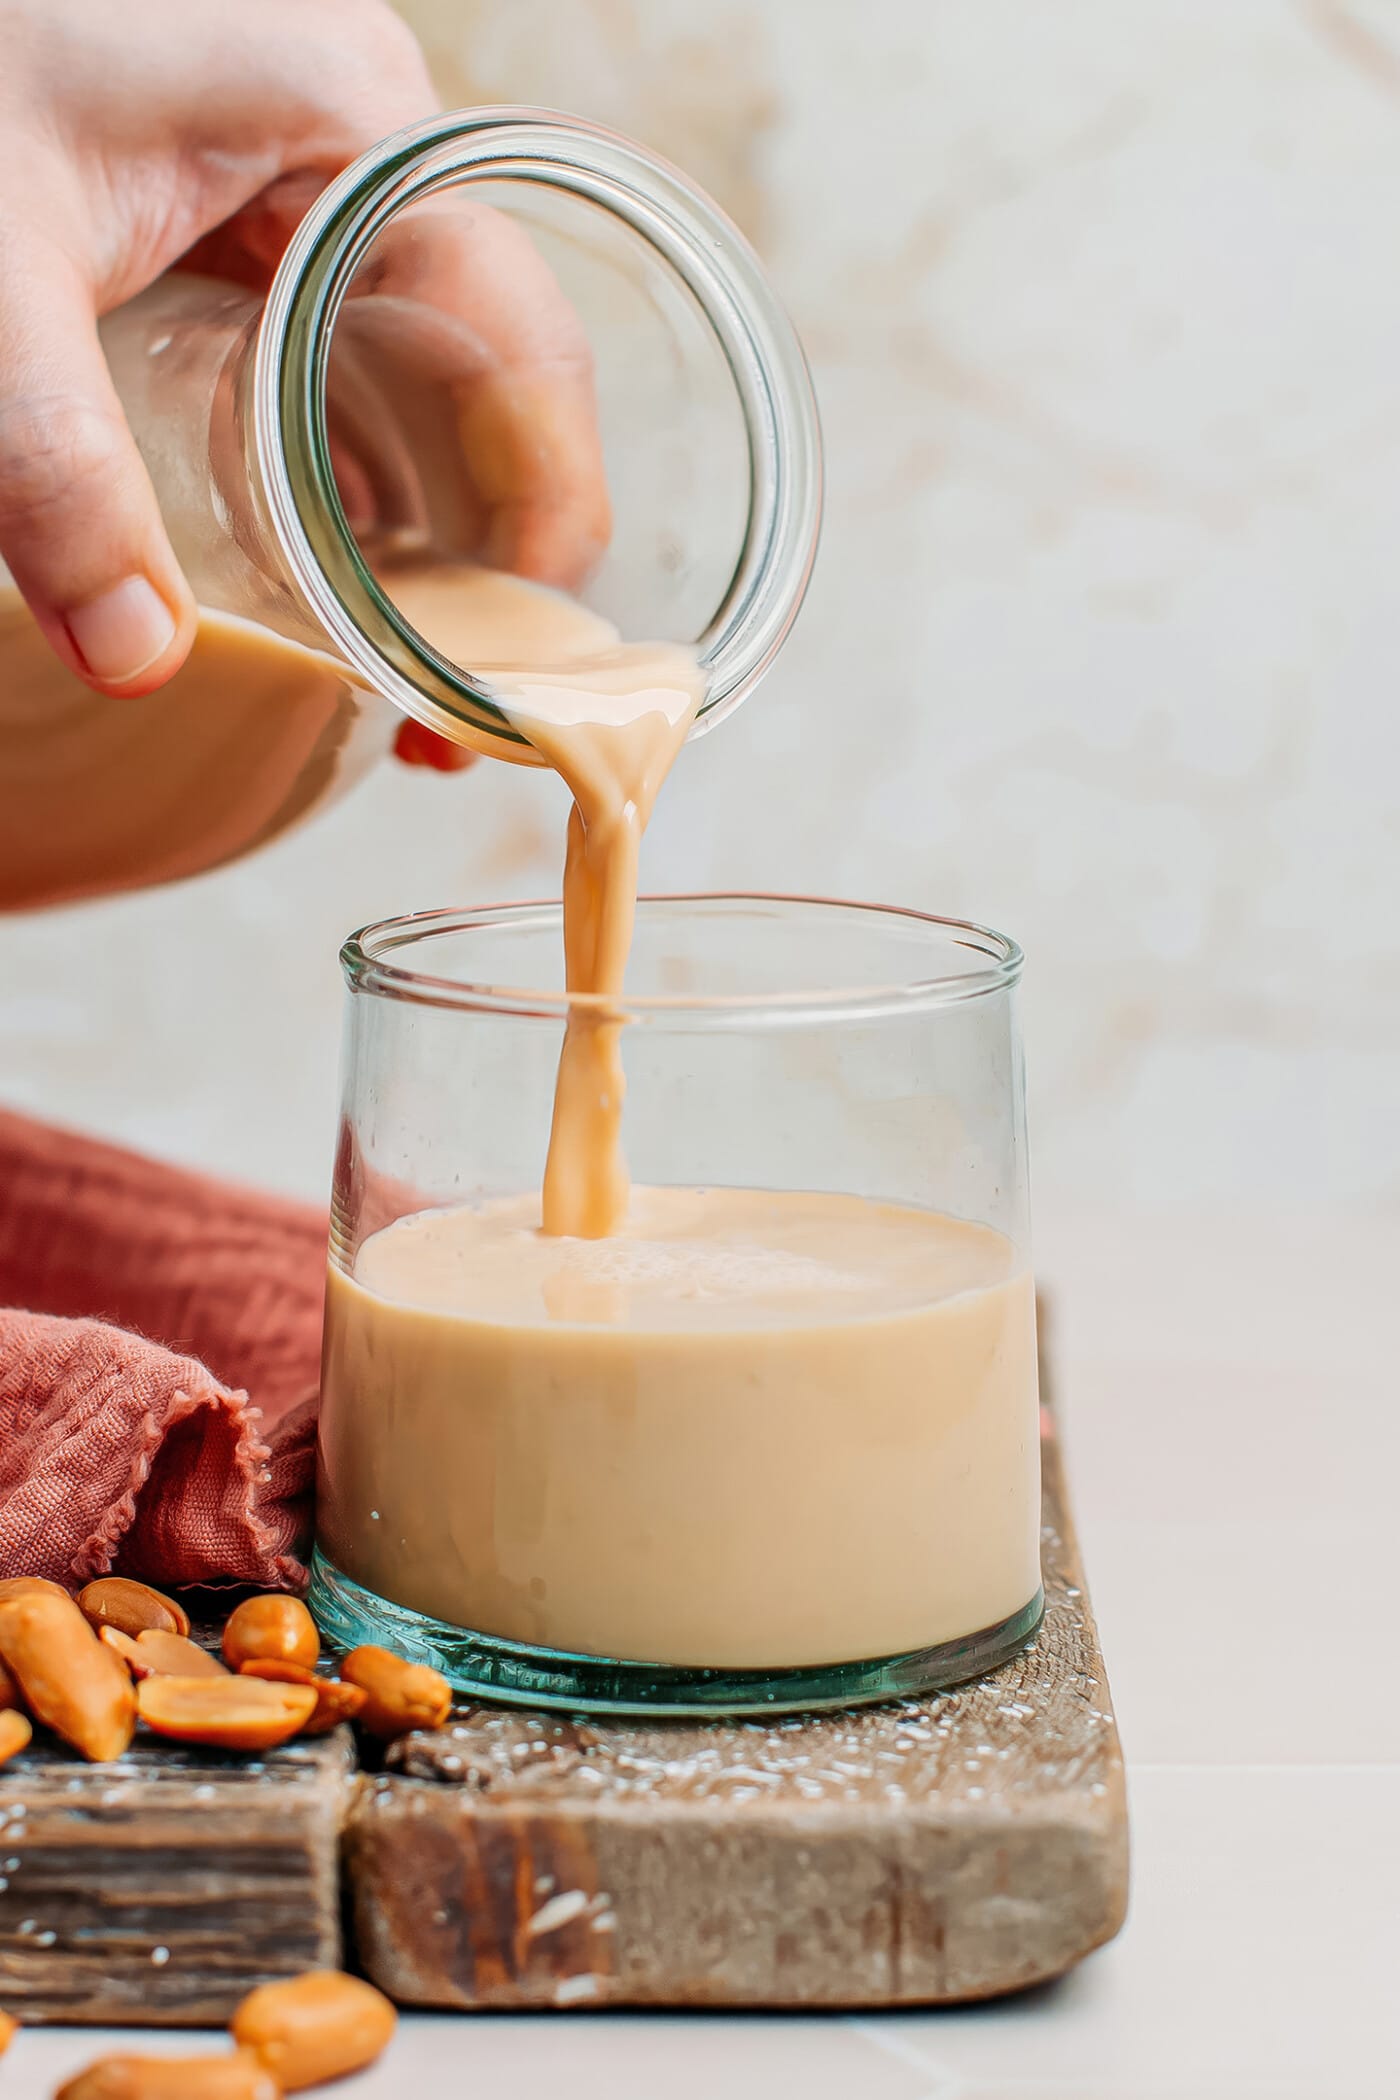
Introducing peanut butter in DRINKABLE form! If you are a peanut butter lover like me, you will be blown away by how rich and buttery this milk is.
Although peanut milk is popular in many countries across Asia, I first encountered it during a trip to Đà Lạt, a city located in the Central Highlands of Vietnam. In the evening, when the temperature cools down a bit, numerous vendors at the local night market offer a range of fresh soy milk, corn milk, black sesame milk, and peanut milk. With the exception of corn milk, most are actually vegan!
After taking a sip, I knew I had to recreate a version at home. My peanut milk is super peanutty, slightly sweet, slightly salty, and has the smoothest texture!
⭐️ Why You Should Try It
The drinkable version of peanut butter.
Peanut butter lovers, you are going to get addicted to this milk IN NO TIME. It’s literally peanut butter in a glass! With a hint of saltiness and the perfect amount of sweetness, my plant-based peanut milk is, without a doubt, a must-try.
I like to enjoy it hot during the colder days, but it’s also delicious served chilled with ice! Oh, and you can even use it in other recipes to impart a ton of peanut flavor. Overnight peanut butter oats, here I come!
Thick and super creamy.
Thanks to the healthy fats of peanuts, this milk has a silky smooth consistency and a rich mouthfeel. If you are a plant-based milk connoisseur, I would say that this peanut milk is richer than store-bought cashew milk and almost as creamy as full-fat coconut milk.
What I love about this milk is that it’s creamy and luxurious without feeling heavy on the stomach, making it easy to digest.
Made with 3 simple ingredients.
You will only need raw peanuts, sugar, and salt! Plus, an optional spoon of vanilla extract if you want more deliciousness. This makes this milk rather affordable compared to other options like cashew or almond milk.
📘 What Is Peanut Milk
Peanut milk is a plant-based beverage prepared from peanuts, water, and sometimes sugar and salt. It’s a popular drink in Asia, especially in China and Vietnam, where it’s often sold on the street.
There are different versions of peanut milk. Some are prepared with raw peanuts, yielding a light color and a very subtle flavor, while others are made with roasted peanuts, yielding very nutty milk. In this recipe, we are going to prepare the roasted version.
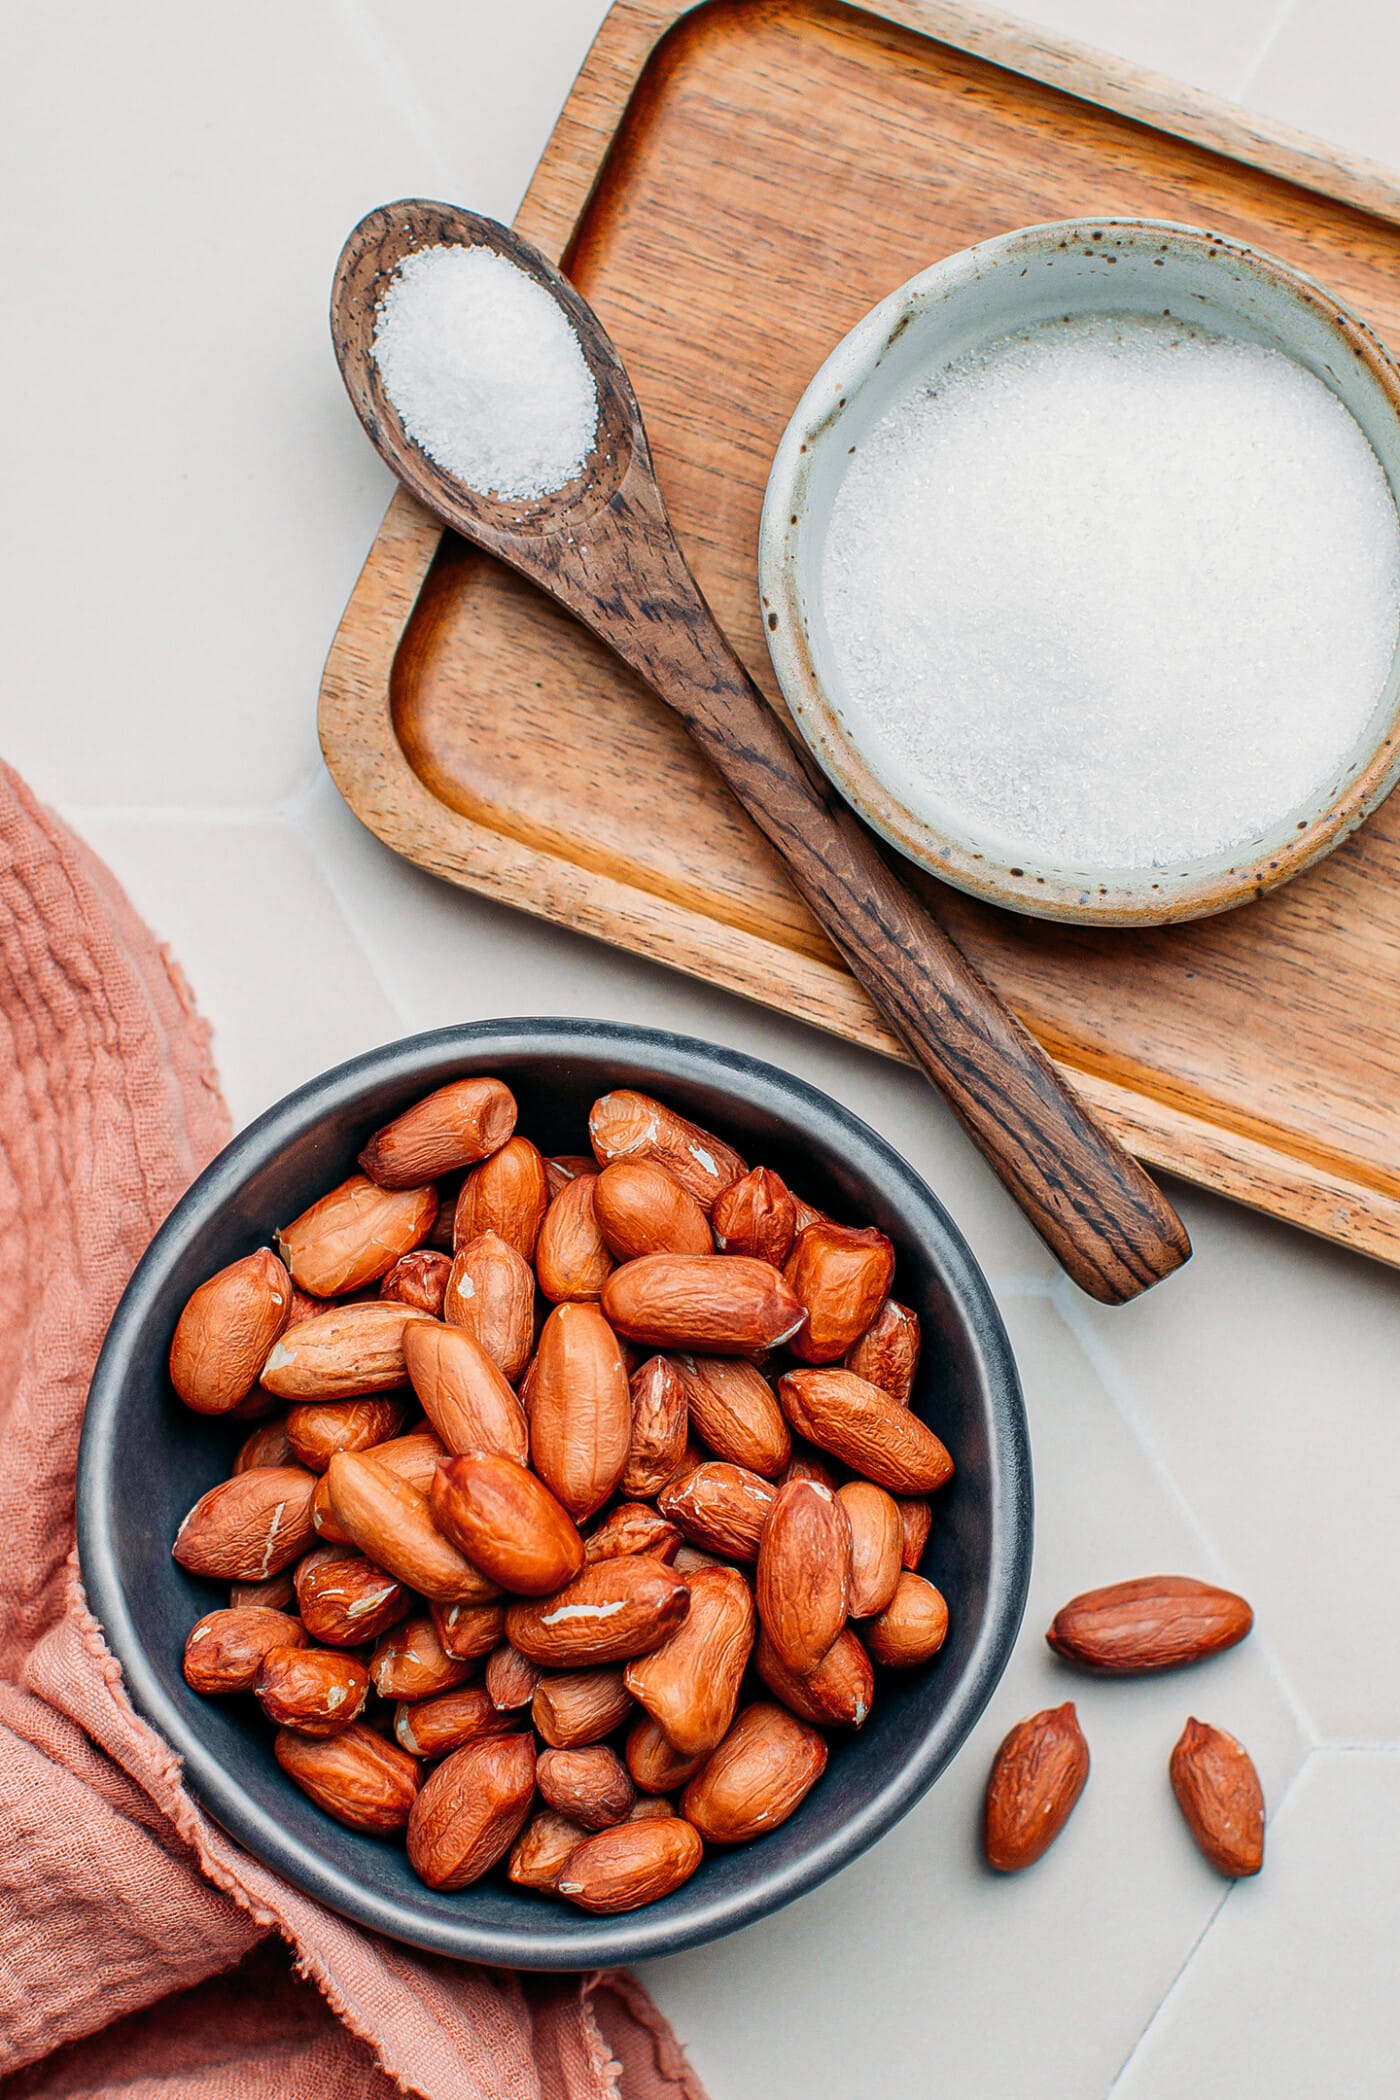
🥜 Ingredient Notes
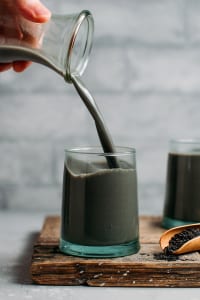
Just like most vegan milk recipes, there is no need for any fancy ingredients here. You will only need a nut milk bag and a few pantry staples:
Peanuts
I recommend starting with raw peanuts and roasting them until golden brown. I have tried this recipe in two ways: one with store-bought roasted peanuts and the other with raw peanuts that I roasted in the oven. The milk made with store-bought peanuts, while good, didn’t taste as toasty and complex as the one made with the peanuts that I roasted.
Another benefit of starting with raw peanuts is that you can control the roast level. More on that in the Tips section.
After testing, I settled on using 1 cup of roasted peanuts that I combined with 1/3 cup of raw peanuts. The addition of raw peanuts not only gives the milk a thicker consistency but also slightly mellows down the peanut flavor, so it’s not overpowering.
Note: Raw peanuts are available both with and without their red skin (blanched). If you use peanuts with the skin on, you will have to peel them after roasting. Fortunately, you can easily remove the skin by rubbing the peanuts between your hands. You can save time and skip this step by starting with raw and blanched peanuts.
Sugar
Unlike other plant-based milks such as almond, cashew, or hazelnut milk, I do not consider the sugar optional in this recipe since it helps balance out the subtle bitterness and nuttiness of the roasted peanuts.
I went with granulated white sugar, but coconut sugar, maple syrup, or agave will work as well.
Salt
There are two teams (actually four if you count smooth vs crunchy) when it comes to peanut butter: the salt one and the unsalted one. Personally, I am all about the saltiness. That’s why I like to add a generous pinch of salt, which intensifies the peanut flavor of the milk. Plus, peanuts and salt are a match made in heaven, right?
Vanilla extract
You won’t find vanilla extract in most peanut milk recipes, but I believe it complements the peanut flavor, giving it gourmand notes.
Brand recommendation: Of course, I am biased, but my first recommendation will be my homemade vanilla extract, which tastes, in my opinion, 10x better than the store-bought options. When it comes to commercial brands, I like Watkins vanilla extract. Alternatively, the seeds from half a vanilla bean will work too.
🥣 How to Make It
Making peanut milk at home consists of 4 simple steps: roasting the peanuts, blending them with water, straining the milk, and finally, cooking the milk.
1. Prepare the peanuts
- Soak the peanuts. Add 1/3 cup of peanuts to a small bowl and cover with cold water. Let them soak for at least 4 hours or overnight. These peanuts won’t be roasted, we will blend them raw with the roasted ones.
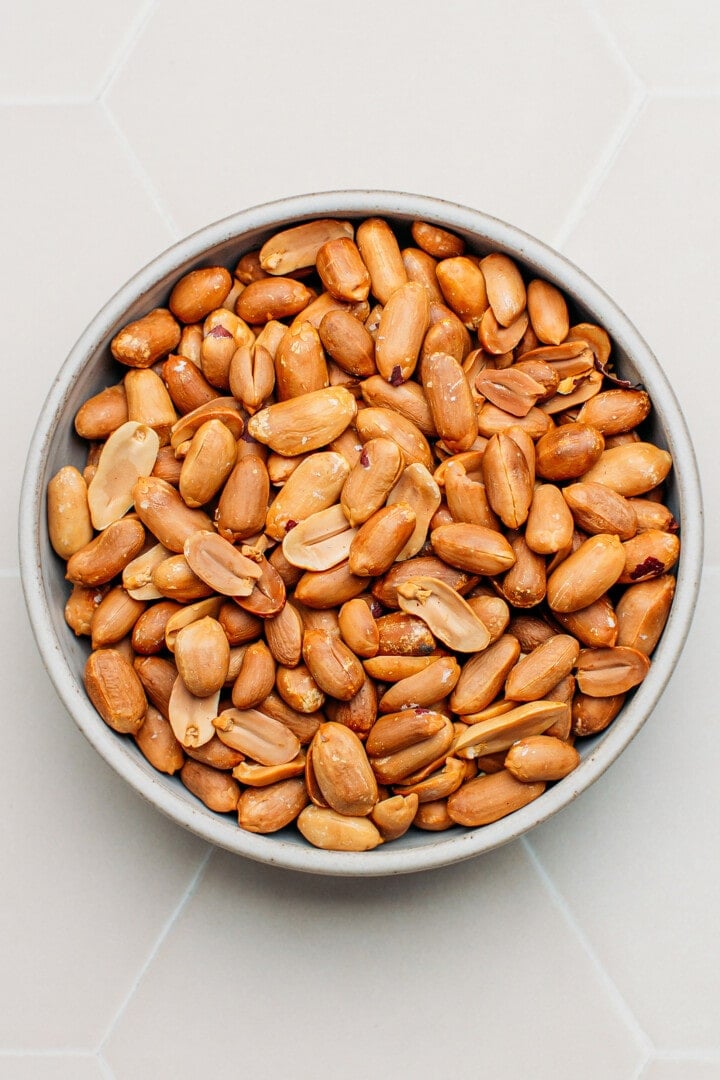
- Roast the peanuts. While traditionally, peanuts are slowly toasted in a wok, I prefer to roast them in the oven to make it easier. To do so, preheat your oven to 350°F (150°C). Spread the remaining 1 cup of raw peanuts on a baking sheet and roast them for 23-25 minutes. The peanuts should be golden brown all the way through, and the skin should be cracked.
- Allow to cool. Next, remove the baking sheet from the oven and cool for at least 20 minutes.
- Peel the peanuts. Once the peanuts are no longer hot, rub them with your hands. The peels will come off very easily. Discard the peels.

2. Blend them
Once your peanuts are peeled (it’s okay if there are still some peels here and there), it’s time to blend them:
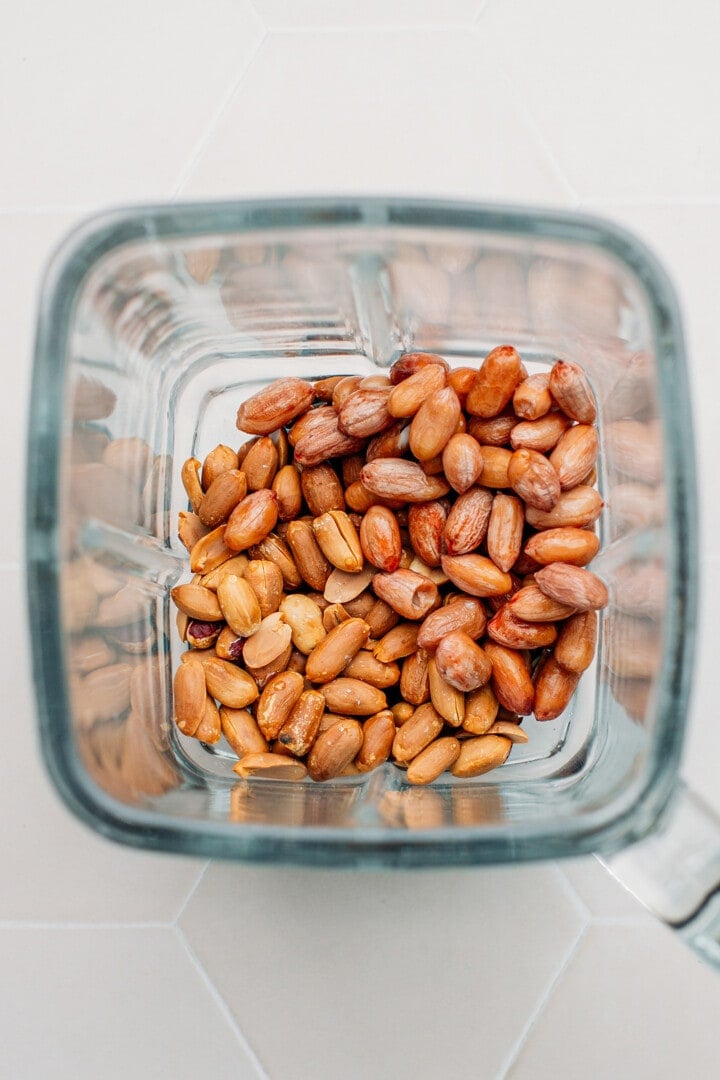
- Blend the milk. Drain the soaked peanuts and add them to the bowl of a blender. Add the roasted peanuts and the 3 cups of water. Blend on high speed for 1-2 minutes or until the peanuts are fully puréed.

3. Strain
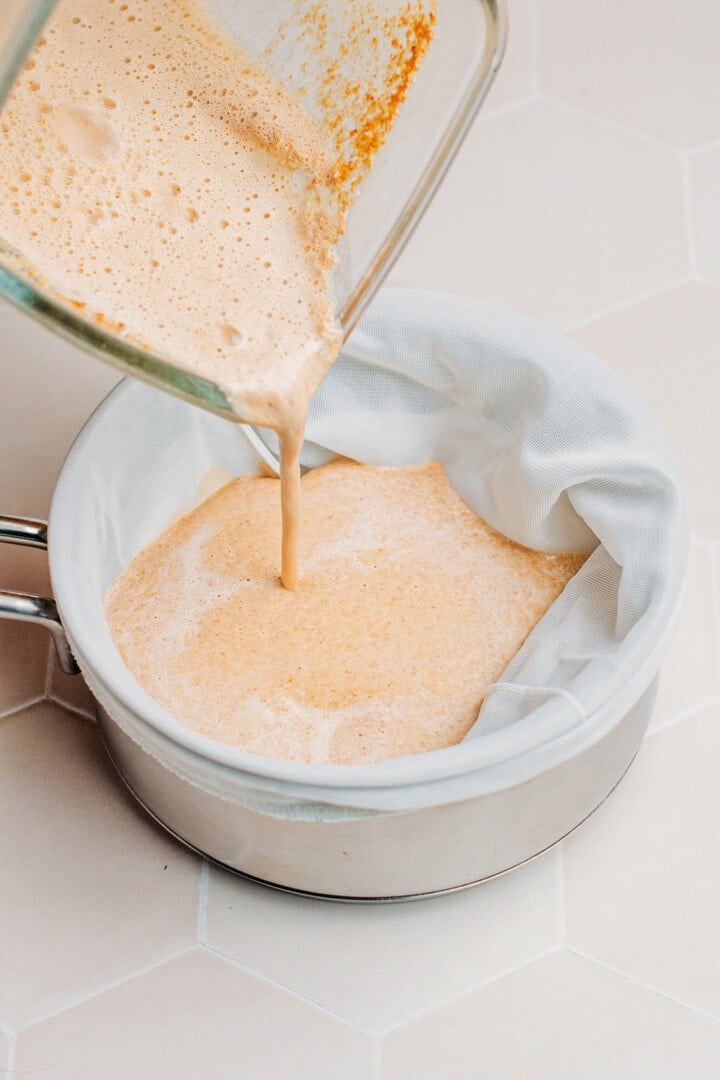
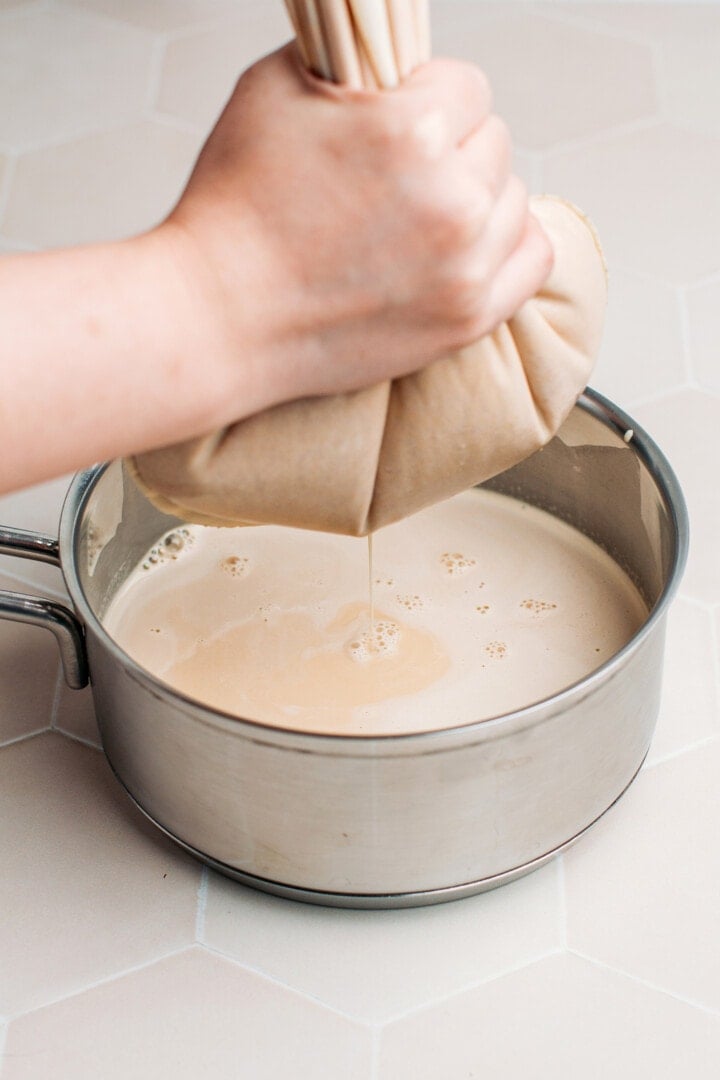
- Strain the peanut milk. Place a nut milk bag over a saucepan. Pour the peanut milk into the nut milk bag and squeeze with your hands to strain the milk. Once you have squeezed all of the liquid, discard the peanut pulp.
4. Cook the milk
Finally, we will cook the milk for a few minutes. Cooking the milk allows the sugar to melt, as well as giving the peanut milk a creamier and thicker consistency. To do so:
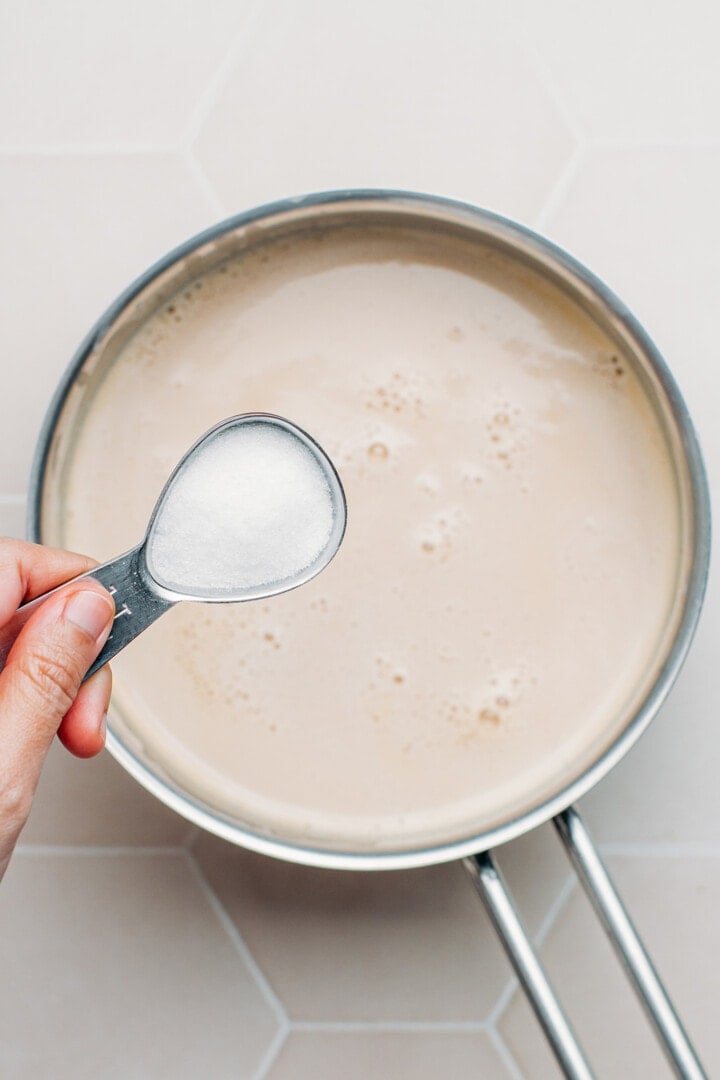
- Add the remaining ingredients. To the saucepan containing the peanut milk, add the sugar, salt, and vanilla extract if using.
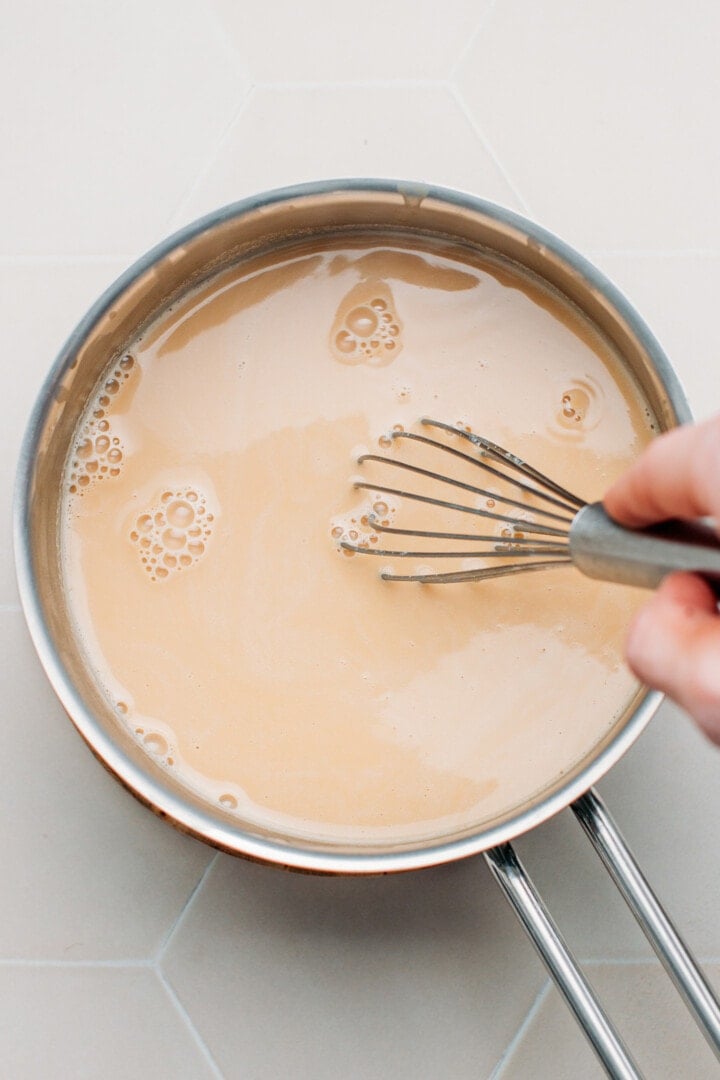
- Let simmer. Heat over medium heat, whisking constantly until it comes to a boil. Let the milk simmer for 2 minutes and remove from heat. Your peanut milk is now ready!
☕️ How to Serve It
There are so many ways to use this peanut milk:
- On its own: Serve it with ice during summer or as a hot beverage during Winter (that’s our favorite way to enjoy it!).
- Over cereals: Replace the classic almond milk with peanut milk and pour it over your favorite cereals! Looking for homemade cereal recipes? Check out these Buckwheat Flakes, Cinnamon Cereals, or Chocolate & Peanut Butter Cereals!
- Overnight oats: Make overnight oats with peanut milk and a couple of tablespoons of peanut butter. Your oats won’t get more peanutty than that!
- In smoothies: Use it as a base to make nutty smoothies! It goes particularly well with blueberries and raspberries!
- In coffee or tea: Mix espresso with some peanut milk for a peanut latte.
📔 Tips
Adjust the roasting level to your taste.
Depending on how nutty you want the milk, you can roast the peanuts for a shorter or longer amount of time. The recommended time I give in the recipe gives a very nutty flavor. If you want a milder flavor, consider roasting the peanuts for only 18-20 minutes.
Regarding the color.
The color of the milk will change depending on the roast level of your peanuts.
Tweak the flavors!
Feel free to add a couple of tablespoons of cacao powder for chocolate peanut milk or more vanilla extract!
❄️ Storing and Reheating
- To store: For ideal freshness, consume this peanut milk within three days. After that, it tends to separate and doesn’t taste as good. Store it in the refrigerator and give it a quick shake before using.
- To reheat: You can enjoy this milk chilled or hot. To warm, simply heat it in a pot over low-medium heat for 3-5 minutes.
💬 FAQ
Yes, you can start with roasted peanuts. However, you won’t have the same nuttiness.
The peanuts should be golden brown on both the outside and the inside. Take a peanut and break it in half to check the color on the inside. If it’s still light beige, roast for a few more minutes.
I do not recommend straining the milk using a sieve, as it would not result in a smooth texture. A nut milk bag works best.
If your peanut milk is bitter, it means you roasted/toasted the peanuts too long. They burnt, hence the bitterness.


Save this recipe!
Enter your email below and I’ll send it to your inbox!
Plus, you will receive new recipes every week!

Homemade Peanut Milk
Equipment
Ingredients
- 1 and 1/3 cup (200 g) raw peanuts
- 3 cups (710 ml) water
- 2 tbsp (24 g) sugar
- 1/2 tsp (2 ml) vanilla extract optional
- 1/8 tsp salt adjust to taste
Instructions
- Soak the peanuts. Add 1/3 cup of peanuts to a small bowl and cover with cold water. Let them soak for at least 4 hours or overnight. These peanuts won’t be roasted, we will blend them raw with the roasted ones.
- Roast the peanuts. Preheat the oven to 300 °F( 150°C). Spread the remaining 1 cup of peanuts on a baking sheet and roast them for 23-25 minutes or until golden brown.
- Allow to cool. Next, remove the baking sheet from the oven and cool for at least 20 minutes.
- Peel the peanuts: Once the peanuts are no longer hot, rub them with your hands. The peels will come off very easily. Discard the peels.
- Blend the milk. Drain the soaked peanuts and add them to the bowl of a blender. Add the roasted peanuts as well as the water. Blend on high speed for 1-2 minutes or until the peanuts are fully puréed.
- Strain the peanut milk. Place a nut milk bag over a bowl or saucepan. Pour the peanut milk into the nut milk bag and squeeze with your hands to strain the milk. Once you have squeezed all of the liquid, discard the peanut pulp.
- Cook the milk. Finally, add the sugar, salt, and vanilla extract, if using, to the saucepan containing the peanut milk. Heat over medium heat, whisking constantly until it comes to a boil. Let the milk simmer for 2 minutes and remove from heat.
- Enjoy this peanut milk warm or over ice! You can also pour it over cereals or use it in smoothies, lattes, and more! Peanut milk will keep for up to 3 days in the refrigerator.
Notes
Adjust the roasting level to your taste.
Depending on how nutty you want the milk, you can roast the peanuts for a shorter or longer amount of time. The recommended time I give in the recipe gives a very nutty flavor. If you want a milder flavor, consider roasting the peanuts for only 18-20 minutes.Regarding the color.
The color of the milk will change depending on the roast level of your peanuts.Tweak the flavors!
Feel free to add a couple of tablespoons of cacao powder for chocolate peanut milk or more vanilla extract!Nutrition

About the Author
Thomas Pagot is the founder, photographer, and recipe developer behind Full of Plants. He created the blog in 2016 as a personal cookbook for vegan recipes. Through years of recipe development, Thomas has successfully grown Full of Plants into a trusted resource for plant-based recipes.




Leave a Comment
Came out great. Super easy to follow. Thanks for such a wonderful recipe!
Glad you liked it Emy!
After boiling the milk, I have put it into a jar and popped it into the fridge to settle overnight. The next day its consistency was resembling the one of a yoghurt, and it was impossible for me to pour it over the cereal like you would with usual milk. Any ideas why this might have happened? Is it due to the boiling part? I have never boiled homemade milk before, so I would point the problem towards it. Anyway, today I’ll try to add it to my baked goods and see how they will end up being.
Sorry to hear you had trouble with this recipe. Have you followed exactly the instructions and used the same ingredients? Did you boil it for only 2 minutes as noted?
Because I have made this milk many times before and never it has turned into yogurt…It stays liquid and pourable.
Really good sweetie.
Thanks Erin!
Excelente preparação do leite de amendoim. Vou fazer seguindo sua receita que está muito bem explicada. Obrigada!
De nada!
If I can replace almond milk with peanut milk it’s excellent. It’s for the taste. Thank you for sharing.
This may be silly, but I just made almond milk into yogurt this past weekend. Do you think it’s possible to use this peanut milk to make yogurt also? I love peanuts. I was scrolling through your other milk recipes and hazelnut sounded good too for yogurt. Your thoughts?
I think it will work, but this peanut milk is very nutty so I am not sure about how it will taste as a yogurt.
Hi Thomas, is there any reason it has to be boiled, bacteria risk for instance?
Hi Stephanie,
Boiling gives it a slightly thicker consistency, plus it prevents the milk from separating too quickly in the fridge. Usually, mine only starts to separate after 2 days.
Hi Thomas,
I am wondering if you could use these ingredients and make the milk in a Soymilk maker?
Regards
Ruth
Hi Ruth,
I am not familiar with how soy milk makers work so I can’t say for sure. If they blend + strain + boil, then it should definitely work!
Hi Thomas,
They blend and boil yes then I usually strain the milk at the end.
Thank you for your reply, I will give it a go
Regards Ruth
This is brilliant, Thomas!