This post may contain affiliate links. Please read our disclosure policy.

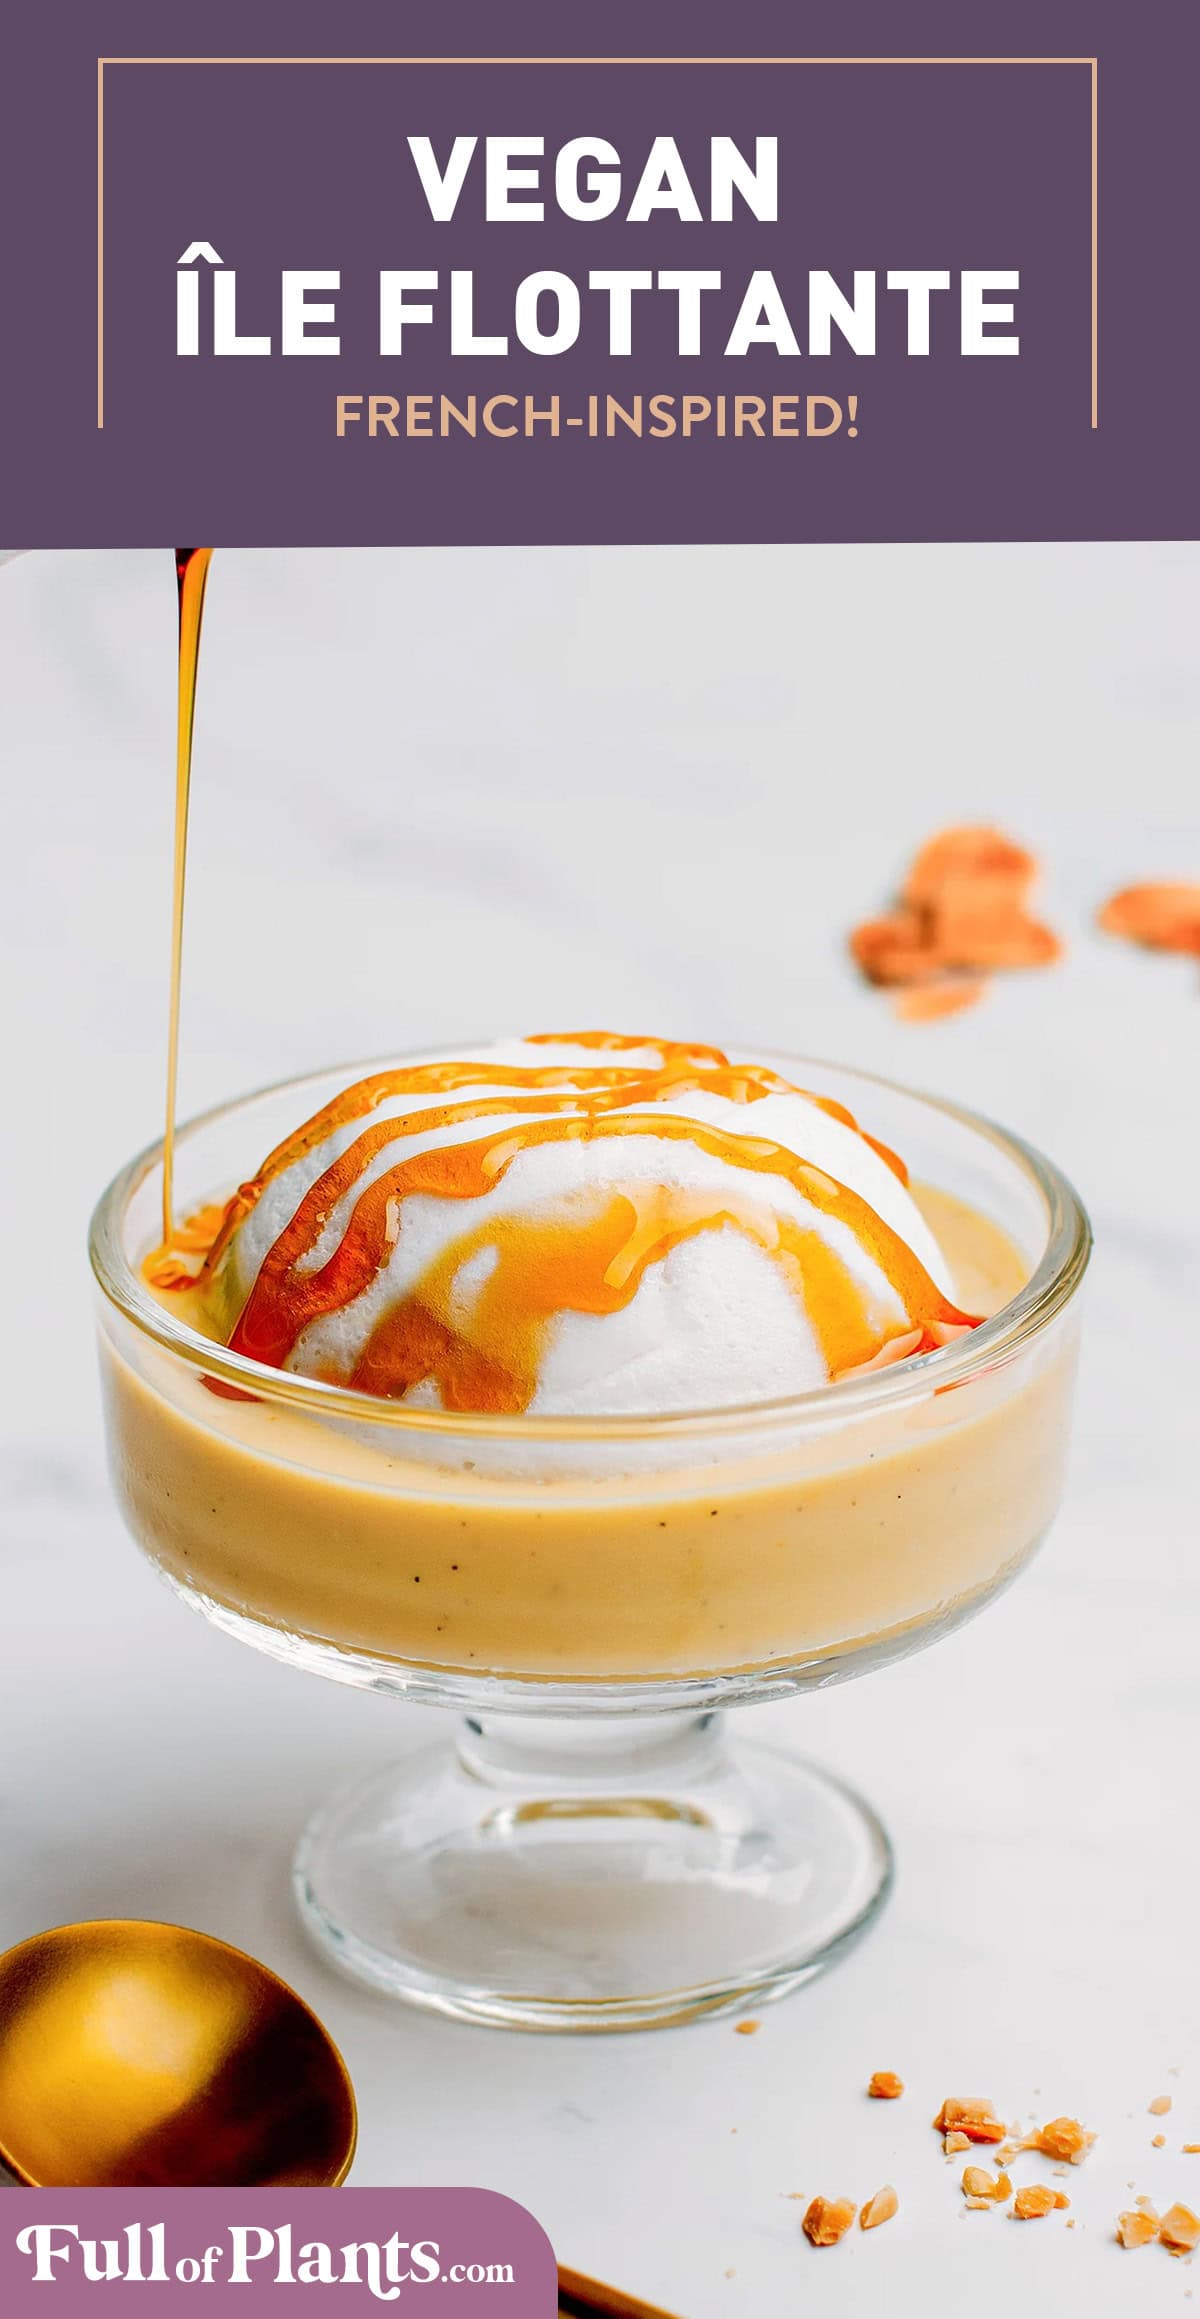
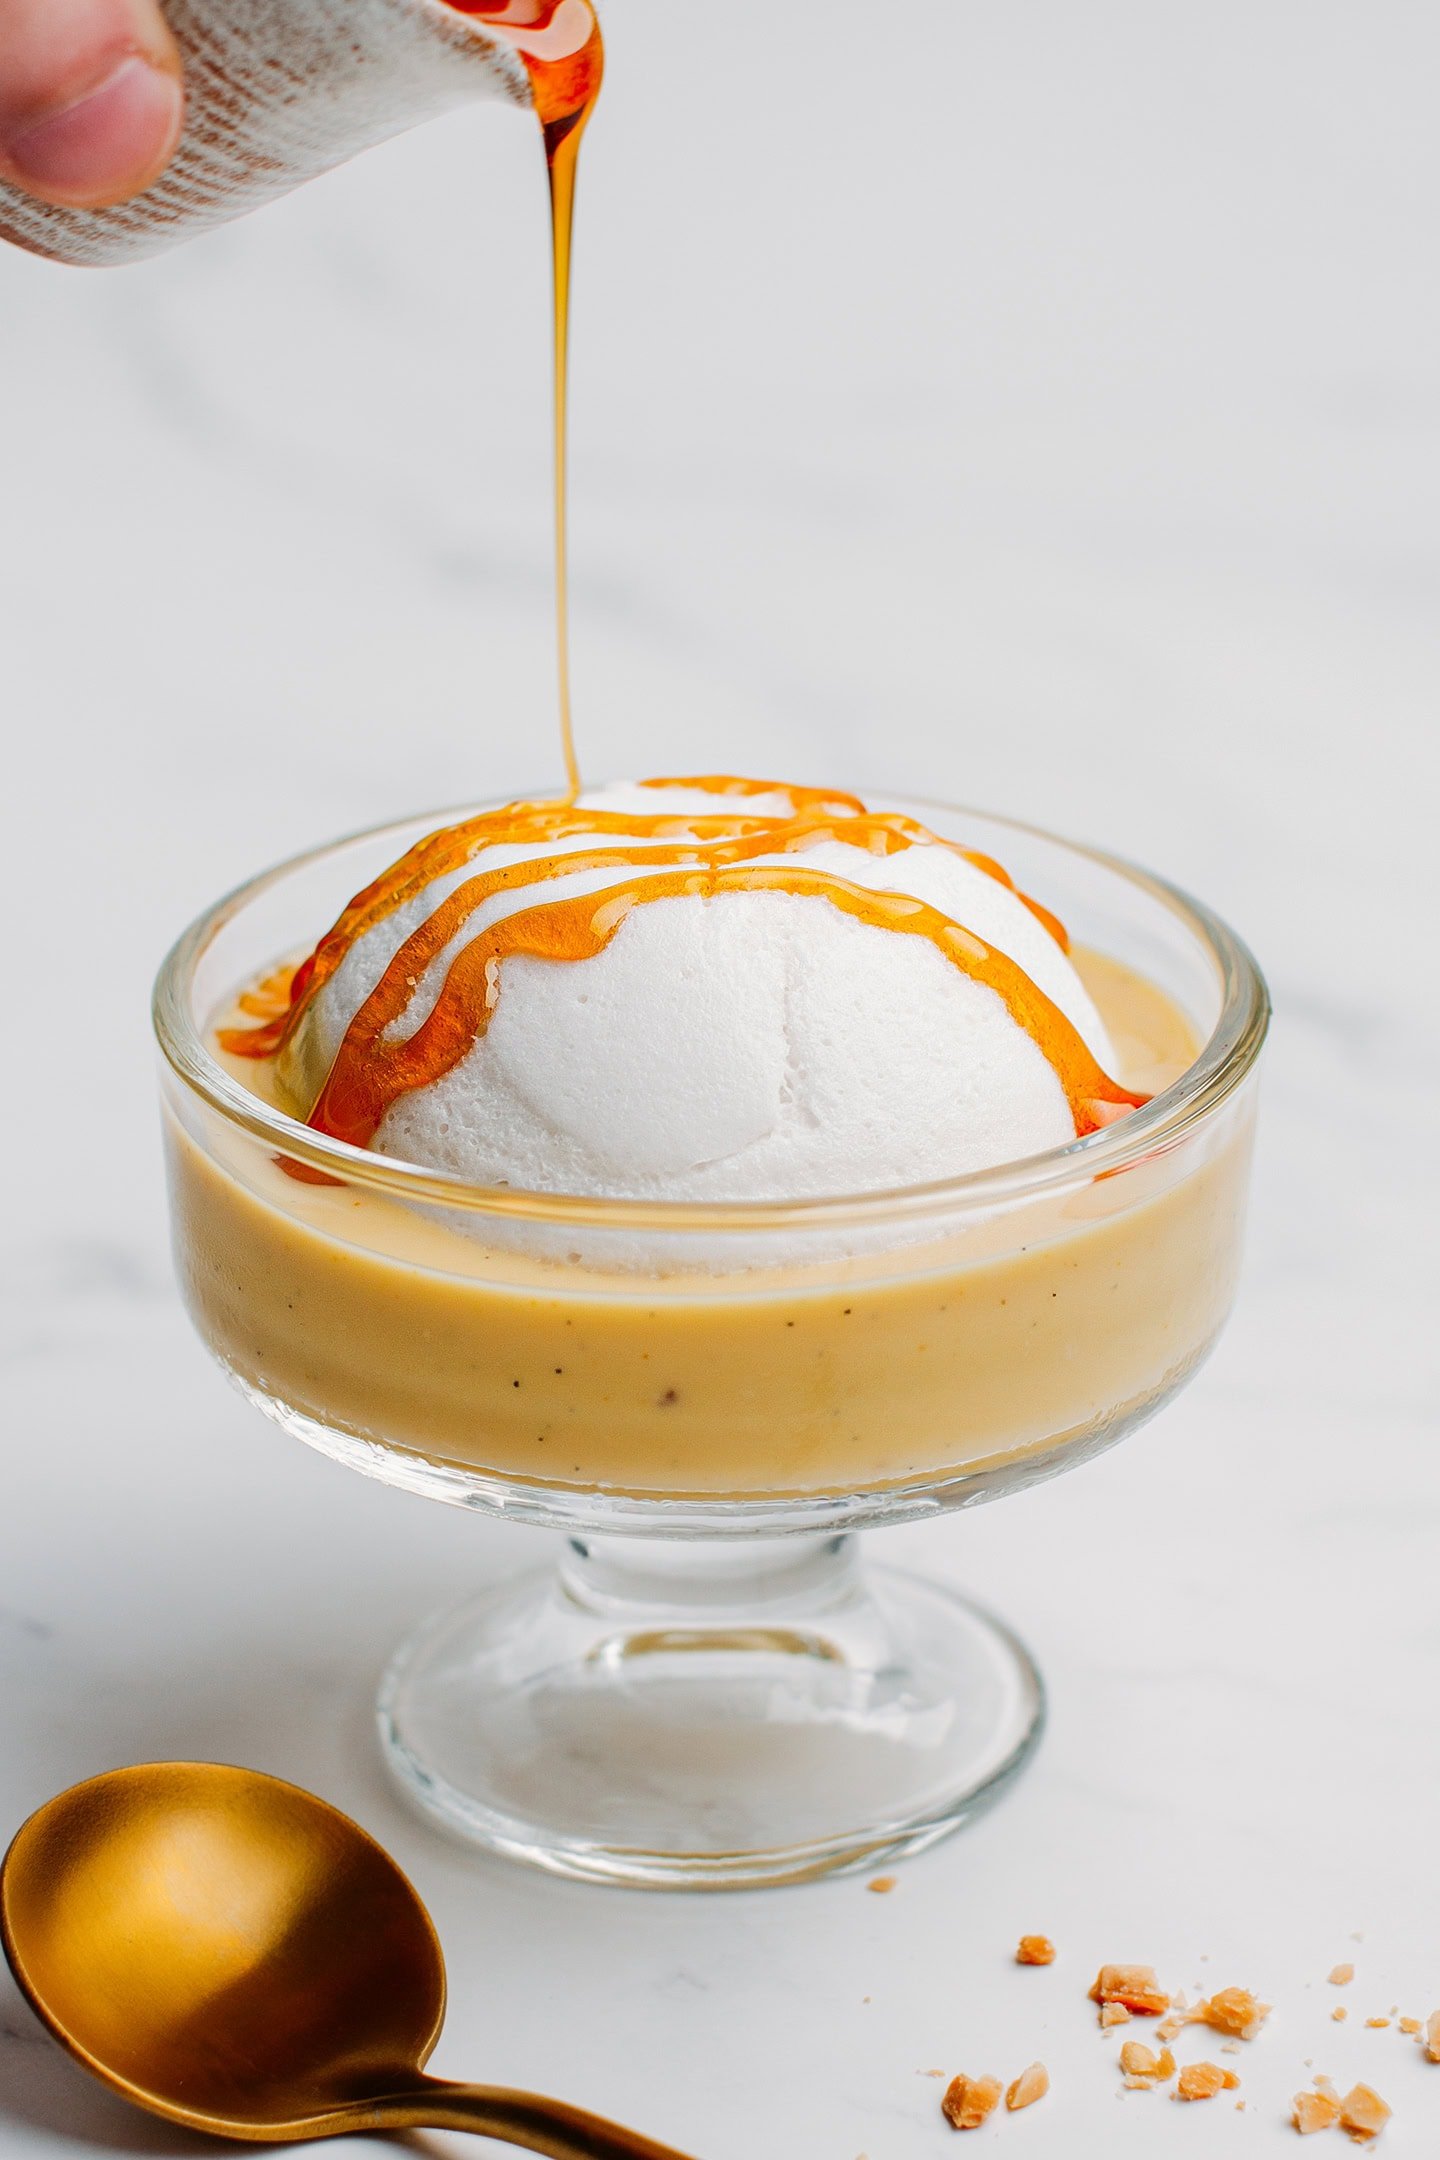
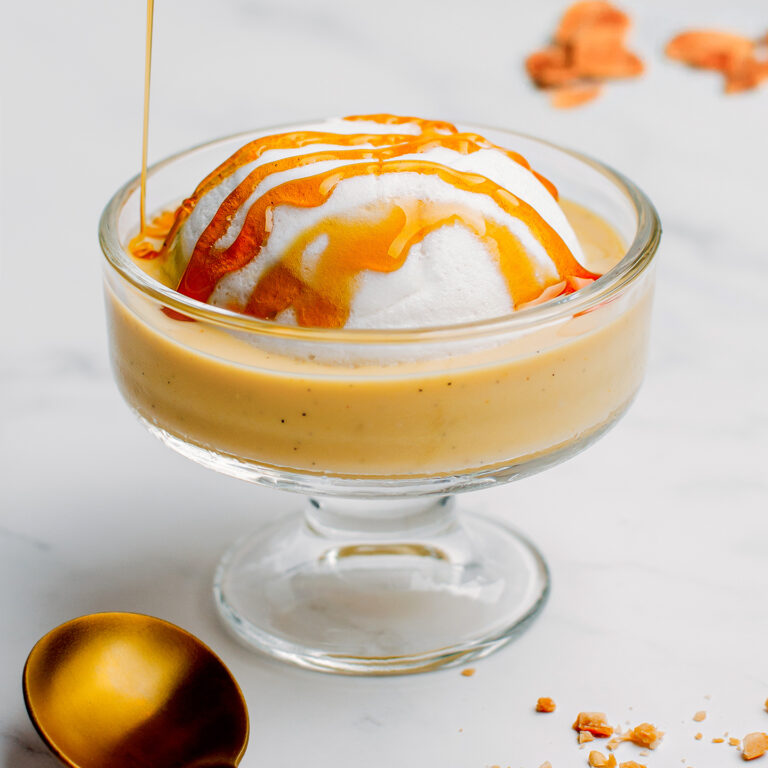
You won’t believe how close my vegan Île Flottante tastes to the original! This French classic consists of a light meringue floating on top of a creamy vanilla custard. It’s then drizzled with salted caramel sauce and garnished with crushed nuts. A magical dessert!
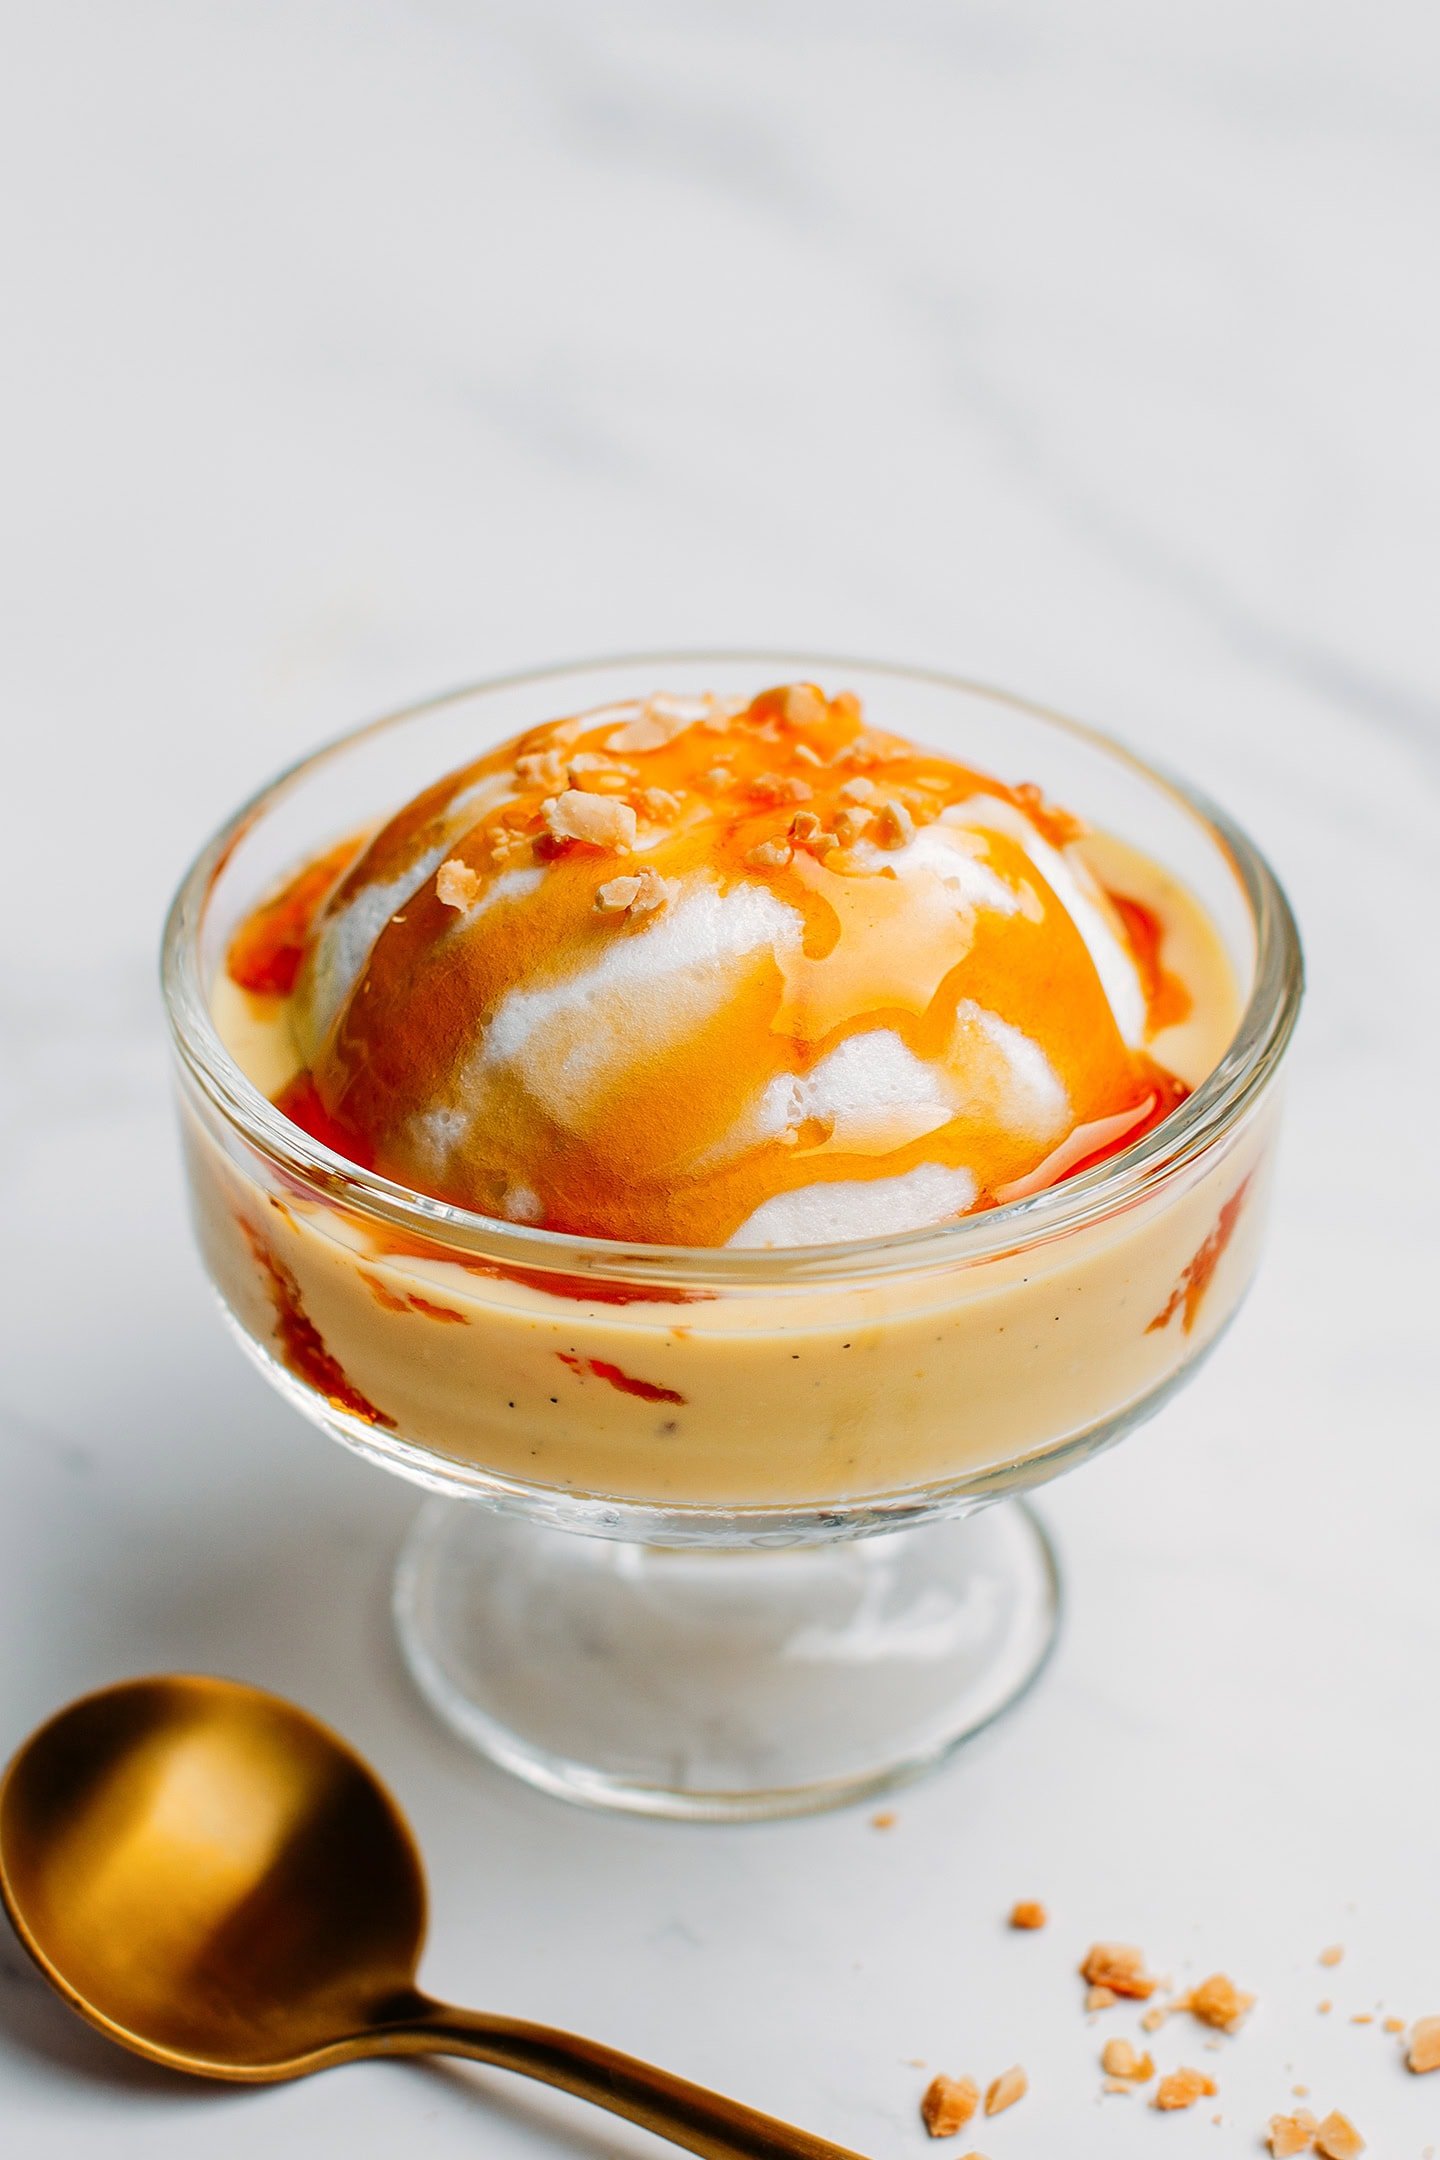
I’m super excited to finally release this recipe! It tastes AH-mazing – imagine a delicate meringue drizzled with caramel floating on top of a rich and buttery vanilla custard. That’s the essence of ile flottante! The best part is that I made this classic dessert dairy-free and egg-free!
While the ingredients for the vegan meringue may seem basic, the ratio and process to achieve a texture and mouthfeel similar to real meringue were quite a challenge. It took me AGES to develop this recipe. I first tried making aquafaba meringue and cooking it in a water bath, just like what you are supposed to do in the original recipe. It was a total failure.
So, I went back to the drawing board, and after experimenting with many options, I realized that I could maybe set the aquafaba with agar. It worked! The last thing that I wanted to improve was the mouthfeel, as I thought the meringue lacked a bit of richness. To do so, I relied on coconut cream, which not only adds a bit of creaminess to the meringue but also helps set it a bit more. TADA! My vegan ile flottante was born!
⭐️ Why This Recipe Works
As delicious as the original.
If you have ever tried the non-vegan version of île flottante, you won’t believe how close this vegan version tastes to the original! Actually, my wife likes it even better than the ones she tried at the restaurant before!
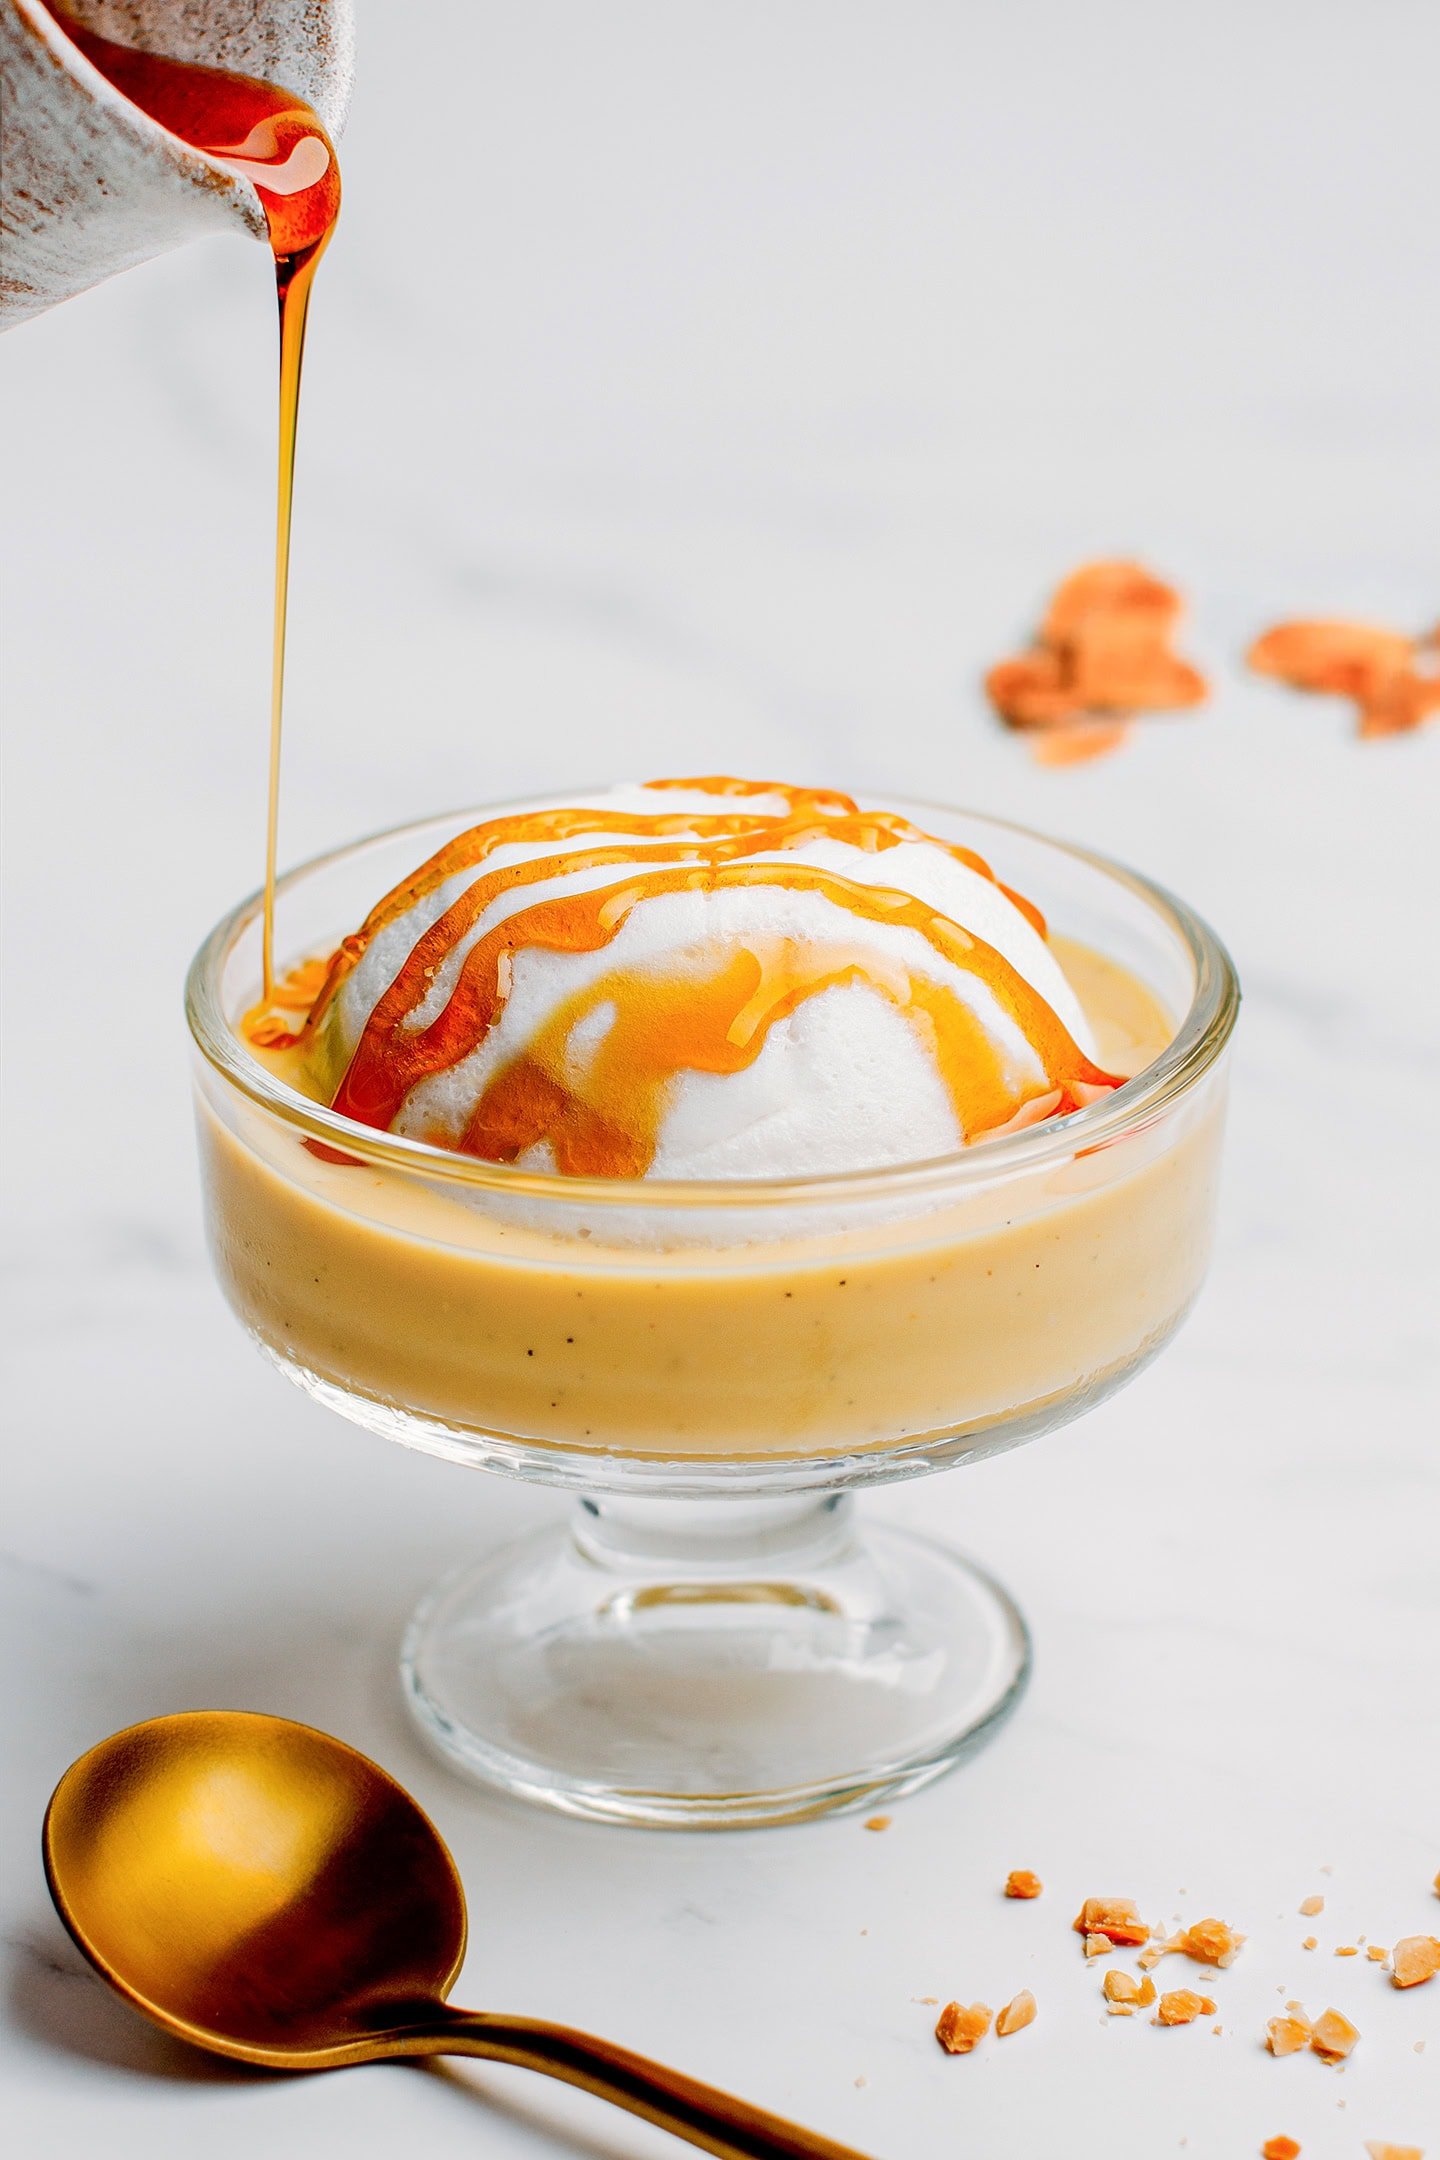
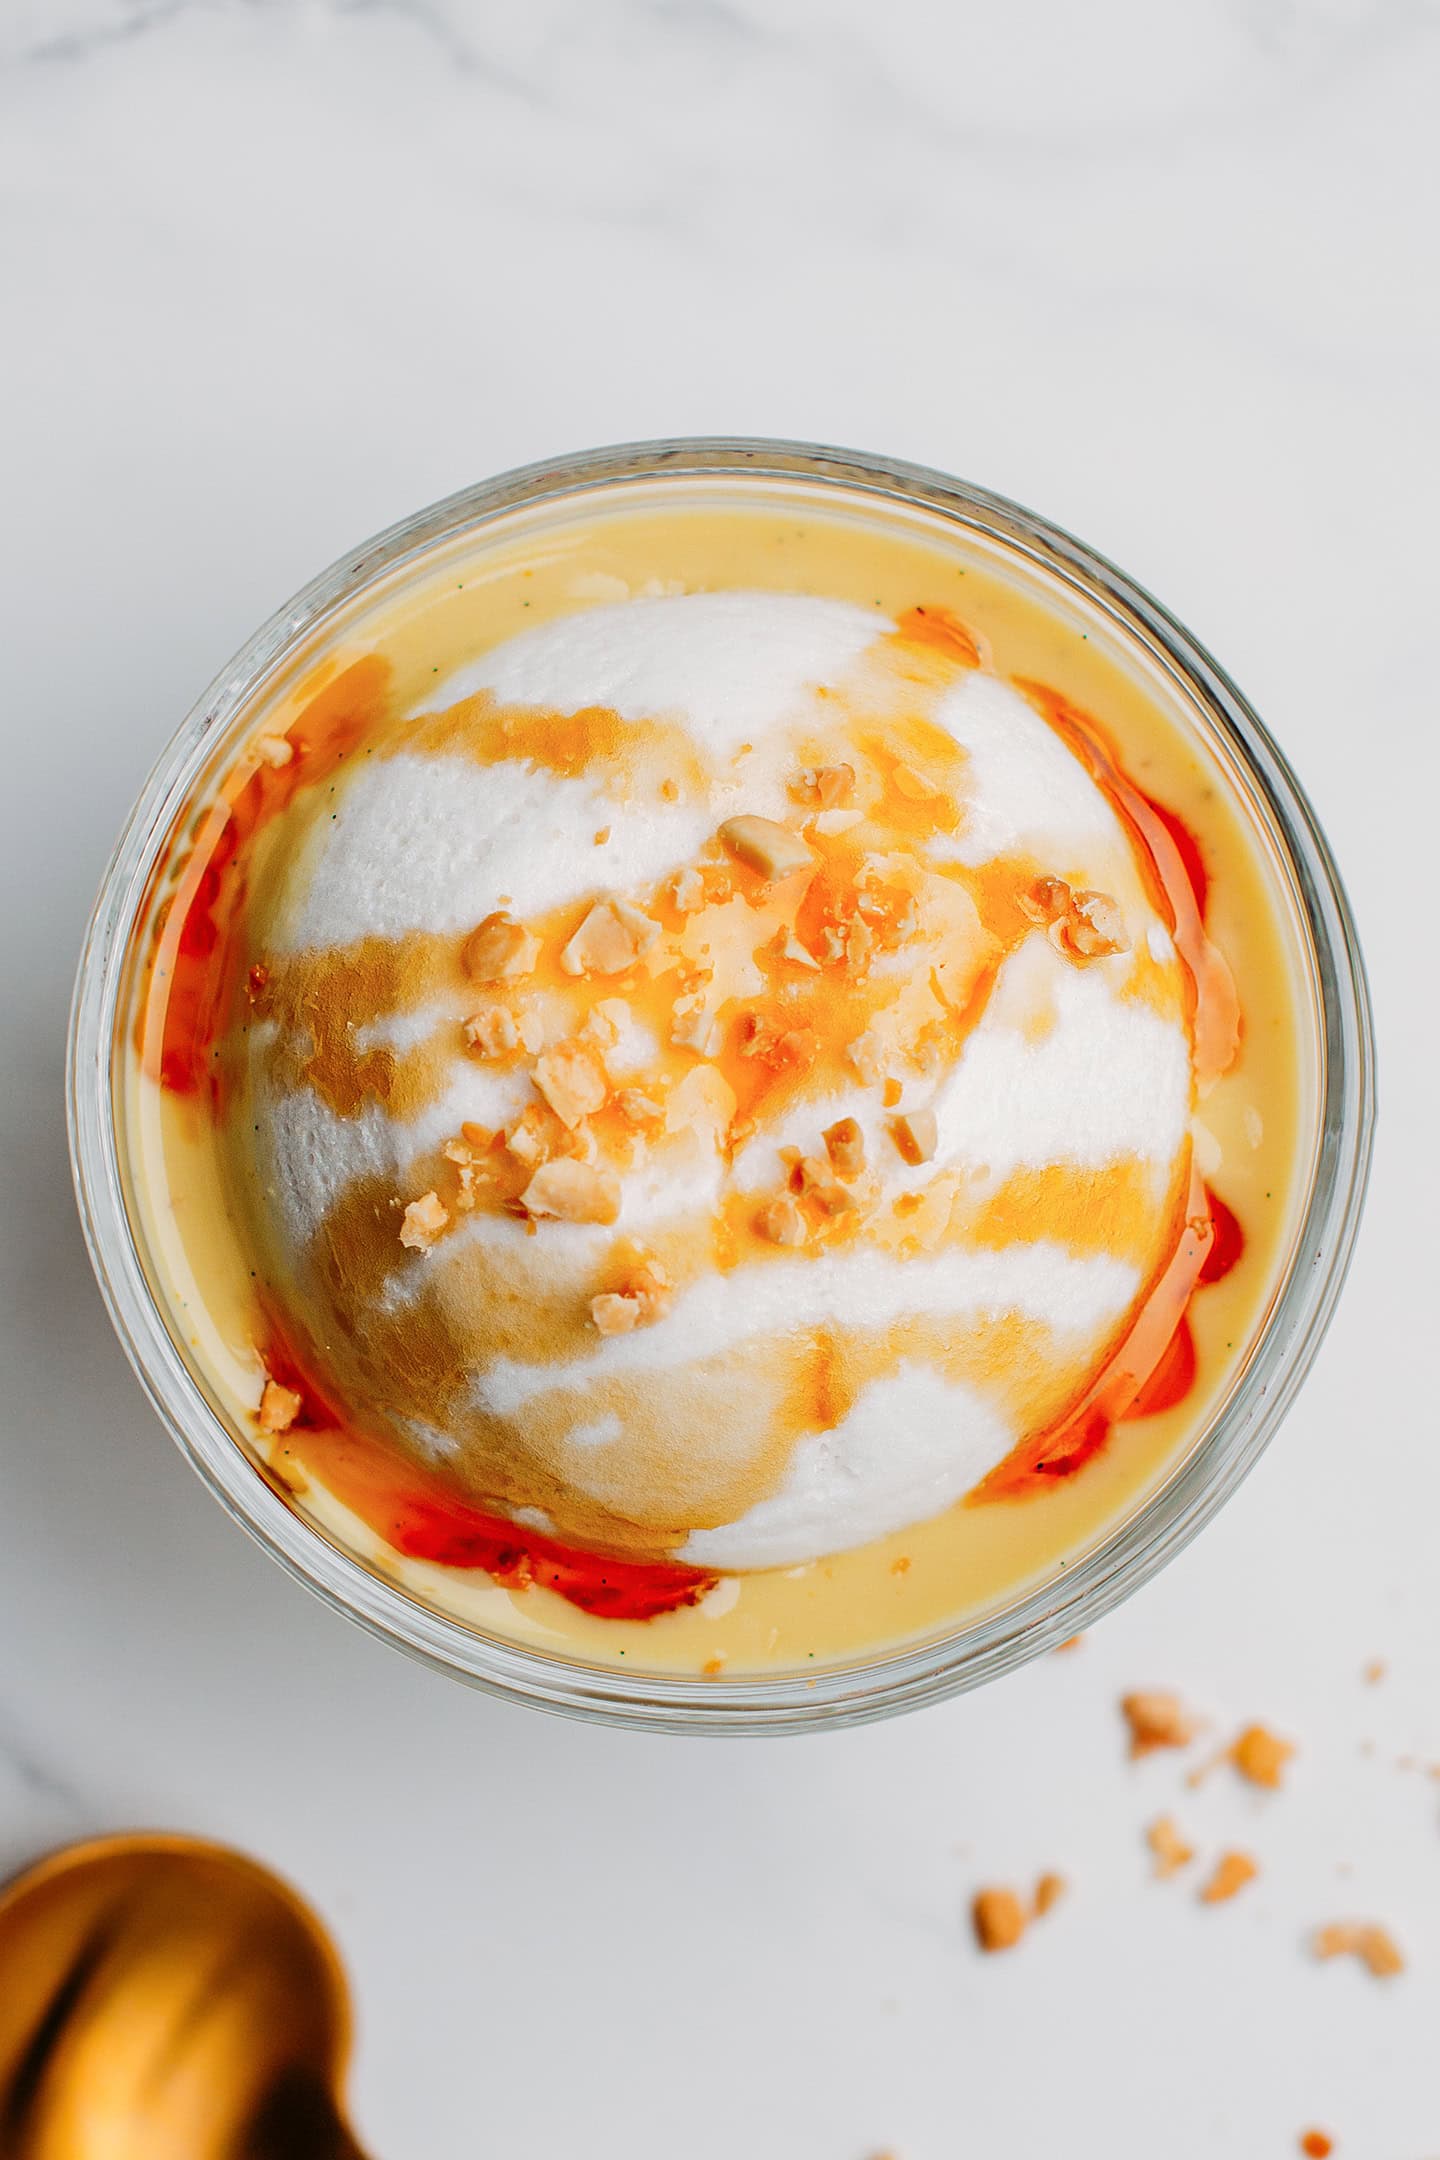
The meringue is fluffy and airy, while the vanilla custard is incredibly fresh thanks to the use of fresh vanilla beans. Topped with a drizzle of caramel sauce and a sprinkle of crushed nuts, this dessert is refined enough to be served at a high-end restaurant!
Foolproof and tested multiple times.
Perfecting this recipe took a while, but the results are definitely worth it! My recipe is easy and requires basic ingredients you most probably already have on hand. It consists of 3 different preparations, but each one can be made one day ahead and assembled right before serving. Here is a breakdown of each component of this dessert:
Meringue
The base of this île flottante! Traditionally, whipped egg whites are steamed or microwaved until cooked but still very light in texture. Unfortunately, this technique doesn’t work with aquafaba. It disintegrates when steamed and doesn’t firm up when baked. After several unsuccessful tests, I finally reached the perfect texture!
The secret lies in a combination of coconut cream and agar added to the whipped aquafaba. This helps firm up the aquafaba just enough and yields the perfect texture (and yes, it floats just like the original one). The result is incredibly close to the real thing!
Vanilla Custard
The meringue is supposed to be served on top of a rich vanilla custard called “crème anglaise”. To make this custard, I relied on plant-based milk, maple syrup, cornstarch to thicken it just slightly, and fresh vanilla bean for a wonderful floral aroma. The latter is essential to give this dessert a gourmet restaurant quality!
Caramel Syrup
Finally, the icing on the cake is the caramel syrup that is poured on top of the meringue. I went with a traditional caramel by heating sugar until it turned golden brown and then deglazing it with a couple of tablespoons of water. This creates a thick caramel syrup that can be drizzled over the aquafaba meringue.
📘 What Is Île Flottante
Île Flottante, also called “Oeufs à la neige” (Eggs in snow), is probably one of the most popular French desserts!
It consists of a rich vanilla-infused custard topped with whipped egg whites and drizzled with a salted caramel sauce. The whipped egg whites float on top of the vanilla cream, hence the name “Île Flottante,” which translates to a floating island. It’s a light, airy, and not overly sweet dessert.
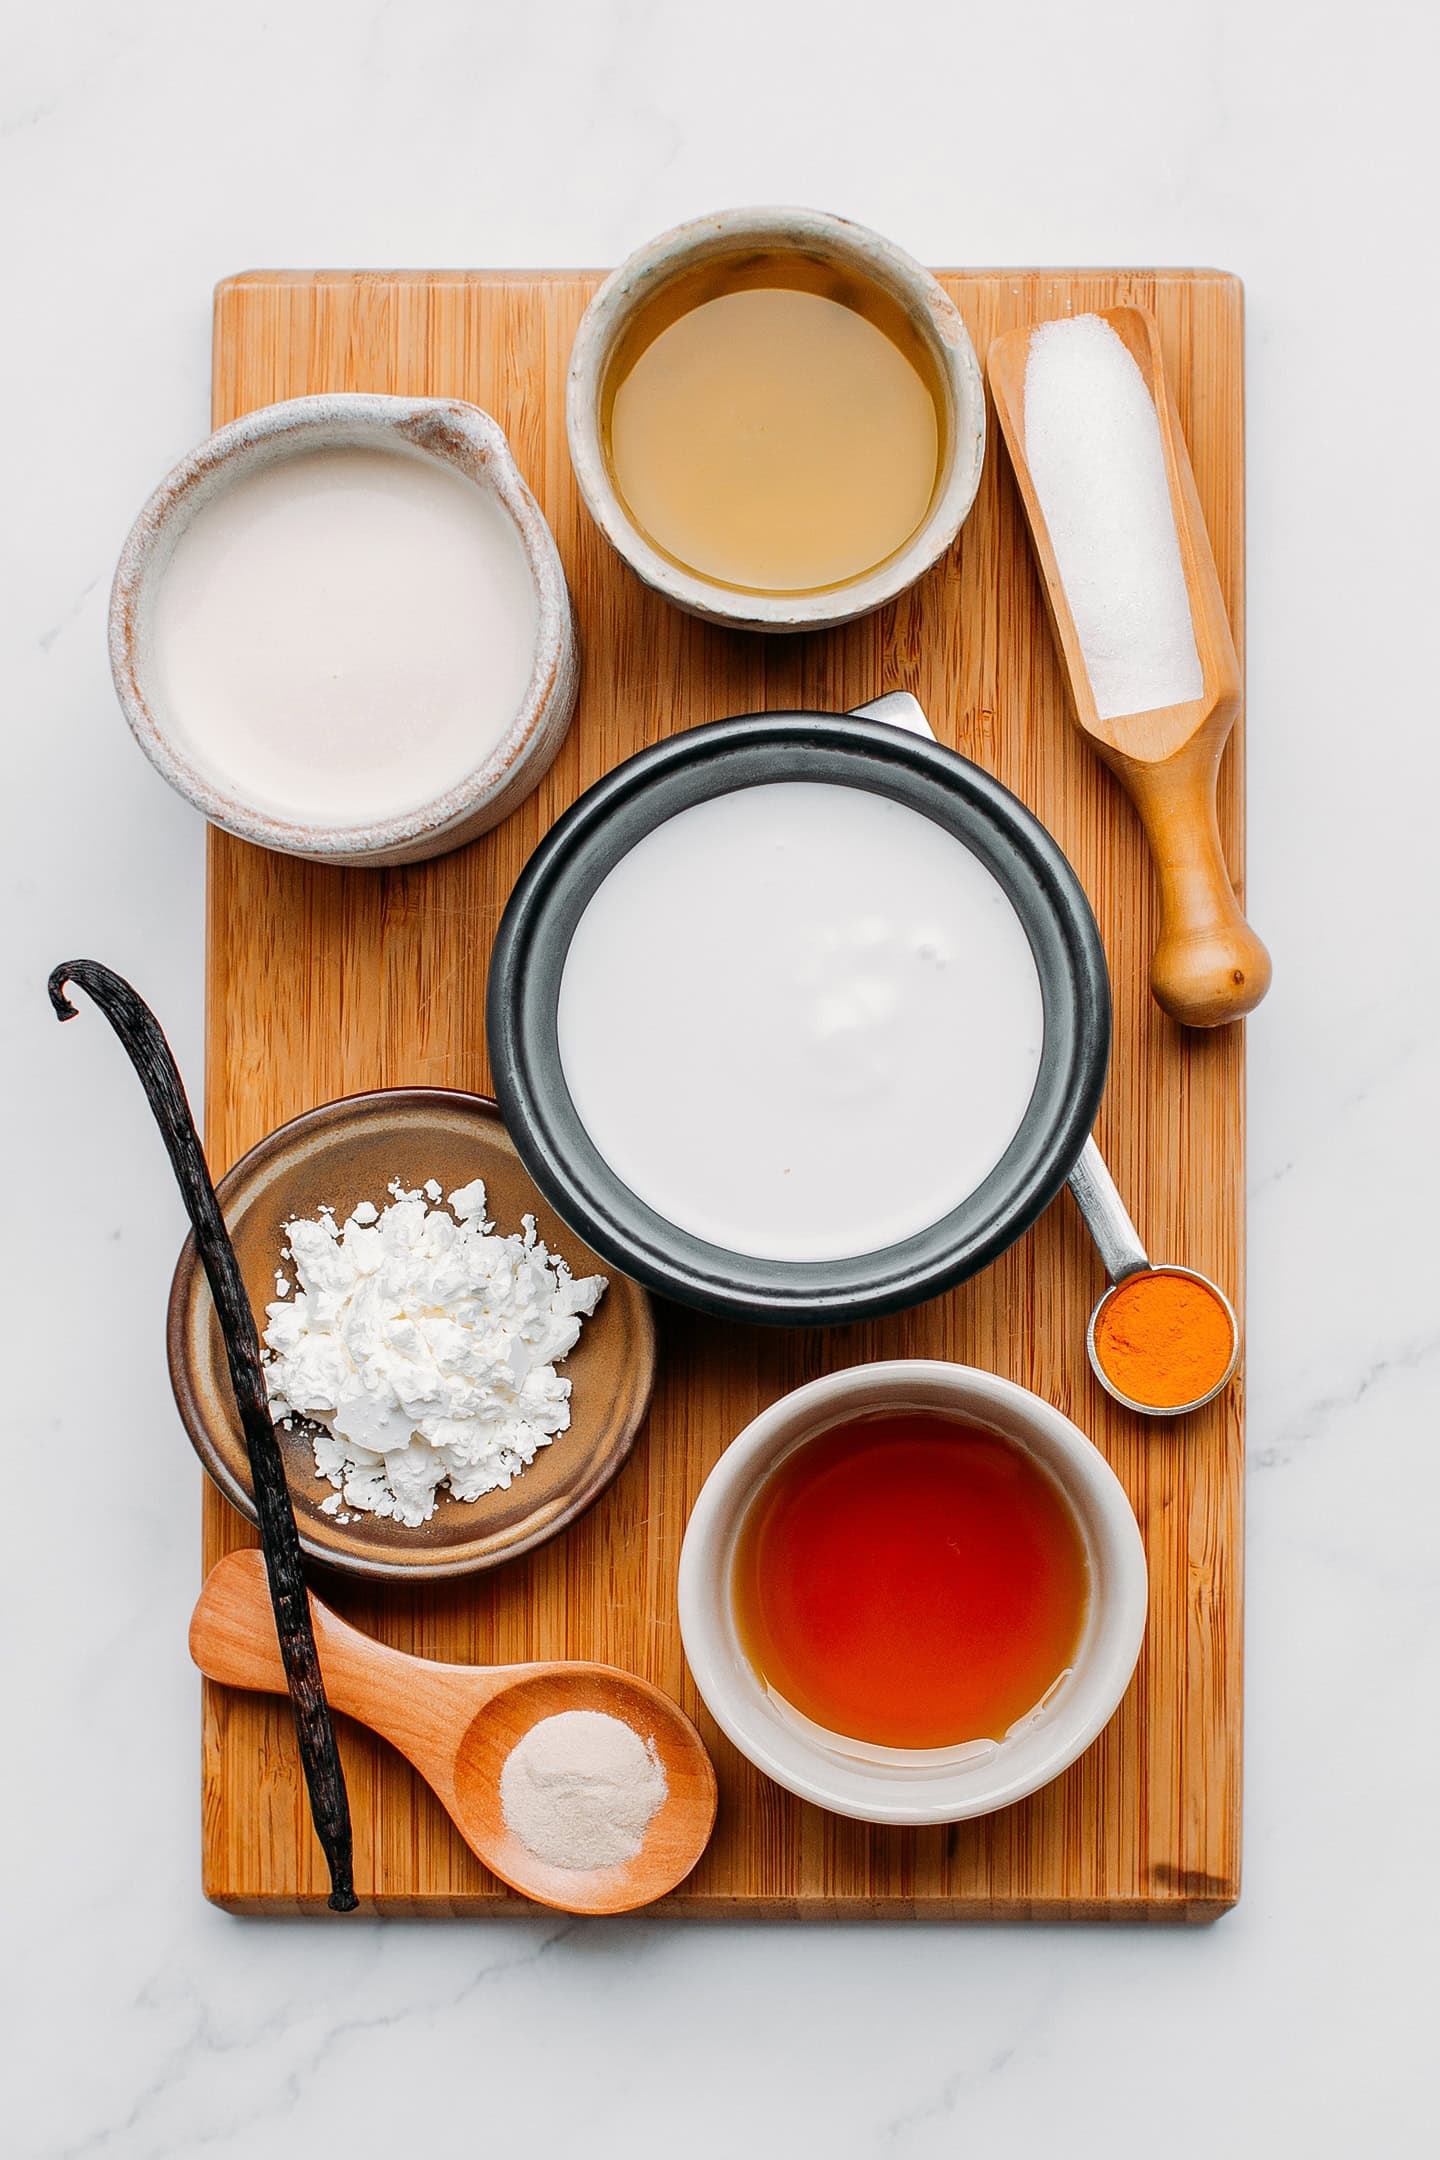
🧈 Ingredient Notes
Aquafaba
If you are not familiar with aquafaba, it’s basically the brine that comes in a can of cooked chickpeas. It’s a magical ingredient that can be whipped just like egg whites! Actually, I have used aquafaba in the past to make my vegan strawberry mousse and my vegan ladyfingers.
In this recipe, I use aquafaba as the base for the meringue.
Sugar and maple syrup
Although this dessert is not overly sweet, it does need to be sweetened. I rely on maple syrup to sweeten the vanilla custard, as I like the subtle caramelized flavor it brings.
Then, for the meringue and salted caramel, I prefer using granulated white sugar for a couple of reasons. First, it prevents the meringue from getting a darker color (which would happen with maple syrup or coconut sugar, for example). Second, it’s very difficult to make caramel starting with darker types of sugar as it’s hard to tell when the caramel is done or when it is burned.
Agar
Agar is a key ingredient in this recipe, as it firms up the meringue. Without agar, the meringue would be too soft and too airy. Also, it would collapse after just a couple of hours.
Note: Use agar agar powder, not agar flakes.
Coconut cream
Coconut cream adds richness, giving the meringue a melt-in-your-mouth texture. Besides that, it helps firm it up a bit more.
Can I use coconut milk? Yes, you can replace the coconut cream with full-fat coconut milk. I have tried both versions and they tasted equally delicious! The coconut cream version will yield a slightly firmer meringue as opposed to the coconut milk one.
Note: If you can’t have coconut, you can simply replace it with your favorite unsweetened plant-based milk. The meringue will not be as rich, but it will still taste great.
Plant-based milk
To make the vanilla custard, you will need unsweetened plant-based milk. I personally like soy milk for its rich and creamy consistency, but oat, cashew, or almond milk will work too.
Cornstarch
I only use two tablespoons of cornstarch to thicken the vanilla custard, as the consistency should remain pourable.
Vanilla
Finally, I use vanilla seeds from half of a vanilla bean (although you can also use vanilla extract) to infuse the custard with a delicate floral aroma.
Turmeric
Traditionally, vanilla custard is made with a base of eggs, giving it a nice yellow color. To mimic that color, I like to add a pinch of ground turmeric. It doesn’t alter the flavor – it only adds a subtle yellow color to the custard.
🥣 How to Make It
1. Make the vanilla custard
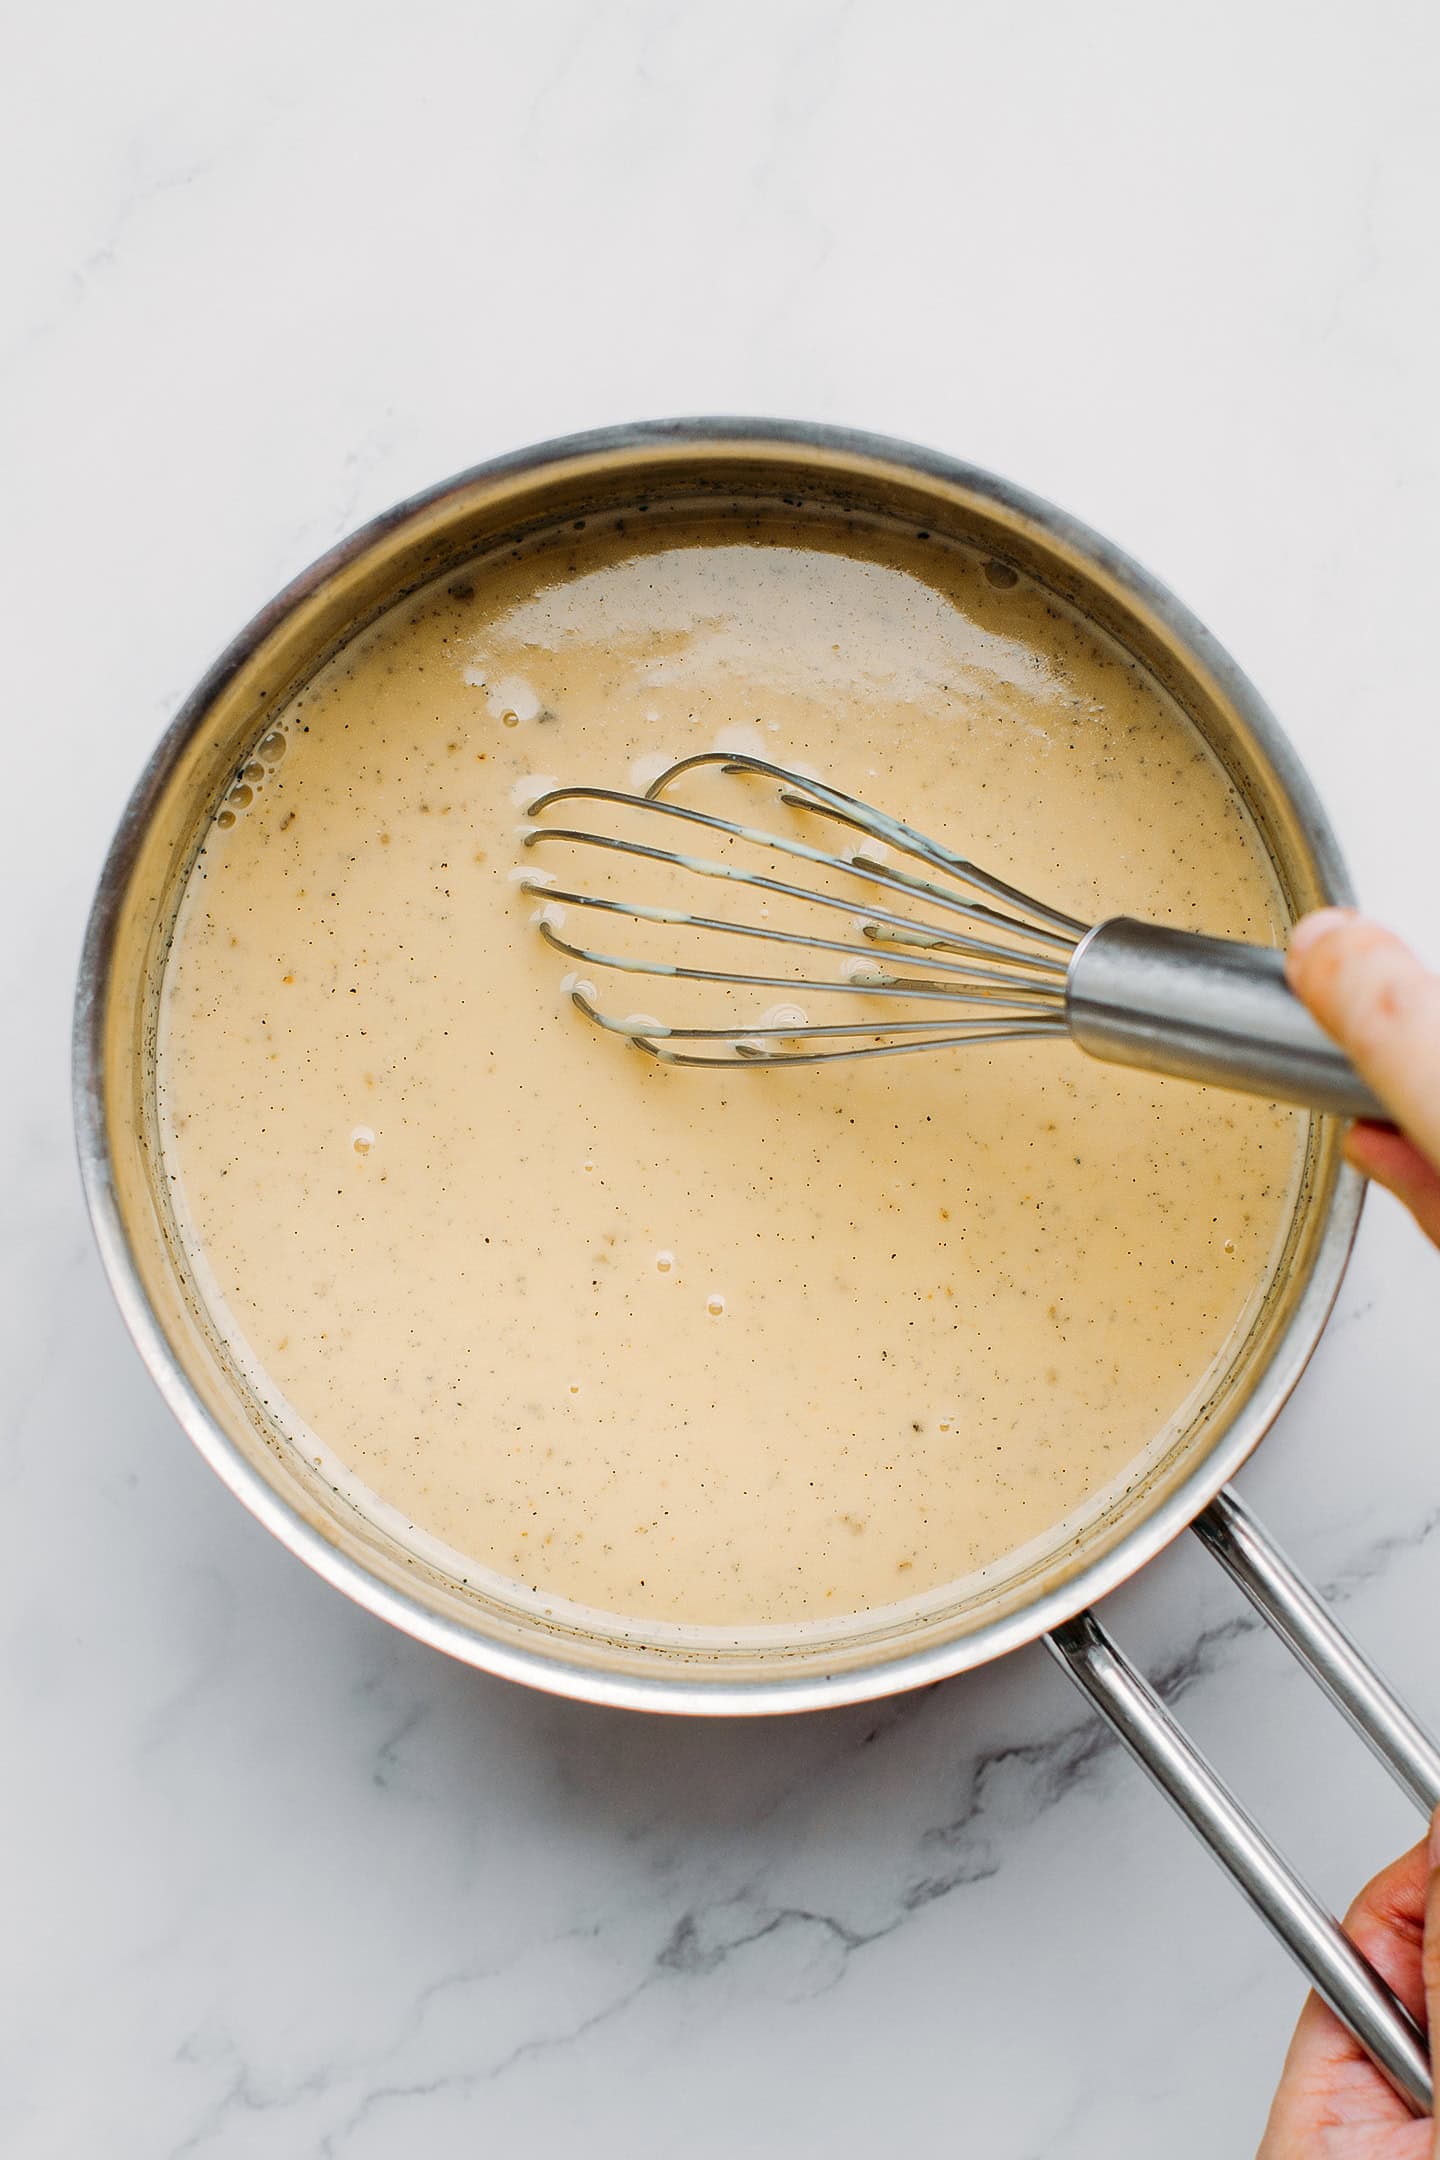
- Combine all of the ingredients. Add the unsweetened plant-based milk, maple syrup, vanilla extract (or seeds from a vanilla bean), cornstarch, vegan butter, and turmeric if using, to a saucepan. Whisk to dissolve the cornstarch.
- Thicken. Heat over medium heat, whisking constantly, until it comes to a boil and starts to thicken, about 5 minutes. The custard will just slightly thicken, which is normal. You still want it pourable and liquid.
- Allow to cool. Remove from heat, transfer to a bowl, and cover with plastic wrap touching the top of the custard to prevent skin from forming on top. Let it cool at room temperature before transferring to the refrigerator. Refrigerate for at least 6 hours.

2. Make the caramel syrup
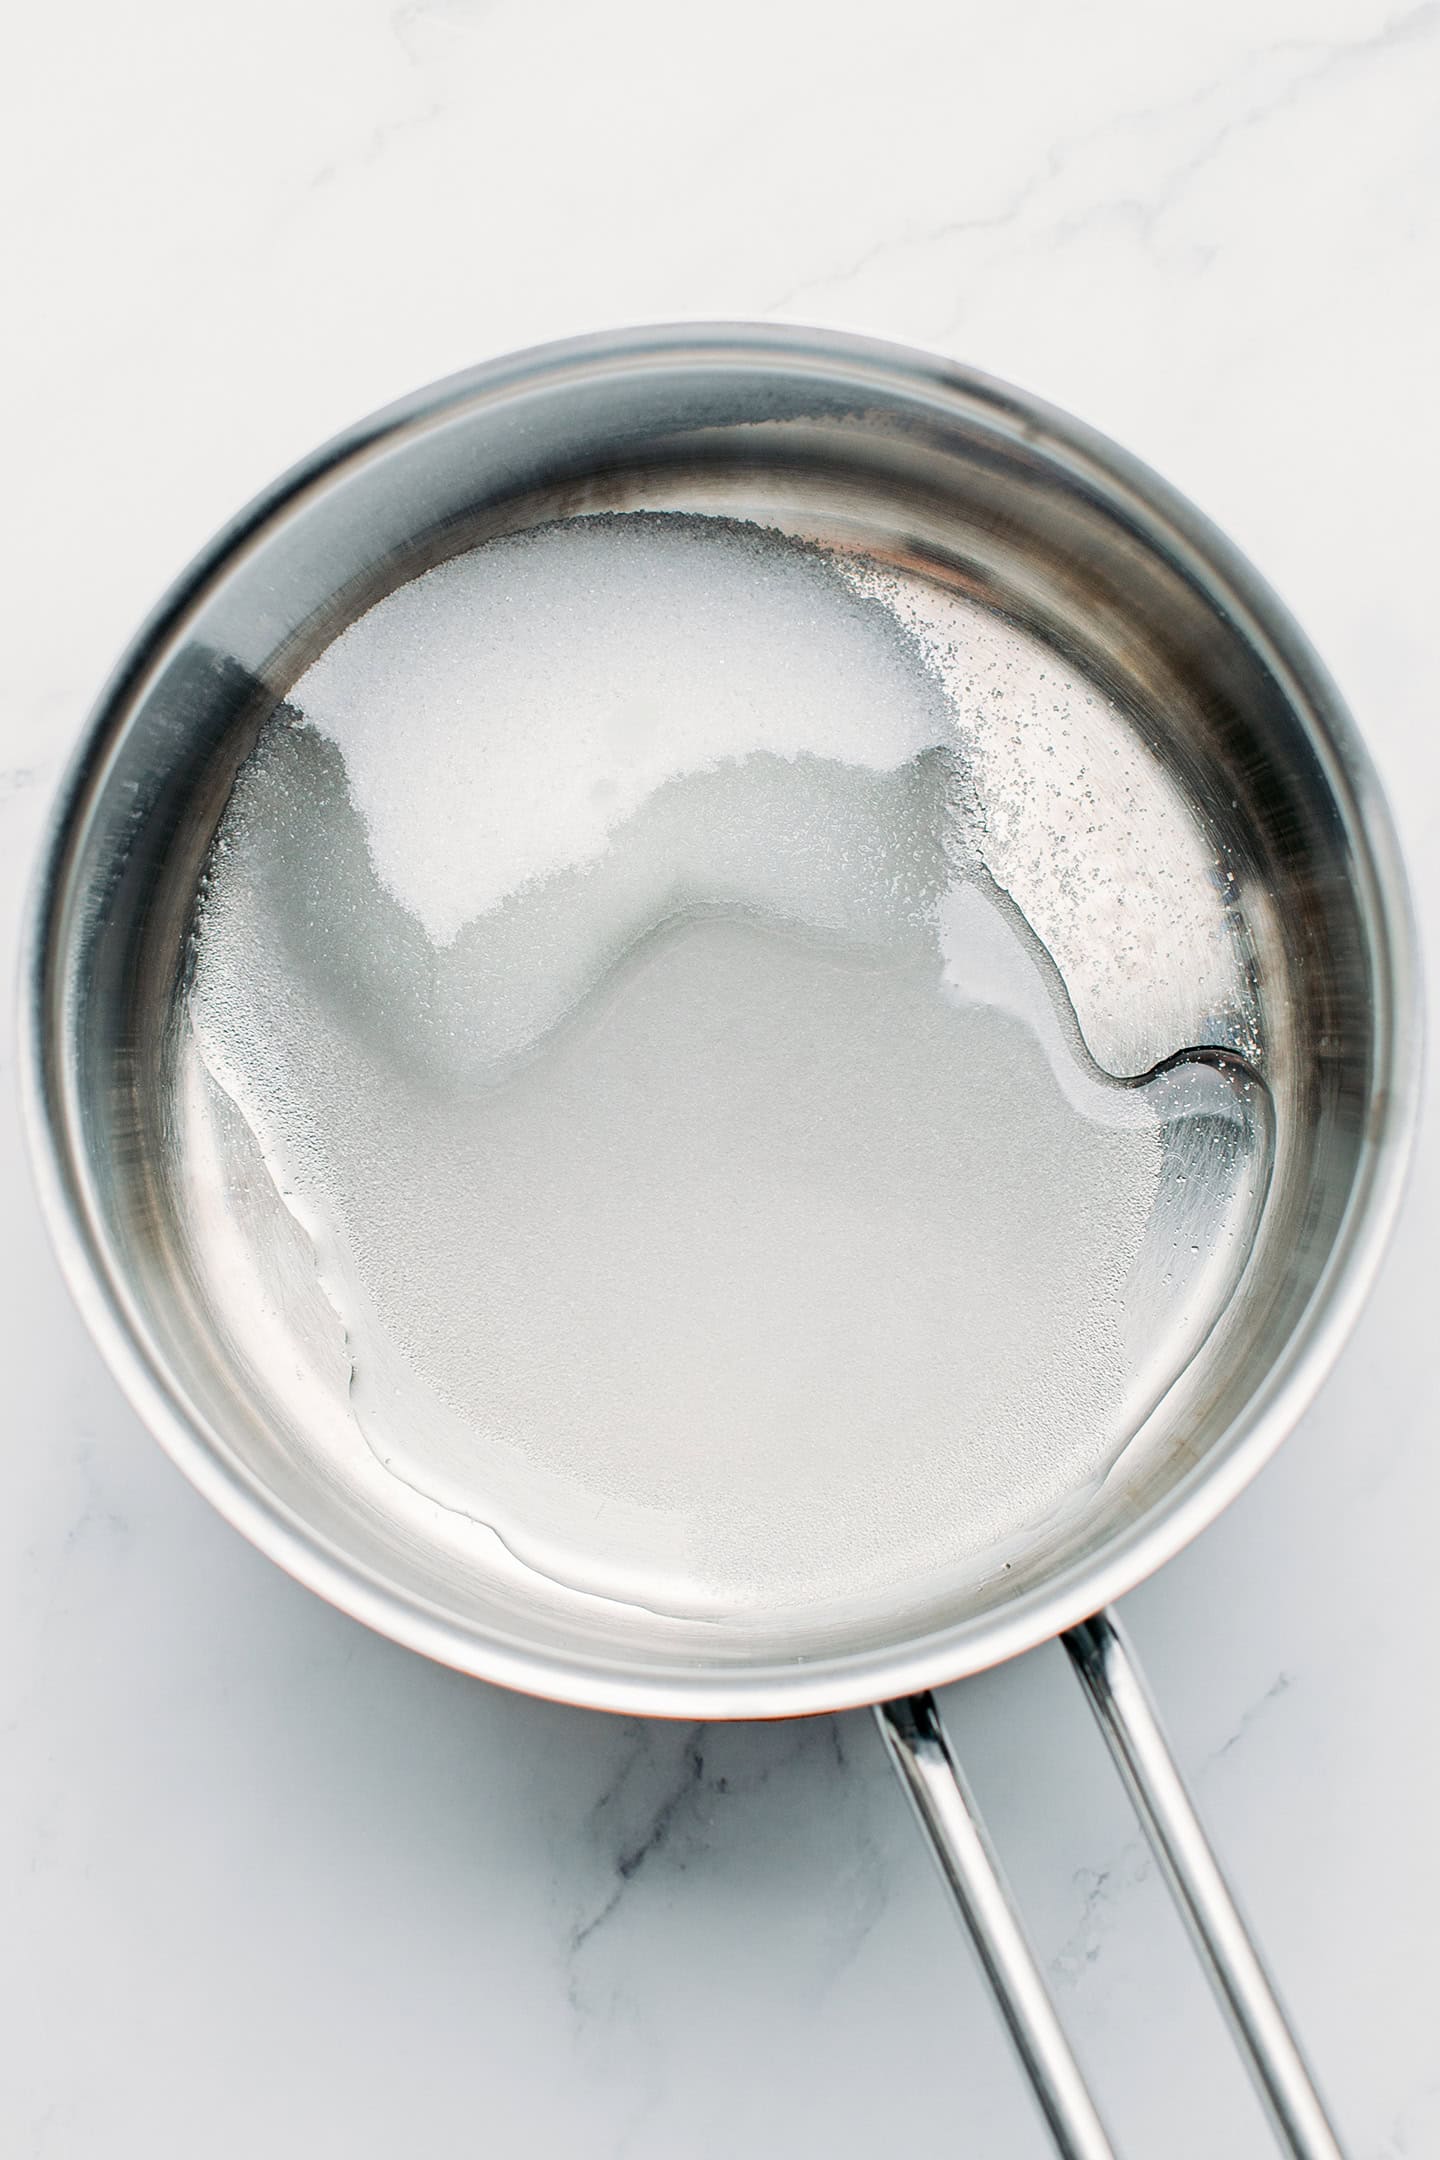
- Melt the sugar. Add the sugar, salt, and one tablespoon of water to a medium saucepan. Heat over medium heat and stir until the sugar is dissolved.
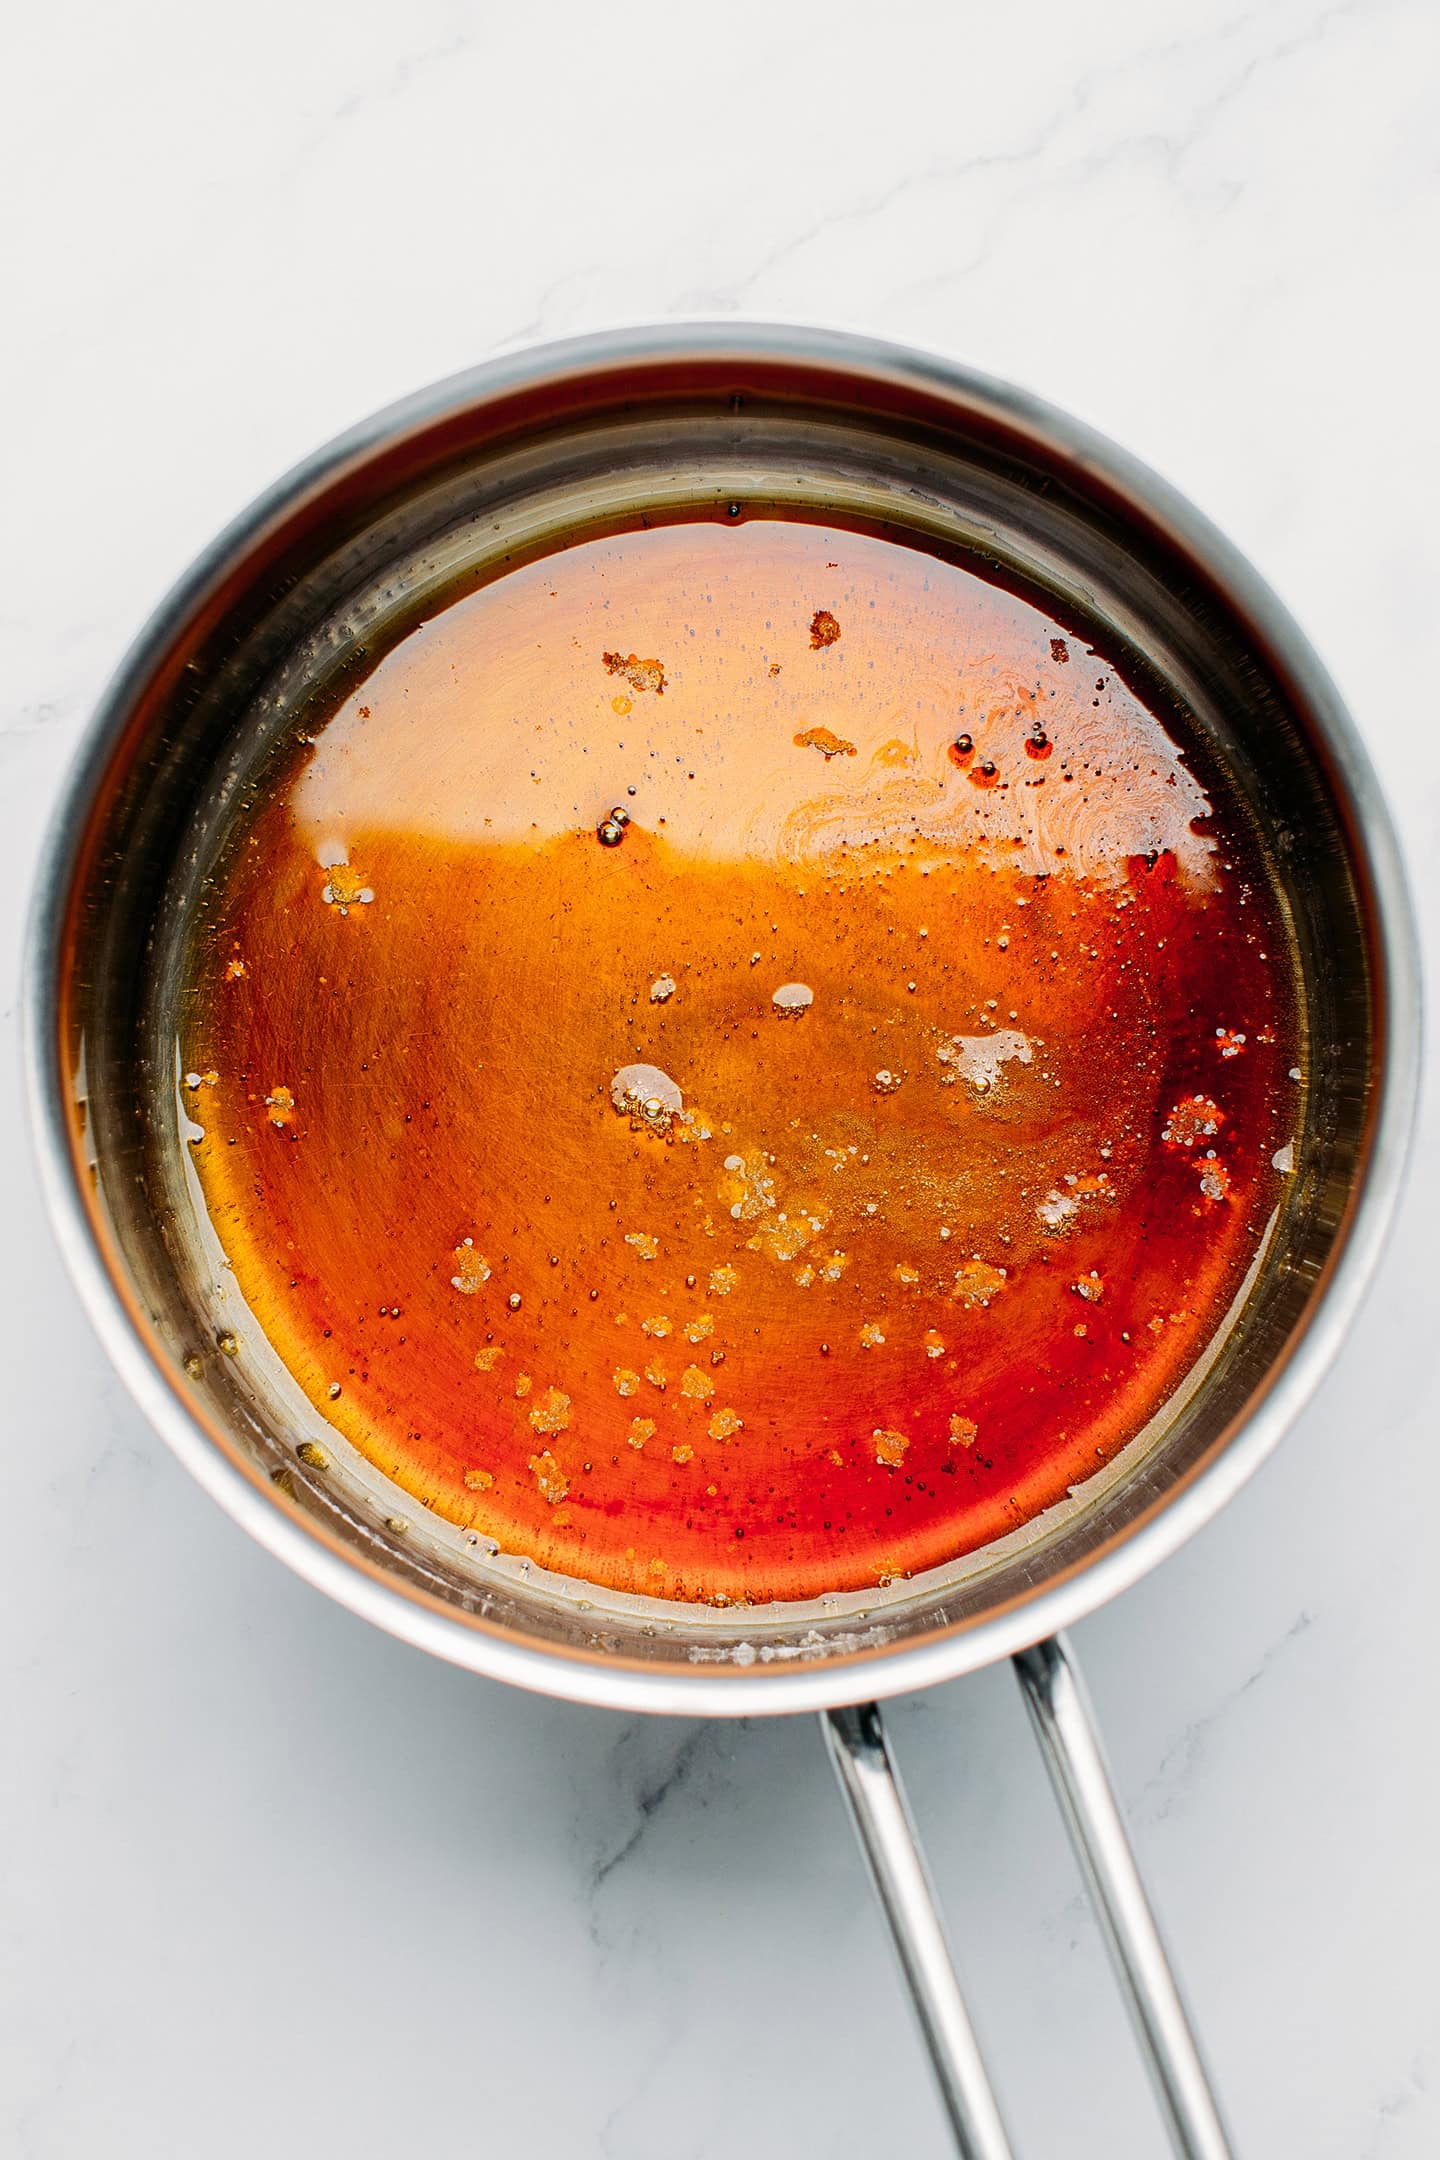
- Caramelize it. Continue cooking for another 4-5 minutes without stirring until it becomes golden brown. At first, the sugar will crystallize, and then it will start to melt again and turn golden brown. Keep an eye on it, as you don’t want the caramel to burn. It should be the color of dark amber maple syrup.
- Deglaze. As soon as it turns golden brown, remove it from the heat and immediately add 2 tablespoons of water to the saucepan. Be careful and stand back a little bit, as it will steam and sputter.
- Cook again. Next, place the saucepan back over the stove and cook for about 30 seconds or until the caramel has fully dissolved into the water. Remove from the heat and let it cool completely. The caramel will thicken slightly as it cools.
3. Prepare the meringue
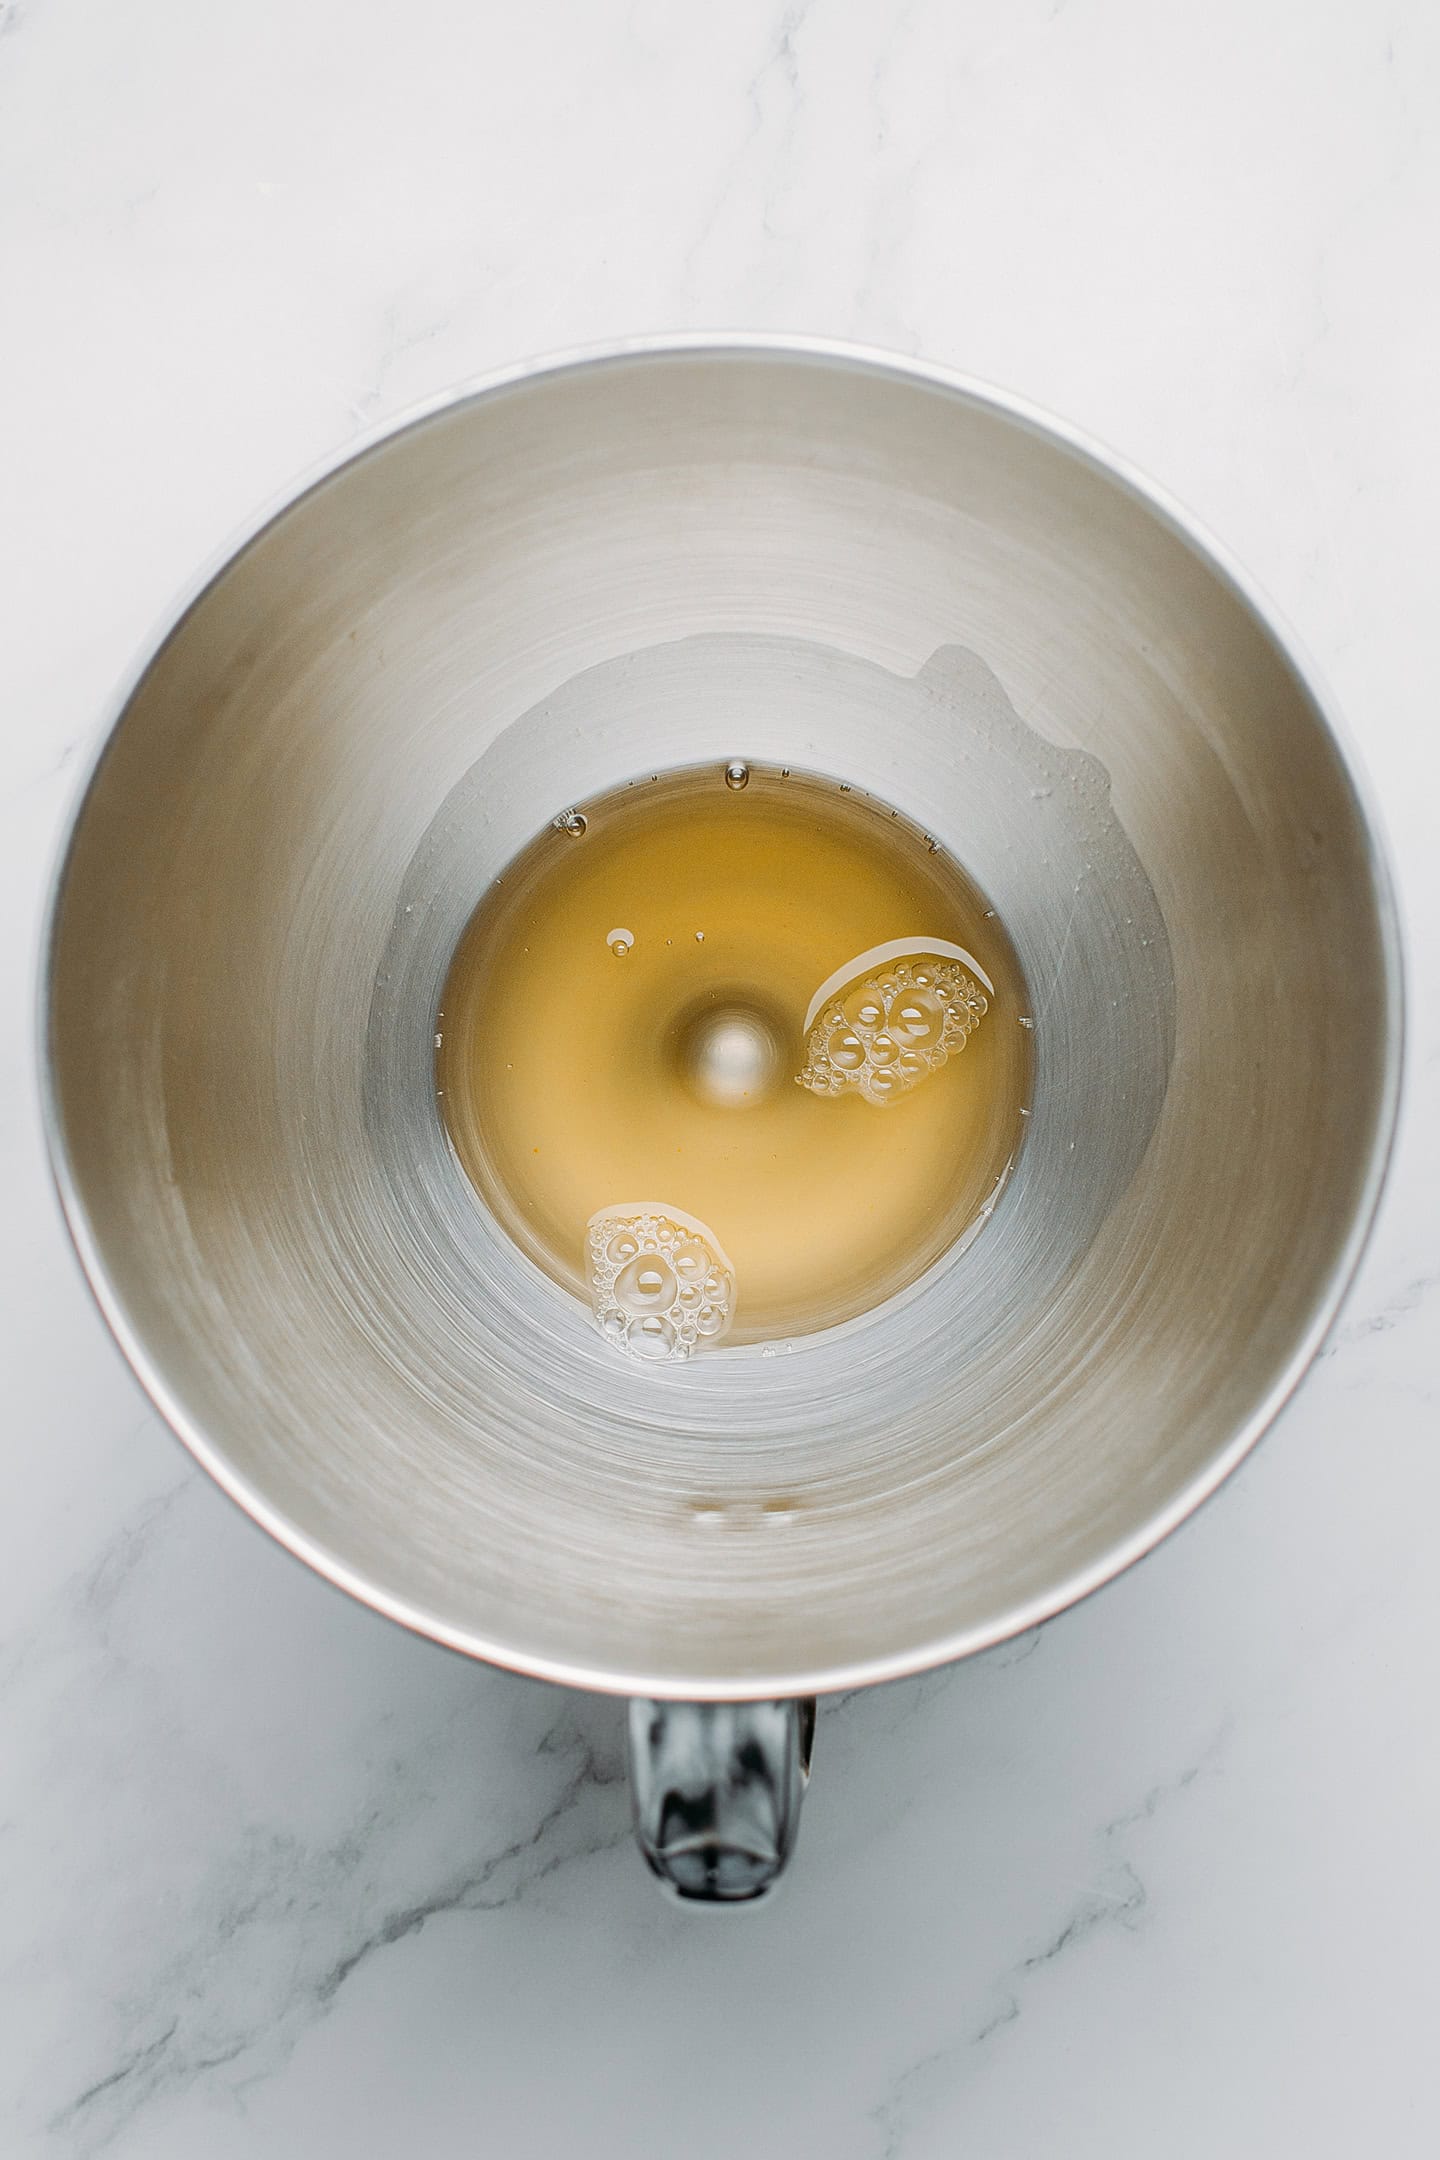
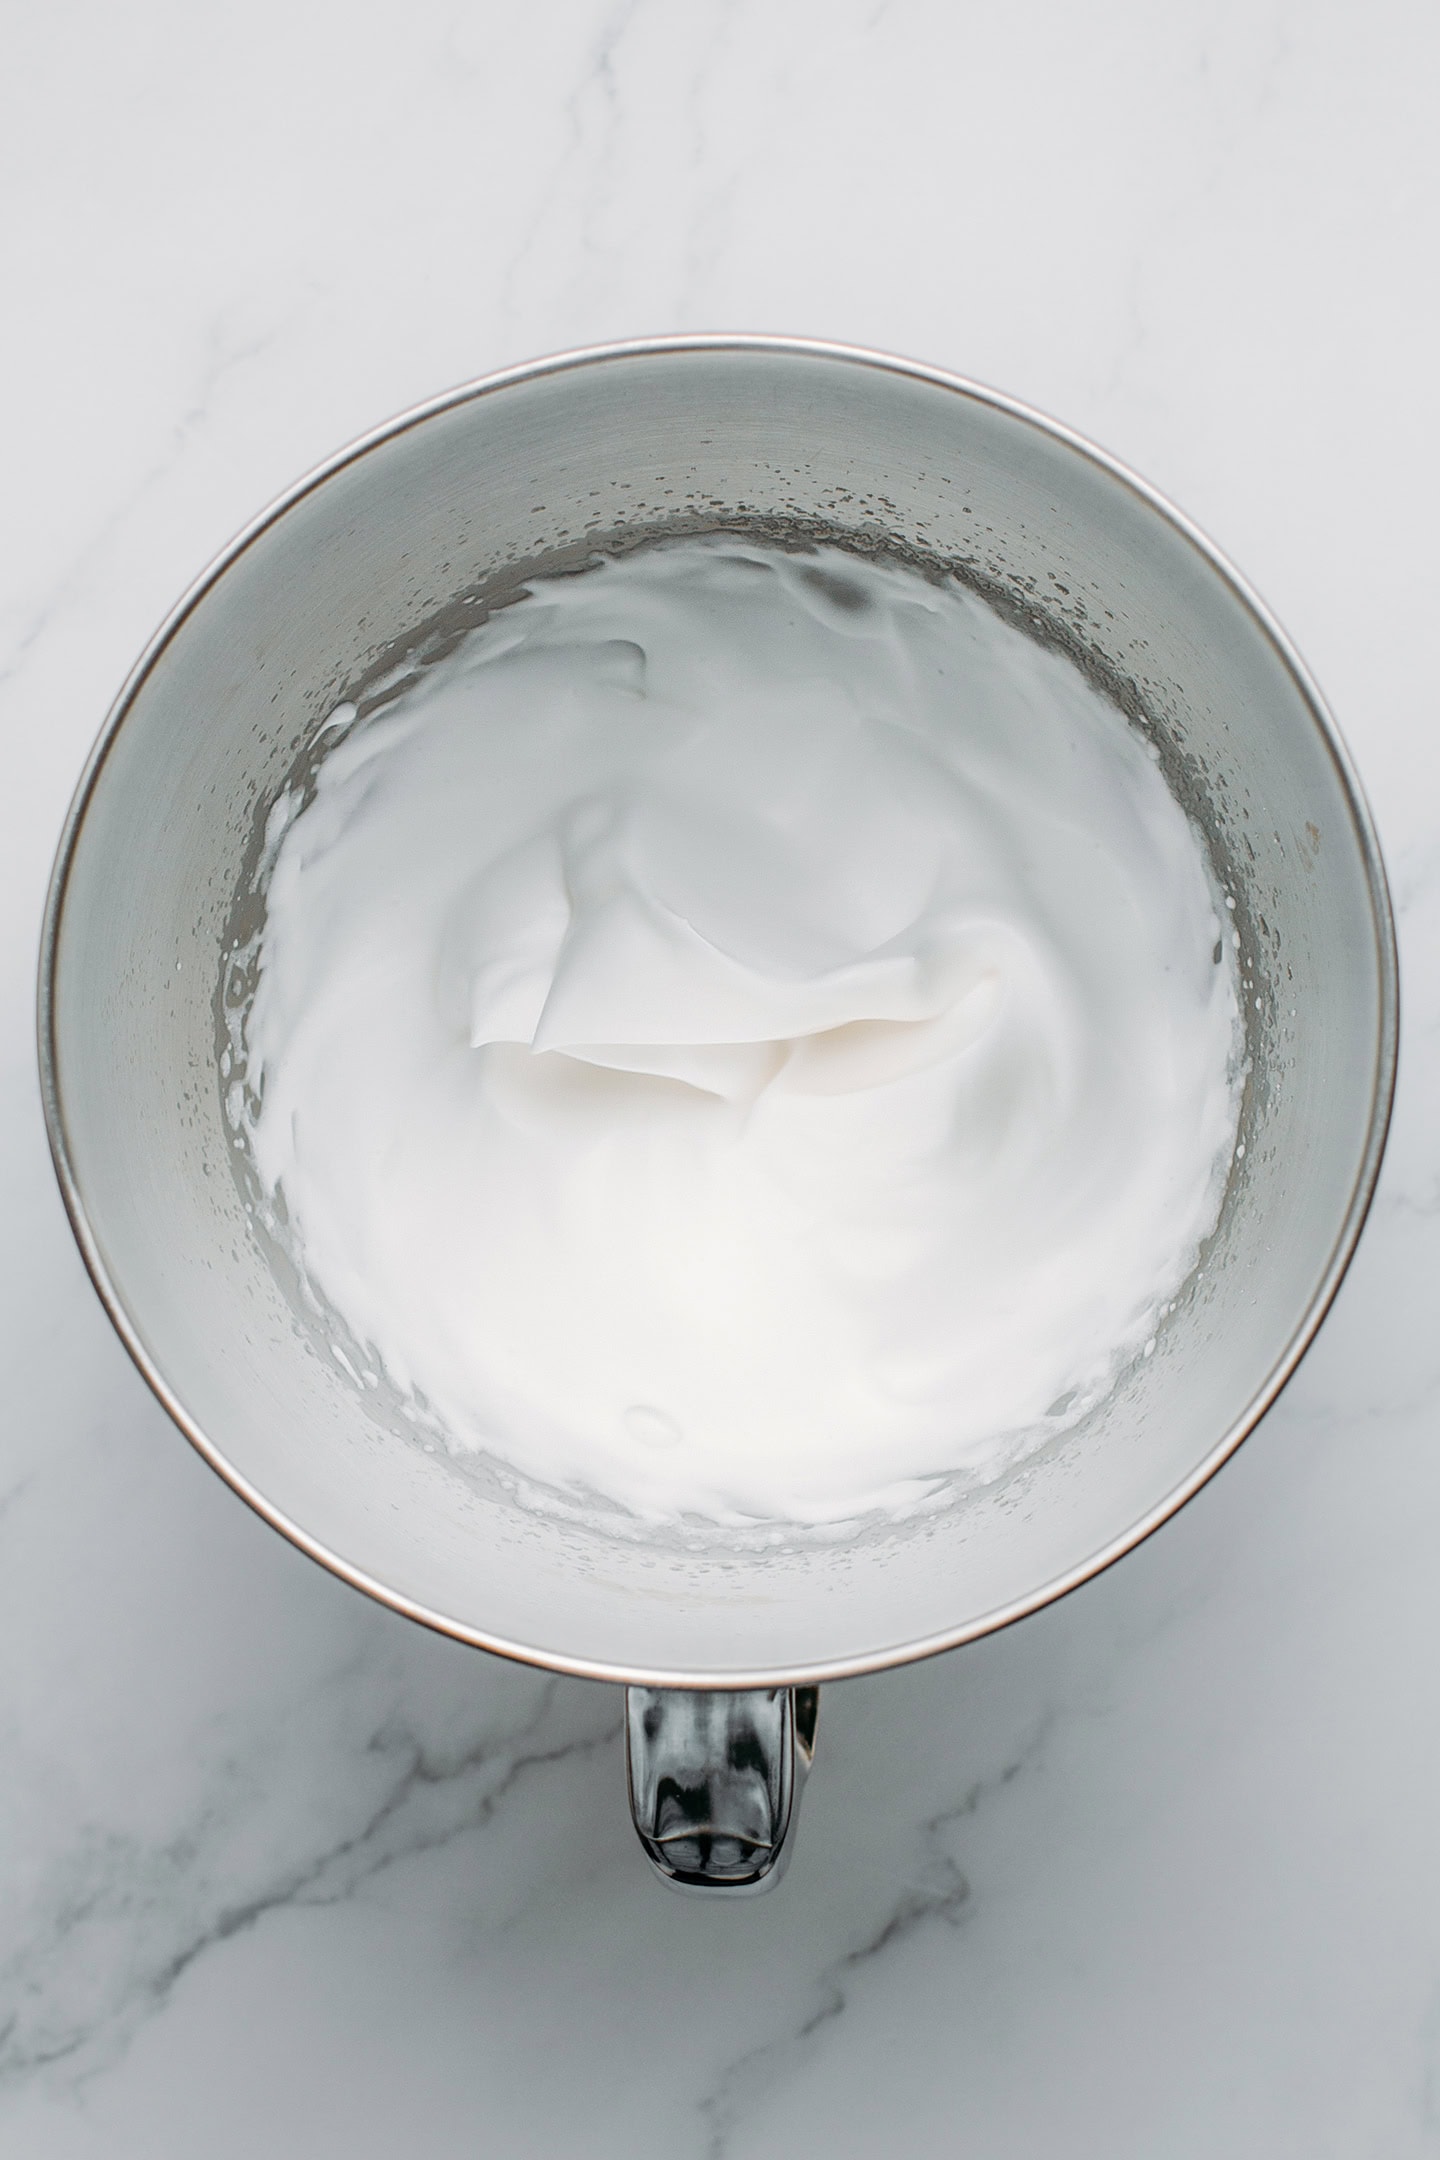
- Whip the aquafaba. Add the aquafaba to the bowl of a stand mixer. Whip the aquafaba to soft peaks for about 3-5 minutes. Next, add the sugar and whip for another 2-3 minutes, or until it reaches stiff peaks. Note: depending on the speed of your stand mixer, this step might take up to 10 minutes.
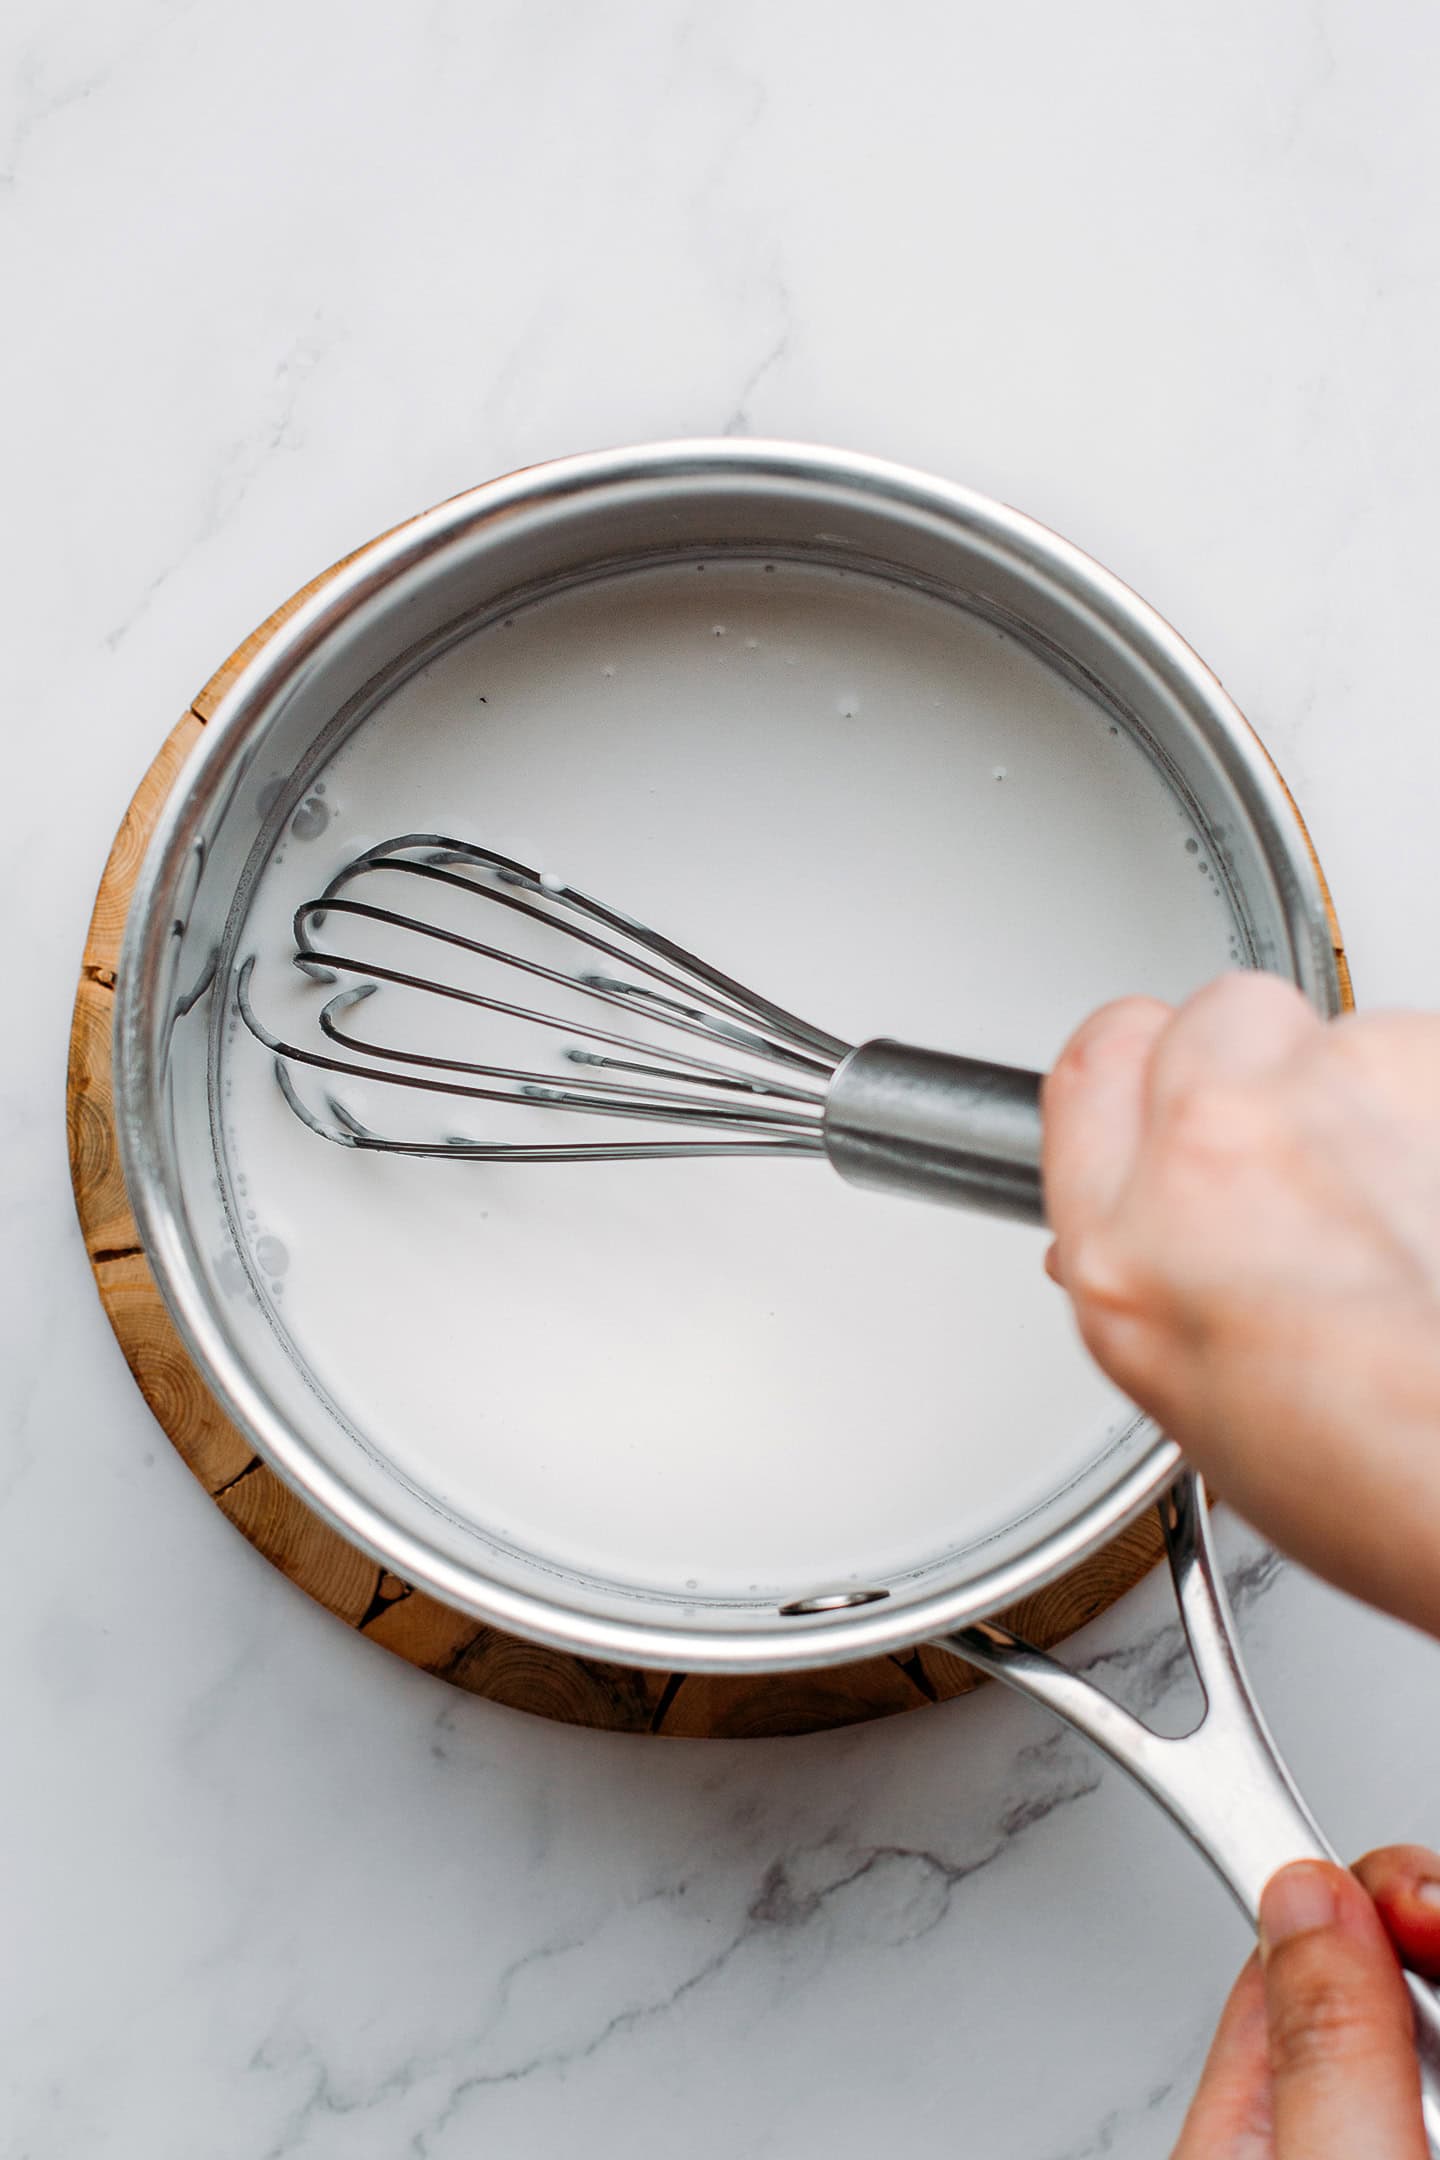
- Activate the agar. In the meantime, add the agar powder and water to a saucepan and whisk to dissolve it. Add the coconut cream and heat over medium heat, constantly whisking, until it starts to boil. Remove from heat and let it cool for 2 minutes.
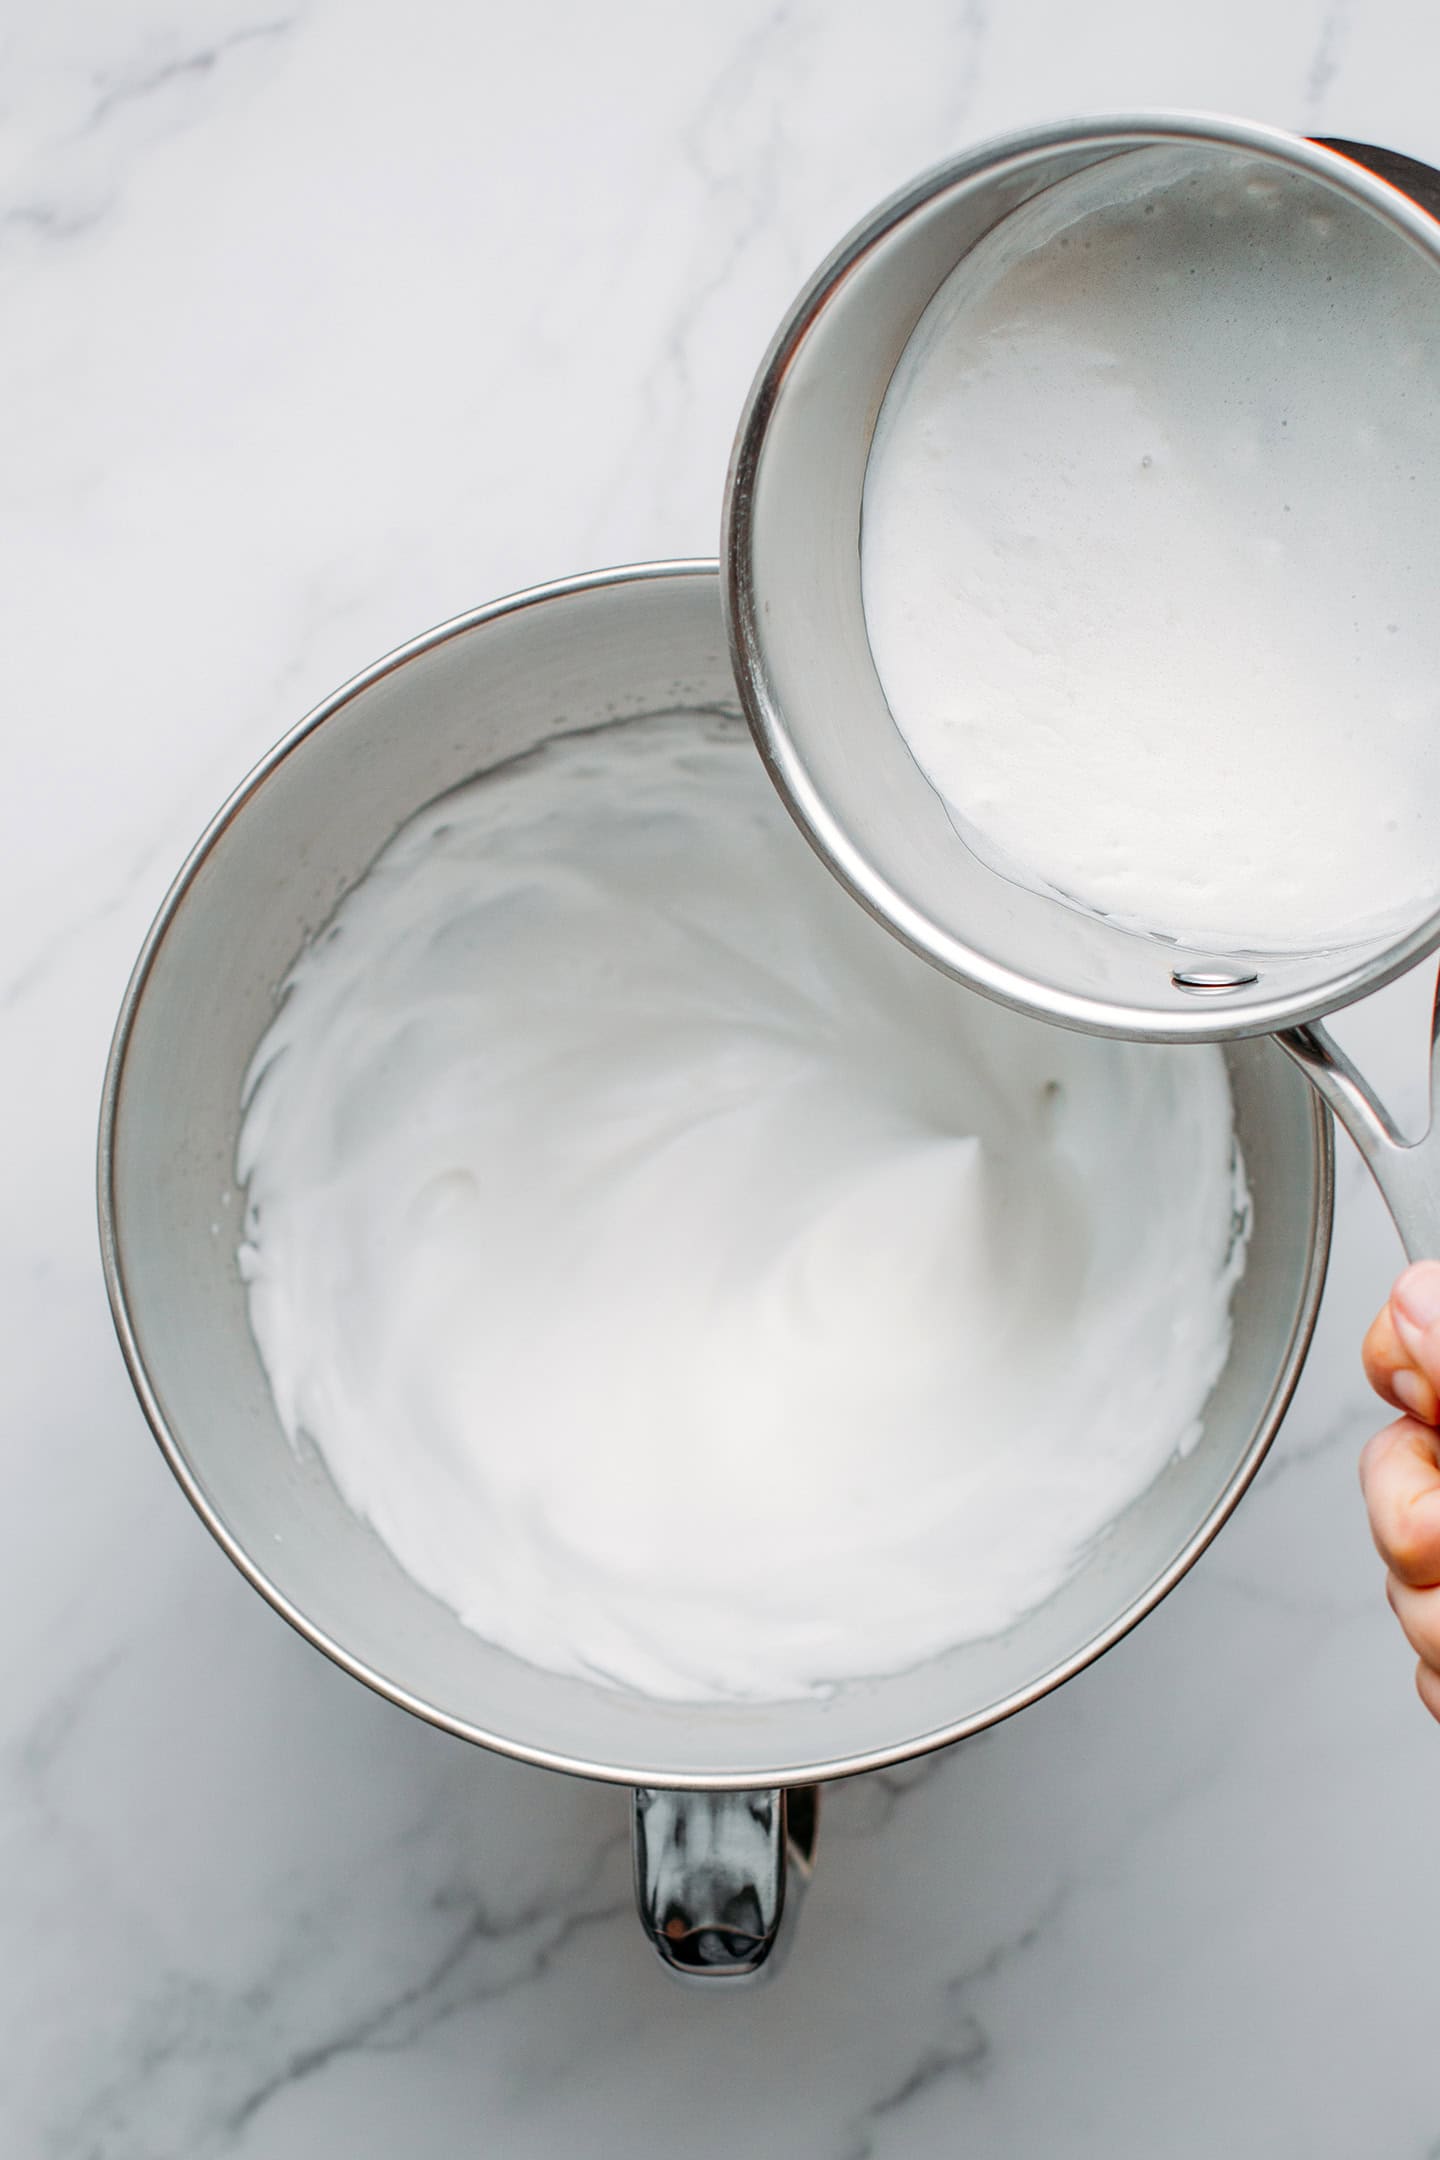
- Combine. Pour the warm coconut cream mixture into the whipped aquafaba and whip for another 10-15 seconds, or until just combined. The aquafaba will lose its fluffiness and become more liquid. That’s totally normal.
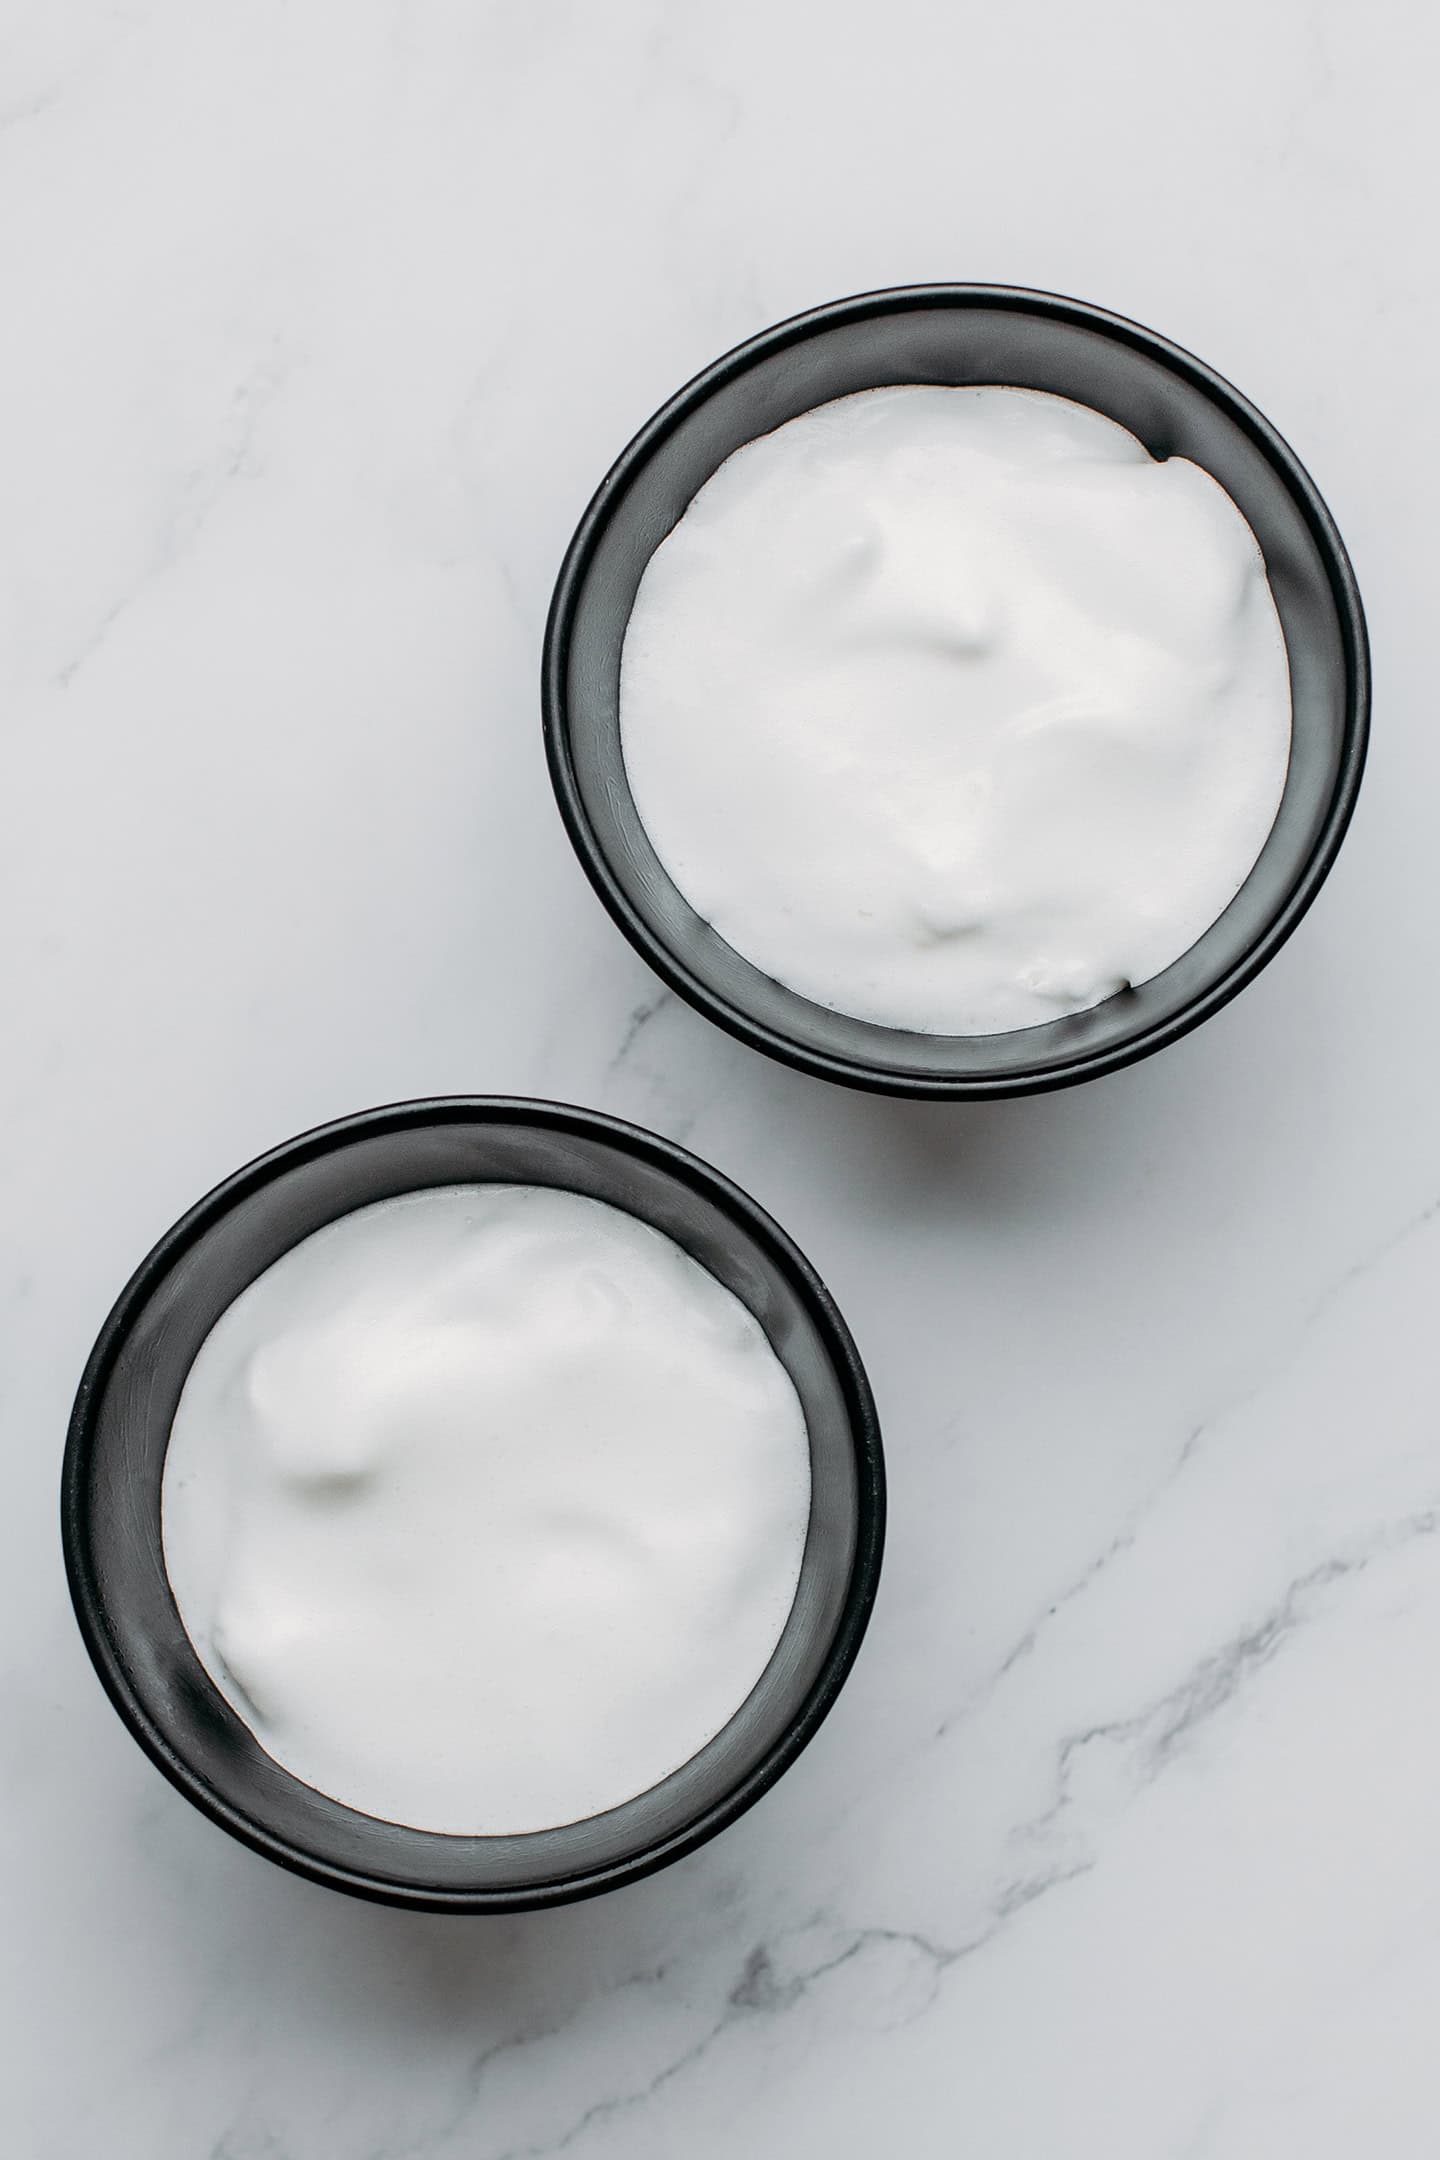
- Transfer to bowls. Transfer the aquafaba mixture to 4 oiled small bowls or ramekins. Alternatively, you can pour the whole mixture into a large bowl. Refrigerate for 3-4 hours or until set.
Note: In the video, the agar coconut cream liquid is folded into the aquafaba using a spatula. I actually recommend whipping with the stand mixer for 10-15 seconds instead for a better and more even result.
4. Assemble
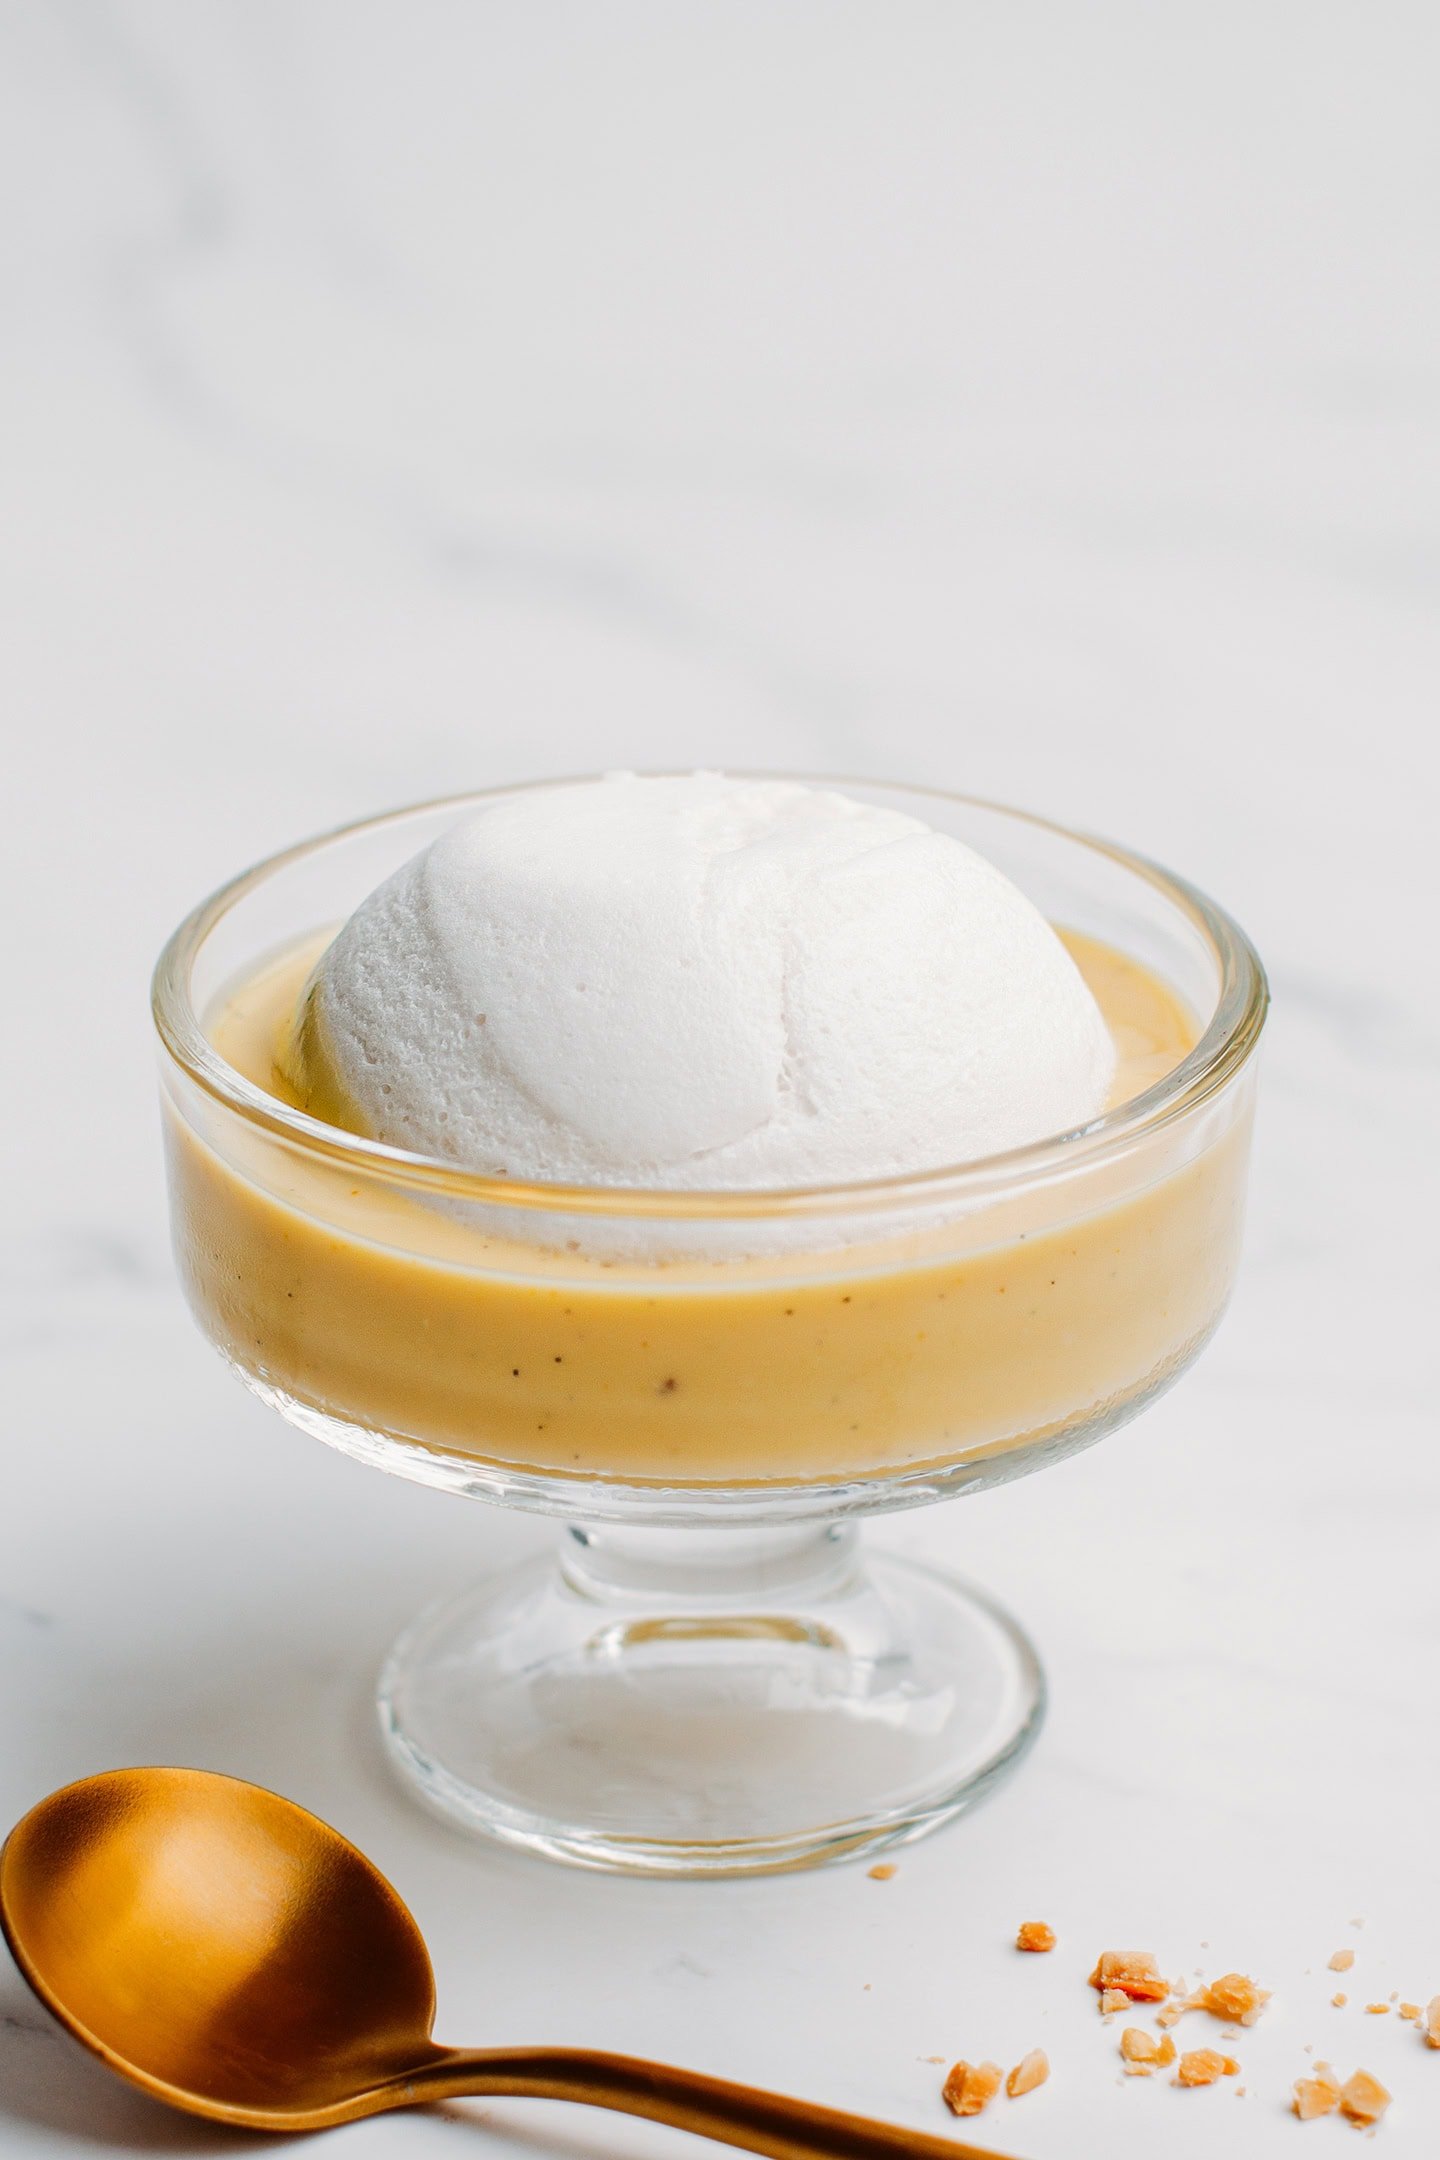
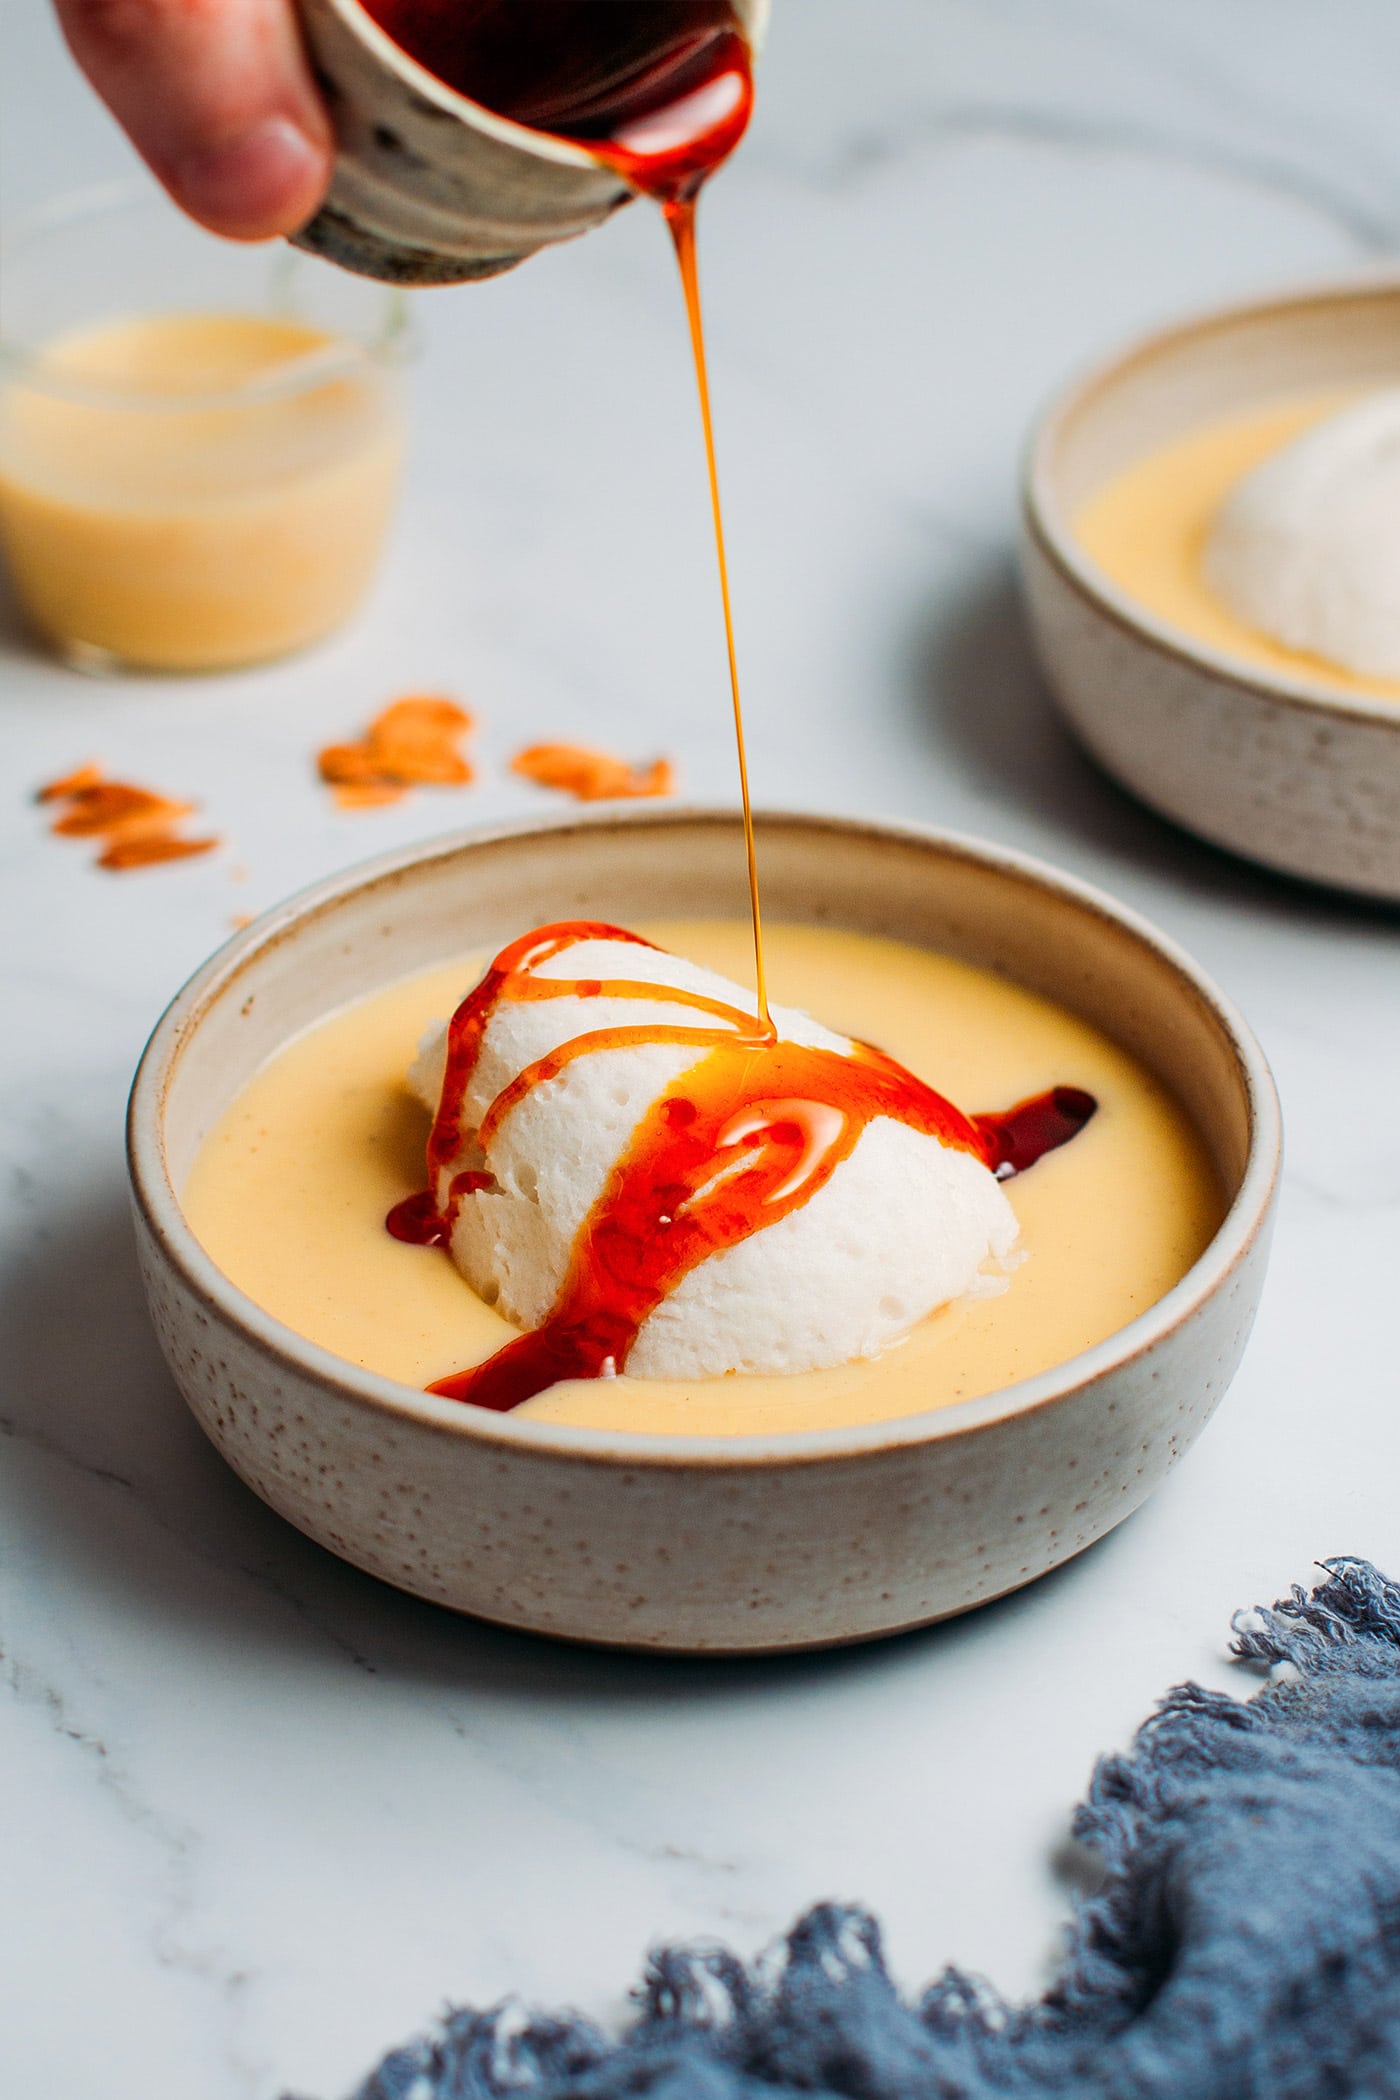
- Pour the vanilla custard. Pour about 1/2 cup of vanilla custard into a serving bowl.
- Add the meringue. Carefully remove the meringue from one of the bowls or scoop out about 1/2 cup of it (if you pour it into a large bowl). Place the meringue on top of the vanilla custard, it will float!
- Drizzle with caramel. Finally, drizzle with the caramel syrup and garnish with either crushed roasted peanuts or slivered almonds!
📔 Tips
Use room-temperature aquafaba.
Ensure that your aquafaba is at room temperature. If your aquafaba is cold, it will instantly set the agar, and you will end up with a clumpy texture.
Chill before serving.
This dessert is best served cold. That’s why you want to refrigerate the vanilla cream for at least 6 hours before serving. The caramel sauce doesn’t need to be refrigerated and can be stored at room temperature.
🍫 Variations
If you want to customize this dessert, you can:
- Vary the toppings: Garnish your Île Flottante with crushed almonds, peanuts, toasted sesame seeds, or even chocolate chips!
- Swap the caramel sauce: Instead of drizzling with caramel sauce, use chocolate syrup, agave syrup, or maple syrup.
- Make it fruity: Replace the vanilla cream with your favorite fruit coulis. It goes particularly well with raspberry or strawberry coulis!
❄️ Storing
- To store: The vanilla custard and aquafaba meringue can be stored in the refrigerator for up to 2 days. The caramel is best stored at room temperature – otherwise, it will thicken too much. Assemble just before serving.
- To freeze: I do not recommend freezing this dessert as it would completely alter the texture of both the meringue and the vanilla custard.
💬 FAQ
The short answer is yes. You could use either coconut sugar or maple syrup to sweeten the whipped aquafaba. The only issue is that it will change a little bit the flavor and the color. You won’t get a perfectly white “island.”
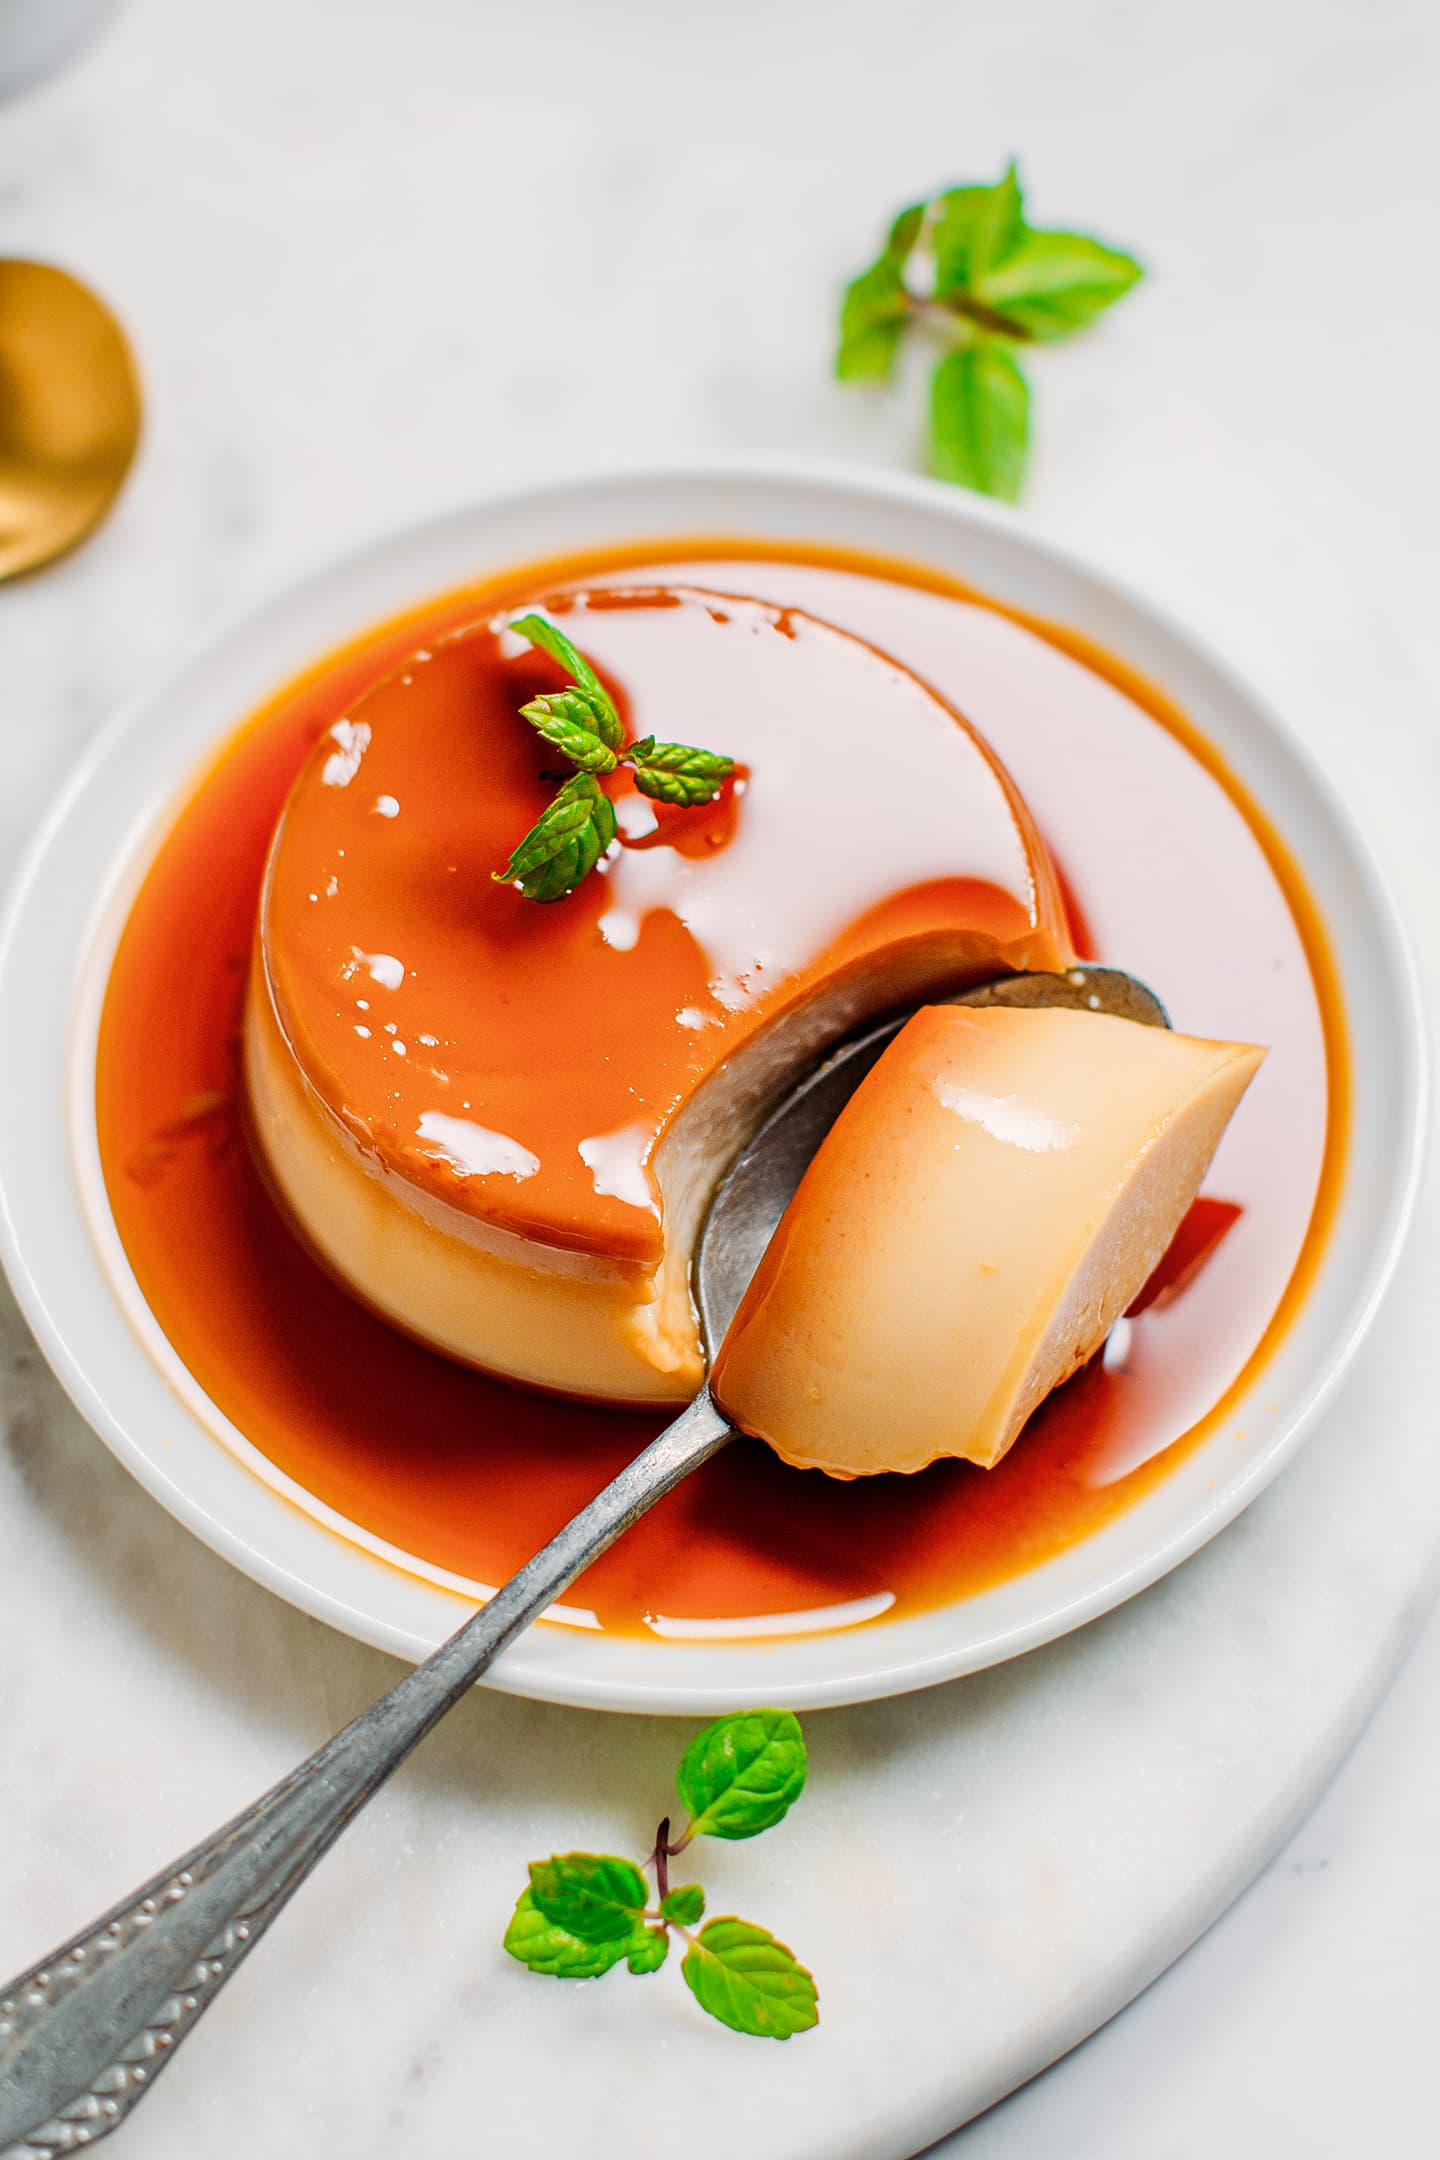
Regarding the caramel, it’s also possible to make it refined sugar-free using a combination of maple syrup and coconut sugar. You can check out the process in my Vegan Creme Caramel recipe. Another alternative for the caramel is to use coconut syrup; the taste will be different, but it’s still delicious!
I hope you will love this French-inspired dessert! It’s unique and surprisingly close to the authentic version! The balance of the smooth vanilla custard with the airy aquafaba and the salty caramel is just magical!
🇫🇷 More French-Inspired Desserts


⭐️ Did you like this recipe? Let us know in the comments below, and tag us on Facebook, Instagram, or Pinterest!
Save this recipe!
Enter your email below and I’ll send it to your inbox!
Plus, you will receive new recipes every week!
Vegan Île Flottante
Ingredients
Vanilla Custard (Crème Anglaise)
- 1 and 1/2 cup (360 ml) unsweetened almond milk or other plant-based milk
- 3 tbsp (45 ml) maple syrup more to taste
- 2 tsp (10 g) vanilla extract or the seeds from 1/2 vanilla bean
- 2 tbsp (16 g) cornstarch
- 1 tsp vegan butter
- a pinch of turmeric for color, optional
Caramel Syrup
- 1/4 cup (40 g) white sugar
- 1/8 tsp salt
- 2 tbsp (30 ml) water
Aquafaba "Meringue"
- 1/3 cup (80 ml) aquafaba (the liquid from a can of cooked chickpeas)
- 2 tbsp (20 g) white sugar
- 1 tsp agar powder
- 3 tbsp (45 ml) water
- 1/3 cup (80 ml) coconut cream
- 1/4 cup toasted slivered almonds optional
Instructions
Vanilla Custard (Crème Anglaise)
- Combine all of the ingredients. Add the unsweetened plant-based milk, maple syrup, vanilla extract (or seeds from a vanilla bean), cornstarch, vegan butter, and turmeric, if using, to a saucepan. Whisk to dissolve the cornstarch.
- Thicken. Heat over medium heat, whisking constantly, until it comes to a boil and starts to thicken, about 5 minutes. The custard will just slightly thicken, which is normal. You still want it pourable and liquid.
- Allow to cool. Remove from heat, transfer to a bowl, and cover with plastic wrap touching the top of the custard to prevent skin from forming on top. Let it cool at room temperature before transferring to the refrigerator. Refrigerate for at least 6 hours.
Caramel Syrup
- Melt the sugar. Add the sugar, salt, and one tablespoon of water to a medium saucepan. Heat over medium heat and stir until the sugar is dissolved.
- Caramelize it. Continue cooking for another 4-5 minutes without stirring until it becomes golden brown. At first, the sugar will crystallize, and then it will start to melt again and turn golden brown. Keep an eye on it, as you don’t want the caramel to burn. It should be the color of dark amber maple syrup.
- Deglaze. As soon as it turns golden brown, remove it from the heat and immediately add 2 tablespoons of water to the saucepan. Be careful and stand back a little bit, as it will steam and sputter.
- Cook again. Next, place the saucepan back over the stove and cook for about 30 seconds or until the caramel has fully dissolved into the water. Remove from the heat and let it cool completely. The caramel will thicken slightly as it cools.
Aquafaba "Meringue"
- Whip the aquafaba. Add the aquafaba to the bowl of a stand mixer. Whip the aquafaba to soft peaks for about 3-5 minutes. Next, add the sugar and whip for another 2-3 minutes, or until it reaches stiff peaks. Note: depending on the speed of your stand mixer, this step might take up to 10 minutes.
- Activate the agar. In the meantime, add the agar powder and water to a saucepan and whisk to dissolve it. Add the coconut cream and heat over medium heat, constantly whisking, until it starts to boil. Remove from heat and let it cool for 2 minutes.
- Combine. Pour the warm coconut cream mixture into the whipped aquafaba and whip for another 10-15 seconds, or until just combined. The aquafaba will lose its fluffiness and become more liquid. That’s totally normal.
- Transfer to bowls. Transfer the aquafaba mixture to 4 oiled small bowls or ramekins. Alternatively, you can pour the whole mixture into a large bowl. Refrigerate for 3-4 hours or until set.
Assemble
- Pour the vanilla custard. Pour about 1/2 cup of vanilla custard into a serving bowl.
- Add the meringue. Carefully remove the meringue from one of the bowls or scoop out about 1/2 cup of it (if you pour it into a large bowl). Place the meringue on top of the vanilla custard, it will float!
- Drizzle with caramel. Finally, drizzle with the caramel syrup and garnish with either crushed roasted peanuts or slivered almonds!
- To store: The vanilla custard and aquafaba meringue can be stored in the refrigerator for up to 2 days. The caramel is best stored at room temperature – otherwise, it will thicken too much. Assemble just before serving.
Video

Notes
Use room-temperature aquafaba.
Ensure that your aquafaba is at room temperature. If your aquafaba is cold, it will instantly set the agar, and you will end up with a clumpy texture.Chill before serving.
This dessert is best served cold. That’s why you want to refrigerate the vanilla cream for at least 6 hours before serving. The caramel sauce doesn’t need to be refrigerated and can be stored at room temperature.Nutrition
Note
This recipe was first released in July 2021 and updated with new process shots and detailed instructions in August 2024. You can find the original photos below.


About the Author
Thomas Pagot is the founder, photographer, and recipe developer behind Full of Plants. He created the blog in 2016 as a personal cookbook for vegan recipes. Through years of recipe development, Thomas has successfully grown Full of Plants into a trusted resource for plant-based recipes.
Leave a Comment