This post may contain affiliate links. Please read our disclosure policy.
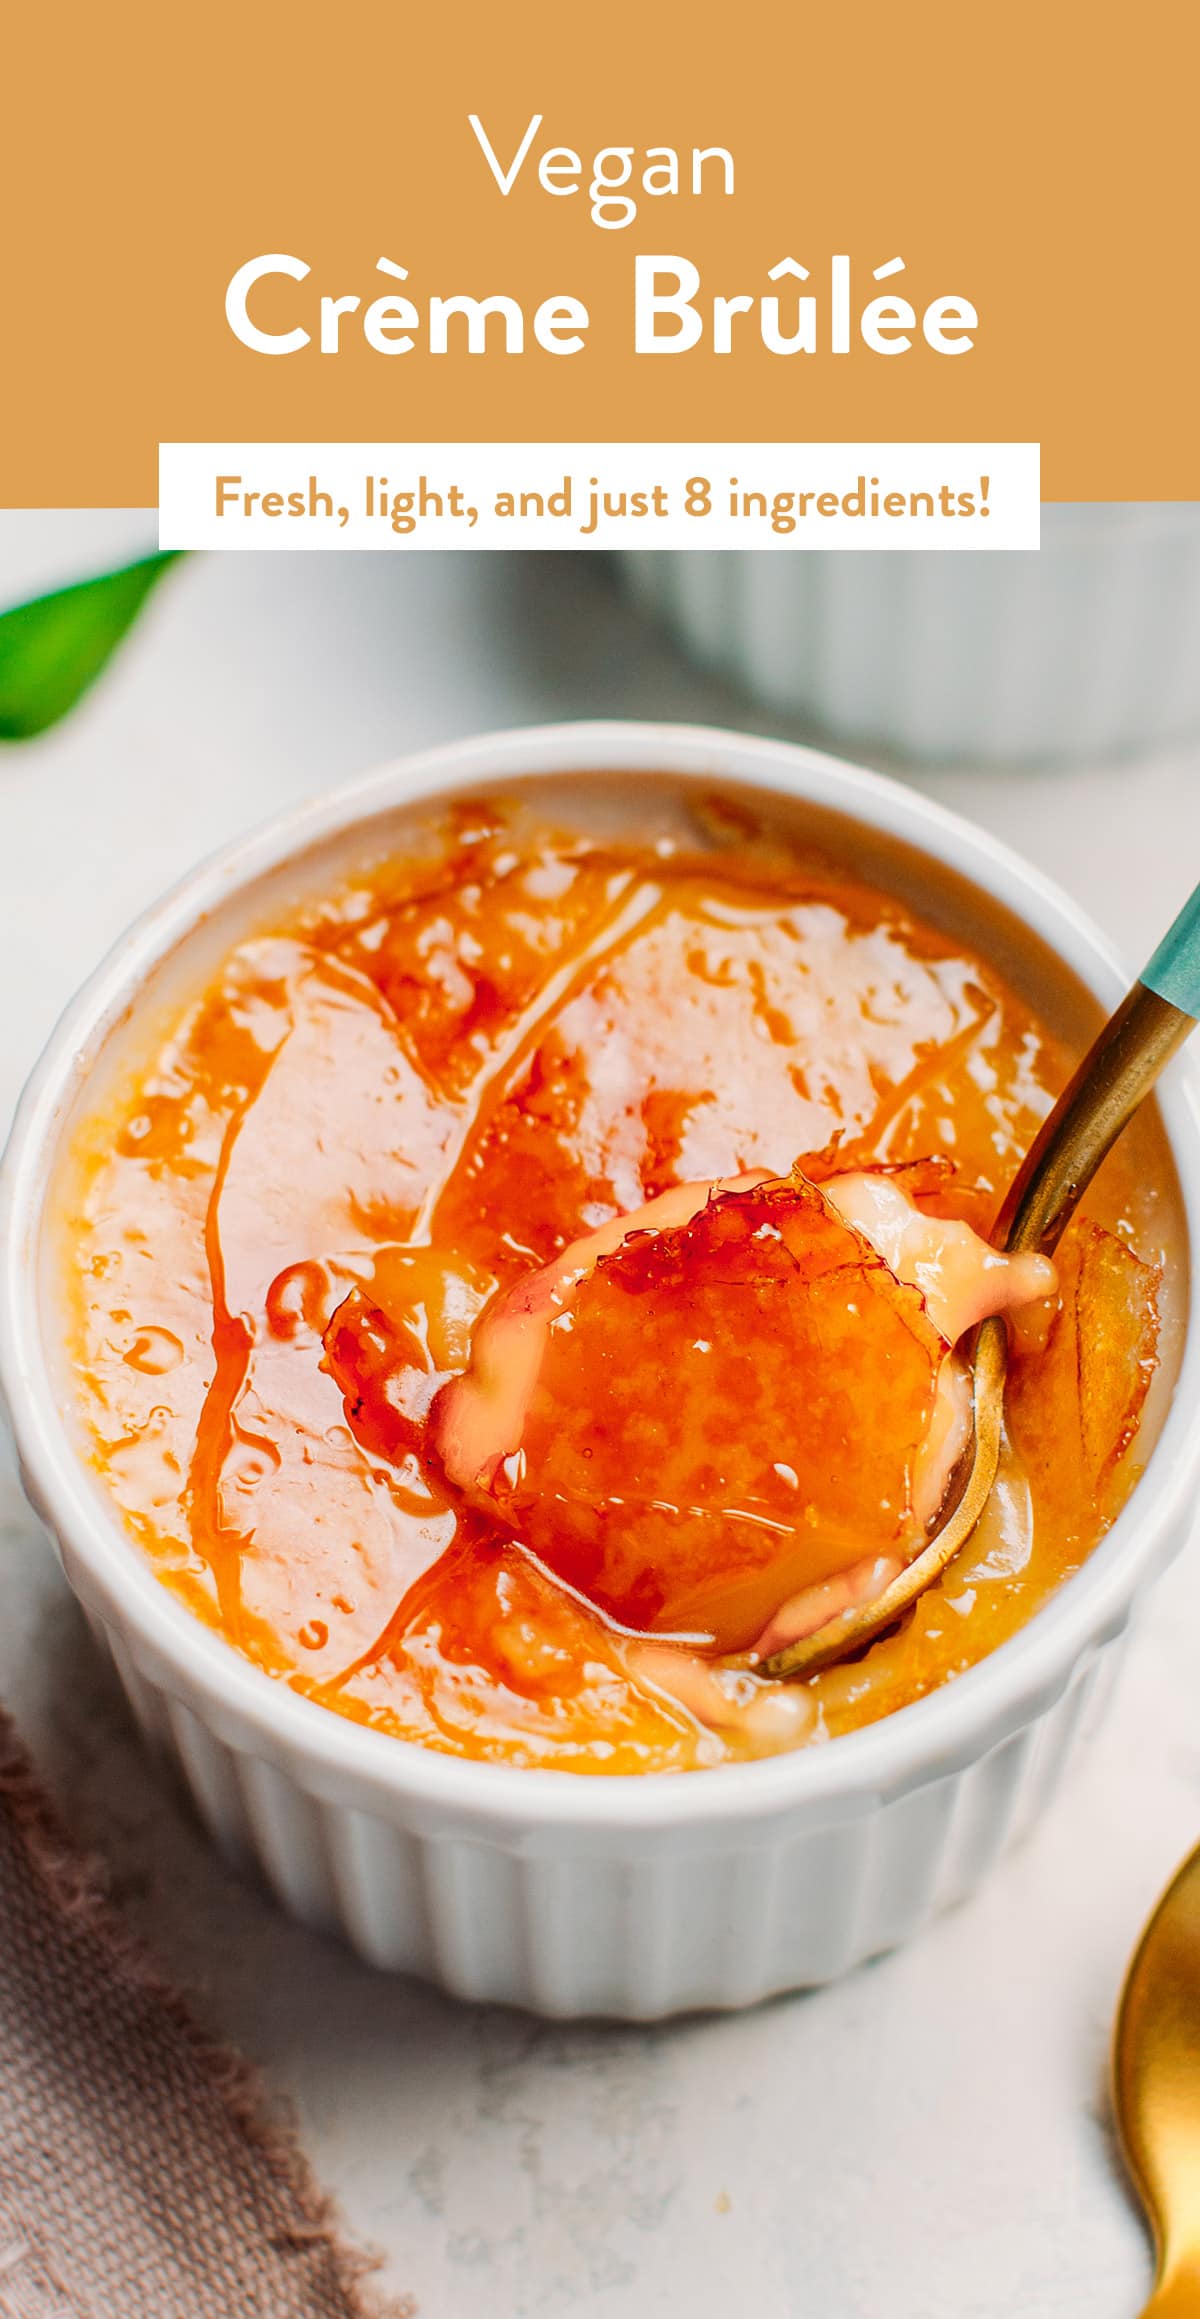
With a thin and crispy caramel layer and a fresh vanilla custard, this French-inspired vegan crème brûlée tastes like the real thing! Plant-based, nut-free, egg-free, and so delicious!
If you enjoyed my Vegan Flan, you are going to love these crème brûlées!
⭐️ Why You Should Try It
- It’s a quick yet insanely delicious dessert: This dessert is fresh, light, and infused with plenty of vanilla flavor.
- It’s easy to make: just one pan and 8 ingredients are required. Prepare the custard, transfer it to ramekins, chill in the refrigerator, and torch the top to caramelize the sugar. It’s that simple!
- It’s a crowd-pleaser: who doesn’t like the combination of vanilla and caramel?!
📘 What Is a Crème Brûlée
A crème brûlée, or burnt cream, is a dessert that consists of a vanilla custard topped with a crispy layer of caramel. The origin of this dessert still remains unknown, but the first references have been found in Spanish and French cooking books.
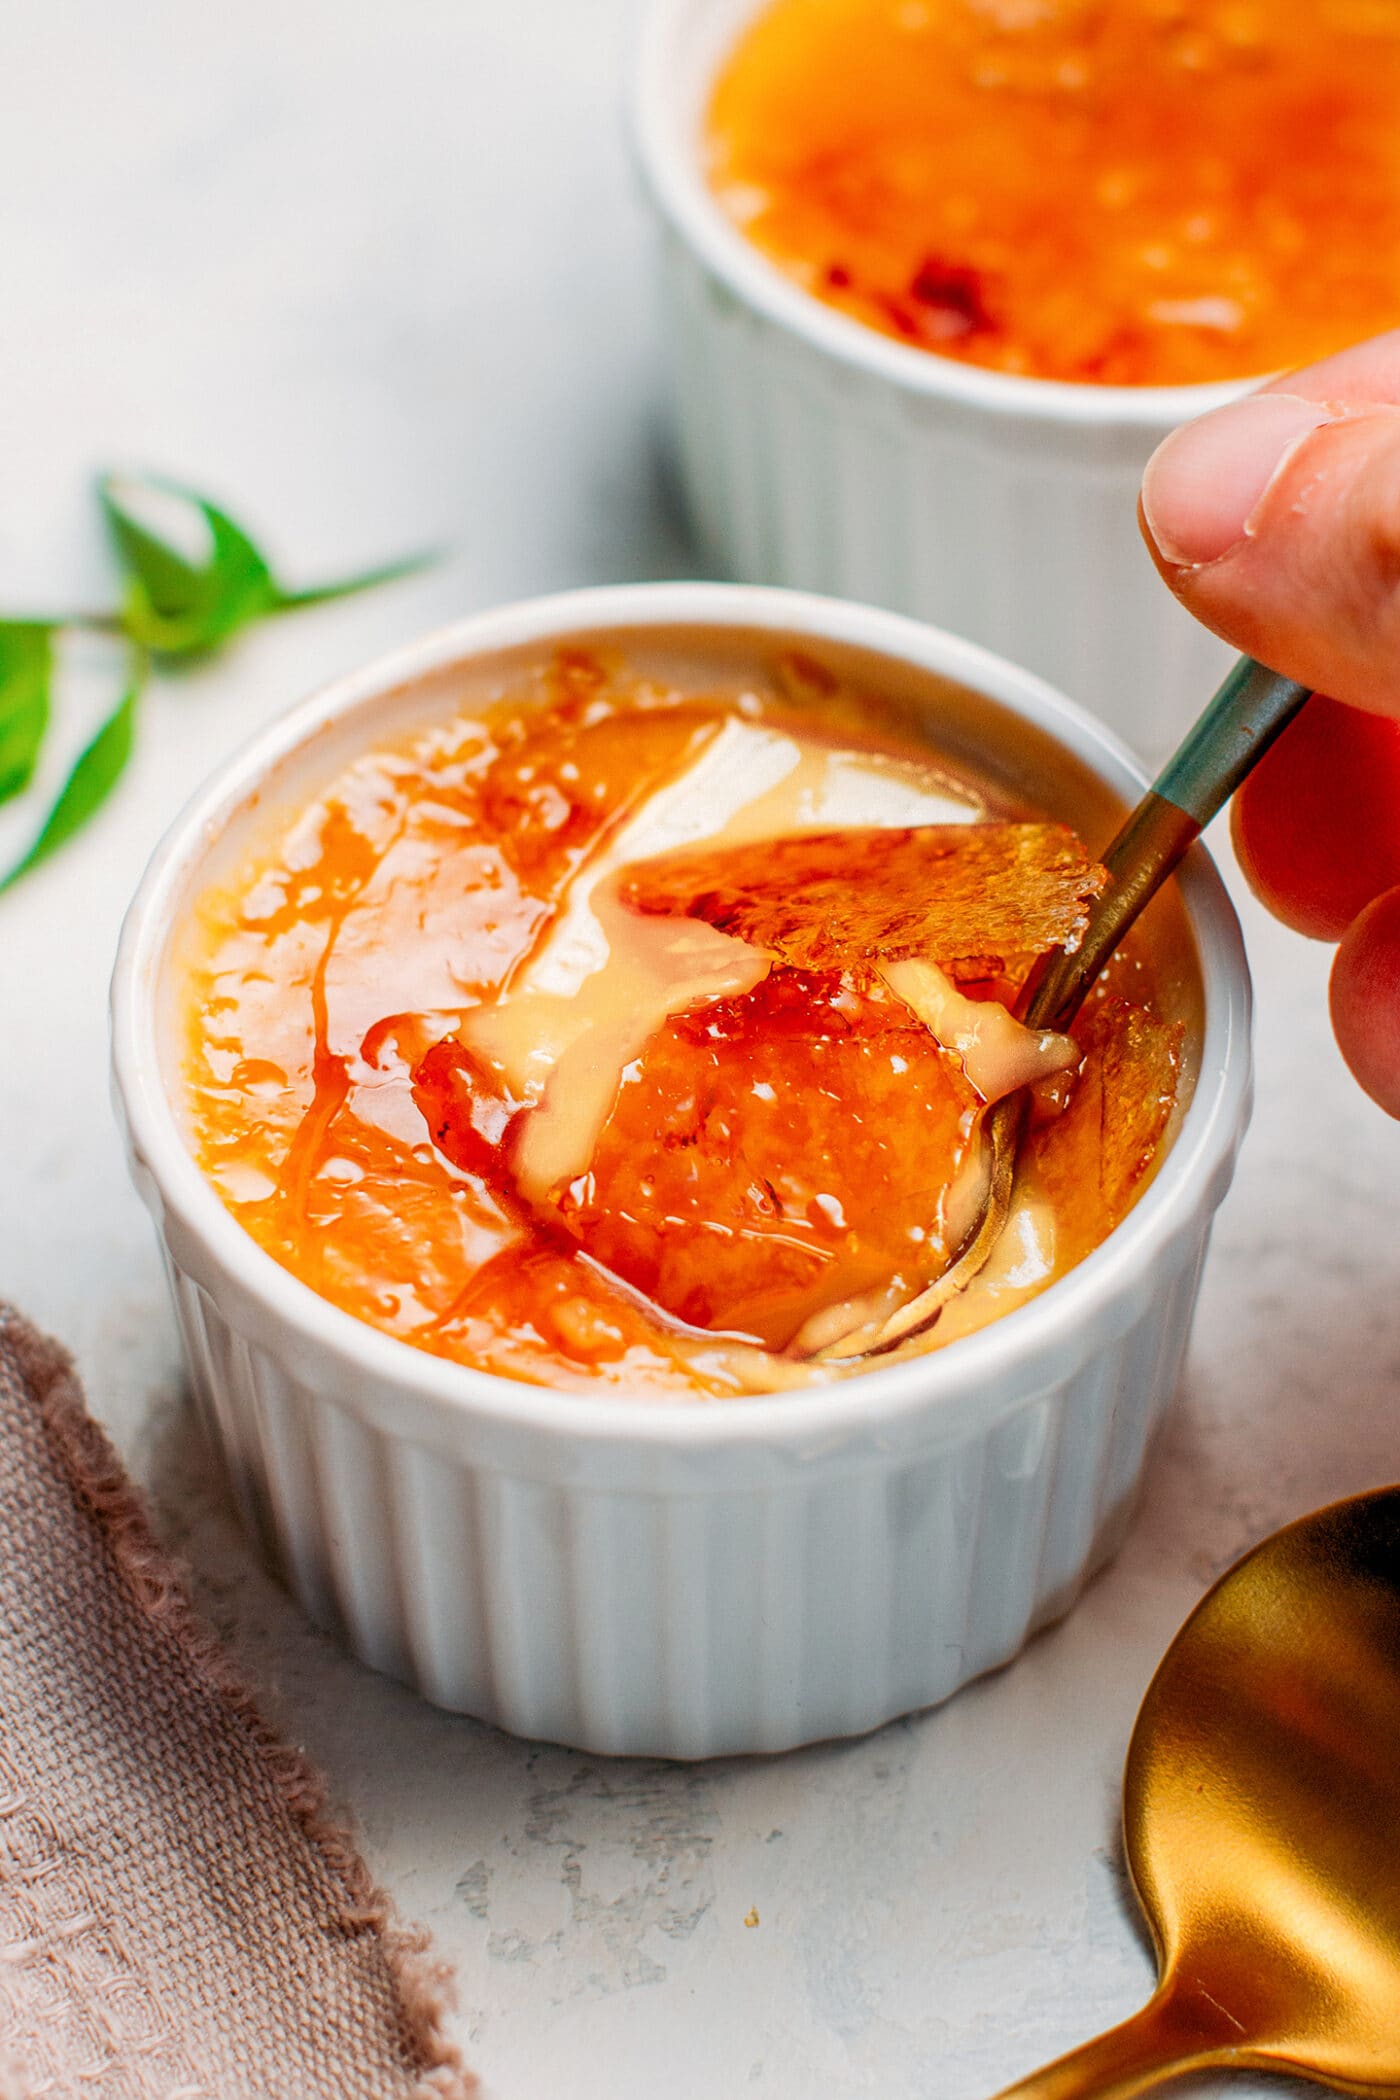
The unique thing about this dessert is the crispy caramel layer topping. It balances with the thick and creamy vanilla custard. Crème brûlée is often served chilled.
🥣 How to Make It
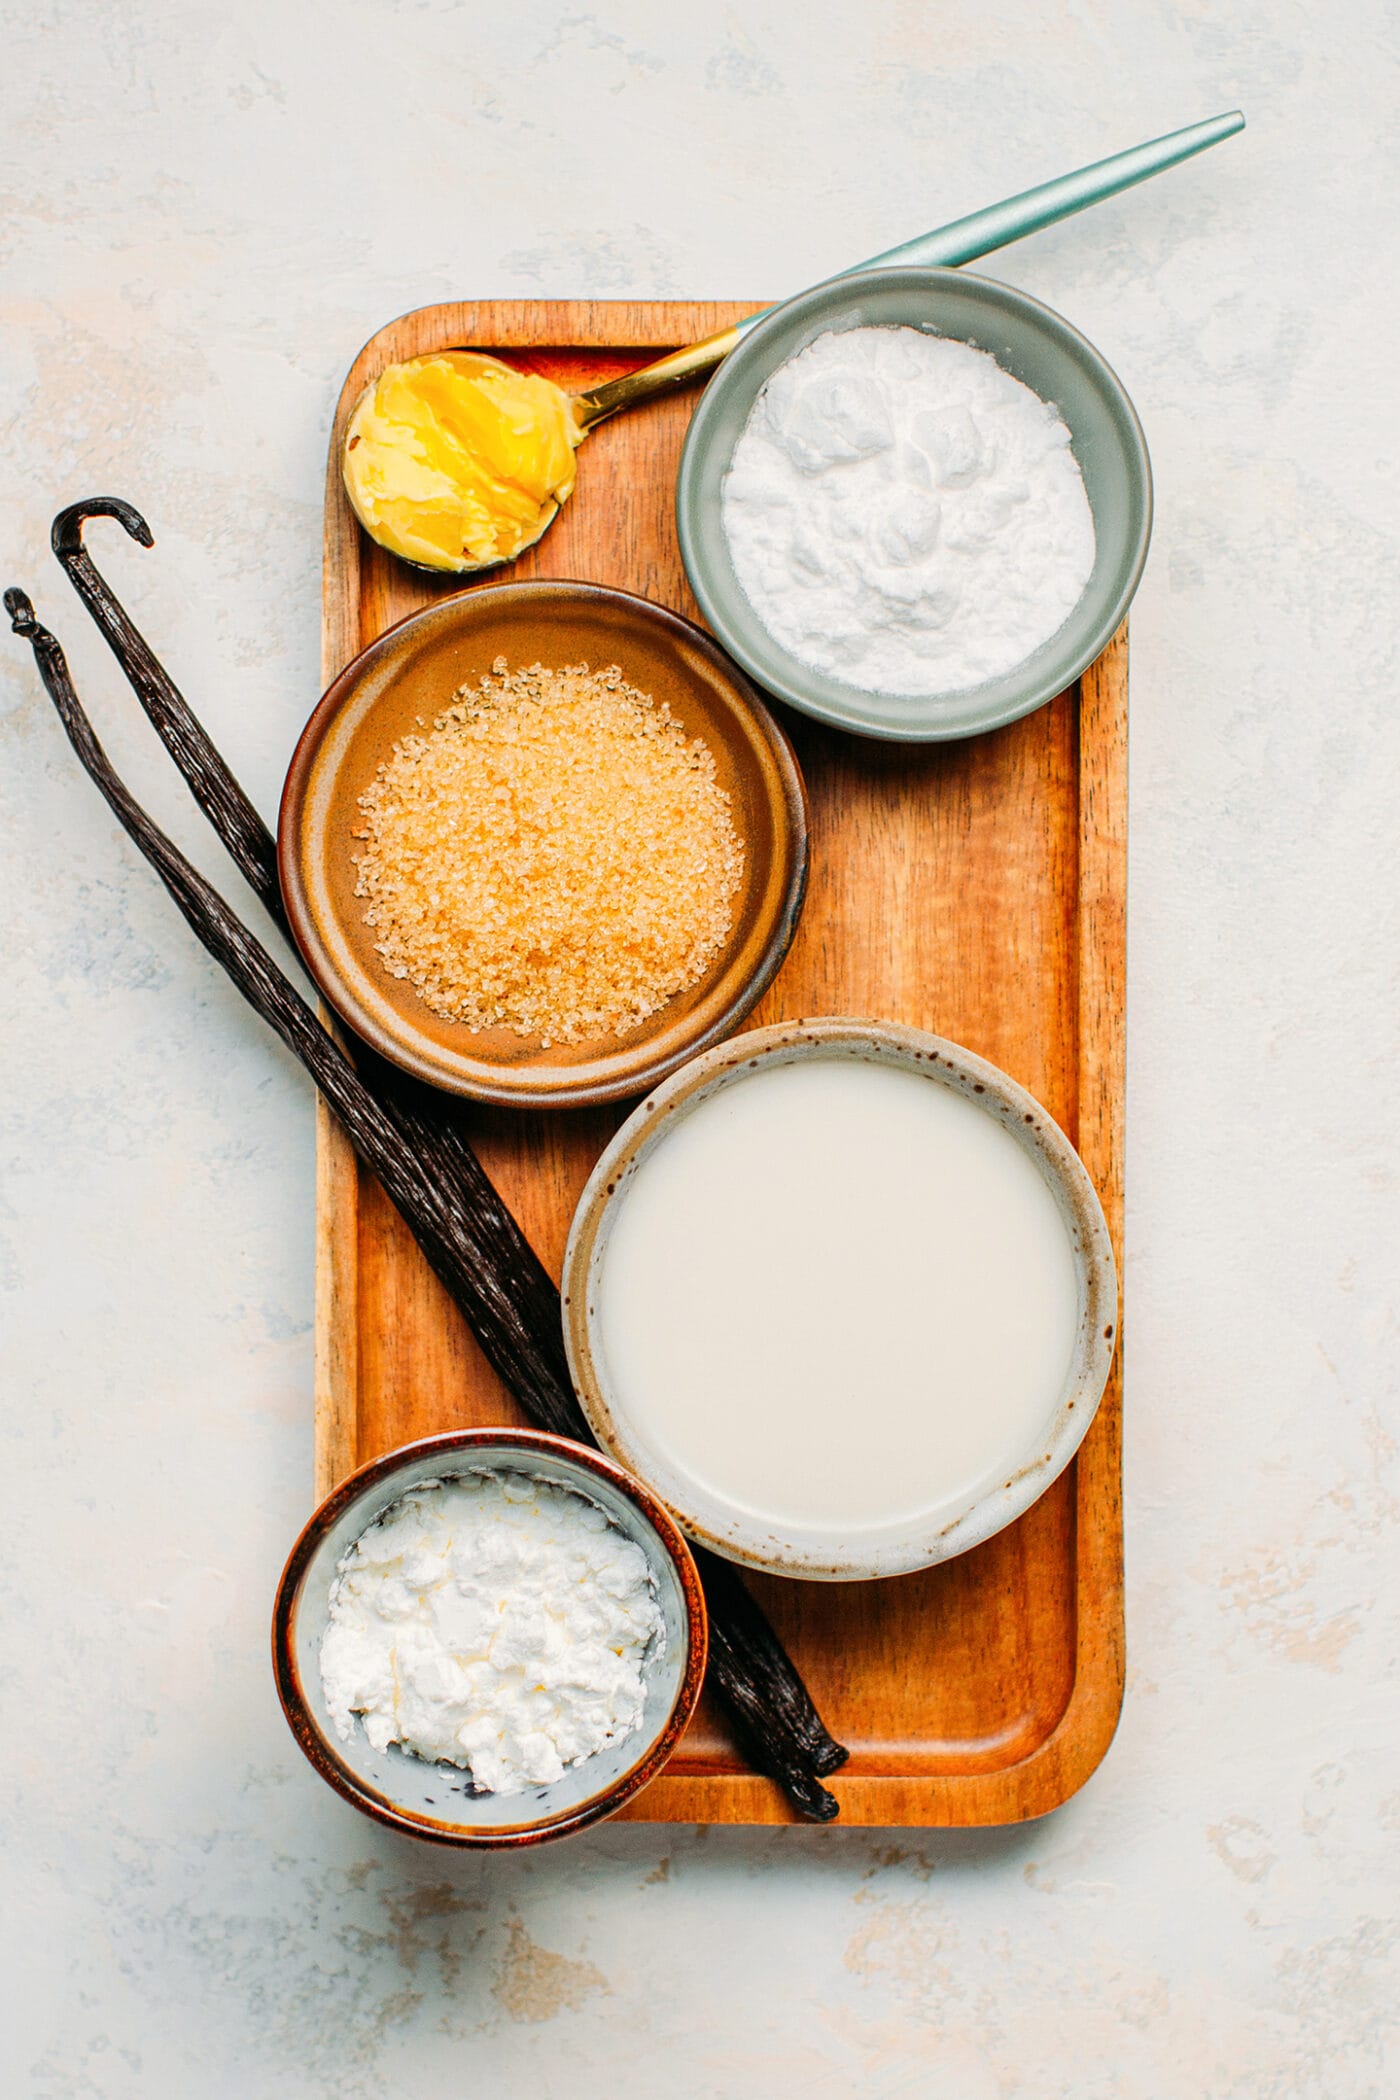
This vegan crème brûlée requires just 8 ingredients and about 20 minutes to prepare (excluding chilling time). Here is what you will need:
- Plant-based milk – Preferably unsweetened. I used almond milk here, but cashew, soy, or oat milk will work as well.
- Coconut milk – Use full-fat coconut milk for a rich and creamy consistency.
- Cornstarch and potato starch – Both will help the custard thicken and give it a creamy consistency.
- Vegan butter – For extra richness and to give our custard a light yellow color. You can use store-bought vegan butter or make your own cultured vegan butter.
- Agar – Agar agar powder will give the custard a slight flan texture.
- Vanilla – You have two options, you can use vanilla extract or the seeds from half of a vanilla bean.
- Sugar – To sweeten the custard. I found that white sugar works best for this recipe. Coconut sugar or maple syrup tends to alter a little bit the flavor of the custard.
Note: To reach a texture similar to a real crème brûlée, I went with a mix of agar, potato starch, and cornstarch. Traditional egg-based crème brûlée usually has a flan texture, and while it’s creamy, it’s not liquid. The addition of agar helps reach that texture.

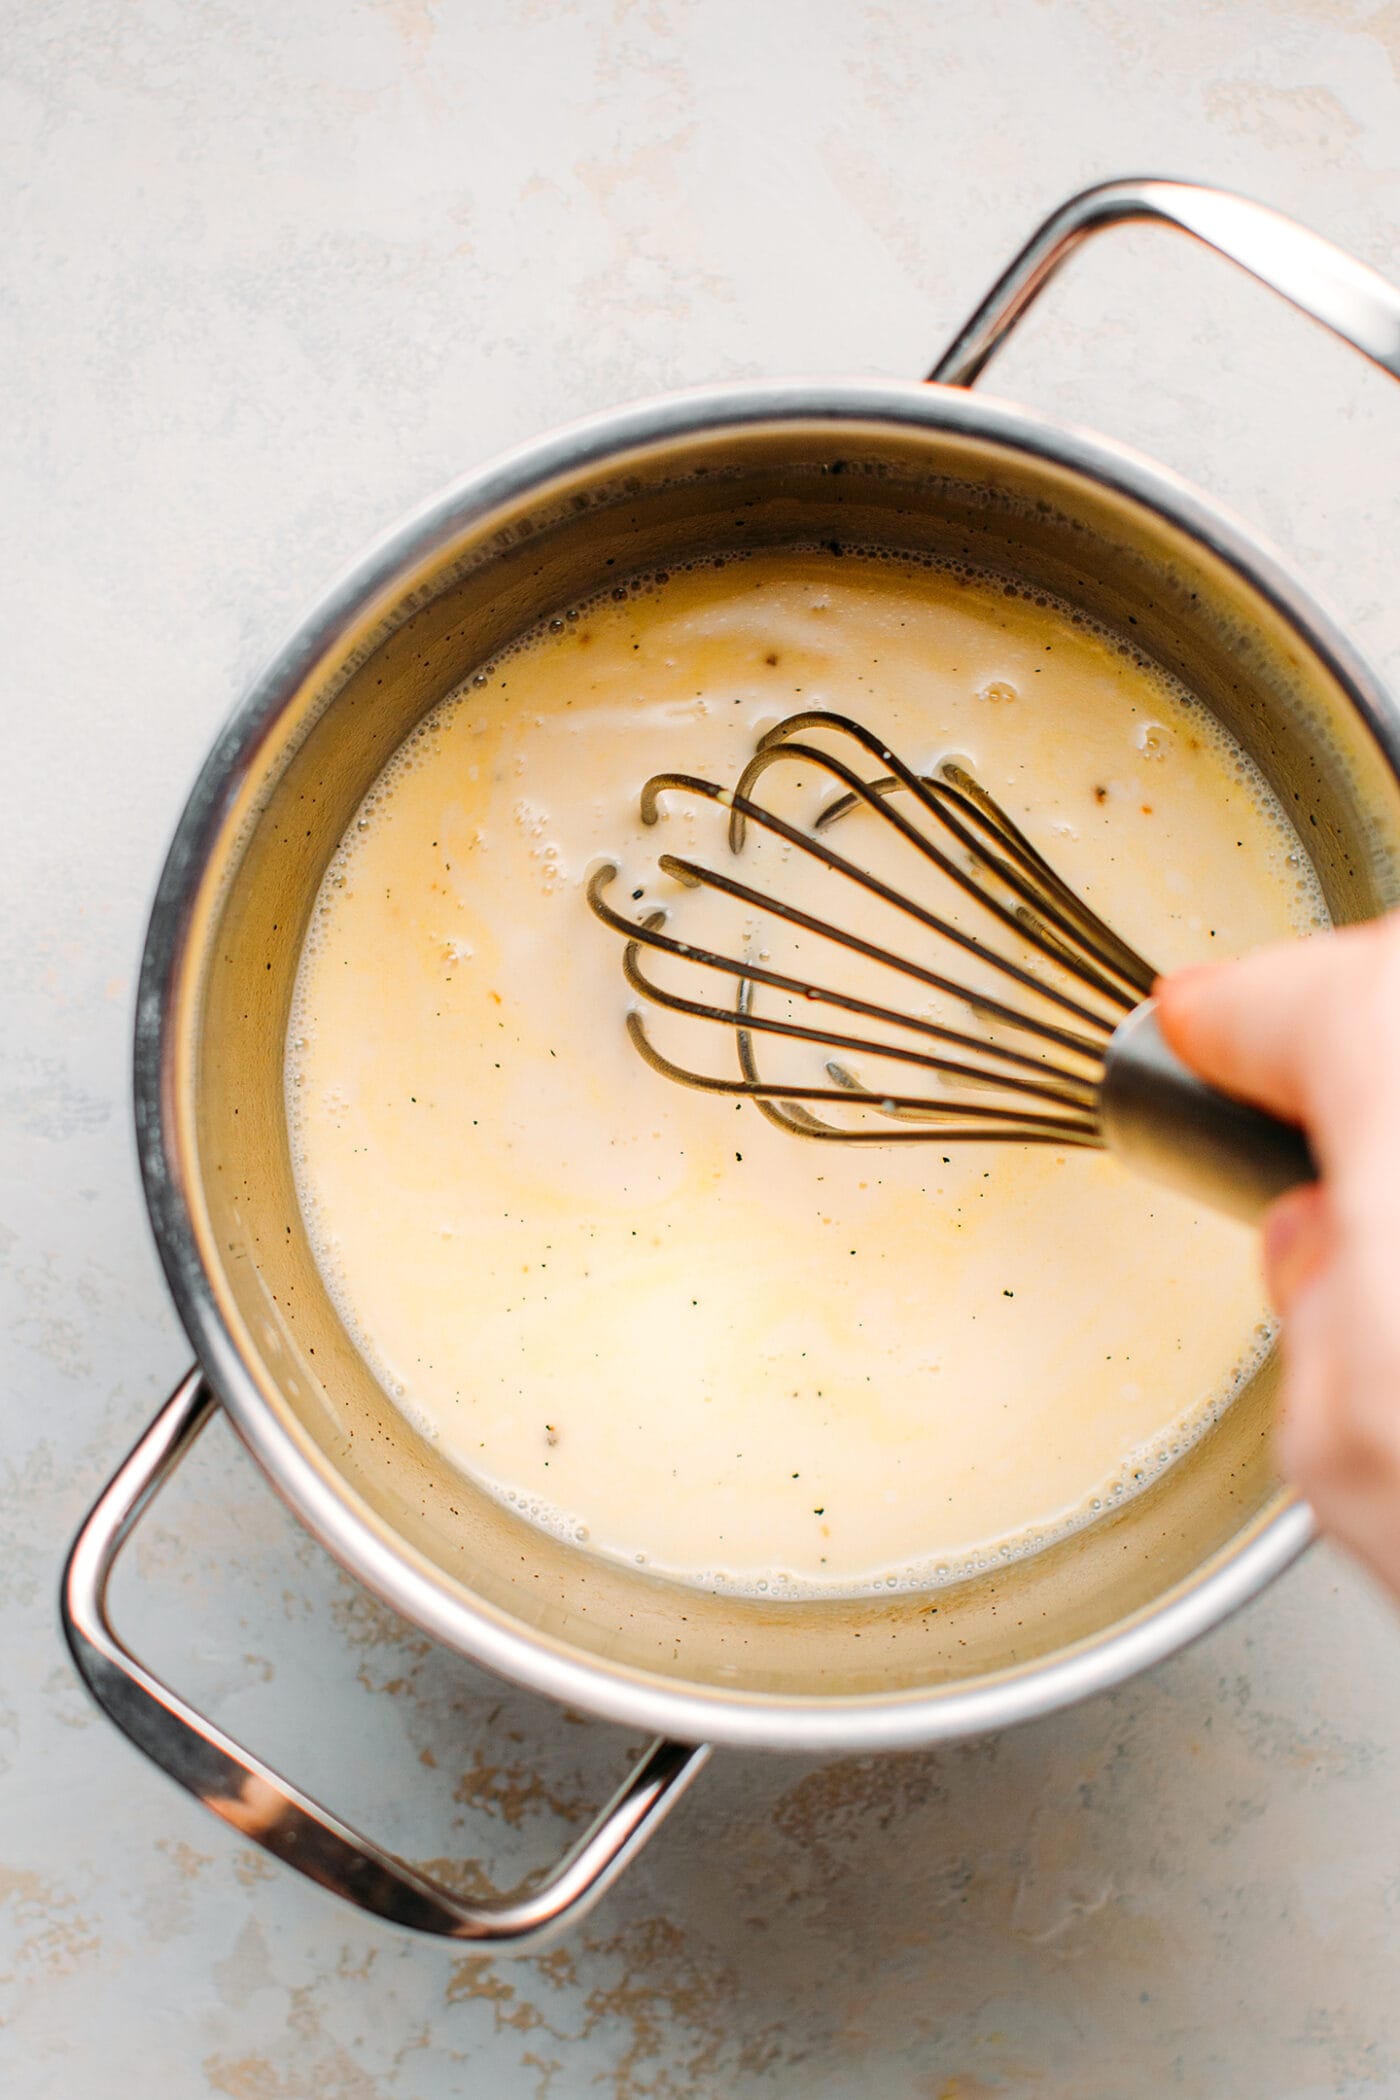
Preparing the custard
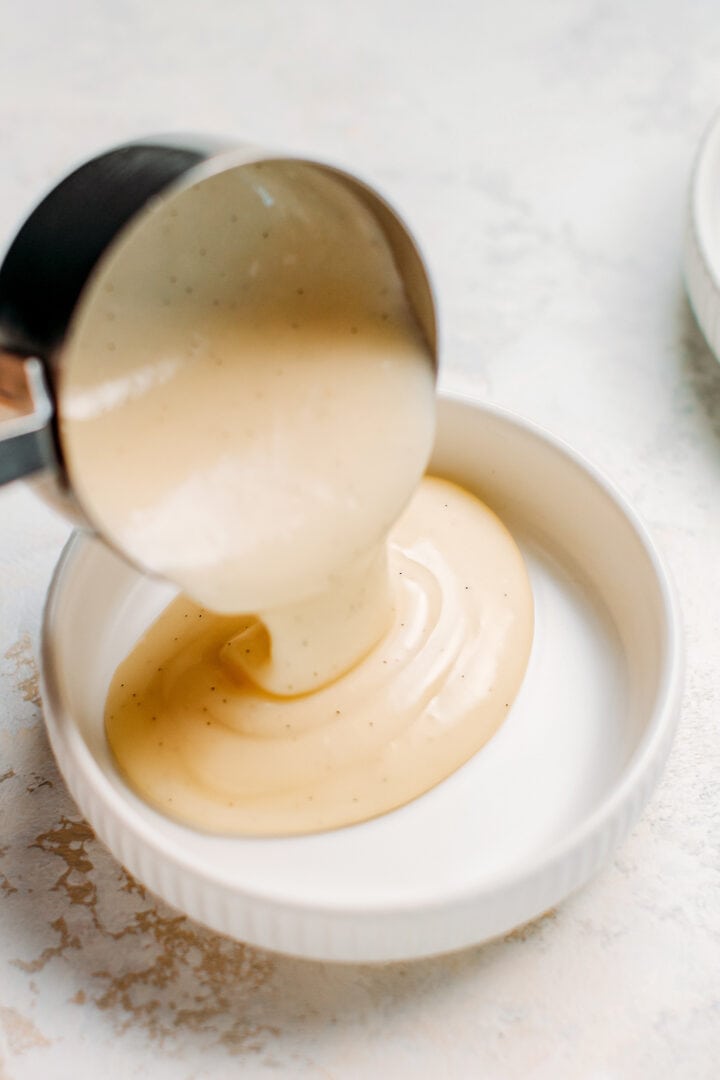
First, start by whisking together the almond milk, coconut milk, starches, agar, and vanilla extract.
Next, add the vegan butter and heat over medium heat until it reaches a simmer and starts to thicken. You want to whisk constantly to prevent clumps from forming in the bottom of the pan.
Once the custard has thickened, pour it immediately into ramekins. I used 4-oz porcelain ramekins here. It yields small crème brûlées that are perfect as a light dessert. Feel free to use larger ramekins if that’s what you have on hand!
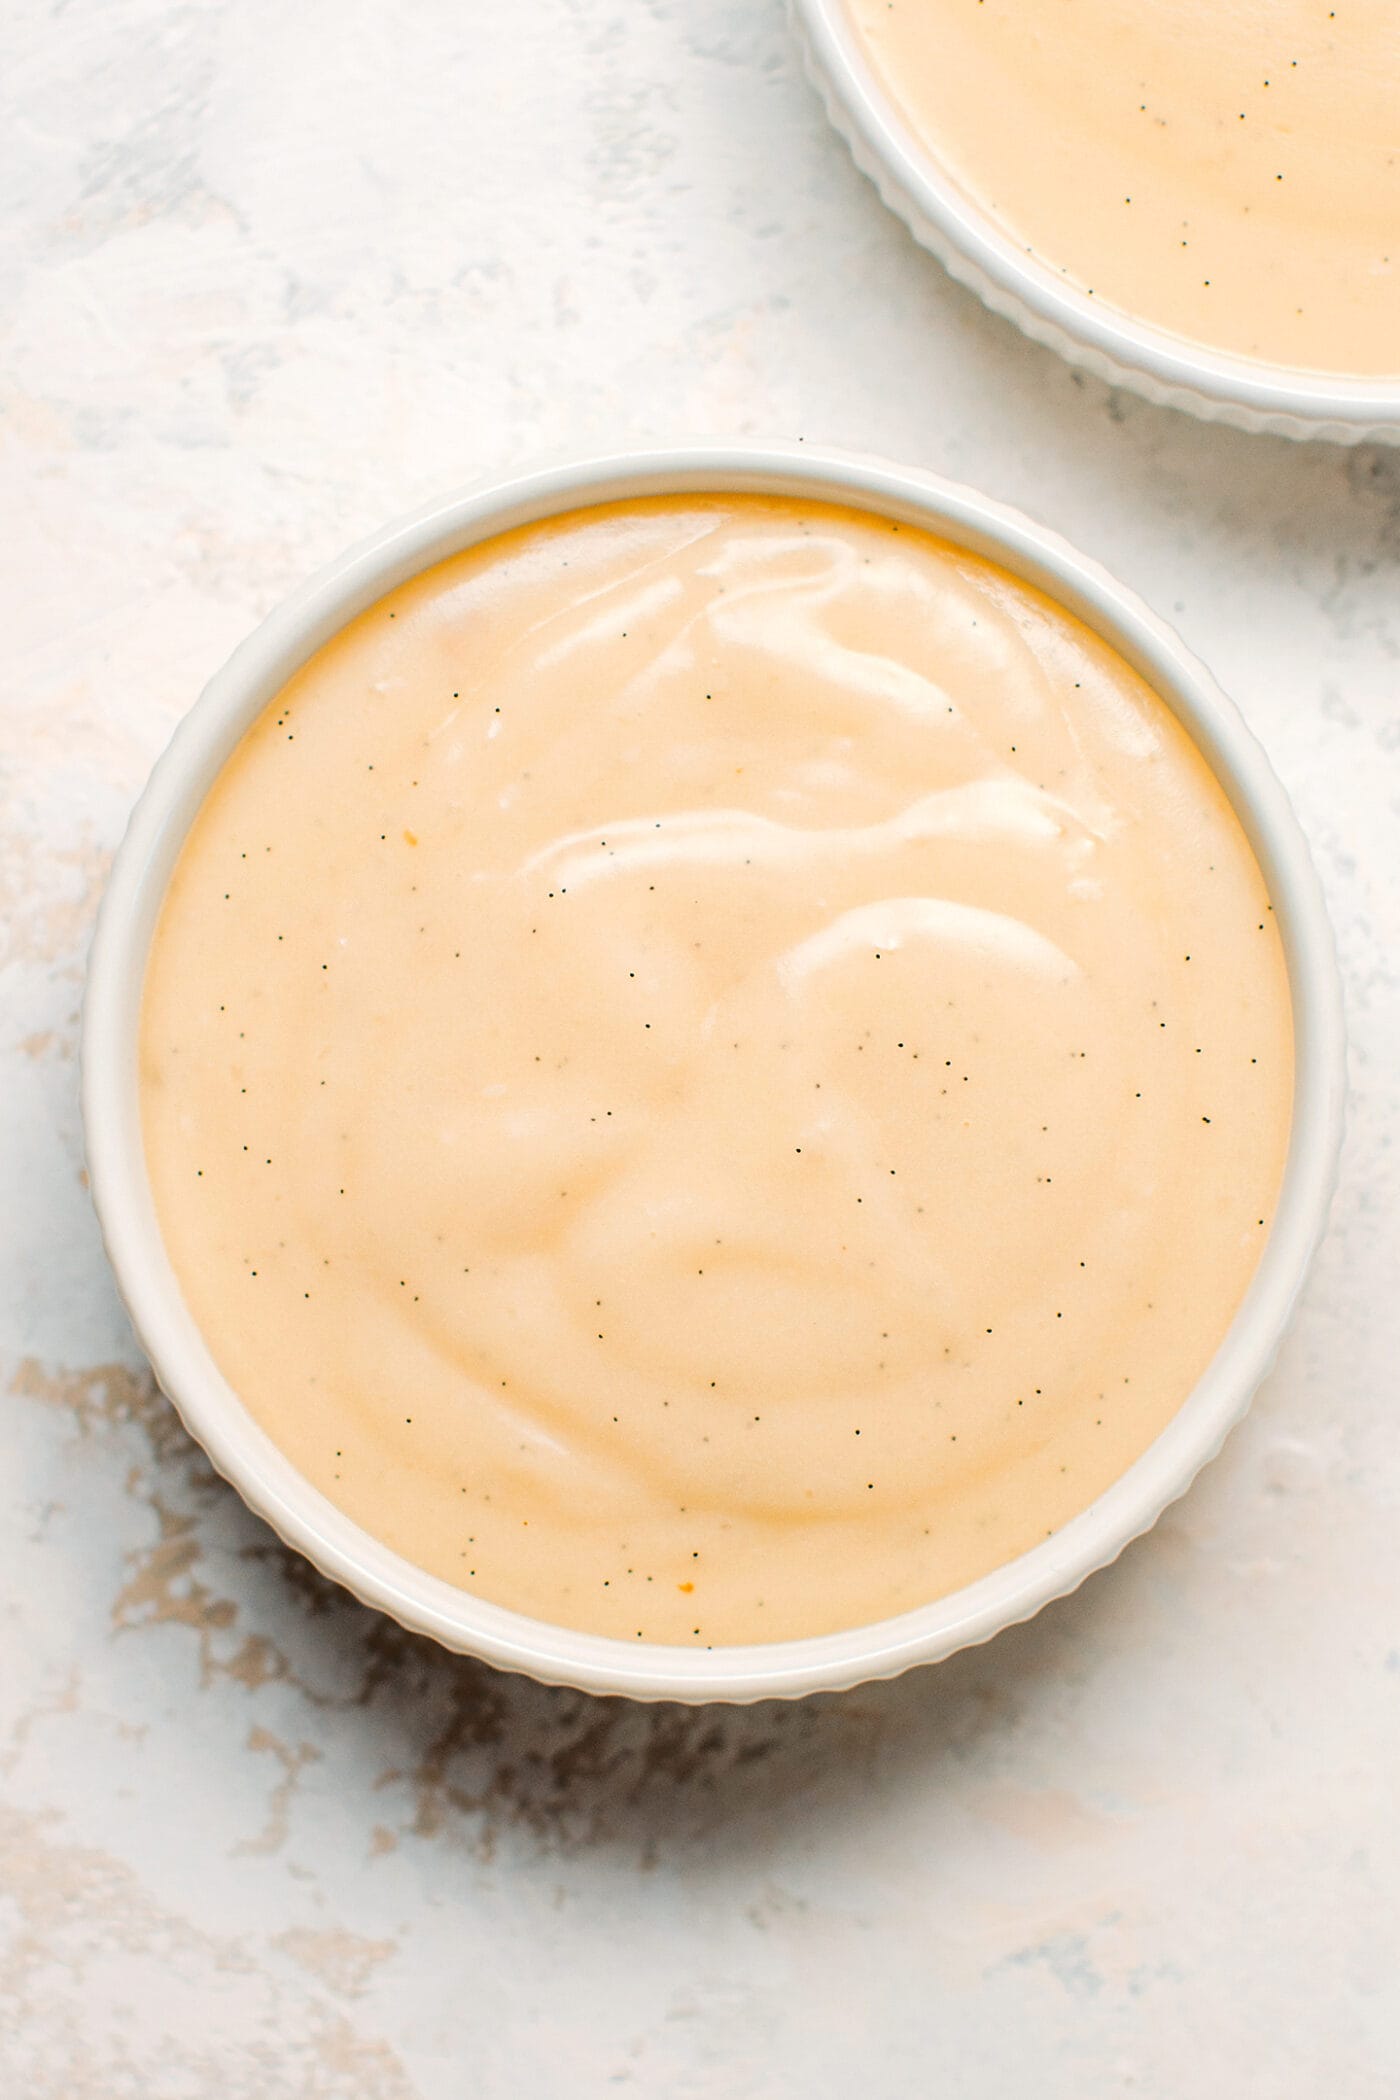
Let the custard cool for about 30 minutes at room temperature before transferring to the refrigerator. Chill overnight or for at least 6 hours to allow the custard to firm up.
Making the caramel
Finally comes the icing on the cake, the crispy caramel layer!
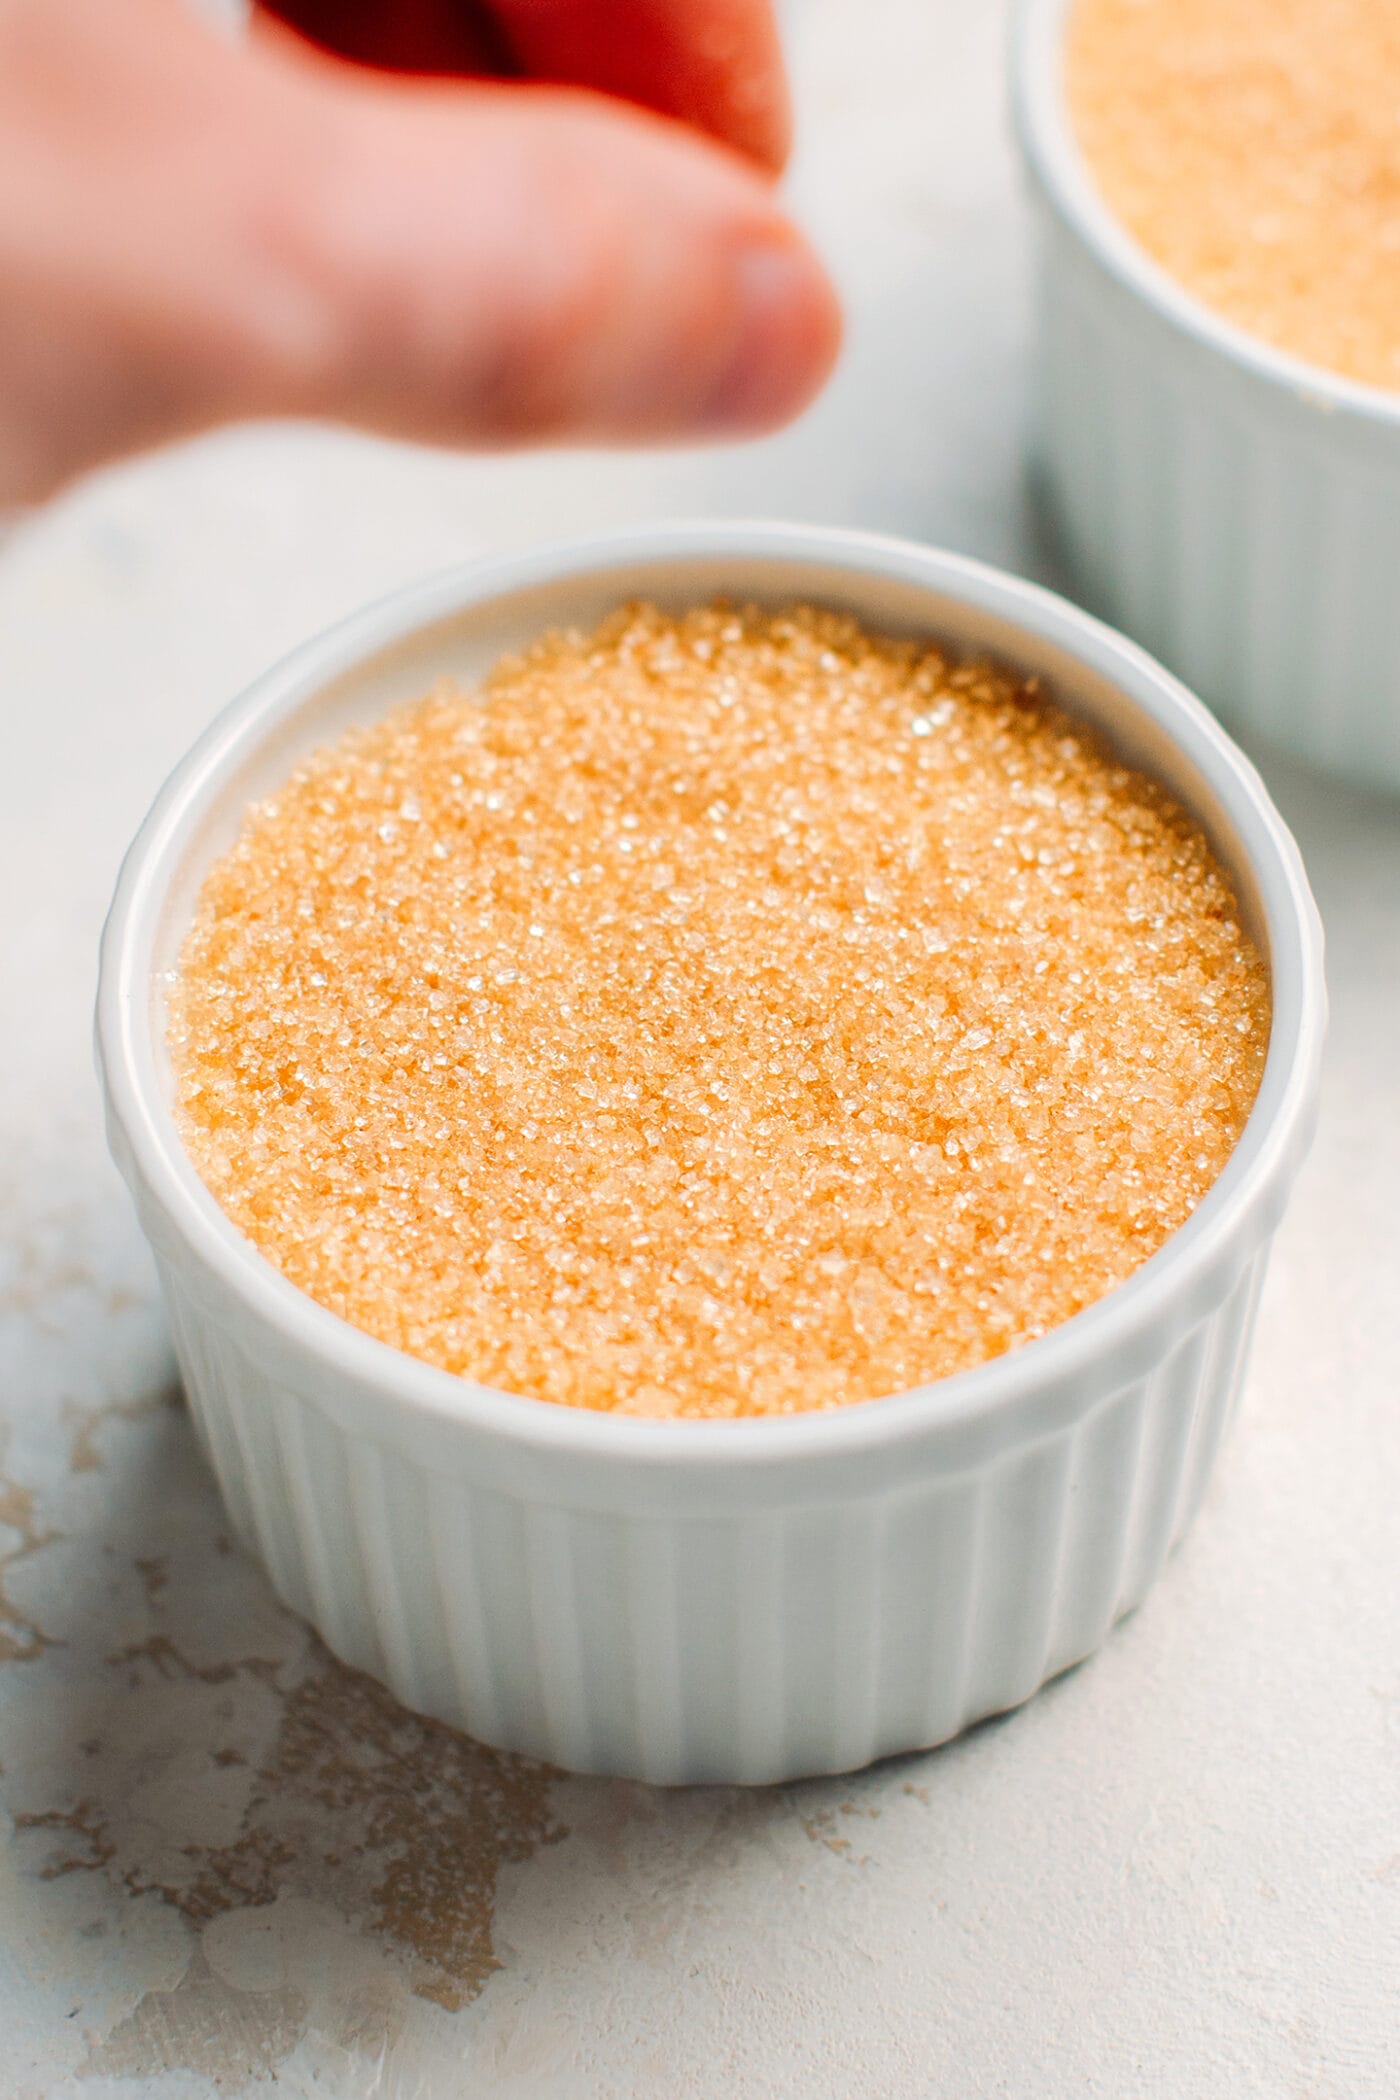
Sprinkle about 1 tablespoon of light brown sugar (or regular white sugar) on top of each custard and spread it into an even layer using your fingers.
Using a kitchen torch, caramelize the sugar. You want to hold the torch about 3 inches away from the ramekins to prevent the sugar from burning. Rotate the ramekin as you torch the sugar to caramelize it evenly.
At first, the sugar will melt and bubble. Then, it will start to get a golden brown color.
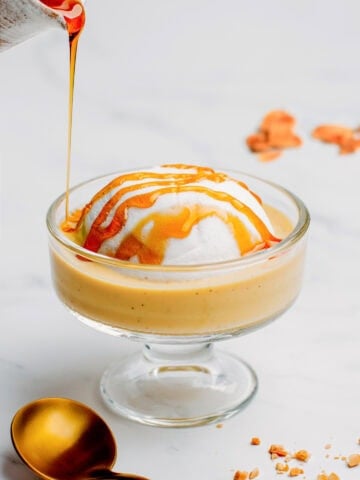
Let the caramel harden for a couple of minutes, and serve immediately!
What’s fun about this dessert is that you can use the edge of a spoon to crack the crispy caramel layer! Scoop out some of the custard and enjoy the contrast of the creamy vanilla custard with the crispy caramel!
📔 Tips
- Prepare the creams at least 6 hours before serving to ensure they will be completely chilled.
- The size of the ramekin you use matters: if you want a chilled vanilla custard, I recommend using deep ramekins. This way, the cream won’t get too warm after torching the sugar on top.
- If there is some water on top of the crèmes after chilling in the refrigerator, use a kitchen paper towel to absorb the moisture before sprinkling with sugar.
- Be careful not to caramelize the sugar for too long, or it will turn out too dark and bitter.
- Serve the crème brûlée within 20 minutes after caramelizing the sugar.

💬 FAQ
It’s possible to use the oven broiler, but I didn’t get satisfying results when trying. It does a good job of caramelizing the sugar, but it tends to warm the custard too much.
You can prepare the custard up to 3 days before serving. Torching the sugar on top must be done just before serving. Otherwise, the caramel will melt after a few hours.
Yes, simply replace the coconut milk with cashew milk or almond milk. The crèmes won’t be as rich but still delicious!


Save this recipe!
Enter your email below and I’ll send it to your inbox!
Plus, you will receive new recipes every week!

Vegan Crème Brûlée
Equipment
Ingredients
- 1 and 1/2 cup (360 ml) unsweetened plant-based milk such as almond, soy, or oat milk
- 1/2 cup (120 ml) full-fat coconut milk
- 1/4 cup (50 g) sugar
- 2 tbsp (20 g) potato starch
- 1 tbsp (7 g) cornstarch
- 1/2 tsp agar agar powder
- 1 tbsp (15 ml) vanilla extract or seeds from 1/2 vanilla bean
- 1 tbsp (14 g) vegan butter
- 4-5 tbsp (50 g) light brown sugar or white sugar
Instructions
- Prepare five 4-oz porcelain ramekins.
- To a medium saucepan, add the almond milk, coconut milk, sugar, potato starch, cornstarch, agar agar, and vanilla extract. Whisk until the starches are fully combined with the milk.
- Add the vegan butter and heat over medium heat, constantly whisking until it comes to a simmer and starts to thicken about 4 minutes.
- Once the milk has thickened, immediately divide it between the ramekins and let it cool at room temperature for about 30 minutes. Refrigerate overnight or for at least 6 hours.
- For the crispy caramel topping: sprinkle about one tablespoon of light brown sugar (or regular white sugar) on top of each ramekin. Use your finger to spread it into an even layer.
- Use a kitchen torch to caramelize the sugar: hold the torch 2-3 inches away from the ramekins and use a circular motion to caramelize the sugar evenly. The longer you torch it, the darker the caramel will be. Note: Be careful not to caramelize it for too long, or it will become bitter.
- Let the caramel harden for 1-2 minutes, and serve the crème brûlée immediately!
Nutrition

About the Author
Thomas Pagot is the founder, photographer, and recipe developer behind Full of Plants. He created the blog in 2016 as a personal cookbook for vegan recipes. Through years of recipe development, Thomas has successfully grown Full of Plants into a trusted resource for plant-based recipes.
Leave a Comment