
This post may contain affiliate links. Please read our disclosure policy.


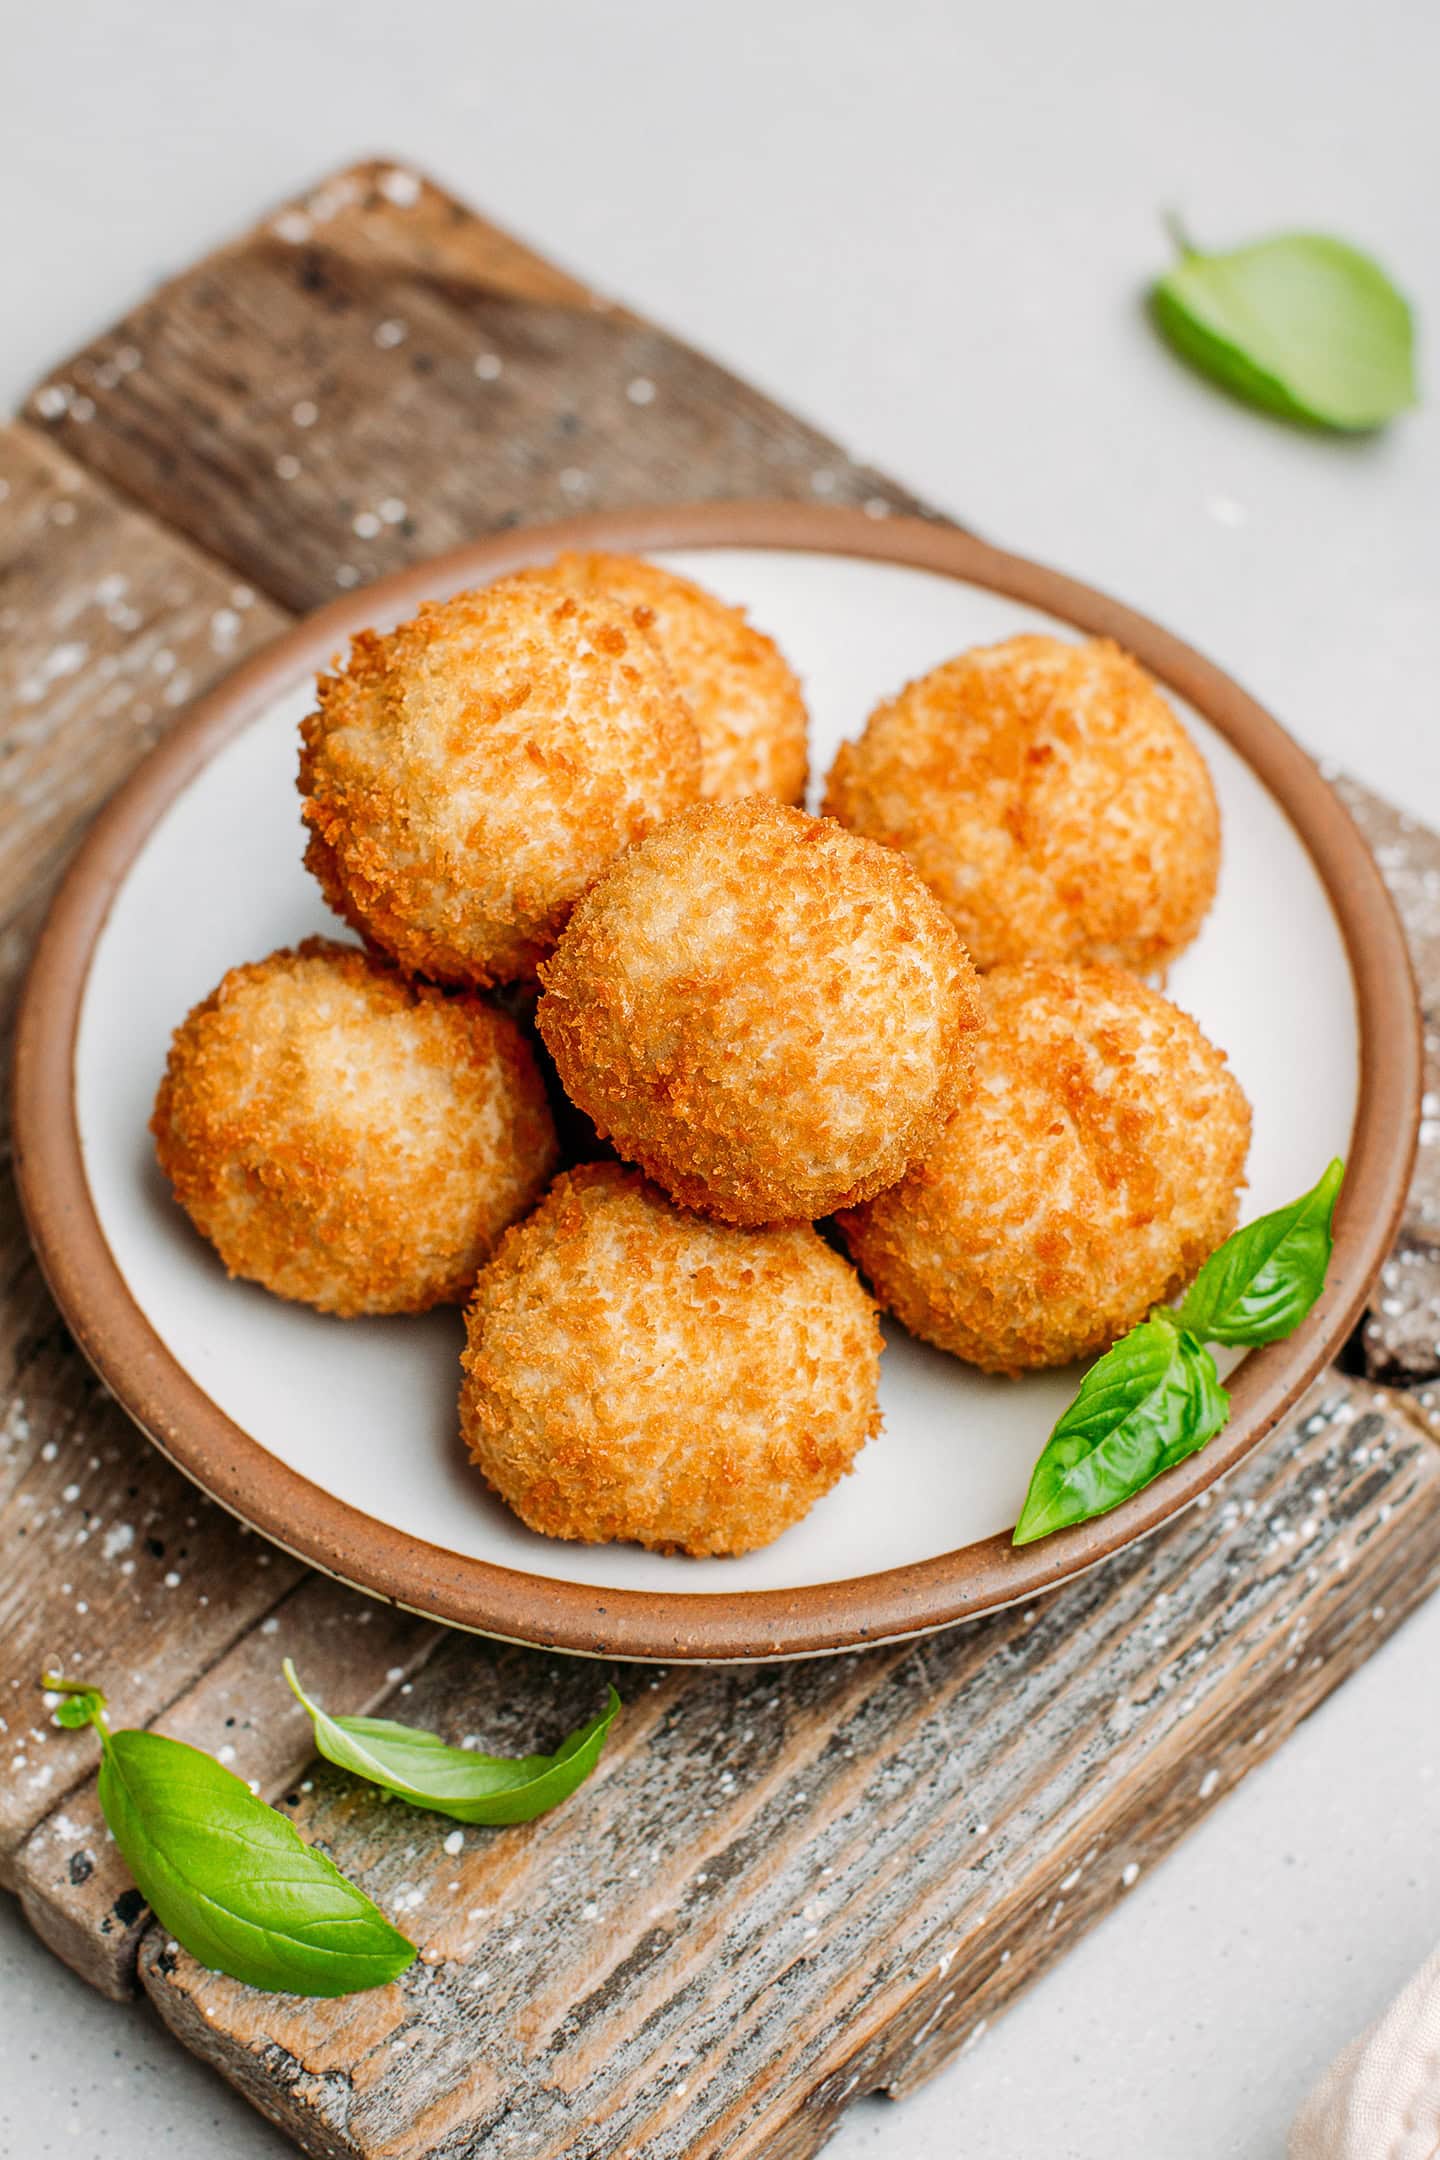
These 4-ingredient vegan fried goat cheese balls are melty on the inside and crispy on the outside. Made from cultured cashew cream, they are tangy and so cheesy! Serve them as an appetizer or incorporate them in salads!
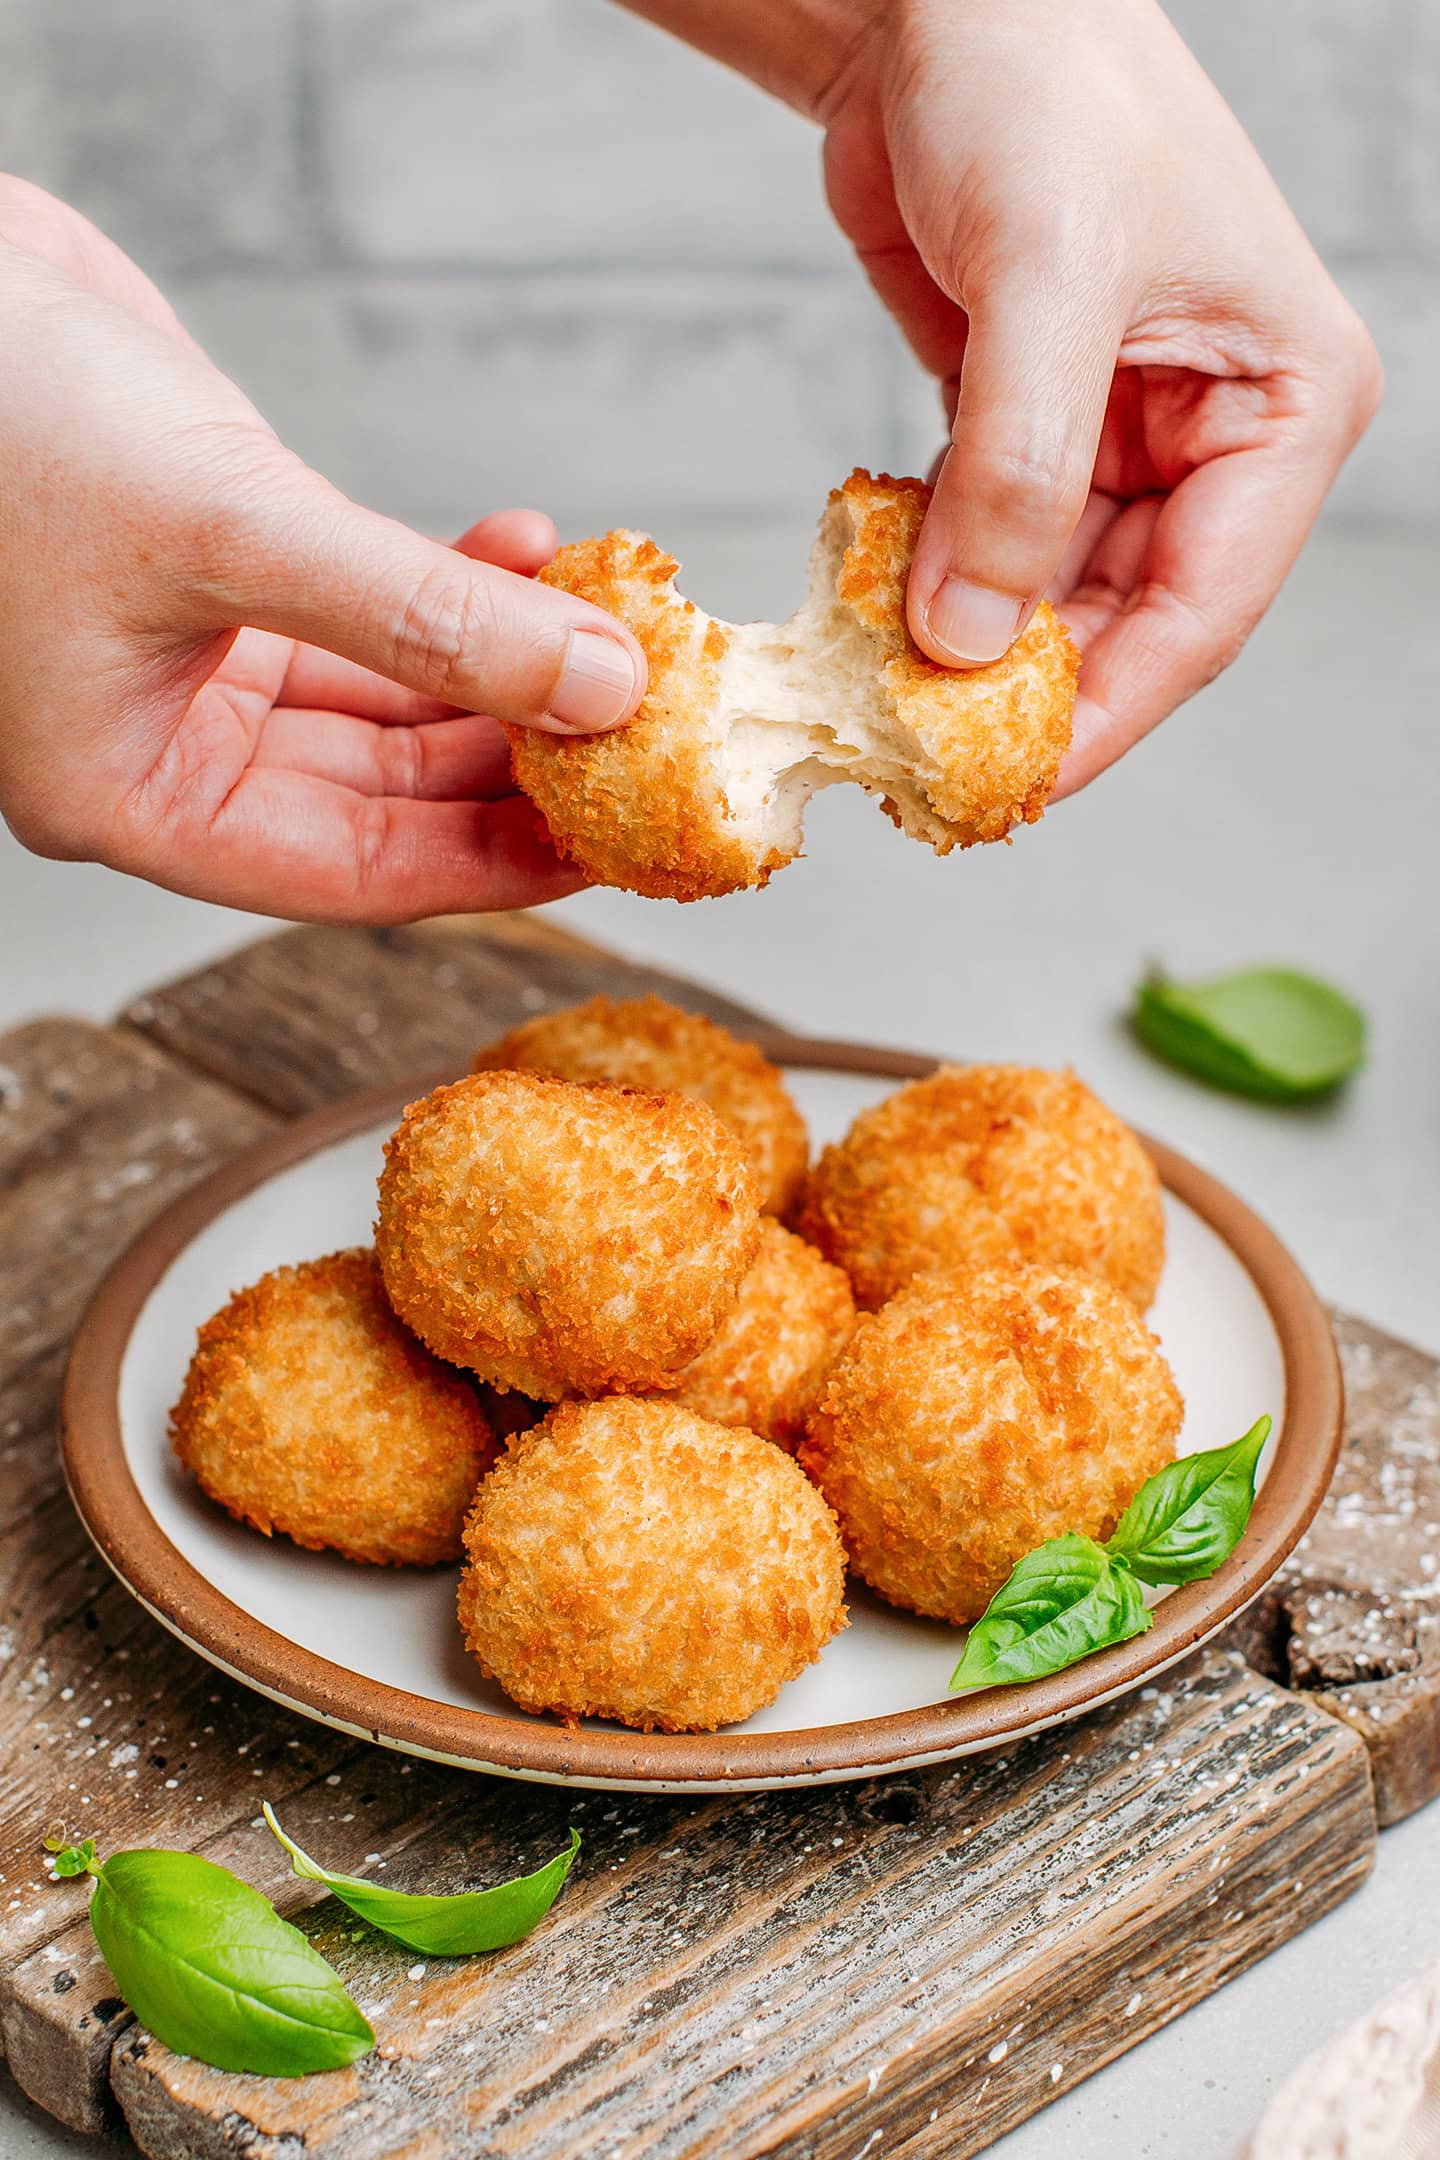
“This tastes just like real goat cheese!” That’s what my guests said when I served these fried “goat” cheese balls. All of them thought it was real cheese. So YES, it is possible to veganize (does this word even exist?) everything, even cheese!
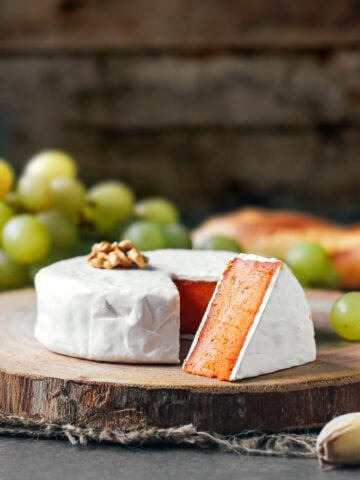
I’m not new to vegan cheese making, having made vegan camembert and vegan blue cheese in the past. But I have never tried making a deep-fried version of vegan cheese.
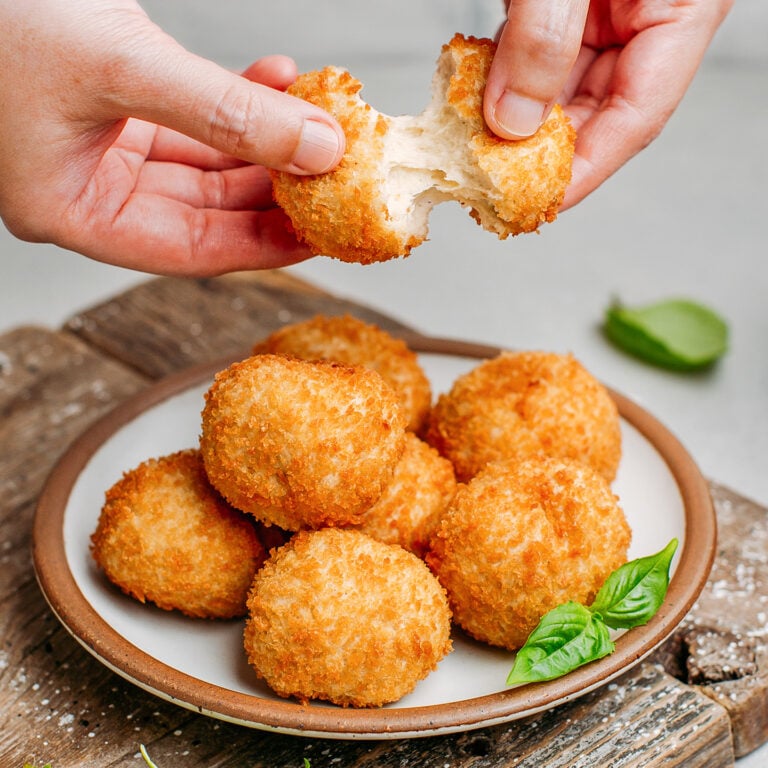
These vegan cheese balls are perfectly tangy, cheesy, and so rich! Plus, they are packed with texture – crispy on the outside and soft and melty on the inside. It’s PURE deliciousness.
Although the whole process is very simple, I won’t tell you you can make these in no time because it’s not the case. Making the cream cheese mixture takes about 3 days because it needs to culture, giving it that wonderful flavor that is so similar to goat cheese.
⭐️ Why You Should Try It
Super crispy on the outside. Tender on the inside.
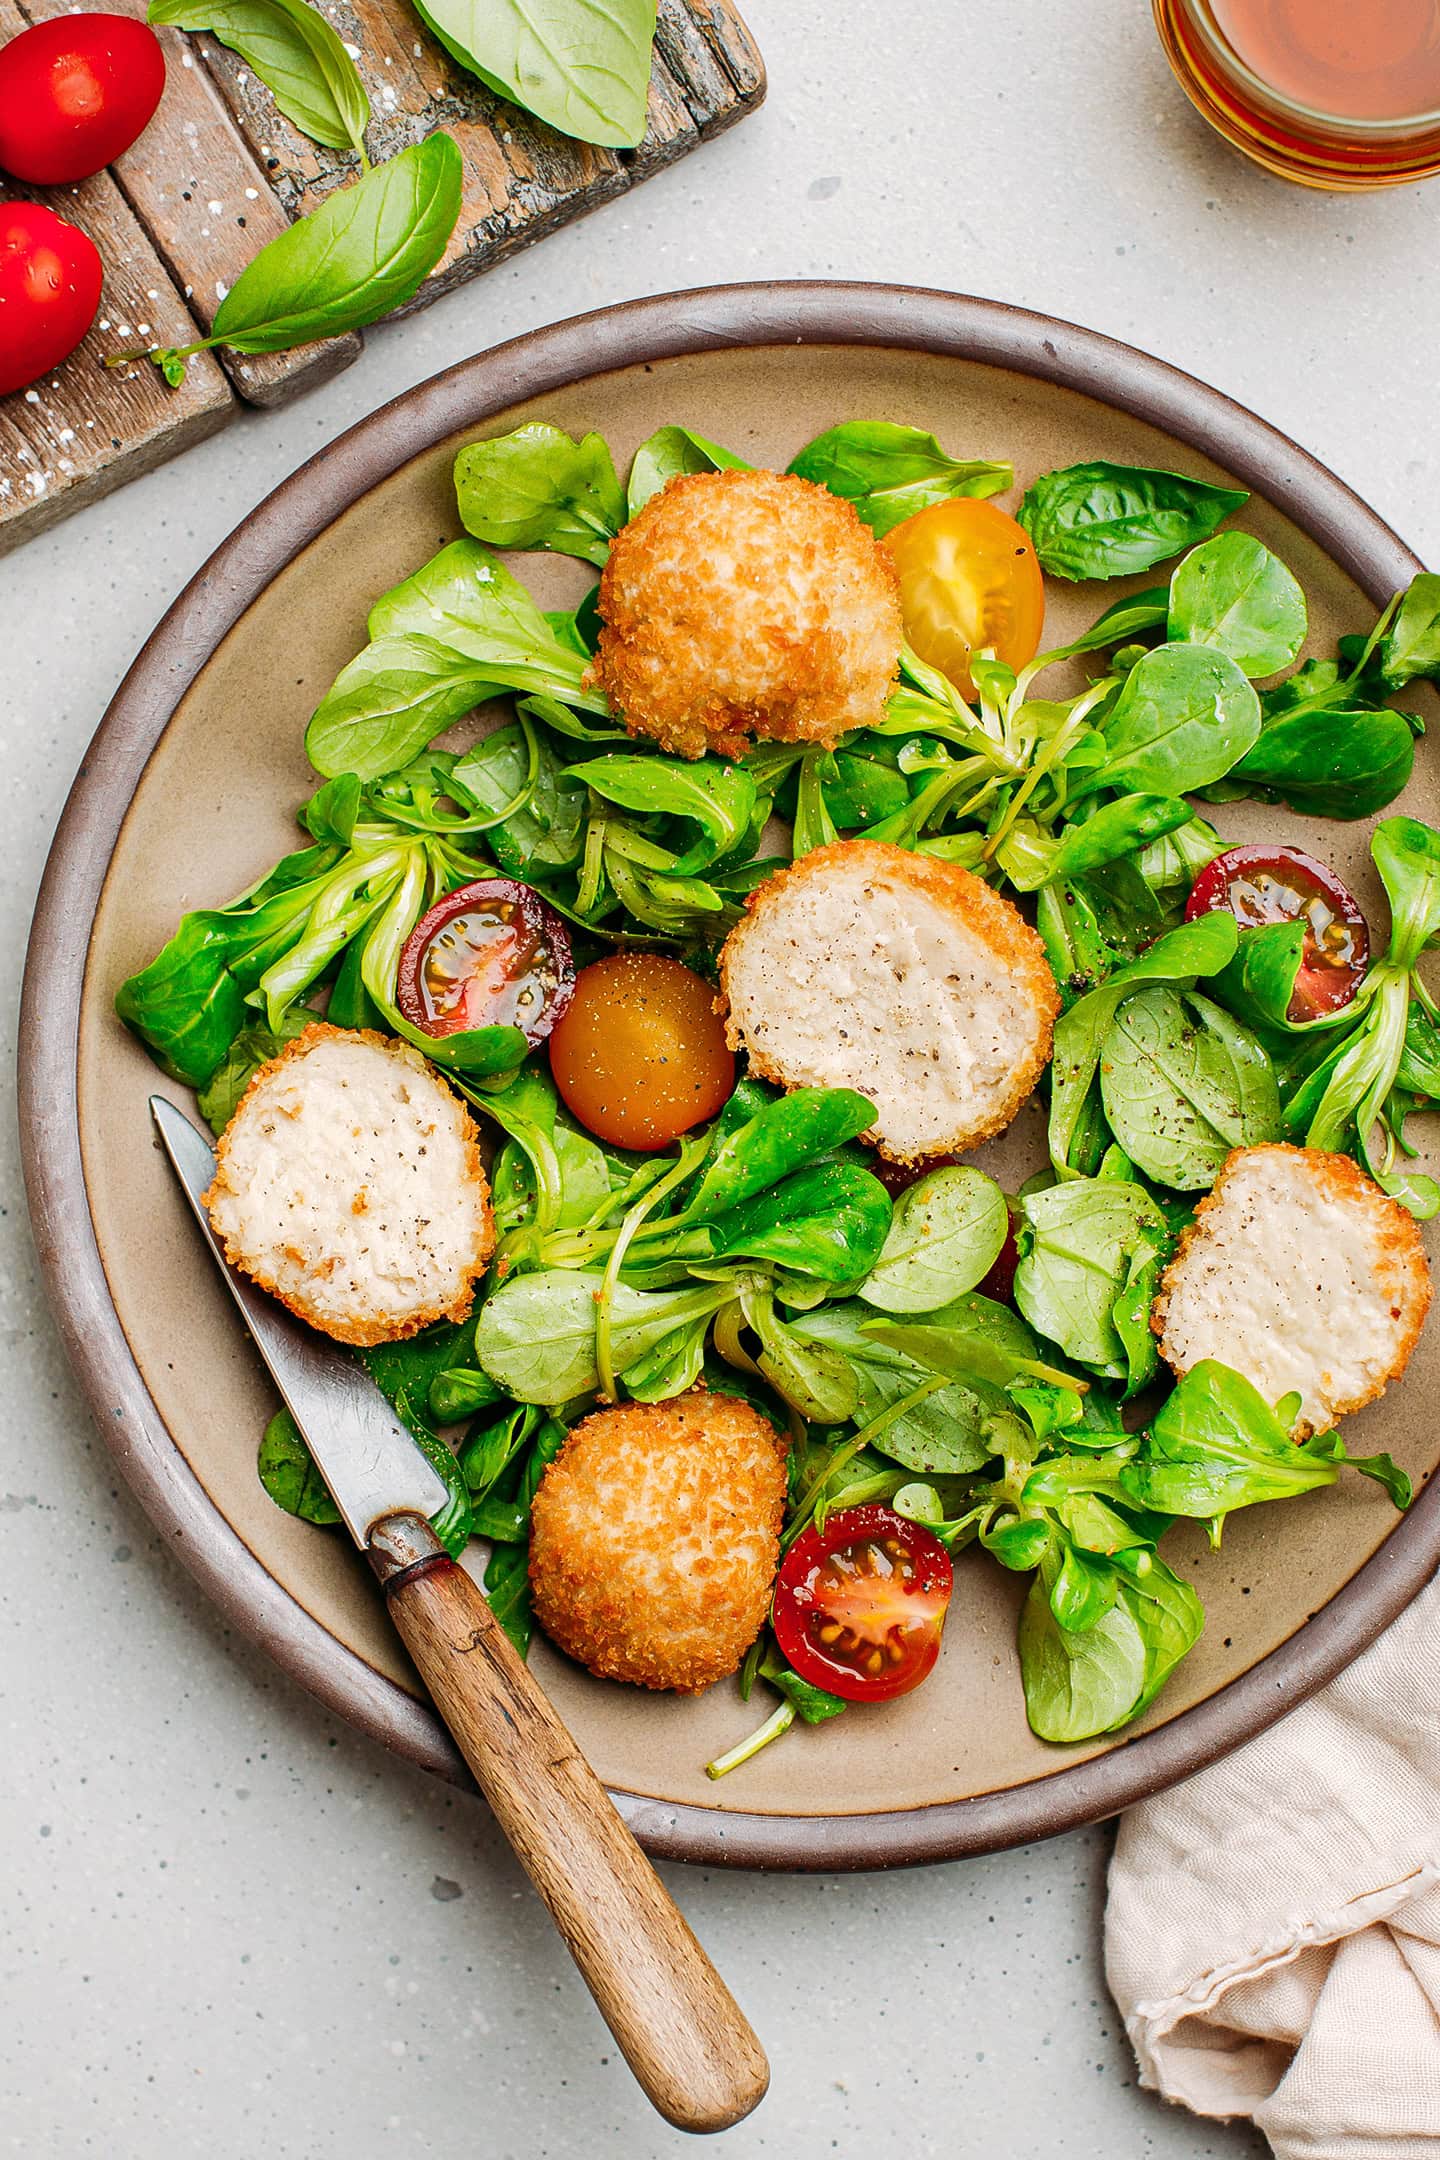
These cheese balls are just irresistible. Maybe it’s the rich and creamy cream cheese, the extra crispy breadcrumbs coating, or the combination of both. Either way, I have no doubt you will adore these. My favorite way to serve them is with a green salad on the side and a French vinaigrette dressing. It’s simple but oh-so delicious!
Wholesome and naturally tangy.
I have a confession to make: I’m not a fan of store-bought vegan cheese. Except for a few brands, most of them are made with a million ingredients and almost always have “cheese flavor” in the list. That sounds fake and heavily processed to me.
The cheese balls I make here, however, require only THREE main ingredients: raw cashews, probiotics, and a pinch of salt. THAT’S IT. They don’t rely on any flavoring. The main flavor comes entirely from the fermentation process!
Readers love them!
With an average of 5 stars with 18 reviews and over 100 comments, readers who have tried this recipe love it! Here is what they have to say:
Jackie Rivera, a reader, said: “These are so good! I just fried up 3 and put them in a salad. I’m completely amazed. I was skeptical since vegan cheese is… well you know. Usually terrible. Thank you so much for sharing this amazing recipe!”
Jessica said: “Holy moly, this was good! I used about half of the batch to make the fried balls, and I used panko because I didn’t have any breadcrumbs on hand, and they turned out great. I used the other half of the batch and put it in the smoker for about a half hour and it turned out amazing. It got devoured in seconds by a group of non-vegans. Thanks for the recipe!”
📘 About This Recipe
You may be wondering why I named this recipe “goat cheese” balls. Well, that’s mainly because these are inspired by a French dish called “Chèvre chaud.” Chèvre means goat, and chaud means hot. It’s a salad that consists of fresh goat cheese coated with breadcrumbs, deep-fried, and served with a green salad.
There are many variants of this salad, and sometimes, the goat cheese is not fried but simply placed on a toast and baked until it is melty. In this recipe, I will make the fried version as it’s the one I grew up with.
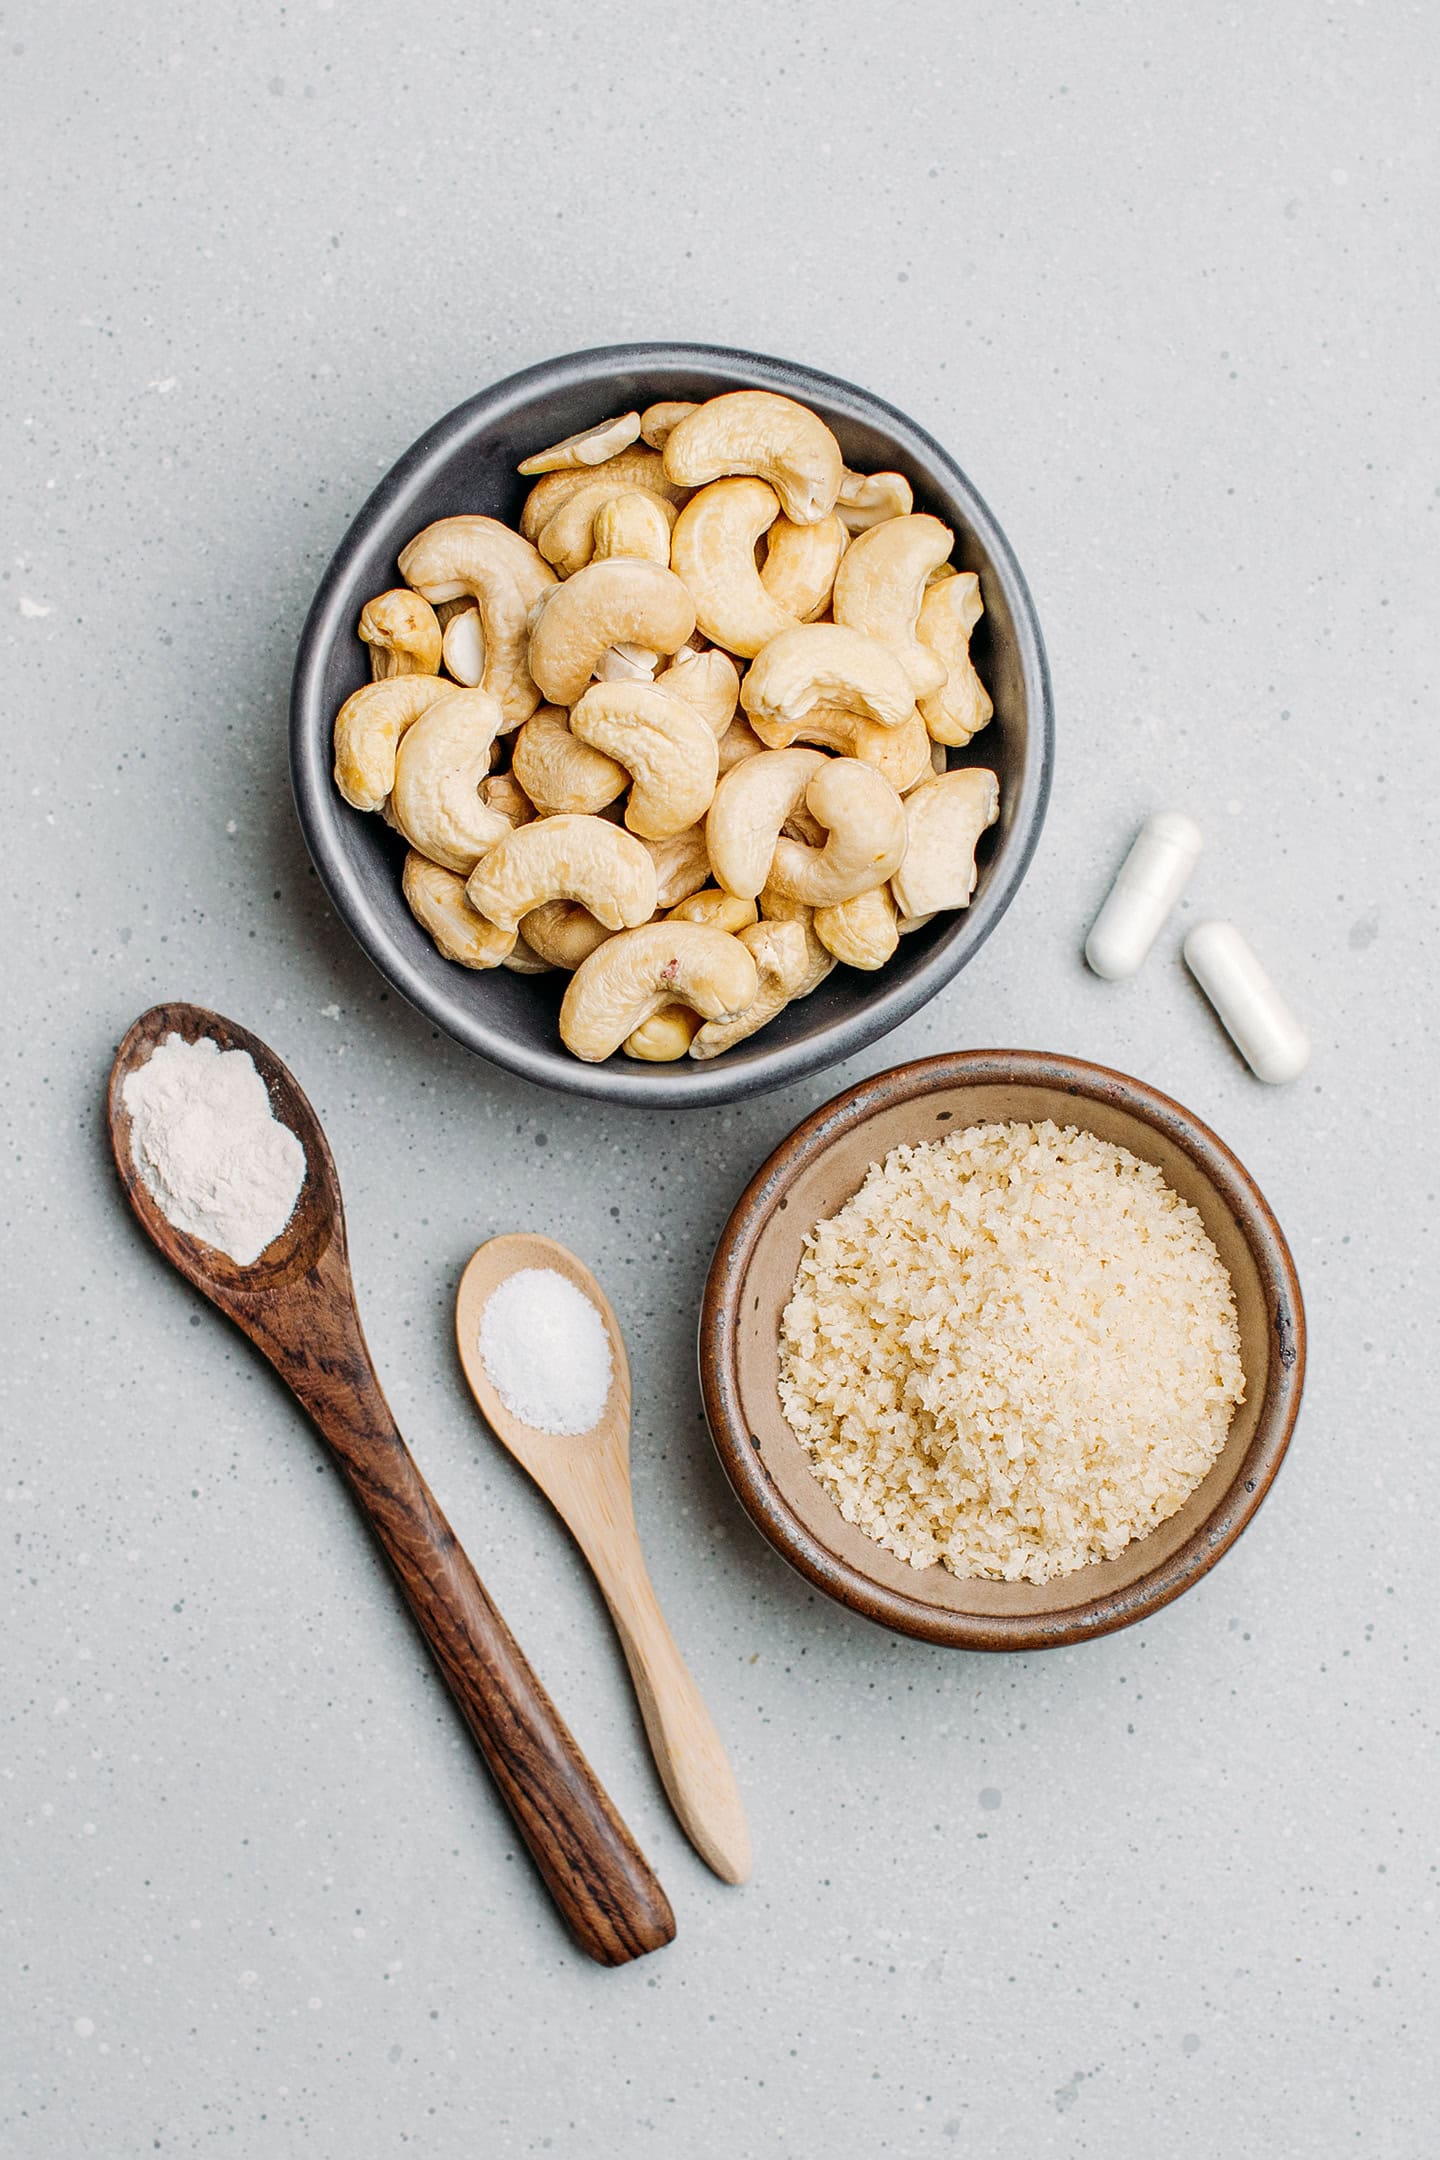
🌰 Ingredient Notes
Cashews
Raw cashews make the base of these cheese balls. They create a rich and creamy texture reminiscent of fresh dairy cheese. Make sure you are using raw cashews, not the roasted kind.
Probiotics
Instead of relying on vinegar or lactic acid to add tanginess to the cashew cheese, I naturally cultured it with probiotics. Although this step takes a bit more time, I truly believe it yields a superior, more natural flavor.
Note: I generally use Solgar Advanced Acidophilus Plus probiotics. Each capsule contains 500 million microorganisms, and I use 4 capsules for one batch. If you are using probiotics with a higher amount of microorganisms, you might have to use fewer capsules.
Substitute: If you have been making other vegan cheeses, you might already have mesophilic cultures. In that case, you can replace the probiotics with 1/16 teaspoon of mesophilic.
If you don’t have any probiotics or cultures, you can replace the water used to blend the cashews with rejuvelac. The result will be approximately the same.
Breadcrumbs
You can use regular breadcrumbs or panko if you prefer a crunchier texture. Italian-style breadcrumbs work great too!
Psyllium husk (optional)
If you have never heard of it, psyllium (Plantago) is a plant that contains a soluble fiber in its husk. In addition to its potential benefit of relieving constipation, it does wonders to create a stretchy consistency as it forms a gel when in contact with liquids.
In this recipe, I use it mostly to thicken the cashew cheese cream, making it easier to shape it into balls. On top of that, it adds a bit of stretchiness, but that’s minimal. If you have tried “chèvre chaud” before, you know that this type of cheese is not stretchy, so do not expect a ton of stretchiness here.
Note: Psyllium is completely optional, though, and won’t alter the flavor if you omit it.
Best type of psyllium: Ensure you are using super fine psyllium husk powder for optimal texture. Psyllium husk can be found in flakes – do not use those.
Oil
To deep-fry the cheese balls. Use a neutral oil with a high smoking point, such as canola, peanut, sunflower, or grapeseed oil.
🥣 How to Make It
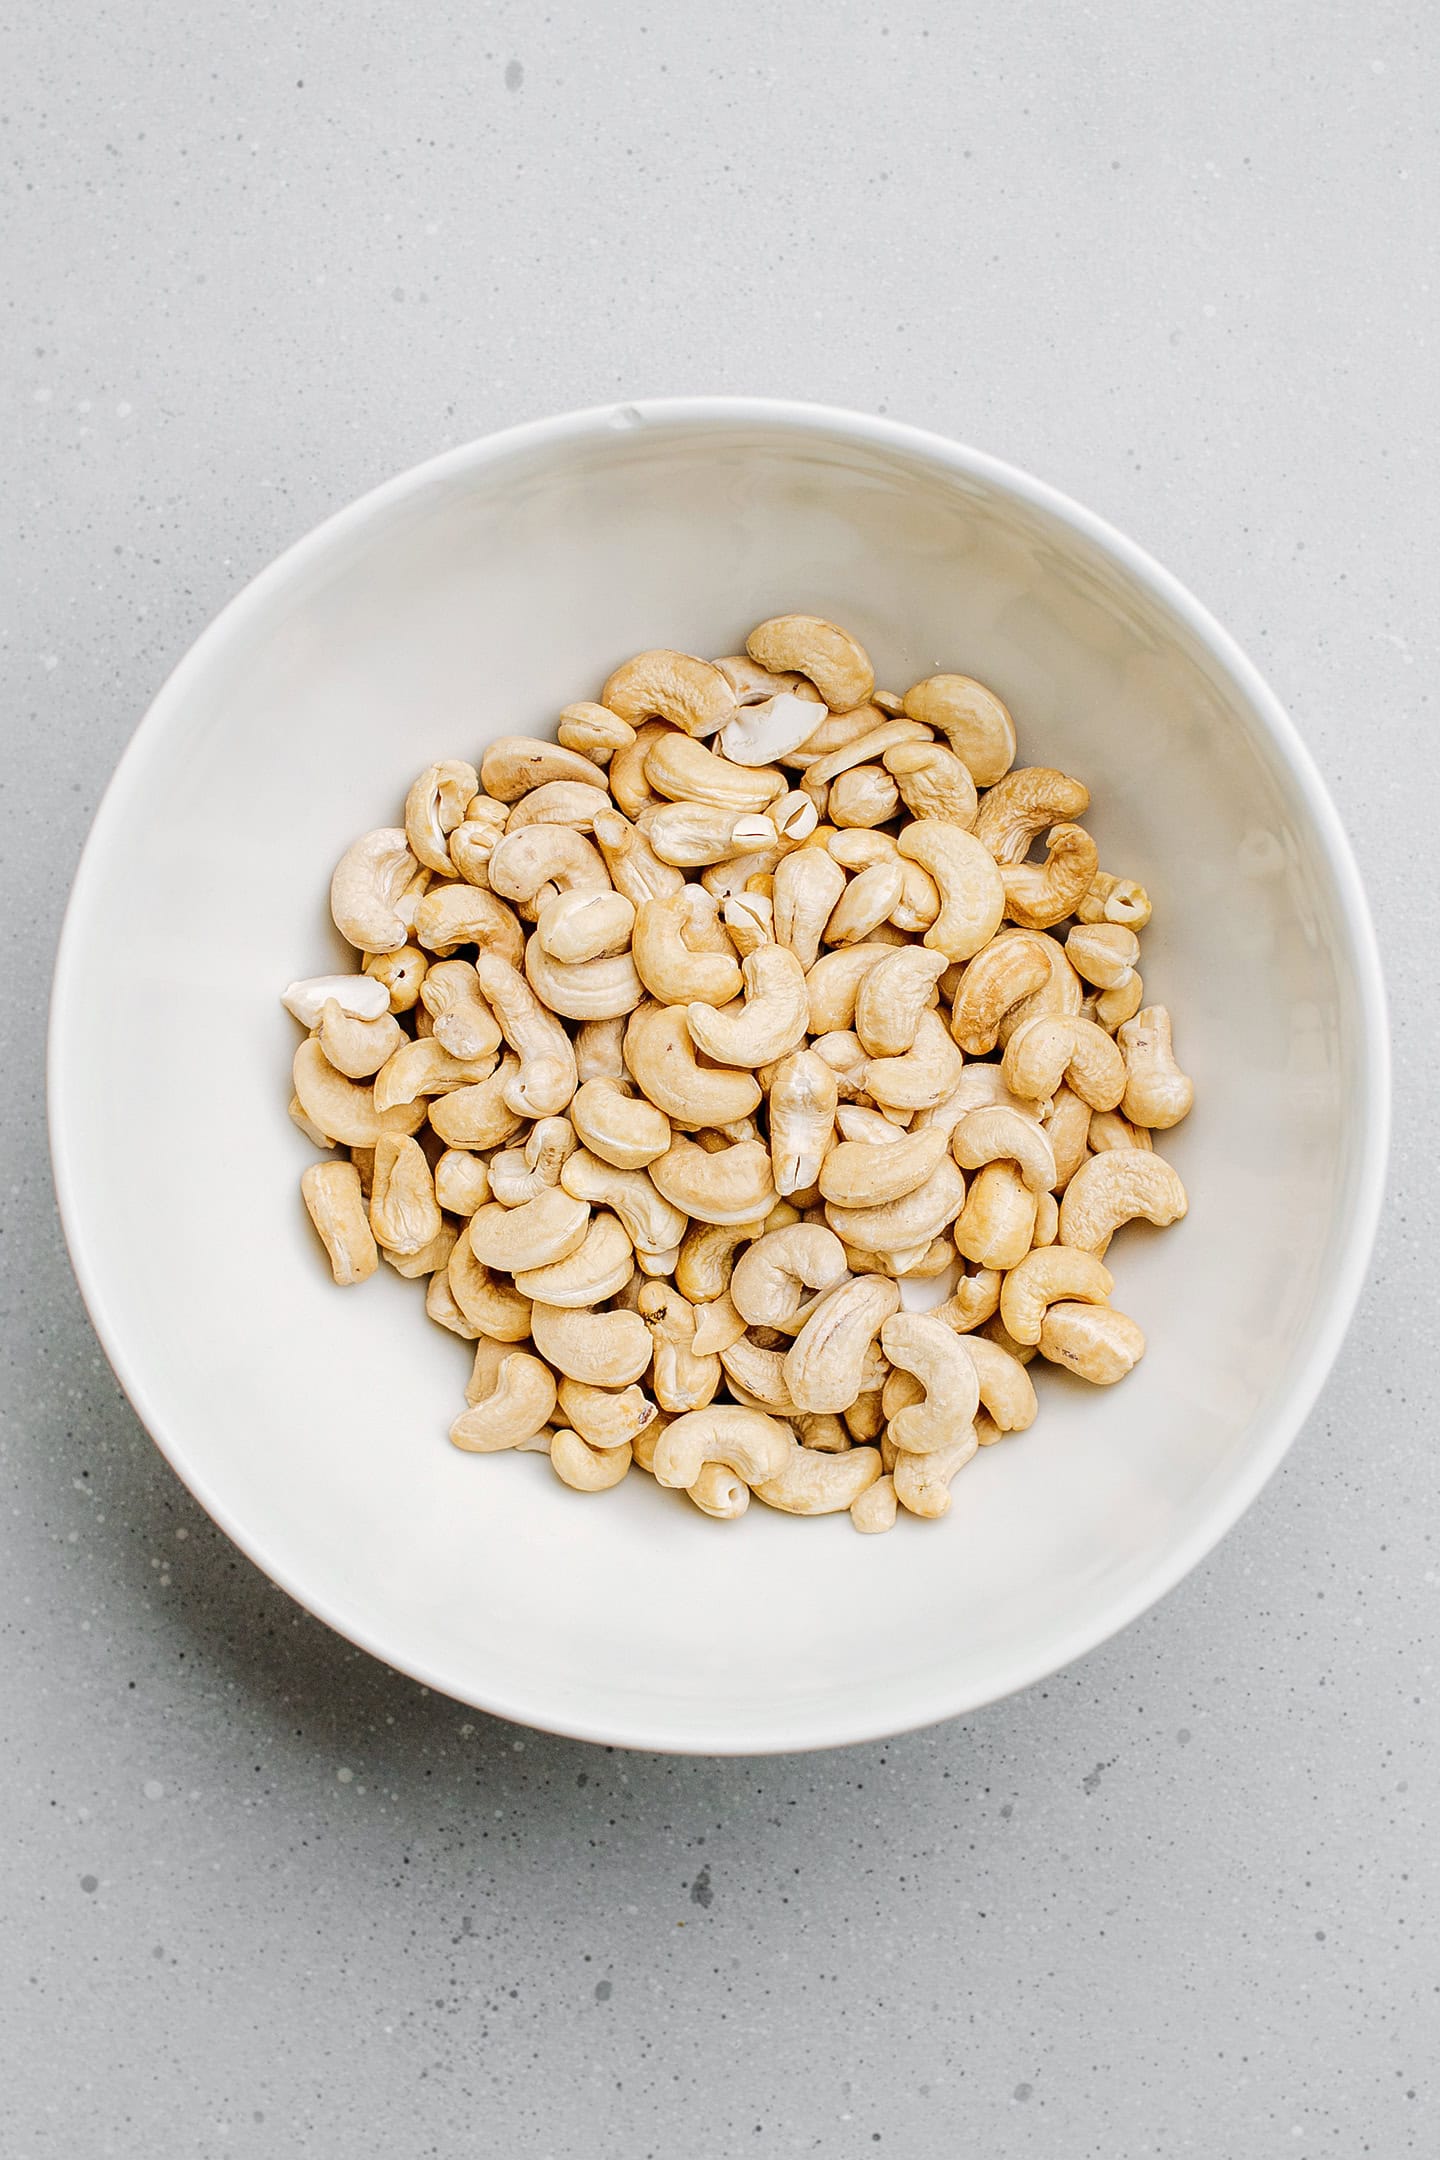
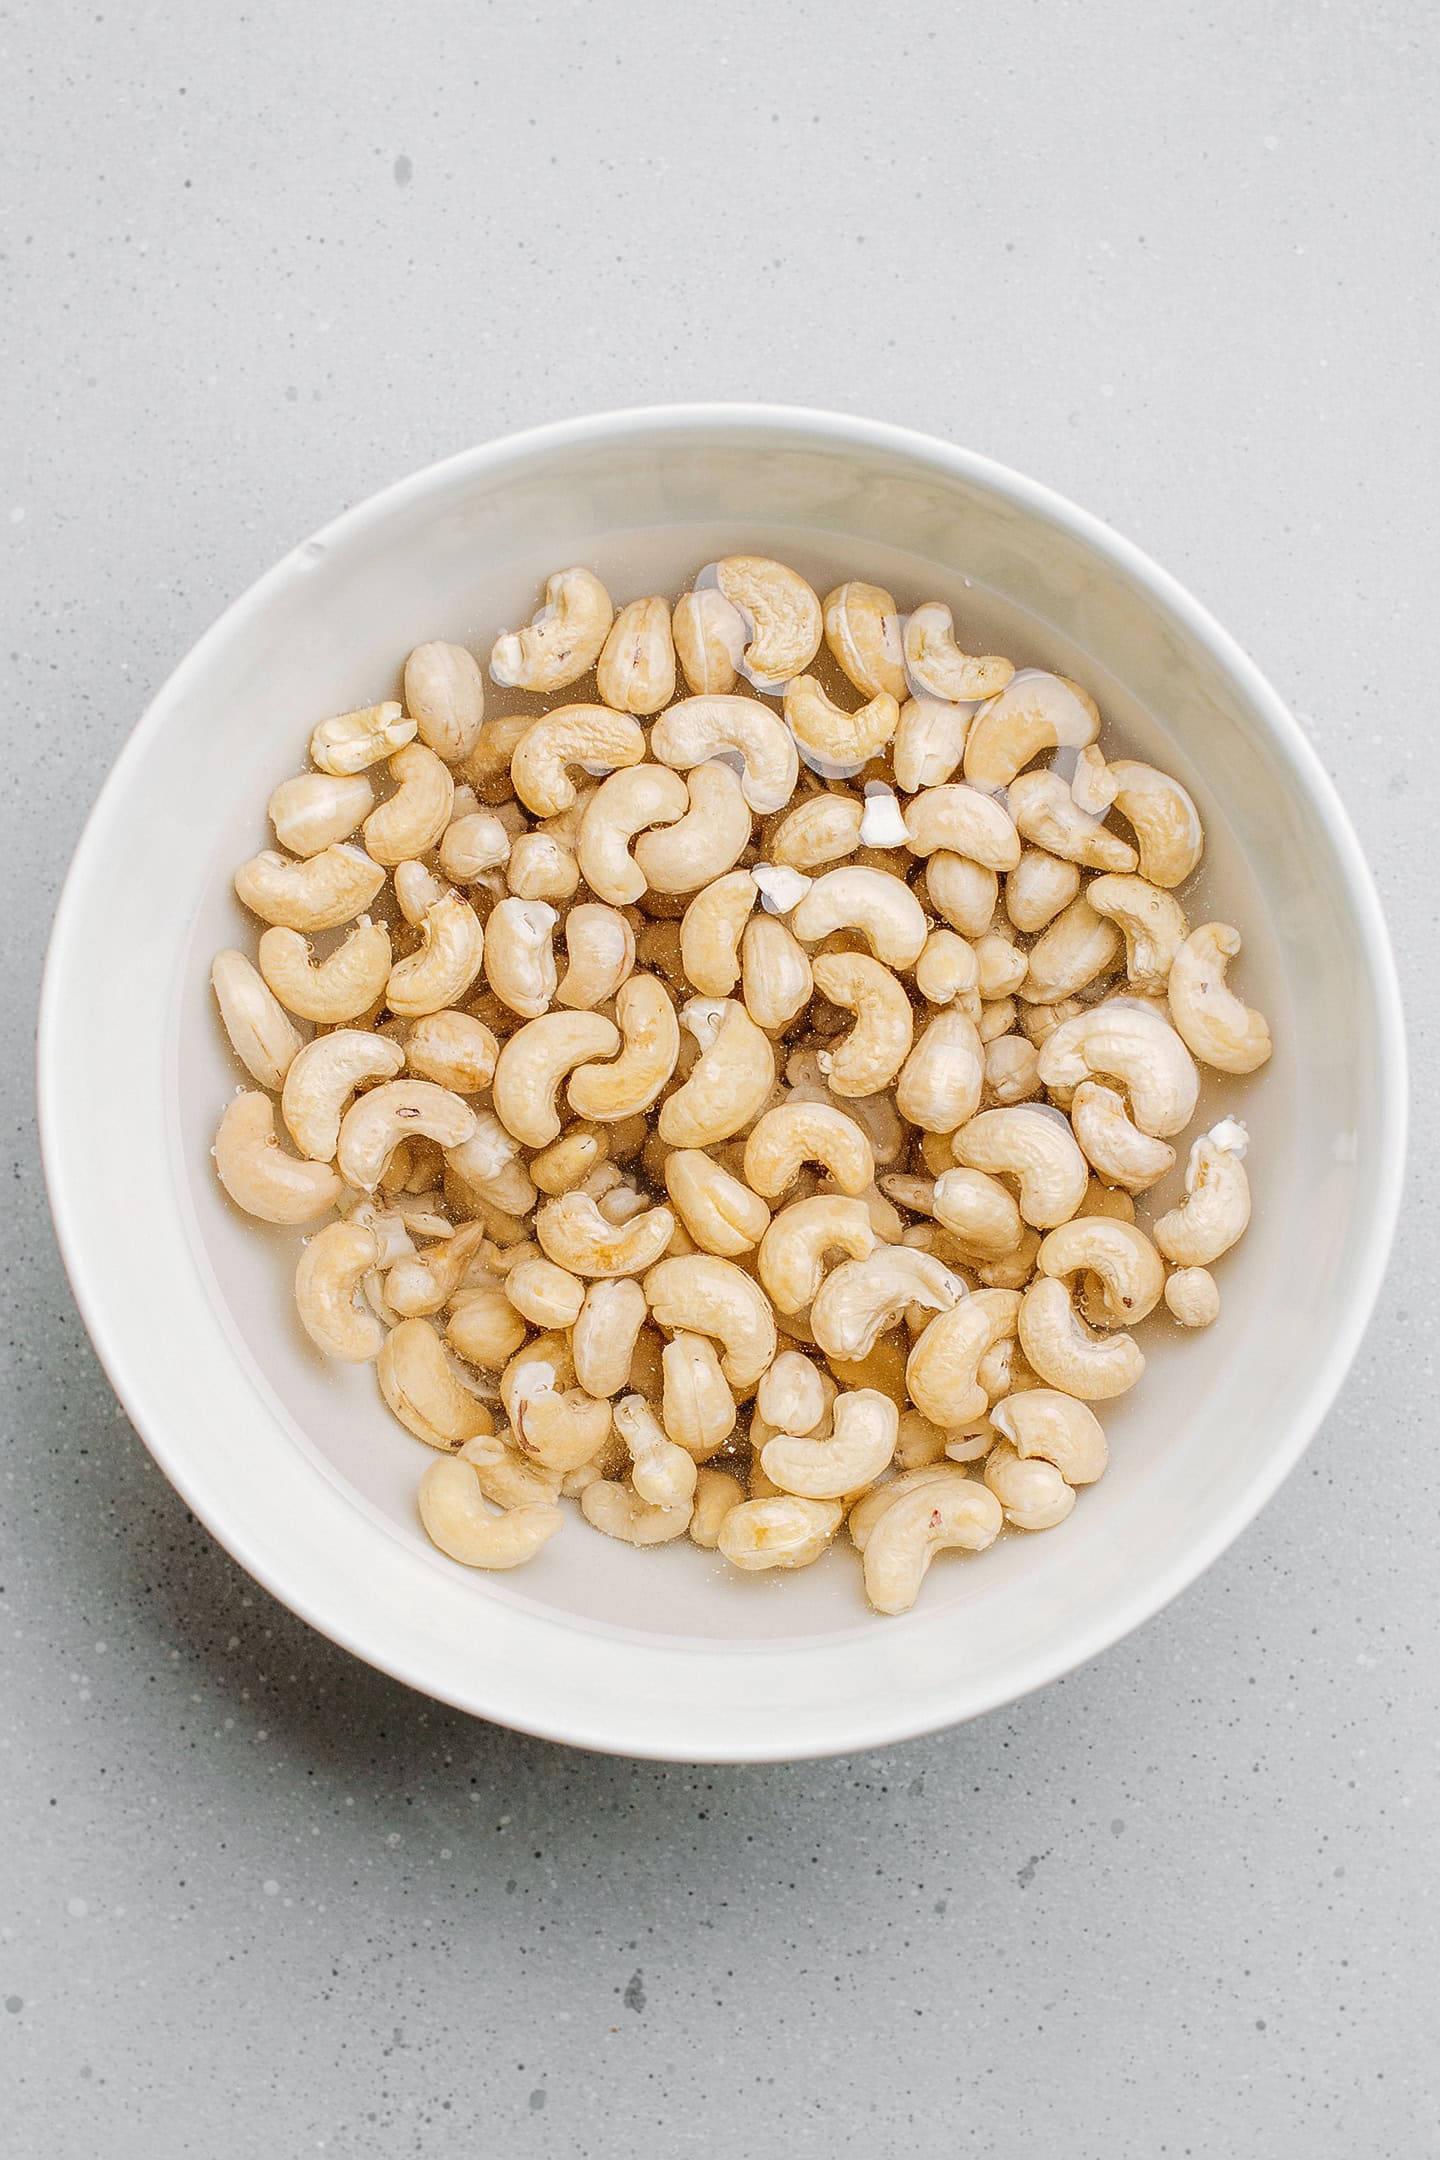
1. Soak the cashews
- Soak overnight. Add the cashews to a large bowl and cover with cold water. Let the cashews soak overnight or for at least 8 hours.
2. Blend into a cream
- Drain. Rinse the soaked cashews and drain them well using a colander.
- Blend. Transfer the soaked cashews to a blender or food processor and add 1/4 cup of water. Blend on high speed, scraping down the sides from time to time until it forms a very thick and smooth cream. This step might take up to 3 minutes.
- Add the salt and cultures. Open the probiotic capsules and add the powder to the blender. Add the salt and process for another 15-20 seconds.
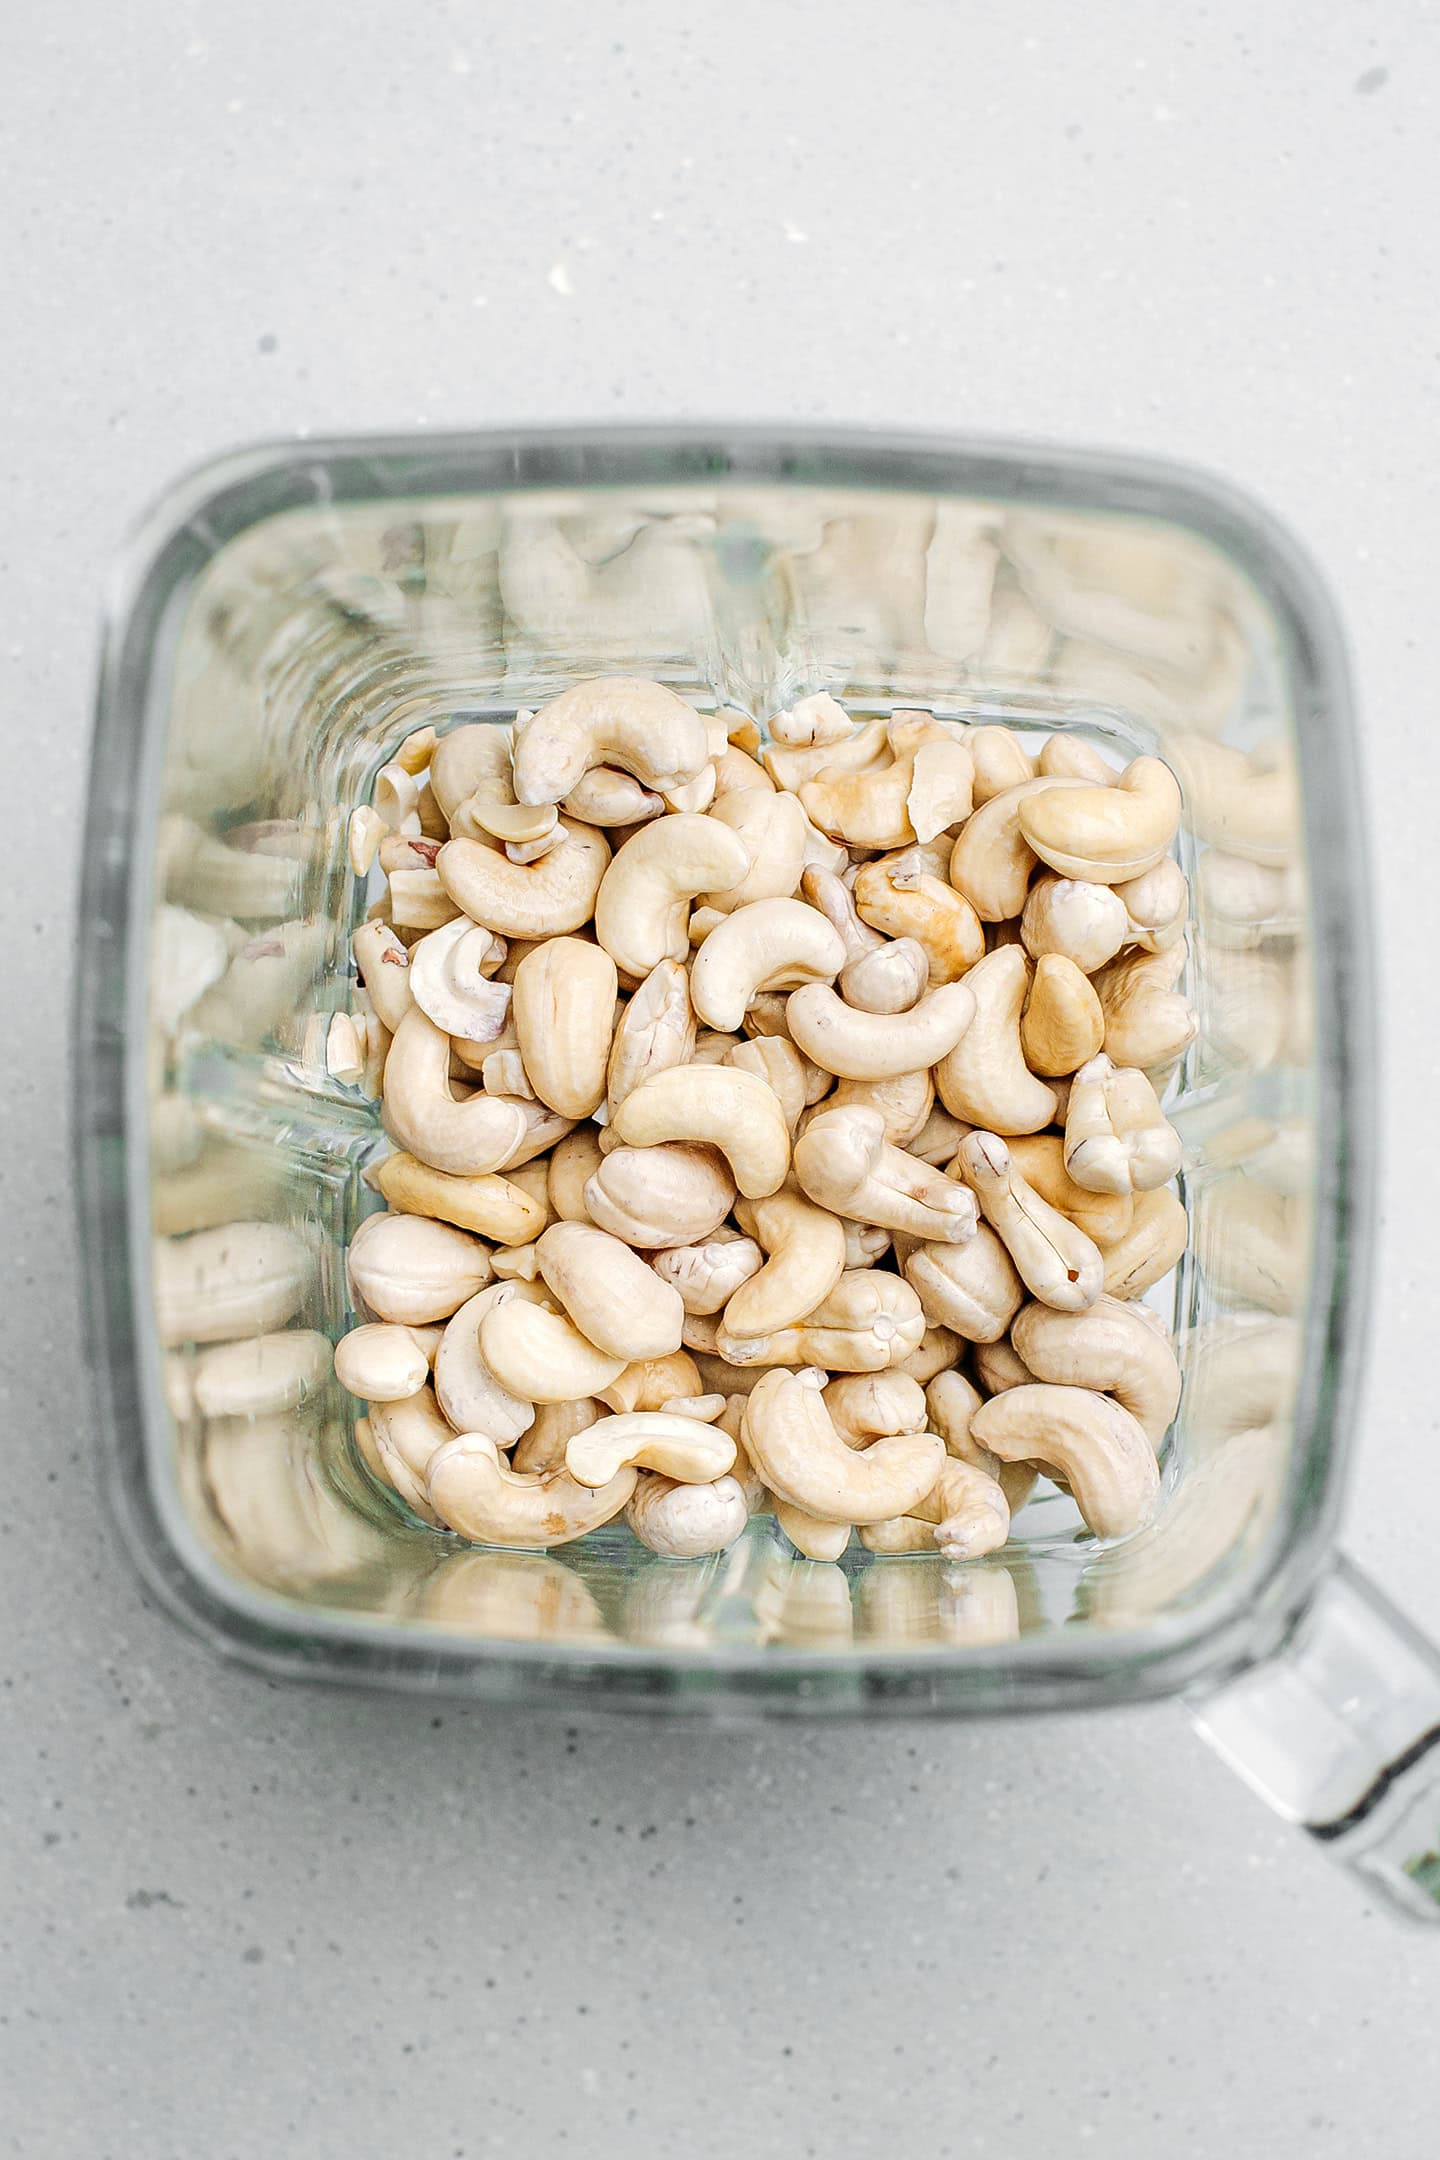
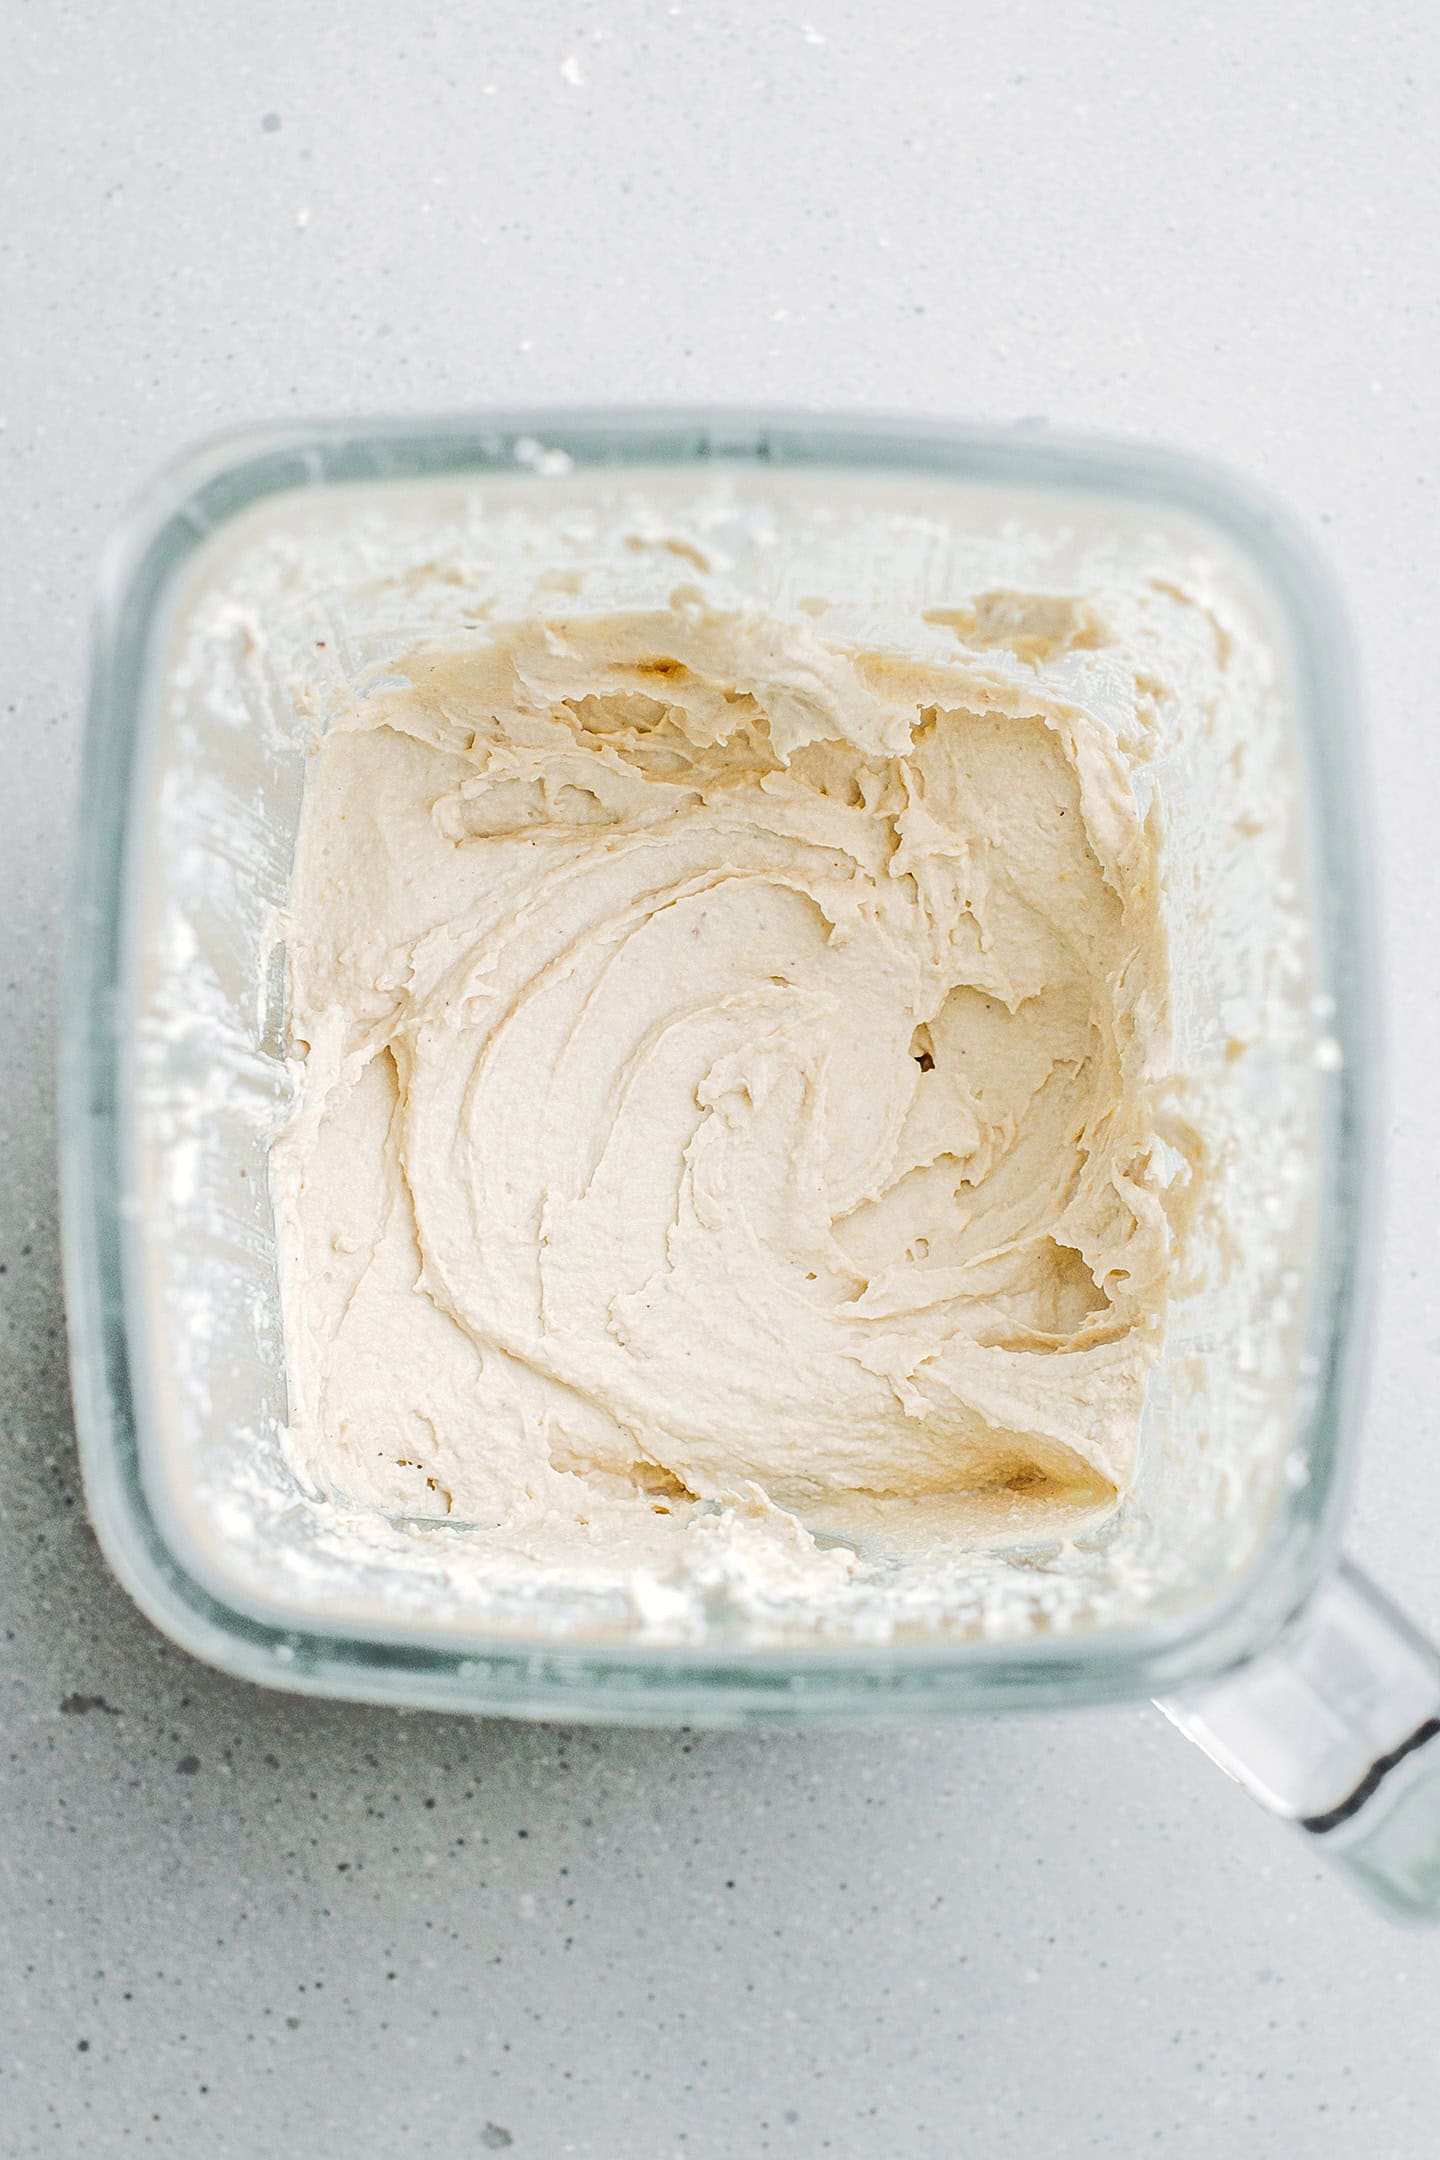
3. Let it ferment
- Transfer to a bowl. Once your cashew cream is smooth, transfer it to a clean glass bowl and cover it with plastic wrap touching the top of the cream (this will prevent it from forming a skin on top.)
- Let it ferment. Allow the cashew cream to ferment for about 24 hours at room temperature in a dark place. After one day, taste the cream to see if it’s sharp enough for your taste. If it’s tangy enough, transfer it to the refrigerator for another day. This step will help firm up the cream, making it easier to handle later. Note: it may take up to 48 hours for the cashew cream to culture, depending on the temperature of your home.
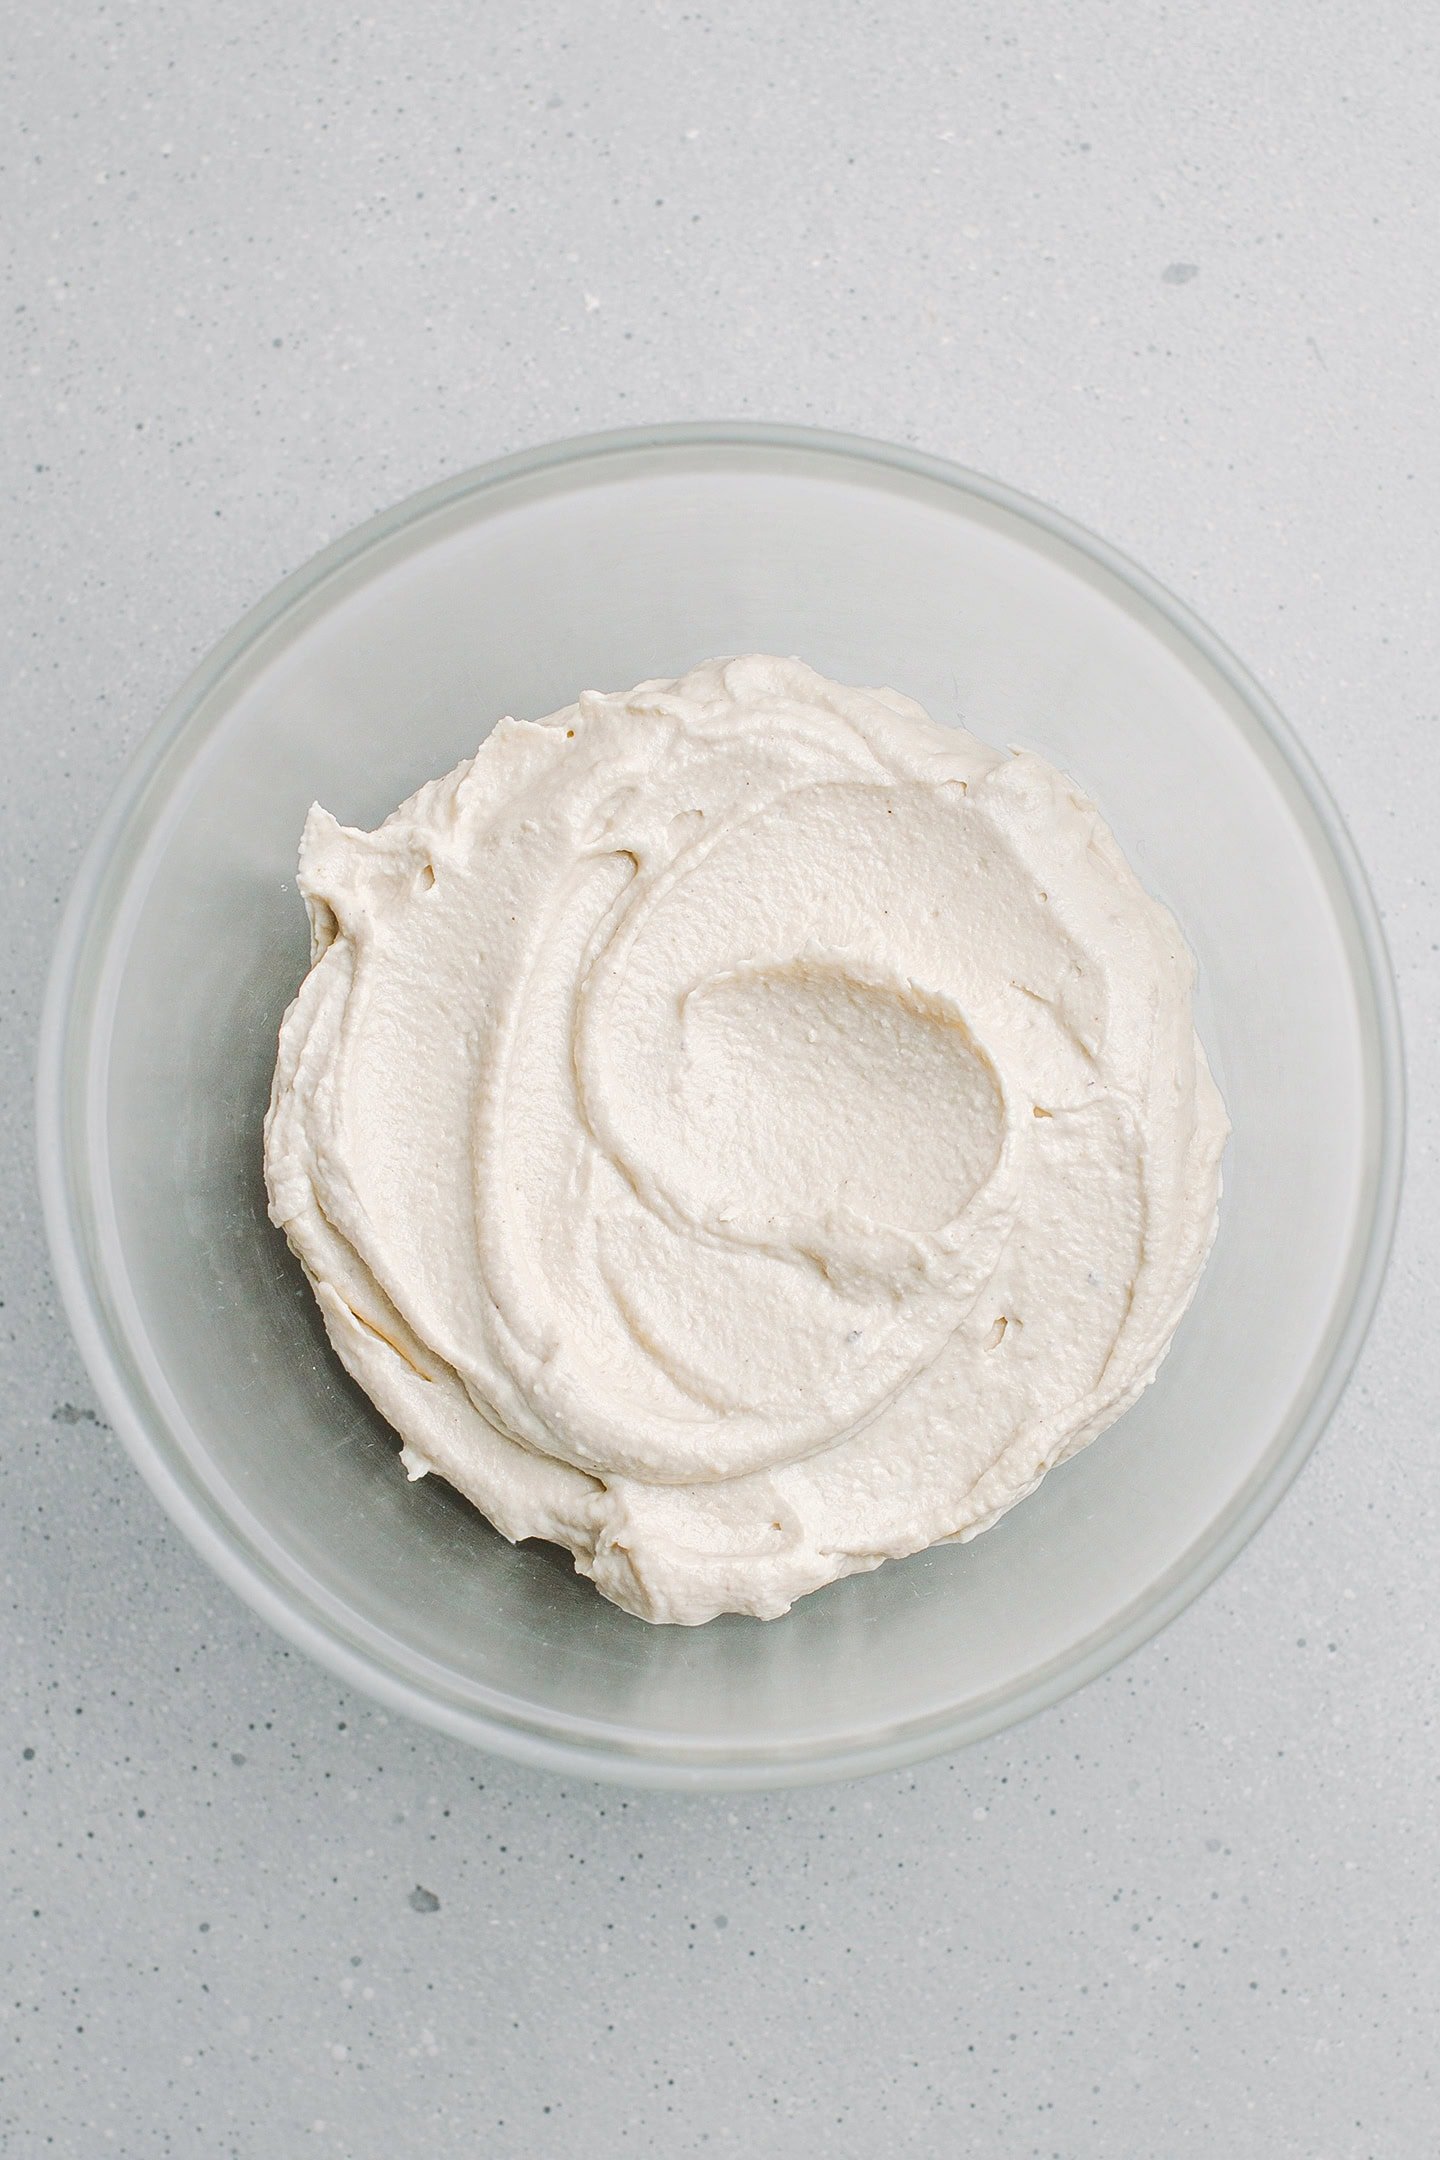
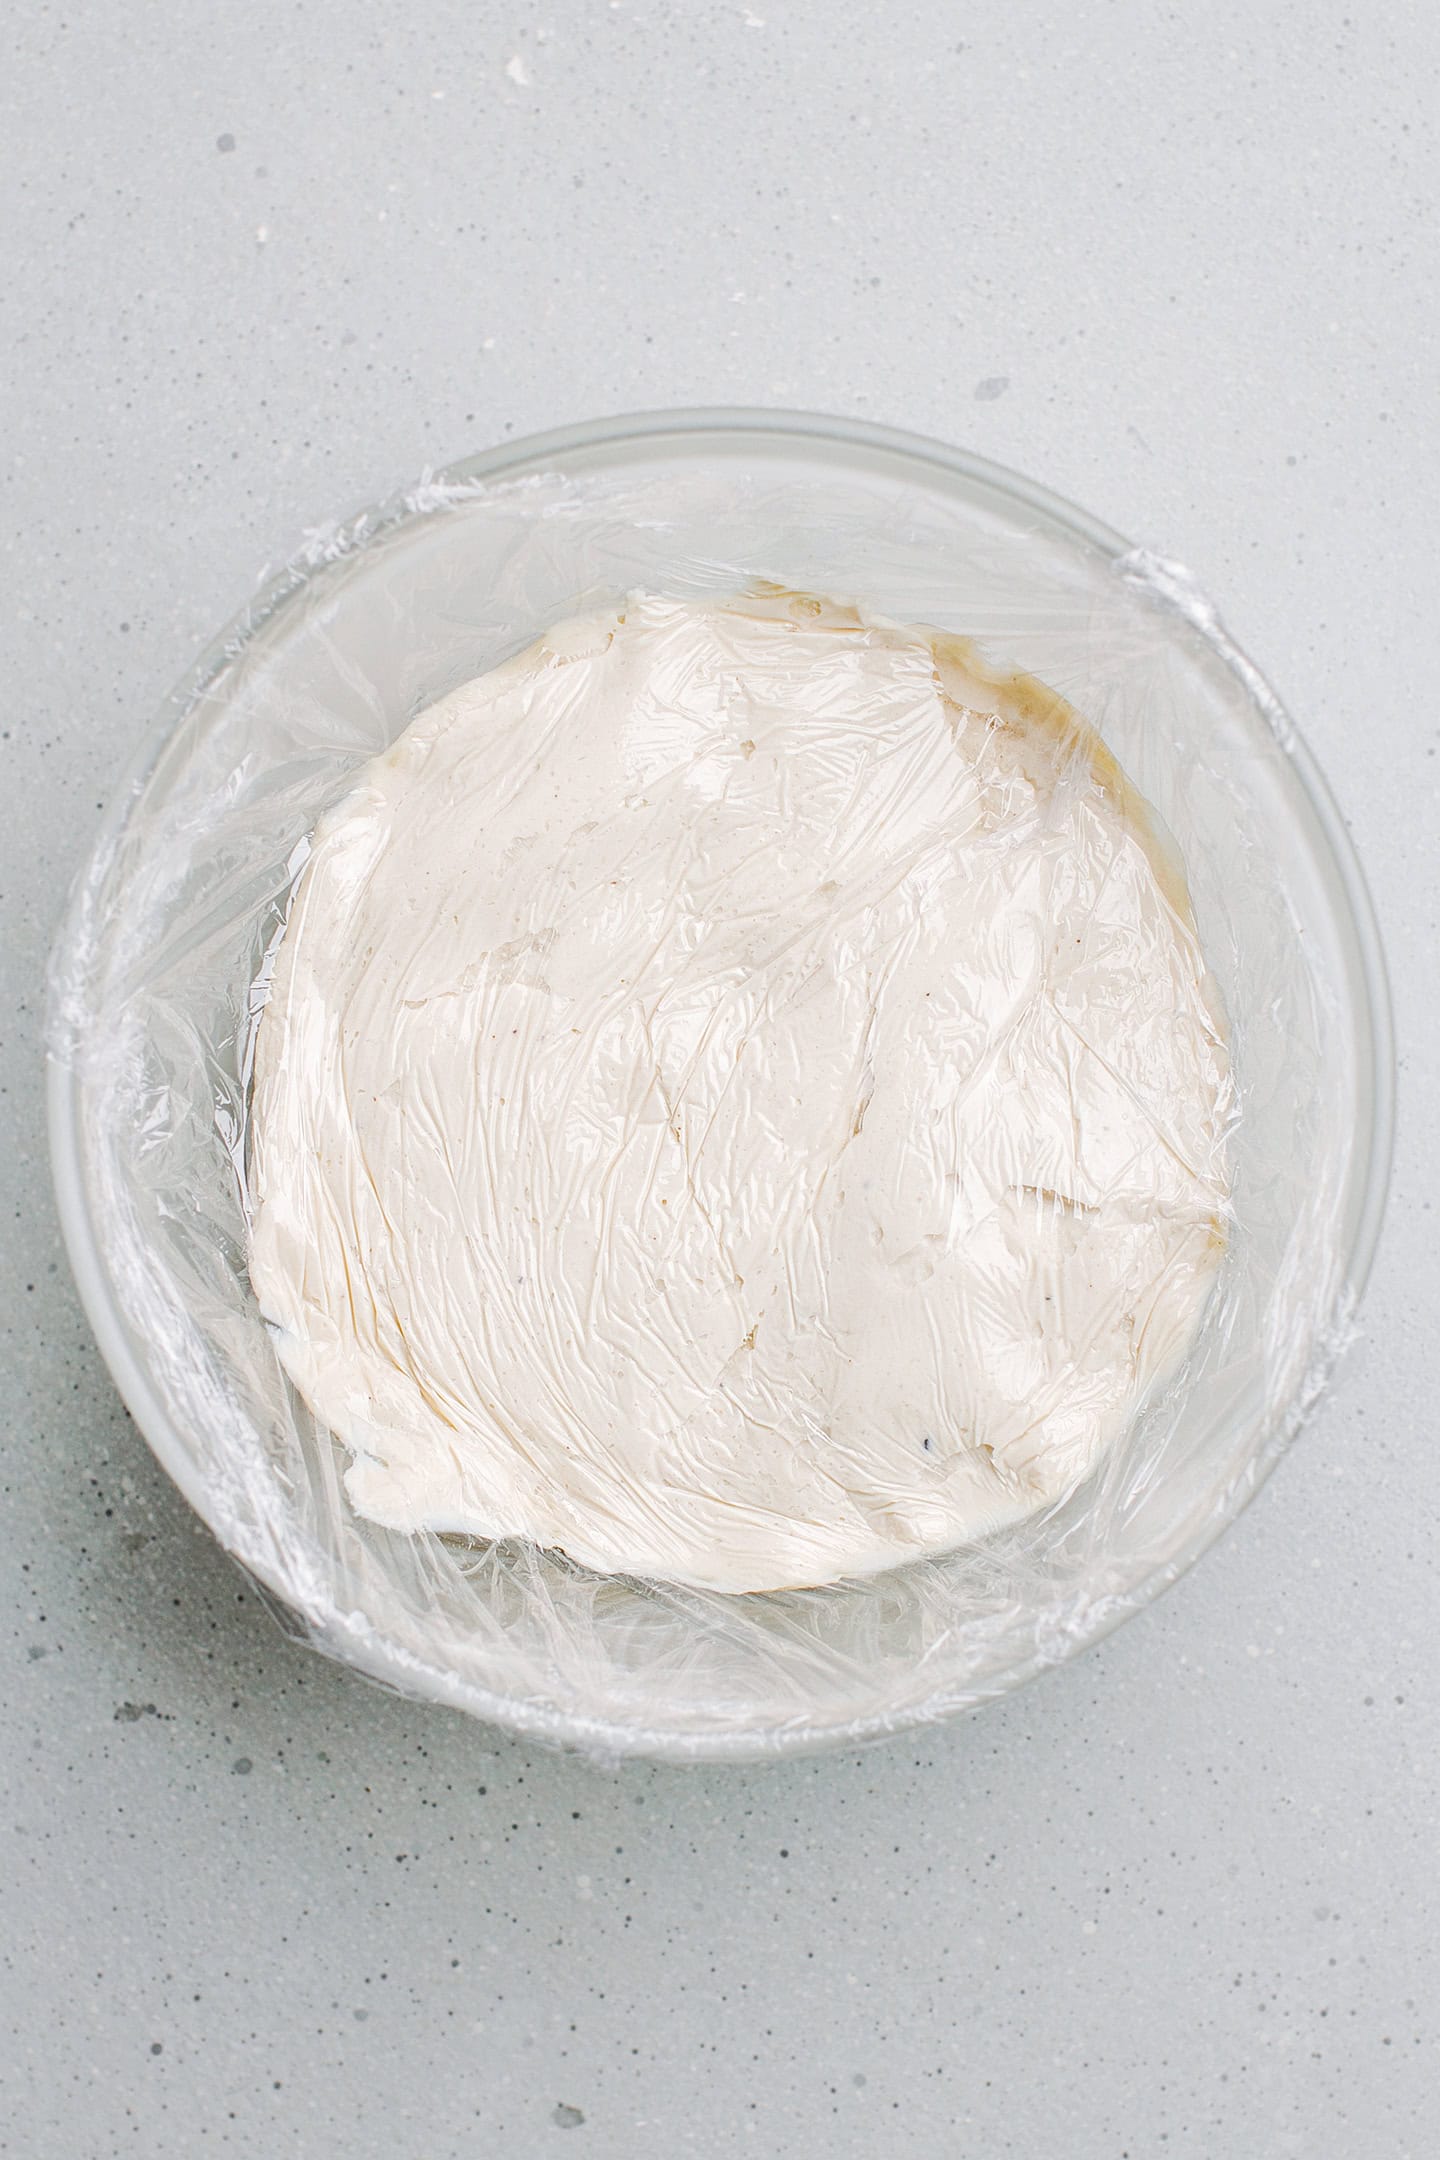
Add the psyllium husk (optional)
If you plan to add psyllium husk: Dilute 1 and 1/2 teaspoon of psyllium husk powder in 2 tablespoons of water. Next, transfer the psyllium gel to a food processor and add the fermented cashew cream. Process for 10-15 seconds or until fully combined.
4. Coat with breadcrumbs
- Set up your workstation. Place the breadcrumbs inside a deep plate and line a baking sheet with parchment paper. Remove the cashew cream cheese from the refrigerator.
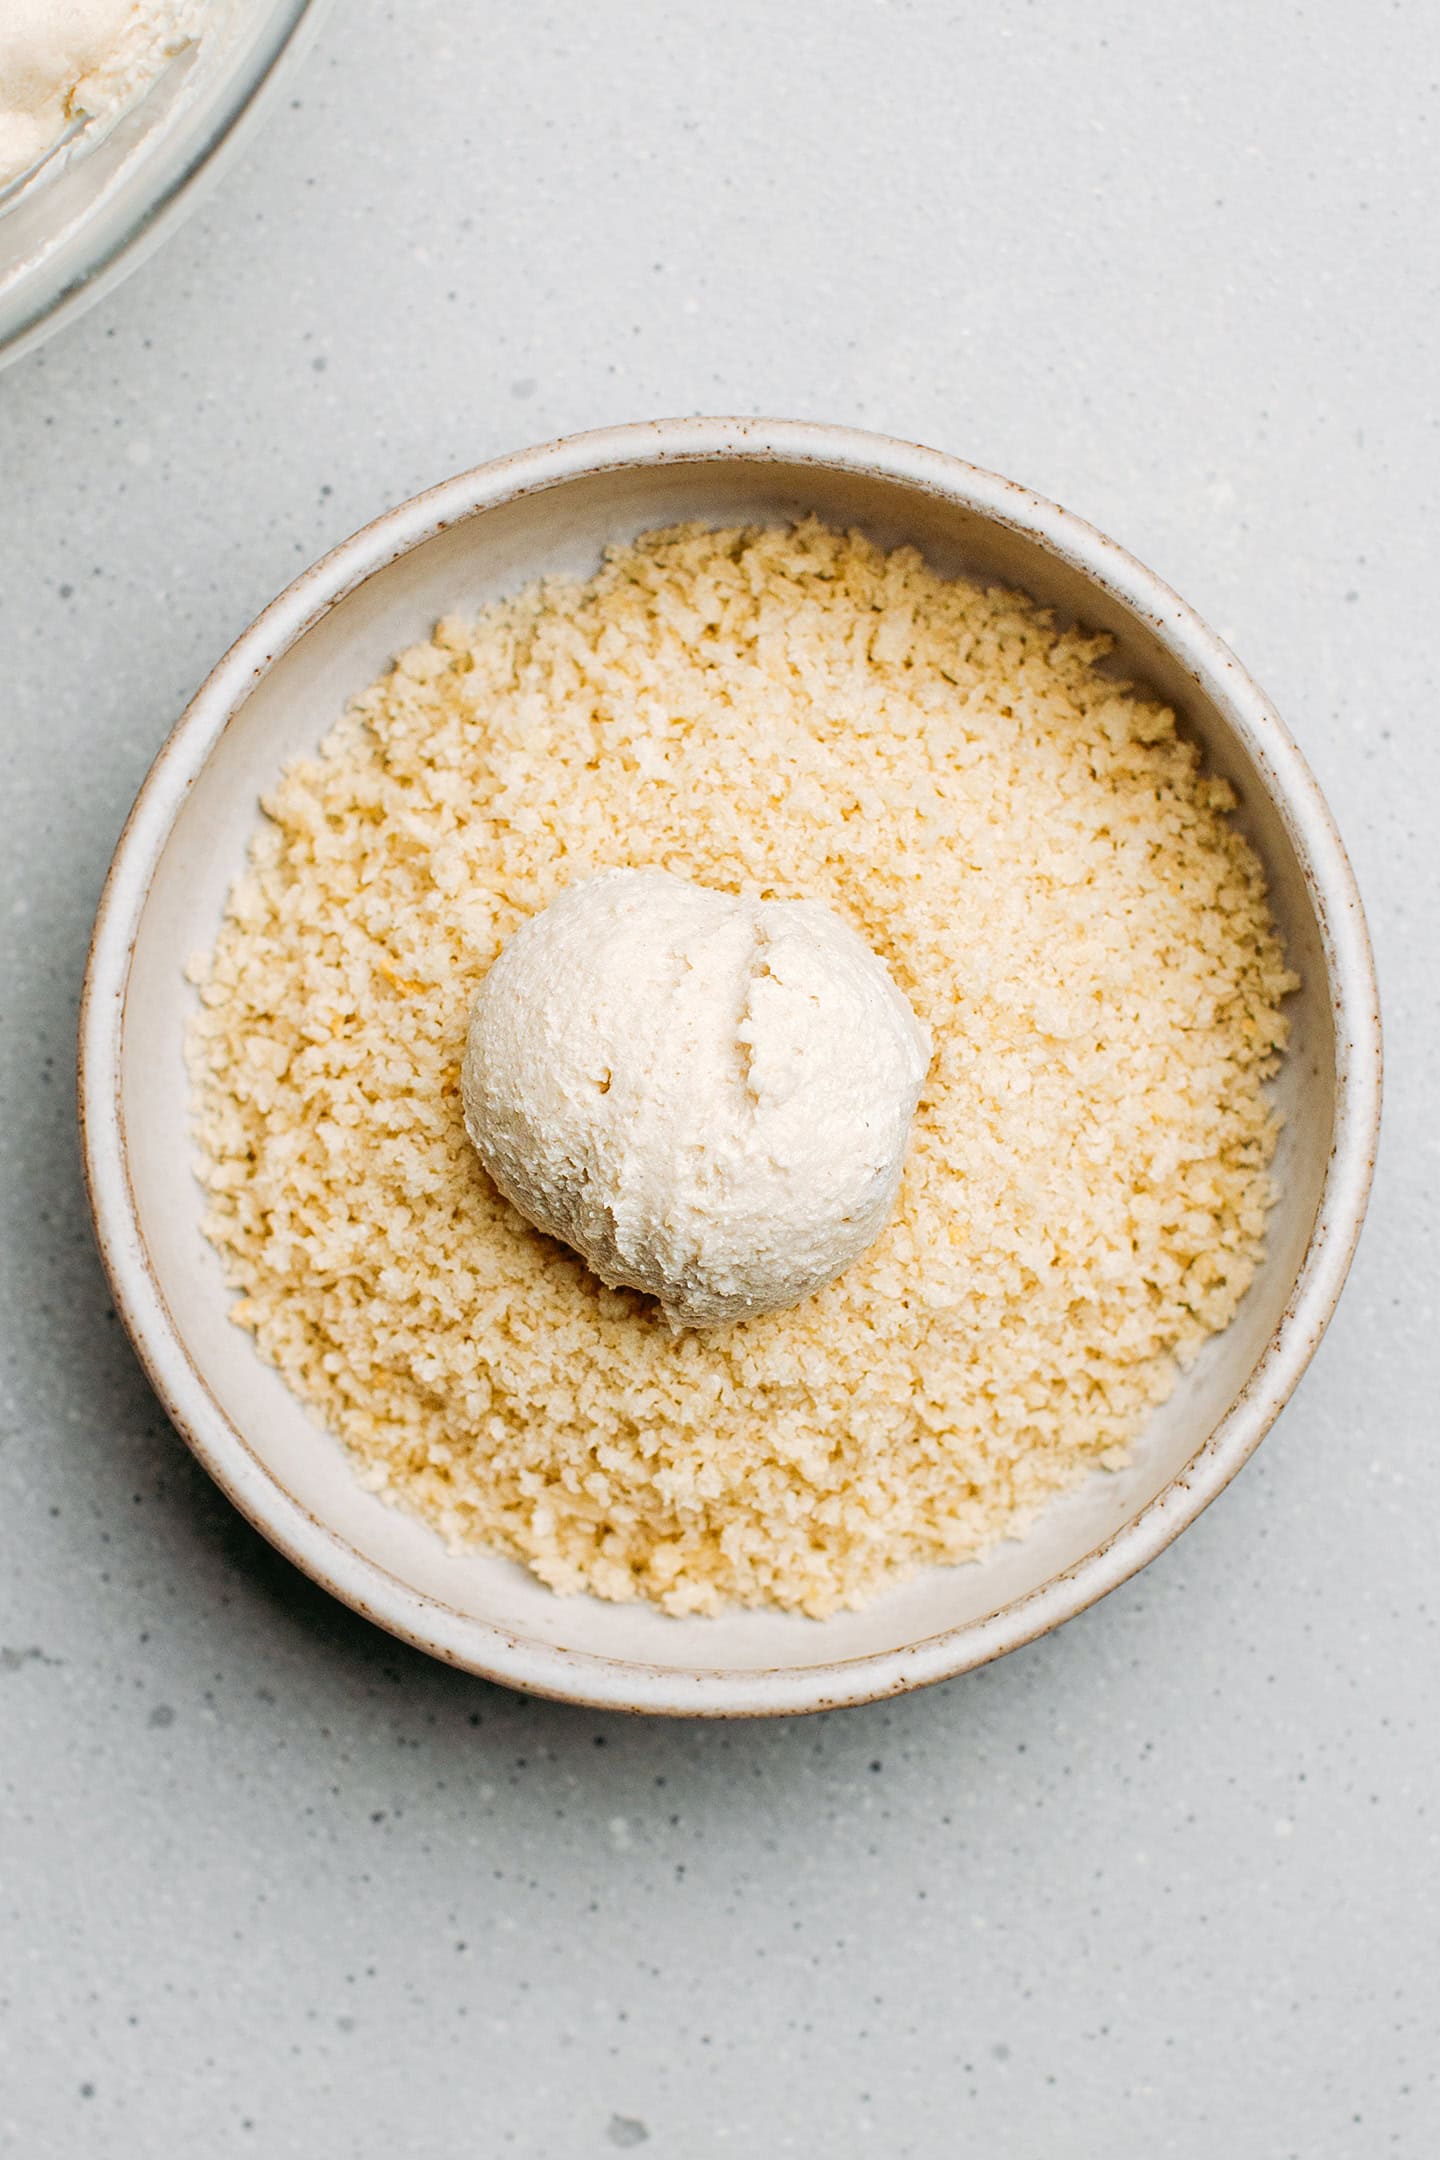
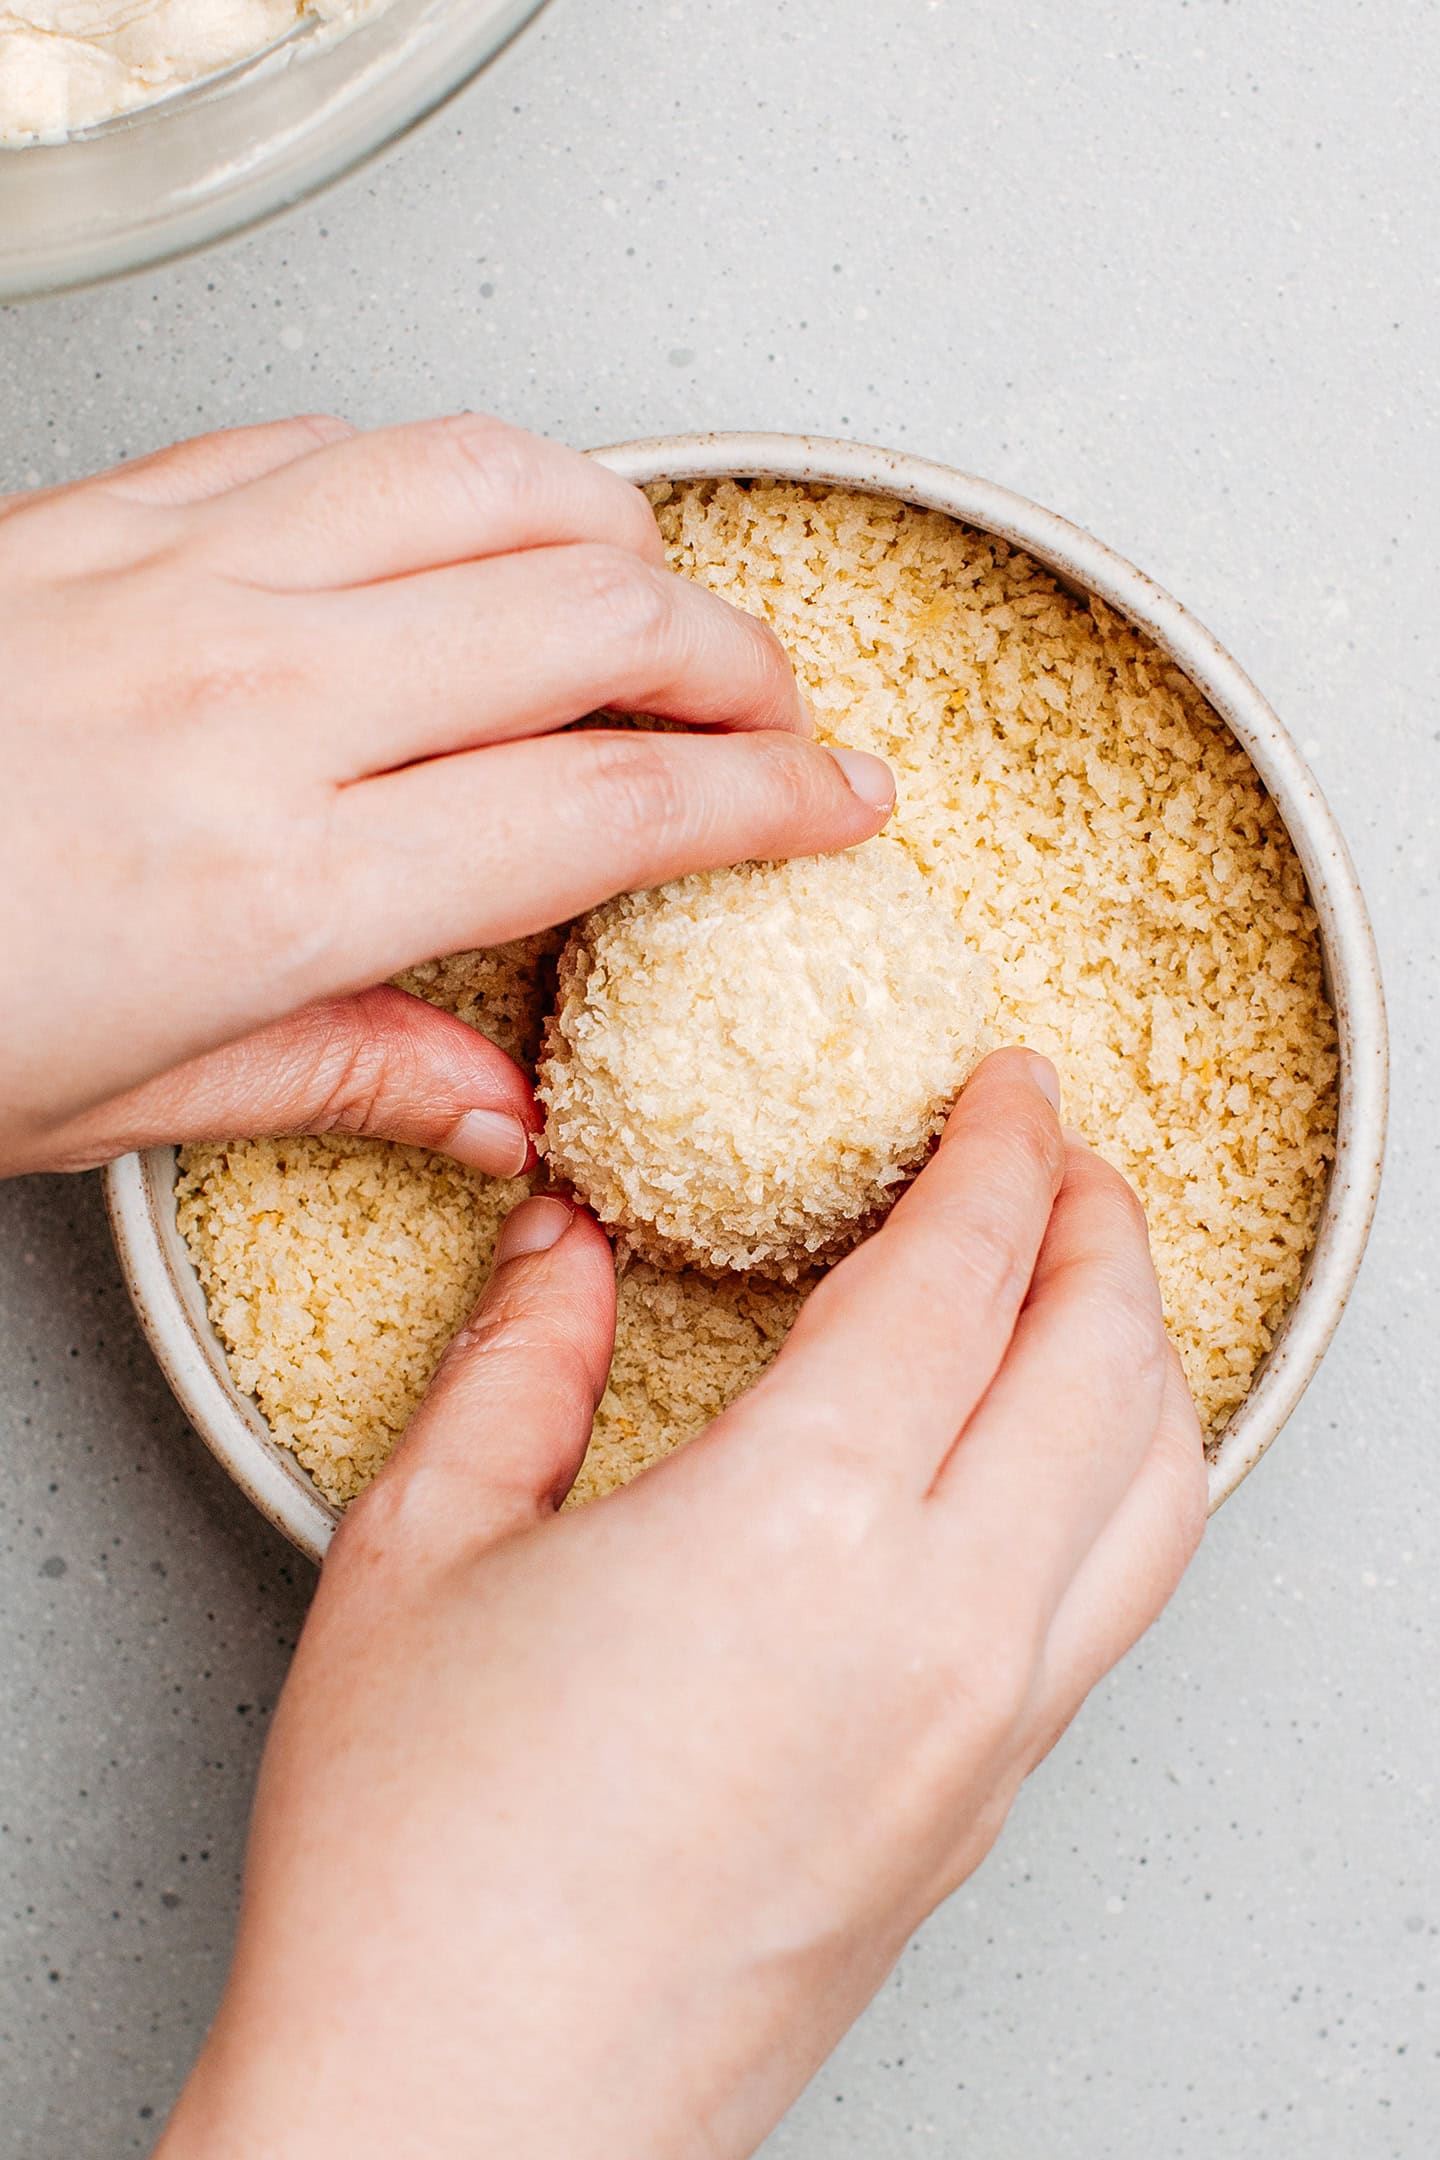
- Coat with breadcrumbs. Scoop out about 1/4 cup of the cashew cream cheese and form a ball using slightly wet hands (to prevent the cream from sticking to your hands). Transfer the ball to the plate containing the breadcrumbs and roll it to coat it completely. Transfer the cheese ball to the prepared baking sheet.
- Repeat. Repeat with the remaining cashew cream cheese.
Tip: If the cashew cream cheese becomes too soft to handle, put it back in the fridge or freezer for a few minutes.
5. Deep-fry
- Heat the oil. Heat about 3 inches of oil to 350°F (175°C) in a deep pot. Set a large plate topped with some kitchen paper towels on the side.
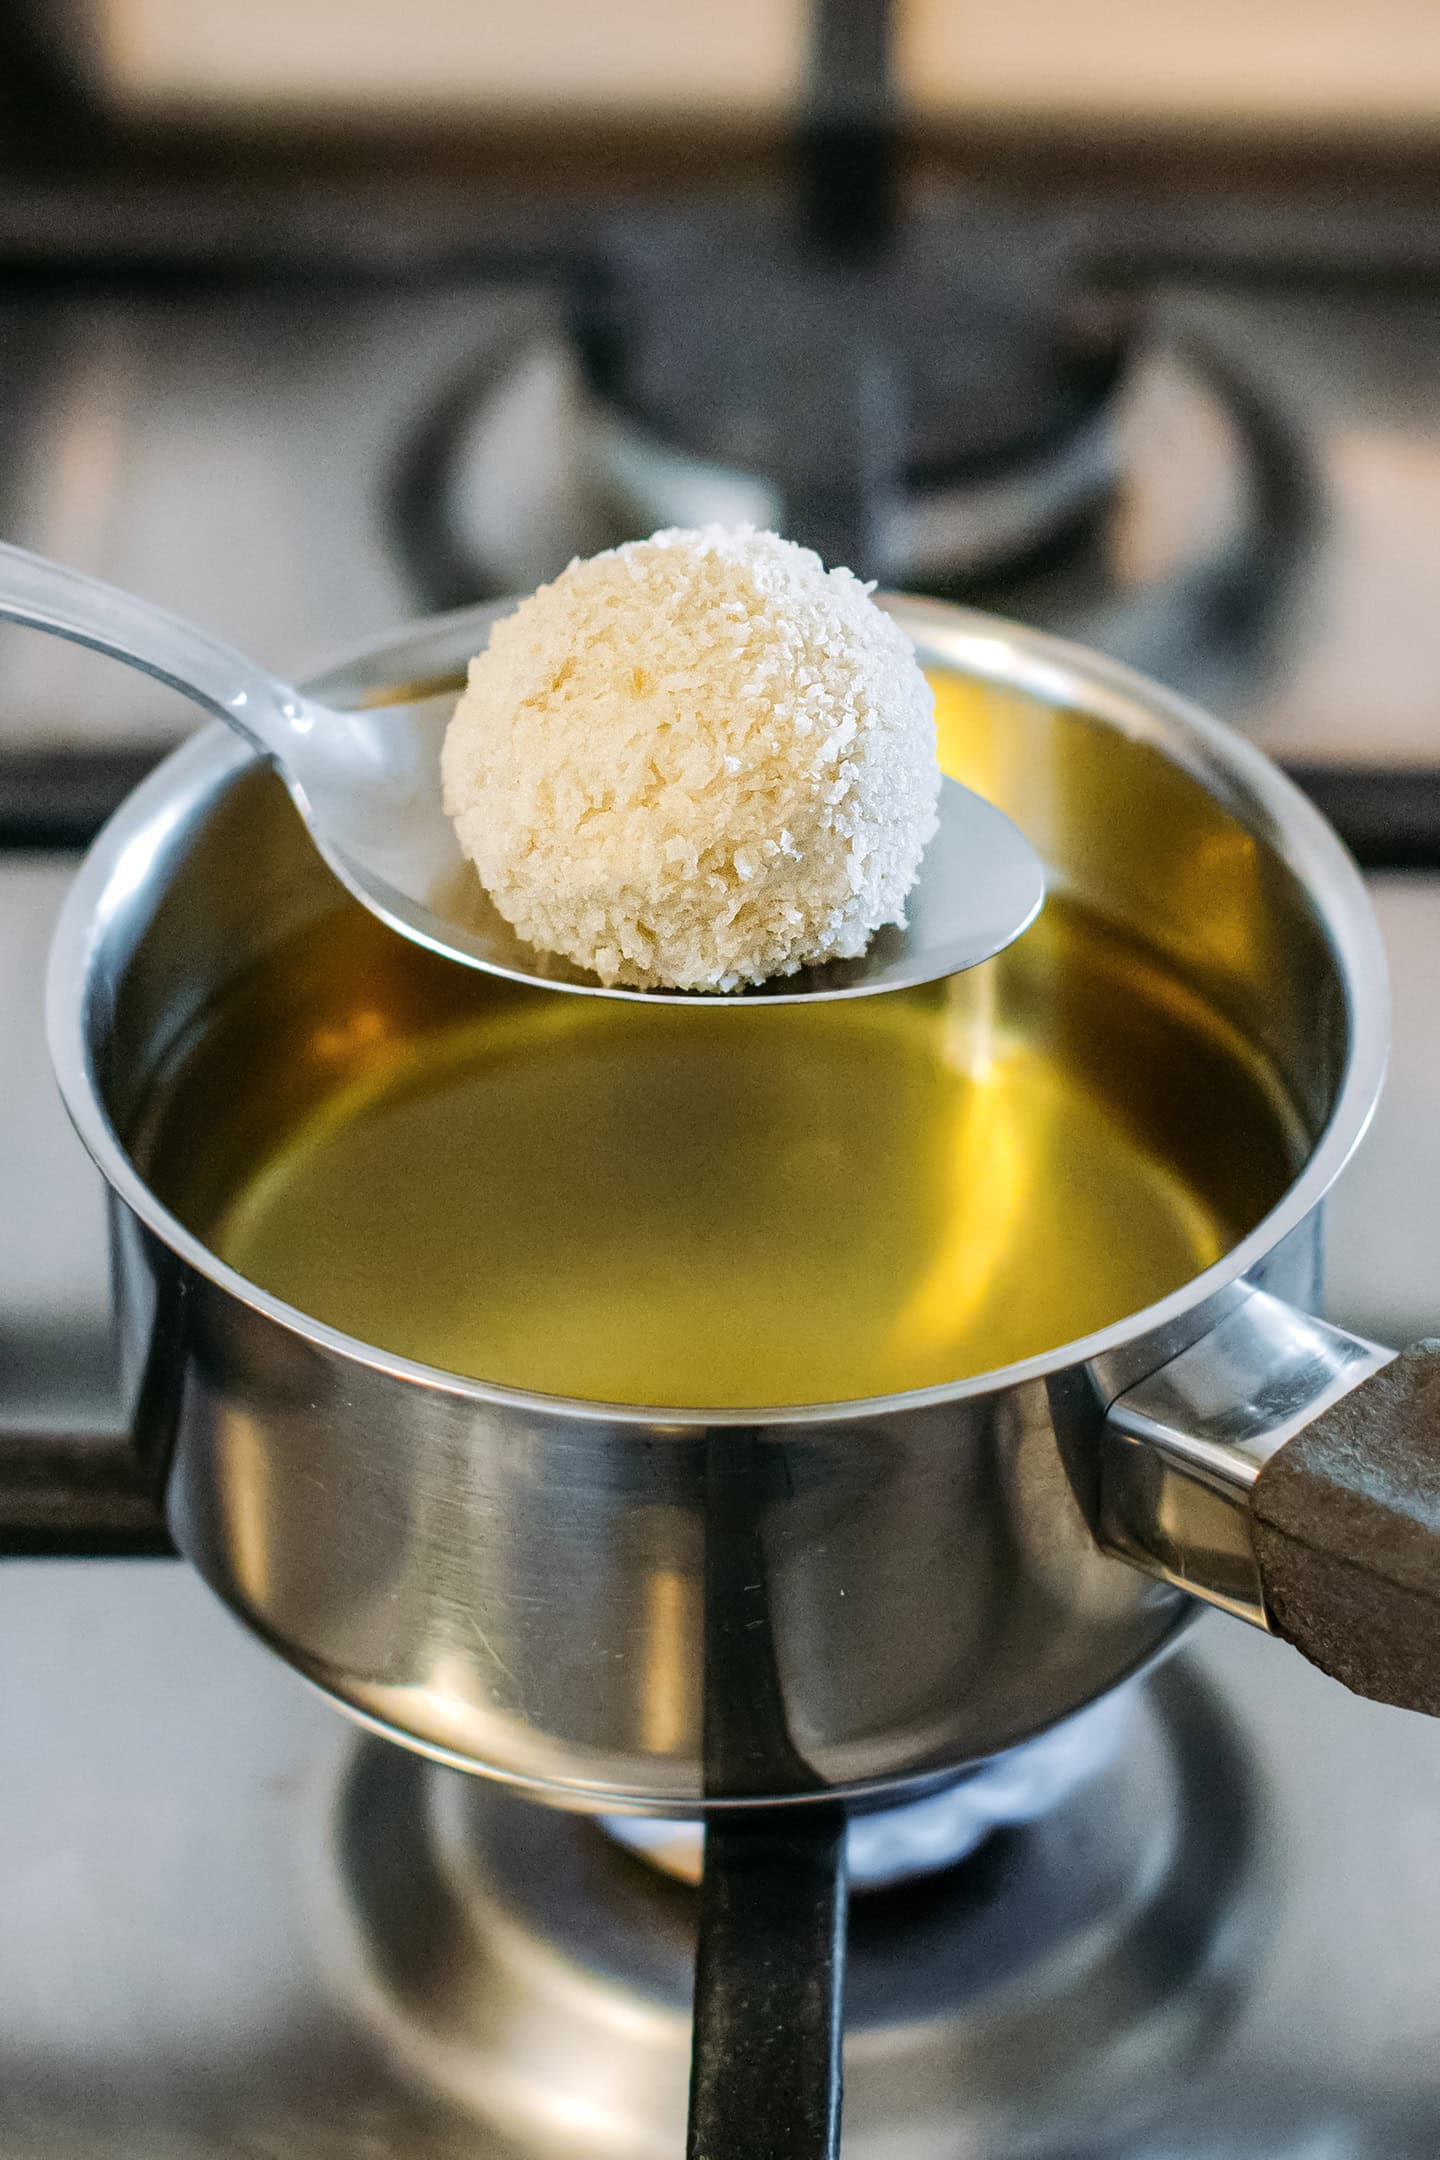
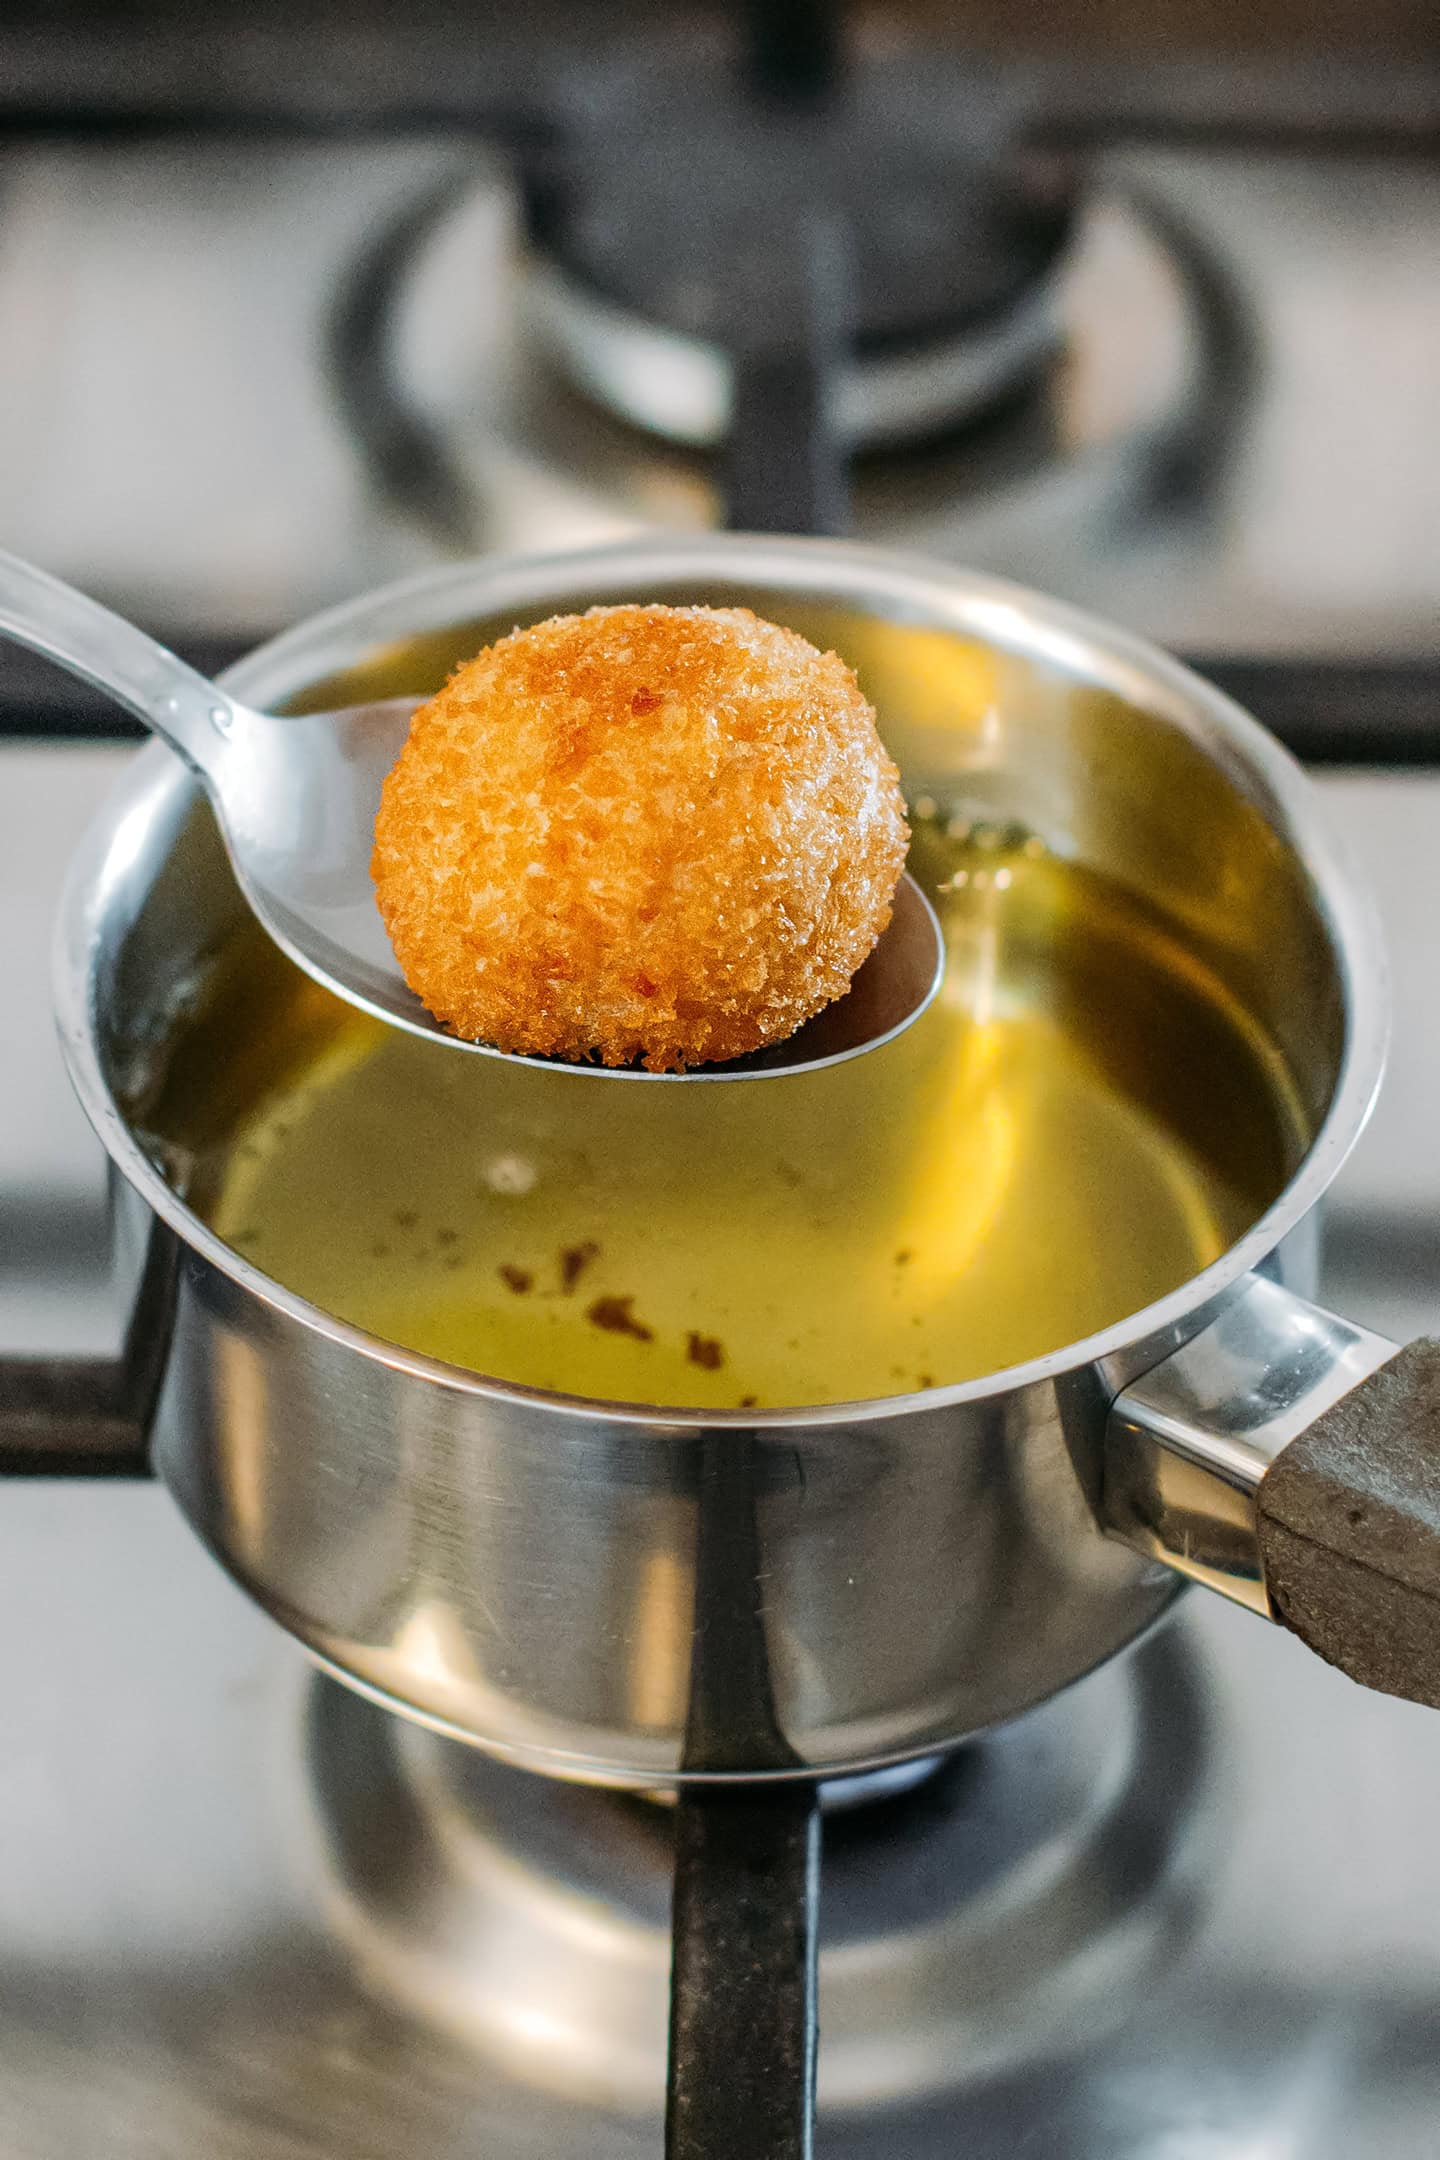
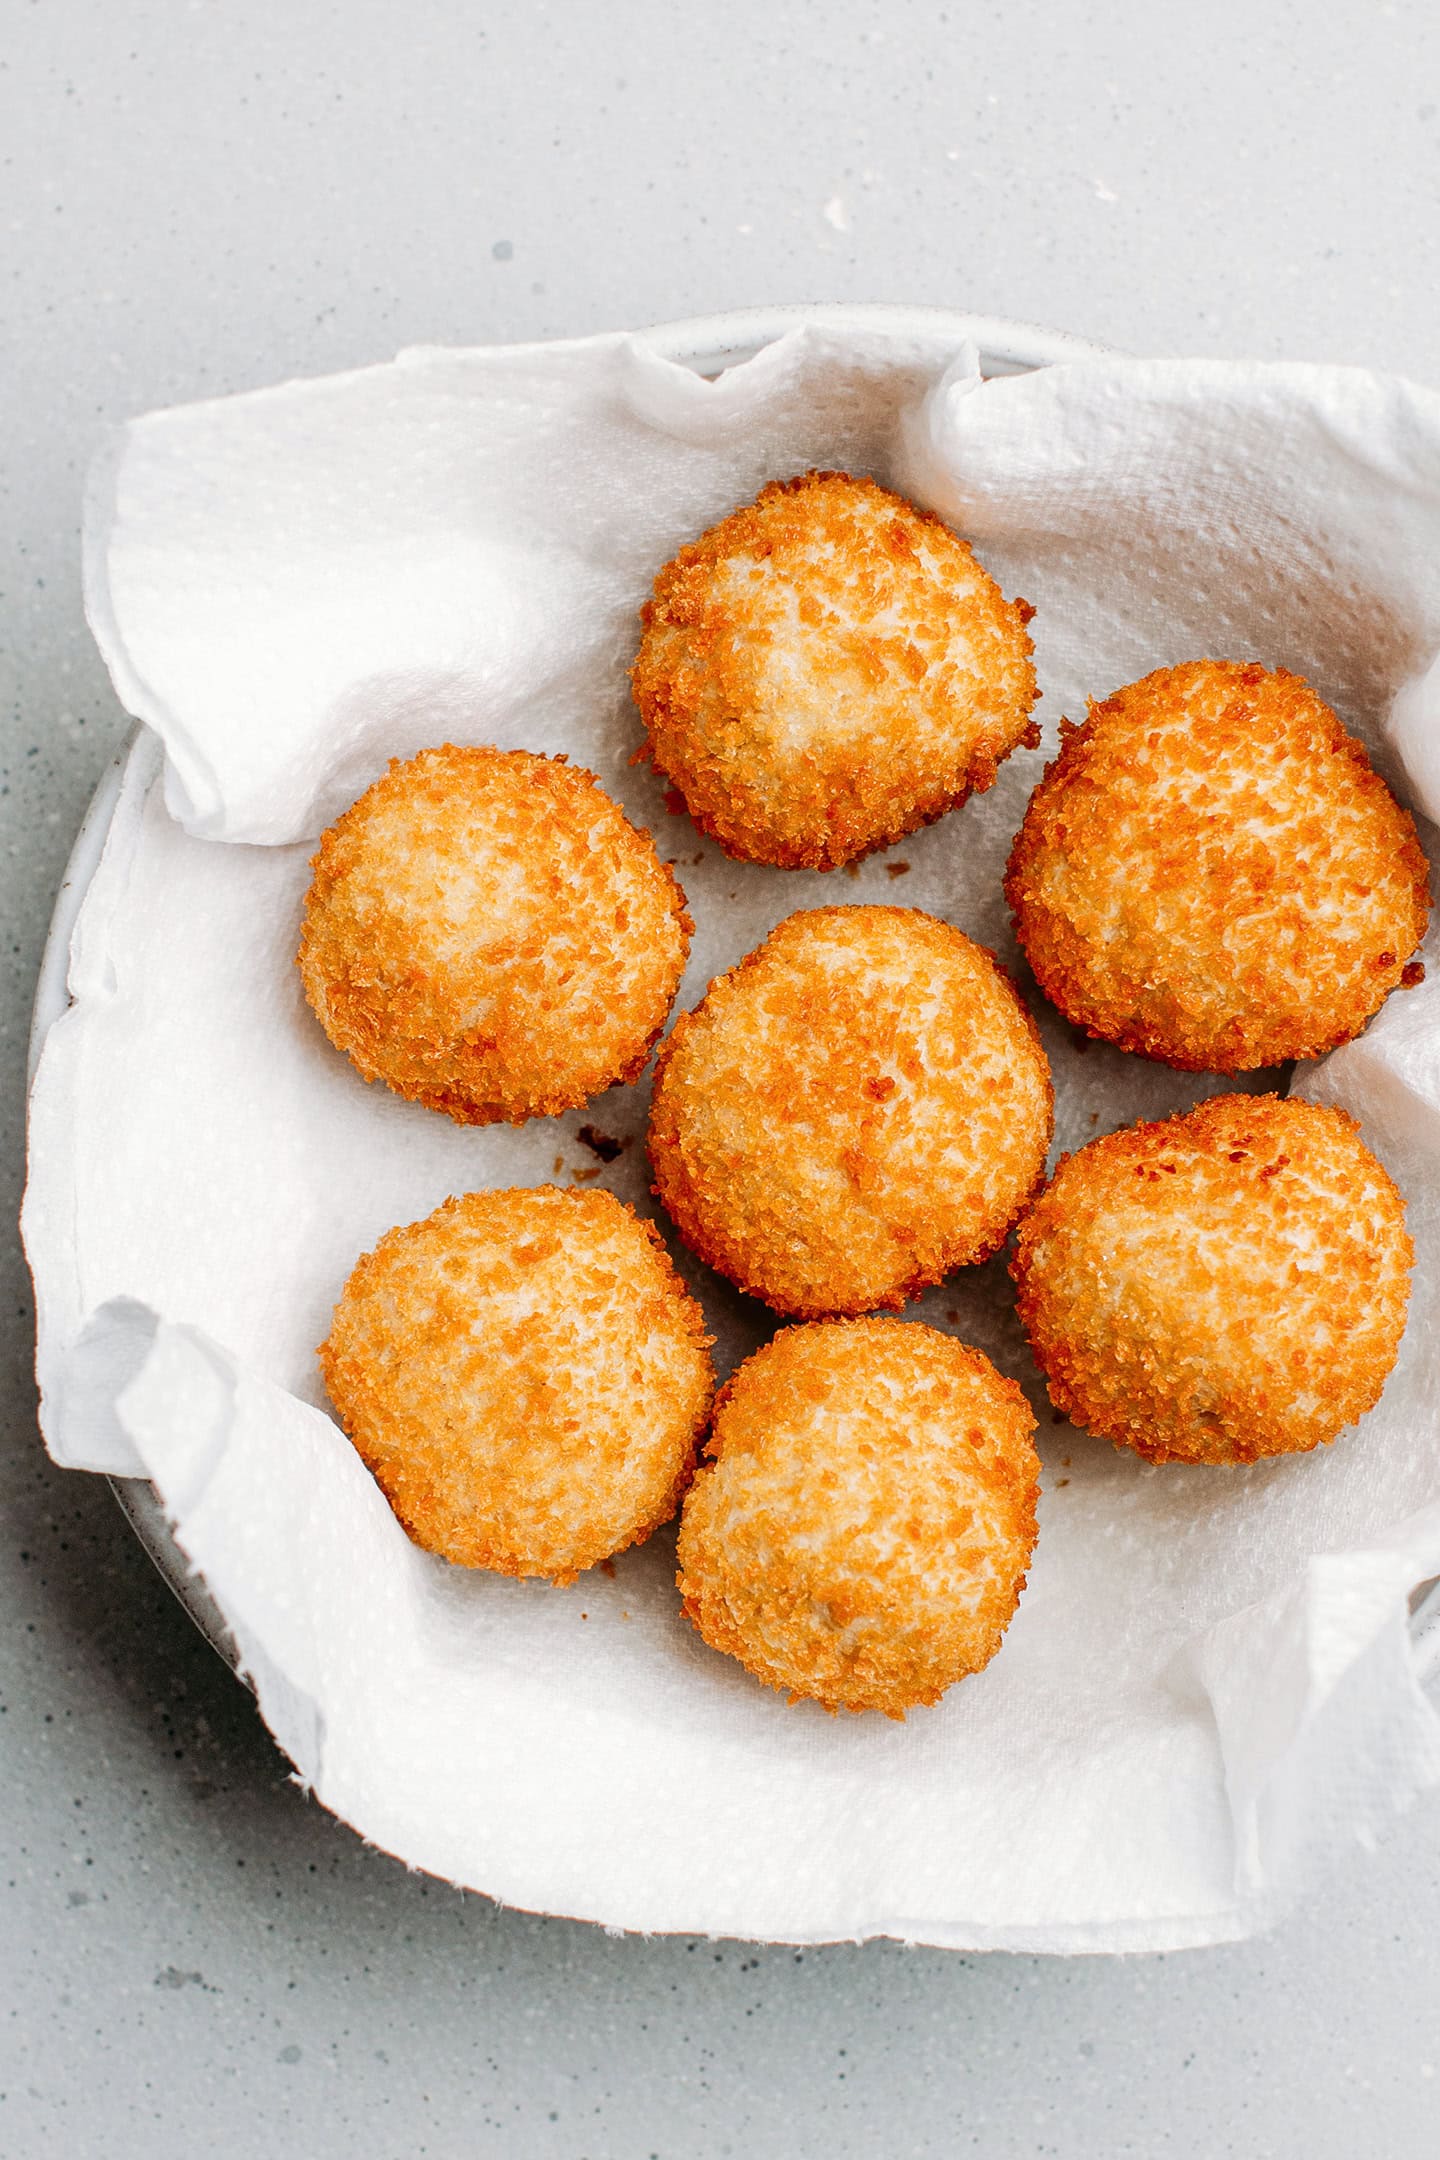
- Deep-fry. Using a spoon, place a few cheese balls into the oil. Work in small batches (3-4 at a time). Fry the cheese balls for about 1 minute or until golden brown. Use a slotted spoon to remove the balls from the oil and transfer them to a plate lined with kitchen paper towels to remove the excess oil. Repeat with the remaining cheese balls.
- Let cool. Allow the cheese balls to cool for a few minutes before serving.
📔 Tips
Do not add too much water.
When blending the cashews, refrain from adding extra water. Remember that the thicker the mixture, the easier it will be to form balls later.
Fry them just before serving.
I advise you to fry the cheese balls just before serving – they will be crispier, and the cheese inside will be very soft. Actually, they taste better warm!
Make cleaning easier.
If you are having trouble cleaning your blender after making cashew cream, I have a super simple tip for you: Add 2-3 cups of water and a squeeze of dishwashing liquid into your blender and blend for 15-20 seconds. It will do 90% of the cleaning job!
🌿 Variations
You can easily customize these cheese balls to your liking by incorporating extra flavorings (you should add them after culturing the cream cheese). Here are some ideas:
- Nutritional yeast: Make them more cheesy by adding 1-2 tablespoons of nutritional yeast.
- Herbs: Give them herbaceous notes by incorporating fresh or dried herbs such as rosemary, thyme, oregano, or fresh basil.
- Dried fruits: You can even stir in a handful of raisins or cranberries for sweet and salty cheese balls!
A stronger vegan “goat” cheese?
If you are up for a little experiment, adding extra cultures can make these balls taste even closer to real goat cheese! How to do it? It’s quite simple. In addition to the probiotics, you will need to add a pinch (about 1/16 teaspoon) of a mold called Geotrichum candidum. You can buy this mold online or in cheese-making specialty stores.
Next, allow the cashew cream to ferment for one day at room temperature before shaping it into small wheels or balls. Place them in an airtight container and age those for 2-3 days in a refrigerator set at its highest temperature or in a wine cave. The ideal temperature is between 47-54°F (8-12°C). After 2-3 days, your cheeses should have a thin coating of white mold and a different flavor. You can then coat them with breadcrumbs and fry them!
🥗 What to Serve It With
Serve these cheese balls as an appetizer or with a salad, some fresh cherry tomatoes, and a balsamic vinegar vinaigrette for a super decadent and hearty entrée!
❄️ Storing and Reheating
- To store: These fried cheese balls can be stored in the refrigerator for up to 4 days. Remember that since they contain cultures, their flavor will get sharper over time.
- To reheat: You can reheat them in a 350°F (175°C) preheated oven or air fryer for about 10 minutes.
💬 FAQ
I have tried culturing the cashew cream with yogurt but didn’t get good results. Yogurt cultures generally require a higher temperature to activate.
You can omit the probiotics, but your cream cheese will lack tanginess.
The cashew cream can be stored in the refrigerator for up to 1 week.
If you are talking about aged goat cheese, then no. However, if you are talking about the fresh goat cheeses that are used to make “chèvre chaud,” then they taste very similar!


Save this recipe!
Enter your email below and I’ll send it to your inbox!
Plus, you will receive new recipes every week!
Vegan Fried Goat Cheese Balls
Ingredients
Goat Cheese
- 2 cups (300 g) raw cashews
- 4 capsules vegan probiotics Acidophilus
- 1/2 tsp salt
- 1/4 cup (60 ml) water
- 1 and 1/2 tsp psyllium husk powder optional
Fried Balls
- 1 cup breadcrumbs
- neutral oil for frying
Instructions
- Soak overnight. Add the cashews to a large bowl and cover with cold water. Let the cashews soak overnight or for at least 8 hours.
Make the cream cheese
- Drain. Rinse the soaked cashews and drain them well using a colander.
- Blend. Transfer the soaked cashews to a blender or food processor and add 1/4 cup of water. Blend on high speed, scraping down the sides from time to time until it forms a very thick and smooth cream. This step might take up to 3 minutes.
- Add the salt and cultures. Open the probiotic capsules and add the powder to the blender. Add the salt and process for another 15-20 seconds.
Let it ferment
- Transfer to a bowl. Once your cashew cream is smooth, transfer it to a clean glass bowl and cover it with plastic wrap touching the top of the cream (this will prevent it from forming a skin on top.)
- Let it ferment. Allow the cashew cream to ferment for about 24 hours at room temperature in a dark place. After one day, taste the cream to see if it’s sharp enough for your taste. If it’s tangy enough, transfer it to the refrigerator for another day. This step will help firm up the cream, making it easier to handle later. Note: it may take up to 48 hours for the cashew cream to culture, depending on the temperature of your home.
- Add the psyllium husk (Optional). Dilute 1 and 1/2 teaspoon of psyllium husk powder in 2 tablespoons of water. Next, transfer the psyllium gel to a food processor and add the fermented cashew cream. Process for 10-15 seconds or until fully combined.
Coat with breadcrumbs
- Set up your workstation. Place the breadcrumbs inside a deep plate and line a baking sheet with parchment paper. Remove the cashew cream cheese from the refrigerator.
- Coat with breadcrumbs. Scoop out about 1/4 cup of the cashew cream cheese and form a ball using slightly wet hands (to prevent the cream from sticking to your hands). Transfer the ball to the plate containing the breadcrumbs and roll it to coat it completely. Transfer the cheese ball to the prepared baking sheet.
- Repeat. Repeat with the remaining cashew cream cheese.
Deep-fry
- Heat the oil. Heat about 3 inches of oil to 350°F (175°C) in a deep pot. Set a large plate topped with some kitchen paper towels on the side.
- Deep-fry. Using a spoon, place a few cheese balls into the oil. Work in small batches (3-4 at a time). Fry the cheese balls for about 1 minute or until golden brown. Use a slotted spoon to remove the balls from the oil and transfer them to a plate lined with kitchen paper towels to remove the excess oil. Repeat with the remaining cheese balls.
- Let cool. Allow the cheese balls to cool for a few minutes before serving.
- These fried cheese balls can be stored in the refrigerator for up to 4 days. Remember that since they contain cultures, their flavor will get sharper over time.
Notes
Do not add too much water.
When blending the cashews, refrain from adding extra water. Remember that the thicker the mixture, the easier it will be to form balls later.Fry them just before serving.
I advise you to fry the cheese balls just before serving – they will be crispier, and the cheese inside will be very soft. Actually, they taste better warm!Make cleaning easier.
If you are having trouble cleaning your blender after making cashew cream, I have a super simple tip for you: Add 2-3 cups of water and a squeeze of dishwashing liquid into your blender and blend for 15-20 seconds. It will do 90% of the cleaning job!Nutrition
Note
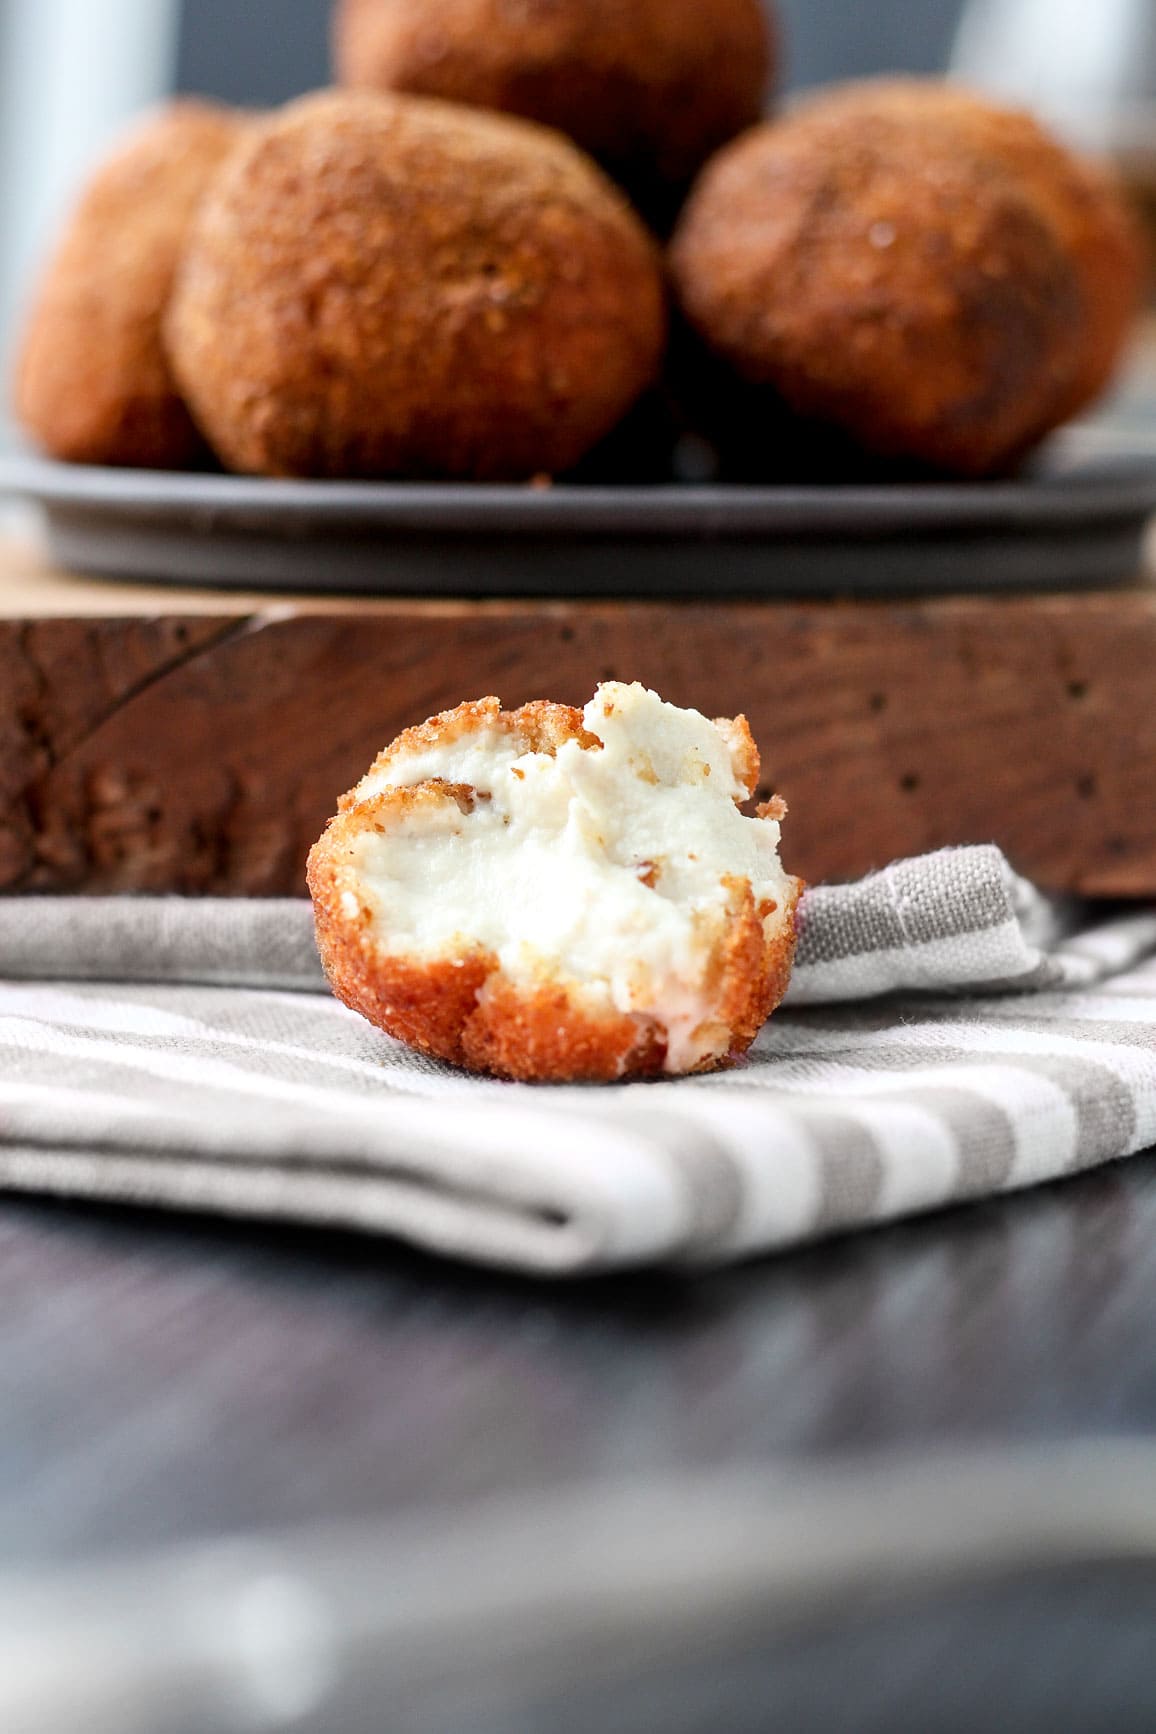
This recipe was first released in July 2016 and updated with new process shots and detailed instructions in October 2024. You can find the original photos below.


About the Author
Thomas Pagot is the founder, photographer, and recipe developer behind Full of Plants. He created the blog in 2016 as a personal cookbook for vegan recipes. Through years of recipe development, Thomas has successfully grown Full of Plants into a trusted resource for plant-based recipes.
Leave a Comment