
This post may contain affiliate links. Please read our disclosure policy.

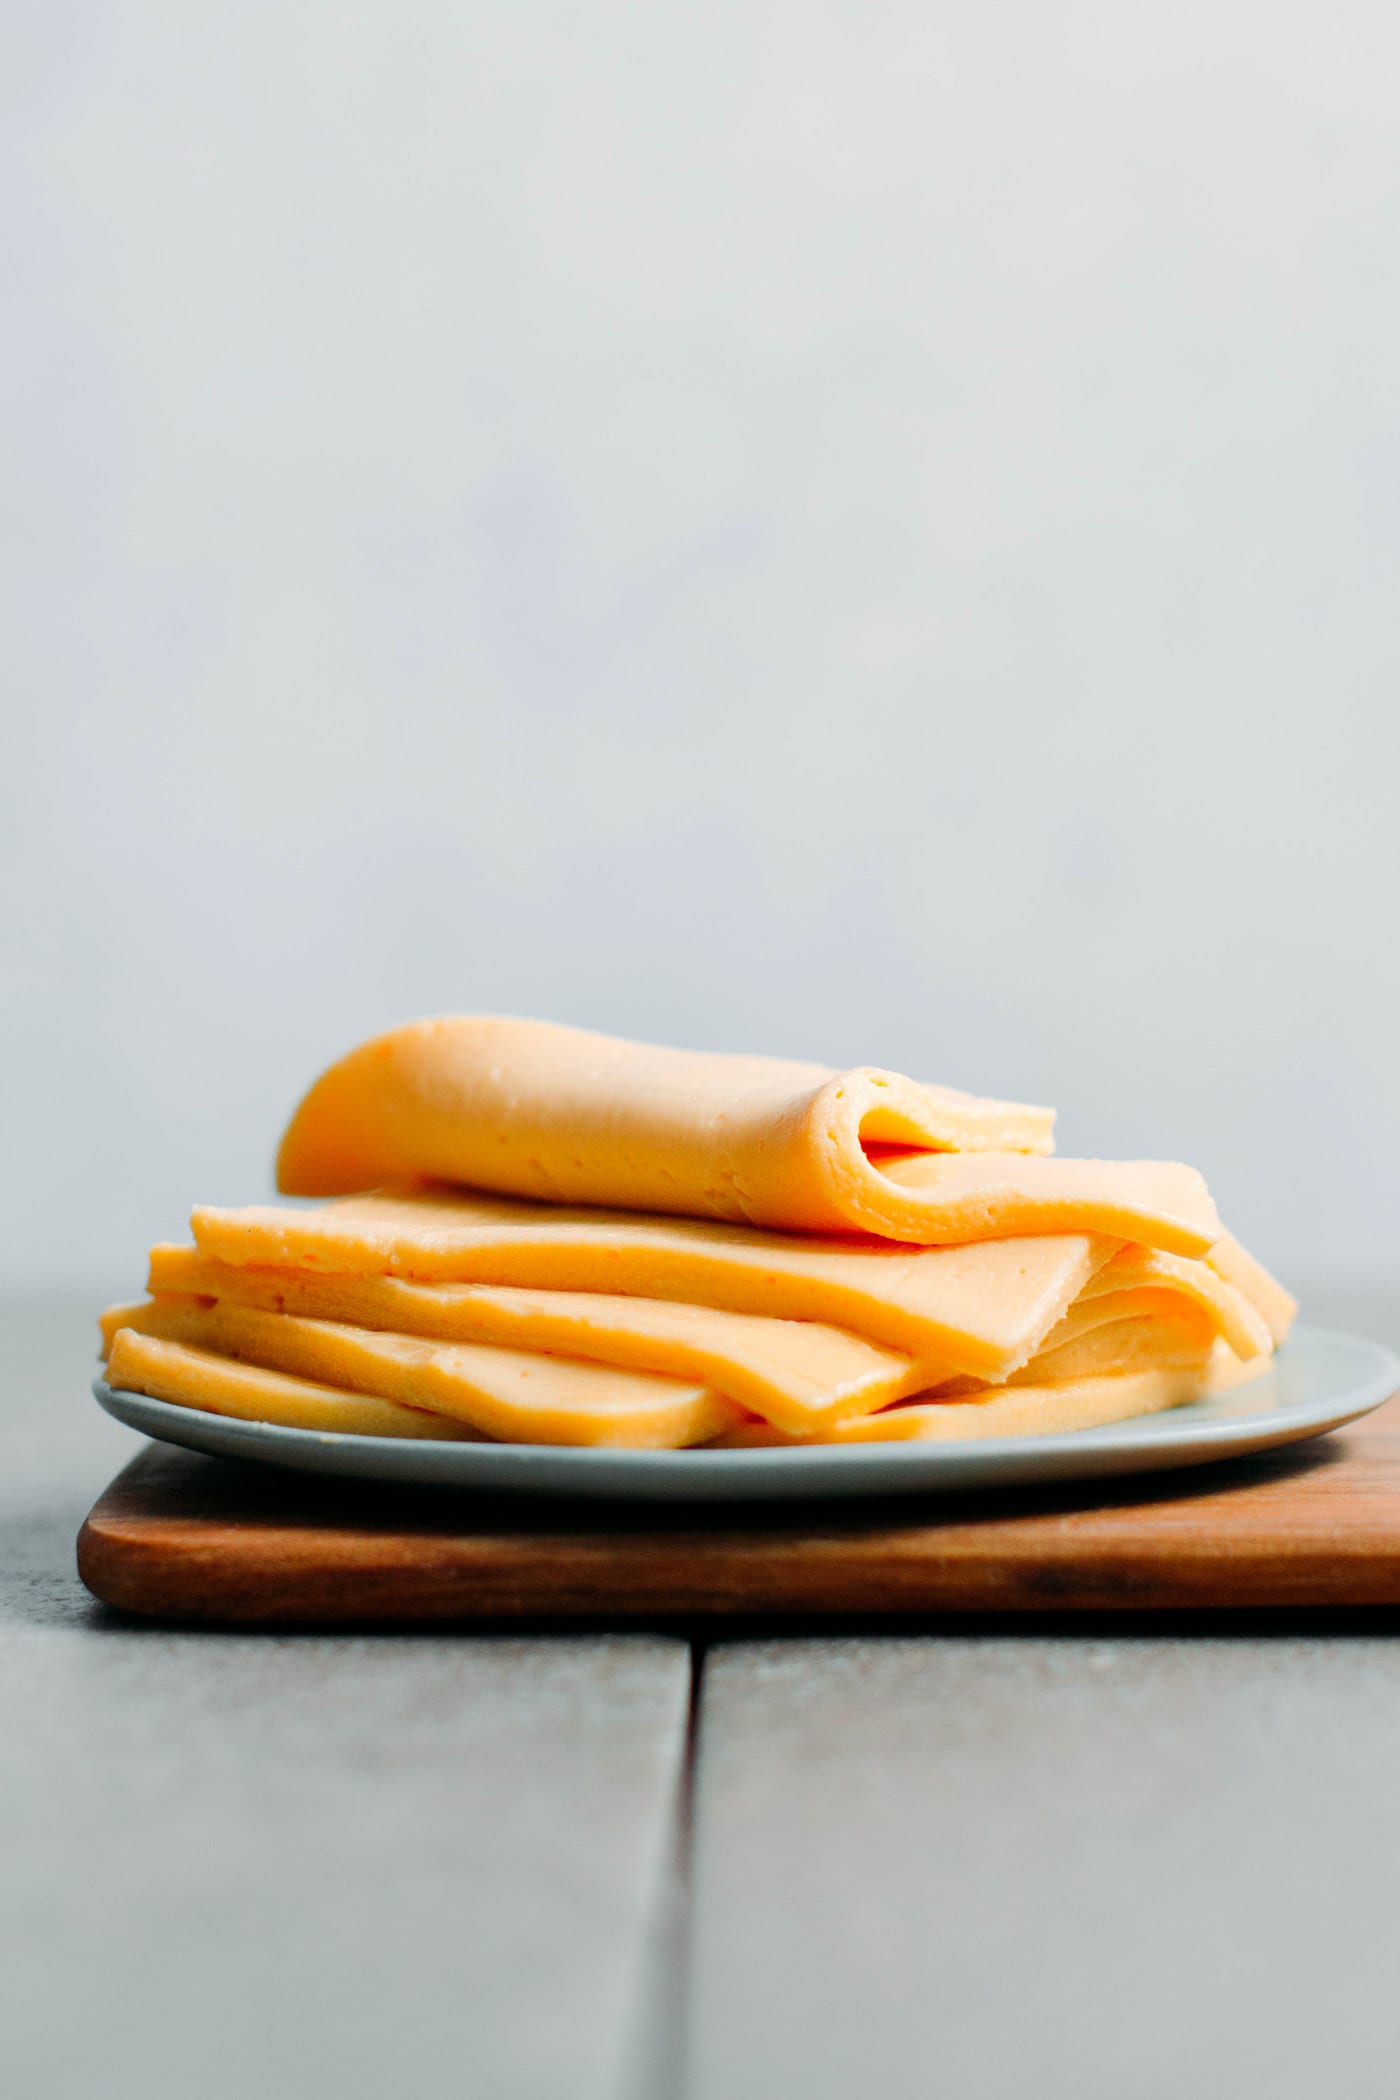
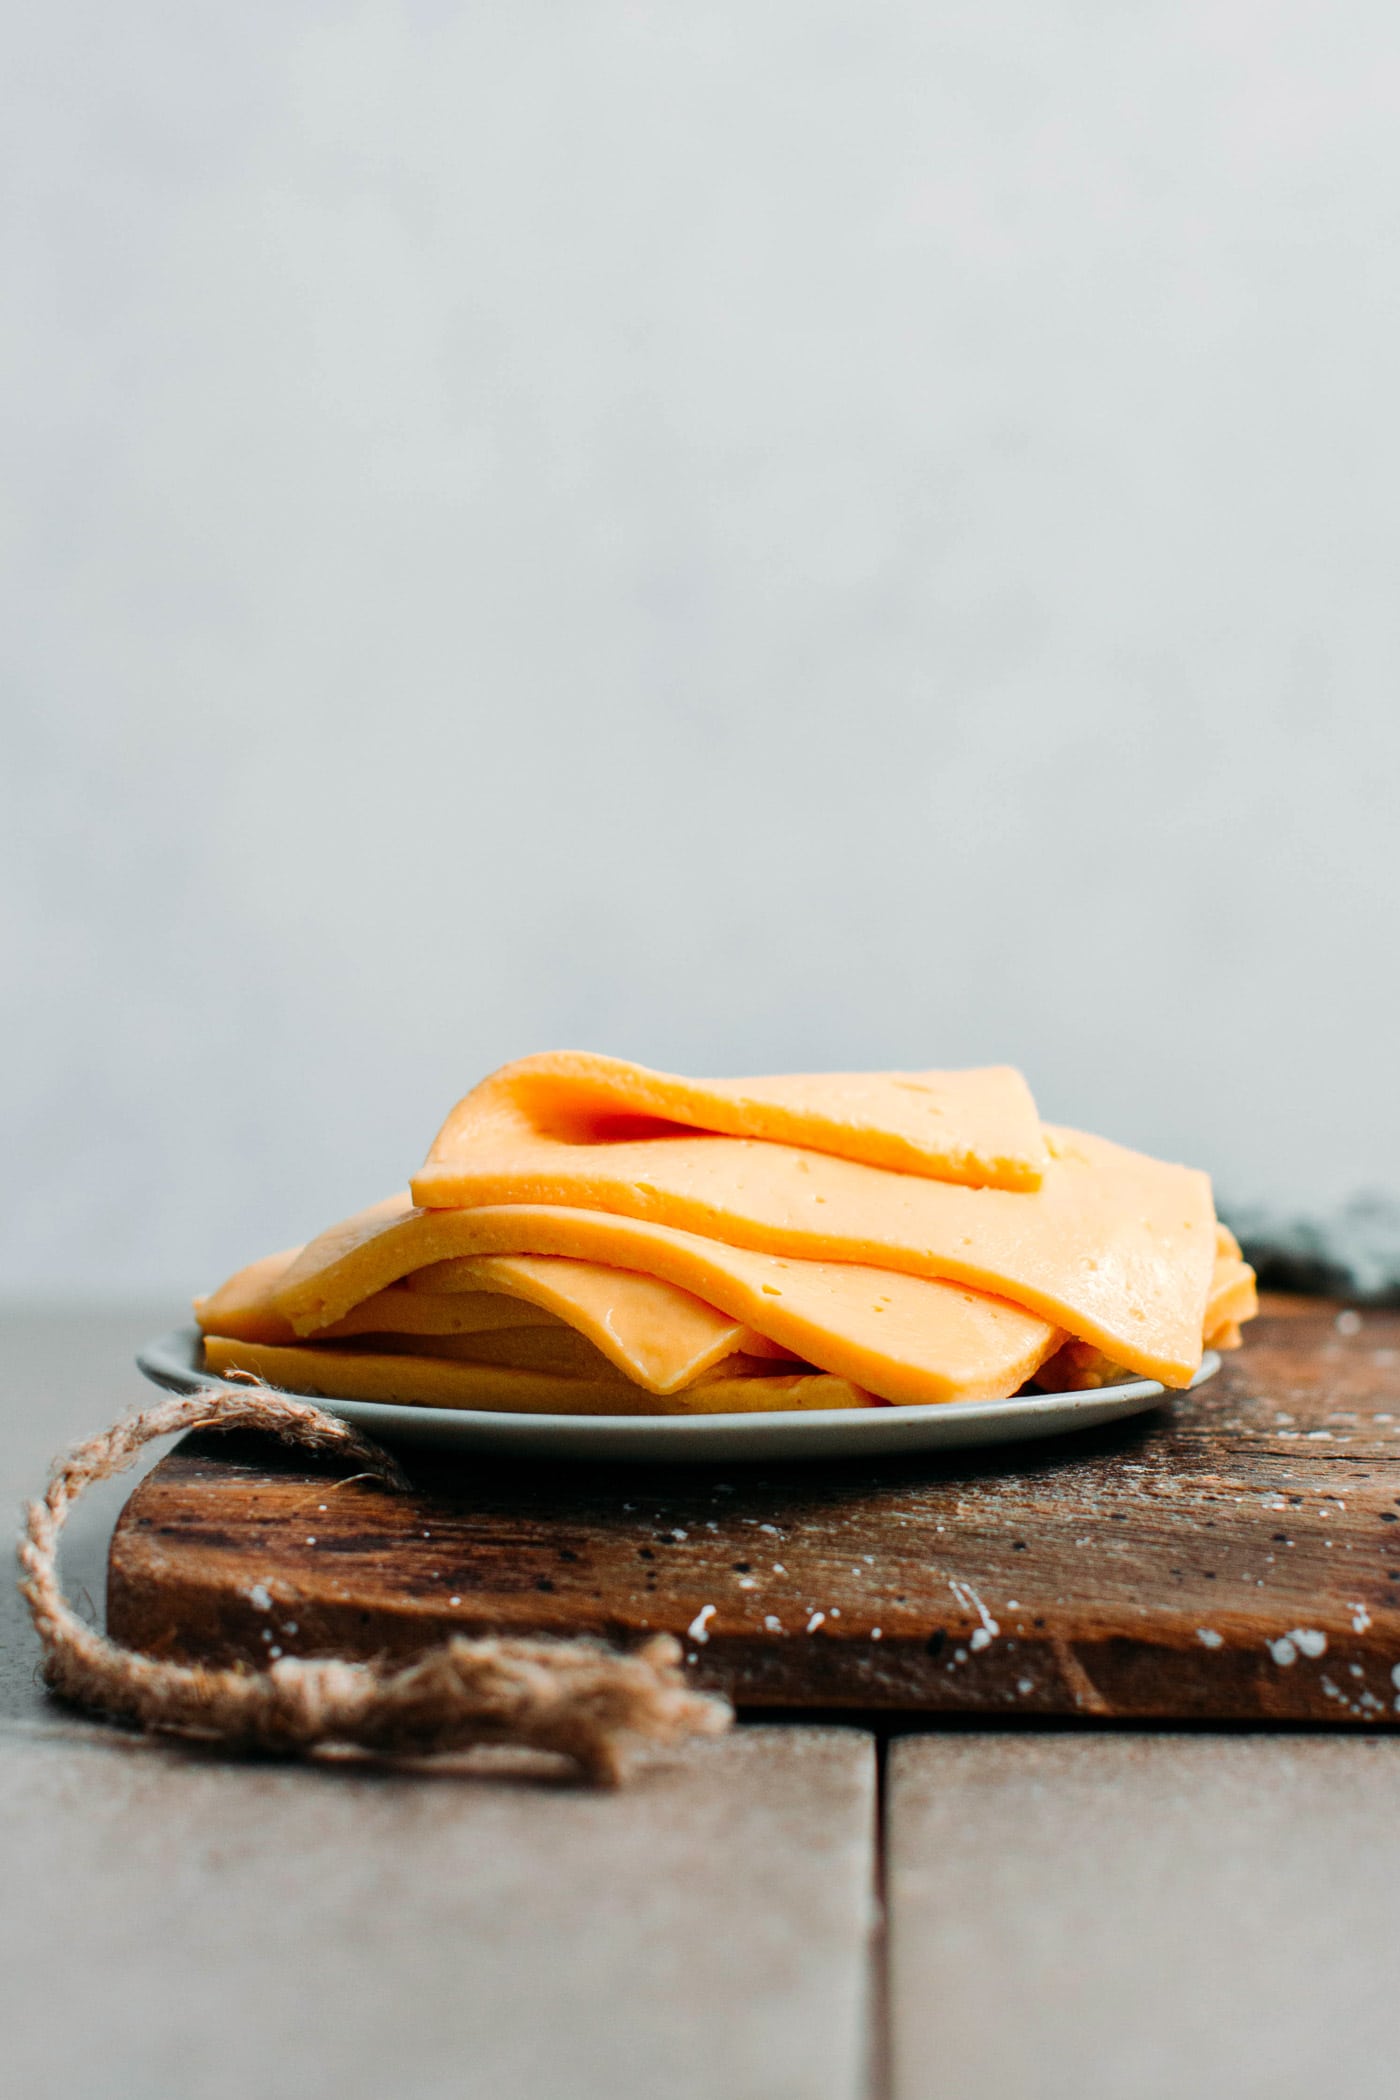
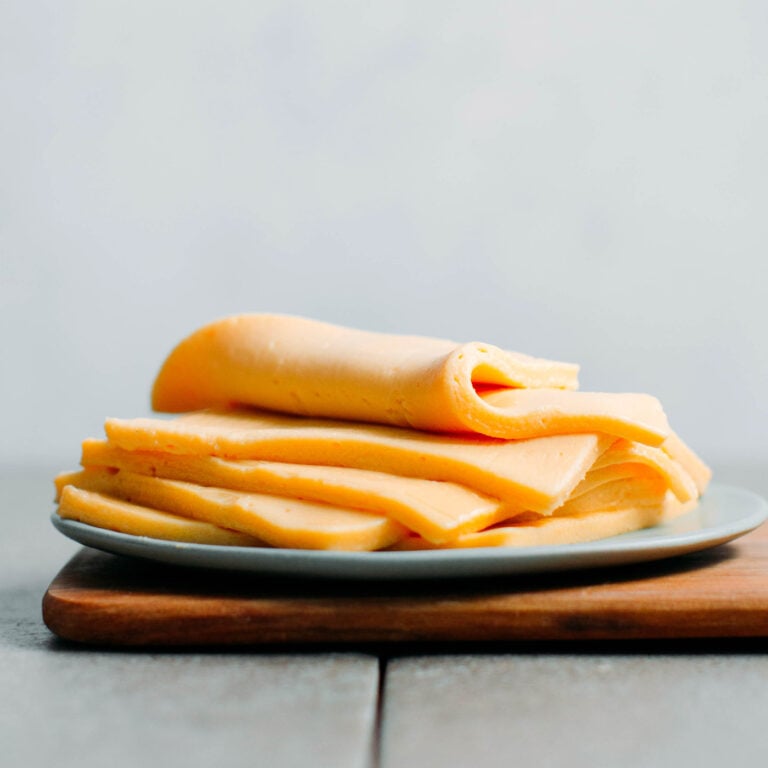
I’m super excited to share this recipe finally! Introducing vegan cheese slices that have a rich cheesy flavor and are insanely creamy! Perfect for burgers, grilled cheeses, sandwiches, pizza, bakes, and more!
After releasing the recipe for Fermented Tofu, many of you asked if it could be used to make vegan cheeses. The answer is yes!

WHAT IS CHAO?
Chao is a type of fermented tofu in a brine. It is widely used in Asian cooking as a condiment to make dipping sauces, marinades, and hotpots. It is usually aged for at least one month but will keep for years, getting stronger in flavor. I released a recipe to make it from scratch, but you can find chao (also called fermented bean curd) in most Asian stores or online.
So why are we using chao here? Because it has a fermented, tangy, and cheesy flavor, that is exactly what we need!
HOW TO MAKE VEGAN CHEESE SLICES
The process is straightforward, so stick with me. First, let’s take a look at the main ingredients:
- Chao: A key ingredient in this recipe. There is no substitute for it here. It adds that rich, umami, and cheesy flavor.
- Coconut oil: It helps the slices firm up slightly once cold, melt once hot, and adds richness.
- Nutritional yeast: For that extra cheesy flavor!
- Dairy-free yogurt: Let’s add some tang to our cheese.
- Starches: Potato starch and tapioca make the cheese thicker, giving it more chewiness and a slight stretchiness.
- Anatto oil: While optional, adding anatto oil gives these slices a light orange color. It does not affect the flavor or the texture. Maybe you could replace some of the water with carrot juice to add that orange color, just like I did in my Vegan Cultured Butter recipe.
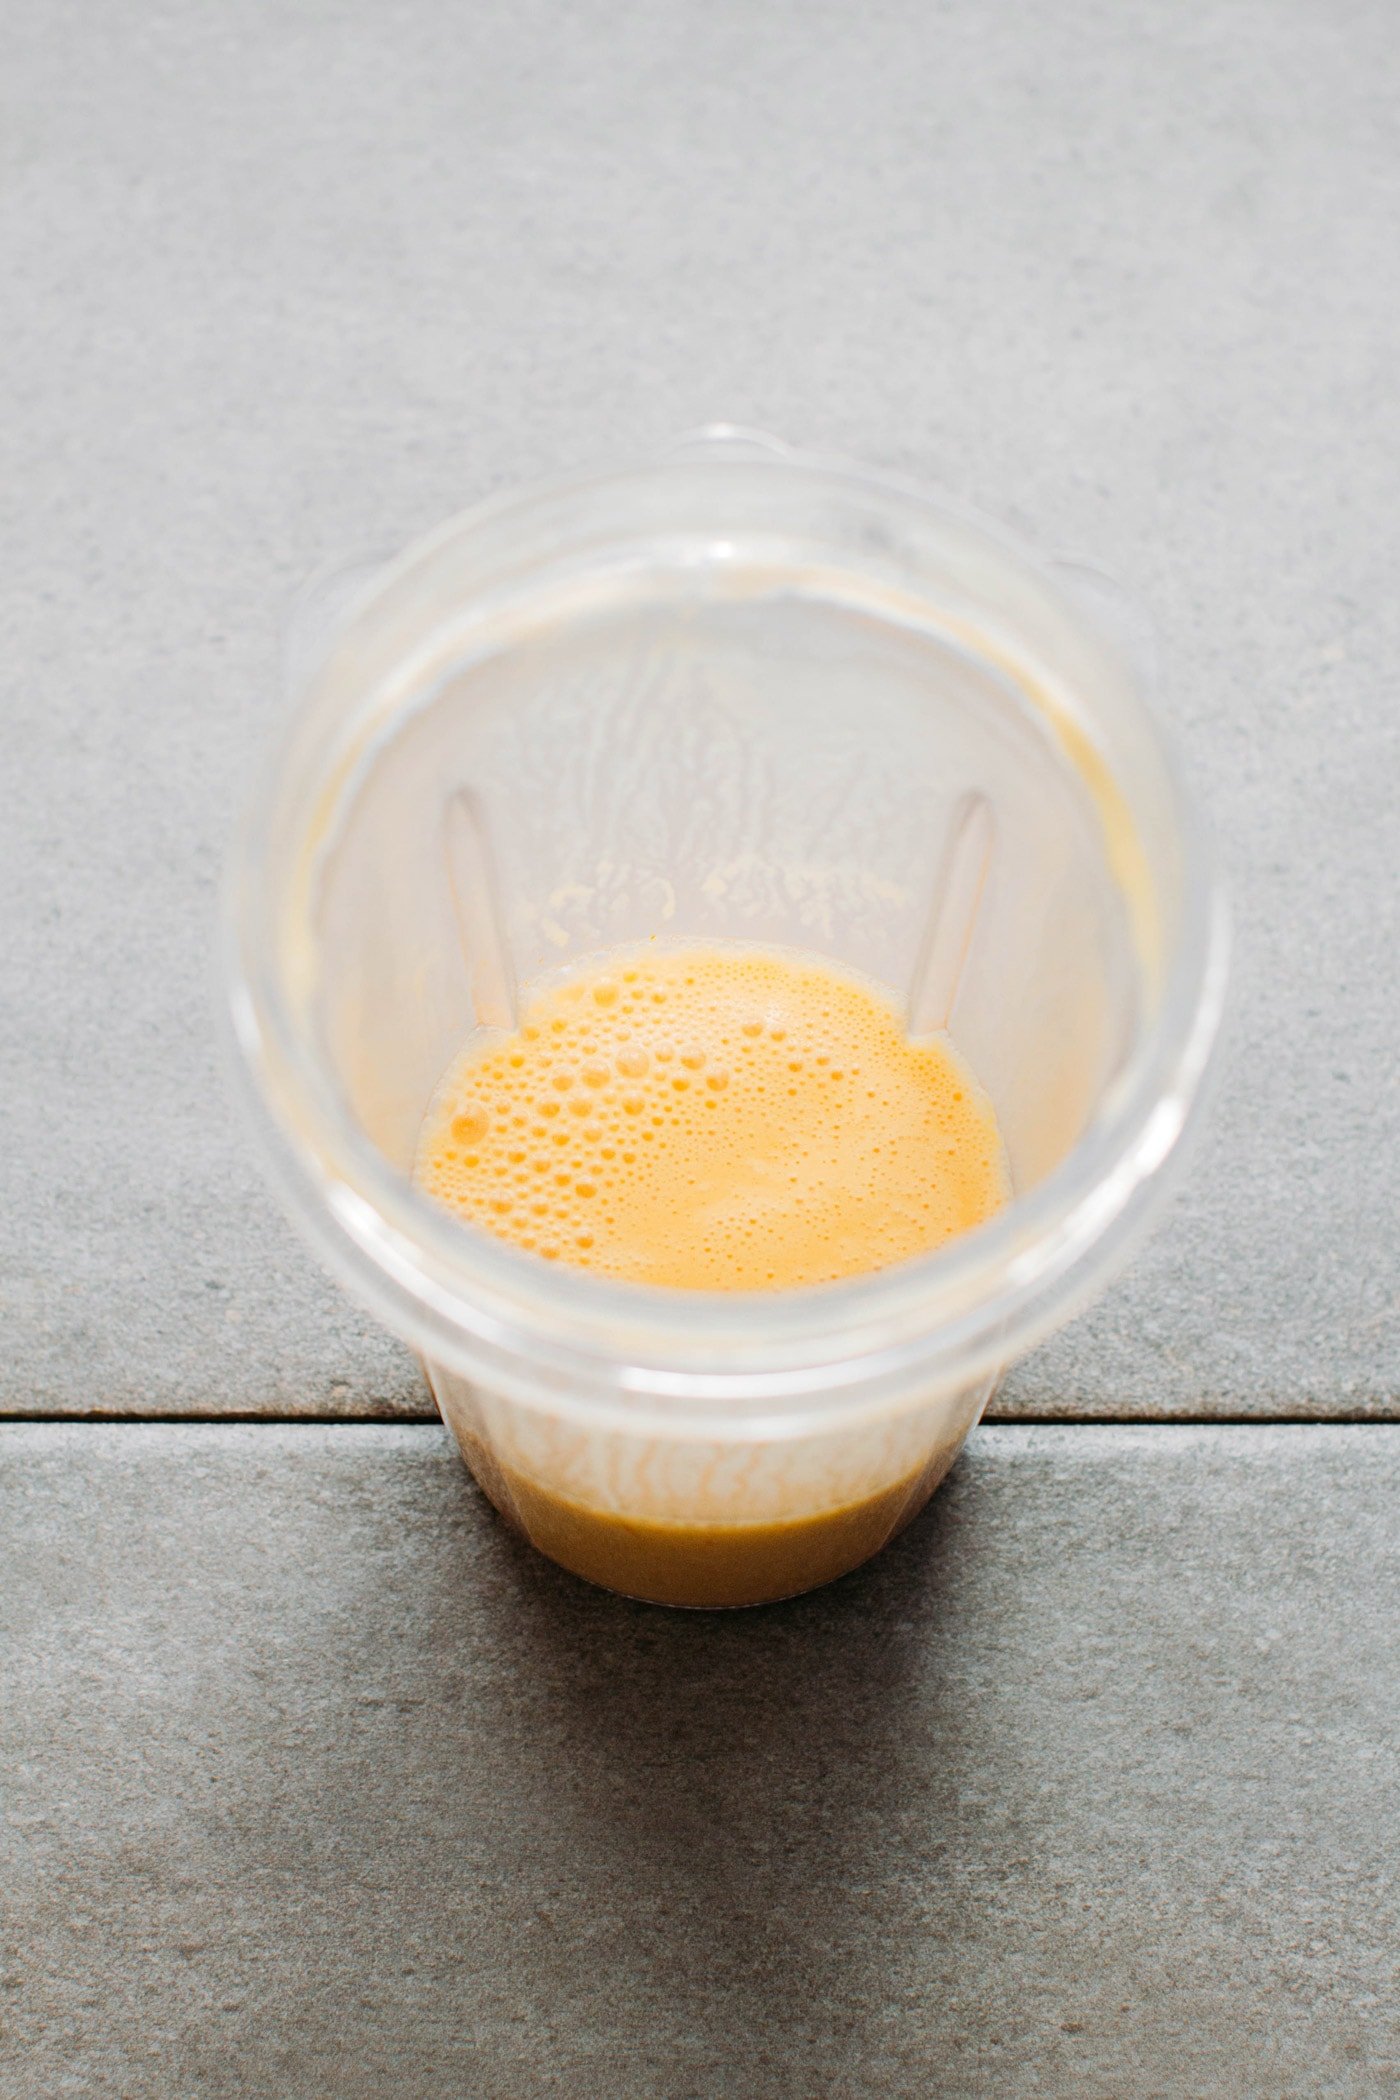
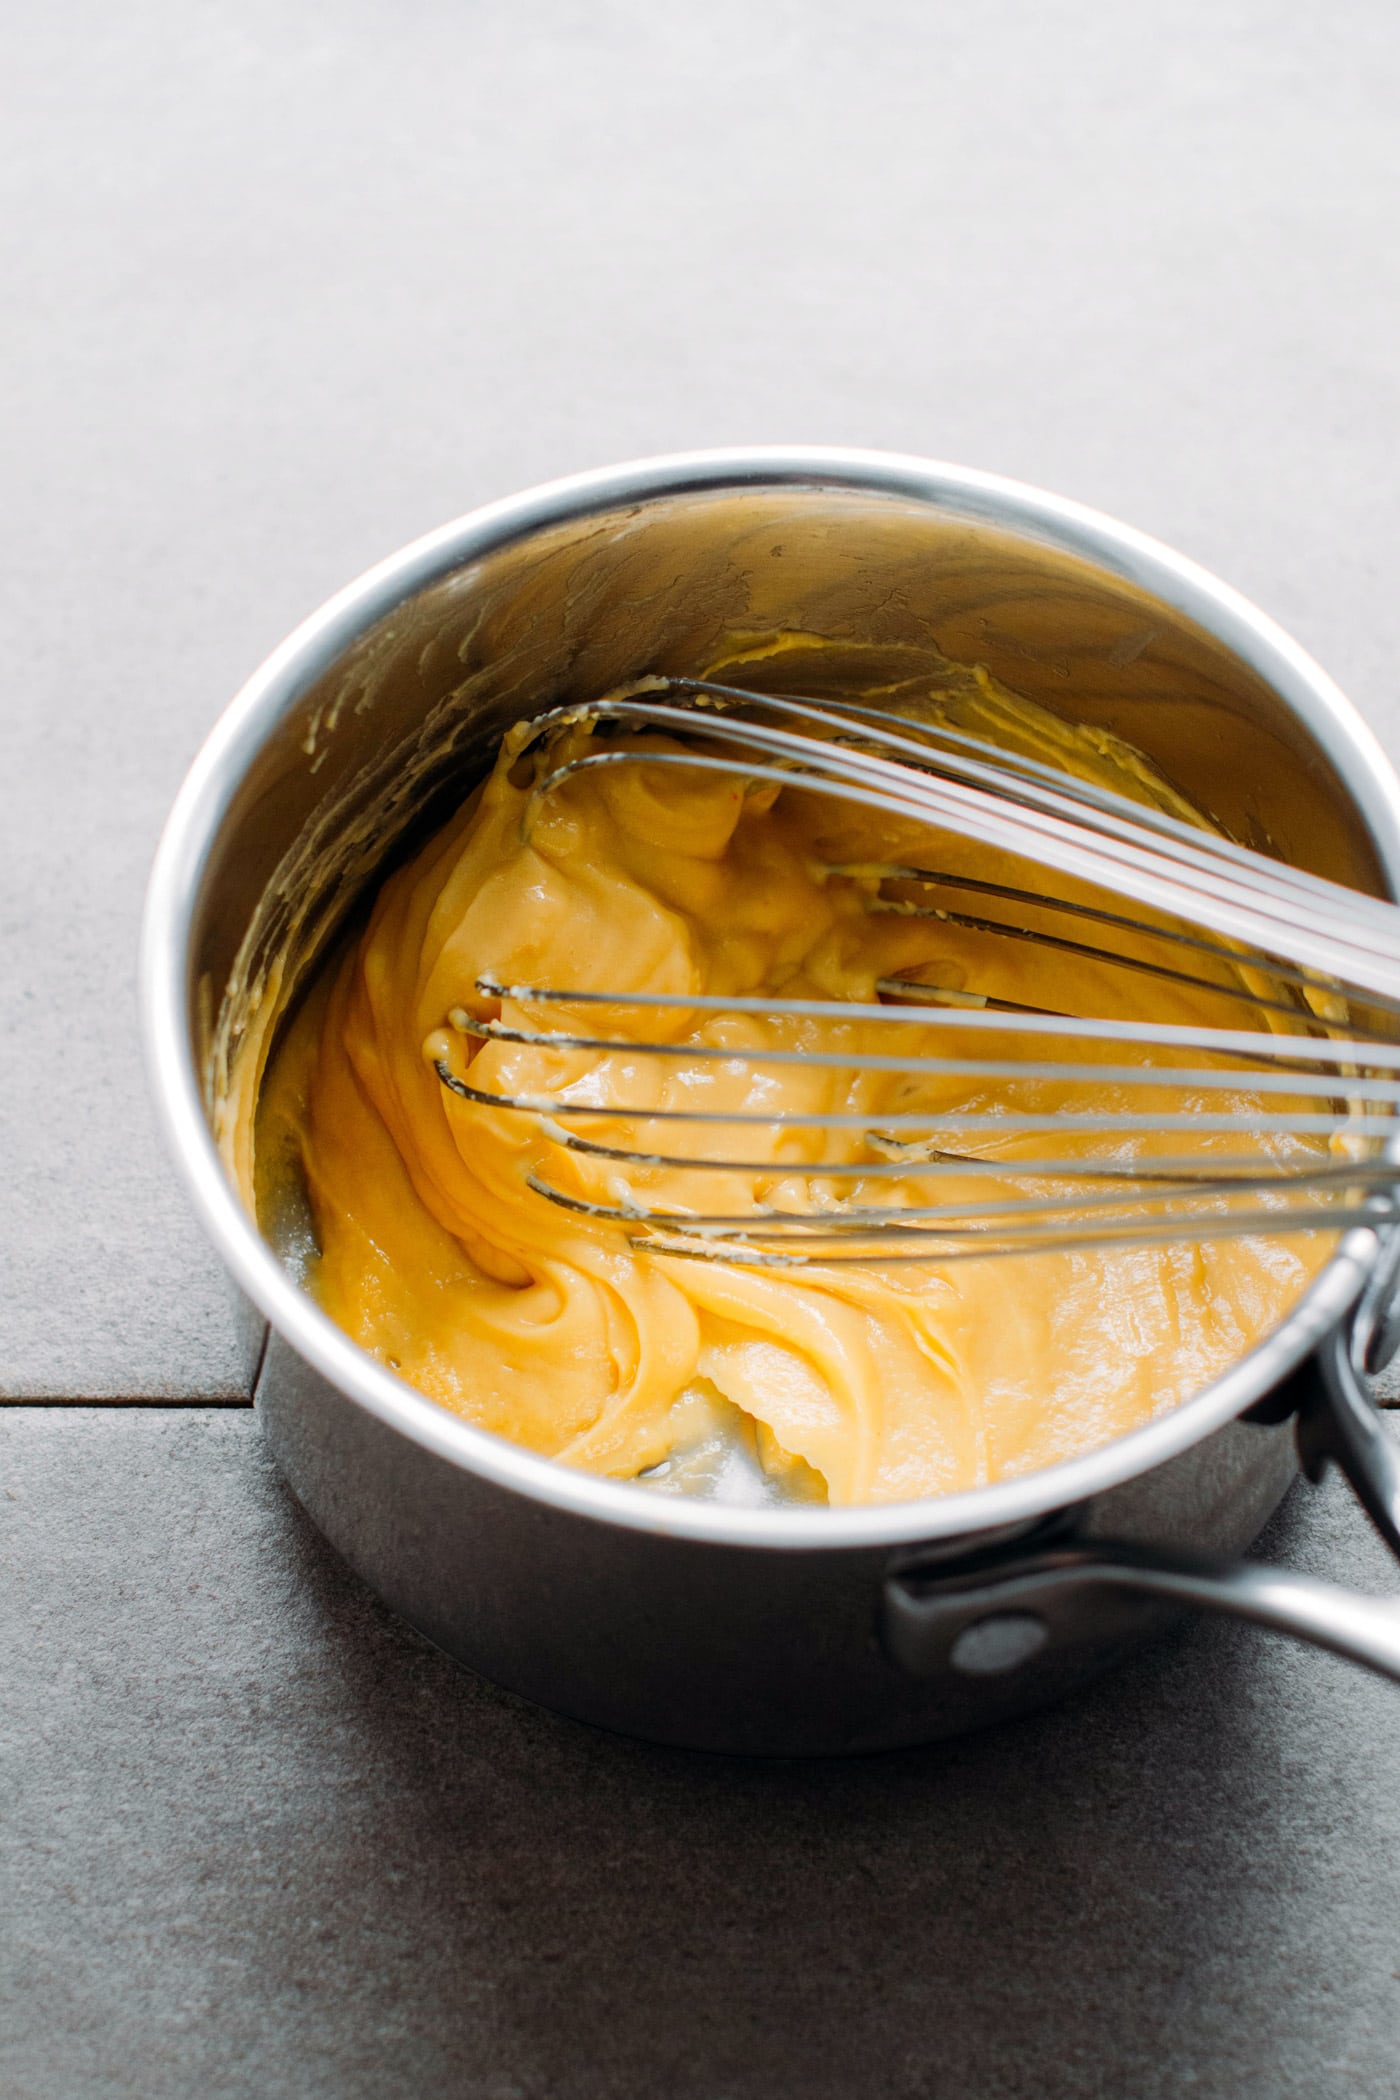
We simply blend all the ingredients together, then transfer to a saucepan and heat until it thickens. Transfer to a baking pan lined with plastic film, flatten, and refrigerate. Cut into slices, and you are ready to go!
Note: Since this cheese doesn’t contain kappa carrageenan, it won’t completely melt but will soften once hot. To keep this recipe easier, I chose to omit the use of gums/gels.
WHERE TO USE CHEESE SLICES
There are many ways to use these vegan cheese slices:
- Grilled Cheese: Probably one of my favorite way to enjoy these slices: two slices per sandwich, grilled on both sides.
- Burger: Cook your vegan steak on medium heat in a skillet, covered, with a slice of cheese on top.
- Pizza: Cut your slices into thin strips and use them to top your pizza.
- Lasagna: Lay cheese slices between the filling and the pasta sheets!
You can also use these cheese slices in cold sandwiches; it’s delicious!
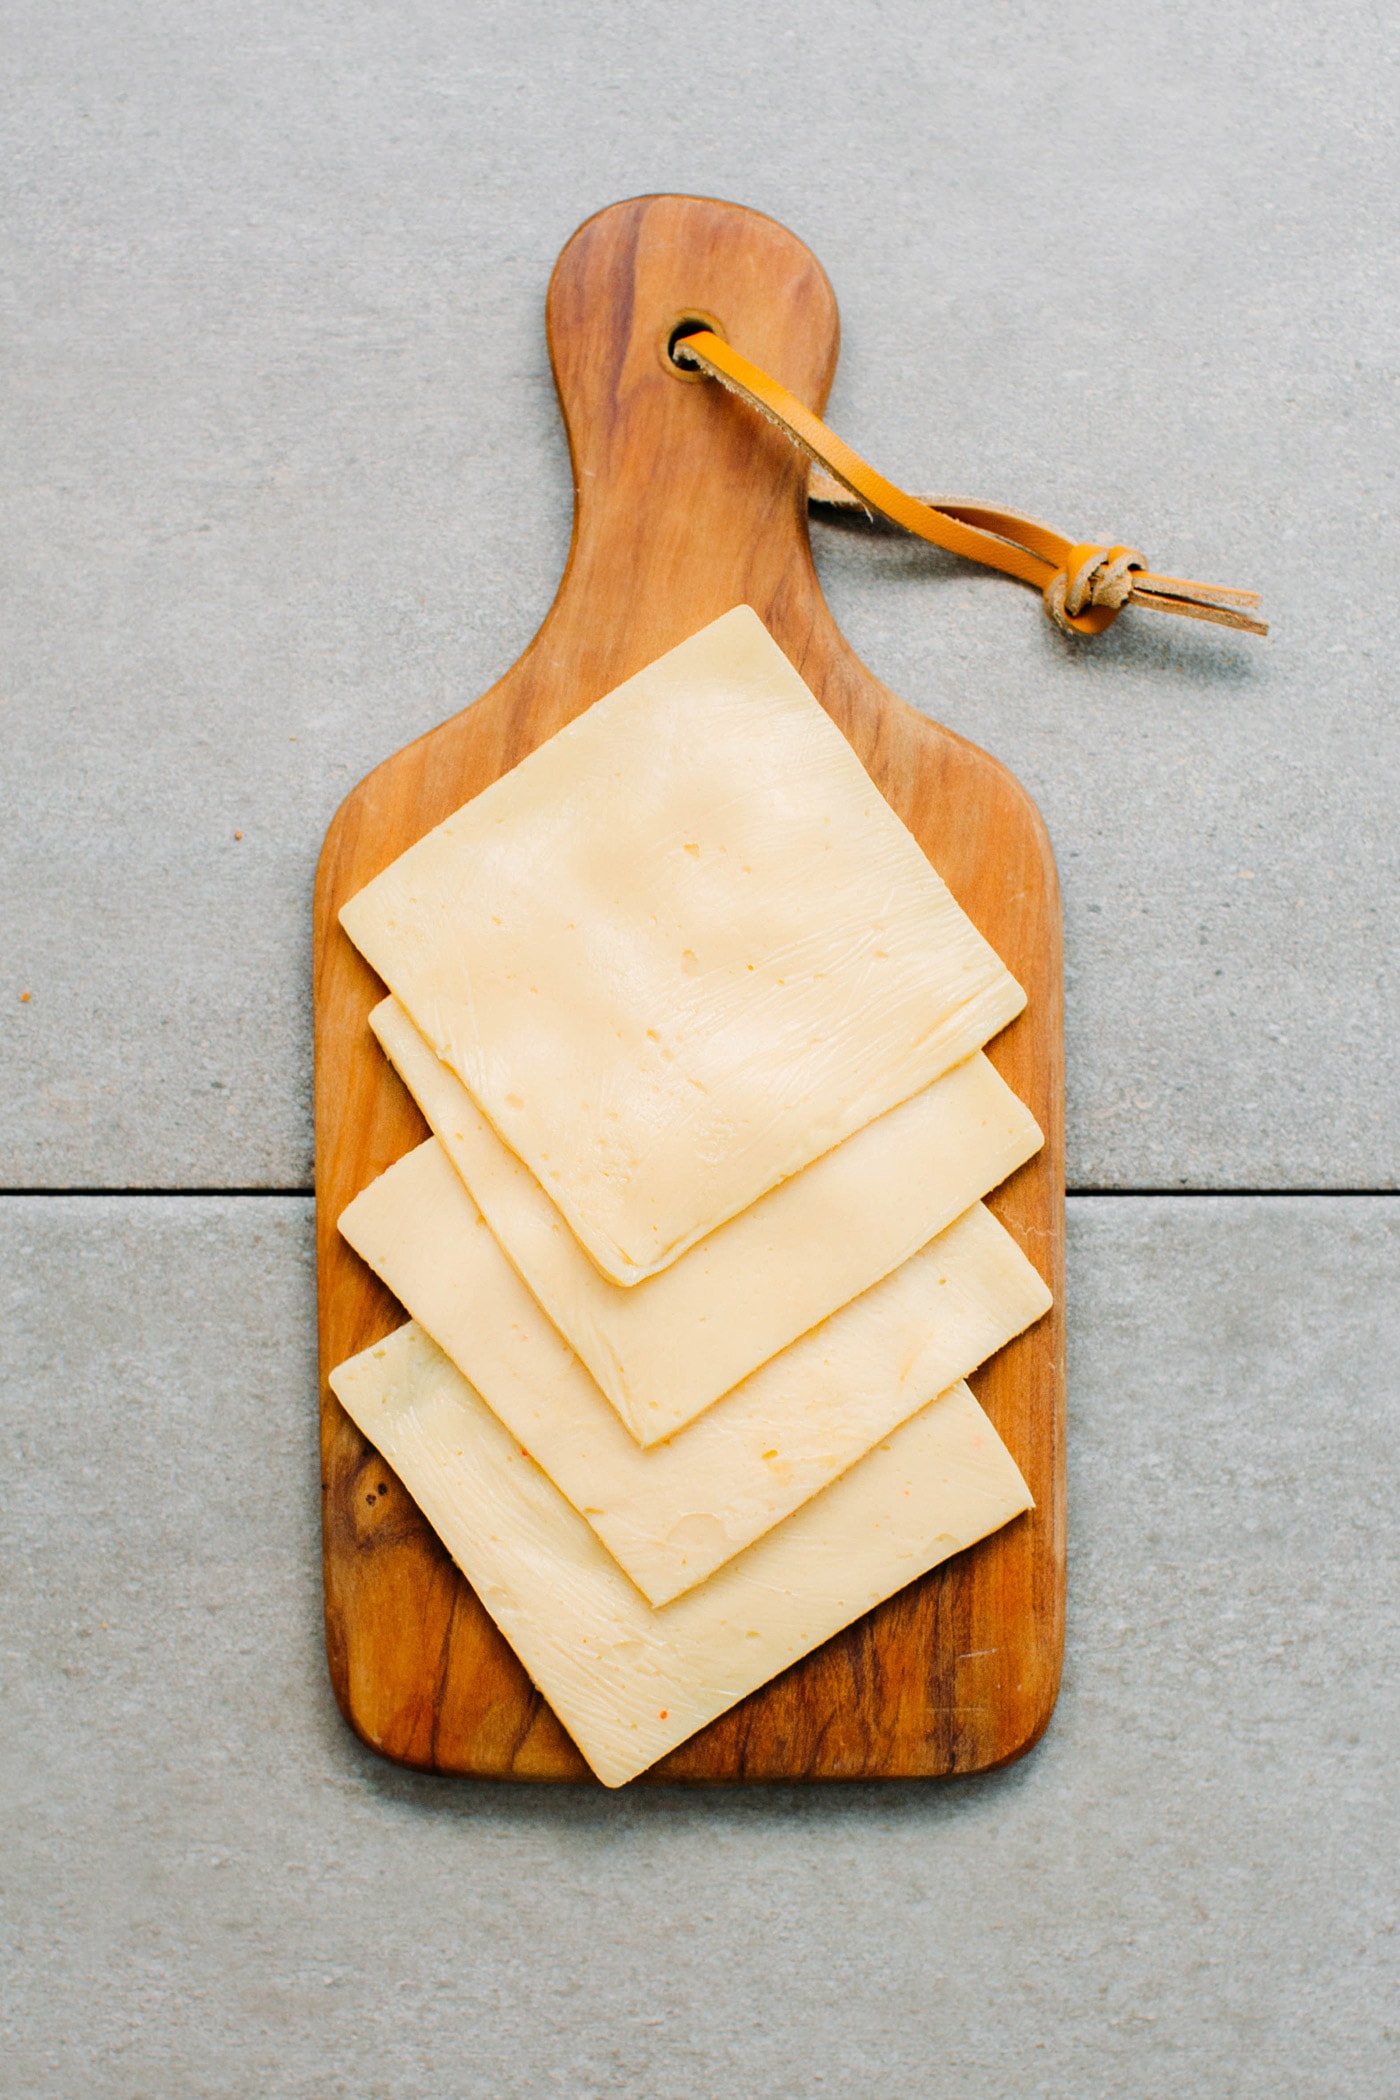
I recommend storing the slices unstacked, or place some parchment paper between each. Otherwise, they might stick together. Since these slices contain coconut oil, they will also become a bit softer at room temperature.
I hope you will love these vegan cheese slices! Perfectly salty, a bit tangy, and so cheesy!
Let me know in the comments if you try this recipe!

Save this recipe!
Enter your email below and I’ll send it to your inbox!
Plus, you will receive new recipes every week!
Vegan Cheese Slices (10-Minute!)
Ingredients
- 1 cup (240 ml) water
- 2 tbsp (30 ml) coconut oil
- 1/4 cup chao* fermented tofu/beancurd
- 2 tbsp (15 g) tapioca starch
- 3 tbsp (30 g) potato starch
- 1 tbsp (11 g) nutritional yeast
- 2 tsp (10 ml) dairy-free yogurt
- 1/2 tsp onion powder
- 1/2 tsp salt
- 1 tsp (5 ml) maple syrup
- 1 tsp (5 ml) anatto oil optional, for color
- 4 drops liquid smoke optional
Instructions
- Line a baking sheet with plastic wrap or parchment paper. Set aside.
- Add all of the ingredients to the bowl of a blender. Blend on high speed for 15-20 seconds.
- Transfer the mixture to a medium saucepan. Heat over medium heat and whisk constantly until the mixture thickens. Continue cooking for another 15 seconds.
- Immediately transfer it to the lined baking sheet and use a spatula or the back of a spoon to spread it into a thin and even layer. I recommend covering it with another layer of plastic wrap and using a rolling pin to flatten it evenly.
- Let it cool for a few minutes before transferring to the refrigerator. Refrigerate for at least 2 hours before cutting into thin square slices.
- Use in sandwiches, burgers, on top of pizza, etc! Vegan cheese slices will keep for up to 5 days in the refrigerator. Avoid stacking the slices as they could stick together. You can stack them if you put a sheet of parchment paper between each.
Notes
Nutrition

About the Author
Thomas Pagot is the founder, photographer, and recipe developer behind Full of Plants. He created the blog in 2016 as a personal cookbook for vegan recipes. Through years of recipe development, Thomas has successfully grown Full of Plants into a trusted resource for plant-based recipes.
Leave a Comment