This post may contain affiliate links. Please read our disclosure policy.


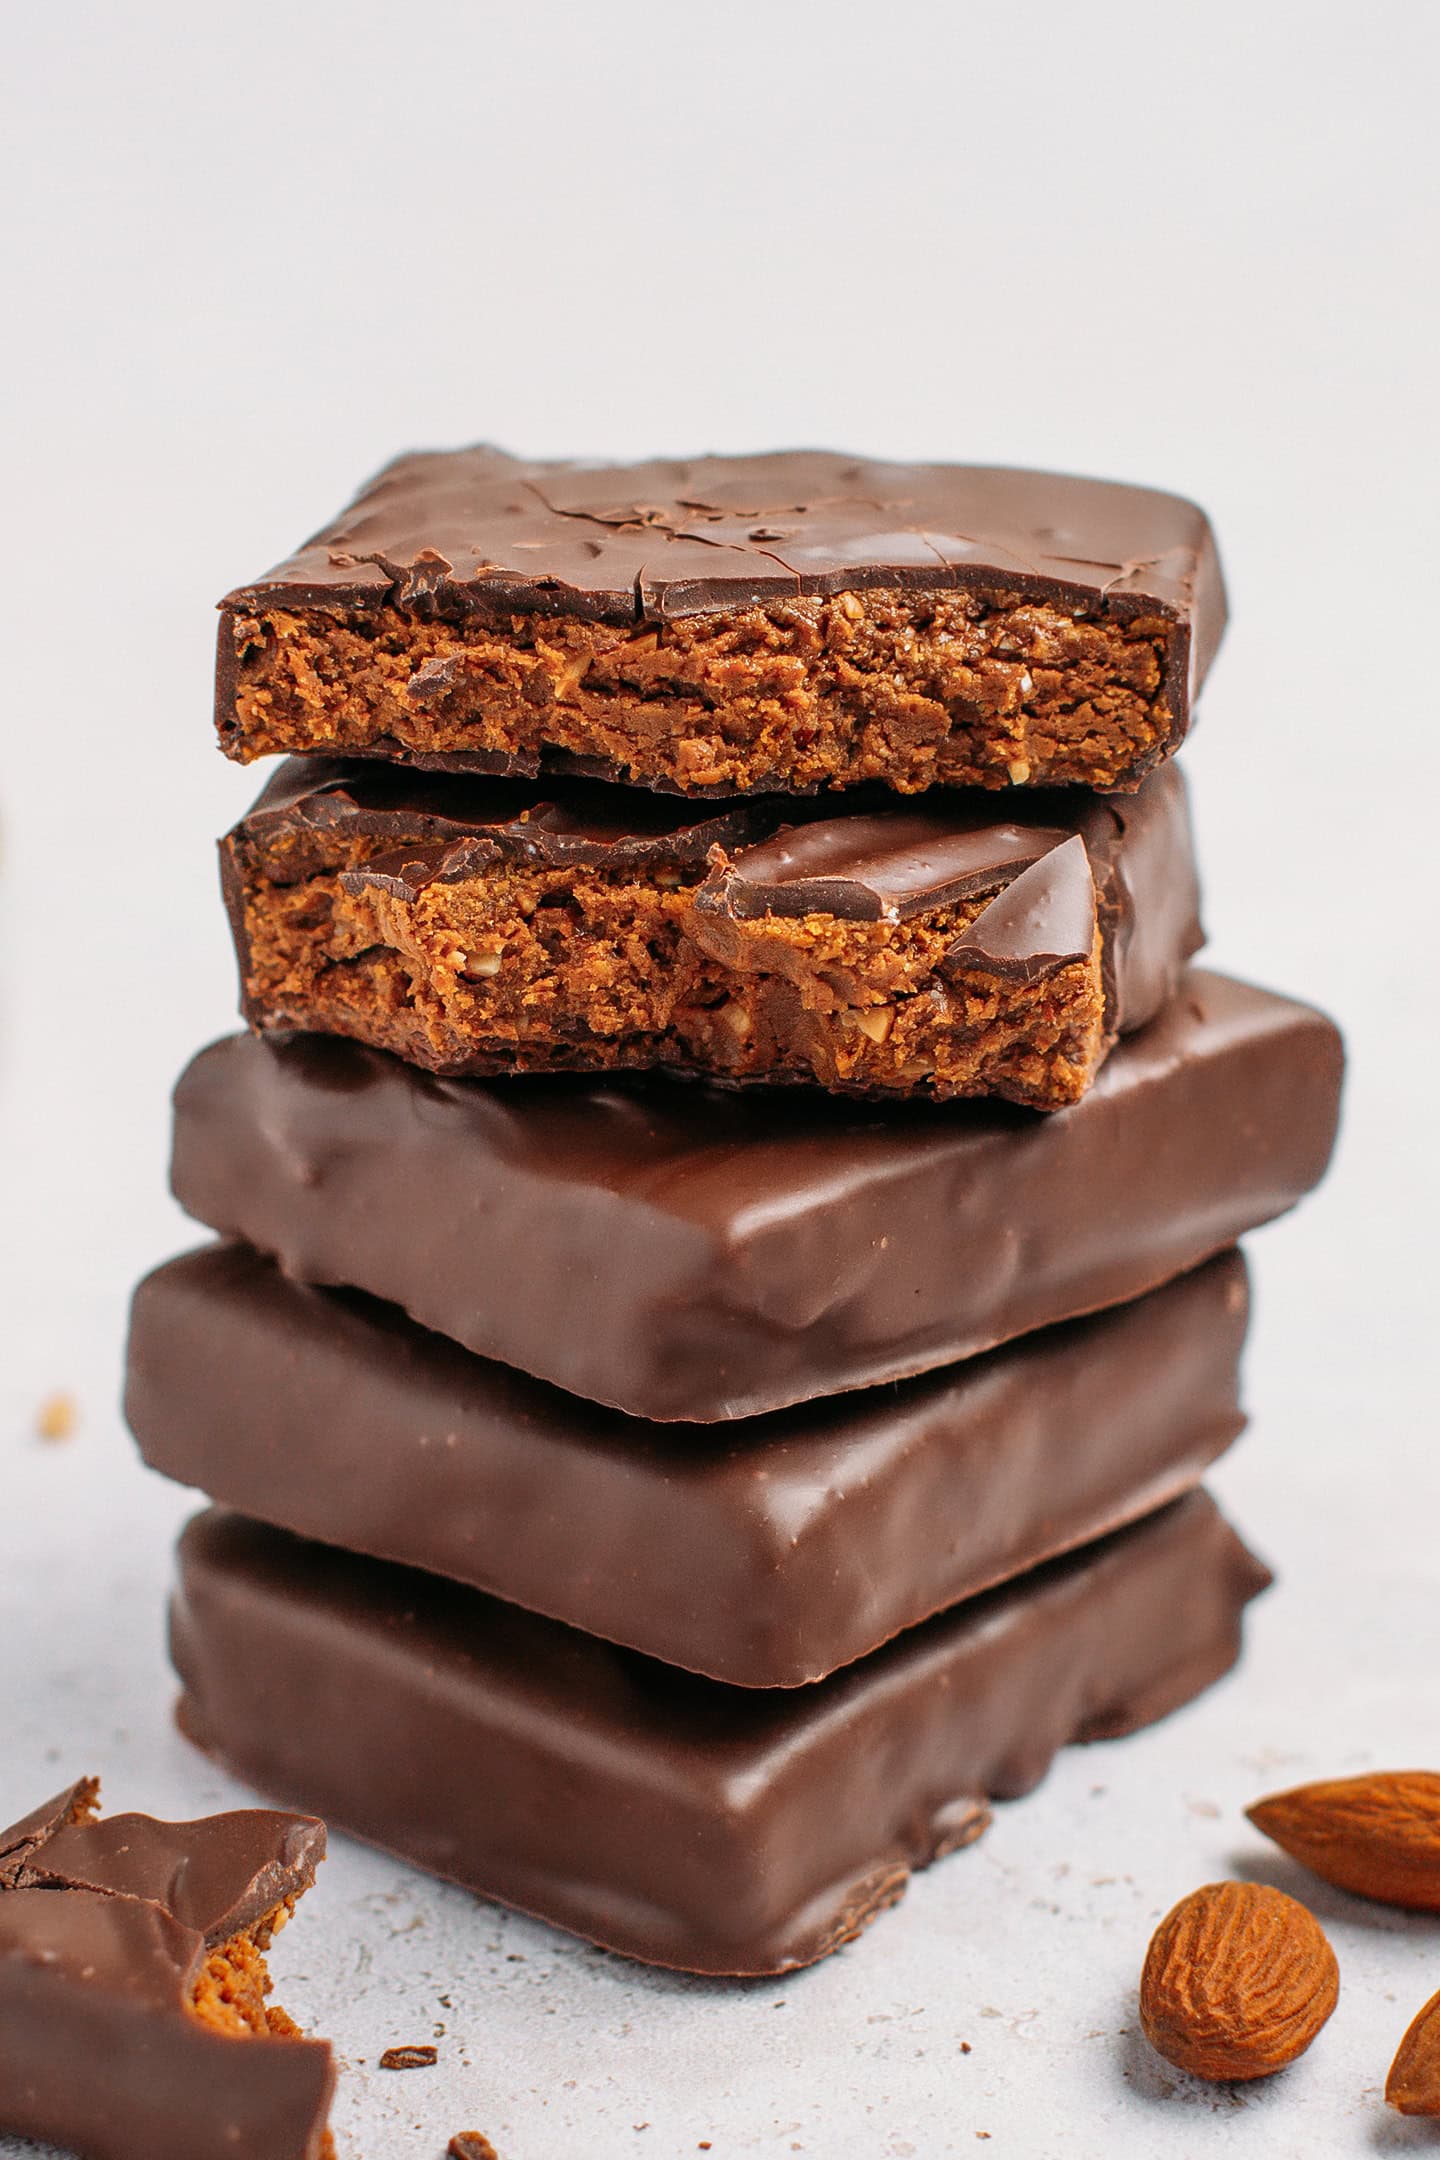
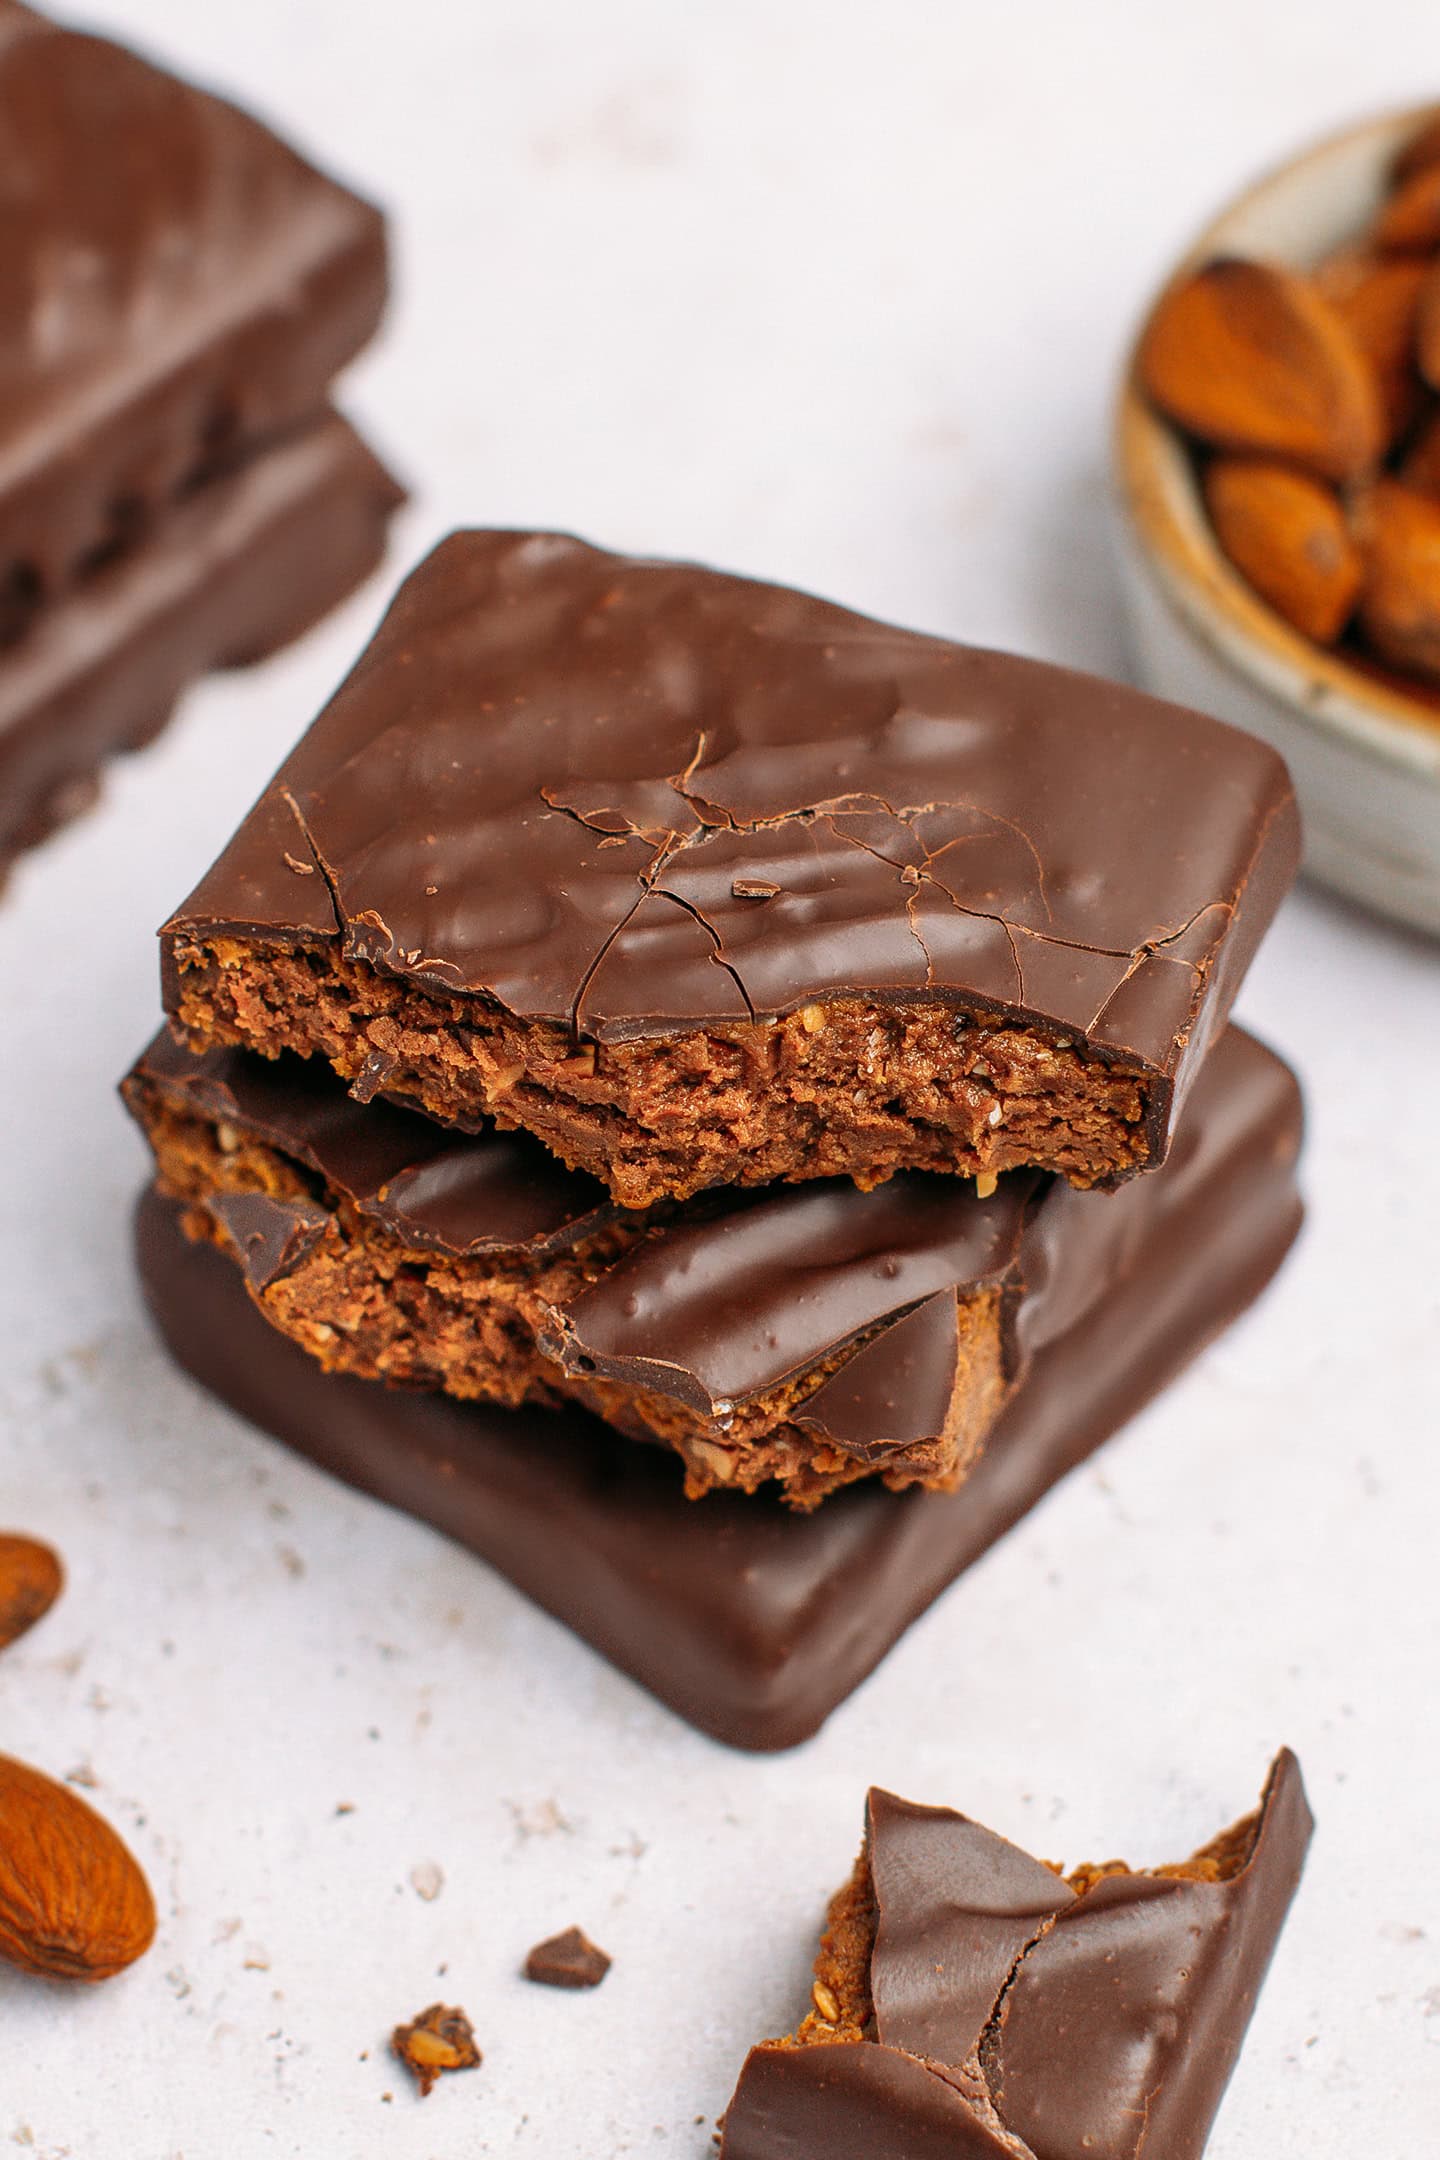
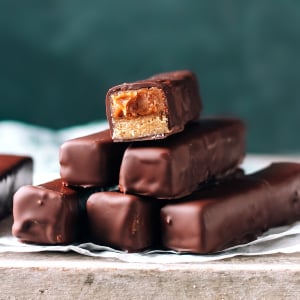
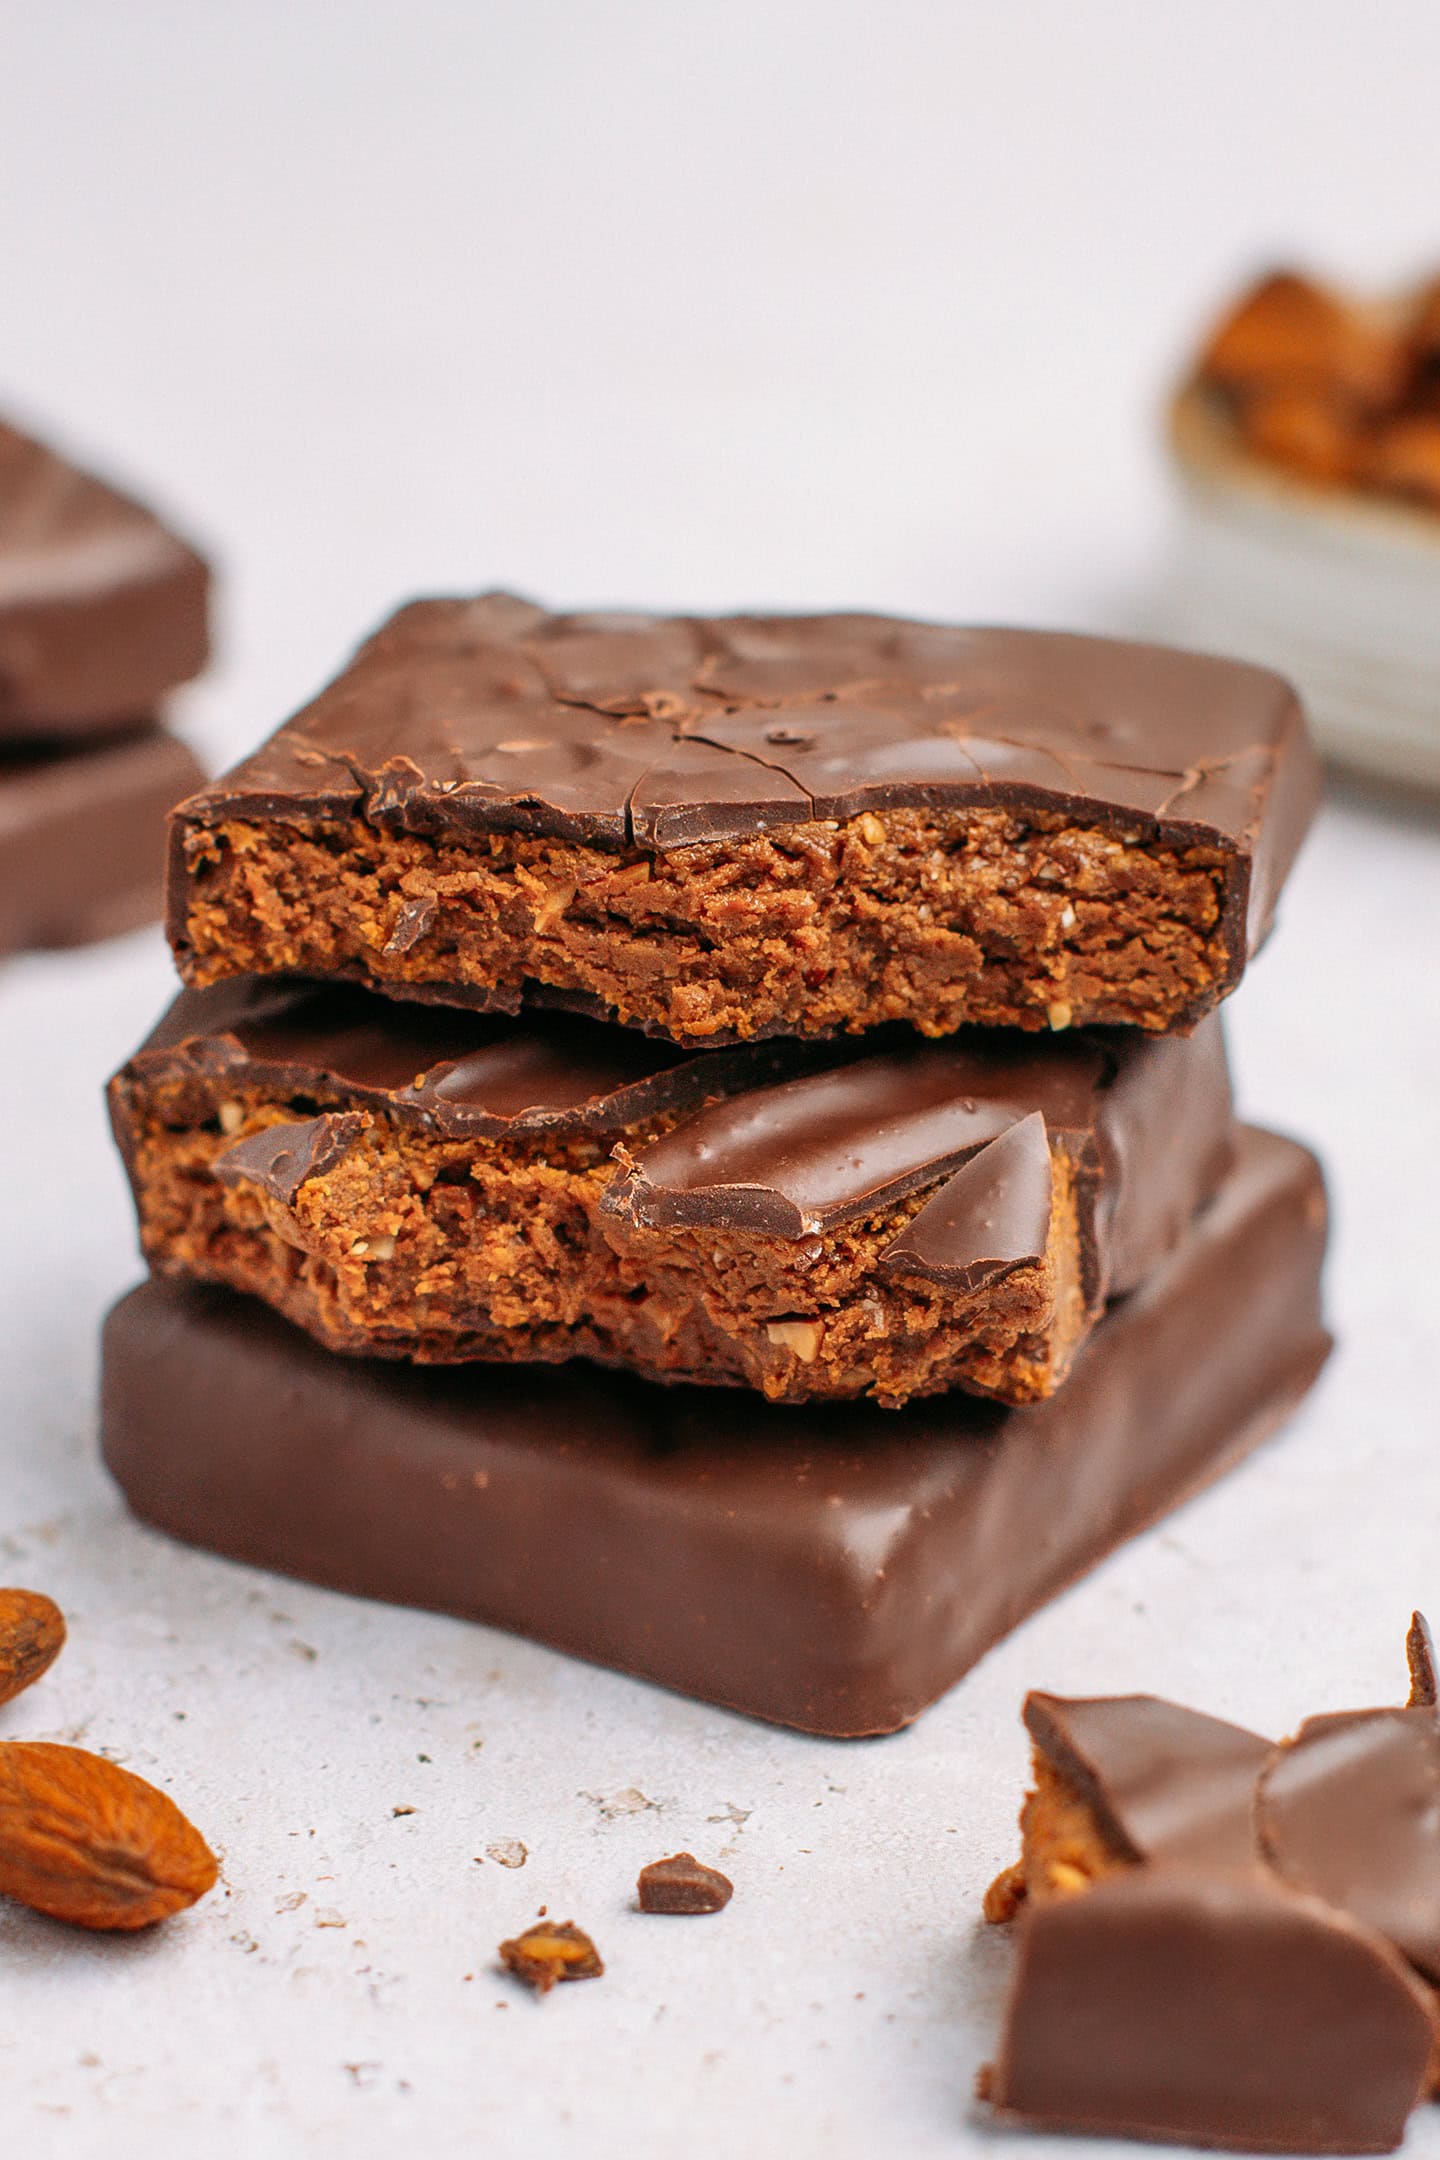
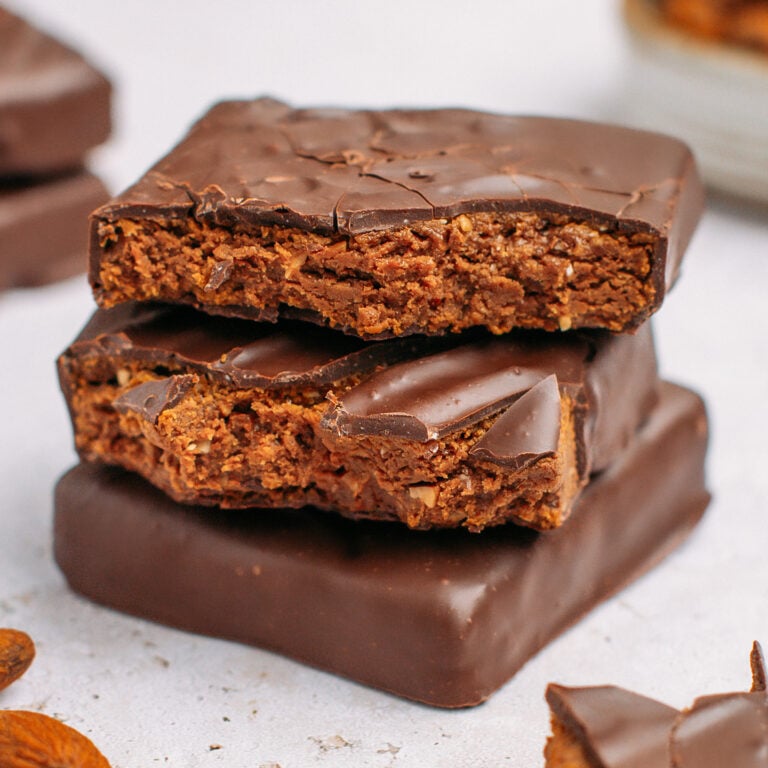
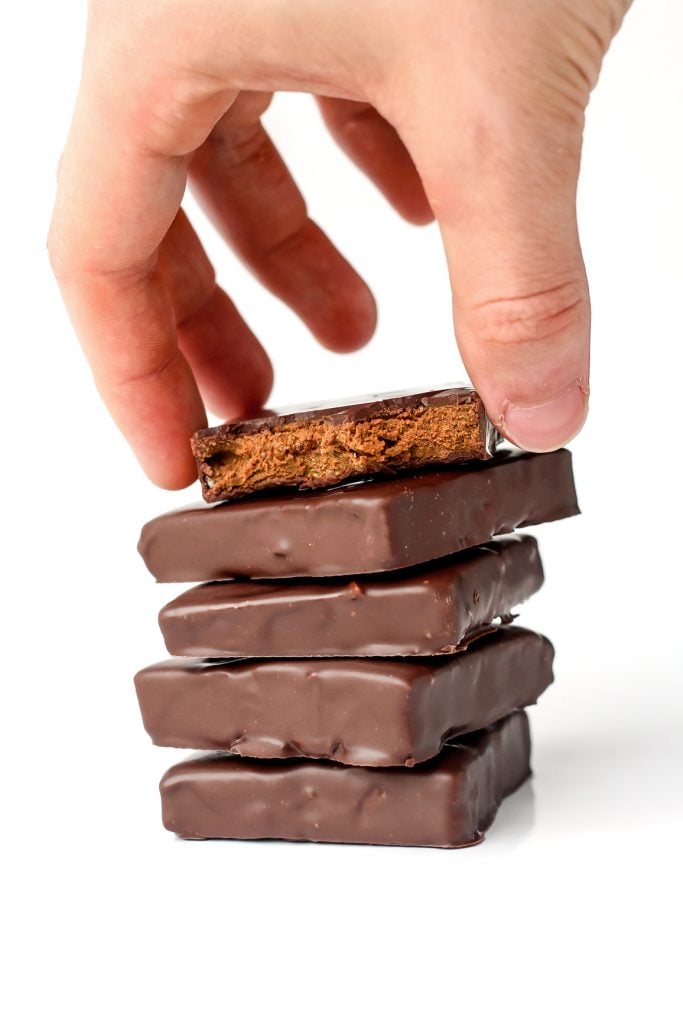
These homemade vegan chocolate-coated protein bars taste just like candy bars! They have a chewy, cookie-dough-like center and a thin chocolate shell that gives you a satisfying snap with each bite. Easy to make, they are the ultimate high-protein snack. Plus, they keep for weeks at room temperature, no refrigeration needed!
Protein bars are convenient, filling, and an easy way to sneak in some extra protein during the day. I tried countless brands over the years, and surprisingly, I only found one that checked all the boxes.
Back in the day, I was obsessed with Squarebar, a small company that made vegan, organic protein bars that not only tasted delicious but were also pretty healthy. Sadly, the company seems to have disappeared a few years ago, so I challenged myself to recreate similar bars at home – and I think I did quite well.
🧑🏼🍳 Behind This Recipe
First, shelf life. I wanted bars with a long shelf life because sometimes I’m lazy and don’t want to make the same bars twice a week. Many recipes you will find online call for almond milk or water. Unfortunately, once you start using milk, you have to keep the bars in the fridge, and they will only be good for a few days. These bars, however, will keep for at least a month at room temperature, since they use only shelf-stable ingredients. Which means that you can make a big batch, wrap them, and keep them in your pantry, OR give a few to your friends! (Hey, we are friends, right?)
Second, taste and texture. If you’ve ever had a protein bar, you probably know that many taste either bitter or have a chalky texture. That’s something I didn’t want at all. After testing several sweeteners and protein powders and adjusting ingredient ratios, I settled on a recipe that yields a sweet, chewy filling (think cookie-dough-like texture!) with a crispy chocolate coating. Oh, and each bar contains about 12g of plant protein for about 200 calories, which are pretty good macros for a protein bar.
💫 Here’s Why It’s So Good
- Chewy on the inside. Snappy on the outside. The filling of these bars holds together perfectly and stays chewy for days, thanks to the thin chocolate coating that prevents it from drying.
- Well-balanced flavor with no aftertaste. This will obviously depend a lot on your protein powder, but assuming you use a quality brand, you won’t find any bitterness or powdery texture here! The filling tastes subtly sweet, chocolatey, and is loaded with crunchy chopped almonds and, optionally, rice crisps!
- Portable. These protein bars make a tasty snack to bring with you when you go hiking, running, swimming, or simply watching Netflix, I won’t judge!
📋 Grab These Ingredients
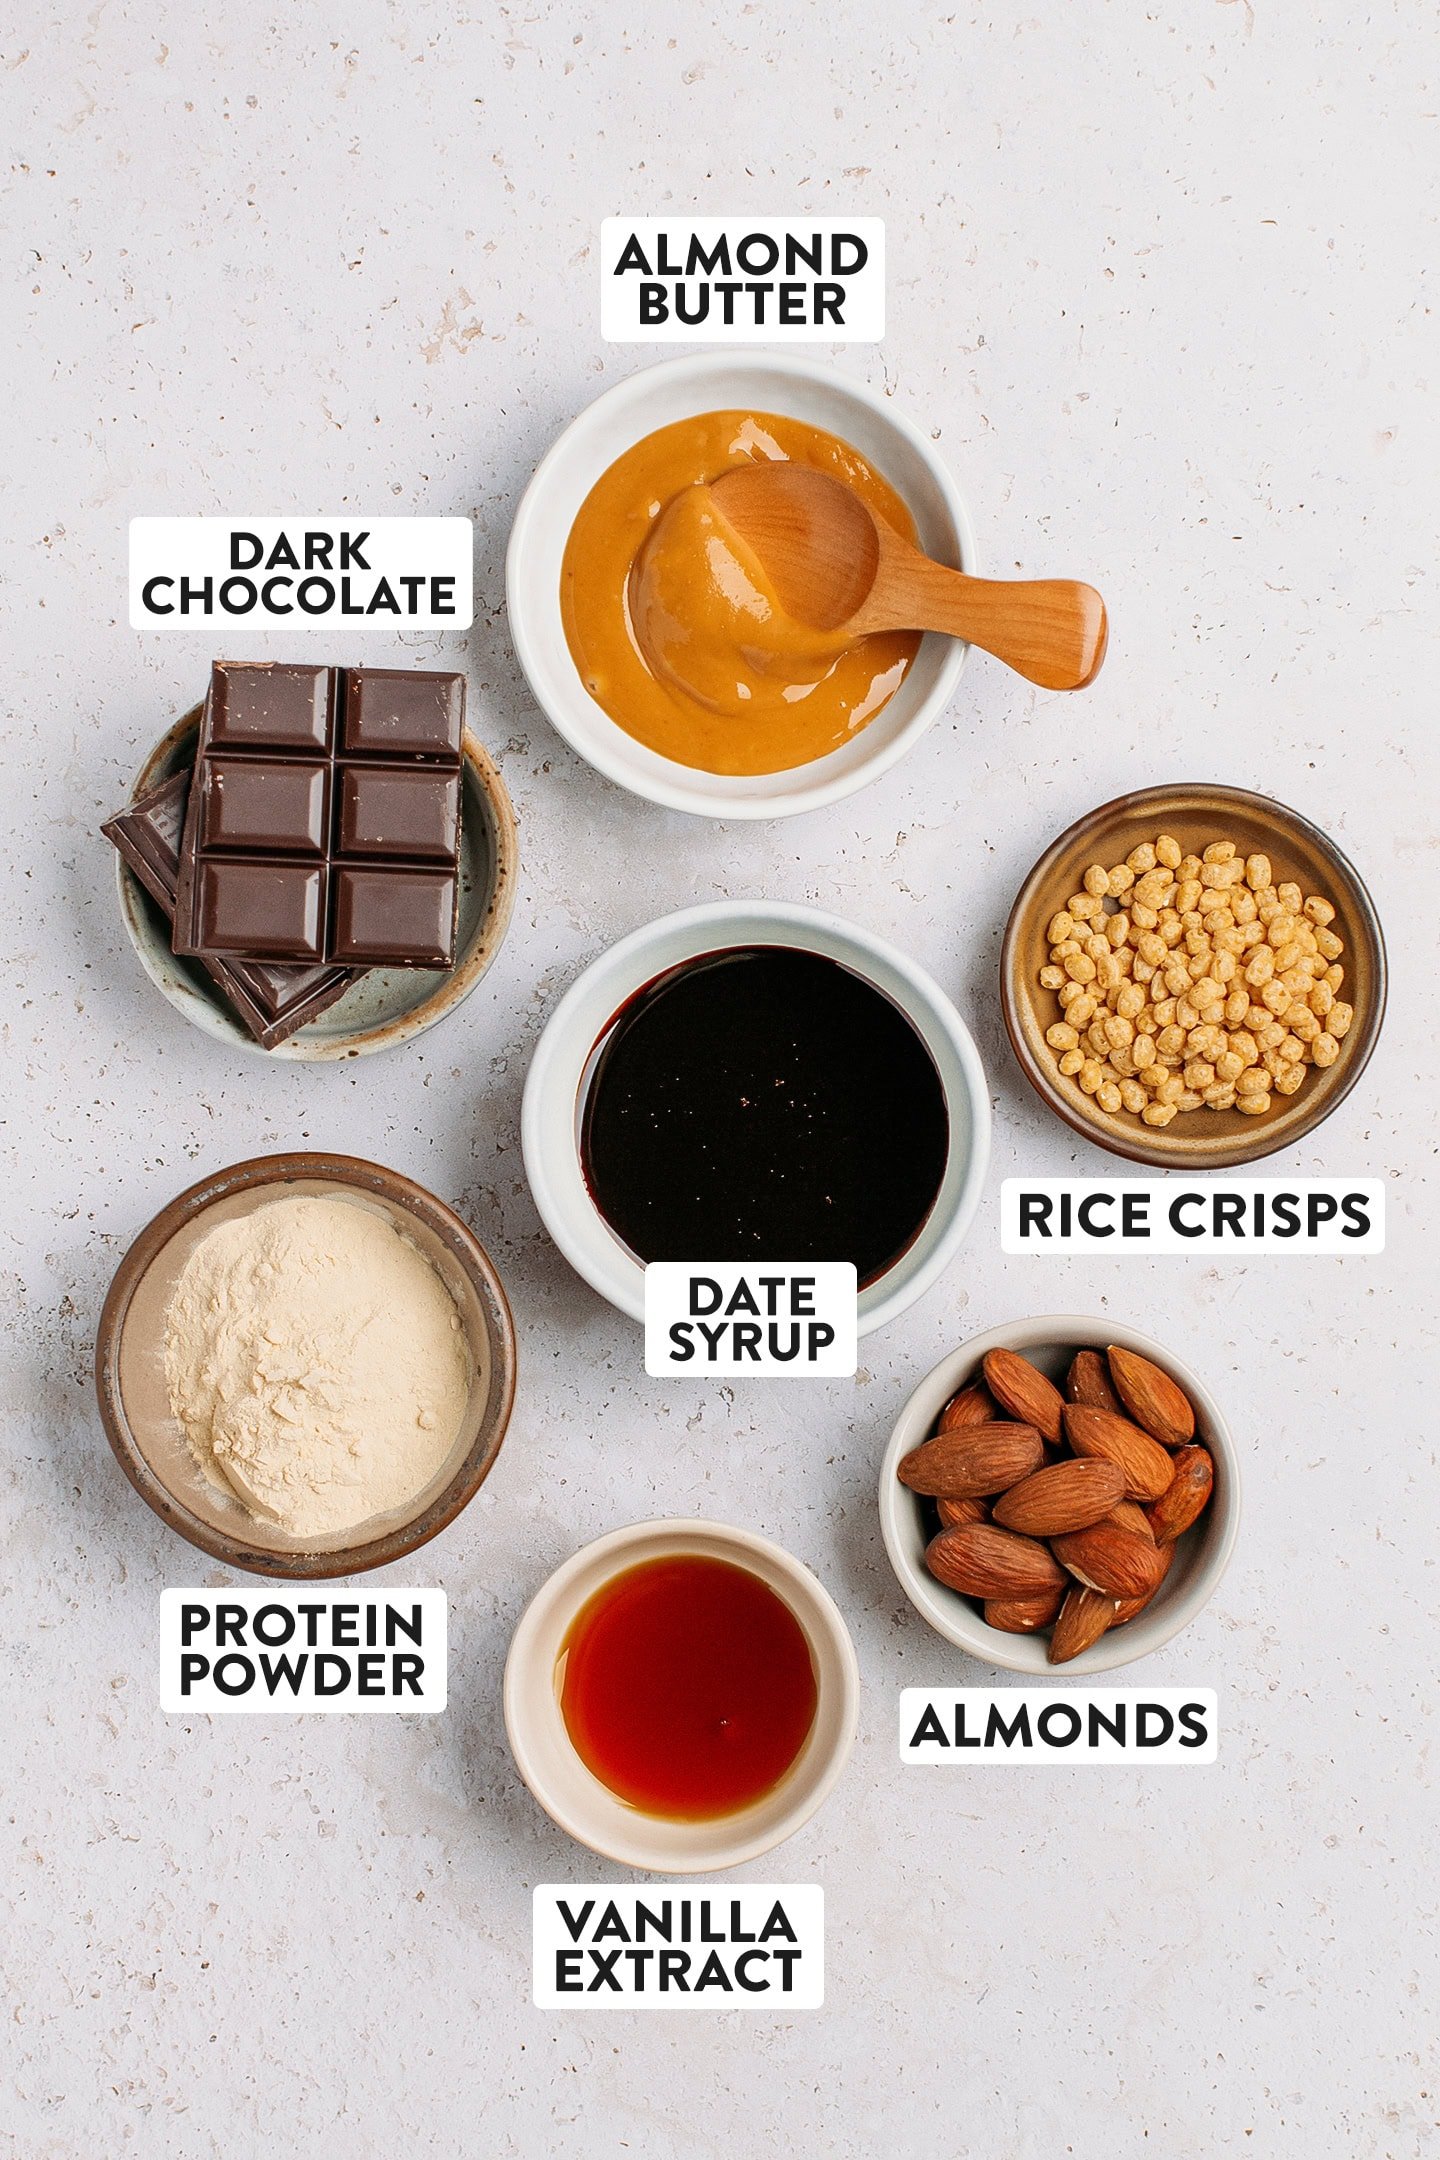
Protein powder
Vegan protein powder makes the base of these bars.
Brand recommendations: I have tried these bars with 5 different protein powders, and the ones that yielded the best flavor were from Ghost and Awesome Supplements. Epic Protein from Sprout Living tasted pretty good as well, but because it contains lucuma, it had some aftertaste that I wasn’t the biggest fan of. Sunwarrior’s sprouted brown rice protein had an okay taste, but was a bit gritty in our opinion. I’m sure there are other great-tasting brands out there, so feel free to use your favorite.
Date syrup
To sweeten the bars, you will need date syrup. Since it’s made entirely from dates, it is a great refined-sugar-free option. Its natural stickiness helps bind the filling together.
Note: Don’t try to replace the date syrup with maple syrup. The bars won’t hold together well – I have tried it. If you don’t have date syrup, use brown rice syrup instead (you might have to add an additional tablespoon to the 1/3 cup).
Almond butter
For healthy fats and richness, I also include almond butter in the filling.
Substitute: Feel free to use cashew butter, hazelnut butter, or peanut butter for “peanut butter cup protein bars”!
Vanilla extract
To add gourmand and floral notes. When combined with the melted chocolate, it also helps mellow out the taste of the protein powder.
Dark Chocolate
You will use dark chocolate in both the filling and the coating. In the filling, it helps it firm up slightly and adds a delicate chocolate flavor. I suggest using 70% dark chocolate for the coating so the bars won’t be overly sweet.
Roasted almonds
For a little crunch, I incorporate roughly chopped roasted almonds.
Substitute: Be creative and use your favorite nuts! Crushed macadamia nuts, peanuts, hazelnuts, or even cashews!
Rice crisps (optional)
And finally, to add an extra layer of texture, you can add some rice crisps, brown rice crisps, or even soy crispies!
🥣 Instructions (With Photos)
1. Make the filling
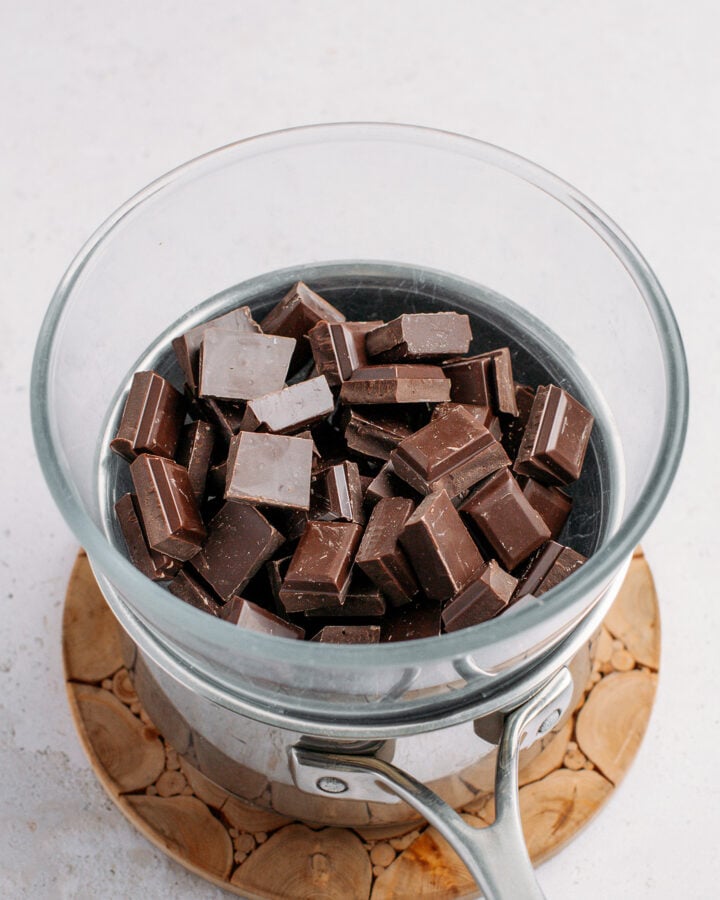
- Melt the chocolate chips. Melt the dark chocolate chips over a double boiler. Set it aside once melted.
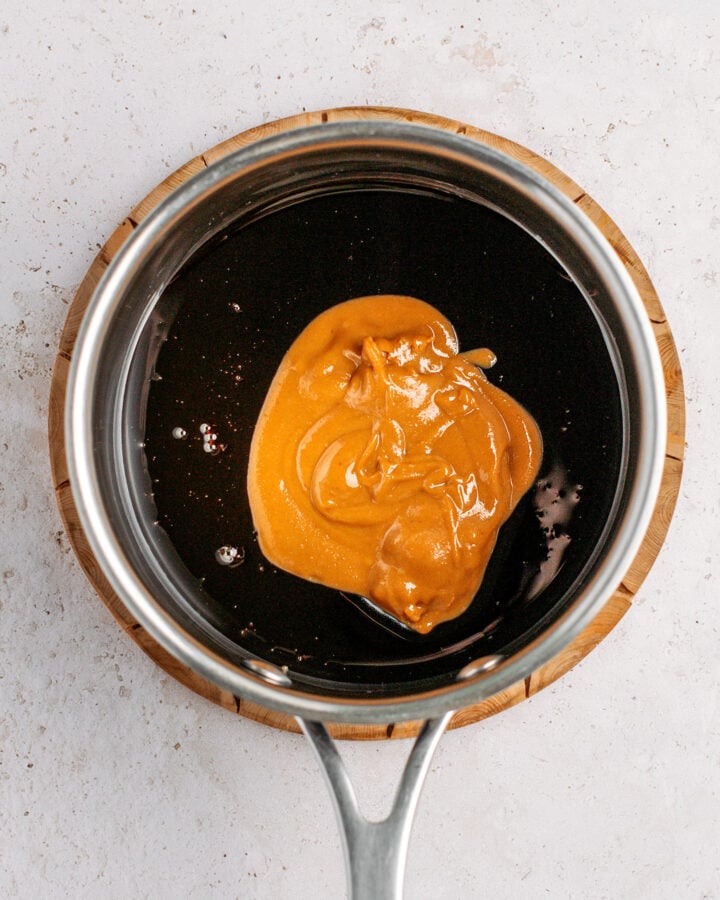
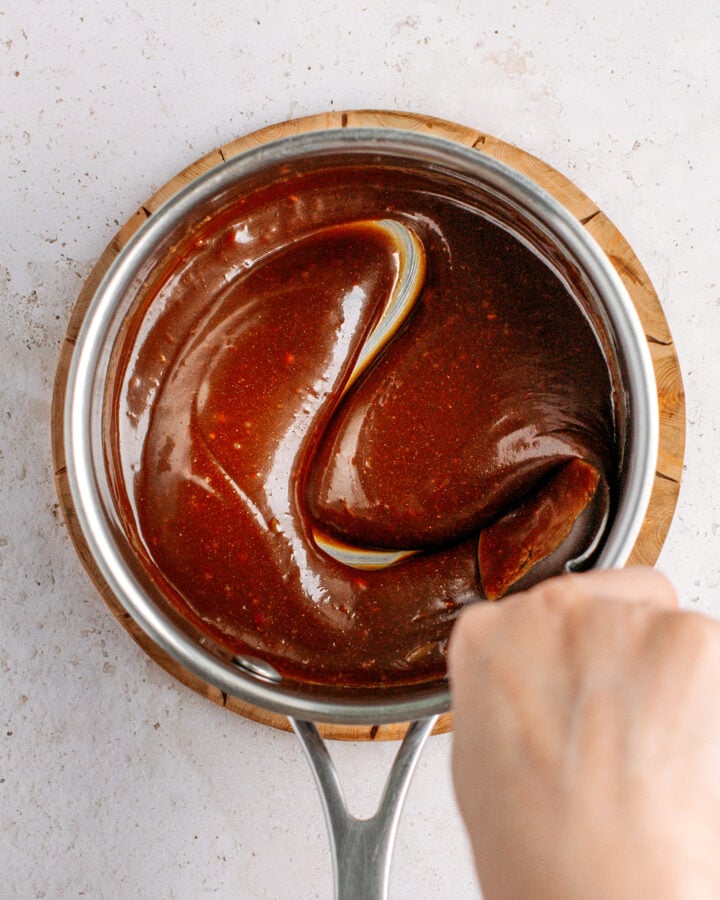
- Heat the liquid ingredients. Add the almond butter and date syrup to a saucepan and heat them over low heat for about one minute.
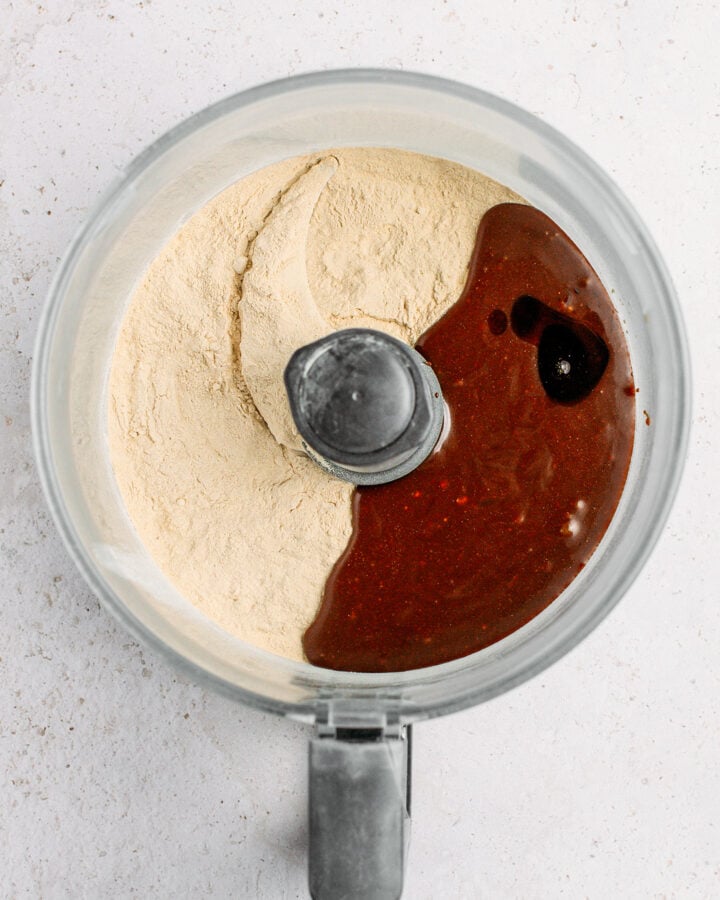
- Process. Then, add the protein powder and warm almond butter/date syrup mixture to a food processor. Process for 1-2 minutes or until it forms a dough.
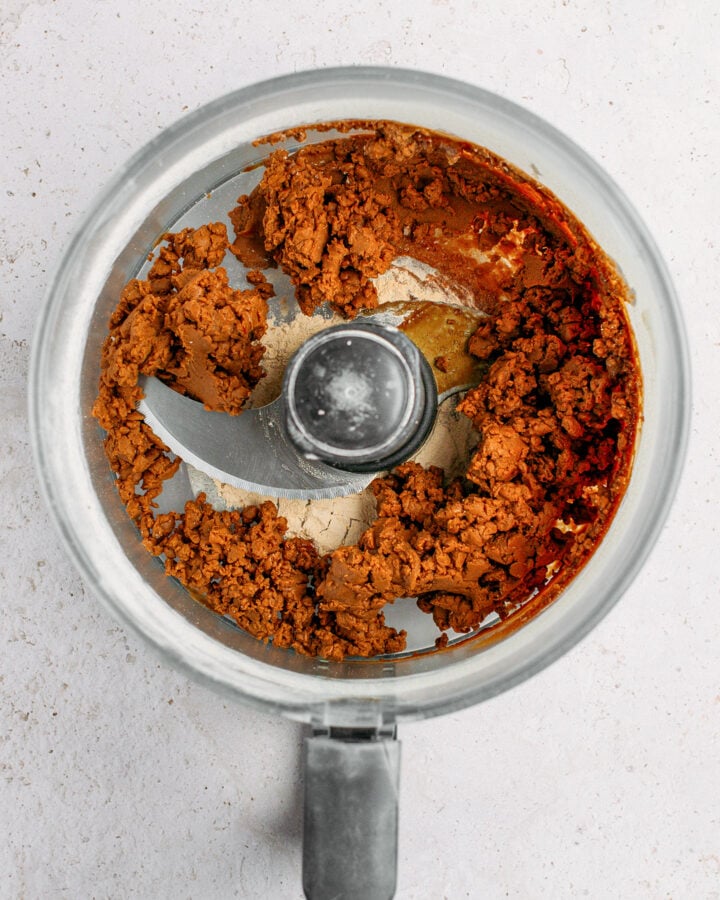
- Add the melted chocolate chips. Next, add the melted chocolate chips and process for a few more seconds.
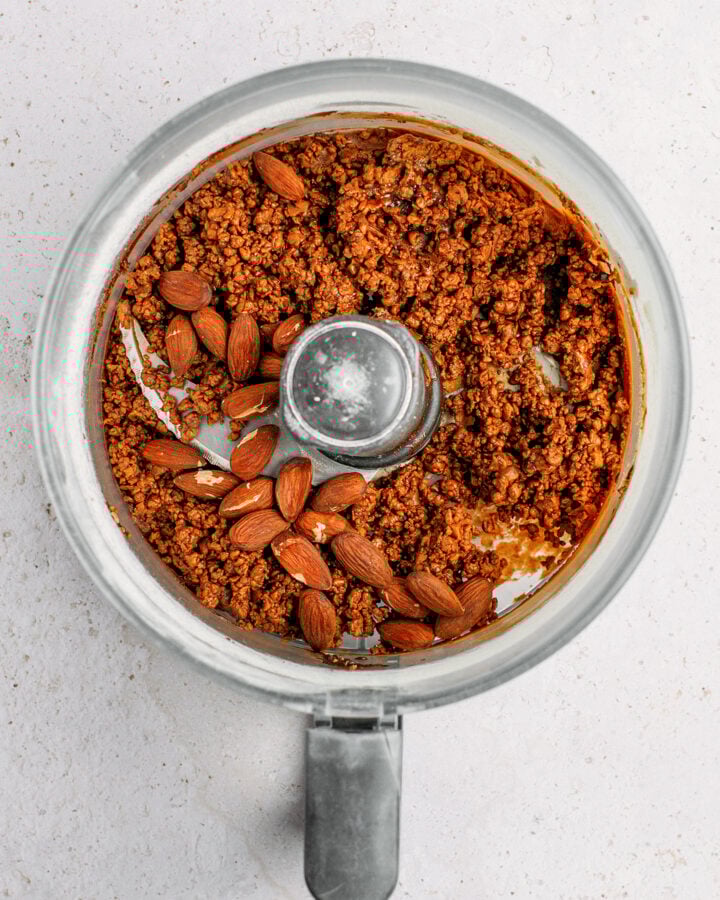
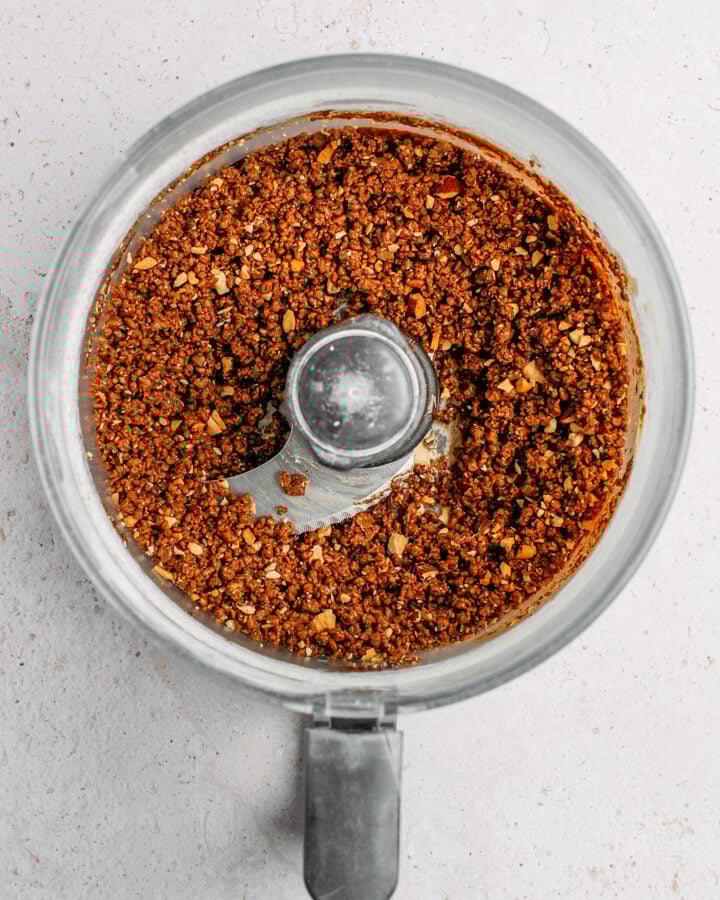
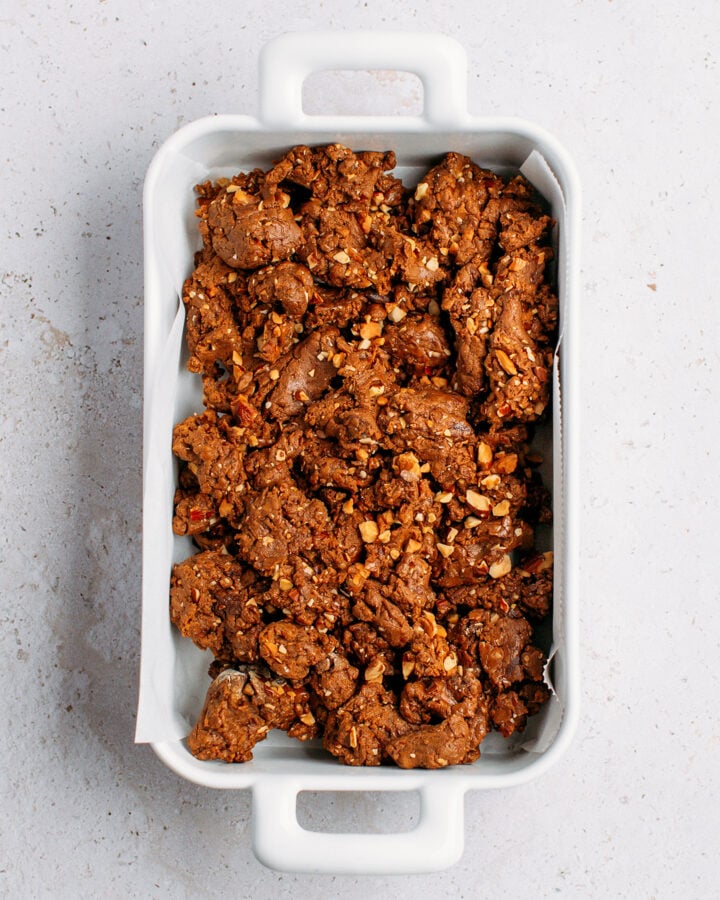
- Add the nuts. Add the roasted almonds and process for another 5-10 seconds or until roughly chopped.
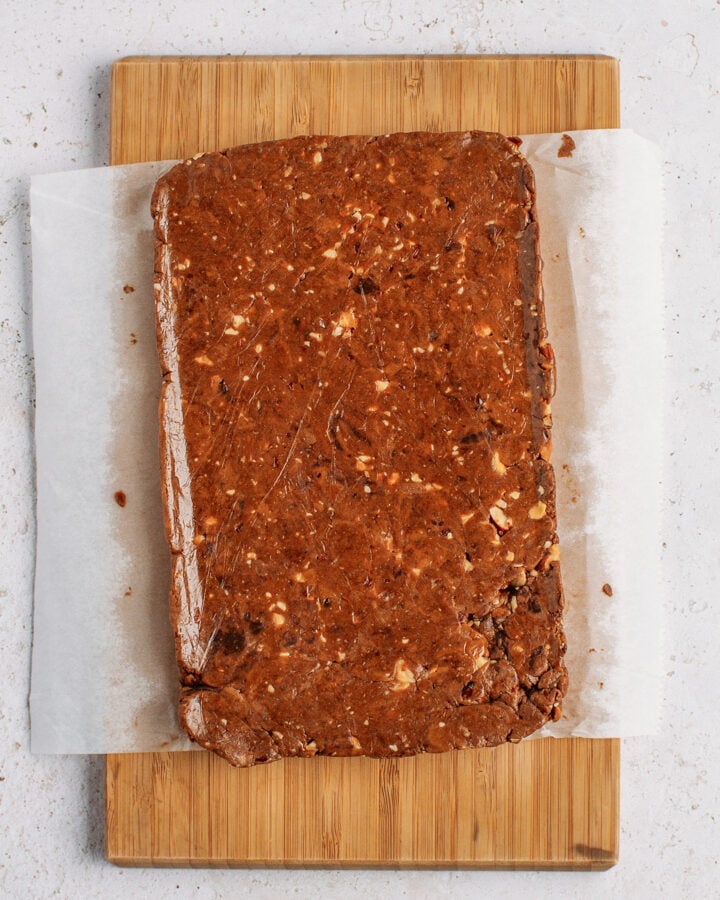
- Press into a pan. Transfer the dough to a baking dish lined with parchment paper and press it very firmly into an even layer.
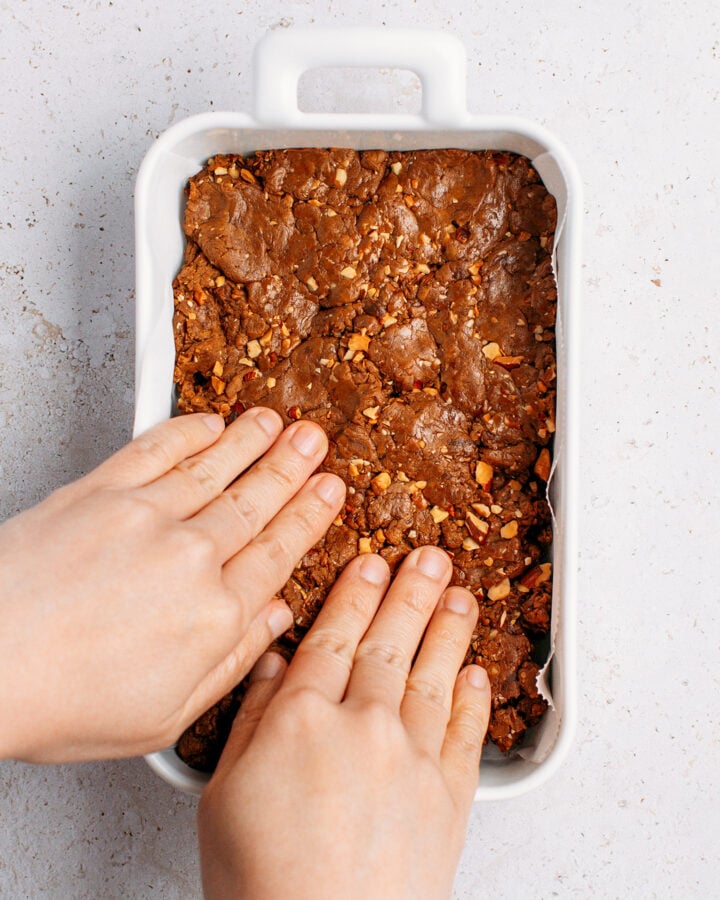
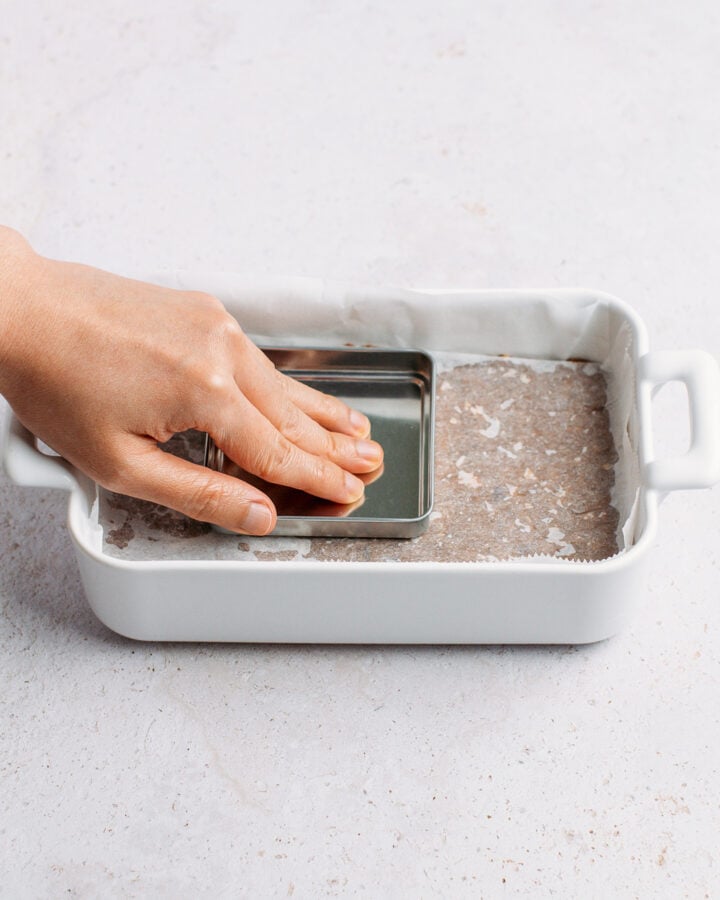
For this step, I usually place another layer of parchment paper on top of the dough and use a rectangular glass or a cap to flatten it evenly.
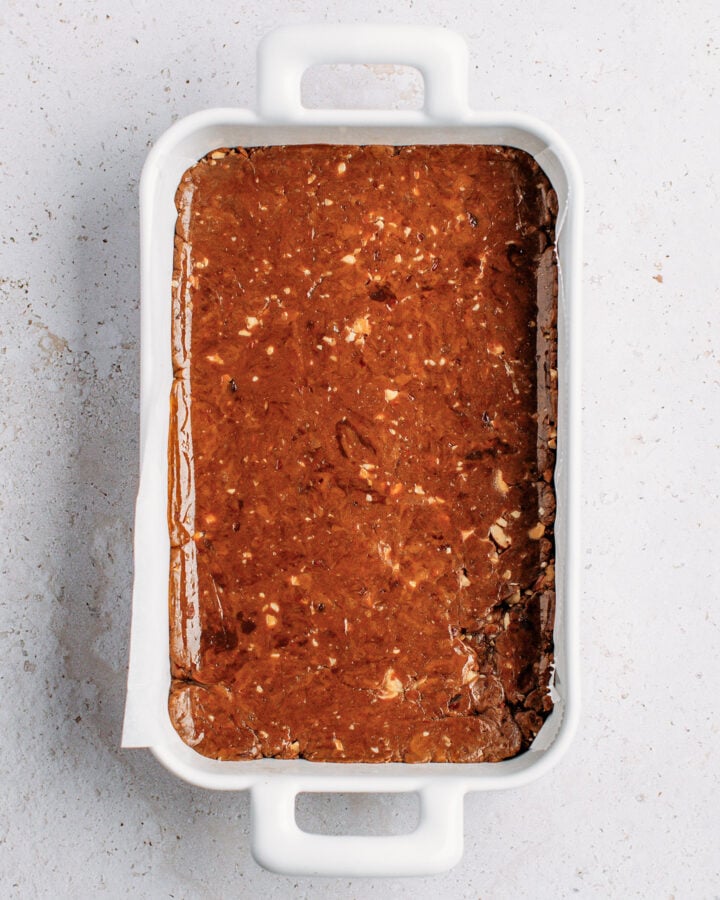
- Refrigerate. Cover the dough with plastic wrap and let it cool for at least 6 hours at room temperature (or 2 hours in the refrigerator). This helps the mixture firm up.
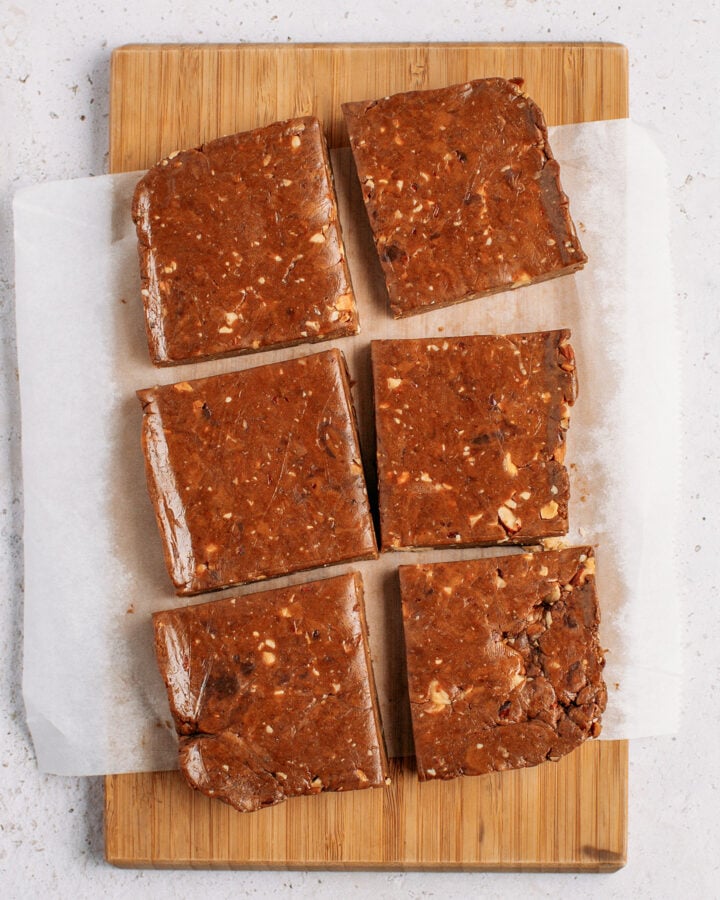
- Slice into bars. Once firmer, carefully lift the dough from the pan and cut it into 6 bars.
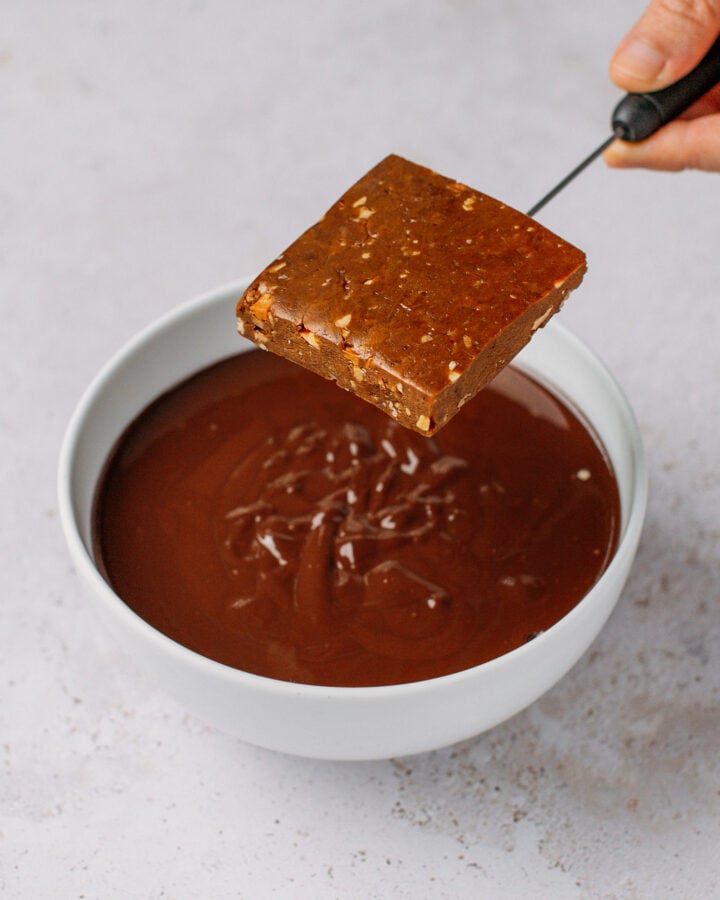
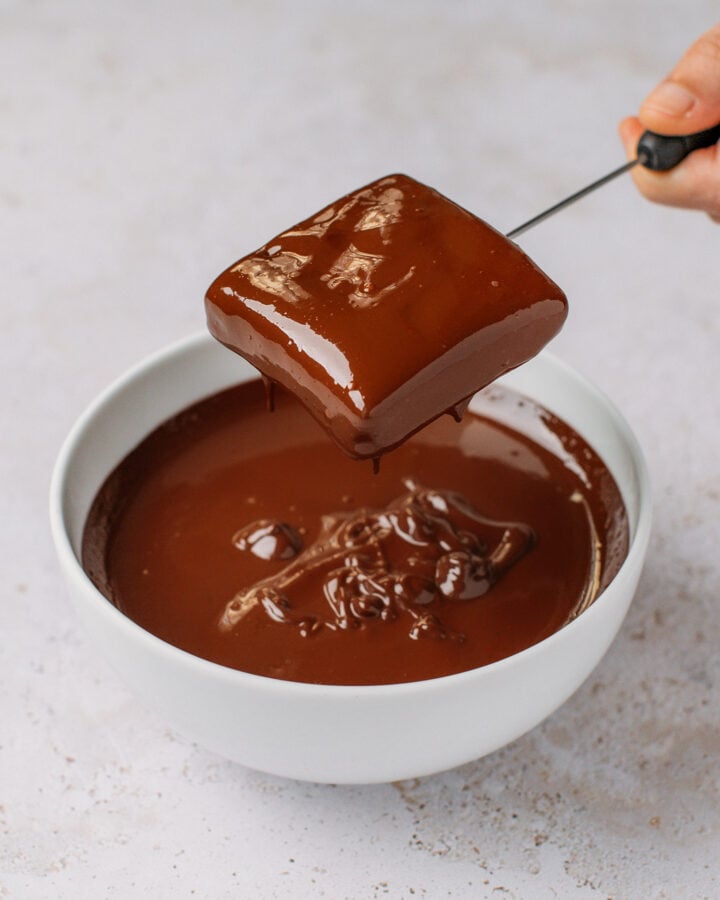
2. Dip the bars
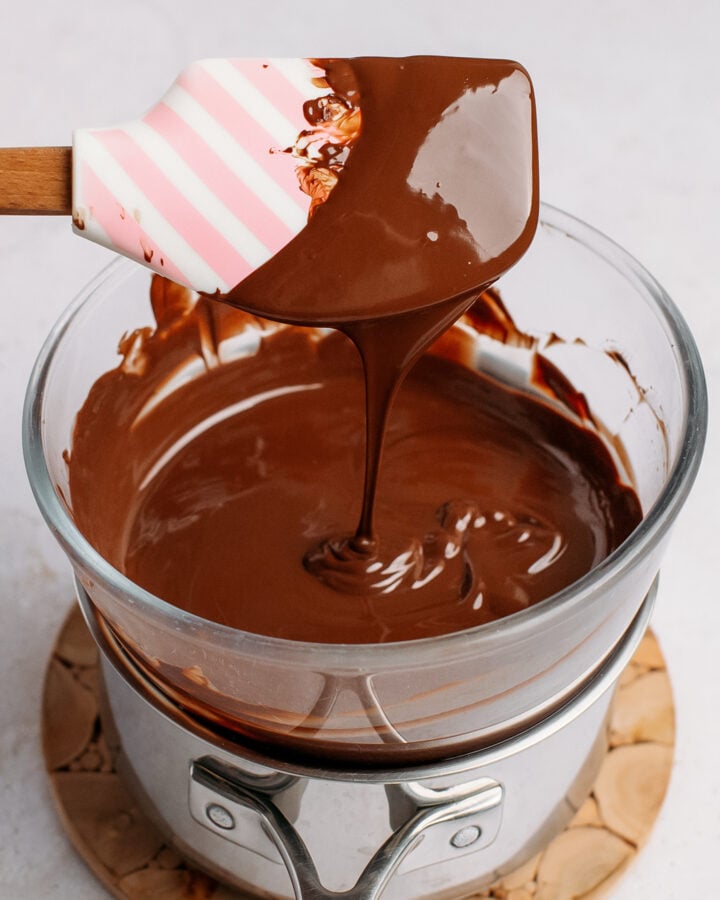
- Melt the chocolate. Melt the dark chocolate in a double-boiler.
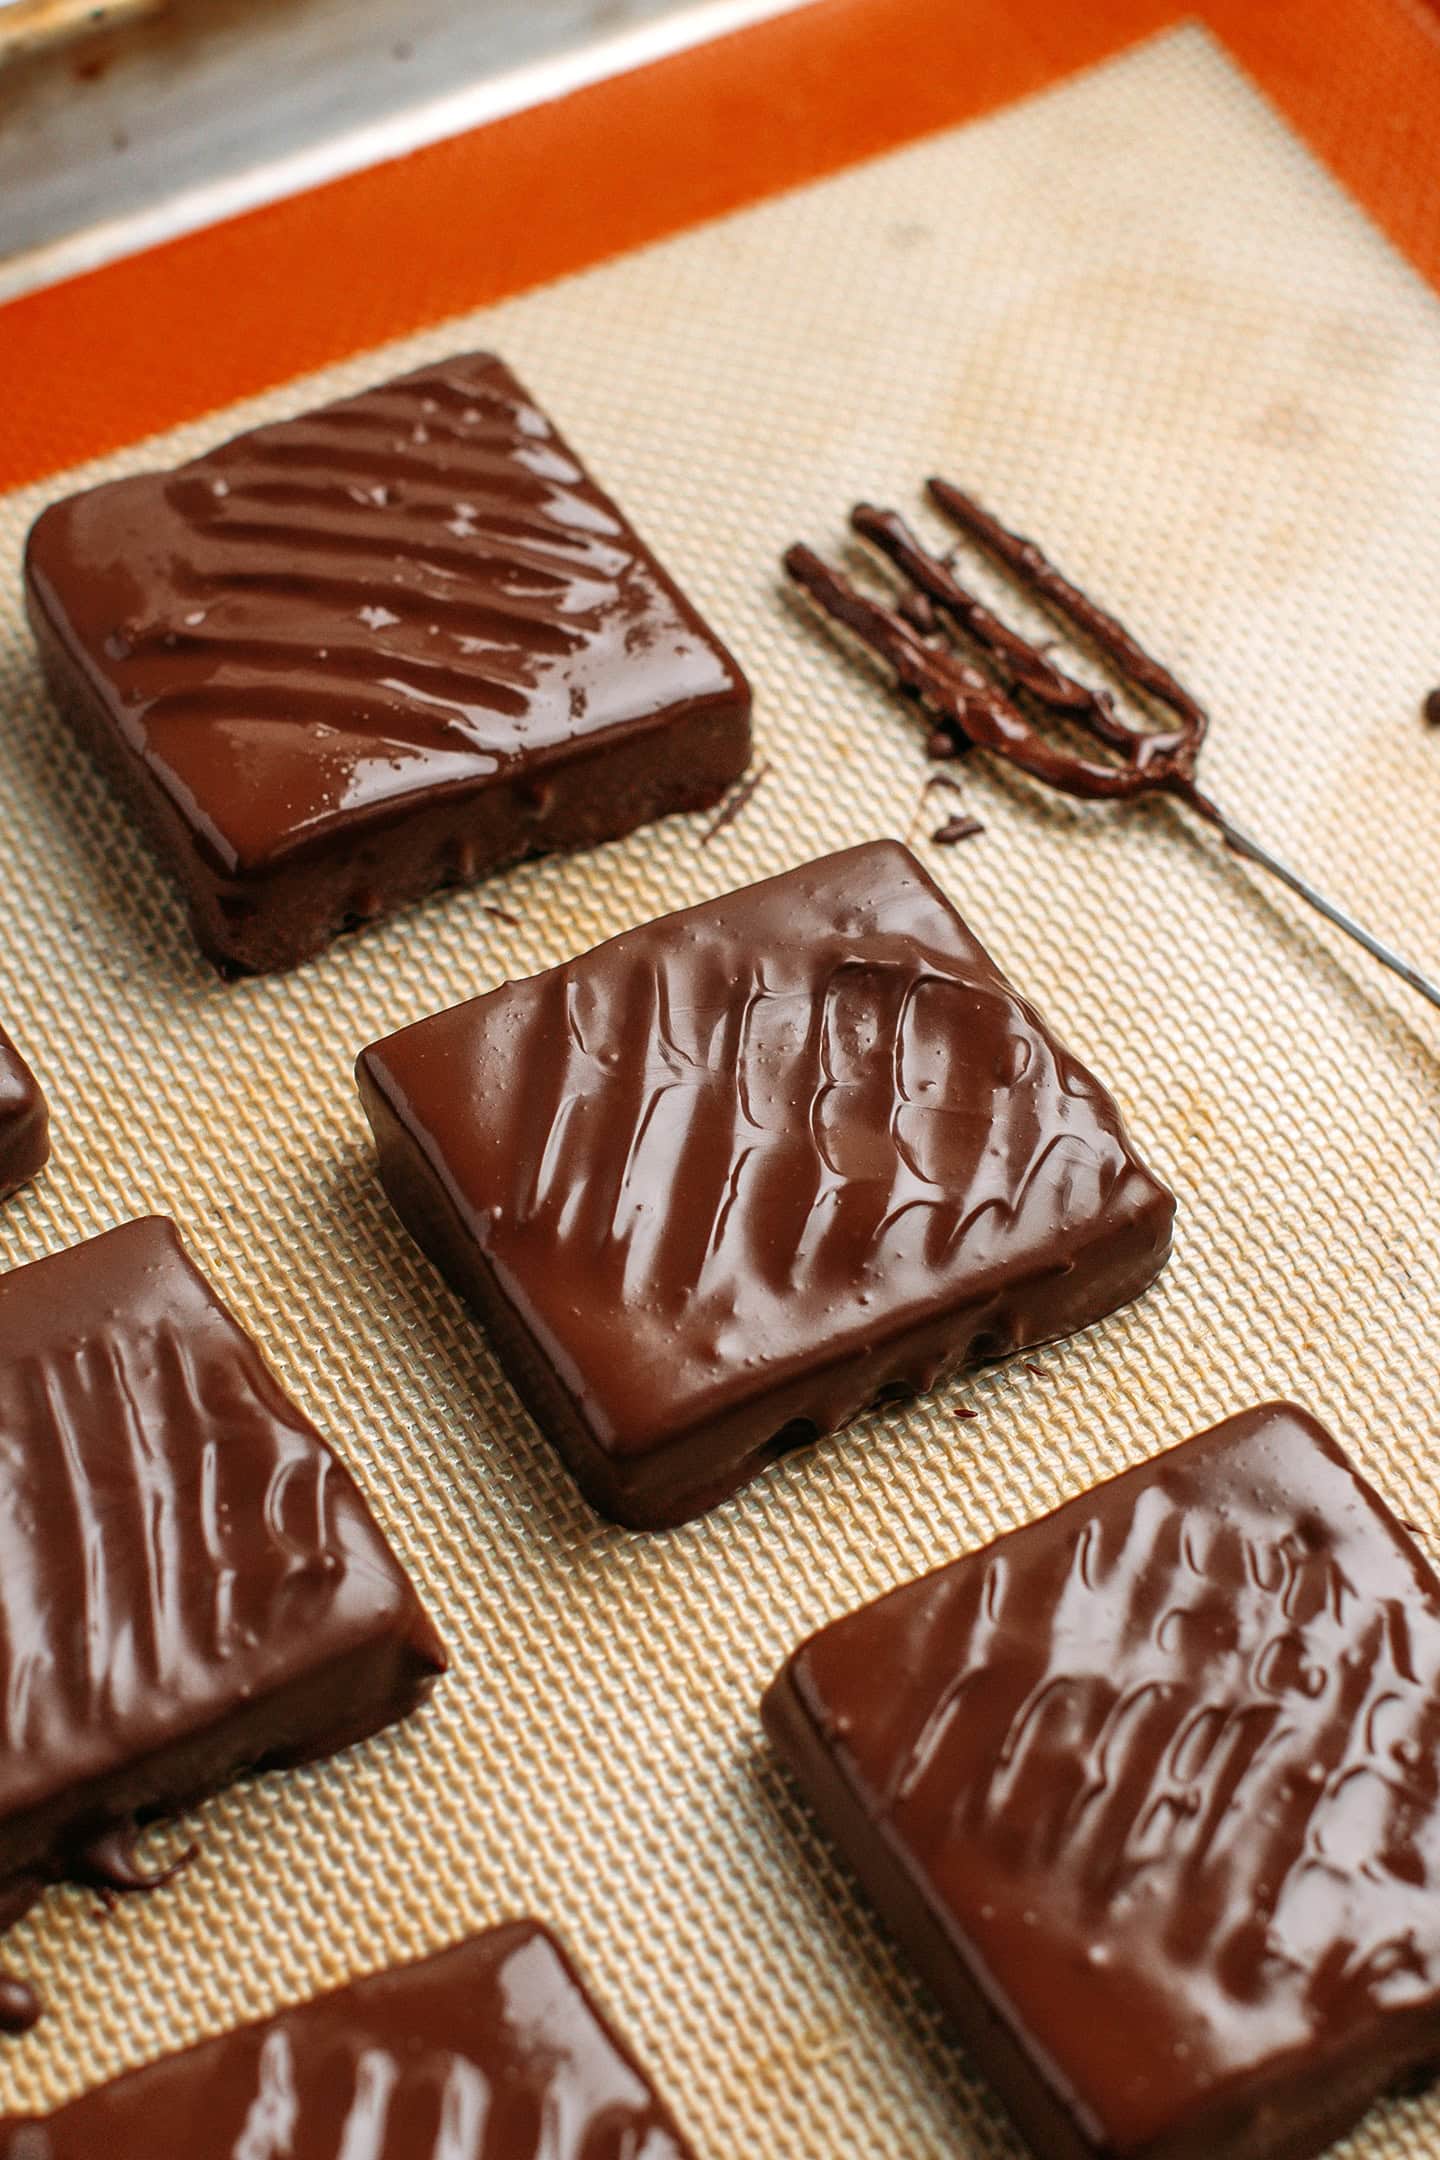
- Dip the bars. Working with one bar at a time, dip each in the melted chocolate using a fork. Then, transfer the chocolate-coated bar to a baking sheet lined with parchment paper. Repeat with the remaining bars.
- Let them cool. Allow the chocolate shell to harden at room temperature for 2-3 hours (if your chocolate was tempered, this should only take about 20 minutes).
Thomas’ Tips
You can make your bars as thin or as thick as you like. The size of your pan will define the thickness. I prefer mine about 1/3 inch thick, so I used a 4.5×7-inch (11.5×18 cm) dish. And you don’t have to cut them into squares either. Slice them into long rectangles if that’s what you prefer!
Use a high-percentage chocolate for the coating. Chocolate with a higher cocoa butter content melts more fluidly, allowing you to get a thinner coating around the bars when dipping. I advise against using chocolate chips, as they are formulated to retain their shape during baking and generally contain less cocoa butter. This makes melted chocolate chips much thicker, resulting in a thick chocolate shell.
Note: If your melted chocolate is too thick, you can add 1-2 teaspoons of melted cocoa butter to thin it.
Temper the chocolate. For a perfectly snappy shell, I suggest tempering the chocolate. Tempering means heating melted chocolate to a specific temperature, letting it cool, then reheating it to another temperature before using it. For dark chocolate, the temperature curve is as follows: 122-131°F (50-55°C) > 82-84°F (28-29°C) > 88-90°F (31-32°C). Tempering is not mandatory, but the coating might not be as glossy or crisp if you skip this step. It also won’t snap off when you bite into it. I don’t always temper the chocolate, though, and the bars still taste delicious.
🥜 Variations
This recipe is just a base. Be creative and play with the add-ins! You could, for example, incorporate chocolate chips, shredded coconut, dried cranberries, raisins, or spices like cinnamon or ginger. And for a mint-chocolate flavor, add a few drops of mint extract. Feel free to experiment!
😍 How to Enjoy Them
Basically, anywhere and anytime! These bars make a great post-workout snack, but you can also dice them into chunks and use them as a topping for banana ice cream, oatmeal, or smoothie bowls.
❄️ Storing
Once the chocolate coating has set, wrap each bar in plastic wrap and keep them at room temperature or refrigerate for firmer bars. They will keep for up to 2 months at room temperature. I think the bars taste even better after a few days, as the protein powder aftertaste tends to disappear.

💬 Troubleshooting
If the mixture appears too crumbly after processing, you can add 1-2 tablespoons of date syrup and/or almond butter and process again until the dough holds together.
The most common reason for a thick chocolate shell is that the chocolate you used didn’t contain enough cocoa butter. Try using a higher cocoa butter percentage chocolate, or add 1-2 tablespoons of melted cocoa butter to help thin it out.


Save this recipe!
Enter your email below and I’ll send it to your inbox!
Plus, you will receive new recipes every week!
Vegan Chocolate-Coated Protein Bars
Ingredients
Bars
- 2 tbsp (24 g) dark chocolate chips
- 1/3 cup (105 g) date syrup
- 1/4 cup (60 g) almond butter
- 1 tsp (5 ml) vanilla extract
- 1/2 and 1/3 cup (100g) vegan protein powder
- 1/4 cup (32 g) roasted almonds
- 1/4 cup (7 g) rice crisps (optional but recommended for an additional crunch)
Chocolate Shell
- 15 ounces (425 g) dark chocolate I used 70% cocoa
Instructions
Bars
- Melt the chocolate chips. Add the dark chocolate chips to a glass bowl and place it over a pot filled with about 1 cup of water to create a double boiler. Melt the chocolate over low-medium heat. Set it aside once melted.
- Heat the liquid ingredients. Add the date syrup and almond butter to a saucepan and heat them over low heat, whisking constantly, for about one minute. Remove from the heat and stir in the vanilla extract. Set aside.
- Process. Then, transfer the protein powder and warm date syrup/almond butter mixture to a food processor. Process for 1-2 minutes. Note: At first, it will look like a fine powder. Just scrape the sides of the bowl from time to time until small bits start to form. Test the dough to see if it holds together well by squeezing a bit between your fingers.
- Pour in the melted chocolate chips. Next, add the melted chocolate chips and process for another 15-20 seconds.
- Add the almonds. Add the roasted almonds and process for another 5-10 seconds or until roughly chopped. At this point, transfer the mixture to a large bowl and add the rice crisps, if using. Mix well with your hands until well incorporated.
- Press into a pan. Transfer the mixture to a 4.5×7-inch (11.5×18 cm) baking pan lined with parchment paper. Press the mixture very firmly into an even layer. Note: For this step, I usually place another layer of parchment paper on top of the mixture and use a rectangular glass or a cap to flatten it evenly.
- Refrigerate. Cover the top of the mixture with plastic wrap (to prevent it from drying) and allow it to cool for at least 6 hours at room temperature or refrigerate for about 2 hours. This will allow the mixture to firm up.
- Slice into bars. Once firmer, carefully lift the mixture from the pan and cut it into 6 square bars. Set them aside.
Chocolate Shell
- Melt the chocolate. Melt the dark chocolate in a double-boiler over low heat.
- Dip the bars. Working with one at a time, completely dip each bar in the melted chocolate using a fork. Slightly shake to let the excess chocolate drip off. Then, carefully transfer the dipped bar to a baking sheet lined with parchment paper. Repeat with the remaining bars.
- Let them cool. Allow the chocolate shell to harden at room temperature for 2-3 hours (or about 20 minutes if your chocolate was tempered).
- These bars will keep for up to 2 months at room temperature, wrapped in plastic wrap.
Notes
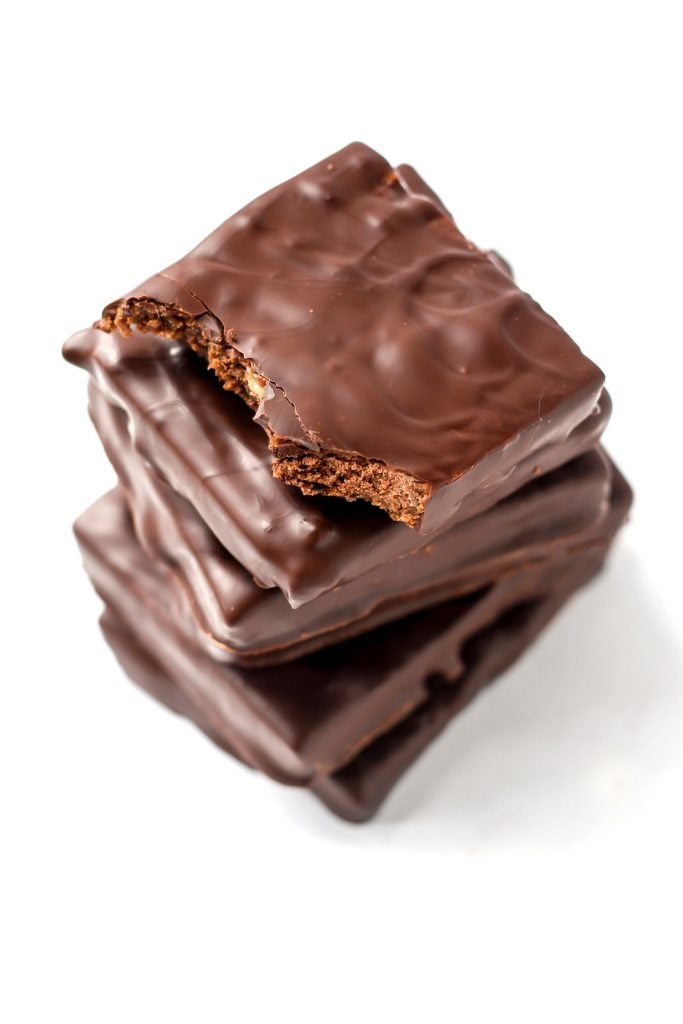
Note: This recipe was first released in July 2016 and updated with new process shots and detailed instructions in November 2025. You can see the older photos below.

About the Author
Thomas Pagot is the founder, photographer, and recipe developer behind Full of Plants. He created the blog in 2016 as a personal cookbook for vegan recipes. Through years of recipe development, Thomas has successfully grown Full of Plants into a trusted resource for plant-based recipes.
Leave a Comment
Can molasses be used in place of the date syrup?
I think it will work but it will completely change the flavor of the bars.
What size pan do you recommend for this recipe?
Hi! Can i subtitute the protein powder for collagen powder?
Hi Cynthia,
I’m not familiar with collagen powder, but if it acts like protein powder, it should work.
Hi Thomas!
Did you use unflavoured protein powder?
Hi Lauren,
I used both, sometimes unflavored and sometimes vanilla-flavored. If using unflavored, make sure it doesn’t have an overpowering flavor (rice protein for example is usually quite bitter and gritty).
Hey ! Amazing recipe!!
Can you share the metric ( grammage) amount of each ingredient, as I am german ? Would help so much!!! Thank you
YUM Cannot wait to try!
Vegan version is always problematic but this recipe is just so great and the bars are so delicious! Thanks for sharing!
Is it 1/2 or 1/3 cup protein powder?
1/2 cup + 1/3 cup protein powder.
These look outstanding! I love the idea of being able to make my own protein bars at home with the knowledge of all the ingredients. Can’t wait to try these out! Thanks for the post!
Thanks! Make sure to use protein powder with a very subtle flavor!
These sound amazing! I am def making these this week!!