
This post may contain affiliate links. Please read our disclosure policy.


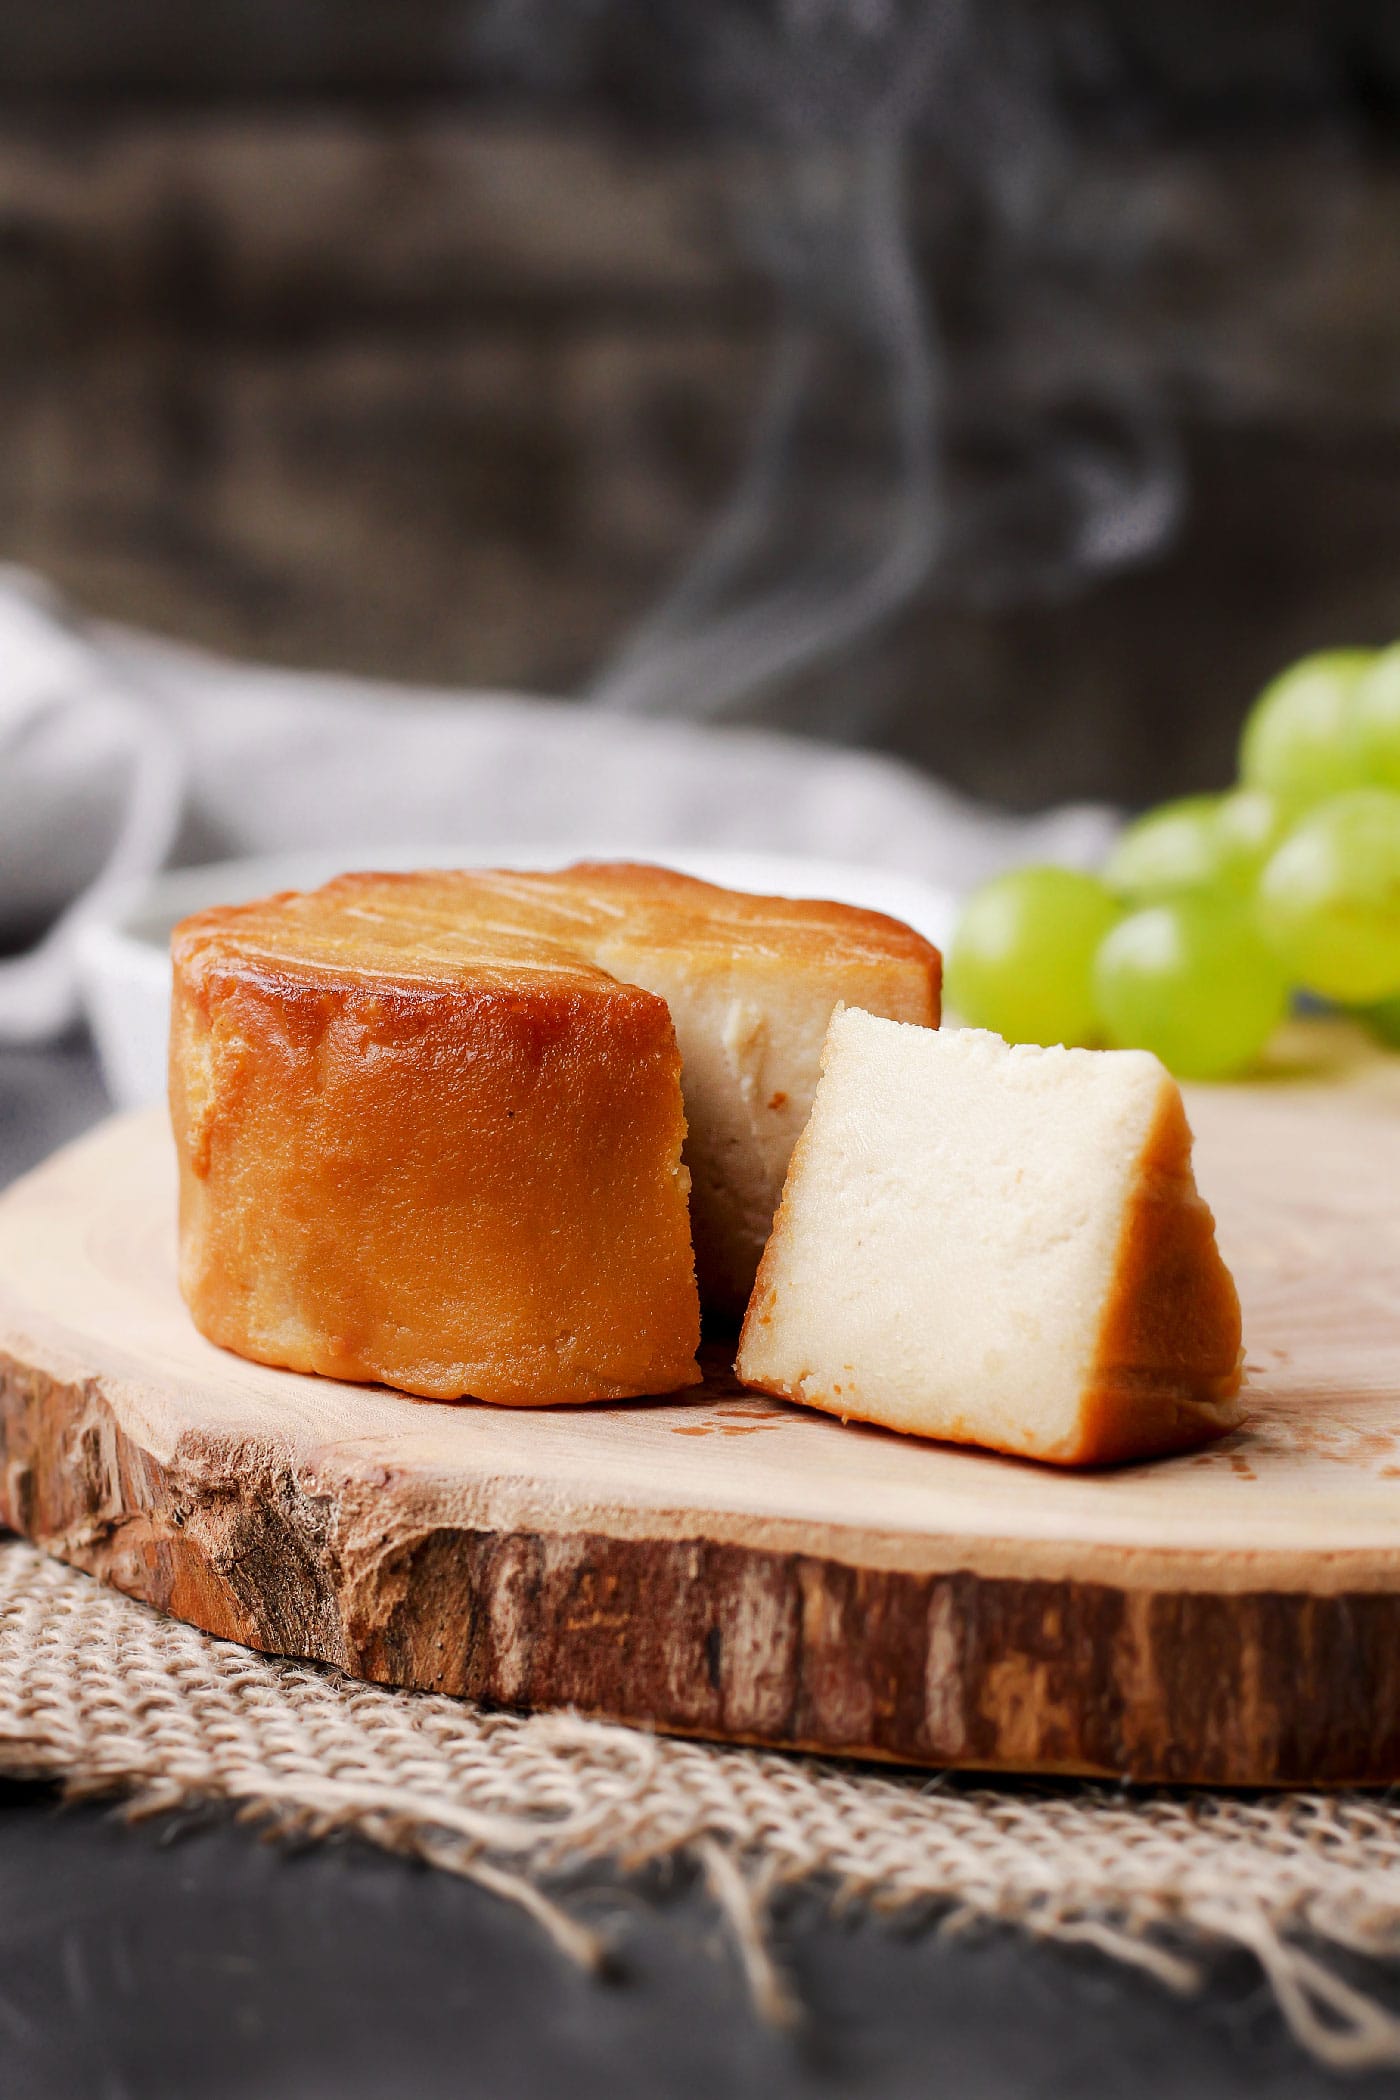
Learn how to make hickory-smoked vegan cheese from scratch! Prepared with 5 simple ingredients, this vegan cheese is naturally fermented and smoked over hickory wood chips for complex flavors. It’s buttery, packed with umami and so warming!
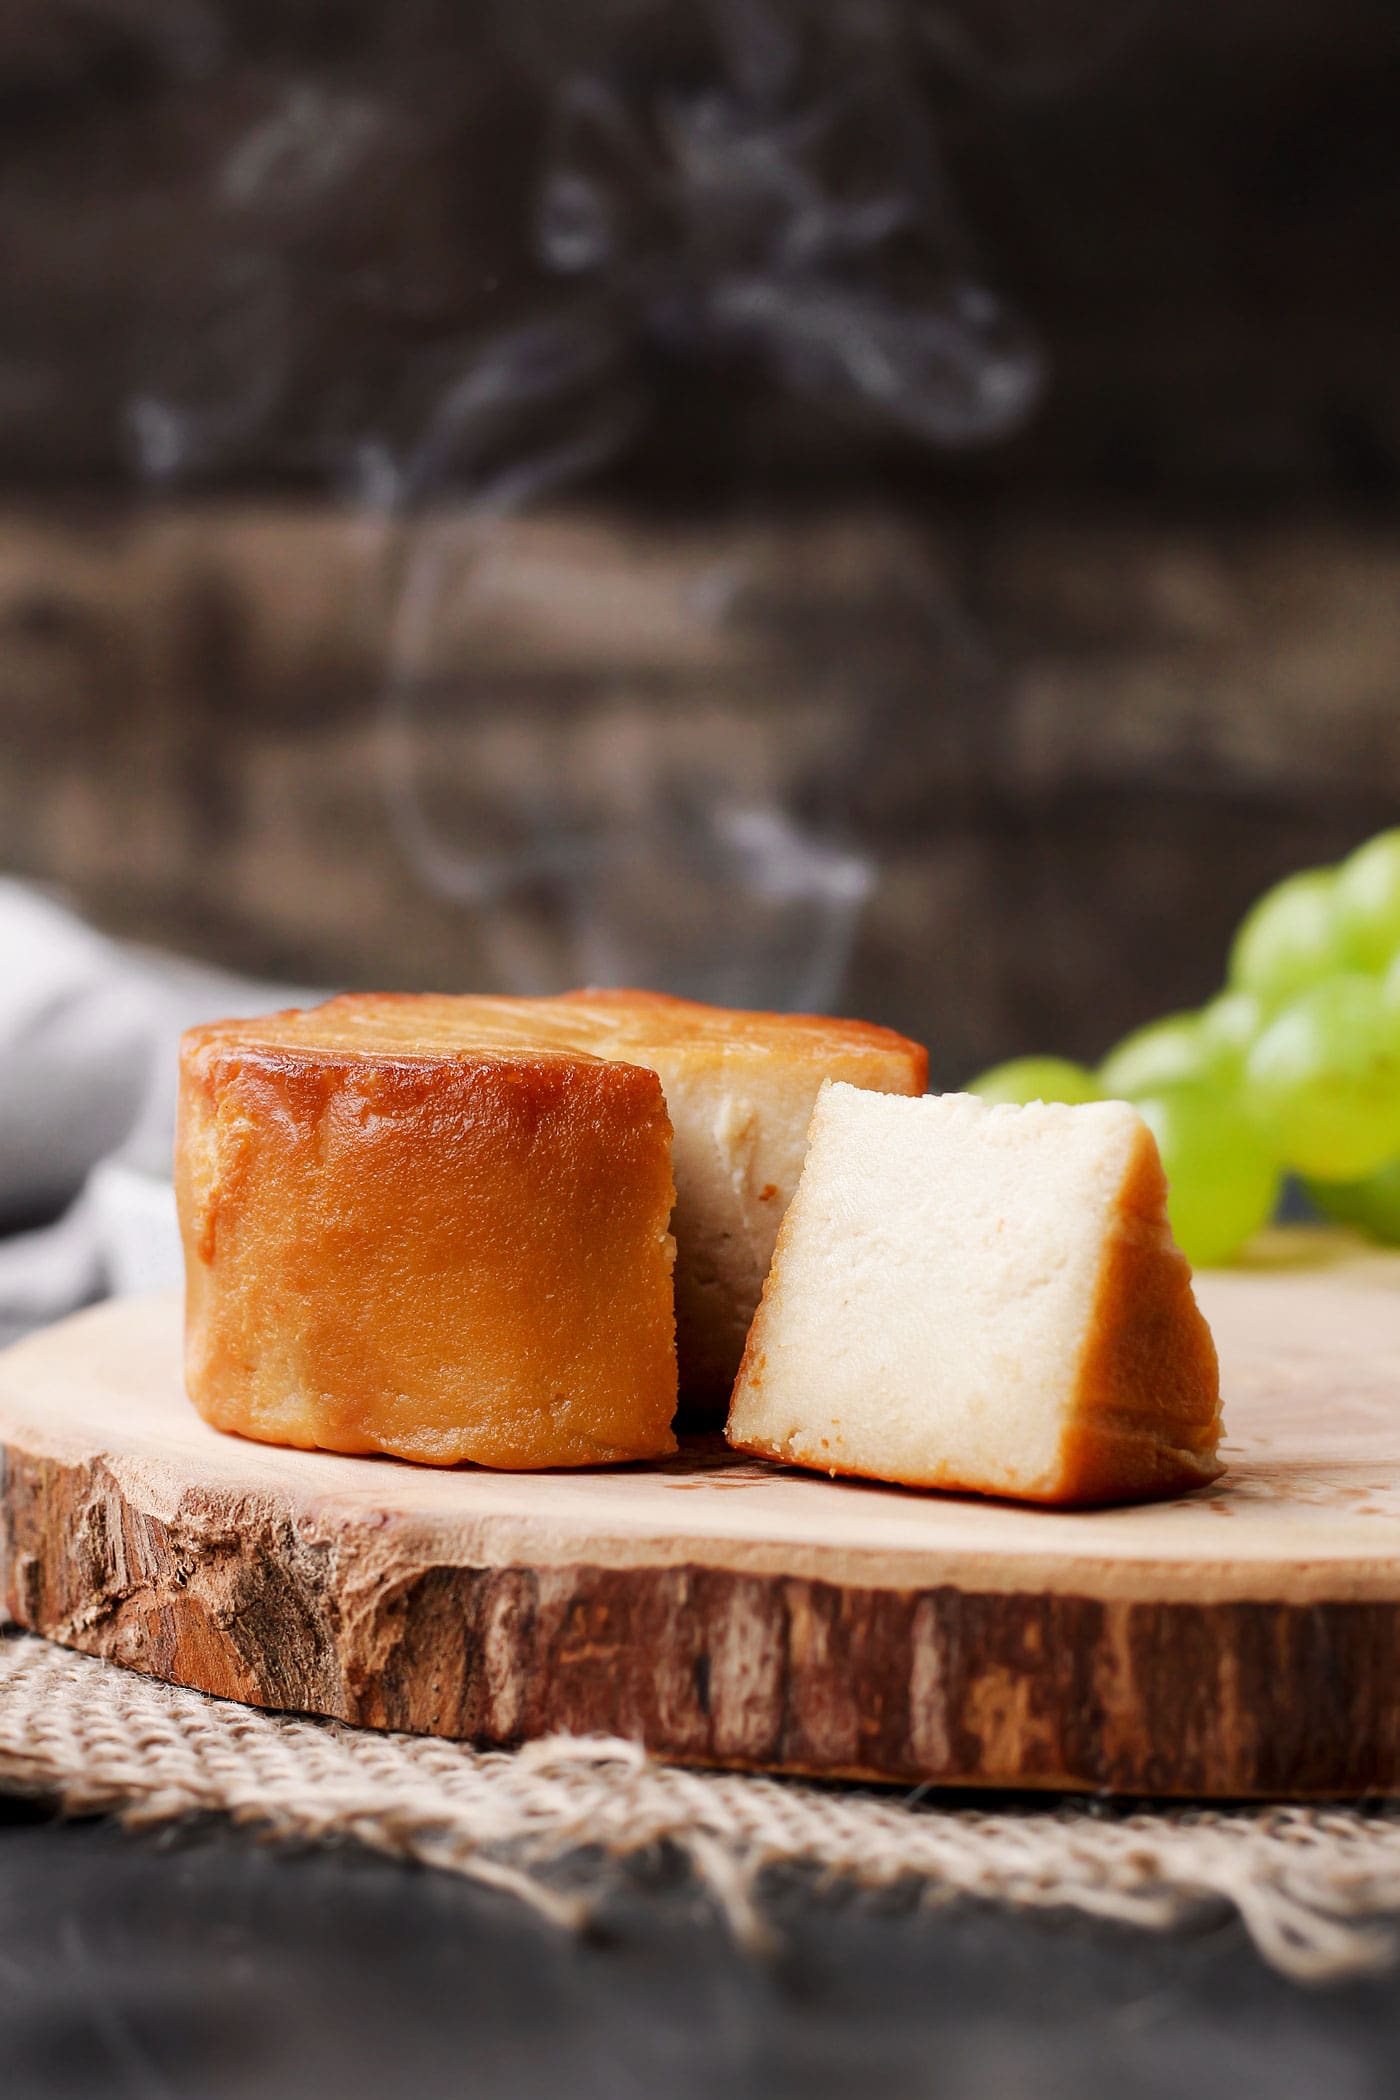
I’m so excited to share this recipe with you, friends. I have been making this hickory smoked vegan cheese for years and it’s still one of my favorites.
I can’t find words powerful enough to express my love for this cheese. Honestly, I love it EVEN MORE than my camembert and blue cheeses, even if they take more time and effort to make. There is just something about it, maybe the comforting smoky smell, the strong umami flavor, or its golden brown color, but this cheese just hits me. And I’m sure you will love it too if you give it a try!
⭐️ Why You Should Try It
Infused with the most warming smokiness.
This is the kind of cheese that brings back memories of smoked cheddar or even bacon. This smoked cheese is seriously delicious. The natural smoking process gives it a warm, comforting flavor you can’t get with flavorings like liquid smoke or smoked salt, for example.
It’s incredibly savory, bold, and cheesy. It’s so rustic that I could imagine that cheese on Bilbo’s table in Hobbiton, served alongside some drinks and loaves of freshly baked bread.
Months of development.
After releasing my camembert and blue cheese recipes, I wanted to work on something a bit different, where there would be no mold required. Since I used to be a huge fan of smoked cheeses such as smoked raclette or gouda, I decided to come up with my own version of smoked vegan cheese.
It took me months of experimenting with various ingredients and processes, but I finally achieved the exact flavor I was aiming for.
Made with simple, wholesome ingredients.
The advantage of this recipe is that it doesn’t require any specific mold or hard-to-find ingredients. All you need are cashews, white miso, nutritional yeast, and acidophilus (or mesophilic culture). Compared to my previous cheese recipes, you don’t even have to take care of the temperature or humidity that much.
You just have to be patient as this smoked cheese is aged for a total of three weeks, smoked after two, and edible one week after the smoking process. If you can wait for one to two additional weeks, it will be worth it, as the flavors gain in complexity as time passes.
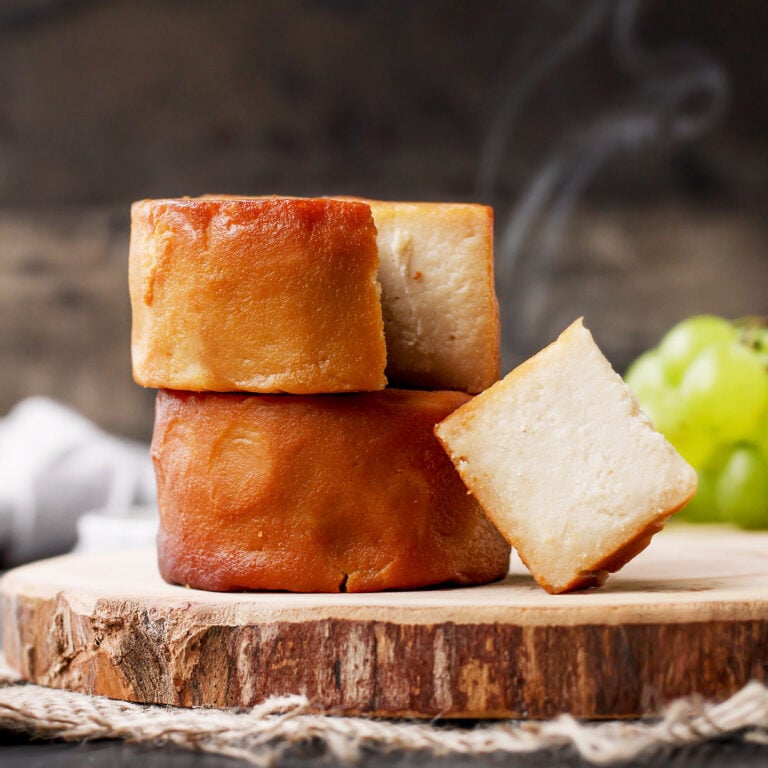
Plus, if you can age it for the total recommended time, it becomes sliceable. It’s firm on the edges and just slightly tender on the inside, like real dairy cheese!
The reviews speak for themselves.
Over the last few years, my smoked vegan cheese recipe has received over 60 reviews with an average of 5 stars! People have posted their results on Instagram, Facebook, and other social platforms and they LOVE this cheese!
🌰 Ingredient Notes
Here are the ingredients that you will need to make this smoked cheese:
Cashews
Raw cashews make the base of this cheese recipe. I love to use cashews to make vegan cheese as they help create a rich and creamy mouthfeel. On top of that, cashew cream ferments really well and firms up as it ages.
Please note that I haven’t tried this recipe with other nuts so I cannot give you recommendations. This recipe cannot be made nut-free either.
White miso
My first tests only included cashews and cultures, and I realized something was missing. Miso came to the rescue to add plenty of umami, a subtle sweetness, and extra saltiness that balances beautifully with the bold smokiness.
Note: You should absolutely use sweet white miso for this recipe. This type of miso is generally less salty, sweeter, and softer compared to other kinds of miso.
Nutritional yeast
Nutritional yeast adds an extra kick of cheesiness and umami. I do not use a lot, just enough to sublimate the cheese’s natural tanginess.
Acidophilus
Instead of relying on vinegar or lemon juice to add tanginess, I like to use real cultures that will allow the cashew cheese to ferment naturally. You can use either acidophilus capsules or mesophilic cultures, which are made specifically for cheese making.
If using Acidophilus, use the powder contained in 8 capsules. If using mesophilic culture, use about 1/8 teaspoon.
Salt
Salt is an essential ingredient in cheese making. It prevents bad mold and bacteria from growing, pulls out excess moisture from the cheese, enhances its flavor, and extends its shelf life.
Note: I recommend using regular table salt for this recipe. Himalayan salt, because of its color, will make it hard to know if there is bad mold growing on your cheese or not.
🥣 How to Make It
1. Blend the cashews
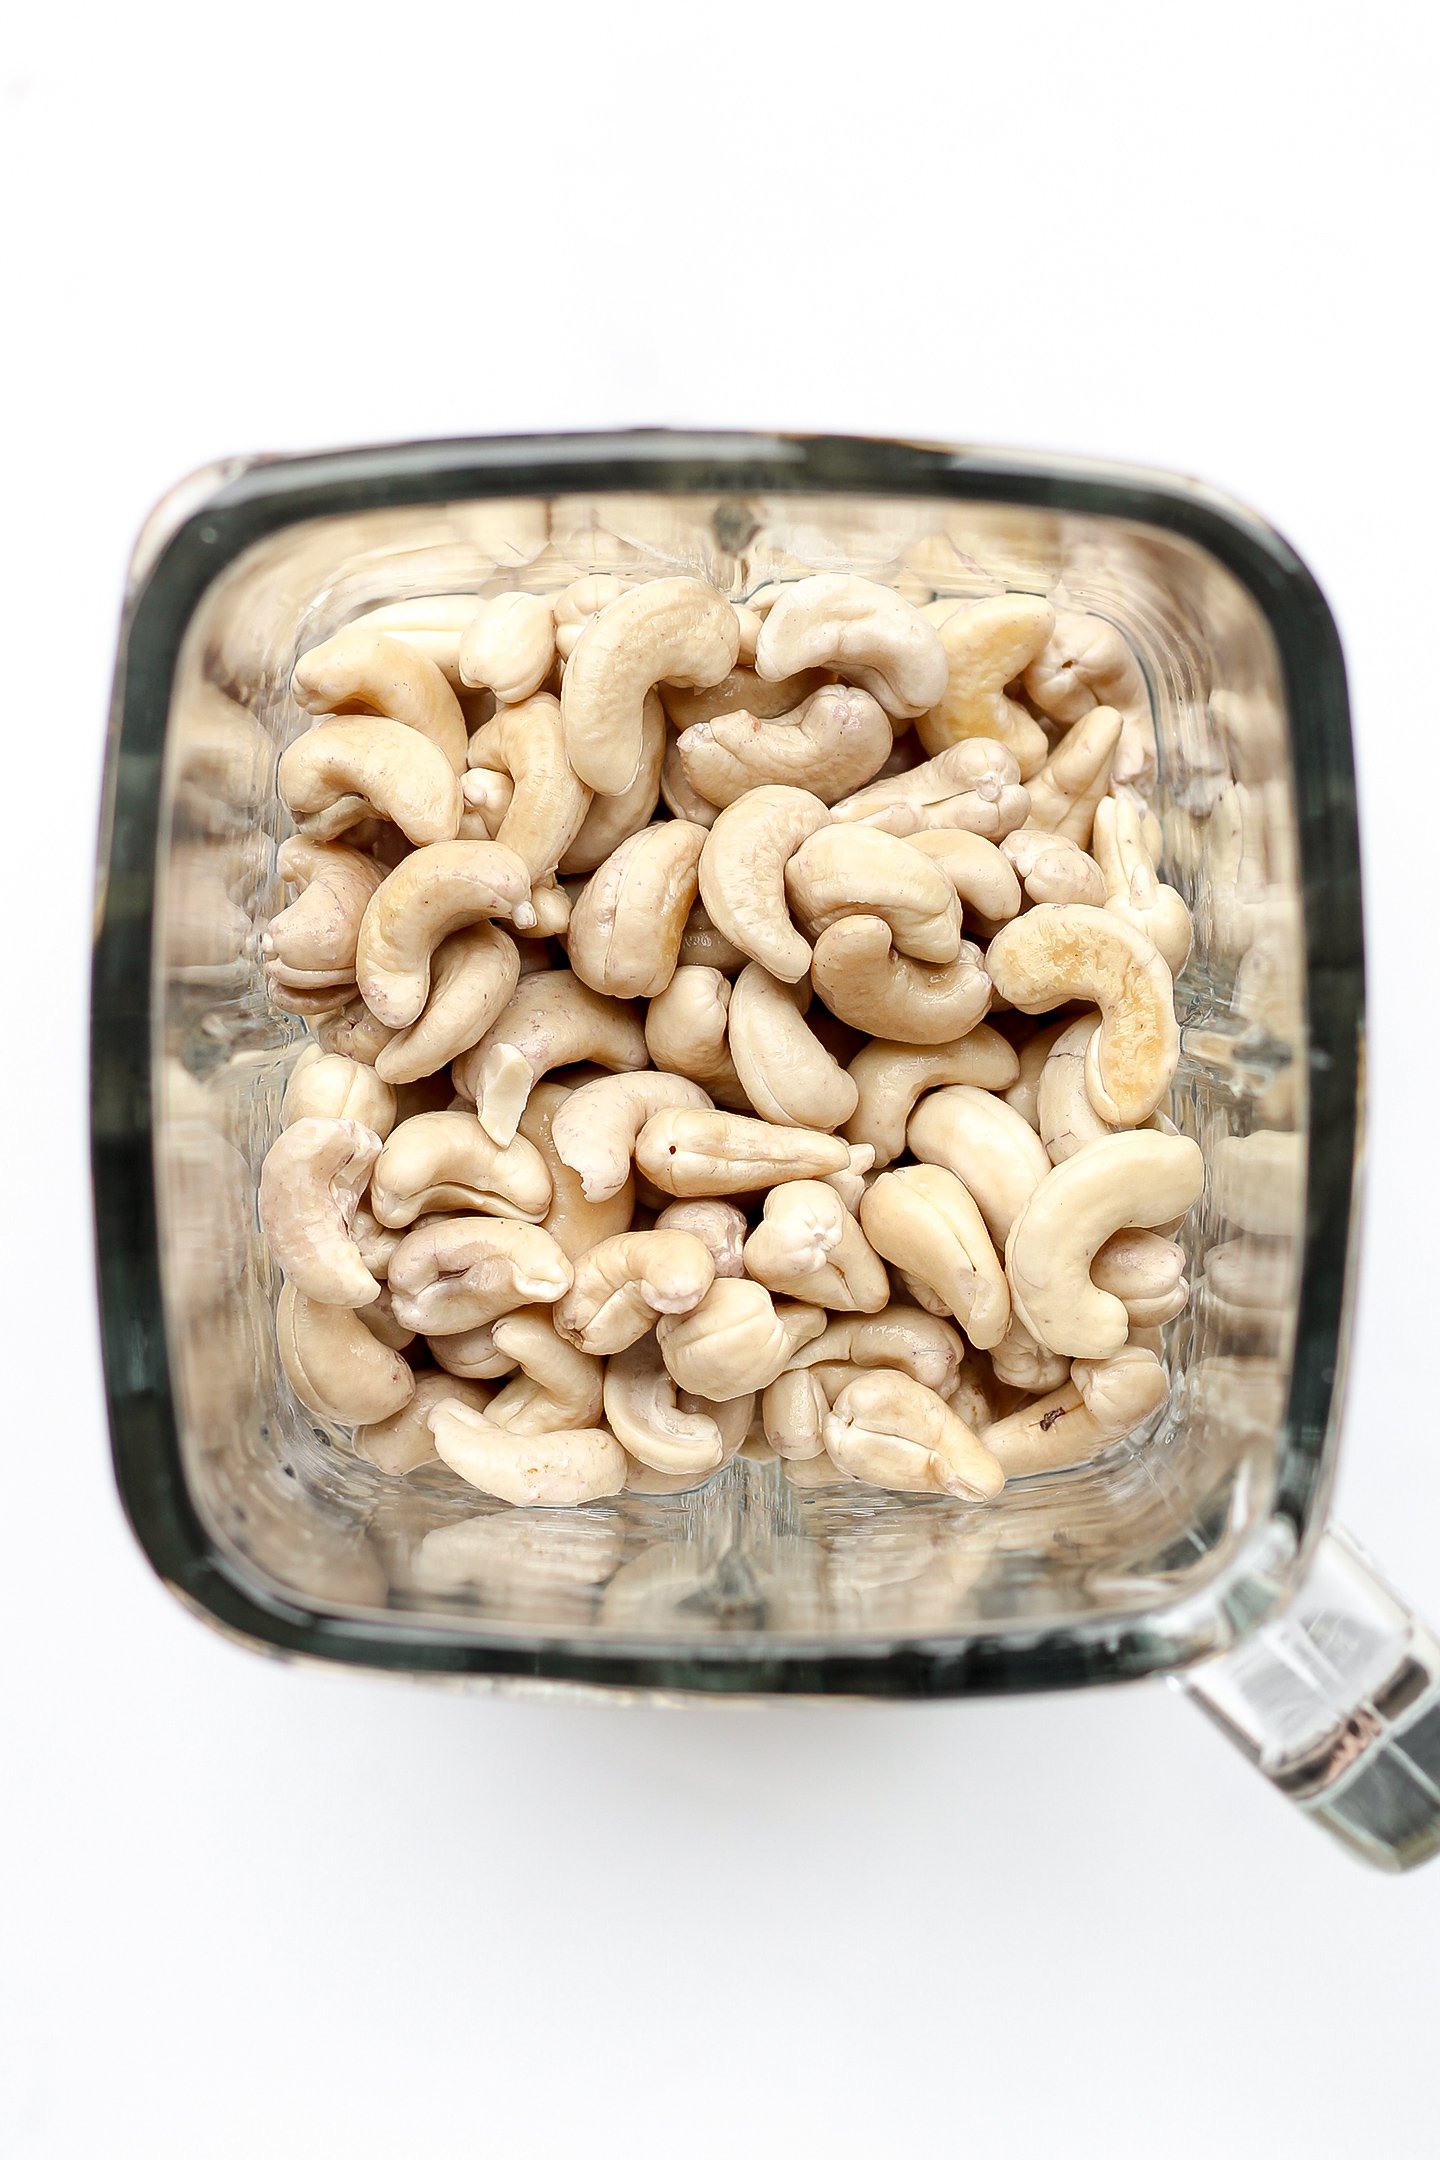
- Soak the cashews. Add the raw cashews to a large bowl and cover them with water. Let the cashews soak overnight or for at least 8 hours.
- Drain them. The next day, drain the cashews and transfer them back to the bowl.
- Cover with boiling water. In order to kill possible harmful bacteria, I recommend bringing a pot of water to a boil and pouring it over the cashews. Let sit for 1 minute, and drain them again. Next, allow the cashews to cool down for 15-20 minutes.
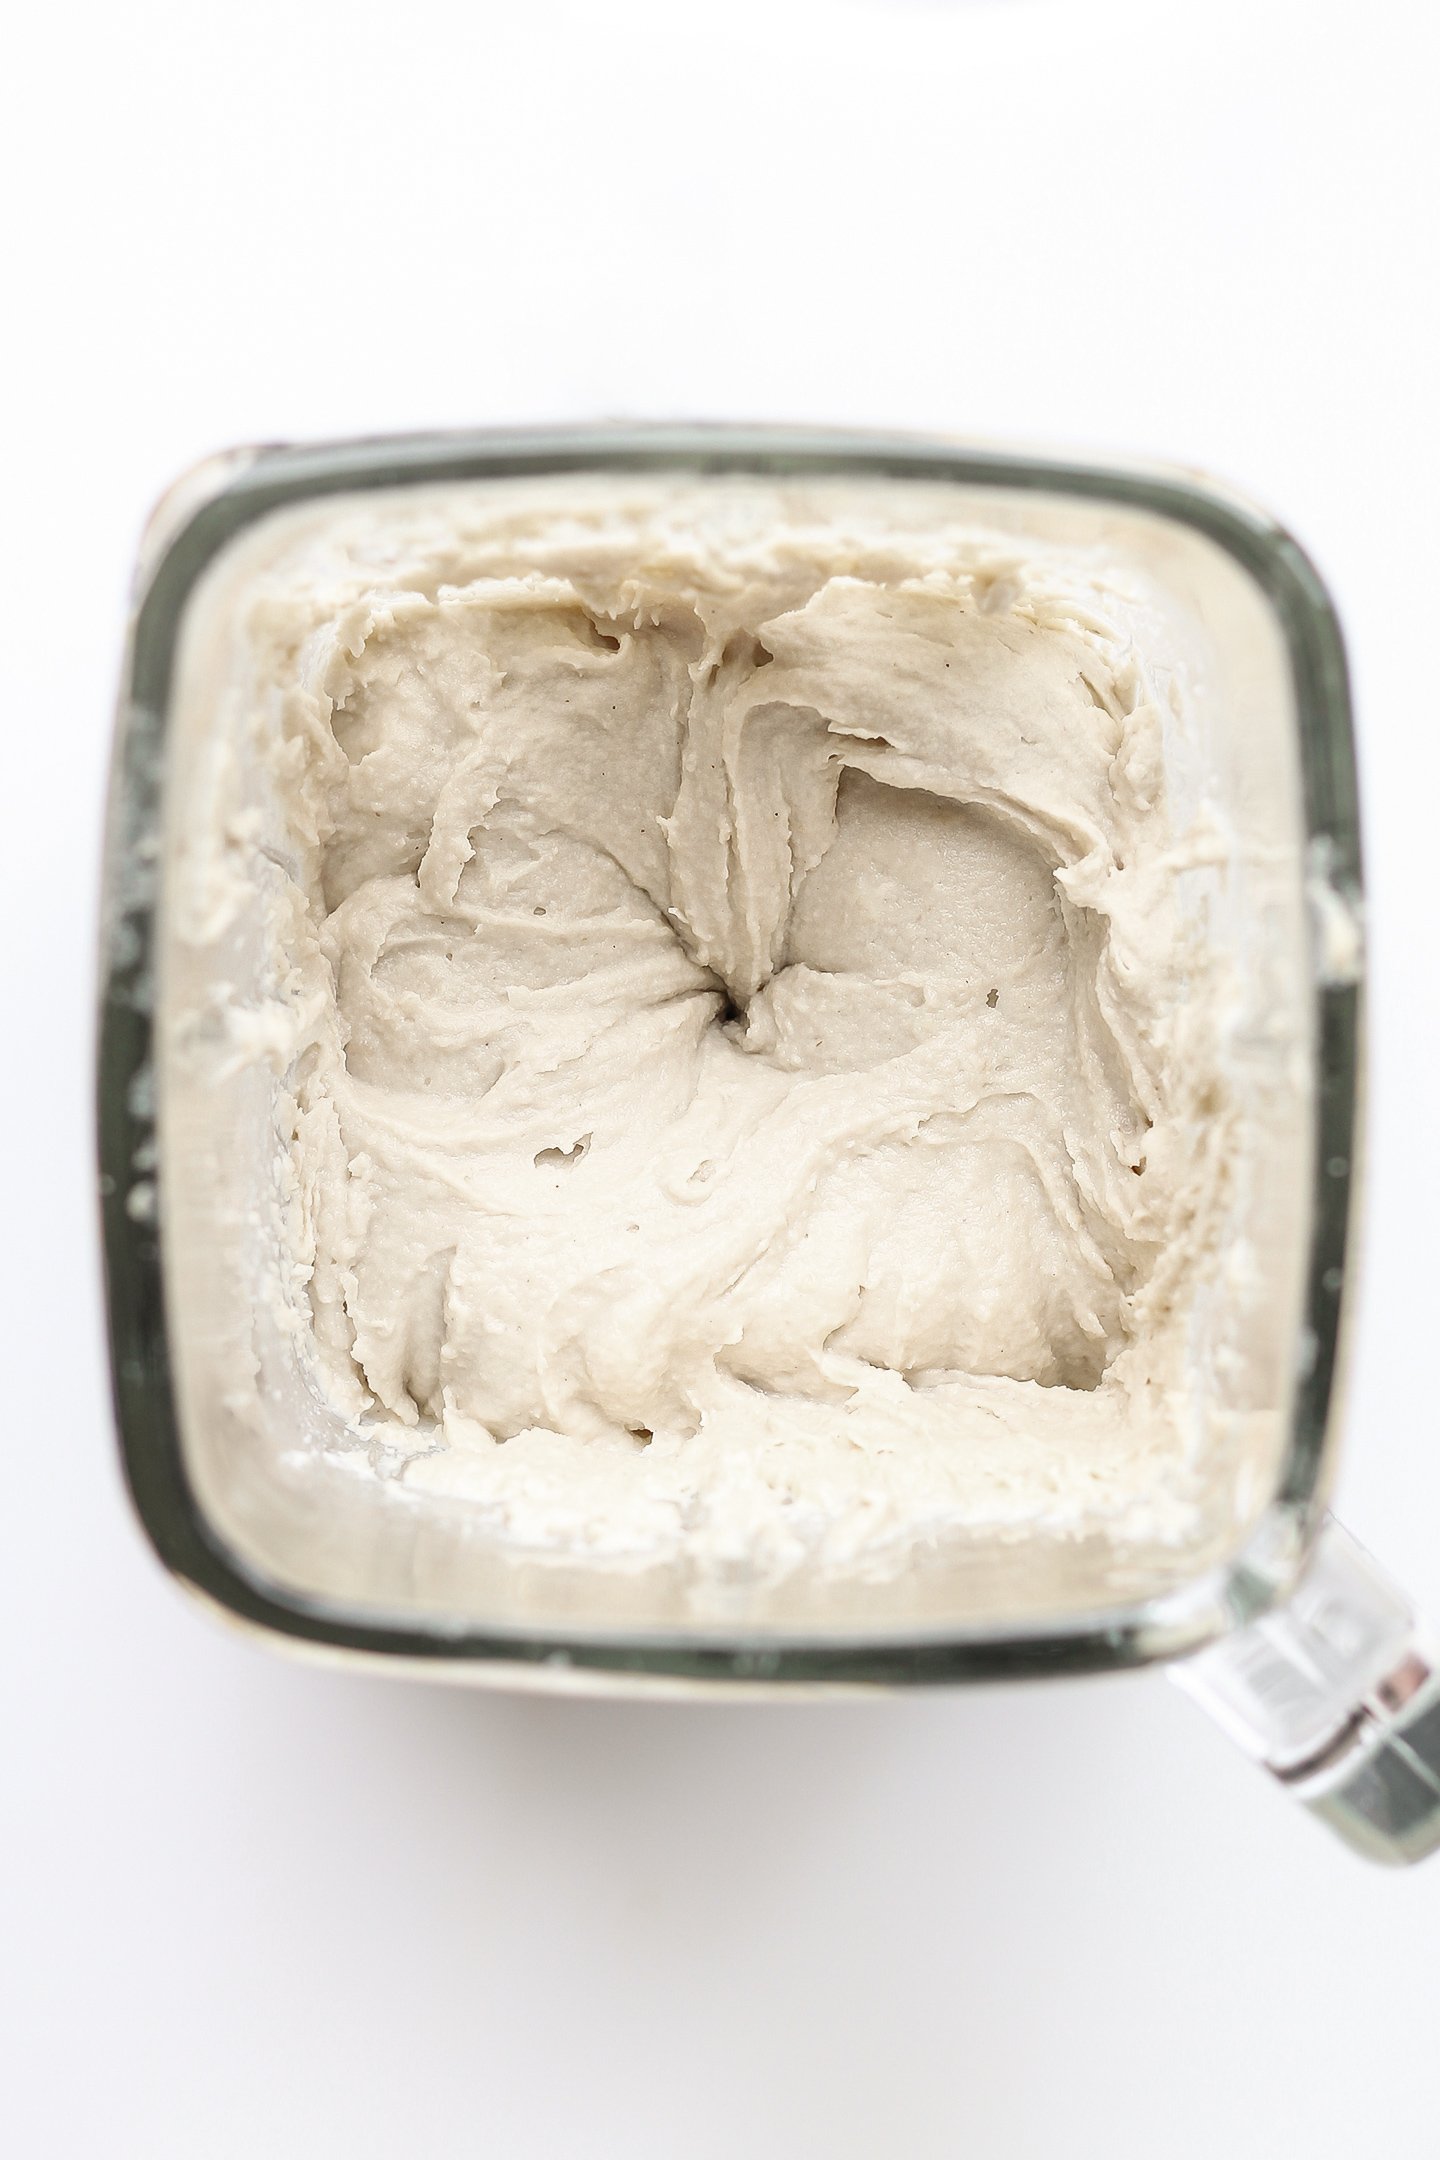
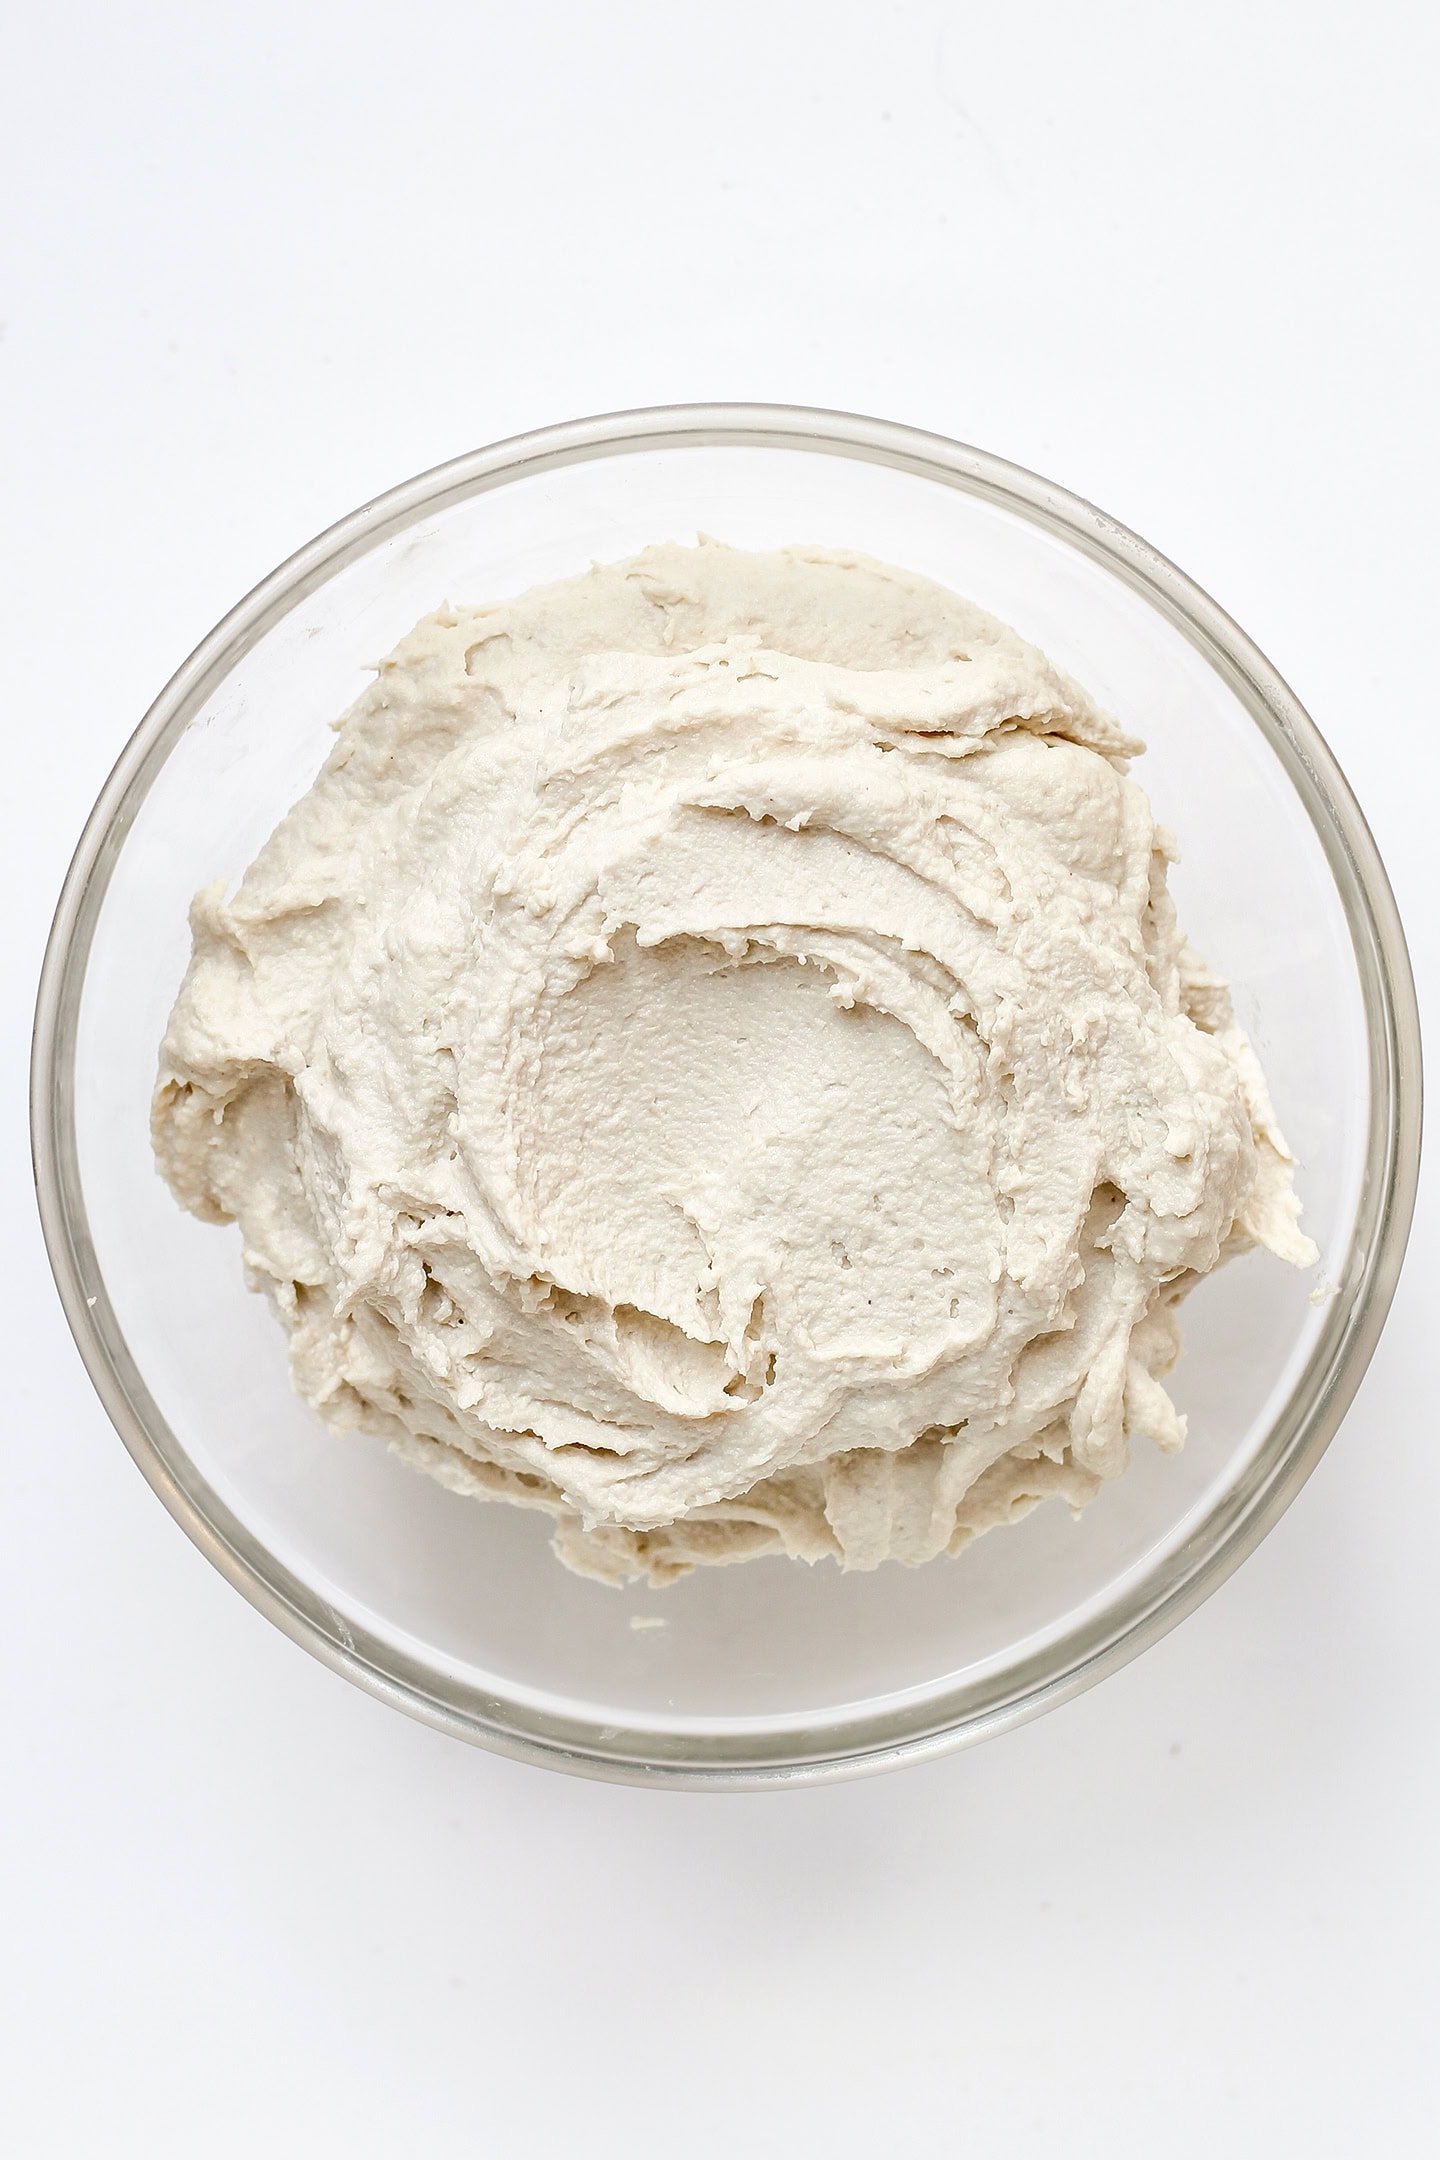
- Blend into a cream. Transfer the drained cashews to a high-speed blender or food processor. Add the white miso, nutritional yeast, and filtered water. Blend on high speed, scraping down the sides from time to time, until you get a very smooth yet thick texture.
Adjust the water: If needed, add an extra tablespoon of water at a time until the cashew cream is smooth. DO NOT add too much water, though – you want to use as little as possible. Otherwise, the cheese will be too soft, and you won’t be able to shape it into wheels.
- Add the culture. Stir in the acidophilus powder from the capsules (or use mesophilic culture) and blend again for a few seconds.
2. Ferment it and shape it into wheels
- Allow the cashew cream to ferment. Transfer the cashew mixture to a cheesecloth and wrap it tightly (alternatively, you can use a nut milk bag). Place the cheesecloth containing the cashew cream in a colander on top of a bowl. Add a weight above it and let sit at room temperature for about 24 hours. Regarding the weight, I usually just place a plate and a few bowls on top but feel free to use whatever you have on hand.
This step is important to start the fermentation of the cashew cream and drain possible excess water (which will make it easier to shape the cream into wheels). - Check after 24 hours. After one day, give the cashew cream a taste. It should have a slightly sour and lemony taste, like fresh cream cheese.
- Refrigerate. Transfer the cashew cream to a clean bowl and cover with plastic film to the touch. Place in the refrigerator for about 4 hours.
- Shape into small wheels. Cut strips of parchment paper and lay them in three 4-inch springform pans. You want to cover the sides and bottom of the springform pans. You can also use plastic film if you prefer. The goal is to prevent the cheese from sticking to the metal. Fill the pans with the cashew cream and press it down using plastic film so it doesn’t stick to your hands. Cover the pans with plastic film touching the cashew cream (to prevent it from drying) and place in the refrigerator for 2 days.
- Salt. Two days later, carefully remove the cheeses from the springform pans and place them in a container lined with parchment paper. Salt both sides of each cheese with about 1/4 tsp of salt per cheese. Slightly salt the sides as well. Use your finger to gently spread the salt on the surface of the cheeses.
- Refrigerate. Cover the container with its lid and refrigerate for 24 hours.
- Pat them dry. The next day, your cheeses will have lost some water due to the salt. This reaction is called osmosis. Basically, salt drains excess water. If they are too wet, pat them dry with a paper towel and replace the parchment paper with a new one.
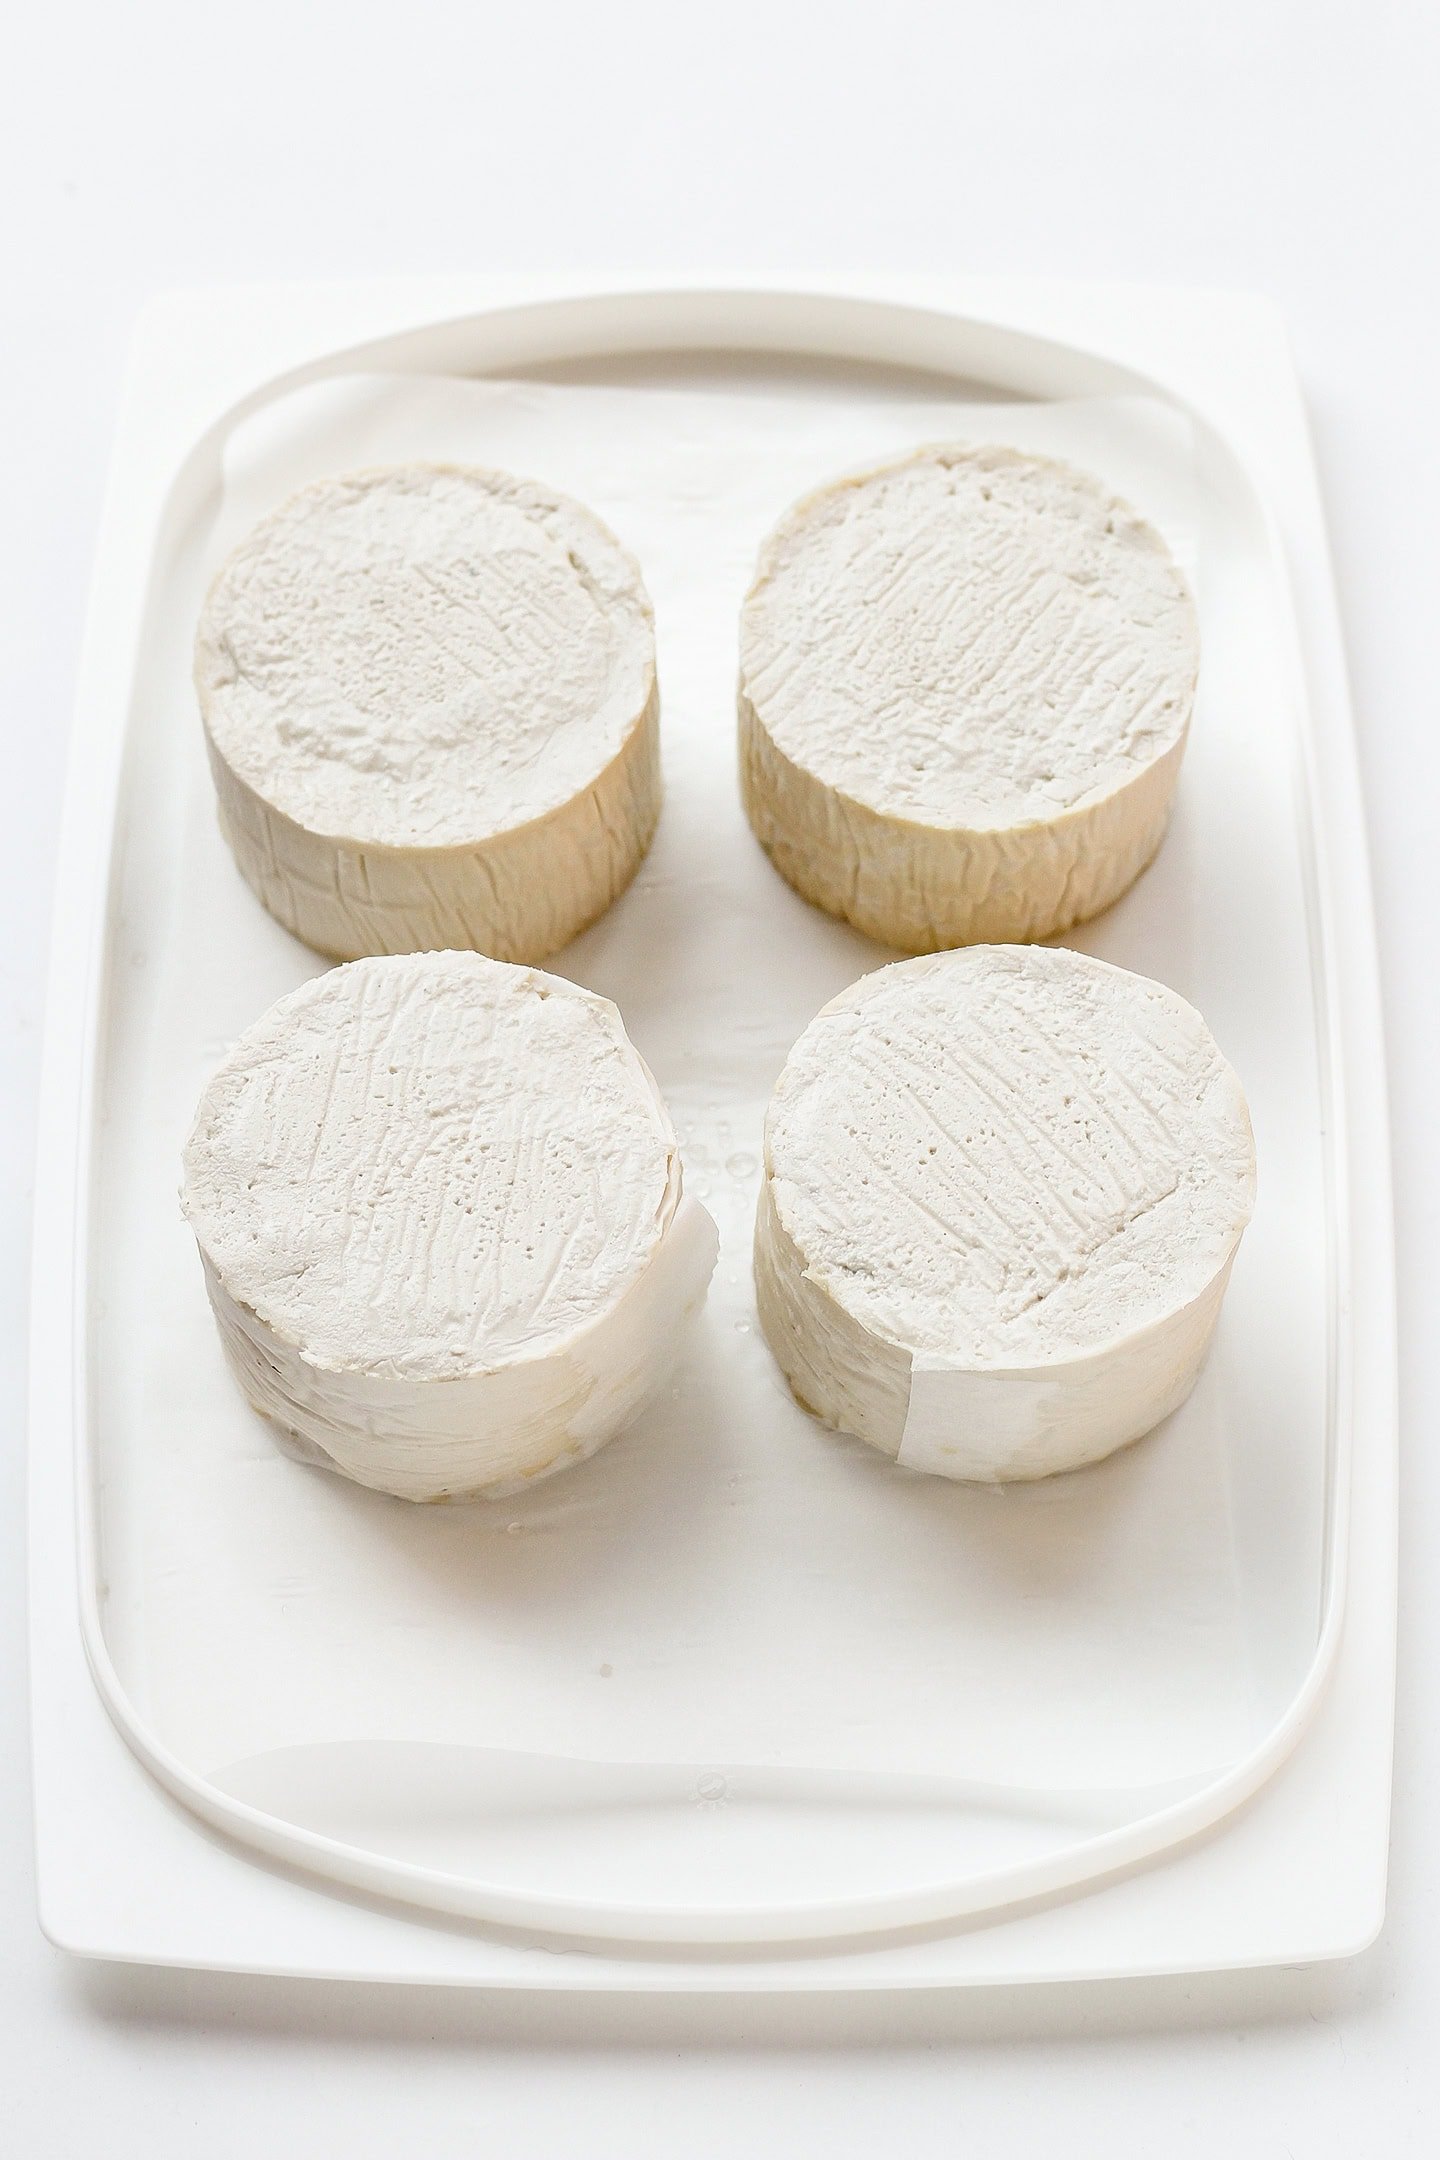
3. Let them age
- Age the cheeses. For the next 2 weeks, flip the cheeses every day and change the parchment paper regularly if it becomes wet. Note: Your cheeses should always be aged in your refrigerator, inside the container. Not at room temperature. At first, the cheeses will be very soft, but as they age, they will become firmer. If you see some mold appearing, just scrape it off and re-salt the area.
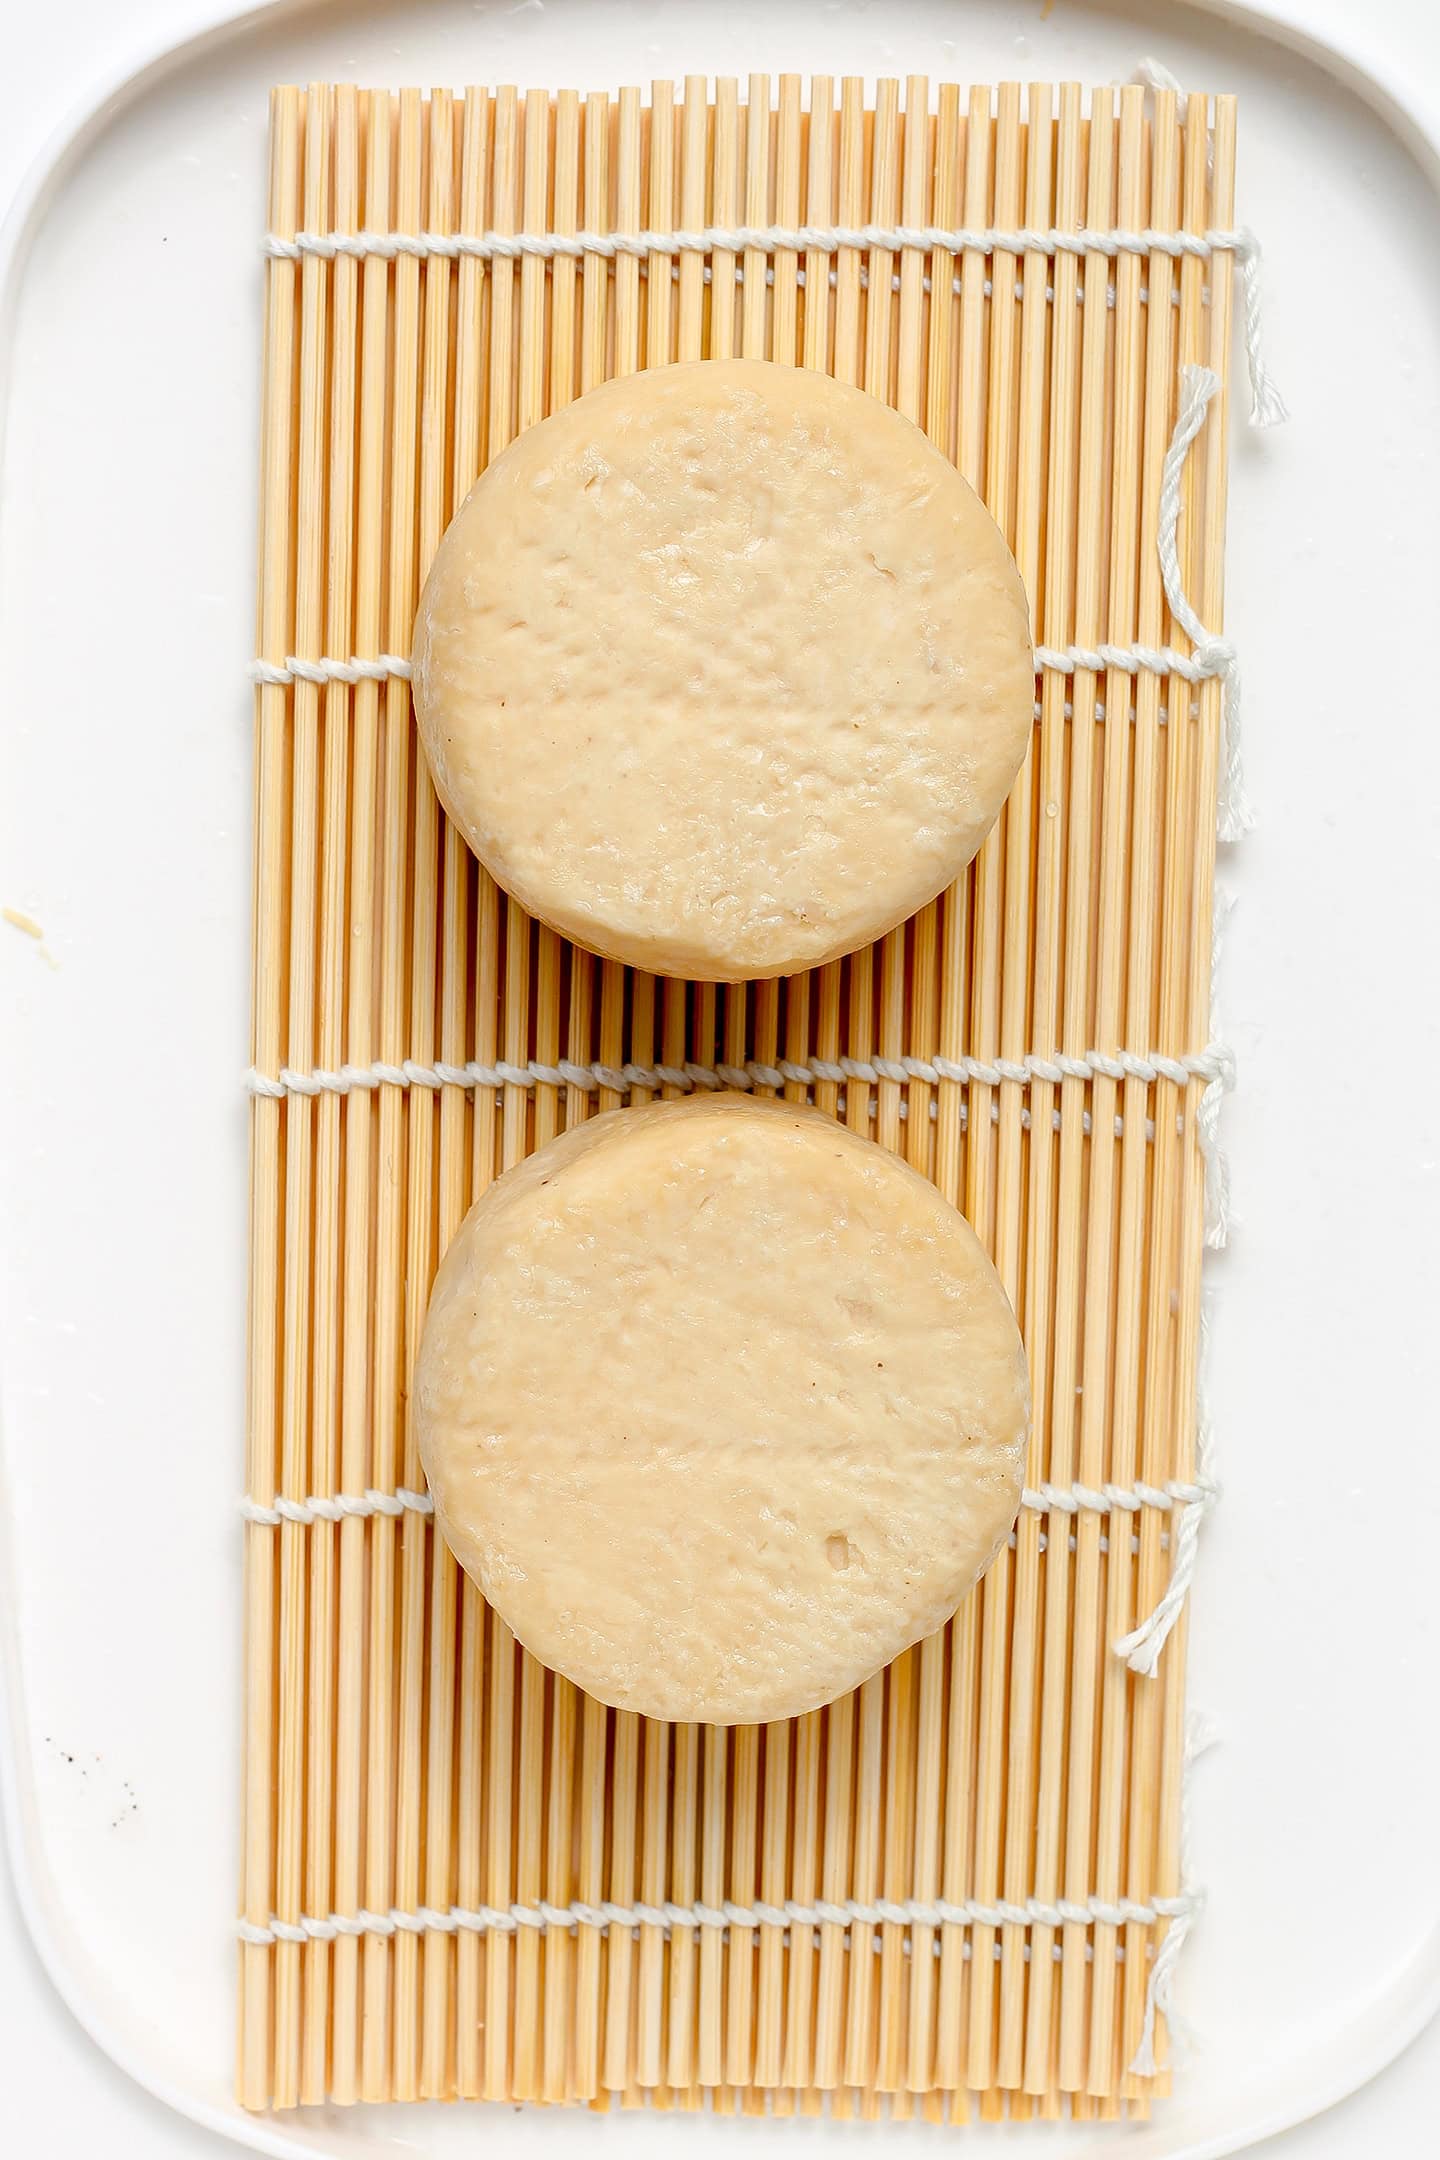
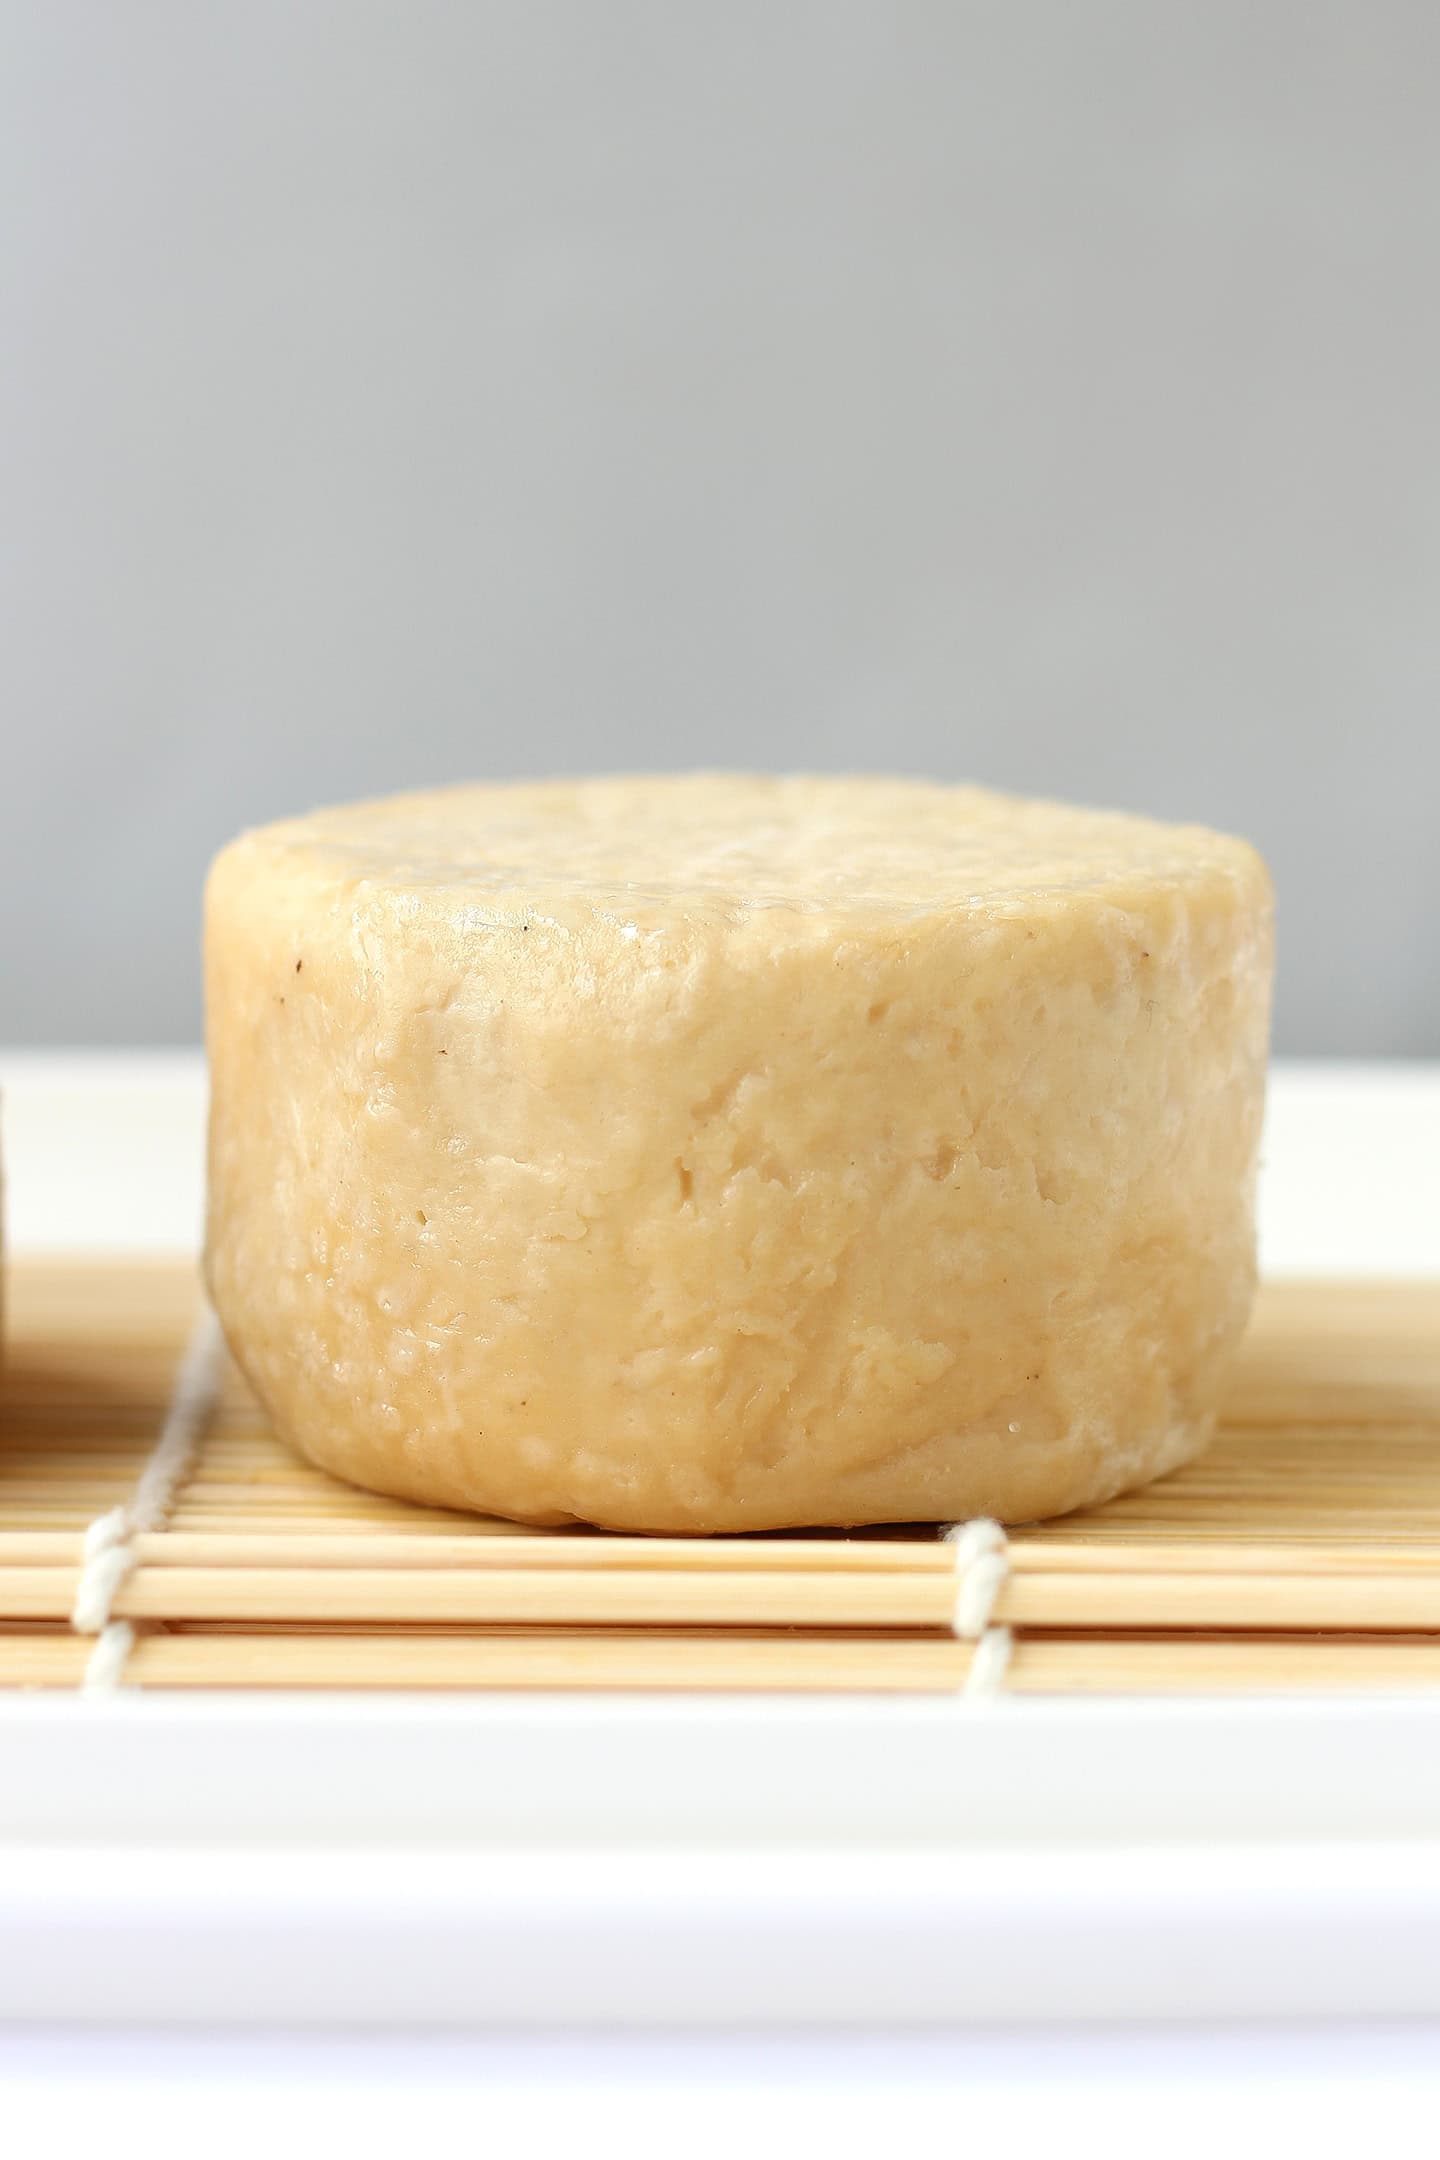
This two-week aging process will allow your cheeses to firm up and develop flavors. After this process, they should be firm enough to handle and ready to smoke. Note that it is normal for your cheeses to turn slightly off-white/yellow, as you can see in the photos.
4. Smoke
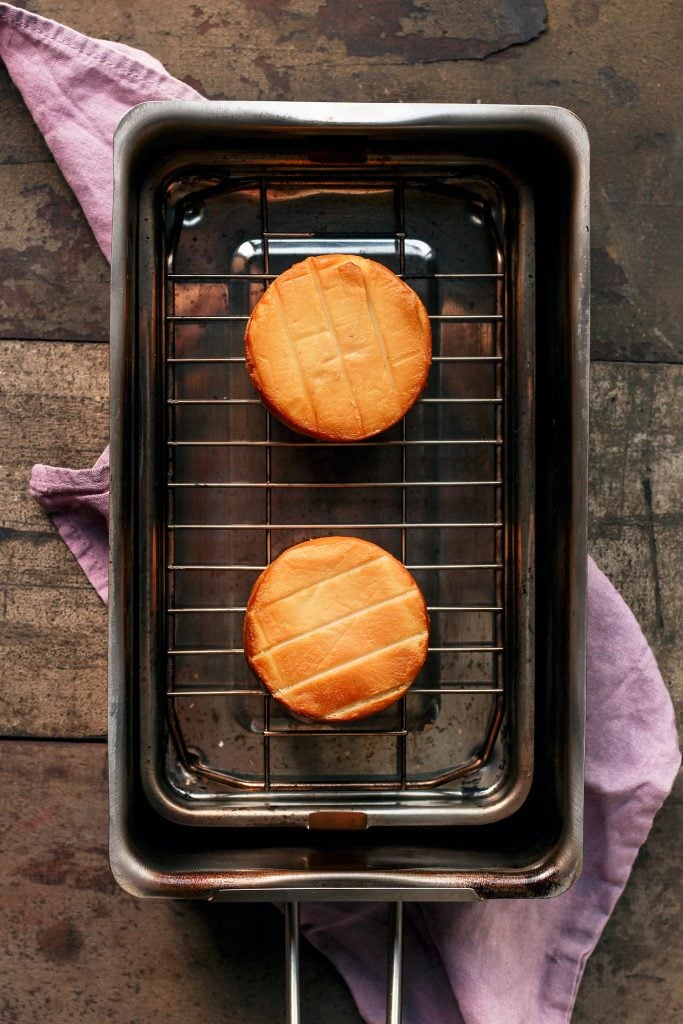
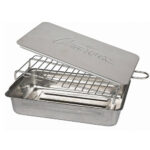
After two weeks, your cheeses should be firm enough to handle. If they are not, I recommend letting them age for another week. Once they are firm enough, it’s time to smoke them! To do so, I used a Camerons stovetop smoker. It’s a simple tool that allows you to smoke foods on the stovetop. Here is how to smoke your cheeses:
- Set up. Place one tablespoon of hickory wood chips in the bottom of the stovetop smoker. Place the drip and cooking trays on top of the wood chips. You can now place two cheeses on the cooking rack.
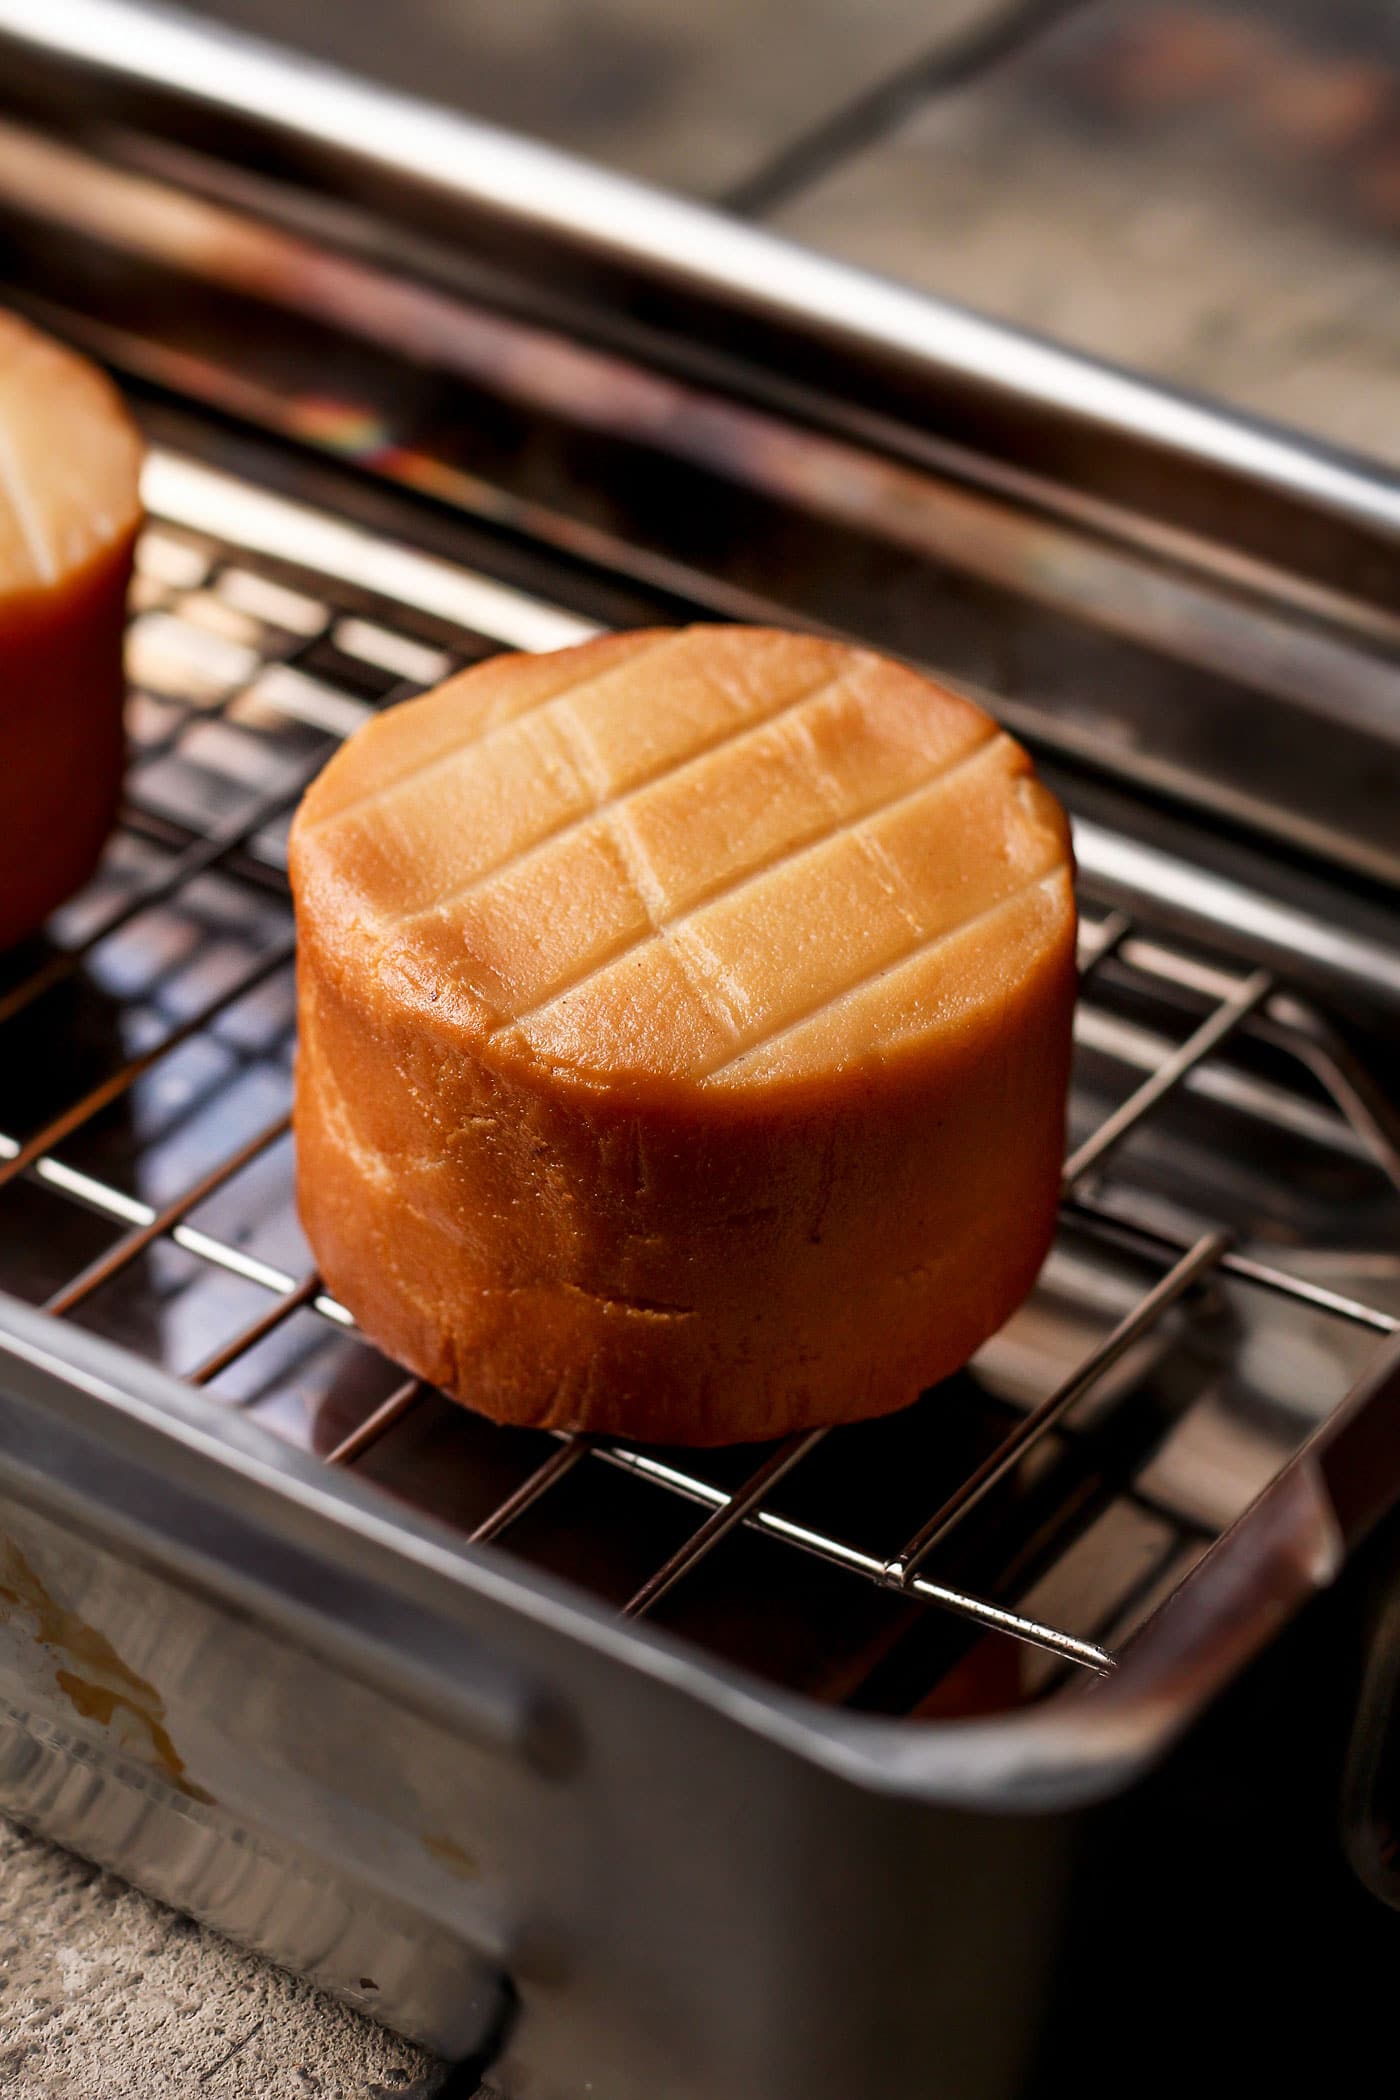
- Smoke. Heat the smoker over low-medium heat on a stovetop burner. Once the smoke starts to appear, close the smoker’s lid completely and smoke the cheese for about 12 minutes. Some smoke will escape from the smoker. That’s normal.
- Flip. Halfway through smoking, carefully flip the cheeses. This will not affect flavor, but it will allow your cheeses to get an even brown color.
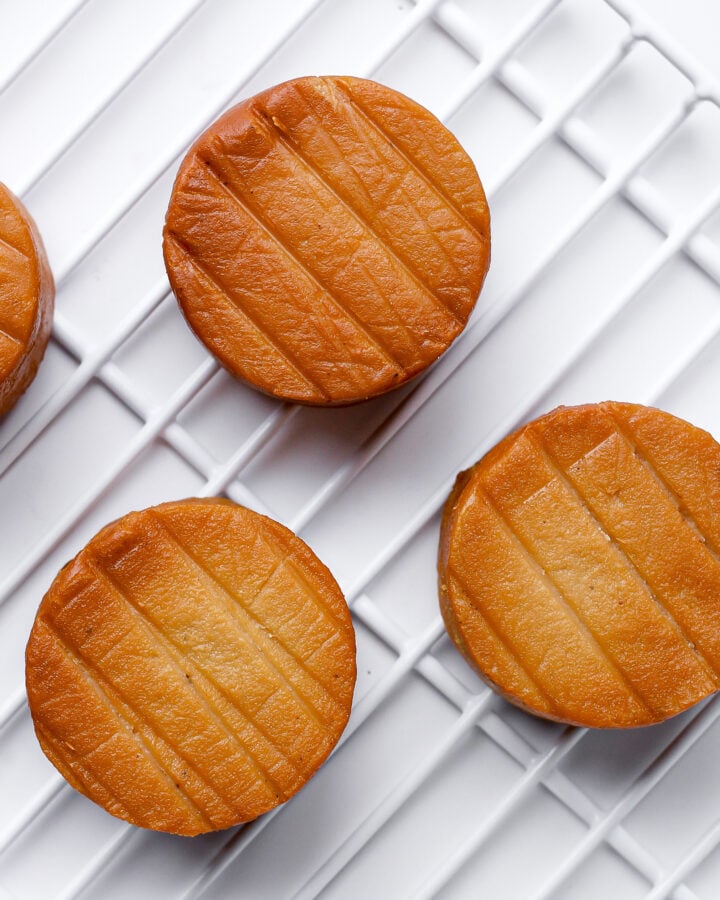
- Allow to cool. After 12 minutes, the cheeses should be golden brown. Remove the smoker from heat and let cool for at least 30 minutes. Note: The cheeses will be very soft because of the heat, so remove them very carefully from the rack.
- Age them again. Transfer the cheeses to a bamboo mat or clean grid and place them in the refrigerator. Let them age for one more week, flipping every 2-3 days. If you are patient enough, I recommend allowing the cheeses to age for another 2-3 weeks after the smoking process, wrapped in cheese paper (the flavors will merge, and the cheeses will become even firmer).
Why wait after smoking? I recommend letting them age for another 2-3 weeks after the smoking process, as this allows the flavors to merge and mellow down. Right after smoking, the smoky taste is very strong, almost bitter. Allowing the cheeses to age for a minimum of 7 days will remove that bitterness.
📔 Tips
- Use clean utensils. Hygiene is important in cheese making. Hence, it is essential to use clean utensils and containers while making this recipe. I also highly recommend wearing gloves when handling the cheeses to prevent them from growing bad mold or bacteria.
- Be patient. This is not one of those 10-minute cheese recipes. This cheese takes time to age, to firm up, and to develop its flavors so I recommend being patient and enjoying the process. I assure you it’s completely worth it!
🥖 What to Serve It With
You can serve this smoked cheese on its own or:
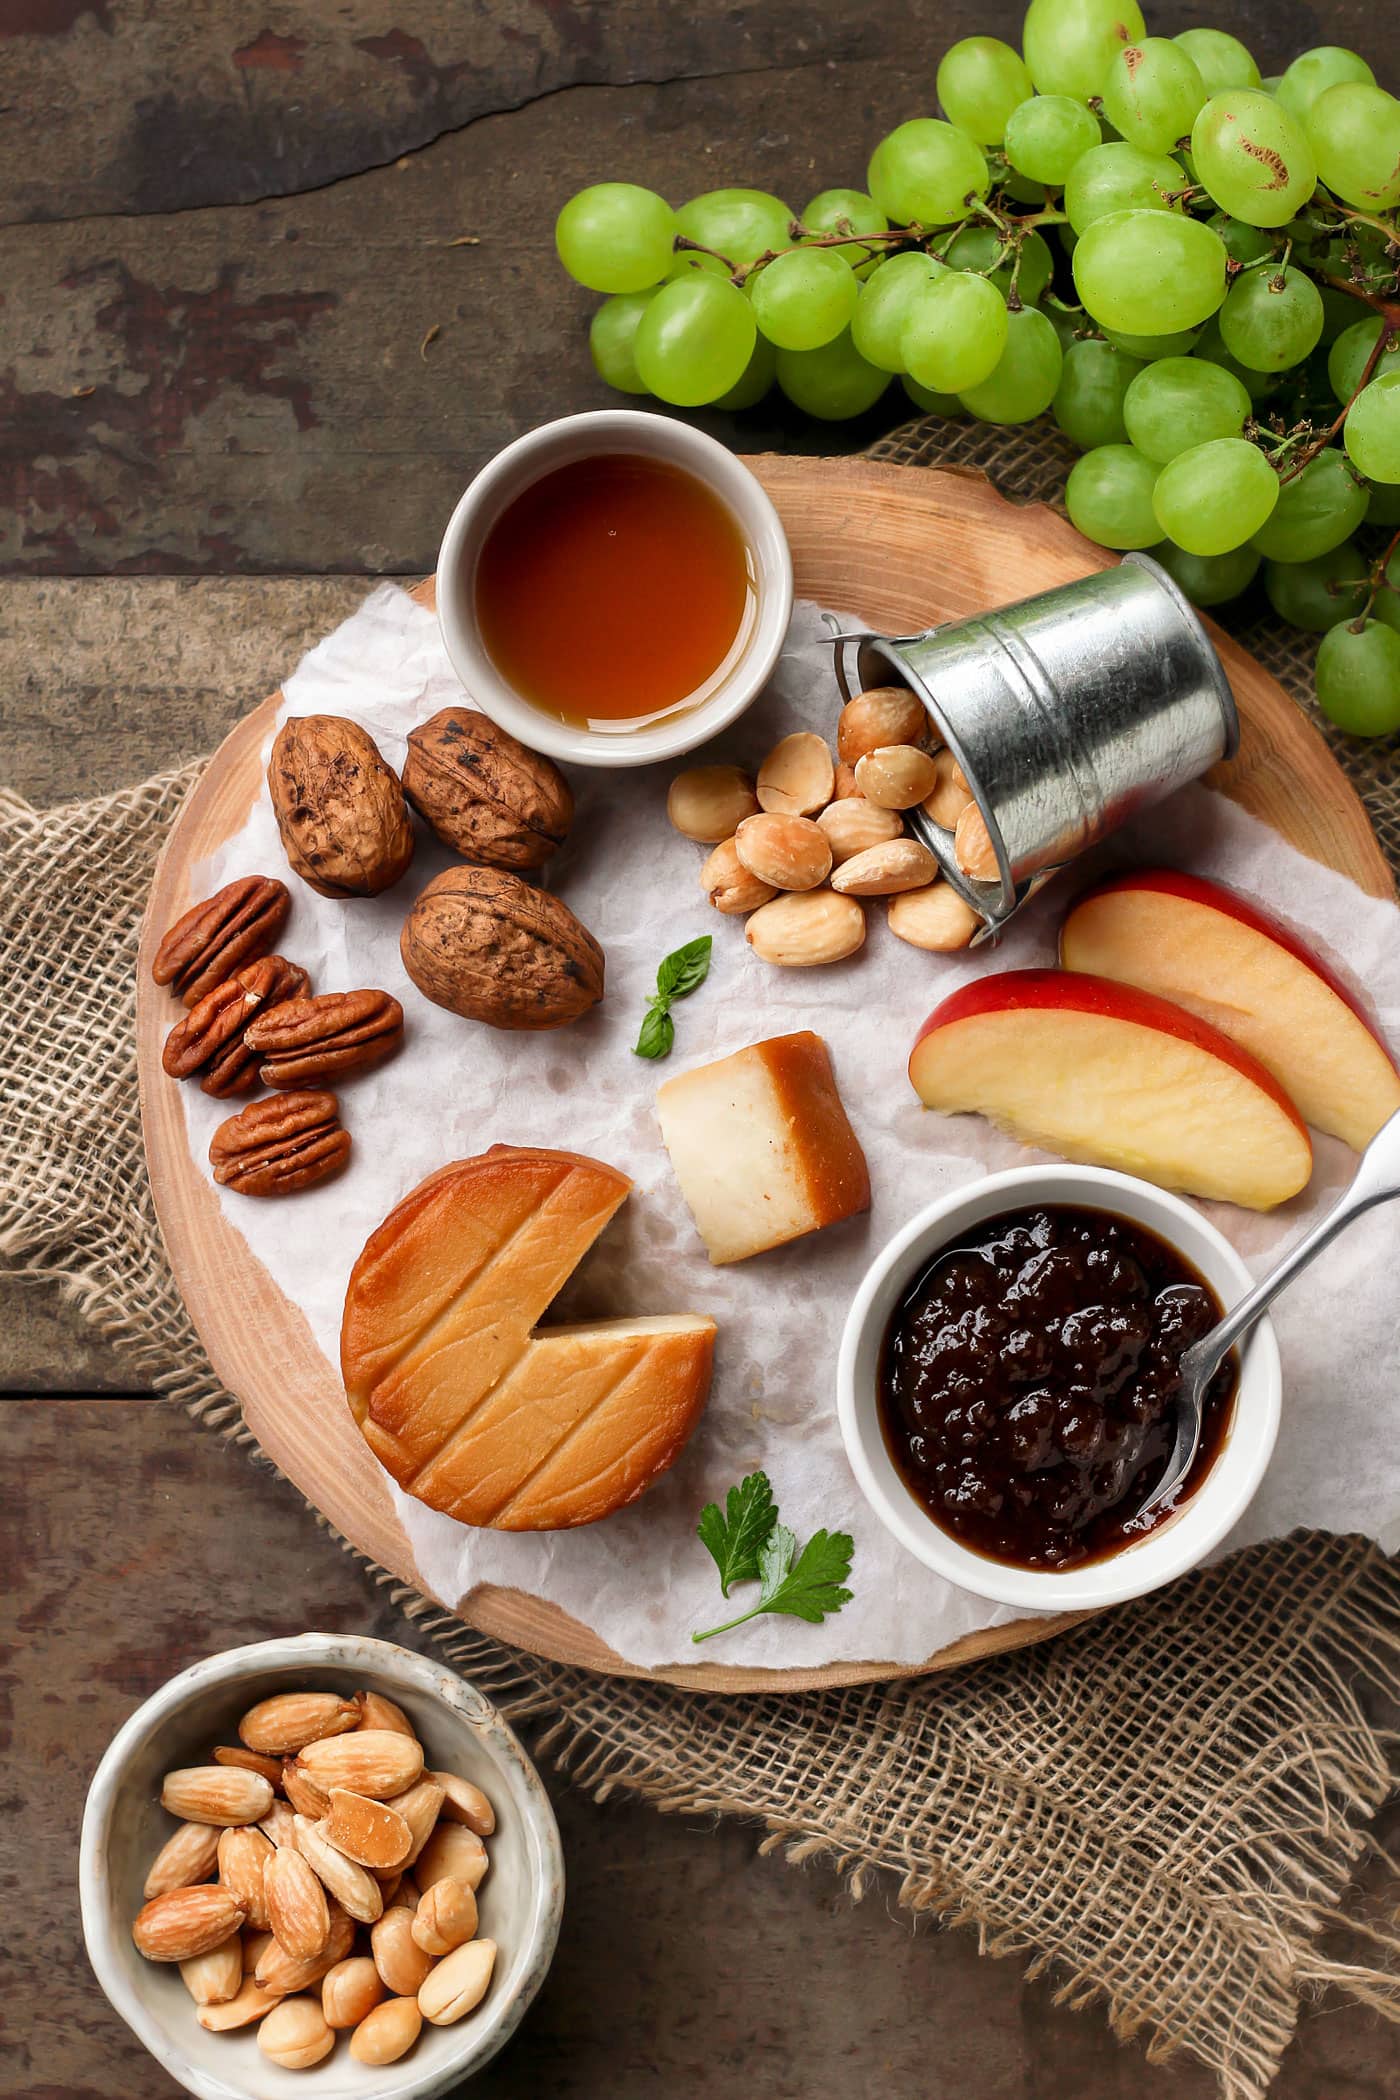
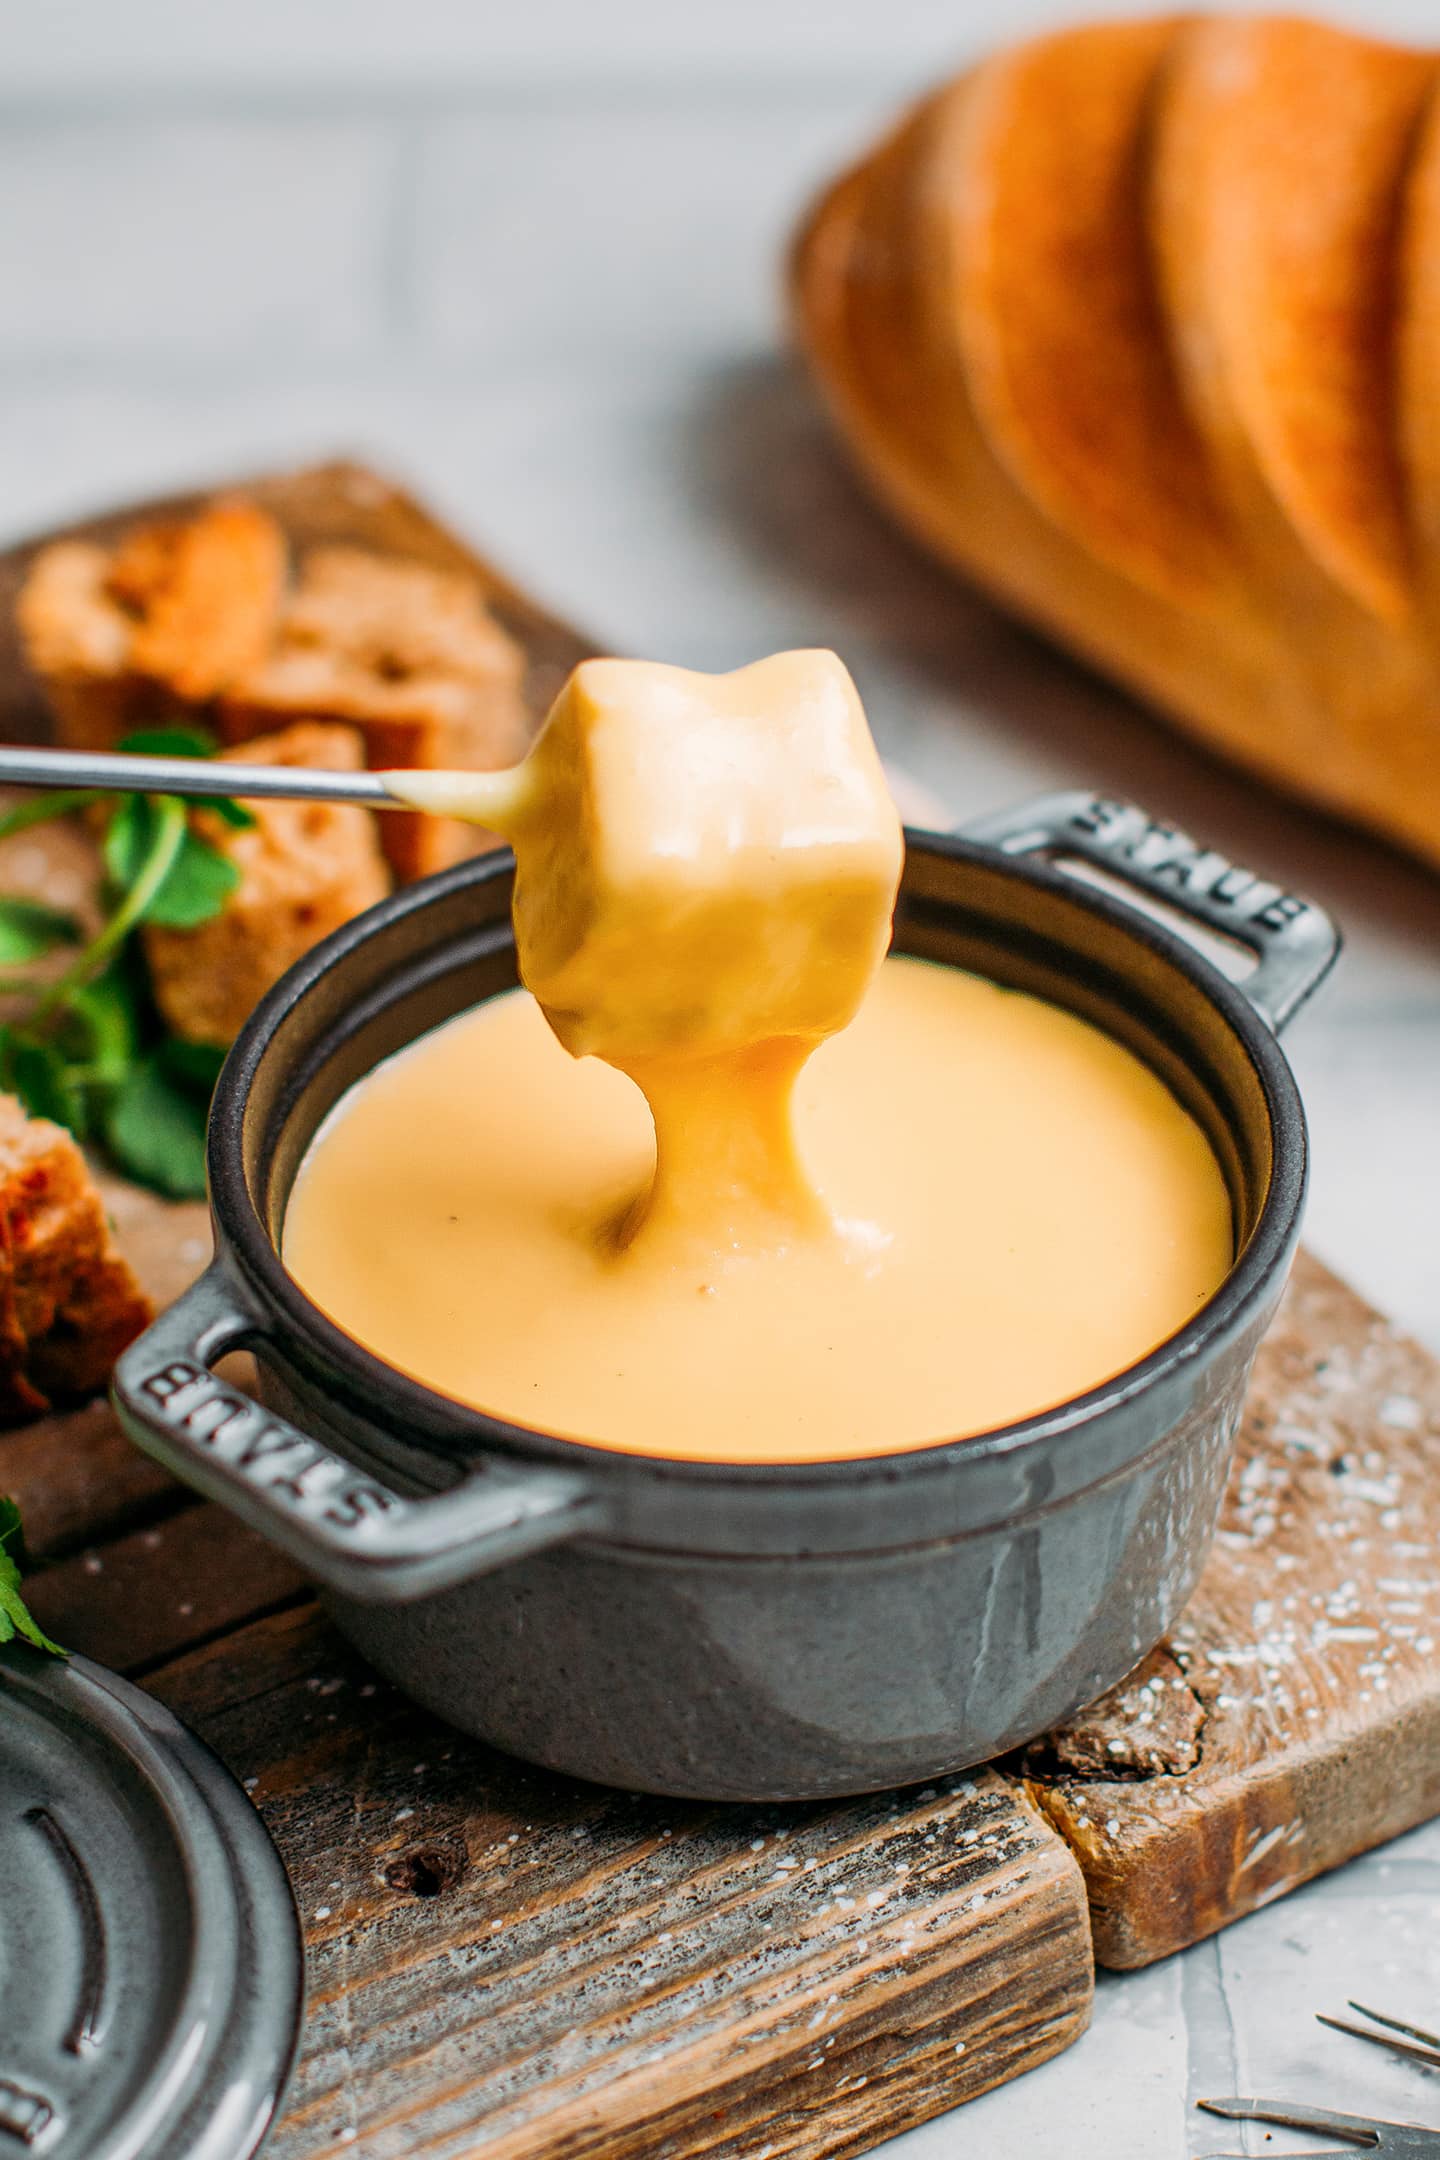
- As part of a cheese platter: with roasted nuts, dried fruits, jam, or apple slices.
- With bread: It goes very well with whole wheat bread, toast, and crackers.
- In other recipes: you can even use it in other recipes like burgers, sandwiches, bánh mì, etc. It can also be blended with milk or cream to make a fantastic salad dressing!
❄️ Storing and Freezing
- To store: After the smoking process, this cheese can be stored in the refrigerator for up to four weeks. If you see any sign of mold, simply scrape it off.
- To freeze: You can freeze this cheese for up to 3 months. Thaw overnight in the refrigerator.

💬 FAQ
It can be normal for your cheese to develop a thin layer of white mold, especially in the early stages of aging. In that case, use a thin knife to scrape off the area and resalt it. Alternatively, you can simply brush the mold with a brine. The salt should keep it from growing again.
Once you have salted the cheeses, it is completely normal for them to release water. It will actually help them firm up. Use kitchen paper towels to absorb the excess moisture in the container.
Yes, you can smoke this cheese in a cold smoker for 45-90 minutes, depending on how smoky you want it to be.

I hope you will love this cheese as much as I do. It’s incredibly smoky, buttery, and packed with umami. I have shared this cheese with many people, non-vegans included, and it has always been a hit!
🧀 More Vegan Cheese Recipes


⭐️ Did you like this recipe? Let us know in the comments below, and tag us on Facebook, Instagram, or Pinterest!

Save this recipe!
Enter your email below and I’ll send it to your inbox!
Plus, you will receive new recipes every week!
Hickory Smoked Vegan Cheese
Equipment
Ingredients
- 4 cups (600 g) raw cashews soaked overnight
- 3 tbsp (51 g) sweet white miso
- 3 tbsp (21 g) nutritional yeast
- 4 tbsp (60 ml) filtered water
- 8 capsules acidophilus or 1/8 tsp mesophilic culture
- sea salt
- 1 tbsp hickory wood chips
Instructions
Blend the cashews
- Soak the cashews. Add the raw cashews to a large bowl and cover them with water. Let the cashews soak overnight or for at least 8 hours.
- Drain them. The next day, drain the cashews and transfer them back to the bowl. In order to kill possible harmful bacteria, I recommend bringing a pot of water to a boil and pouring it over the cashews. Let sit for 1 minute, and drain them again. Next, allow the cashews to cool down for 15-20 minutes.
- Blend into a cream. Transfer the drained cashews to a high-speed blender or food processor. Add the white miso, nutritional yeast, and filtered water. Blend on high speed, scraping down the sides from time to time, until you get a very smooth yet thick texture.
- Add the culture. Stir in the acidophilus powder from the capsules (or use mesophilic culture) and blend again for a few seconds.
Fermenting and shaping
- Allow the cashew cream to ferment. Transfer the cashew mixture to a cheesecloth and wrap it tightly (alternatively, you can use a nut milk bag). Place the cheesecloth containing the cashew cream in a colander on top of a bowl. Add a weight above it and let sit at room temperature for about 24 hours. Regarding the weight, I usually just place a plate and a few bowls on top but feel free to use whatever you have on hand. This step is important to start the fermentation of the cashew cream and drain possible excess water (which will make it easier to shape the cream into wheels).
- Check after 24 hours. After one day, give the cashew cream a taste. It should have a slightly sour and lemony taste, like fresh cream cheese.
- Refrigerate. Transfer the cashew cream to a clean bowl and cover with plastic film to the touch. Place in the refrigerator for about 4 hours.
- Shape into small wheels. Cut strips of parchment paper and lay them in three 4-inch springform pans. You want to cover the sides and bottom of the springform pans. You can also use plastic film if you prefer. The goal is to prevent the cheese from sticking to the metal. Fill the pans with the cashew cream and press it down using plastic film so it doesn’t stick to your hands. Cover the pans with plastic film touching the cashew cream (to prevent it from drying) and place in the refrigerator for 2 days.
- Salt. Two days later, carefully remove the cheeses from the springform pans and place them in a container lined with parchment paper. Salt both sides of each cheese with about 1/4 tsp of salt per cheese. Slightly salt the sides as well. Use your finger to gently spread the salt on the surface of the cheeses.
- Refrigerate. Cover the container with its lid and refrigerate for 24 hours.
- Pat them dry. The next day, your cheeses will have lost some water due to the salt. This reaction is called osmosis. Basically, salt drains excess water. If they are too wet, pat them dry with a paper towel and replace the parchment paper with a new one.
Aging
- Age the cheeses. For the next 2 weeks, flip the cheeses every day and change the parchment paper regularly if it becomes wet. Note: Your cheeses should always be aged in your refrigerator, inside the container. Not at room temperature. At first, the cheeses will be very soft, but as they age, they will become firmer. If you see some mold appearing, just scrape it off and re-salt the area.
Smoking
- After two weeks, your cheeses should be firm enough to handle. If they are not, I recommend letting them age for another week. Once they are firm enough, it’s time to smoke them.
- Set up. Place one tablespoon of hickory wood chips in the bottom of the stovetop smoker. Place the drip and cooking trays on top of the wood chips. You can now place two cheeses on the cooking rack.
- Smoke. Heat the smoker over low-medium heat on a stovetop burner. Once the smoke starts to appear, close the smoker’s lid completely and smoke the cheese for about 12 minutes. Some smoke will escape from the smoker. That’s normal.
- Flip. Halfway through smoking, carefully flip the cheeses. This will not affect flavor, but it will allow your cheeses to get an even brown color.
- Allow to cool. After 12 minutes, the cheeses should be golden brown. Remove the smoker from heat and let cool for at least 30 minutes. Note: The cheeses will be very soft because of the heat, so remove them very carefully from the rack.
- Age them again. Transfer the cheeses to a bamboo mat or clean grid and place them in the refrigerator. Let them age for one more week, flipping every 2-3 days. If you are patient enough, I recommend allowing the cheeses to age for another 2-3 weeks after the smoking process, wrapped in cheese paper (the flavors will merge, and the cheeses will become even firmer).
- After the smoking process, this cheese can be stored in the refrigerator for up to four weeks. If you see any sign of mold, simply scrape it off.
Notes
- Use clean utensils. Hygiene is important in cheese making. Hence, it is essential to use clean utensils and containers while making this recipe. I also highly recommend wearing gloves when handling the cheeses to prevent them from growing bad mold or bacteria.
- Be patient. This is not one of those 10-minute cheese recipes. This cheese takes time to age, to firm up, and to develop its flavors so I recommend being patient and enjoying the process. I assure you it’s completely worth it!
Nutrition

About the Author
Thomas Pagot is the founder, photographer, and recipe developer behind Full of Plants. He created the blog in 2016 as a personal cookbook for vegan recipes. Through years of recipe development, Thomas has successfully grown Full of Plants into a trusted resource for plant-based recipes.
Leave a Comment