This post may contain affiliate links. Please read our disclosure policy.
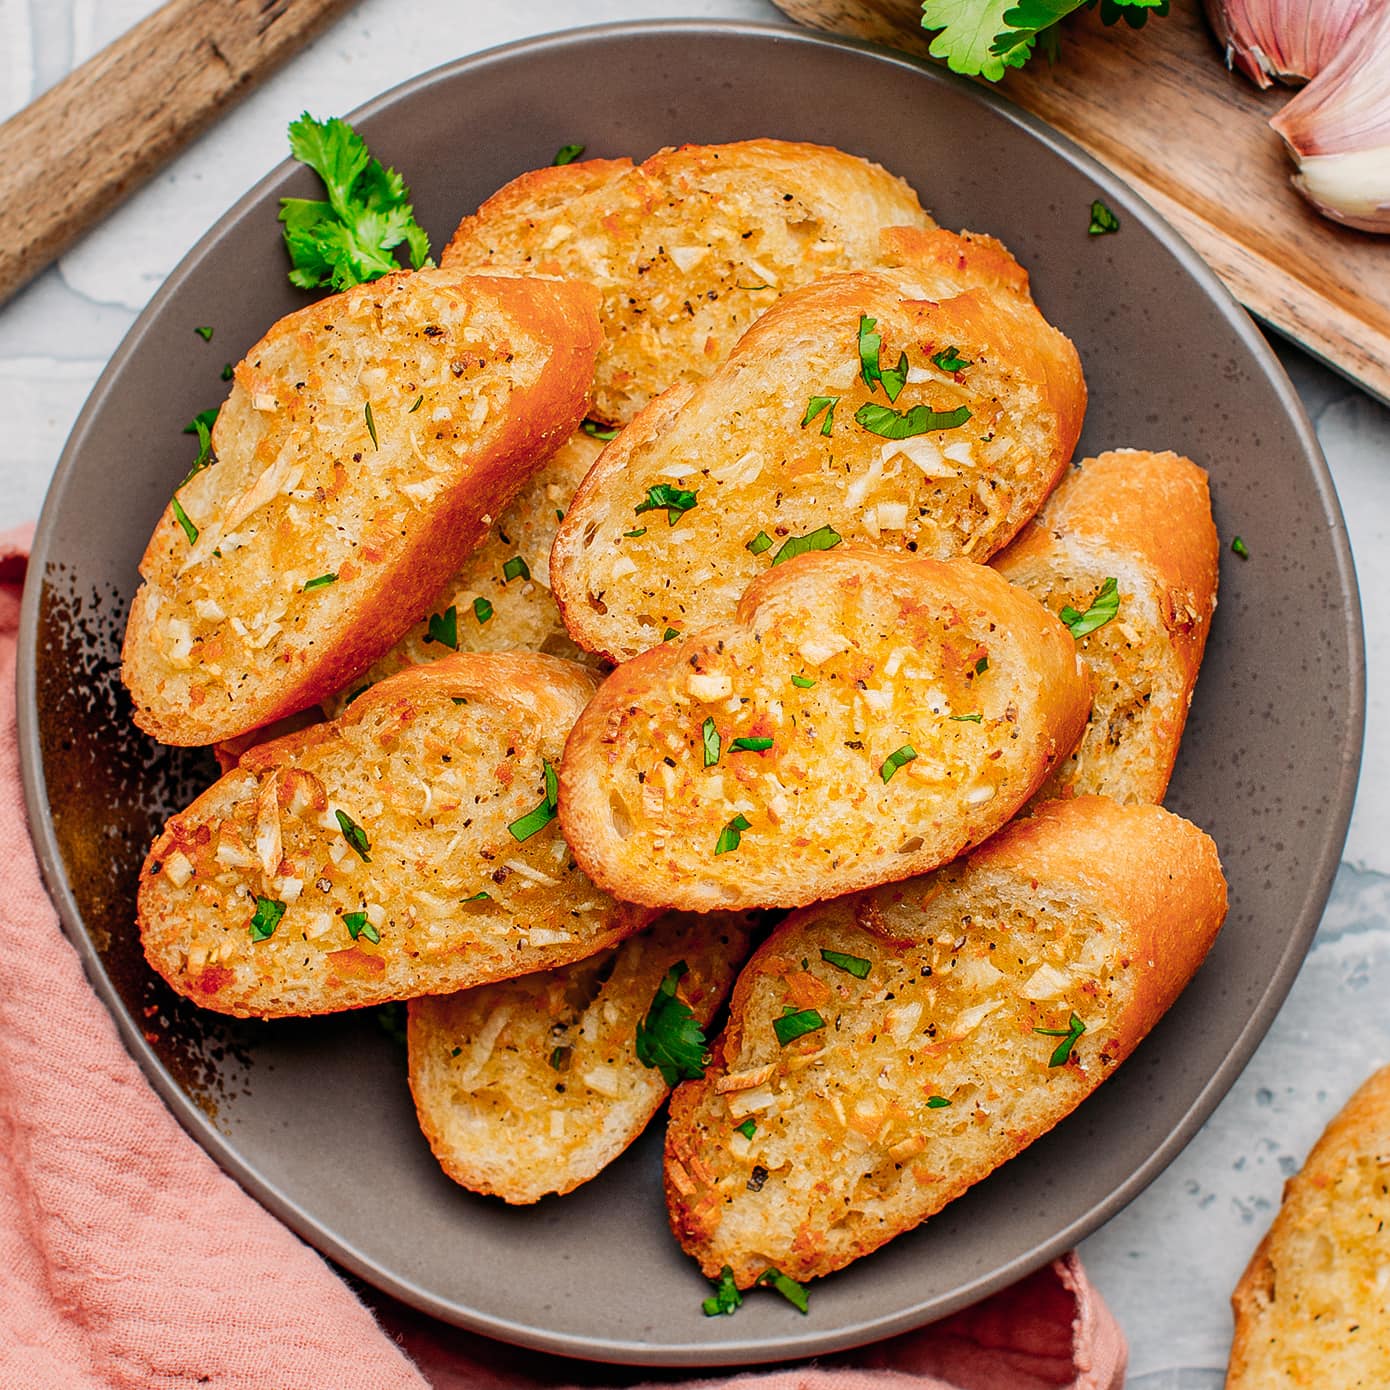
This air-fryer garlic bread is toasted to perfection and infused with plenty of garlic flavor! Crispy on the outside while still tender on the inside, it is delicious served with pasta or soups. Ready in just 7 minutes!

⭐️ Why You Should Try It
- Toasty, crispy, and tender on the inside. With perfectly crispy edges, a soft center, and a ton of garlic flavor, this garlic bread is amazing and seriously addicting. Plus, it tastes so much better than the one you can find in the freezer section!
- Versatile. Whether you plan to serve it as a side with a stew, soup, pasta dish, or as an appetizer, this bread is versatile and will surely find its place on your table, if not becoming the centerpiece.
- Ready in just 7 minutes. No oven required. You can make this delicious garlic bread in a total of 7 minutes with just 6 ingredients. No need to turn on the oven, making this recipe perfect for summer!
🥖 What Is Garlic Bread
Garlic bread is a side dish that first appeared in Italy around the 15th century. It consists of bread slices spread with butter, minced garlic, and sometimes herbs, and baked or toasted until crispy and golden brown.
It is generally served as a side with pasta dishes, soups, or dips.
🧄 Ingredient Notes
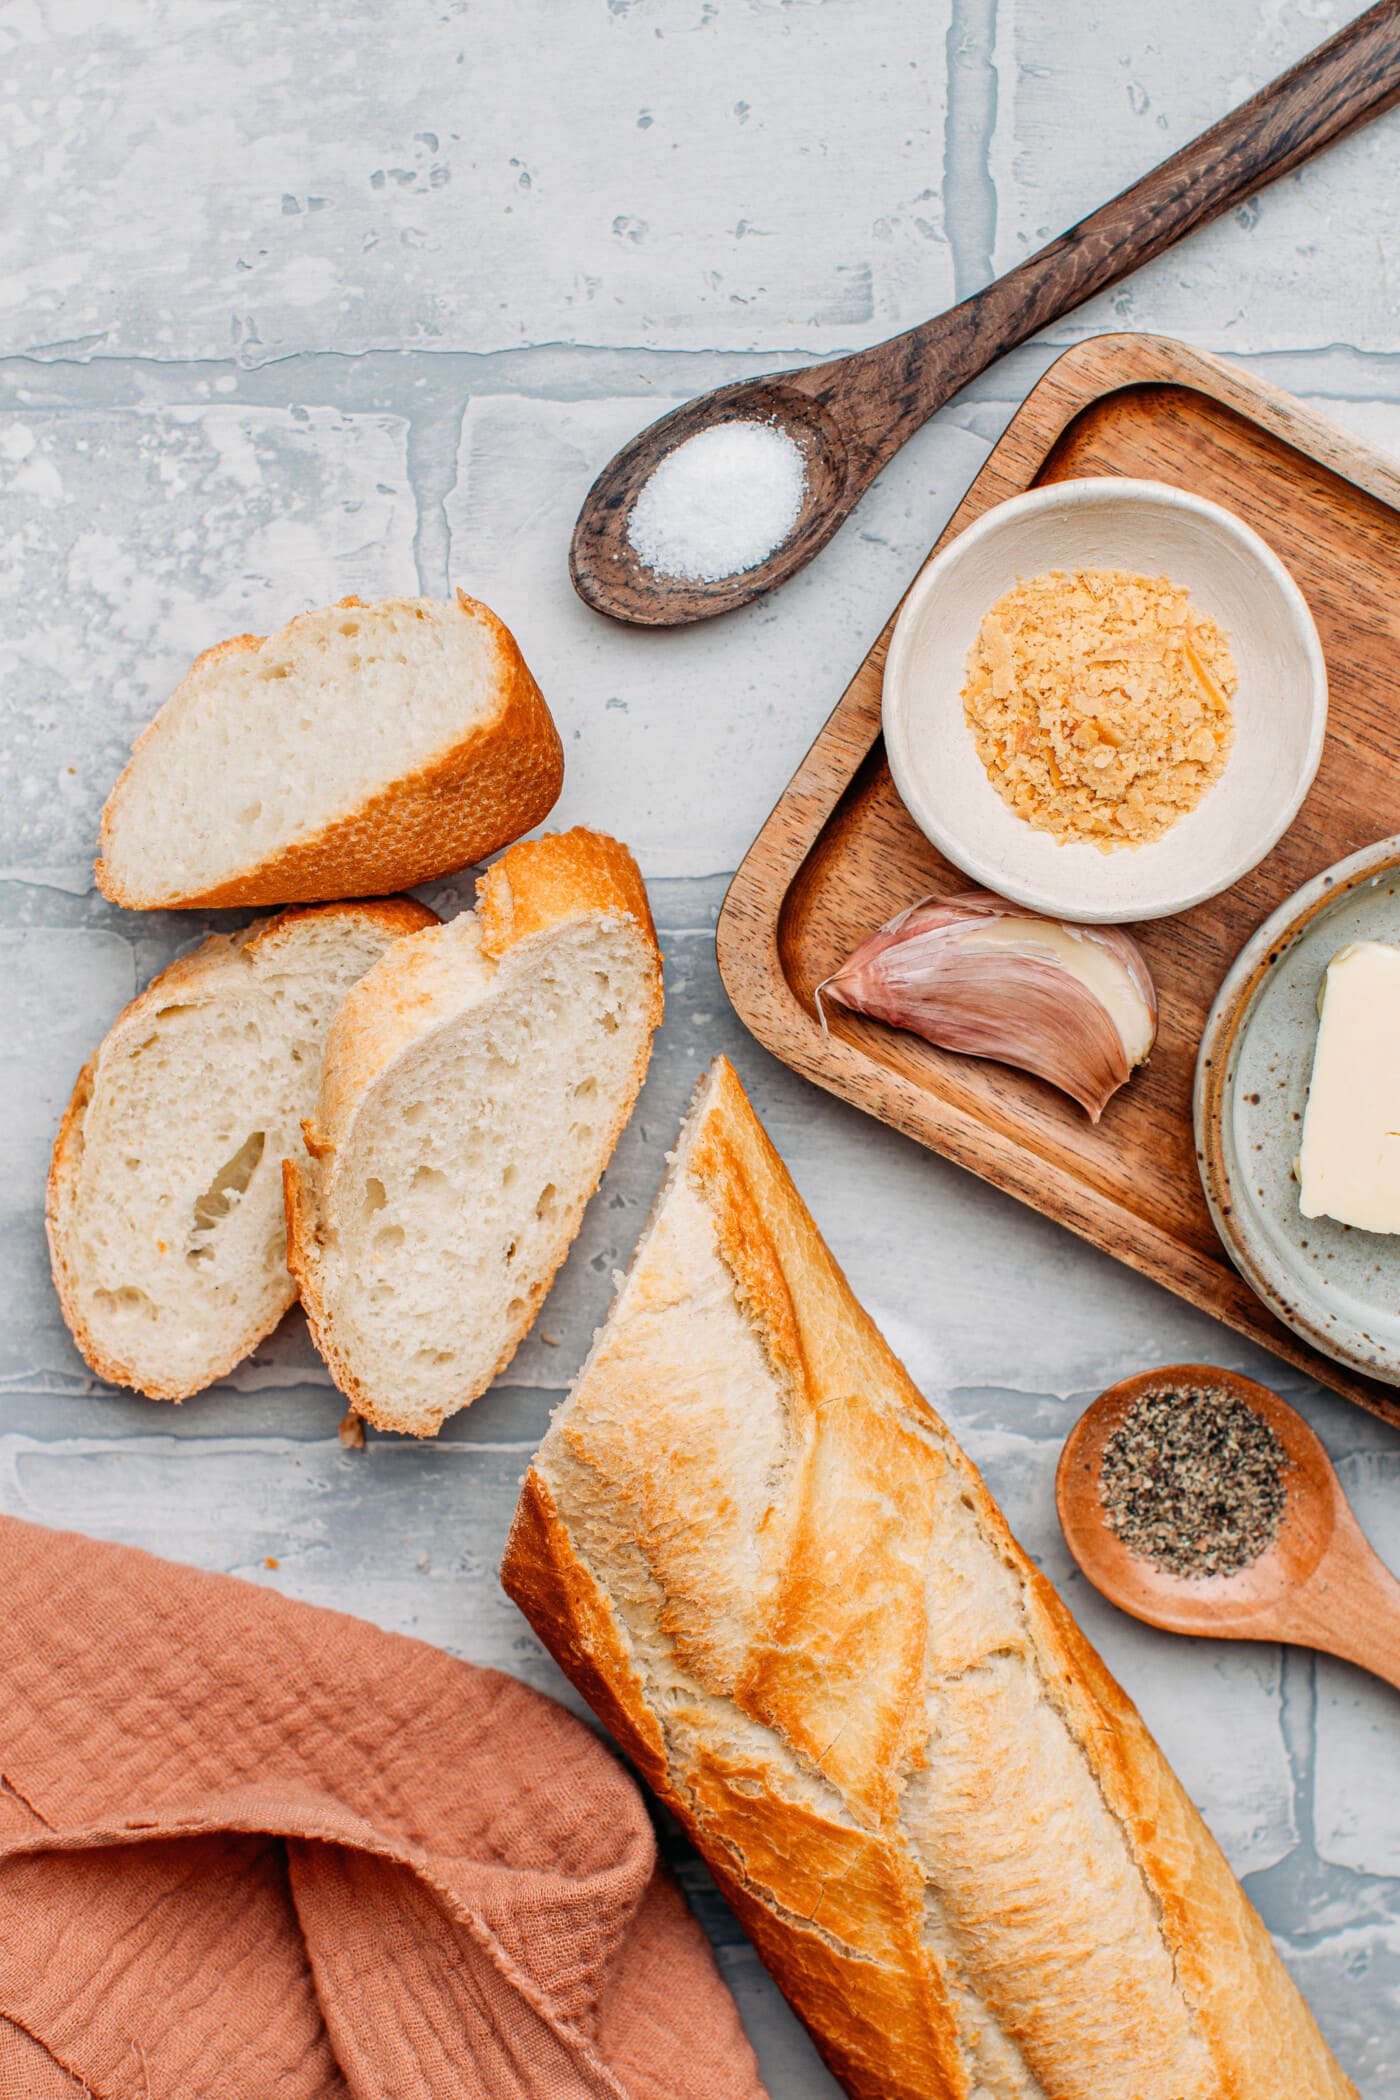
This easy vegan garlic bread recipe requires just 6 ingredients. Here is what you will need:
- Bread – Use French baguette or Italian bread. I personally prefer using baguettes to make bite-size pieces. You can also use leftover bread that has become a bit stale.
- Garlic – For plenty of garlic flavor, use fresh garlic cloves.
- Butter – Any type of butter will work. You can use store-bought butter or homemade vegan butter.
- Nutritional yeast – Optional. It adds a subtle cheesiness! If you have shredded vegan cheese on hand, feel free to combine 1-2 tablespoons of it with the garlic butter for extra cheese flavor.
- Salt and pepper – To season. You can play a bit with the seasonings by using smoked salt or adding dried herbs.
🥣 How to Make It
Prepare the garlic butter
Start by preparing the garlic butter that you will spread on the bread:
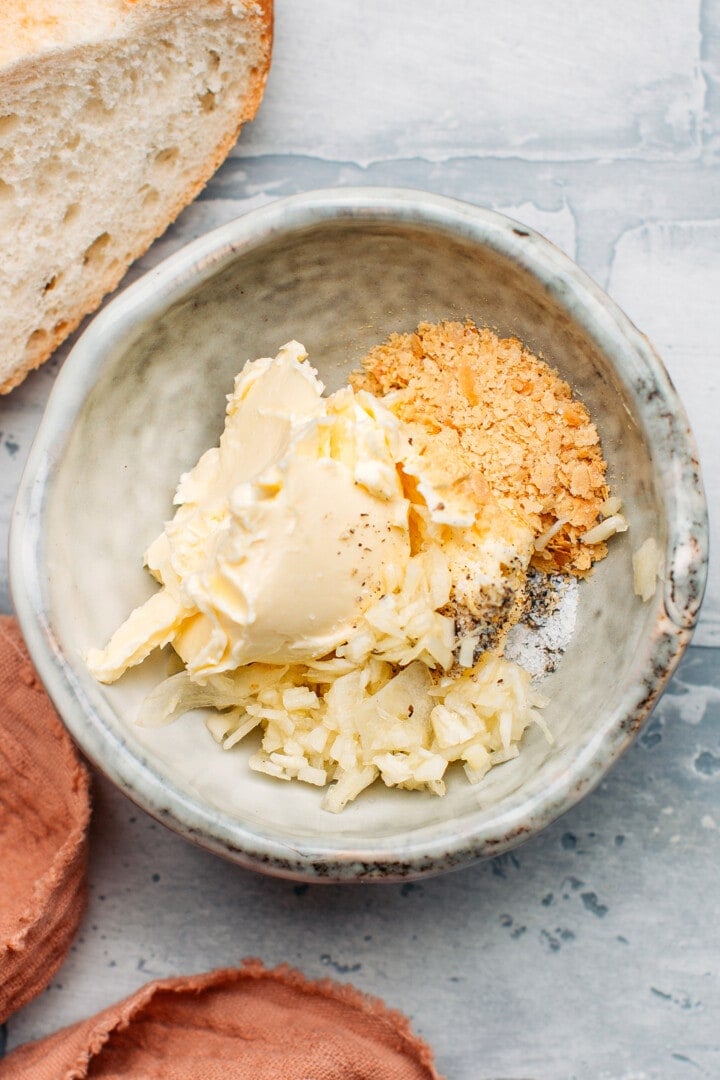
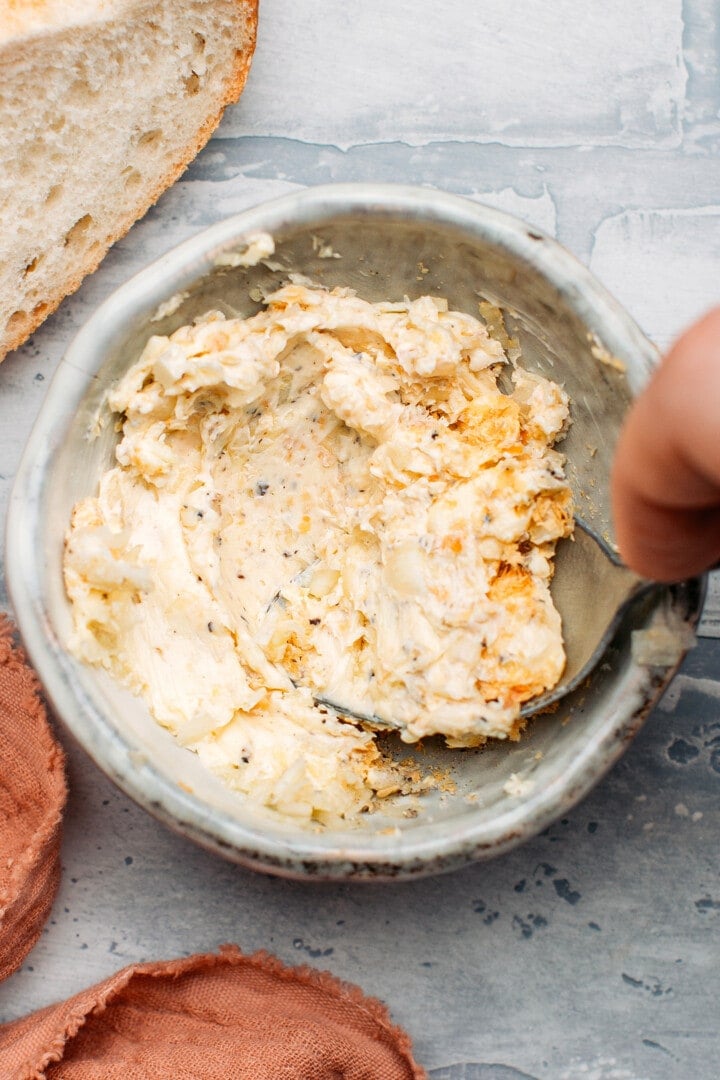
- Add the room-temperature butter, nutritional yeast, minced garlic, salt, and pepper to a small bowl.
- Stir until fully combined.
Spread it
Once your garlic butter is ready, prepare the bread:
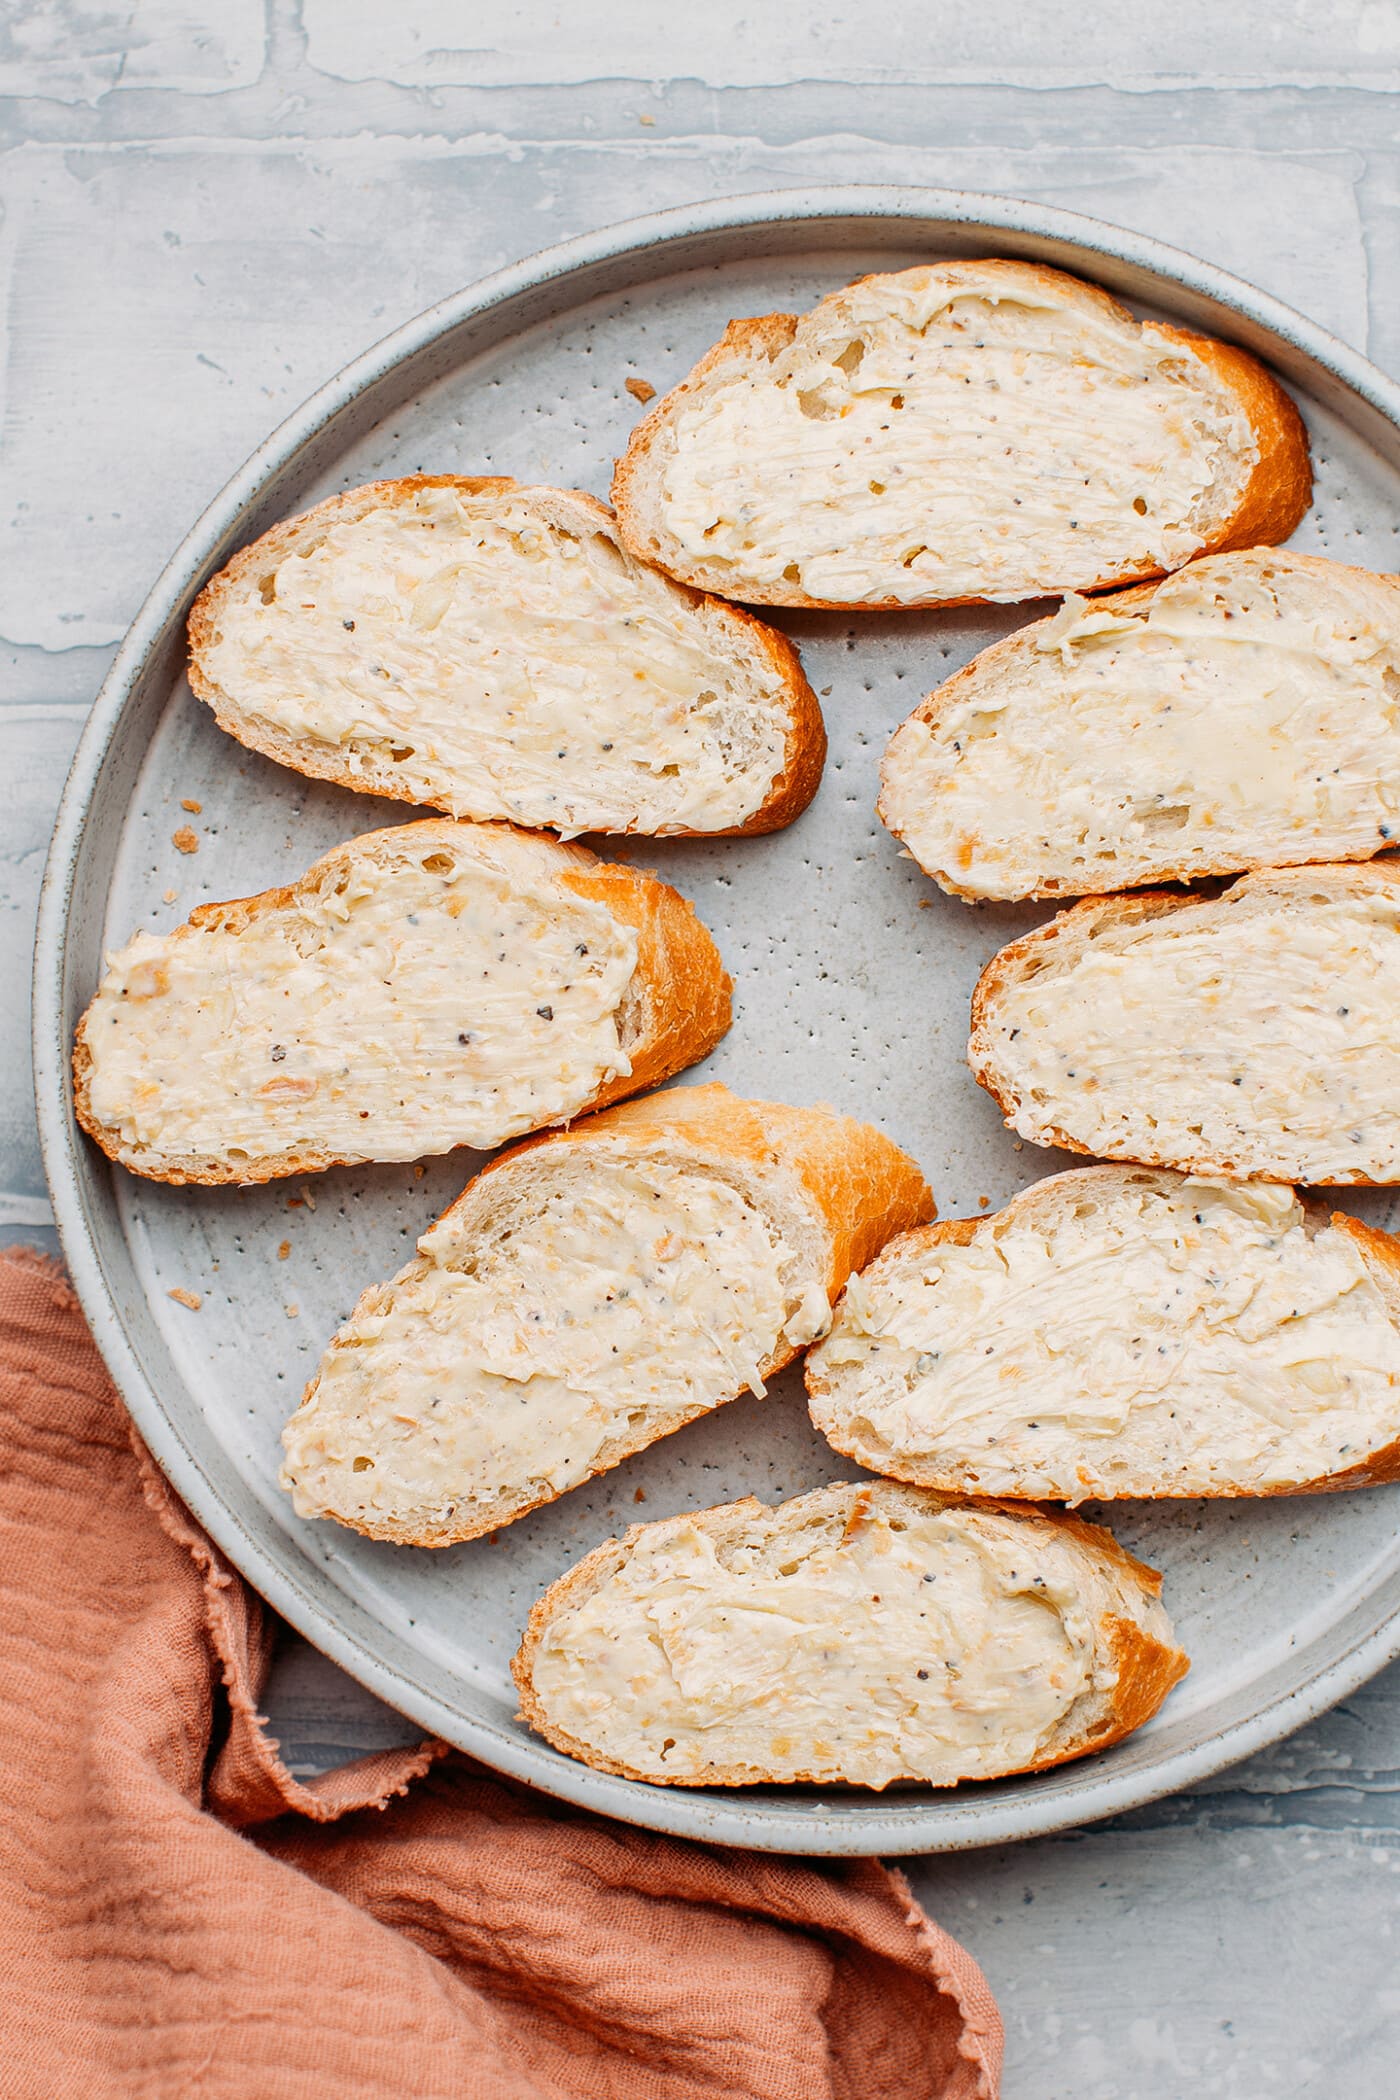
- Slice your baguette or bread into 1-inch thick slices.
- Spread a thin layer of garlic butter on each slice of bread.
Air Fry
- Preheat your air fryer to 350°F (175°C).
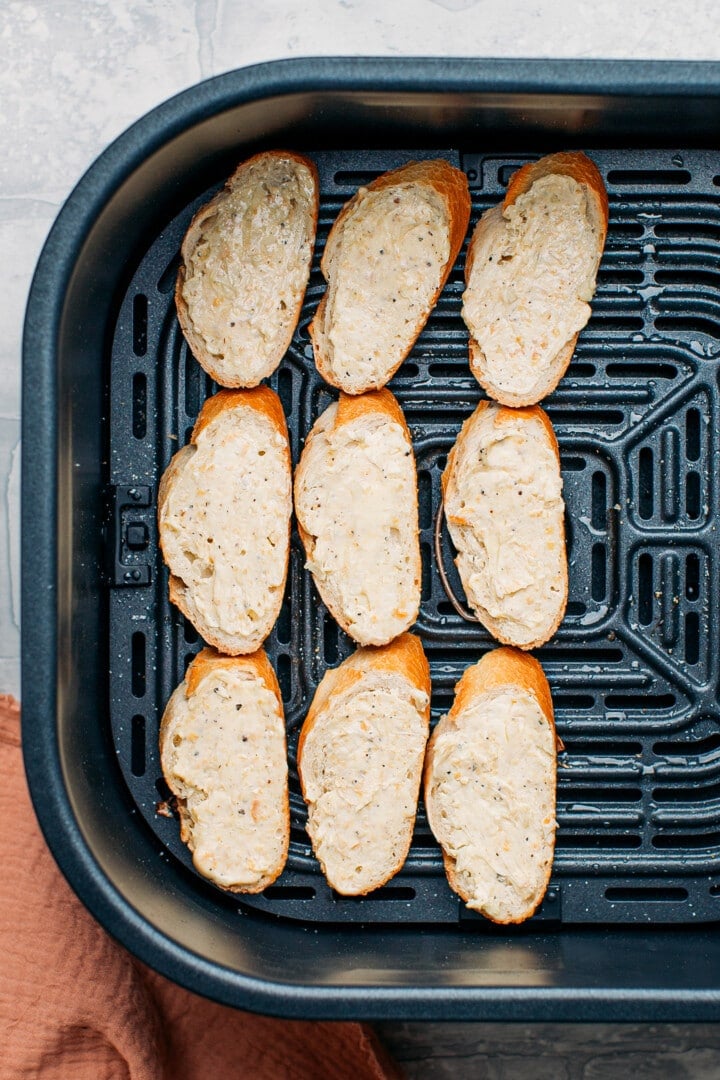
- Arrange the slices of bread into a single layer in the basket of the air fryer.
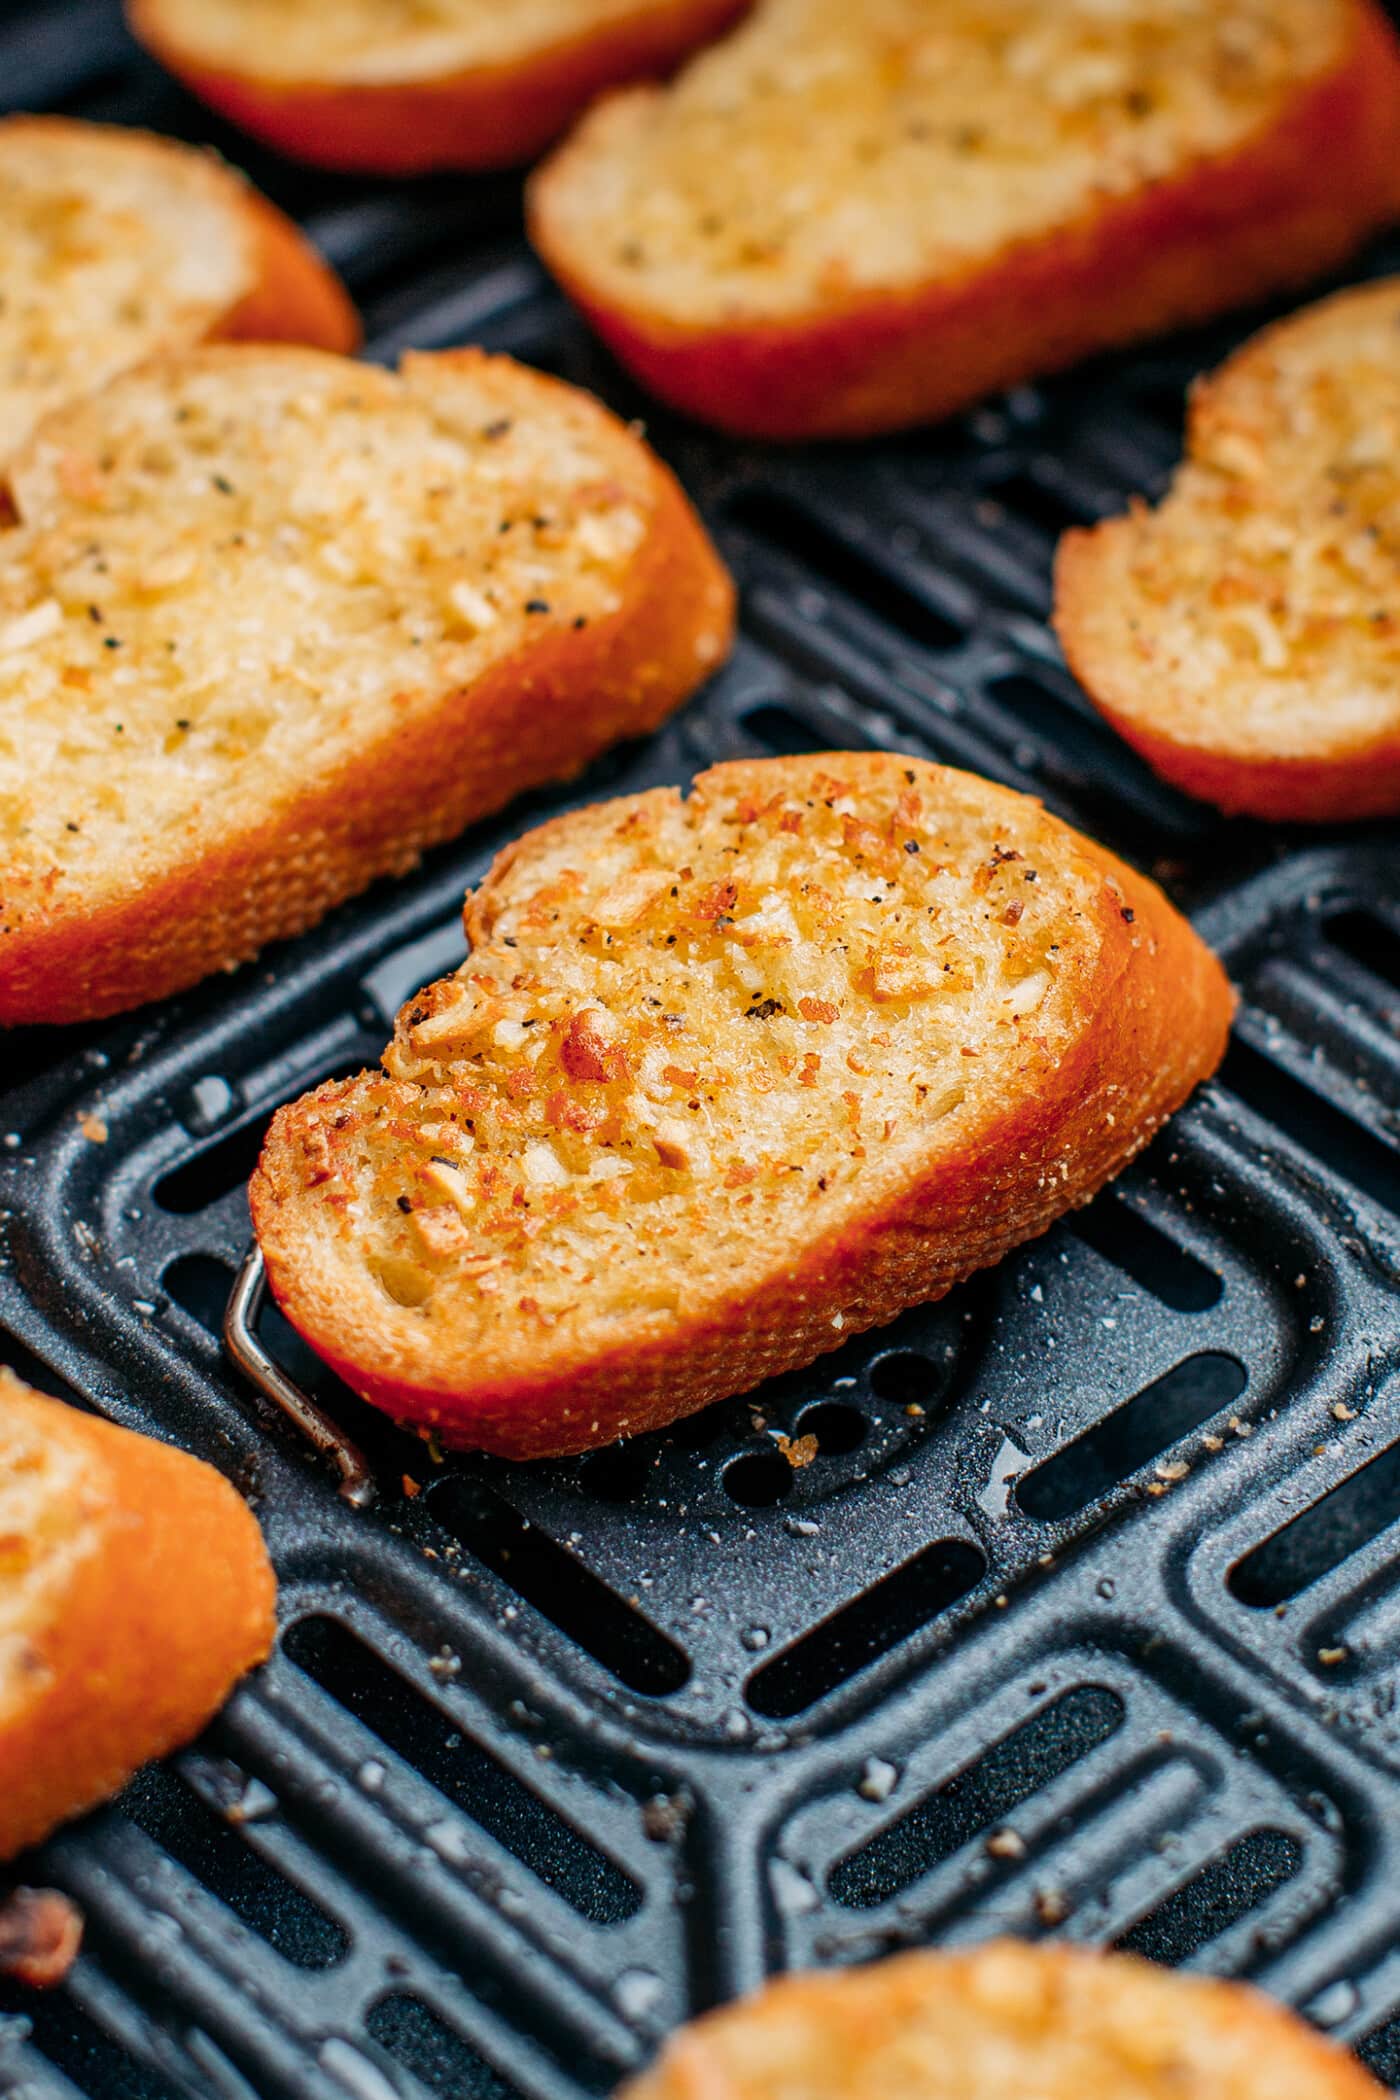
- Air fry for 5 minutes or until golden brown and crispy.
- Top with fresh herbs and serve!

❄️ Freezing
You can freeze this garlic bread before air frying it. After spreading the sliced bread with the garlic butter, arrange it in a single layer on a baking sheet. Freeze for 2-3 hours before transferring to a freezer-friendly bag. It will keep for up to 2 months. To air fry it, simply increase the cooking time by 2-3 minutes. No need to thaw!
🍲 How to Serve It
This garlic bread is delicious served as an appetizer with some drinks, or as a side with pasta like vegan ragu, or soups like sweet potato soup or corn soup.
You can also slice it into cubes and add it to salads!
📔 Tips
- Use bread with a thin crust. For the best texture, I recommend staying away from rustic bread with a thick crust. Once toasted, the crust tends to become too hard to chew. Use a baguette or French-type bread with a thin crust.
- Use fresh garlic. No dried garlic is allowed here!
- Season it to your liking. For an herby flavor, feel free to sprinkle dried oregano, thyme, or Italian seasoning on top of the bread before air-frying.
- Adjust the frying time. Depending on your air-fryer and the size of your bread, you might have to adjust a bit the cooking time. Open the air-fryer after 5 minutes, and cook for 1-2 more minutes if the bread is not golden brown enough.
- Serve immediately. This air-fryer garlic bread is best served immediately for the best texture.
- Top with fresh herbs. Right before serving, garnish each slice of garlic bread with either chopped parsley, cilantro, or green onions! It will not only add a pop of color but also freshness.
- Double the recipe. Feel free to double the recipe if serving to a crowd and air-fry in two batches.

💬 FAQ
This garlic bread is best served immediately but will keep for up to 1 day at room temperature. You can bring back its crispiness by reheating it for about 2 minutes in a 350°F (175°C) pre-heated air fryer.
Yes, gluten-free bread works as well!
This vegan garlic bread makes a delicious side to any comforting dish! It’s so addicting that you will not stop at one slice!
⭐️ Did you like this recipe? Let us know in the comments below, and tag us on Facebook, Instagram, or Pinterest!


Save this recipe!
Enter your email below and I’ll send it to your inbox!
Plus, you will receive new recipes every week!
Crispy Air Fryer Garlic Bread
Equipment
Ingredients
- 4 ounces (115 g) French baguette
- 2 tbsp (28 g) vegan butter
- 1 clove of garlic minced
- 1/2 tsp nutritional yeast
- 1/16 tsp salt omit if using salted butter
- 1/8 tsp ground black pepper
Instructions
- Preheat your air fryer to 350 °F (175°C).
- Slice the baguette into 1-inch thick slices
- In a small bowl, mix together the butter, minced garlic, nutritional yeast, salt, and ground black pepper. Spread each slice of bread with a thin layer of garlic butter.
- Air fry for 5 minutes or until the bread is golden brown.
- Garnish with chopped parsley or green onions and serve immediately.
Notes
- Use bread with a thin crust. For the best texture, I recommend staying away from rustic bread with a thick crust. Once toasted, the crust tends to become too hard to chew. Use a baguette or French-type bread with a thin crust.
- Use fresh garlic. No dried garlic is allowed here!
- Season it to your liking. For an herby flavor, feel free to sprinkle dried oregano, thyme, or Italian seasoning on top of the bread before air-frying.
- Adjust the frying time. Depending on your air-fryer and the size of your bread, you might have to adjust a bit the cooking time. Open the air-fryer after 5 minutes, and cook for 1-2 more minutes if the bread is not golden brown enough.
- Serve immediately. This air-fryer garlic bread is best served immediately for the best texture.
- Top with fresh herbs. Right before serving, garnish each slice of garlic bread with either chopped parsley, cilantro, or green onions! It will not only add a pop of color but also freshness.
- Double the recipe. Feel free to double the recipe if serving to a crowd and air-fry in two batches.
Nutrition

About the Author
Thomas Pagot is the founder, photographer, and recipe developer behind Full of Plants. He created the blog in 2016 as a personal cookbook for vegan recipes. Through years of recipe development, Thomas has successfully grown Full of Plants into a trusted resource for plant-based recipes.


Leave a Comment
Amazing recipe! It’s a new way for making garlic bread.
Hi Thomas,
I enjoy your recipes that help all of us transition to plant based lifestyle. For those of us without an air-fryer, please can you address any adjustments if using a regular oven. Thanks!
Hi Julie,
Thanks for your comment! This recipe is specific for air fryer. I took note to work on an oven garlic bread recipe 😉