
This post may contain affiliate links. Please read our disclosure policy.

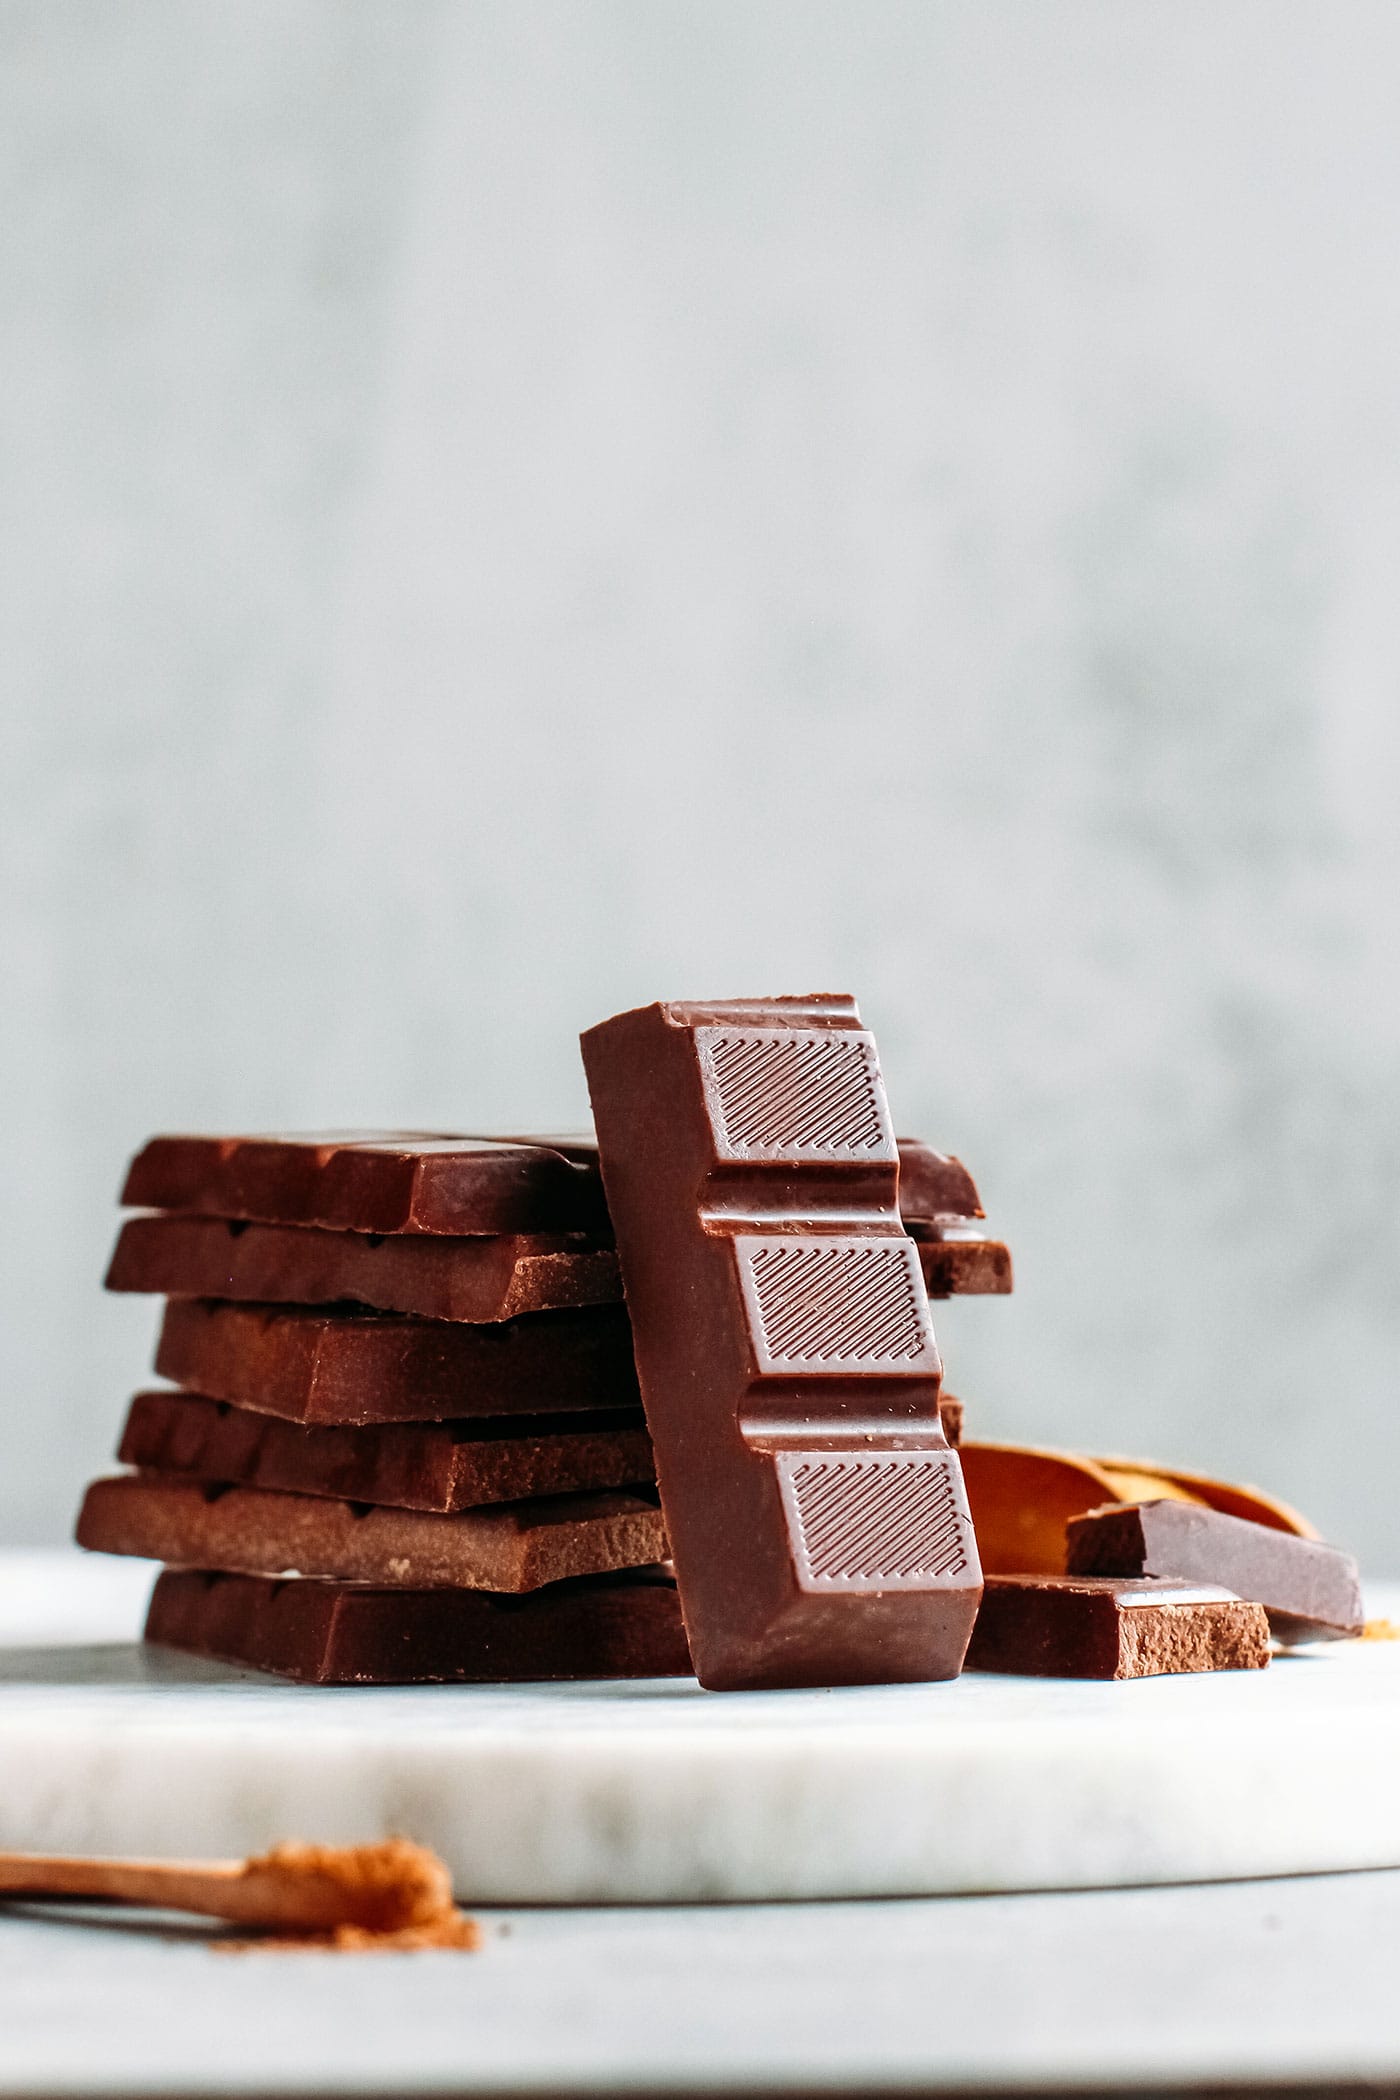
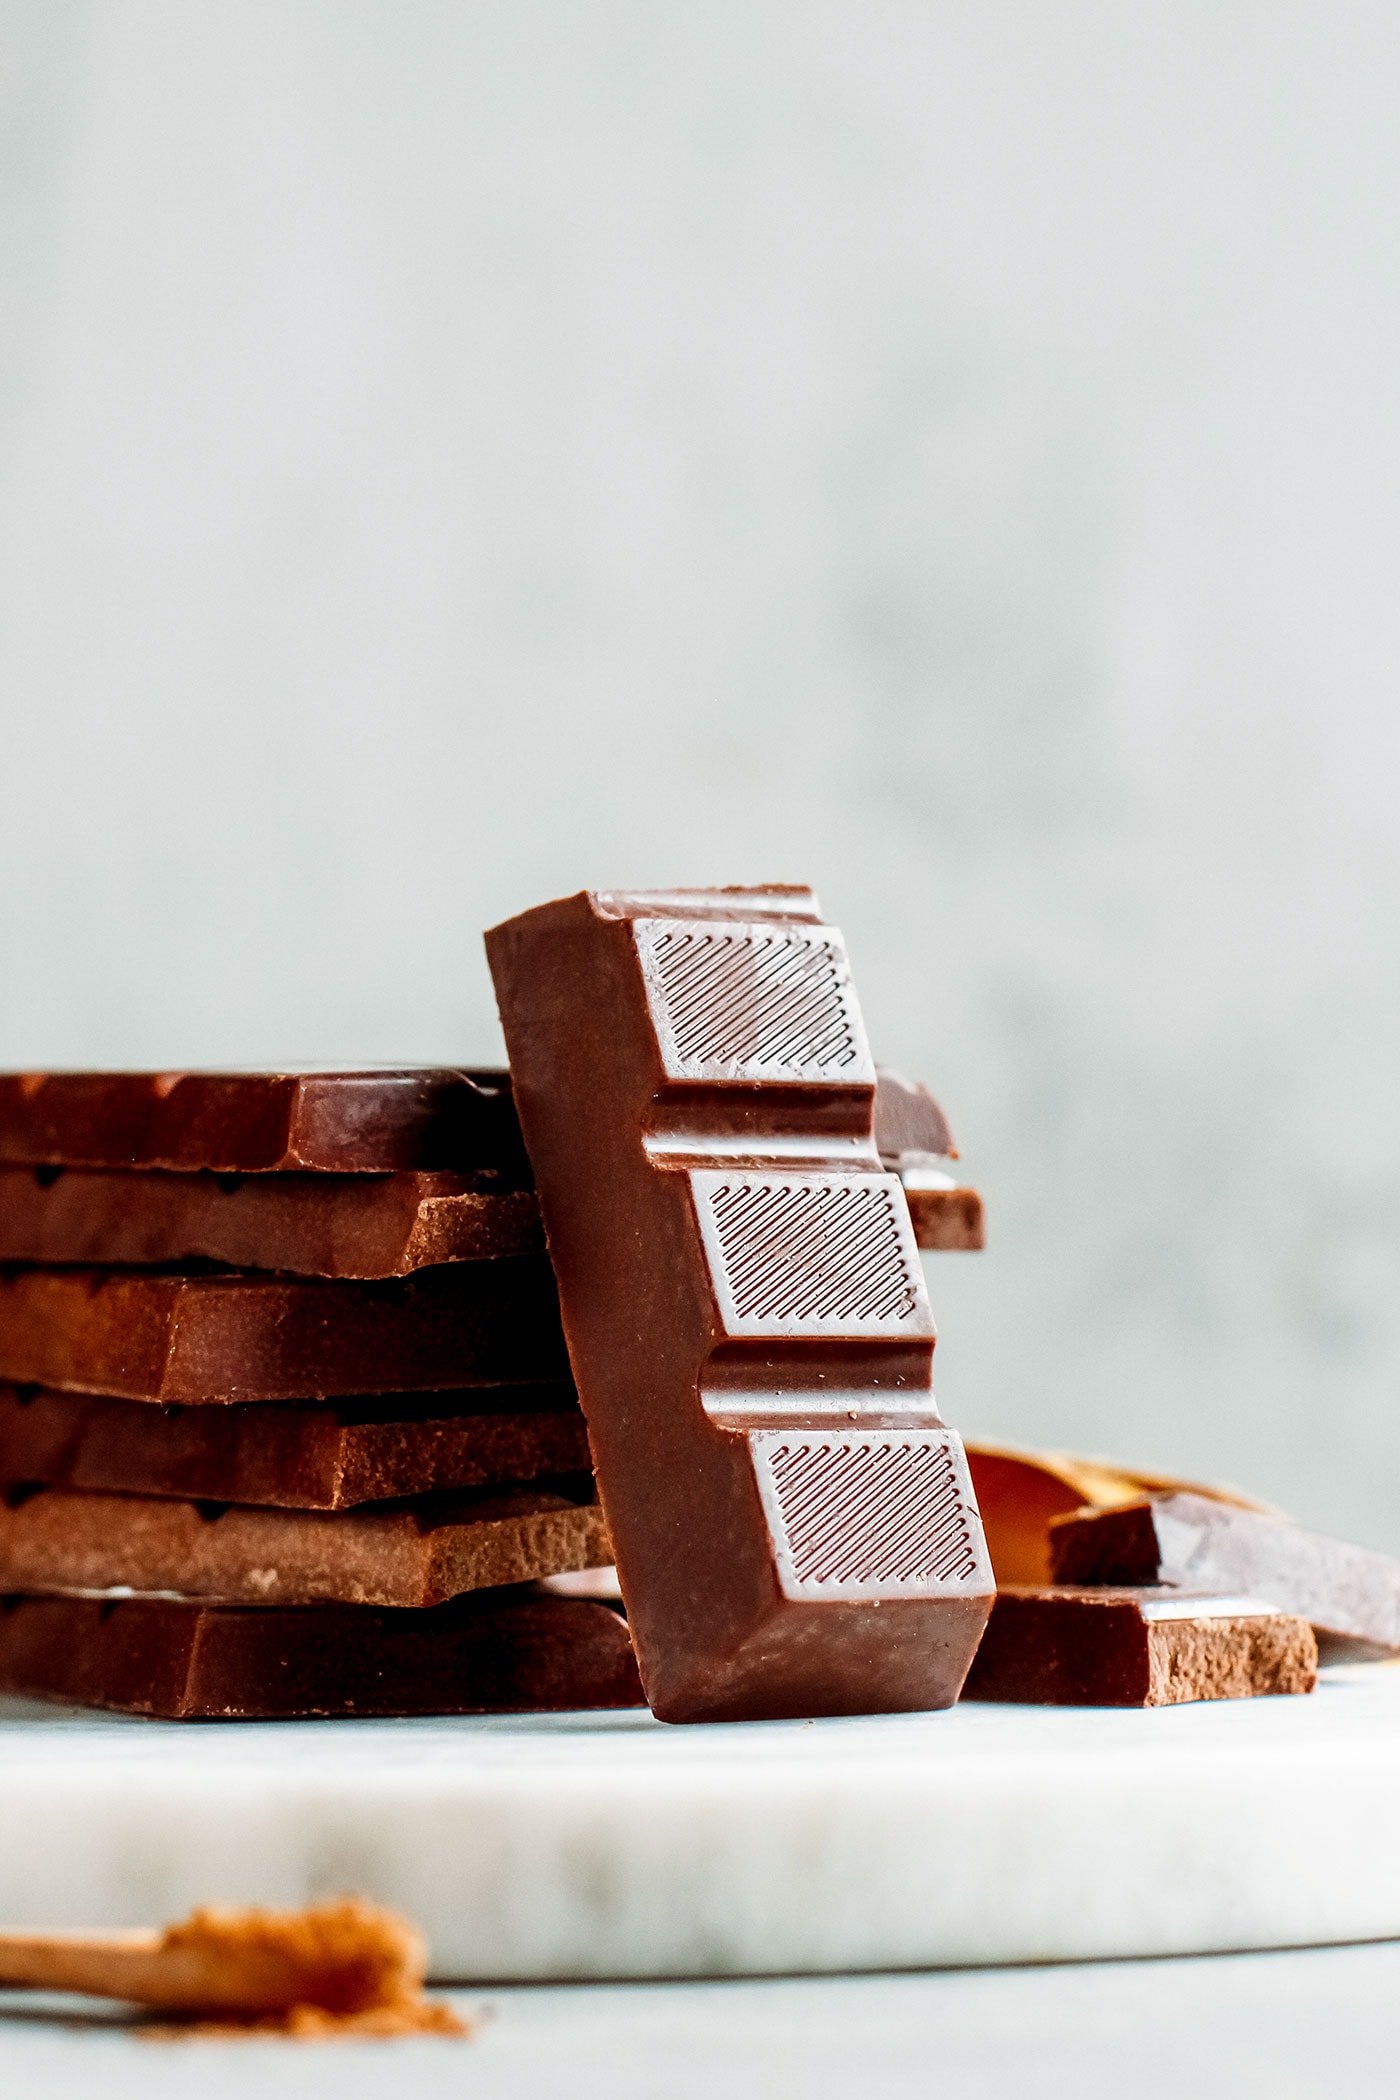
It’s here! Vegan Milk chocolate that snaps!
Many of you have been asking for it, and I have yet to release a recipe for homemade chocolate. This 7-ingredient raw chocolate is naturally sweetened, not too chocolatey, and can be kept at room temperature!
I love dark chocolate, but I have to admit sometimes I want something less chocolatey, like milk chocolate. The thing is, vegan milk chocolate costs an arm at the store and is usually too sweet for my taste and/or contains refined sugars. So let’s make healthy “milk” chocolate!
I tried many vegan chocolate recipes in the past and have never been satisfied with the results. Most of them have to be kept in the fridge as they are too soft at room temperature and are often grainy with a coconut aftertaste. Definitely not something I wanted!
So I took a look at the ingredients used in commercial raw chocolates and started testing. My first tries were not a success as the chocolate was soft, melting in the hands, and had crispy bits of coconut sugar.
Several batches later, I found out the solution was first to grind the coconut sugar into a fine powder and temper the chocolate so it snaps when you break it.
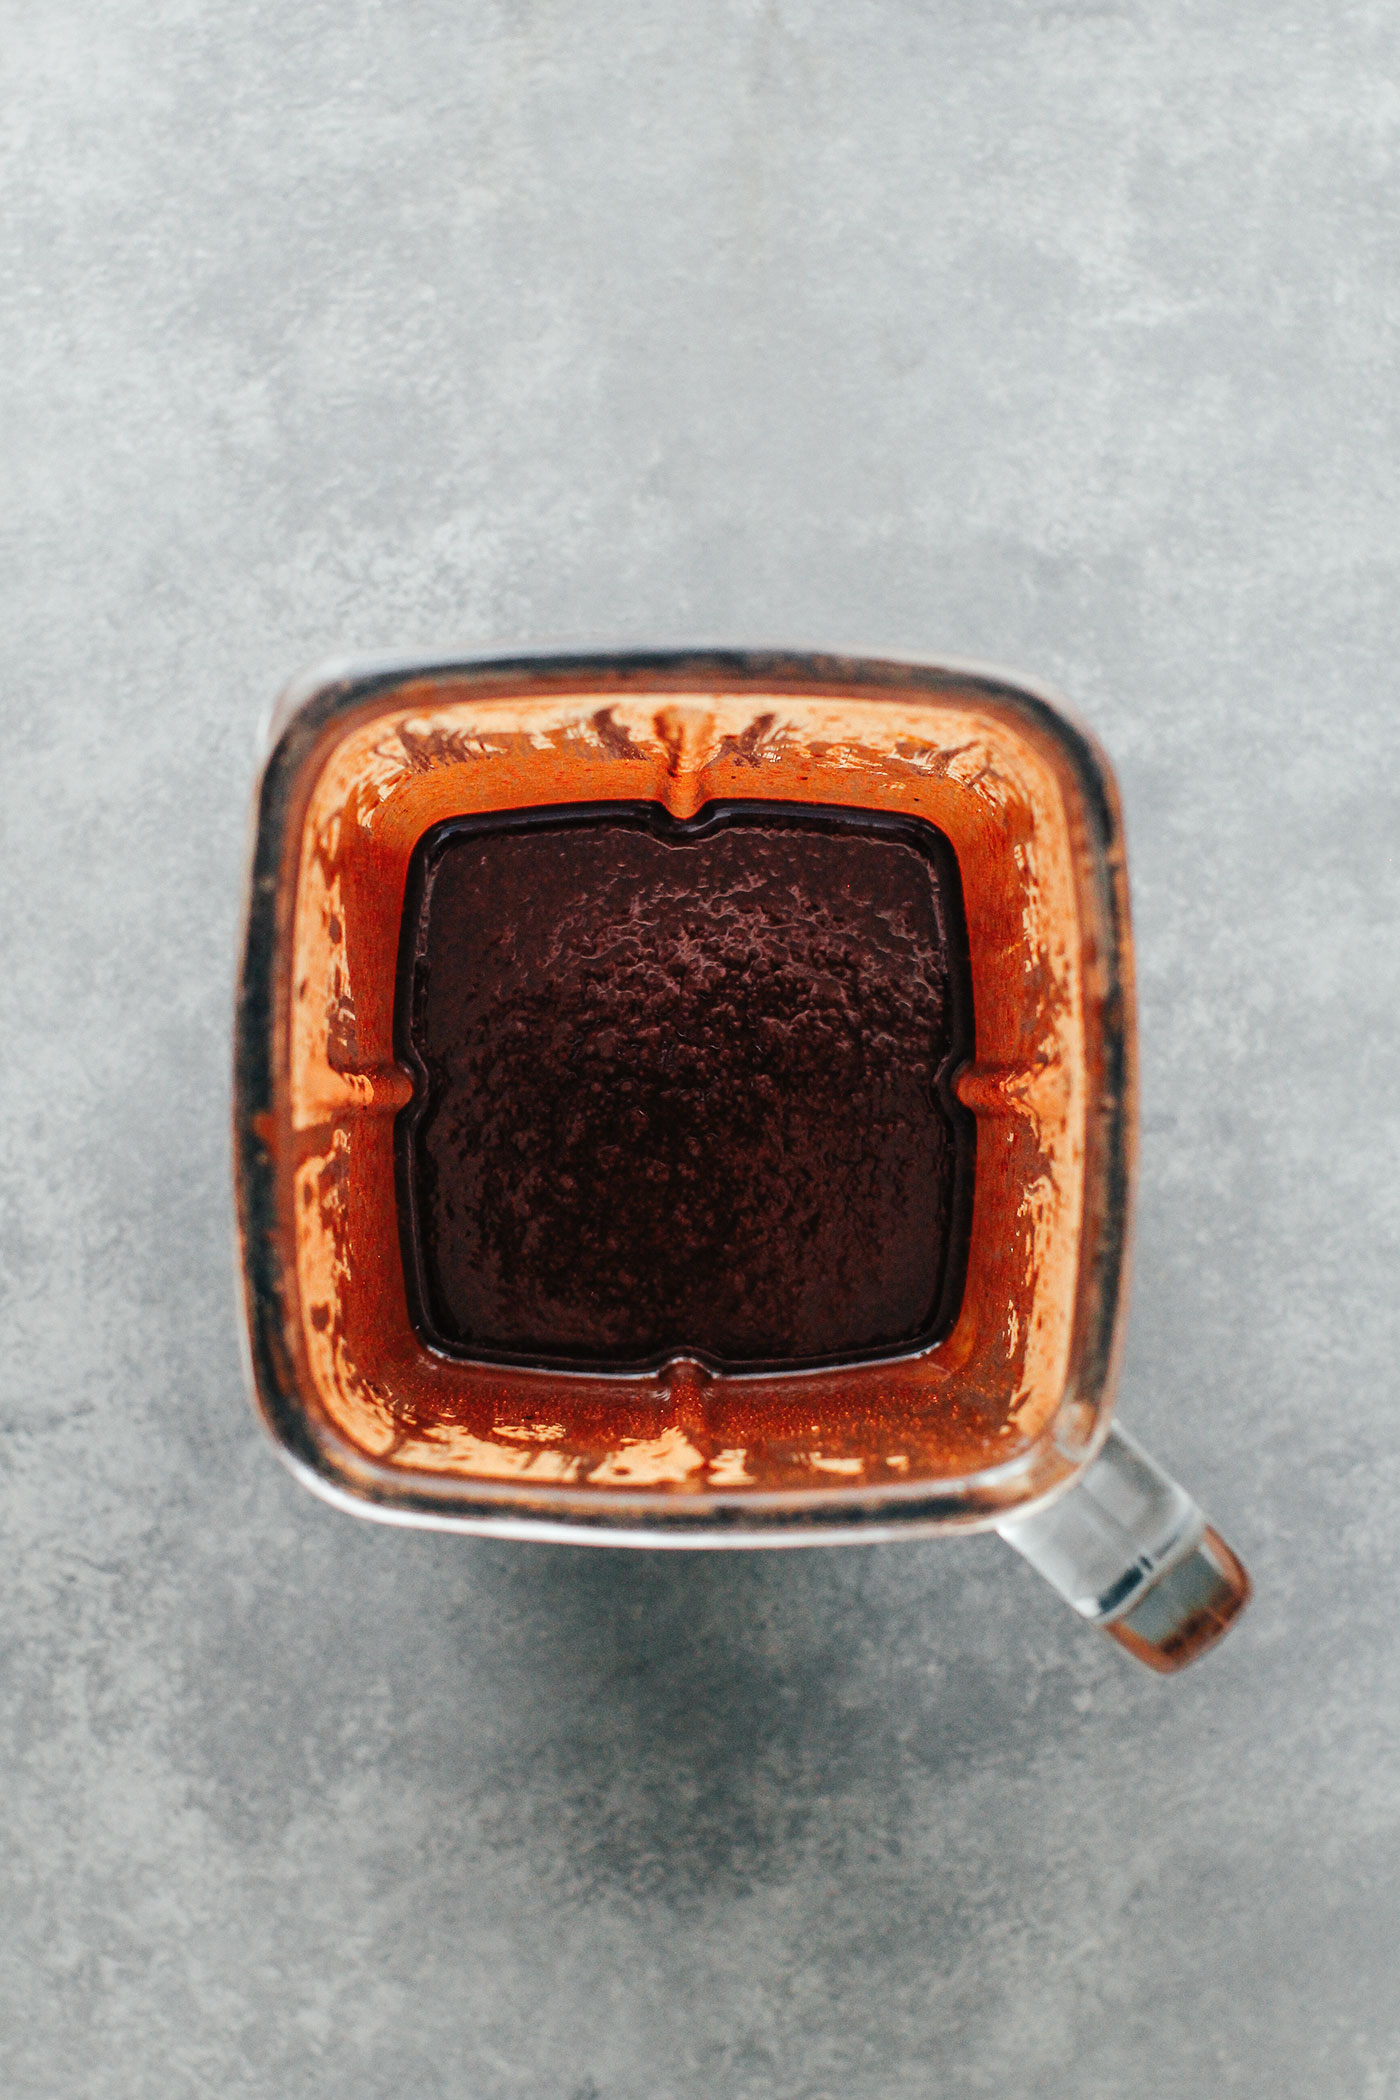
Liquid sweeteners like agave, maple, or coconut nectar prevent the chocolate from tempering properly, meaning it becomes very soft at room temperature. We don’t want that. That’s why I went with coconut sugar. The problem with dry sweeteners is that they tend to make homemade chocolate grainy unless you have a stone grinder (which I’m considering buying to make silky smooth nut butter and chocolate). So to fix this problem, we first grind coconut sugar in a blender until it has a texture similar to powdered sugar. It’s not as smooth as commercial chocolate, but it’s still quite smooth!
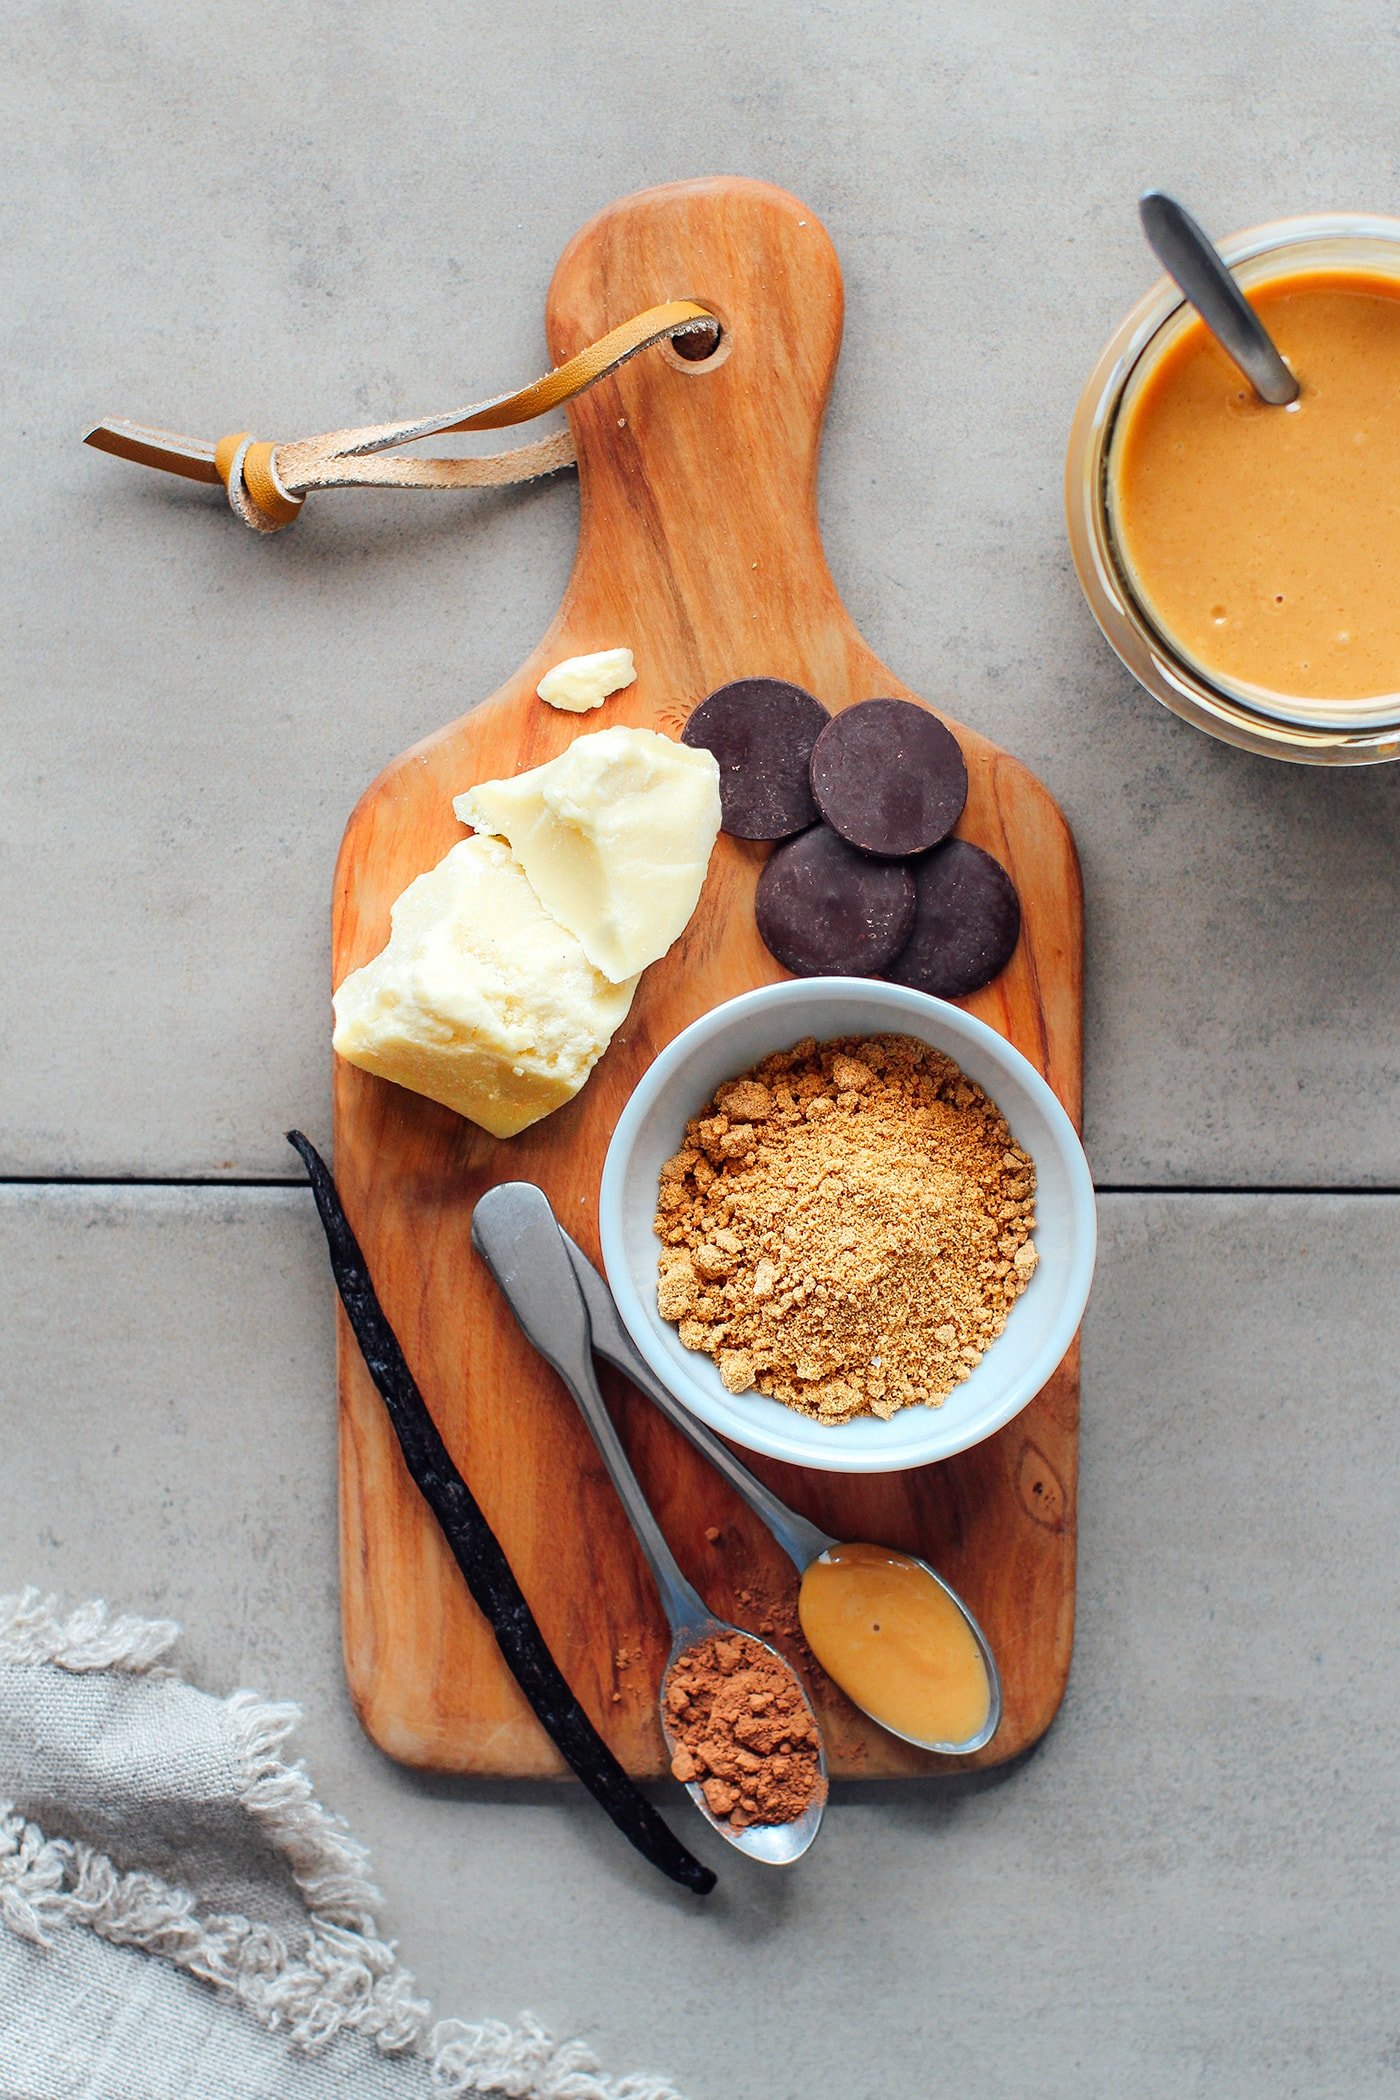
Once you have superfine coconut sugar, combine it with raw cocoa powder, salt, and seeds from a vanilla bean. I also like to add half a teaspoon of lucuma, as it gives the chocolate a subtle caramel flavor and more sweetness.
Next, melt the cocoa butter and cocoa paste over a double boiler until just melted. Pour into the blender, and blend! Your chocolate is almost ready. The final step is to temper it by respecting different temperatures.
To resume, making vegan milk chocolate is done in 4 steps:
- Grind the coconut sugar: Simply add coconut sugar with cocoa powder, salt, and vanilla to a blender and blend until it looks like powdered sugar.
- Melt the cocoa butter: Melt cocoa butter and cocoa paste until just melted. The temperature should be around 107°F (42°C).
- Blend: Pour the melted cocoa butter into the blender, add the almond or hazelnut butter, and blend until fully combined. Adding some nut butter helps emulsify everything. My favorite is hazelnut butter, as I found it yields a milkier flavor. Almond butter is a good alternative too.
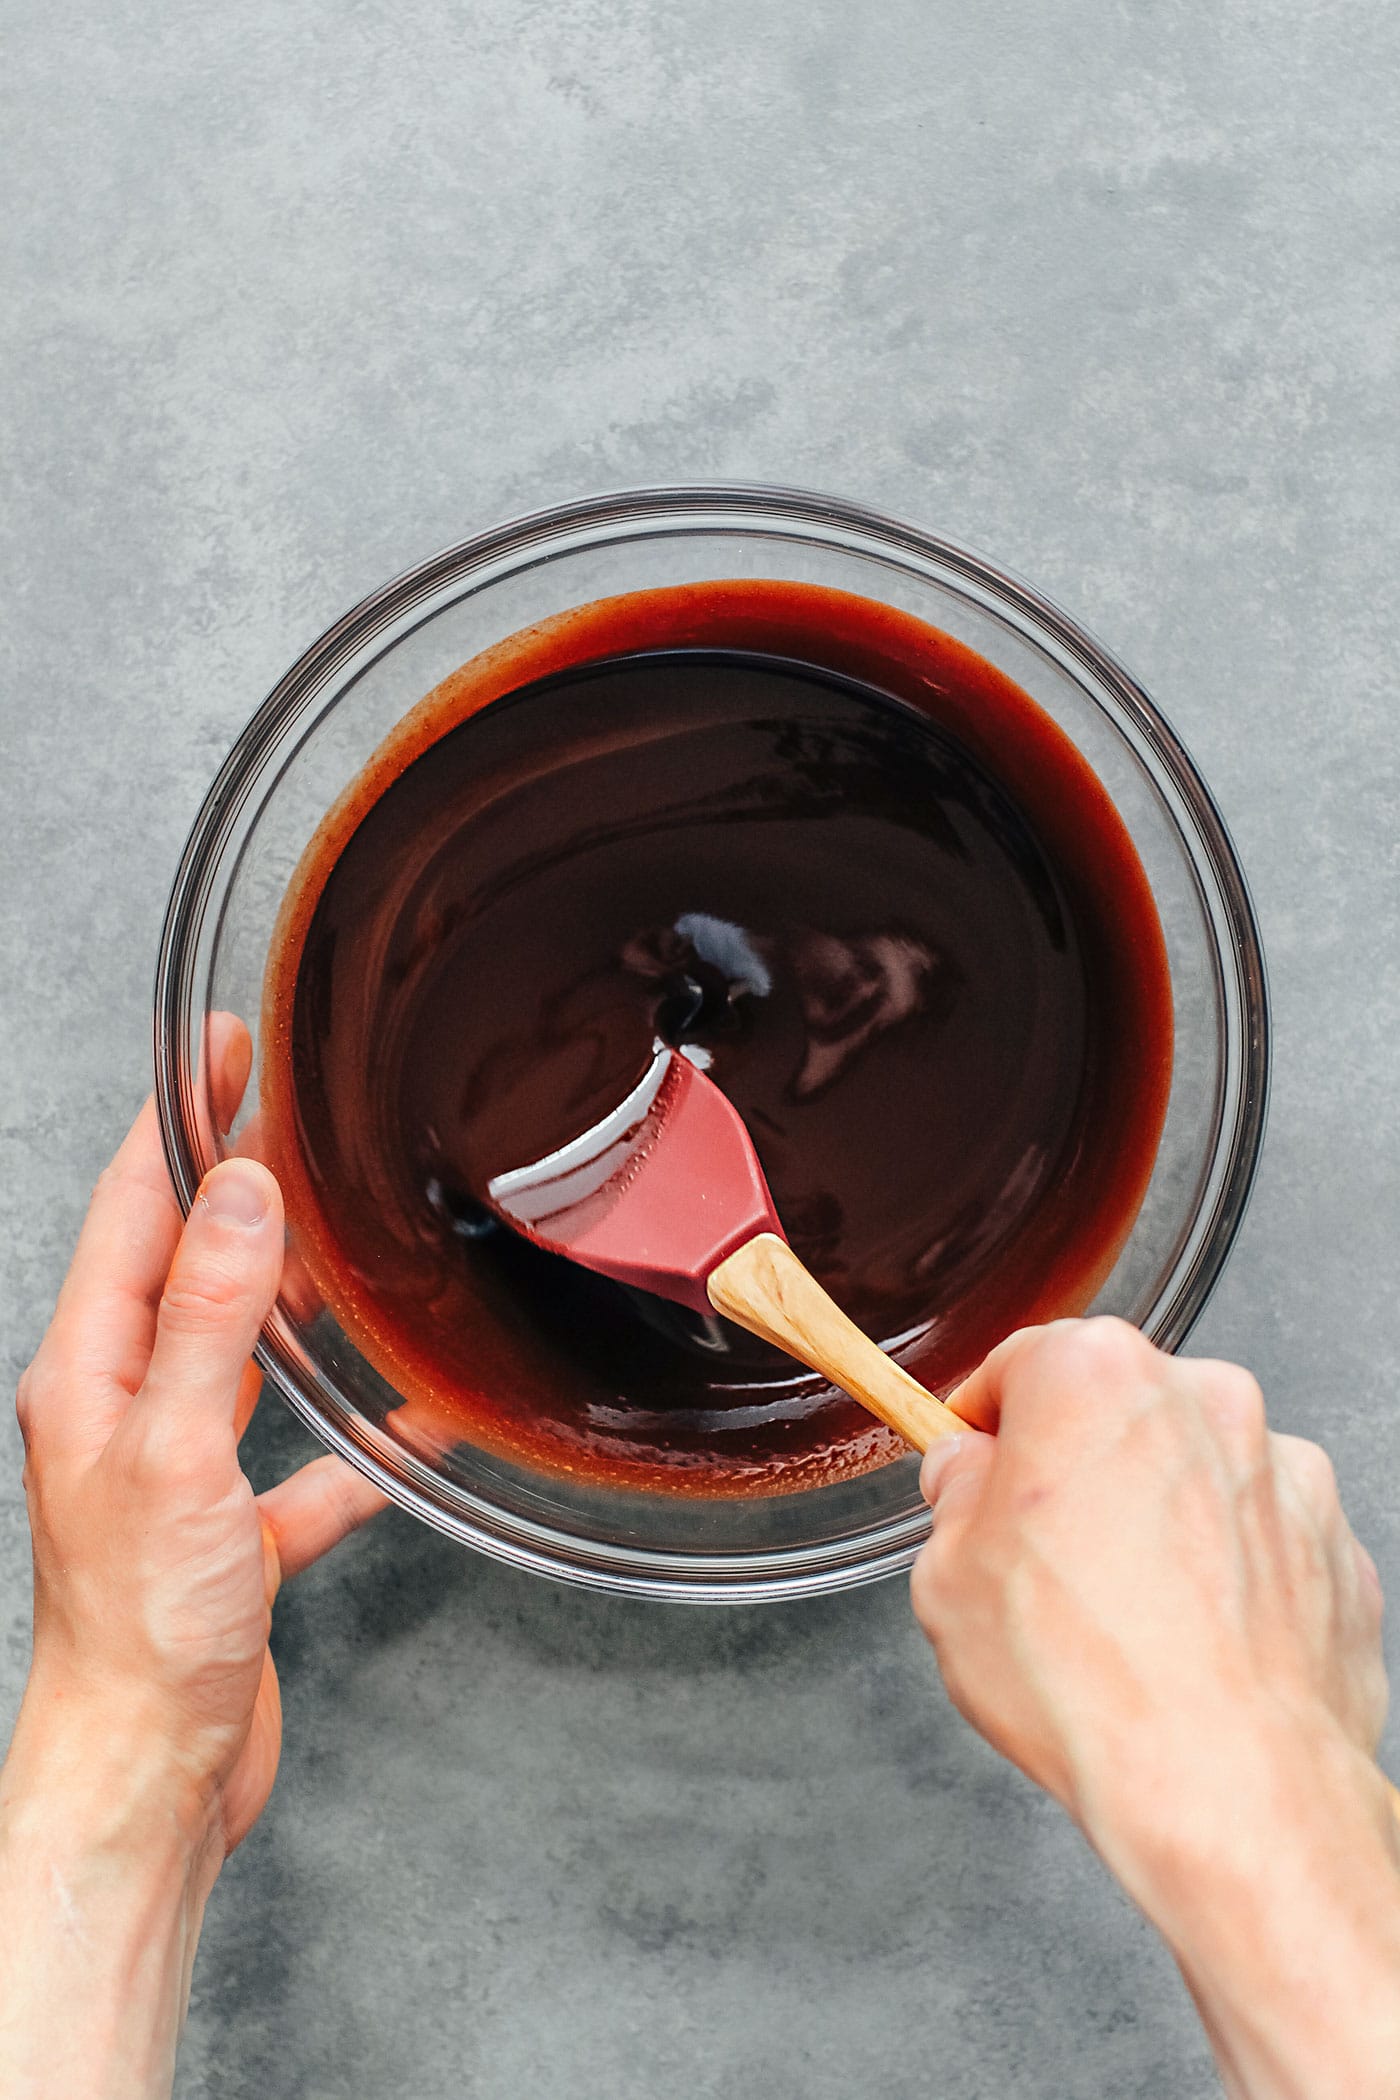
- Temper: Transfer to a large mixing bowl, and stir until the temperature goes down to 82°F (28°C). Then reheat gently over a double boiler until it reaches 87°F (31°C). Your chocolate is now tempered and can be used to coat bars or can simply be poured into a chocolate mold. Once again, tempering is the secret to getting chocolate that snaps and looks shiny.
For the mold, I used a polycarbonate one like this one. If you want to make it look fancier, there are also other shapes available like this one.
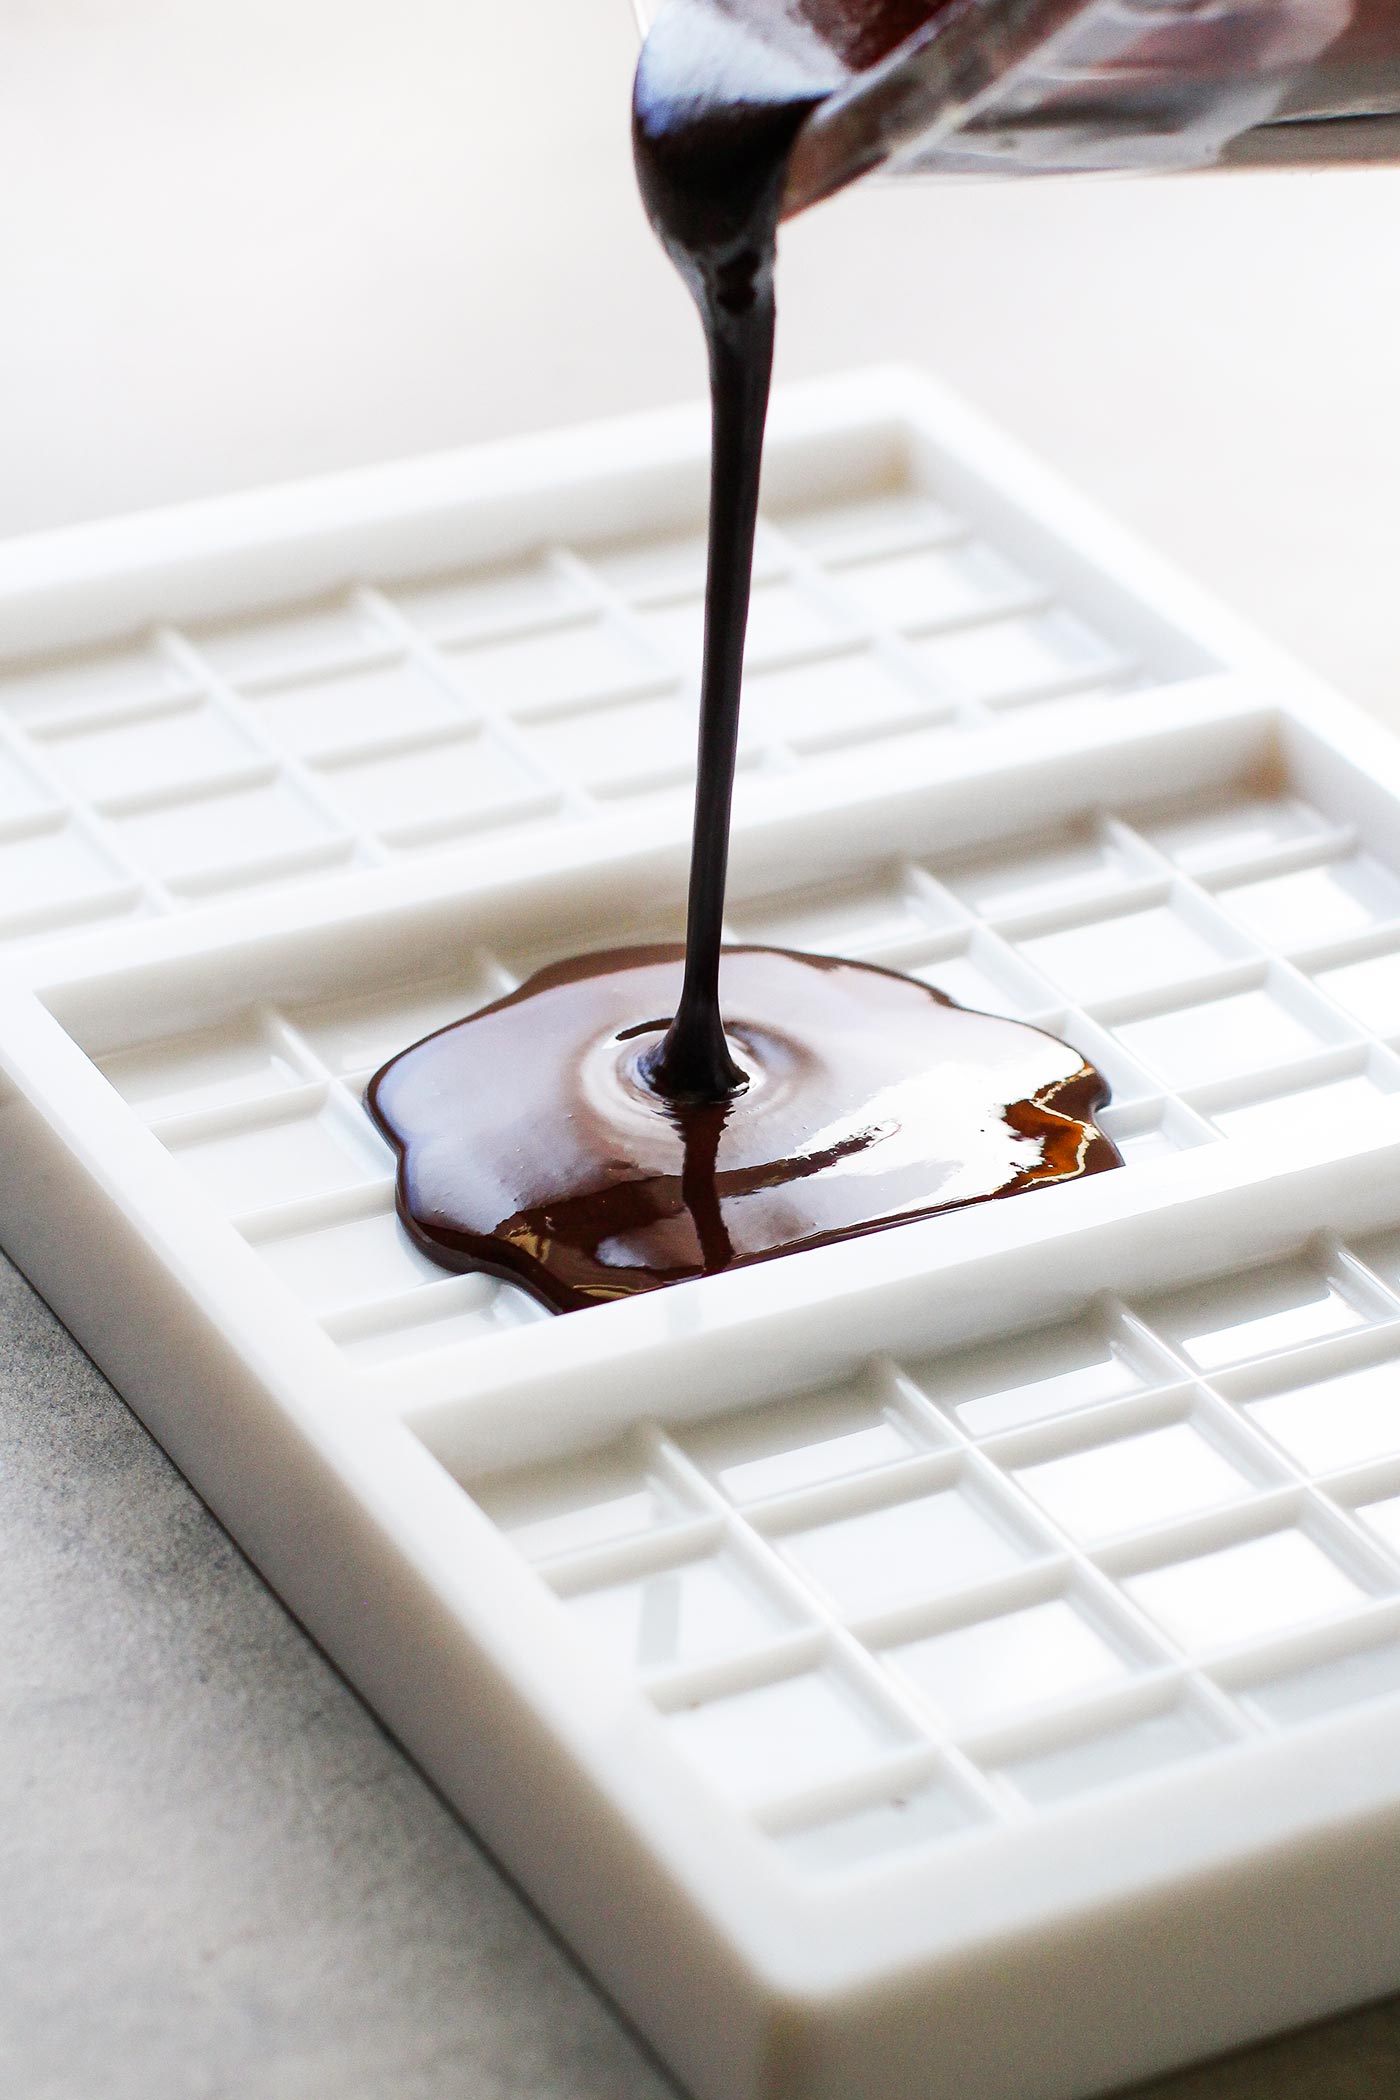
Once you have transferred the tempered chocolate to the molds, let it cool for at least 3 hours at room temperature. I had the best results when cooling at room temperature instead of in the refrigerator. After 3 hours, the chocolate should be hard and snap when you break it!

Cost-wise, it’s a lot cheaper to make your own! Even if the ingredients can seem expensive at first, I made a quick calculation, and it comes down to about $1.8 per bar as opposed to the $5 I used to pay at the store (for 3.5 ounces)! Hey, every penny counts!
Regarding the flavor, it doesn’t have the same milk flavor as real milk chocolate, but it comes quite close. Plus, it’s a great alternative for those who don’t like dark chocolate.
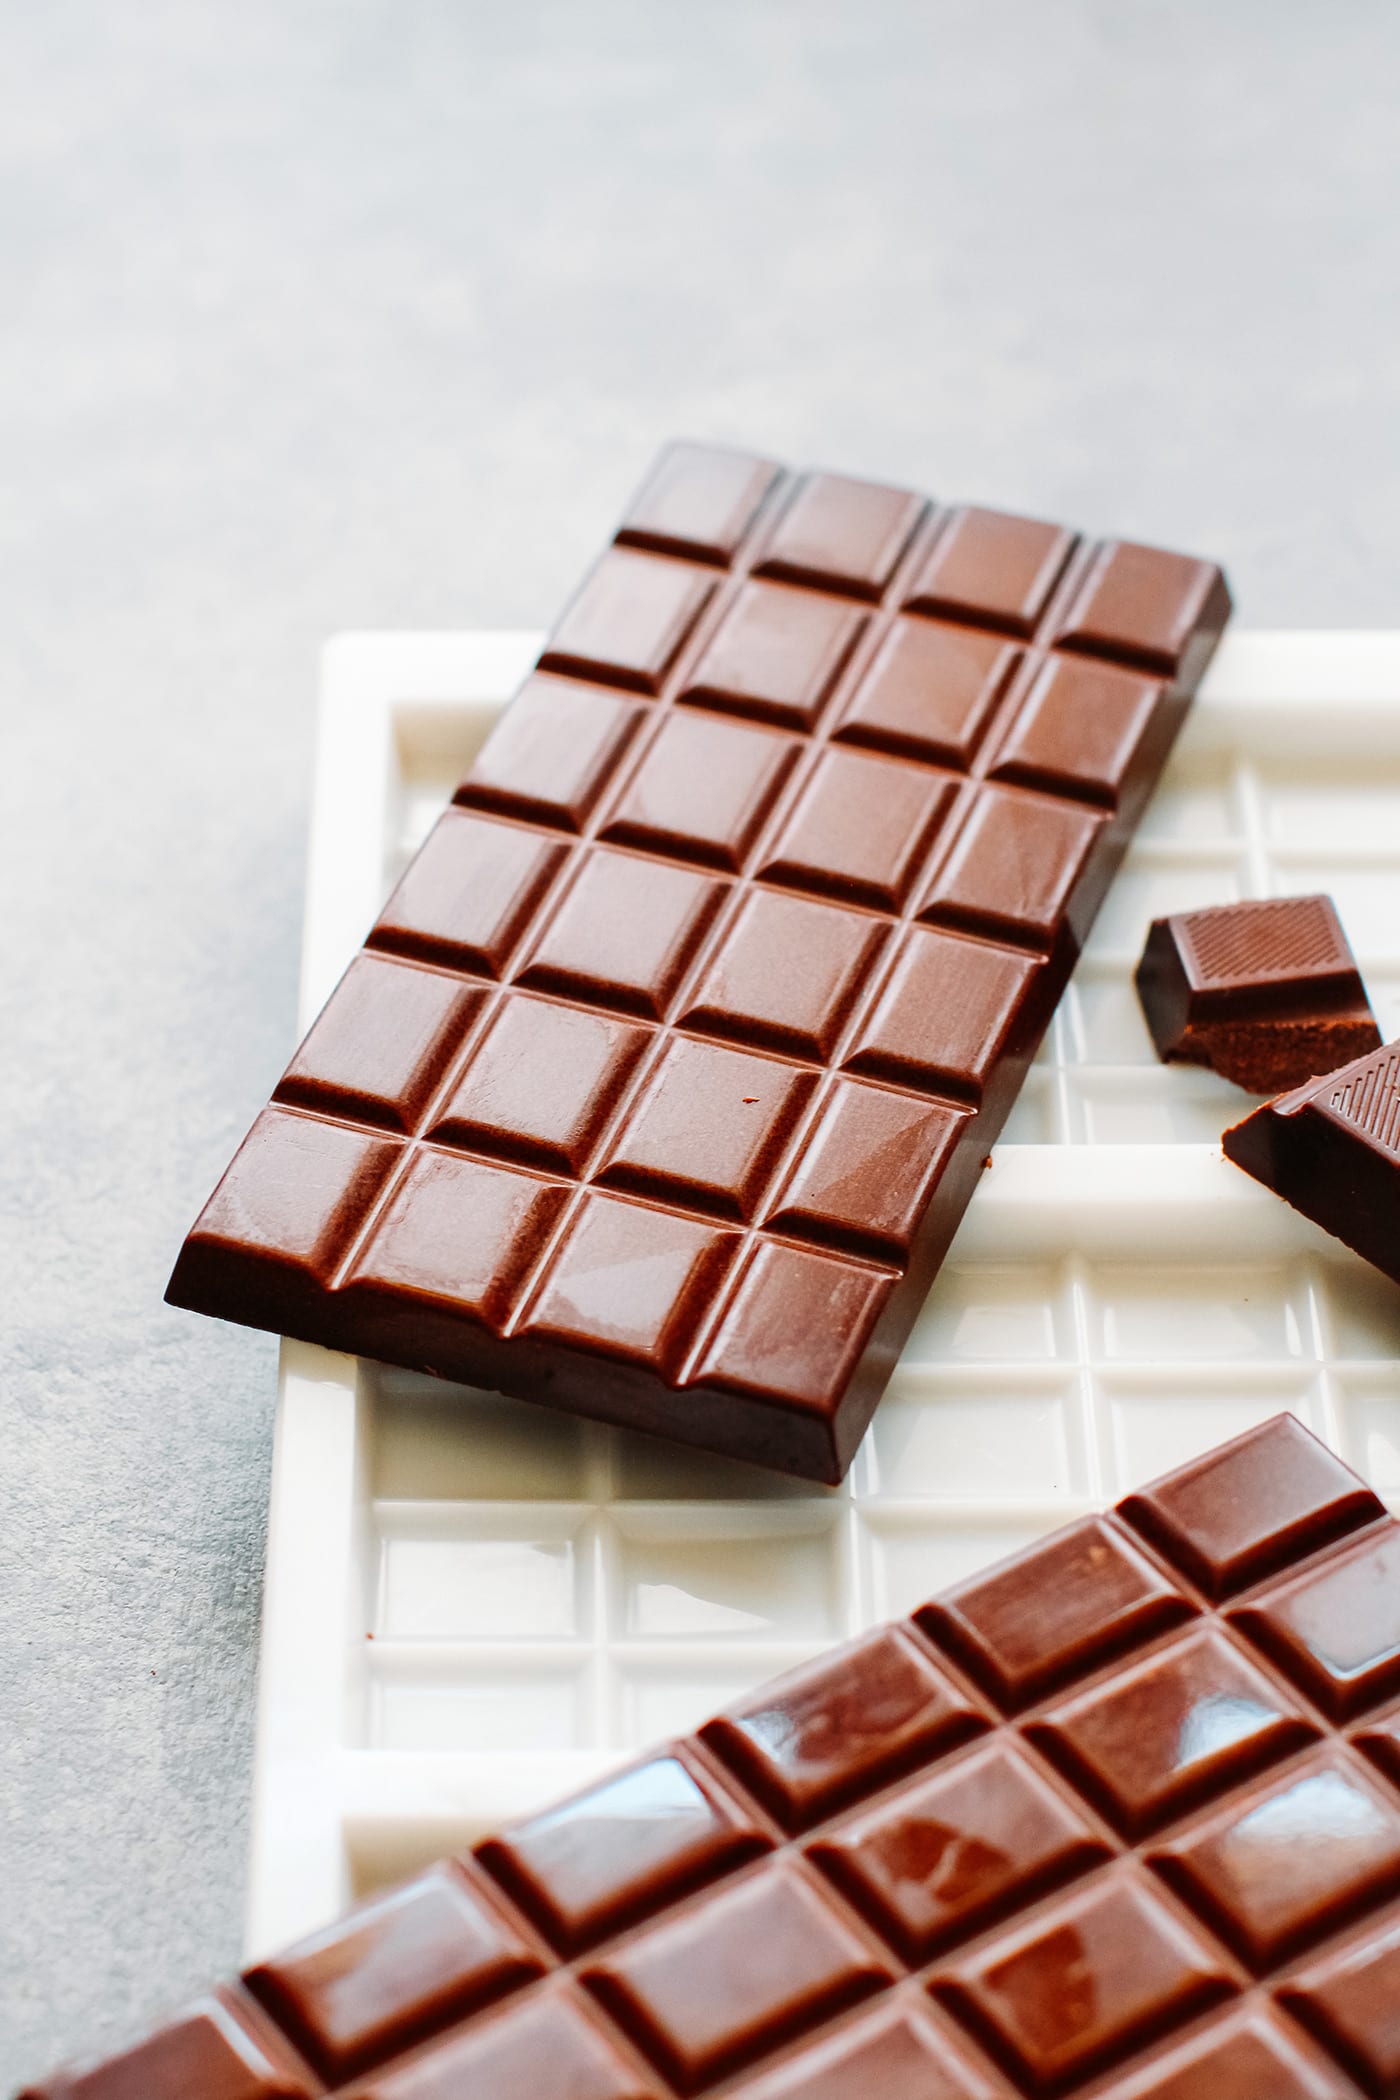
What’s great is that you can then tweak this recipe to your liking! Personally, I don’t like too much sweetness, but if you have a sweet tooth, simply add more coconut sugar. If you want it more chocolatey, add more cocoa powder and cacao paste. Just remember not to skip the tempering process, as it’s key to getting the right texture.



Save this recipe!
Enter your email below and I’ll send it to your inbox!
Plus, you will receive new recipes every week!

Vegan Milk Chocolate
Ingredients
- 3.2 ounces (90 g) coconut sugar
- 1.4 ounces (40 g) raw cocoa powder
- 1/2 tsp lucuma powder optional, adds a subtle caramel flavor*
- 1/8 tsp vanilla powder or seeds from one vanilla bean
- 1/8 tsp salt
- 8.5 ounces (240 g) cocoa butter
- 1 ounces (28 g) raw cacao paste (also called cacao liquor)
- 1.4 ounces (40 g) almond butter (or hazelnut butter, cashew butter)
Instructions
- Place the coconut sugar, cocoa powder, lucuma powder if using vanilla seeds, and salt in a blender. Blend on high speed for 30-50 seconds or until the coconut sugar looks like powdered sugar. Scrape down the sides if needed and blend again. This step is important to get a smooth chocolate texture.
- Fill a medium-sized saucepan with about 1 cup of water. Place a glass bowl on top of the saucepan, making sure the bowl doesn't touch the water. Add the cocoa butter and cacao paste to the bowl.
- Heat over low-medium heat and stir regularly until melted. Make sure the water doesn't come to a boil, you just want to melt the cocoa butter; it should reach a temperature of 107°F (42°C) but not higher.
- Once melted, remove the bowl from the saucepan, but keep the saucepan on the heat (we will need it to reheat the chocolate later). Transfer the melted cocoa butter and cacao paste to the blender. Add the almond butter, and blend on high speed for 20-30 seconds.
- Transfer to a large mixing bowl and keep stirring using a spatula until the chocolate comes to a temperature of 82°F (28°C). This step will take 15-20 minutes.
- Once it has cooled down to that temperature, place the mixing bowl on top of the saucepan with the warm water. Keep stirring until the chocolate reaches 87°F (31°C). As soon as it has reached this temperature, remove it from heat and pour into molds. Your chocolate is now tempered.
- Let cool at least 3 hours at room temperature before removing from the molds. I don't recommend cooling in the refrigerator as it may cause the chocolate to get white streaks.
- Chocolate will keep at room temperature for several weeks.
Notes
- I found that lucuma adds another layer of flavor, giving the chocolate a bit more sweetness and caramel undertones. Plus, lucuma is a superfood that is loaded with vitamins. It’s totally optional though, and the chocolate will still taste great without it.
- For different flavors, feel free to add your favorite superfood powder like maca, baobab, or mesquite.
- For a stronger chocolate flavor, use 2 ounces (60g) of cocoa powder and 1.4 ounces (40g) of cacao paste.
Nutrition

About the Author
Thomas Pagot is the founder, photographer, and recipe developer behind Full of Plants. He created the blog in 2016 as a personal cookbook for vegan recipes. Through years of recipe development, Thomas has successfully grown Full of Plants into a trusted resource for plant-based recipes.
Leave a Comment