This post may contain affiliate links. Please read our disclosure policy.
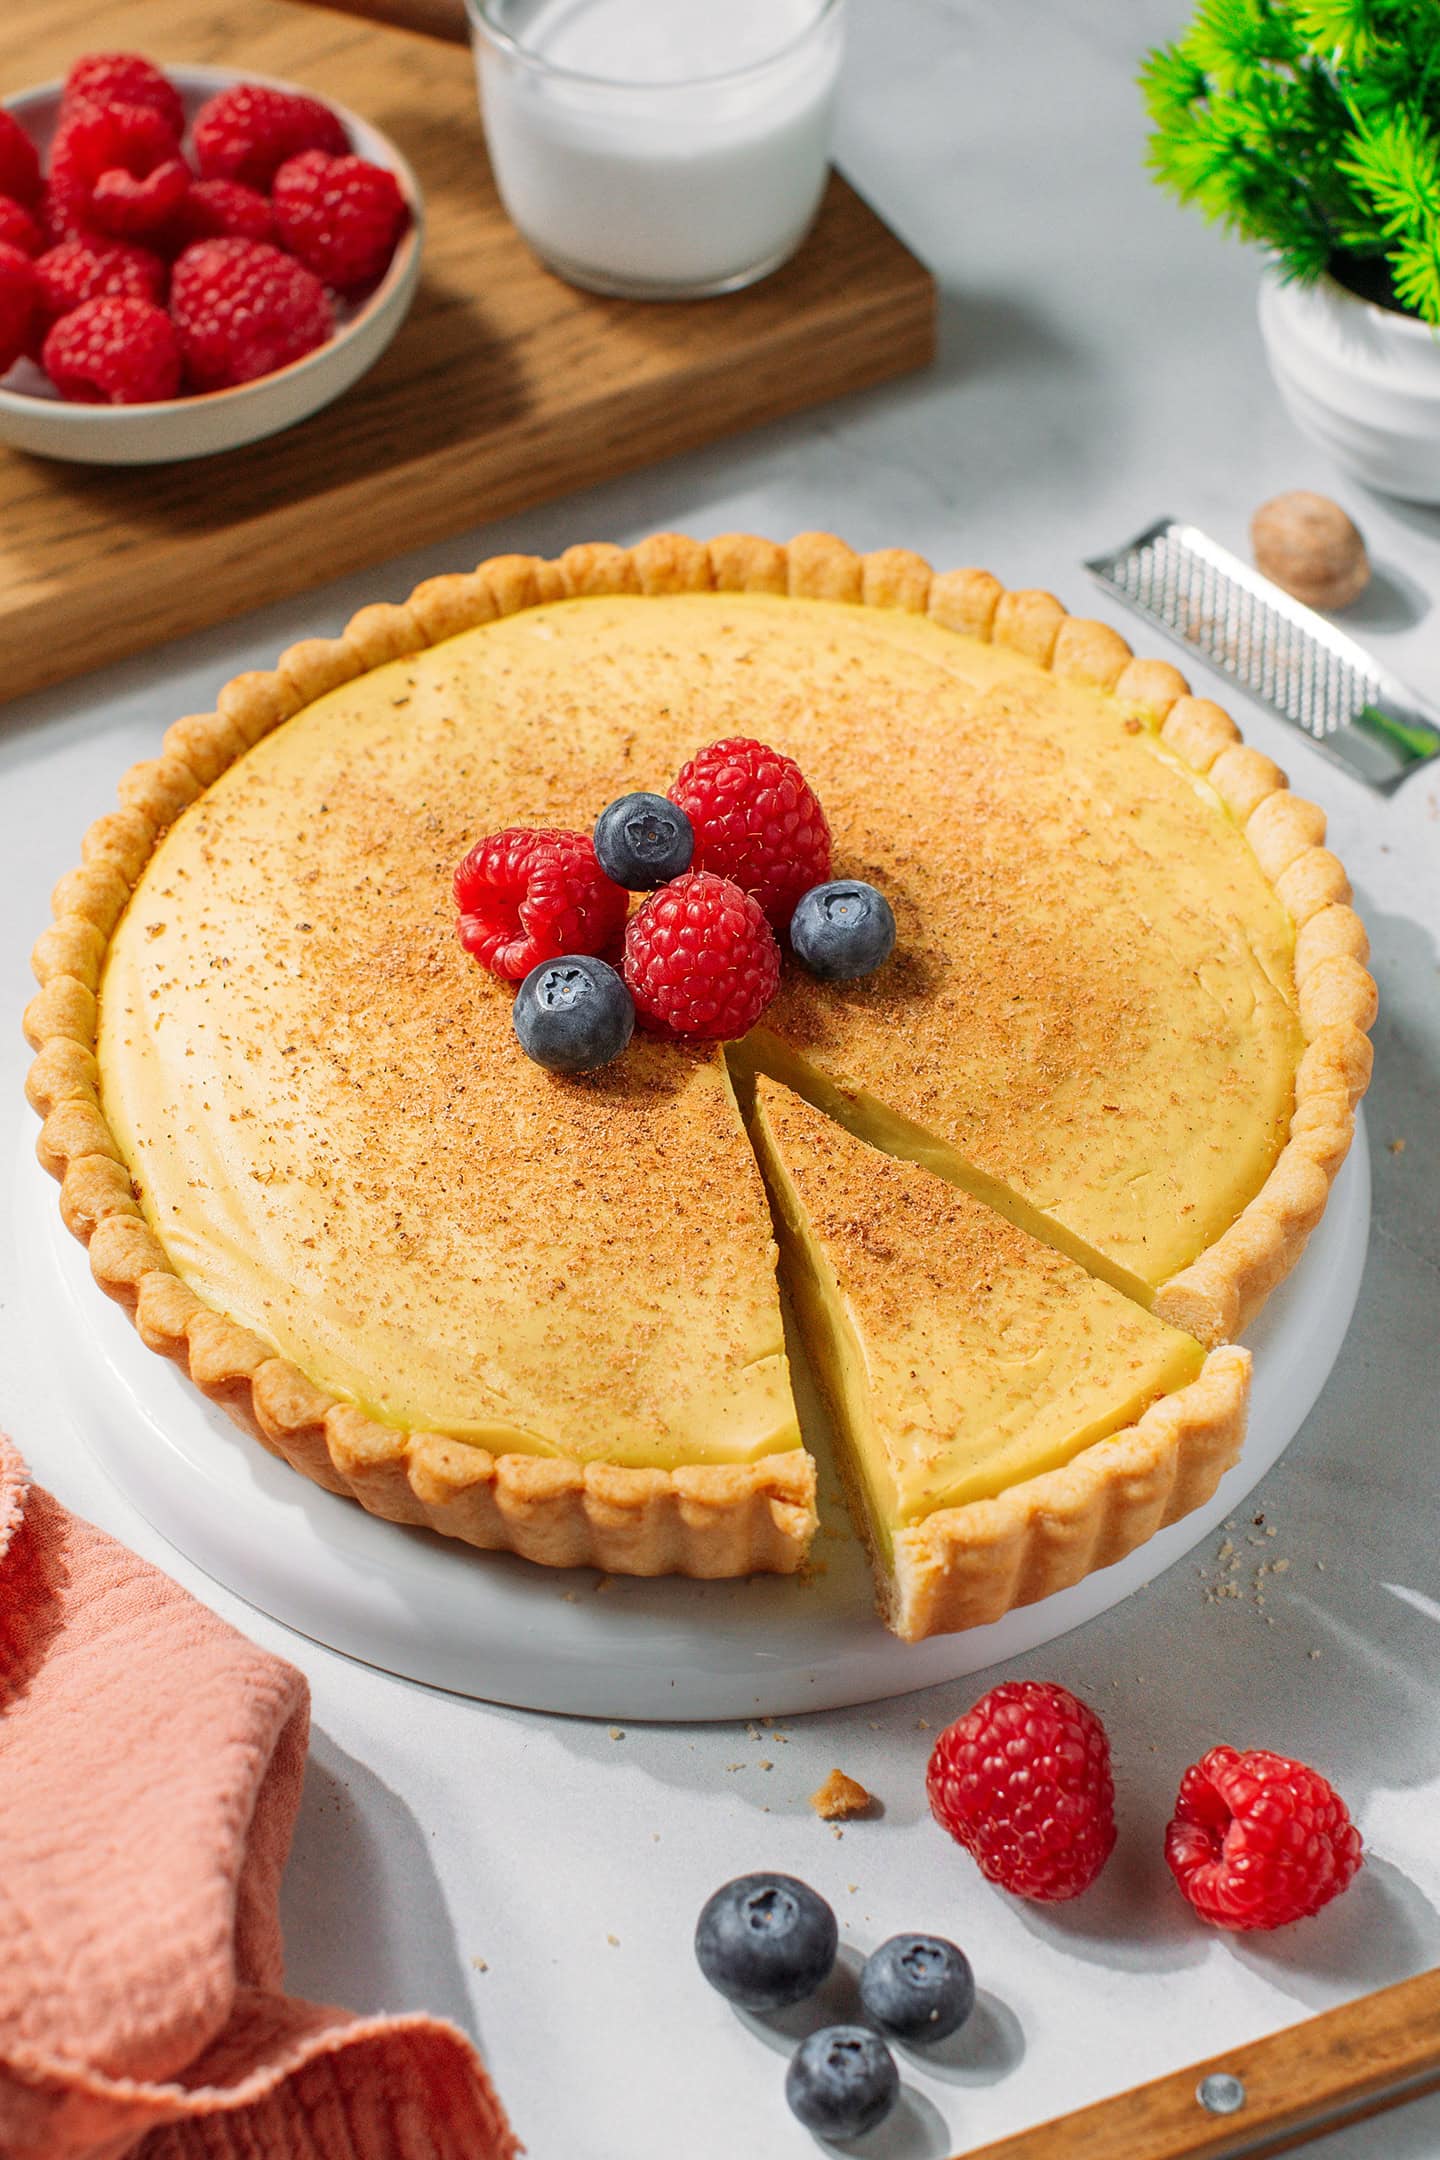
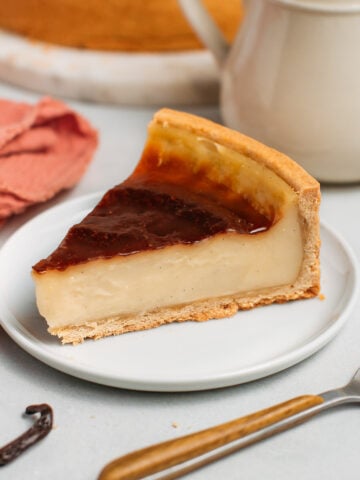
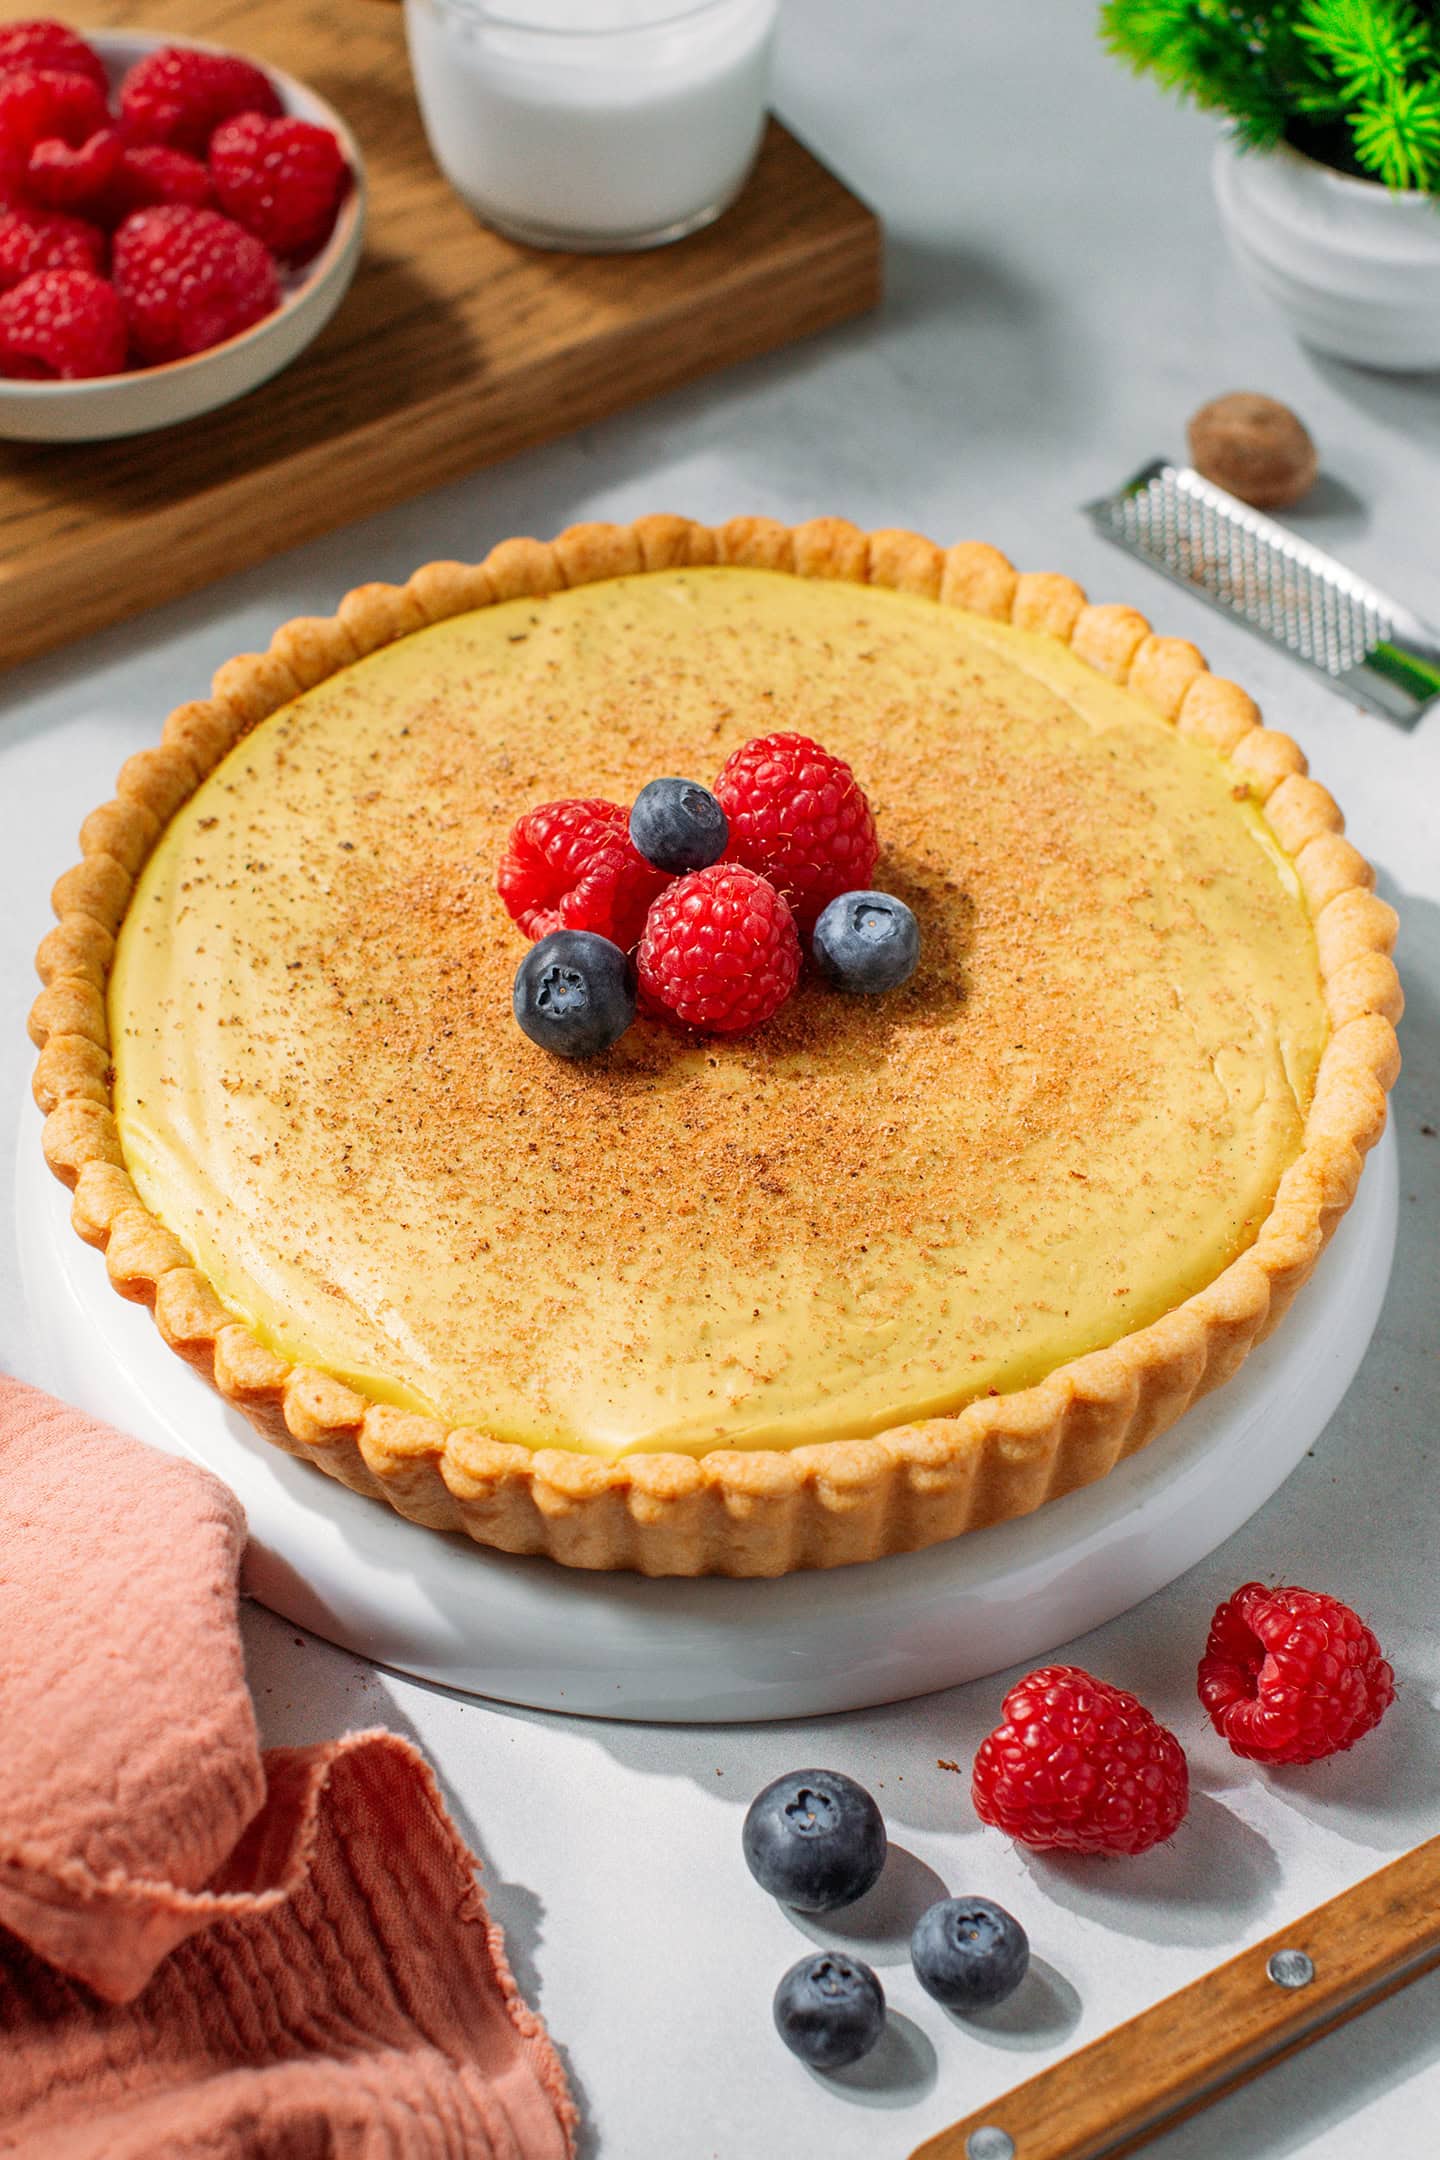
With plenty of vanilla flavor in every bite, this vegan custard tart is a crowd-pleasing dessert. Made with pantry staples in less than an hour, it features a buttery golden-brown crust and the creamiest vanilla custard. Enjoy with a dusting of nutmeg and fresh berries!
I’m a huge fan of vanilla desserts, from creme caramel to île flottante and Parisian flan. And while flan will always have my heart, I have to admit I absolutely adore this custard tart. It’s simpler to make, bakes faster, and let’s be honest, makes a lighter option.
Thanks to a blend of fresh vanilla bean, rich coconut milk, and a touch of butter, the custard turns silky-smooth and almost melts in your mouth!
⭐️ What Makes It So Good
- Creamy and buttery. It took me five rounds of testing to achieve a custard that melts in your mouth while still holding its shape when sliced. It’s rich without being heavy, not overly sweet, and SO creamy!
- Loaded with vanilla flavor. Custard without vanilla is bland. That’s why this recipe uses both vanilla extract and real vanilla bean to infuse the custard with a ton of flavor.
- Simple to make. Blind-bake the crust, thicken the custard on the stovetop, then pour it into the crust. After chilling in the fridge, it’s ready to enjoy! Straightforward and totally worth it!
🧈 What You’ll Need
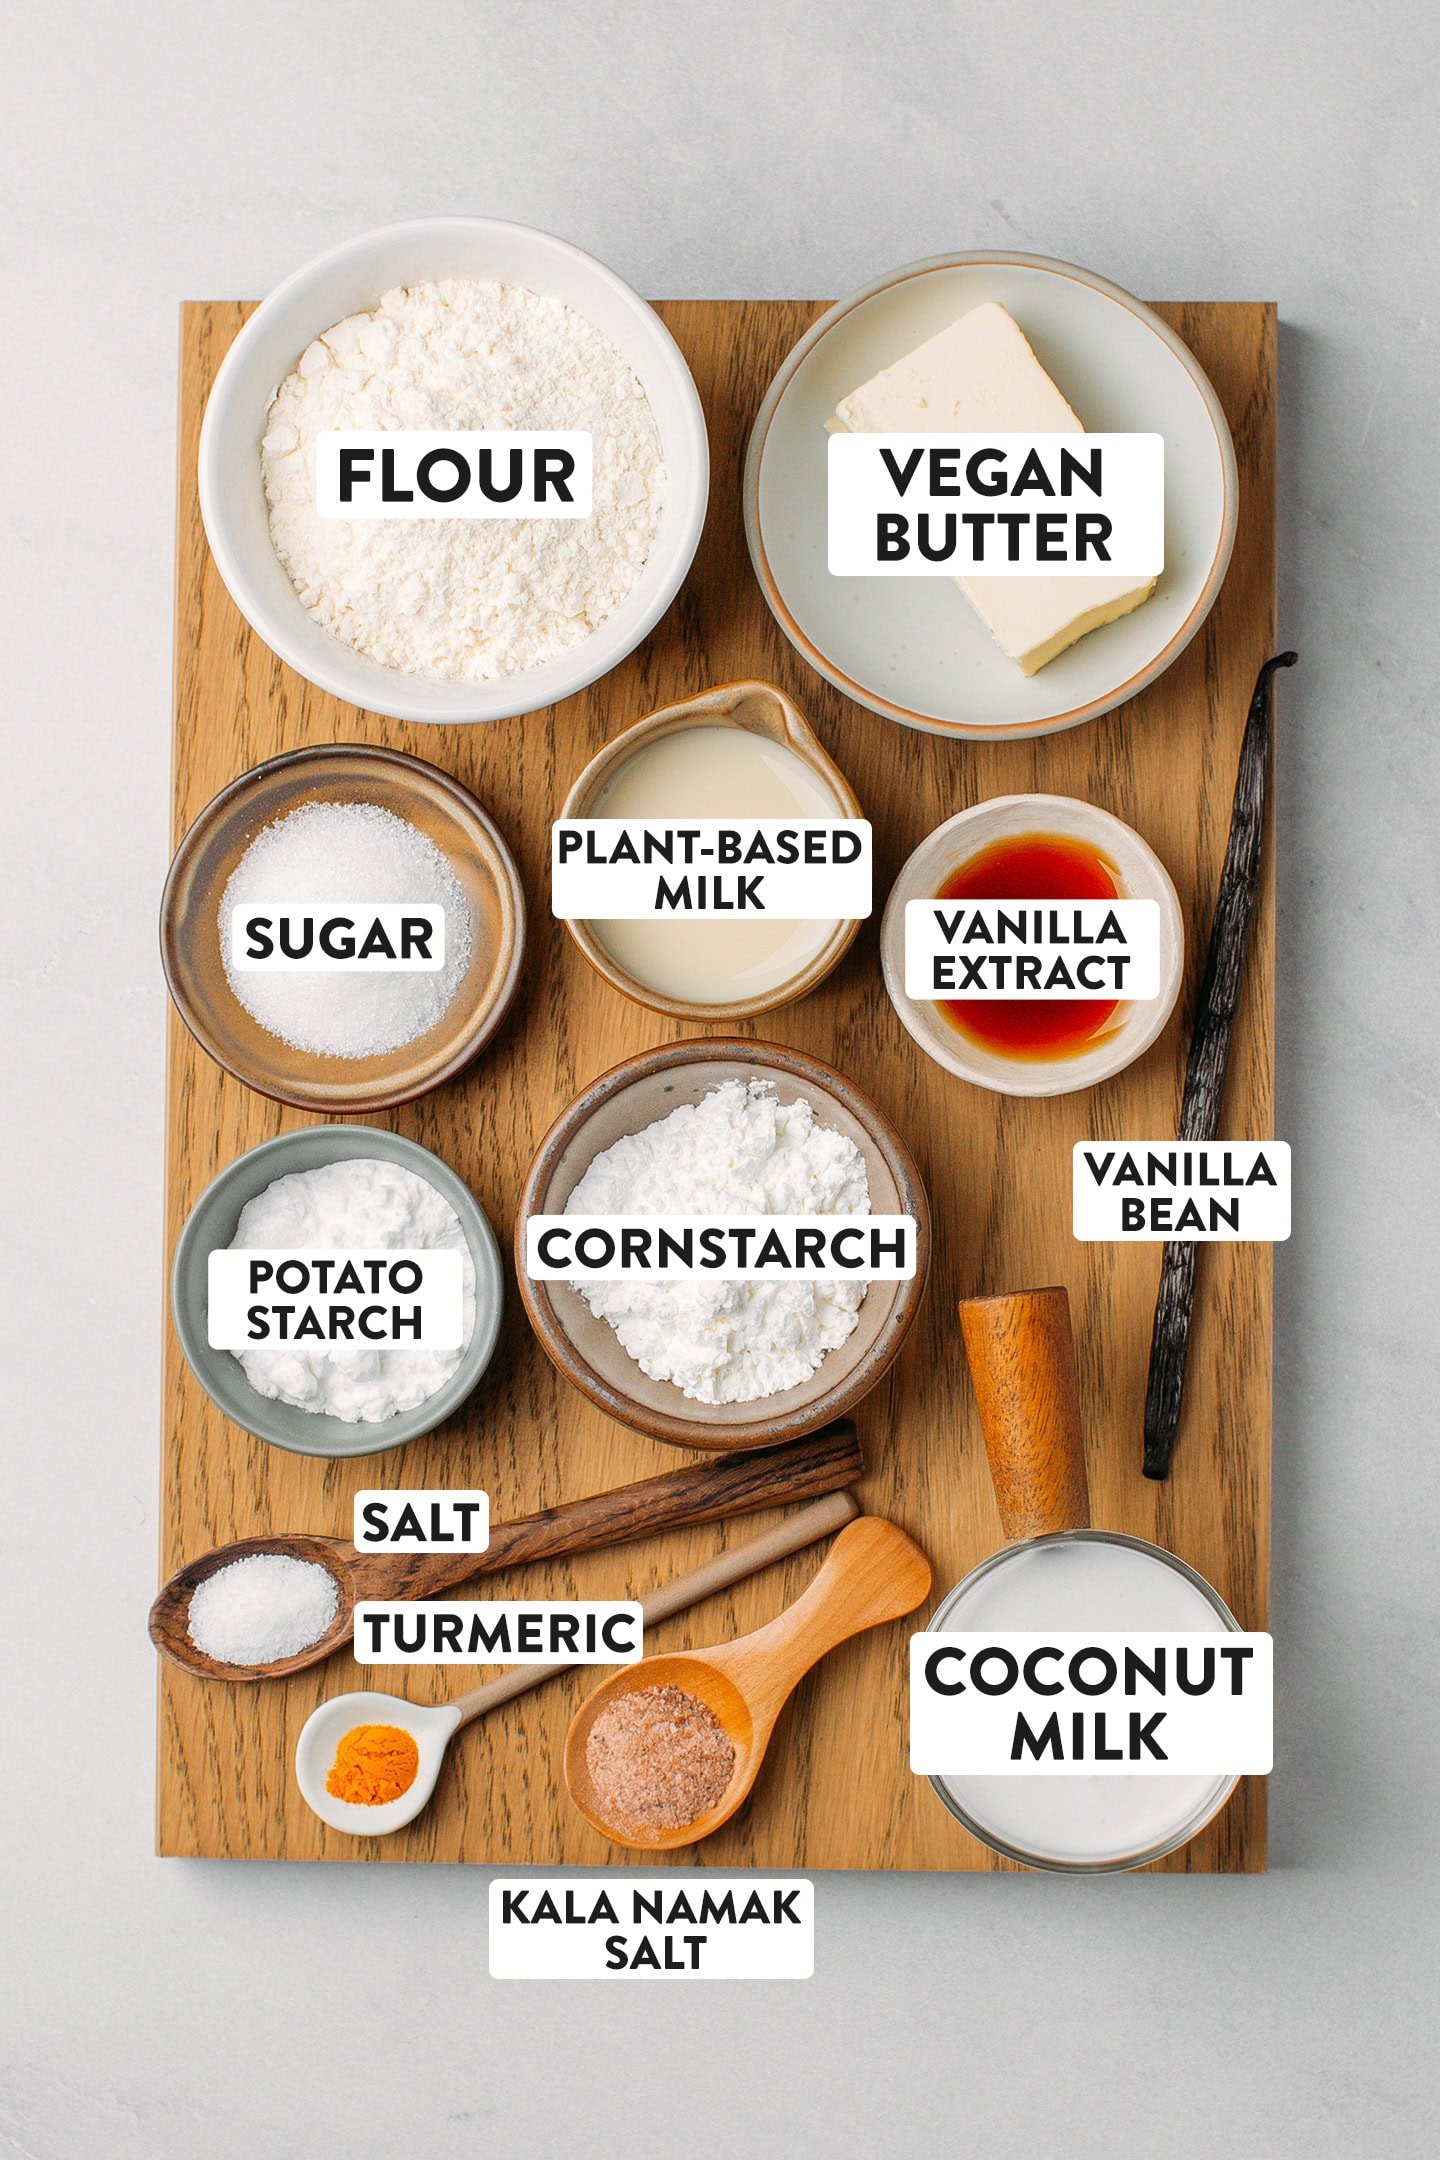
- Flour – You will need all-purpose flour to make the crust. You can easily make this recipe gluten-free by replacing the flour with a 1:1 gluten-free flour mix, as the custard is already gluten-free.
- Butter – To make the crust and to add a buttery flavor to the custard. I suggest using Flora Plant Butter or homemade vegan butter.
- Sugar – To sweeten the custard. I went with granulated white sugar, but you can replace it with maple syrup or coconut sugar. It won’t really affect the texture or flavor of the custard.
- Coconut milk – The key ingredient that creates a velvety-smooth and rich custard. I recommend using full-fat coconut milk for optimal texture.
- Cornstarch and potato starch – Both thicken the custard.
- Vanilla – To add plenty of fresh vanilla flavor, I like to use both vanilla extract and the seeds from half of a vanilla bean. No vanilla bean? Simply omit it or replace the sugar with vanilla sugar!
- Kala Namak Salt – This one’s completely optional. Kala namak salt adds a subtle egg-y flavor that makes the custard taste even closer to the original.
- Turmeric – Just a pinch, to add a yellow-ish color. Don’t go overboard, though, as adding too much will add a turmeric flavor and make your custard look too yellow.
🥣 How to Make It
1. Bake the crust
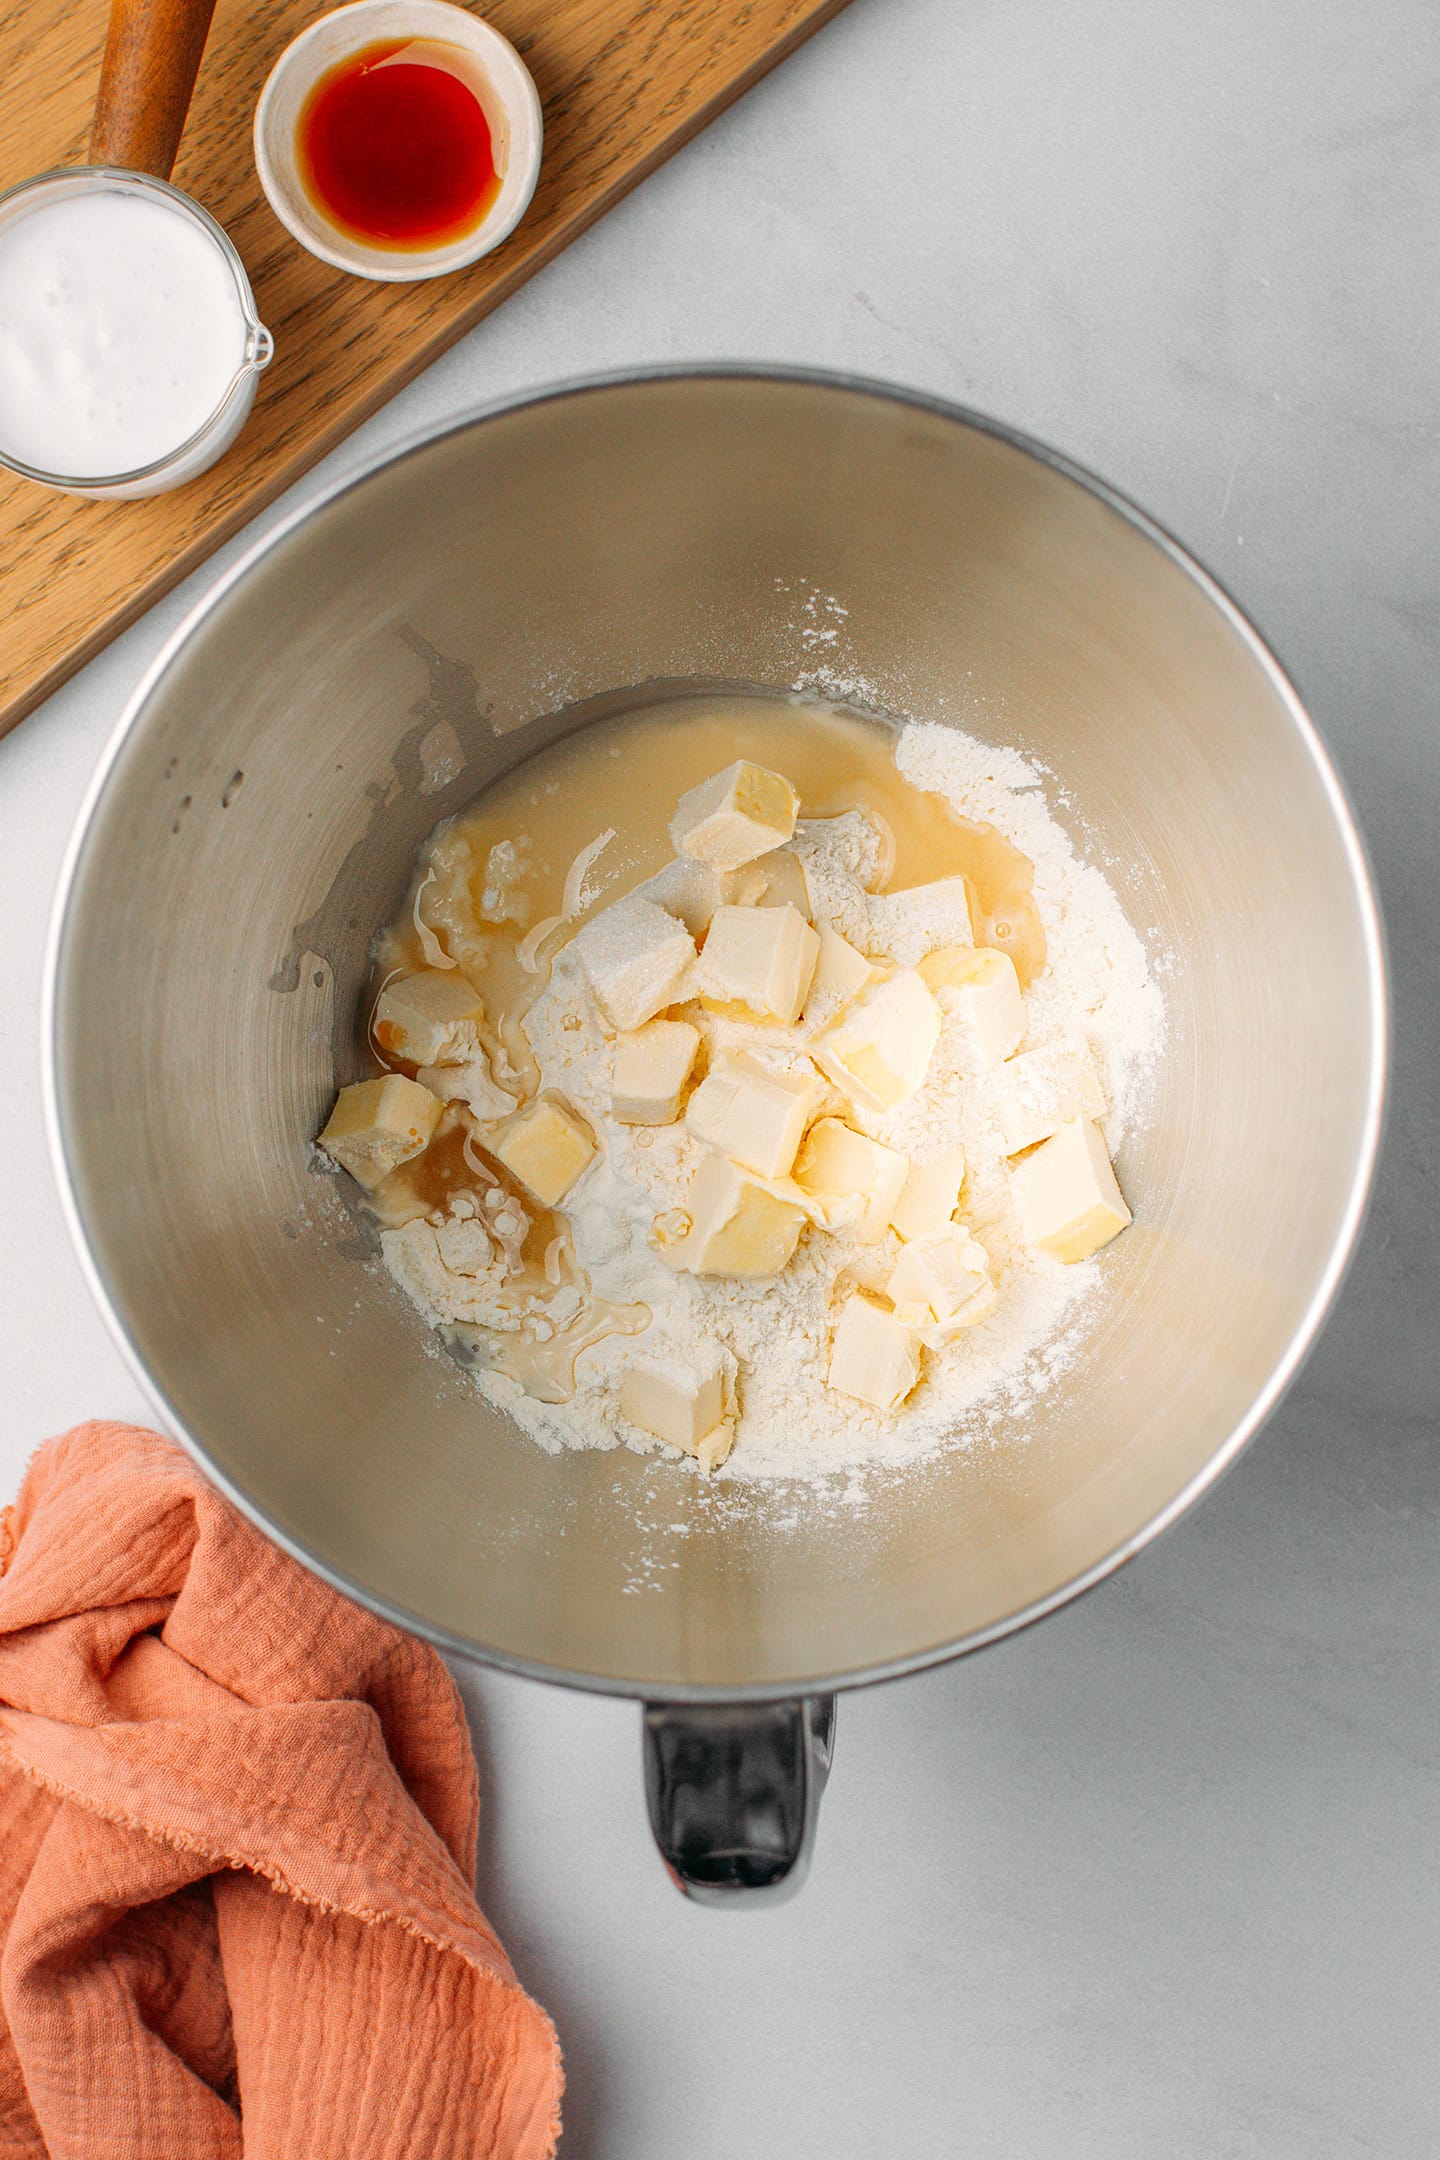
- Combine the crust ingredients. Add all of the ingredients to a stand mixer.
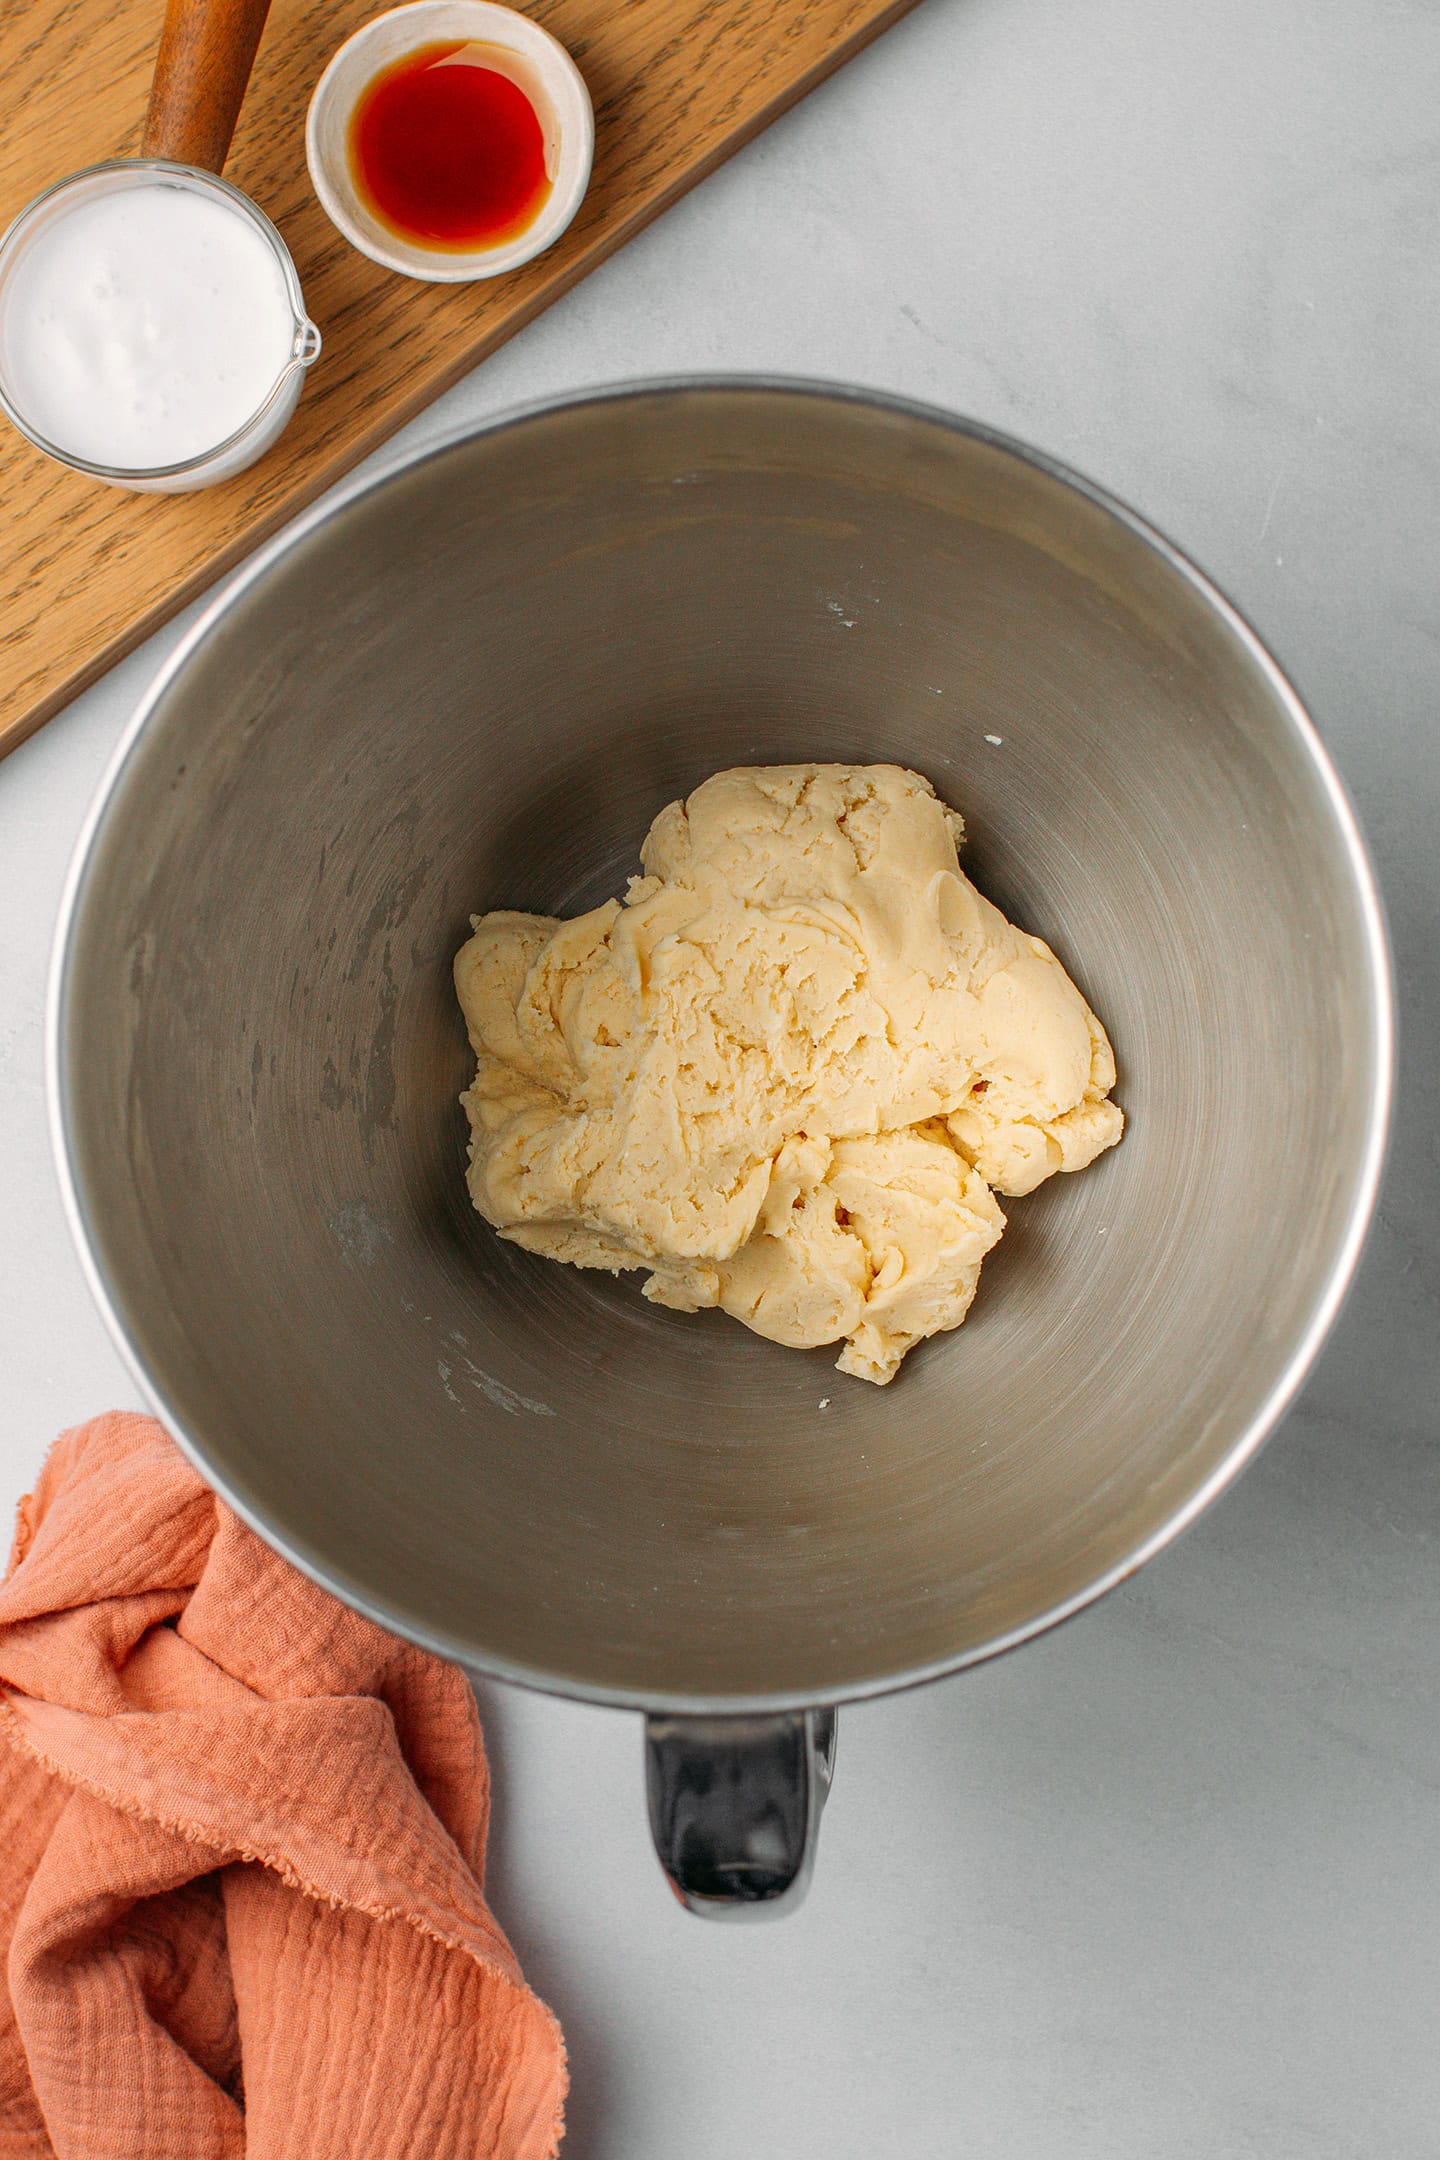
- Knead. Use the flat beater to knead the dough for 2-3 minutes on medium speed.
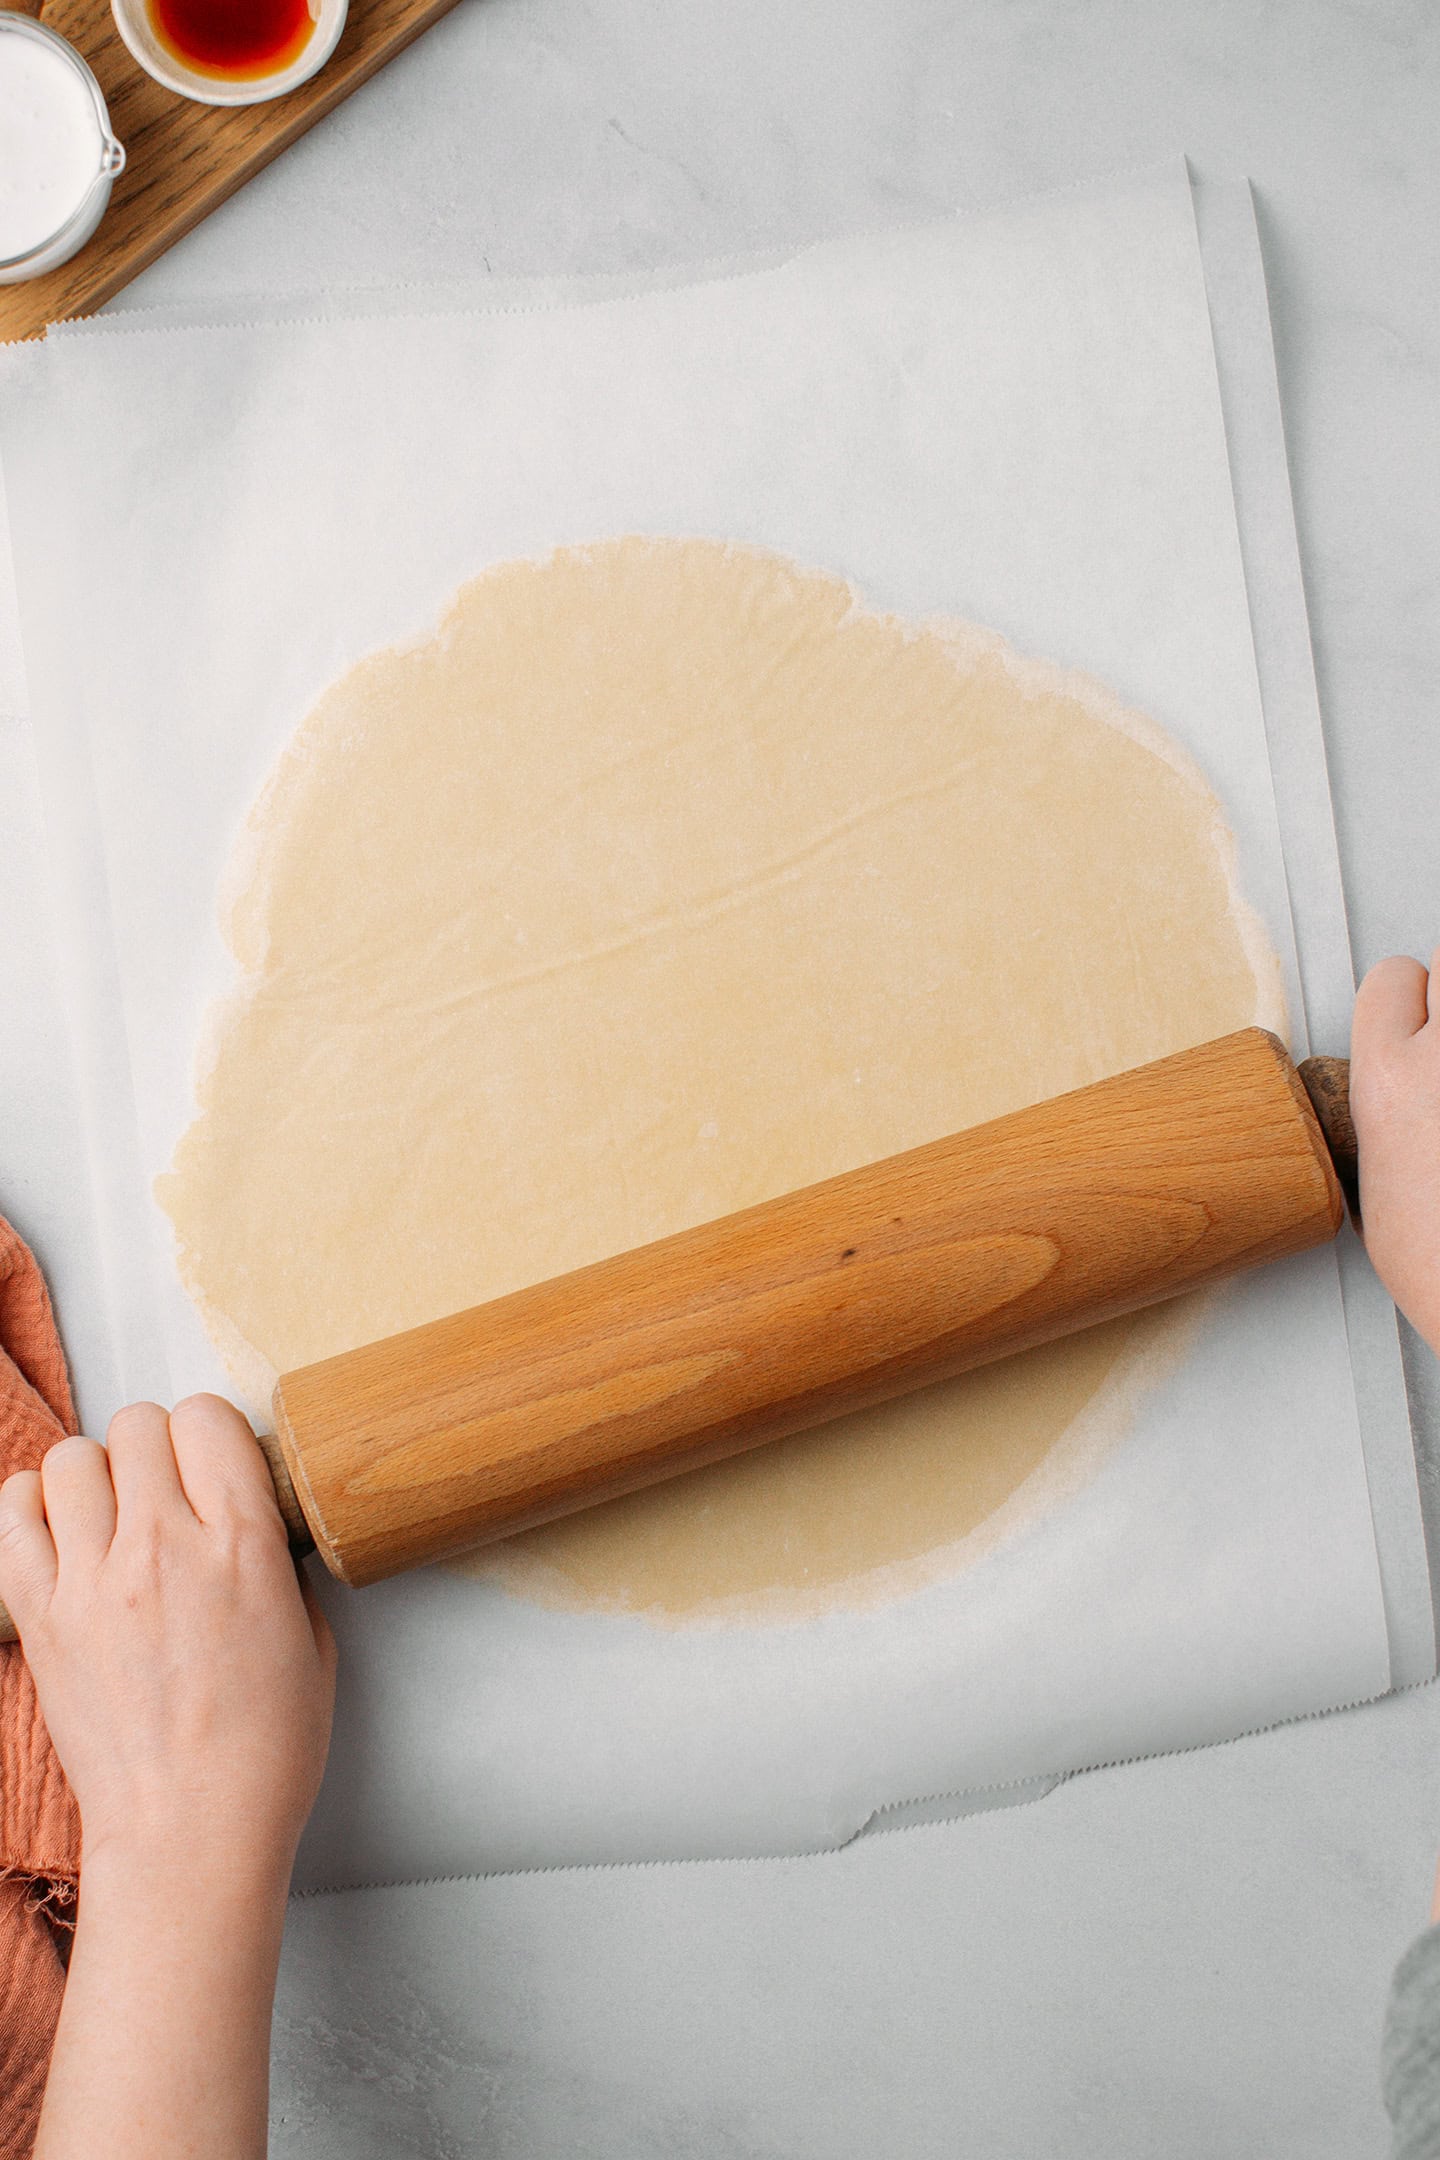
- Flatten. Flatten the dough between two sheets of parchment paper.
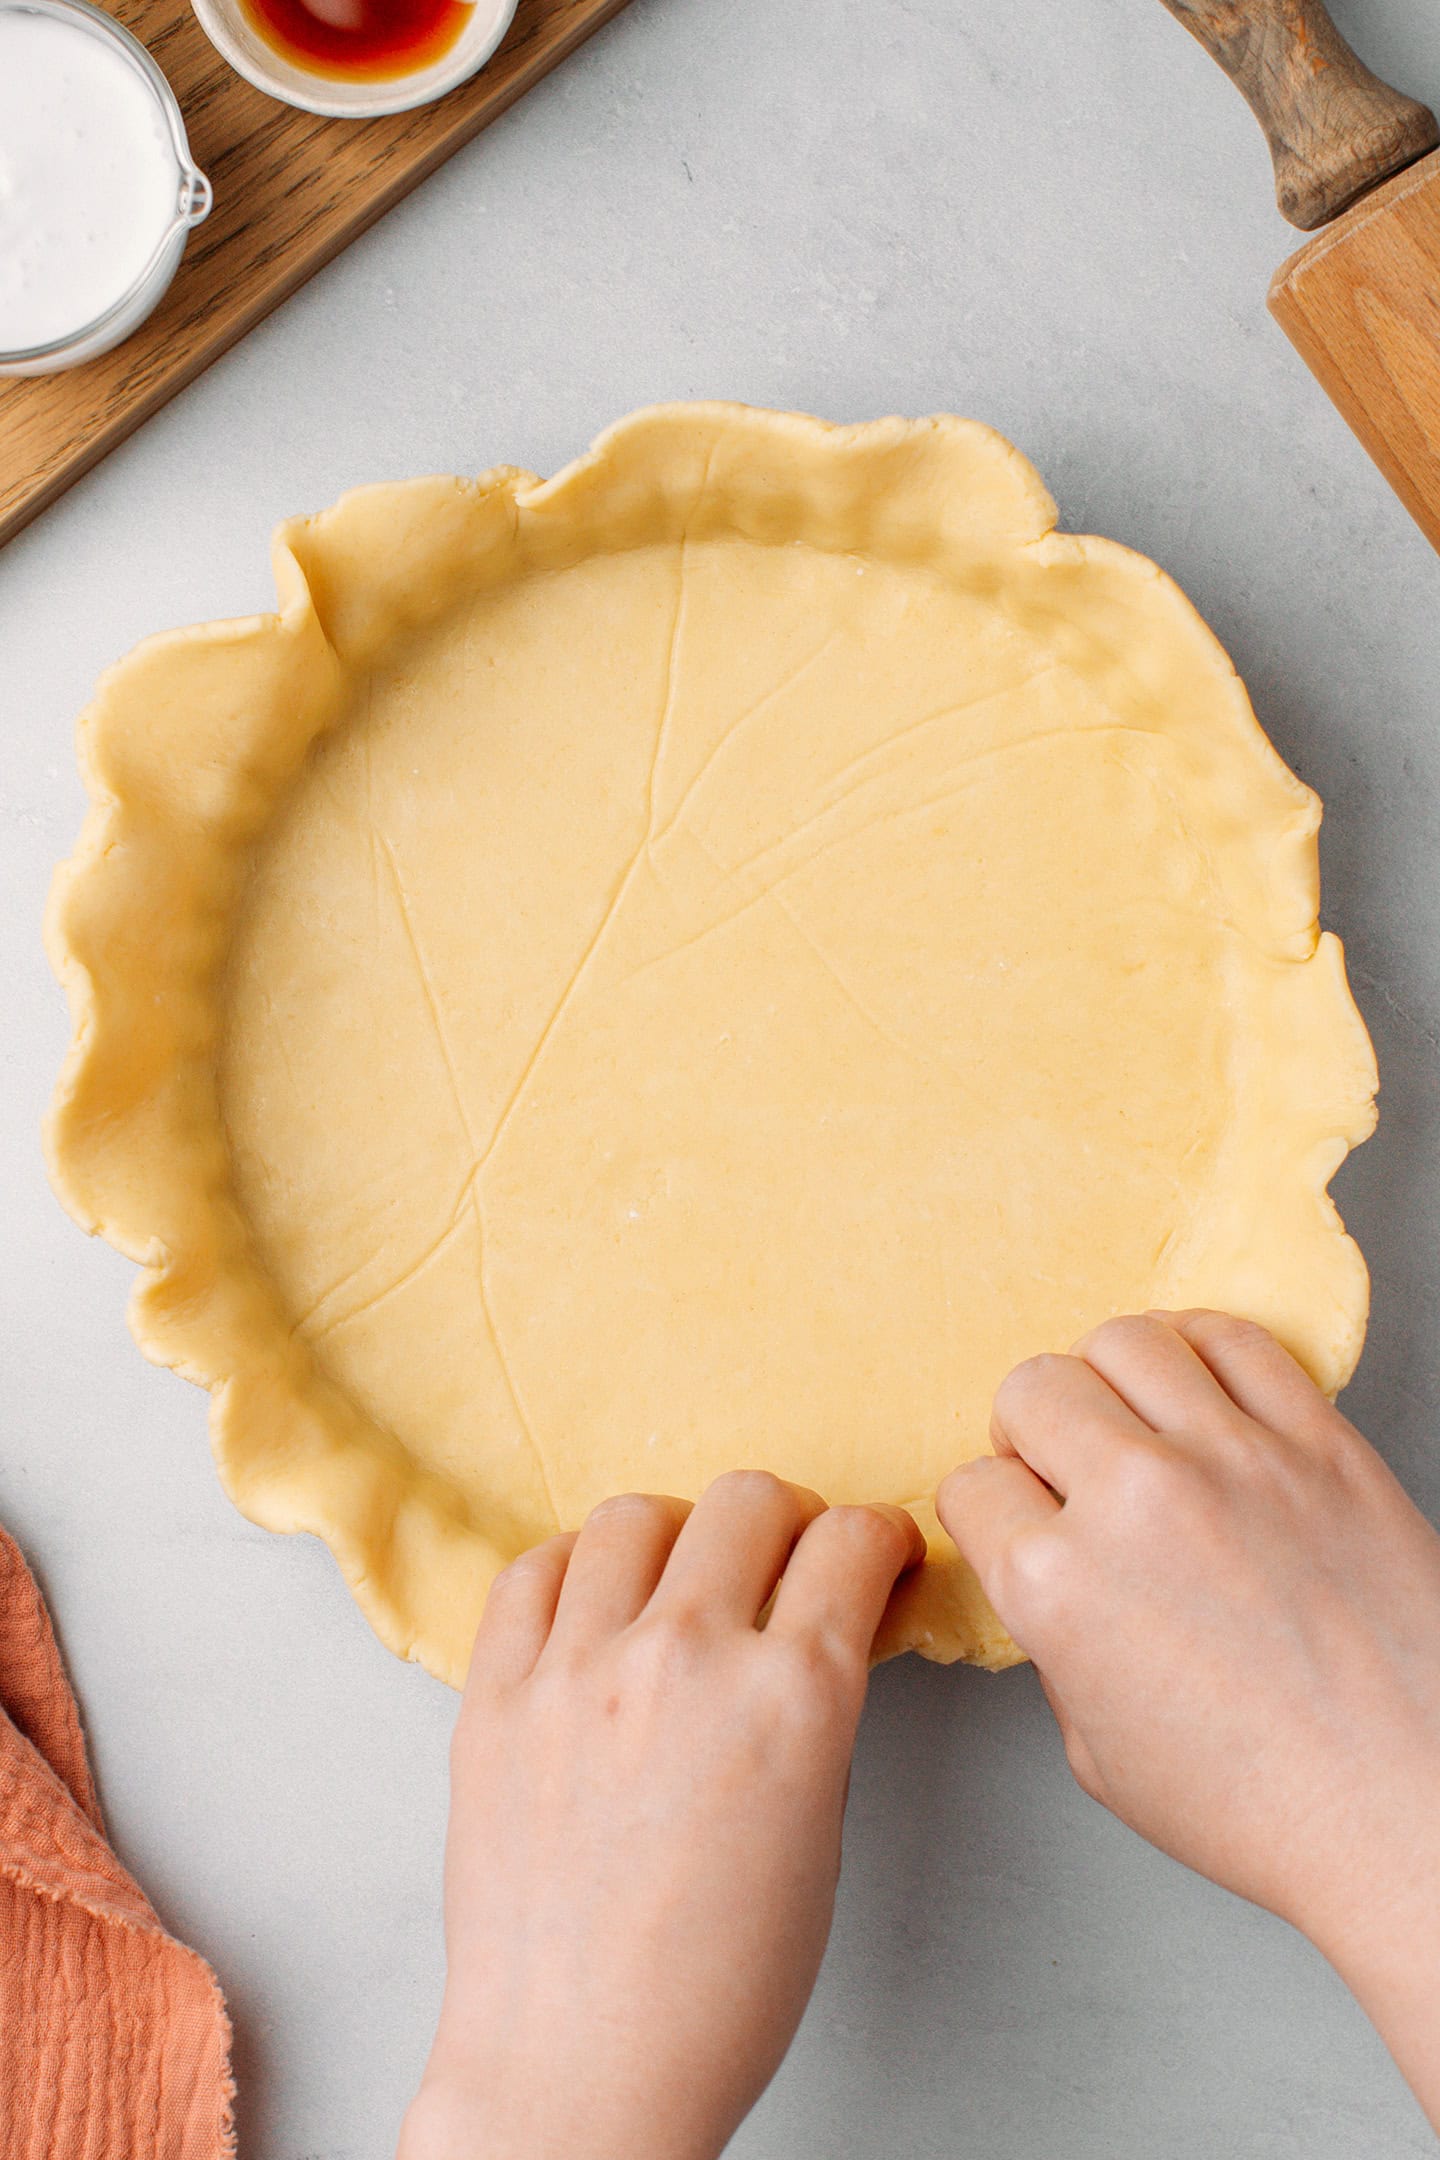
- Transfer to a tart pan. Press the dough into a pie pan.
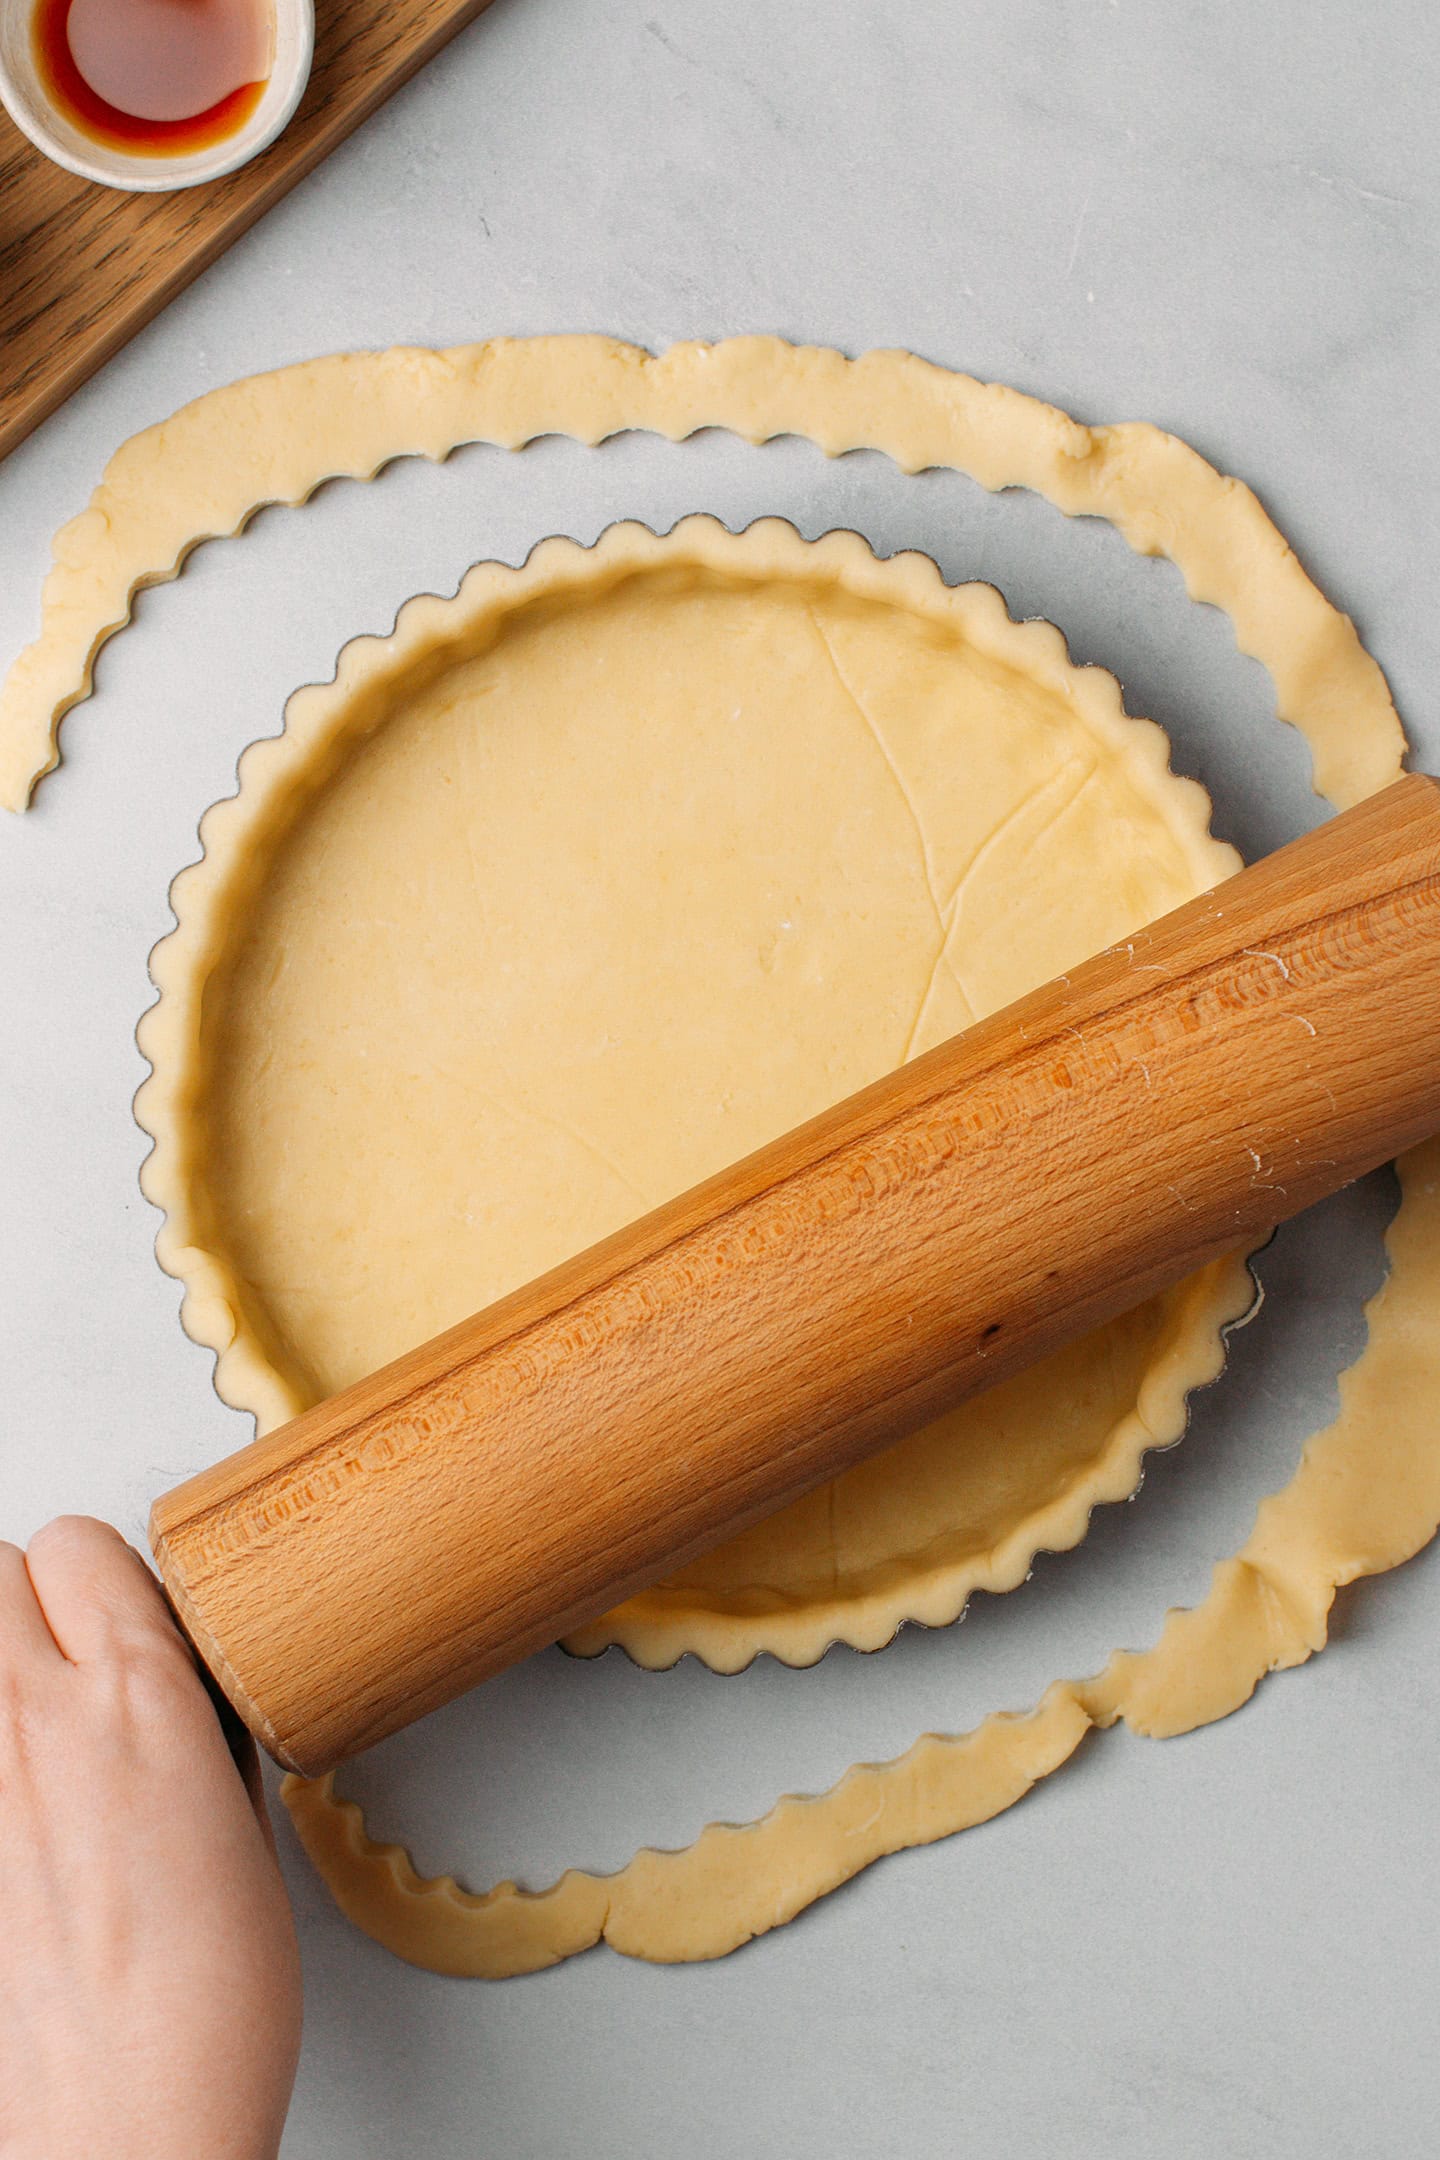
- Cut off the excess dough. Run a rolling pin along the edges of the pan to trim the excess dough.
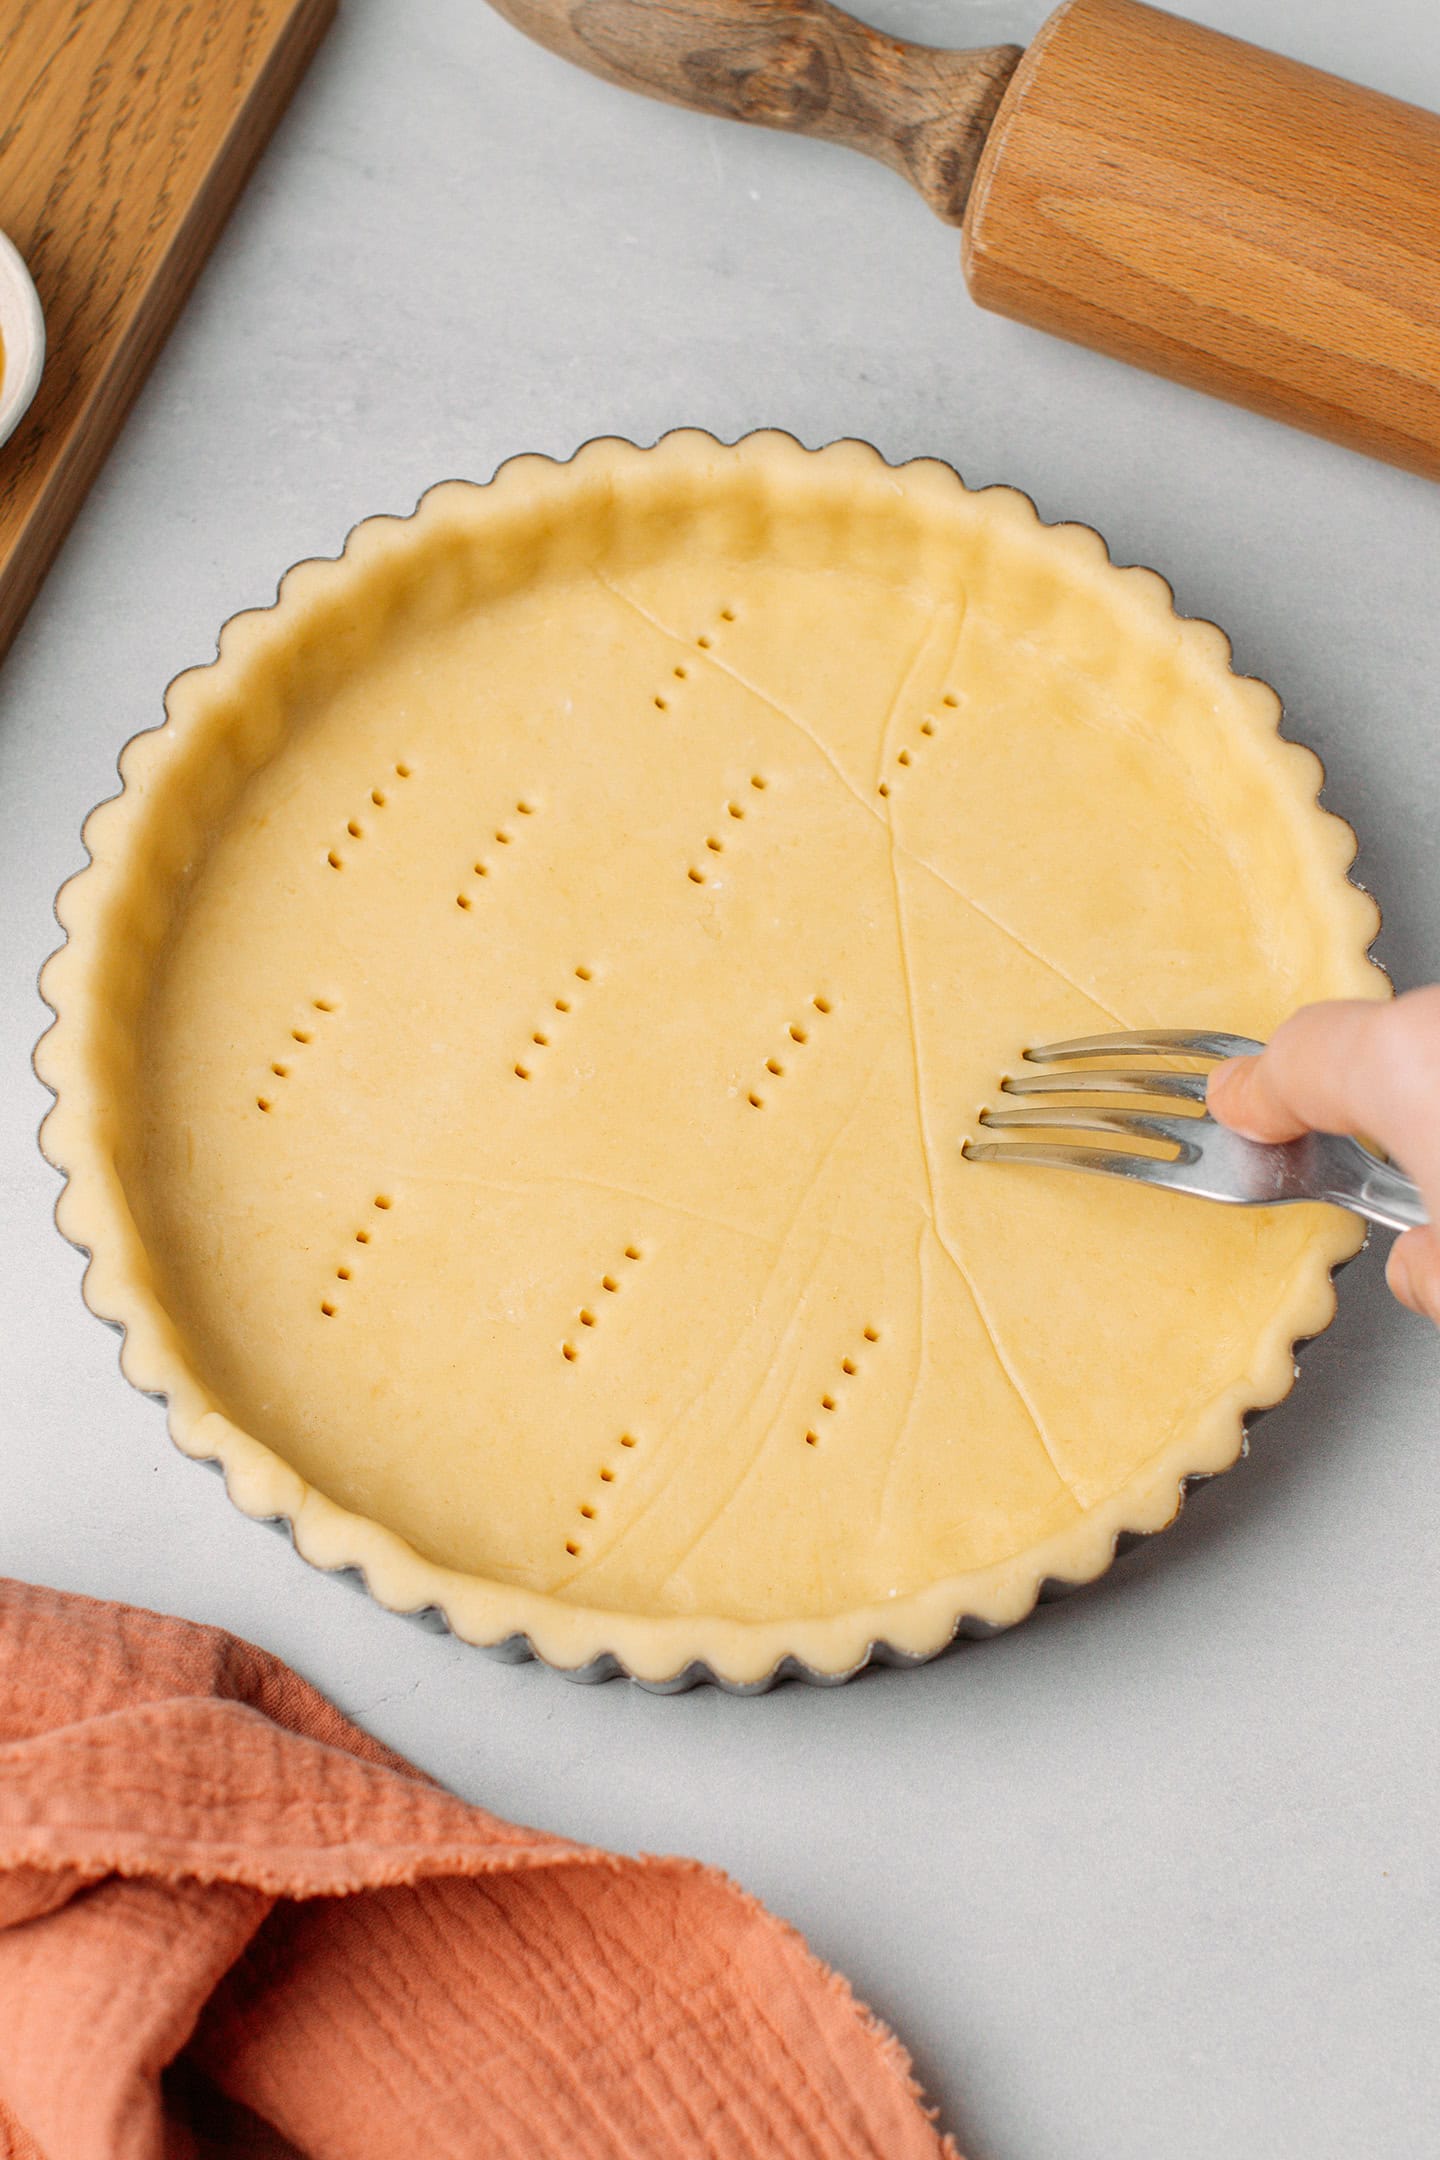
- Prick the bottom. Use a fork to prick the bottom of the crust.
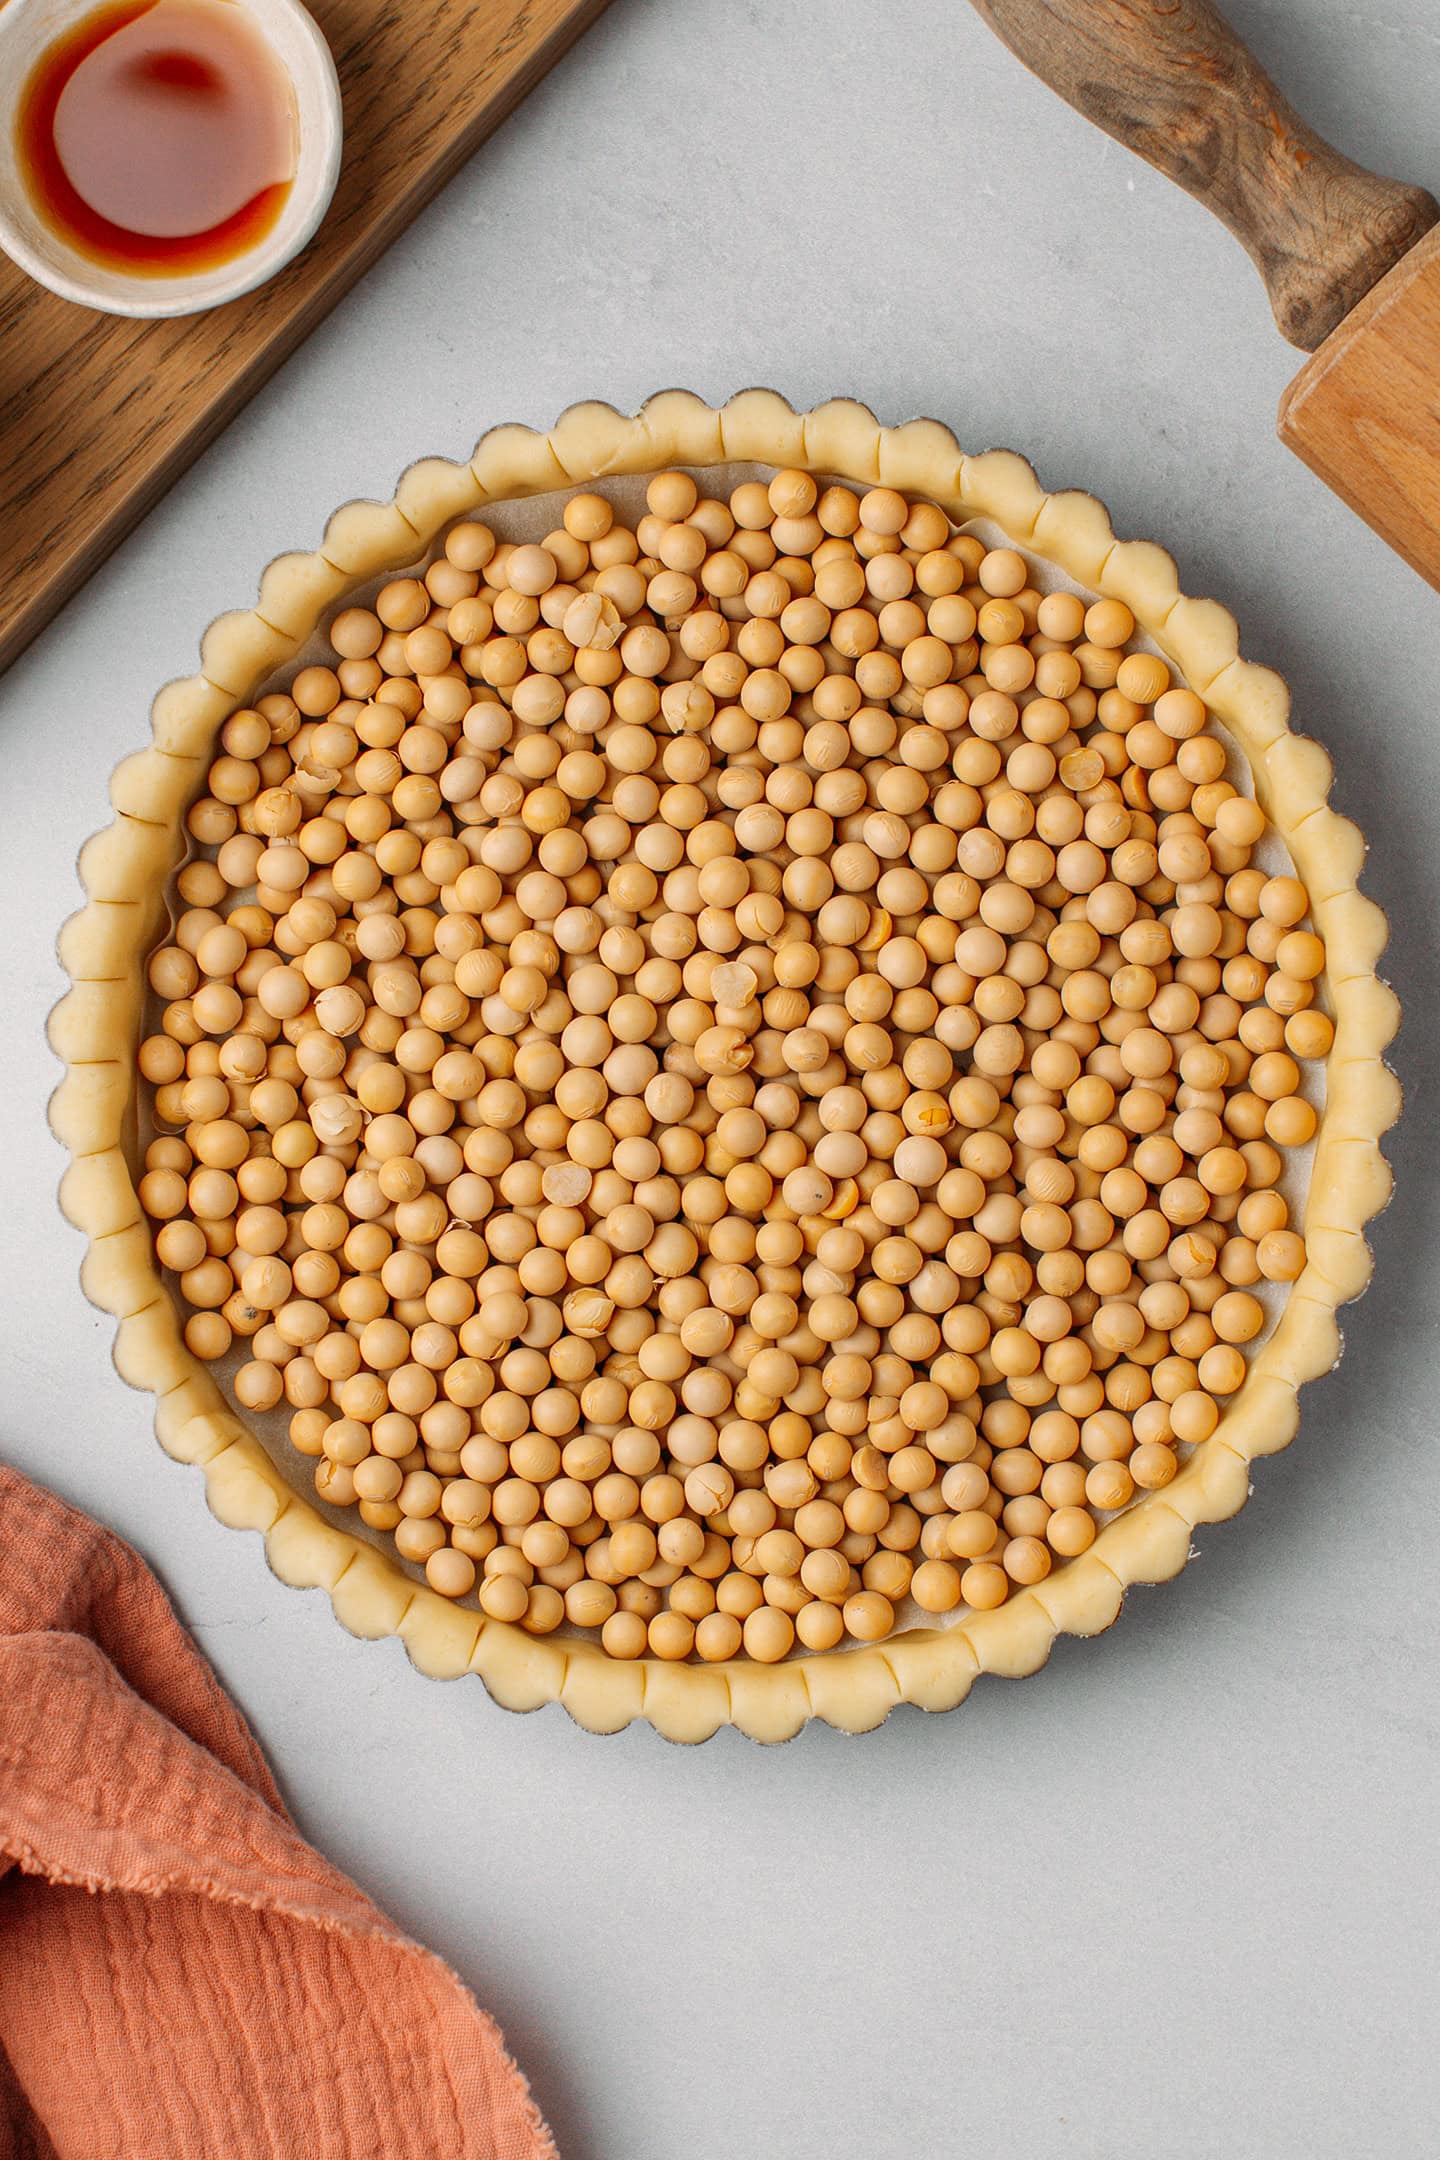
- Fill with weights. Cover the bottom of your crust with a round piece of parchment paper, then top it with ceramic pie weights (I used soybeans).
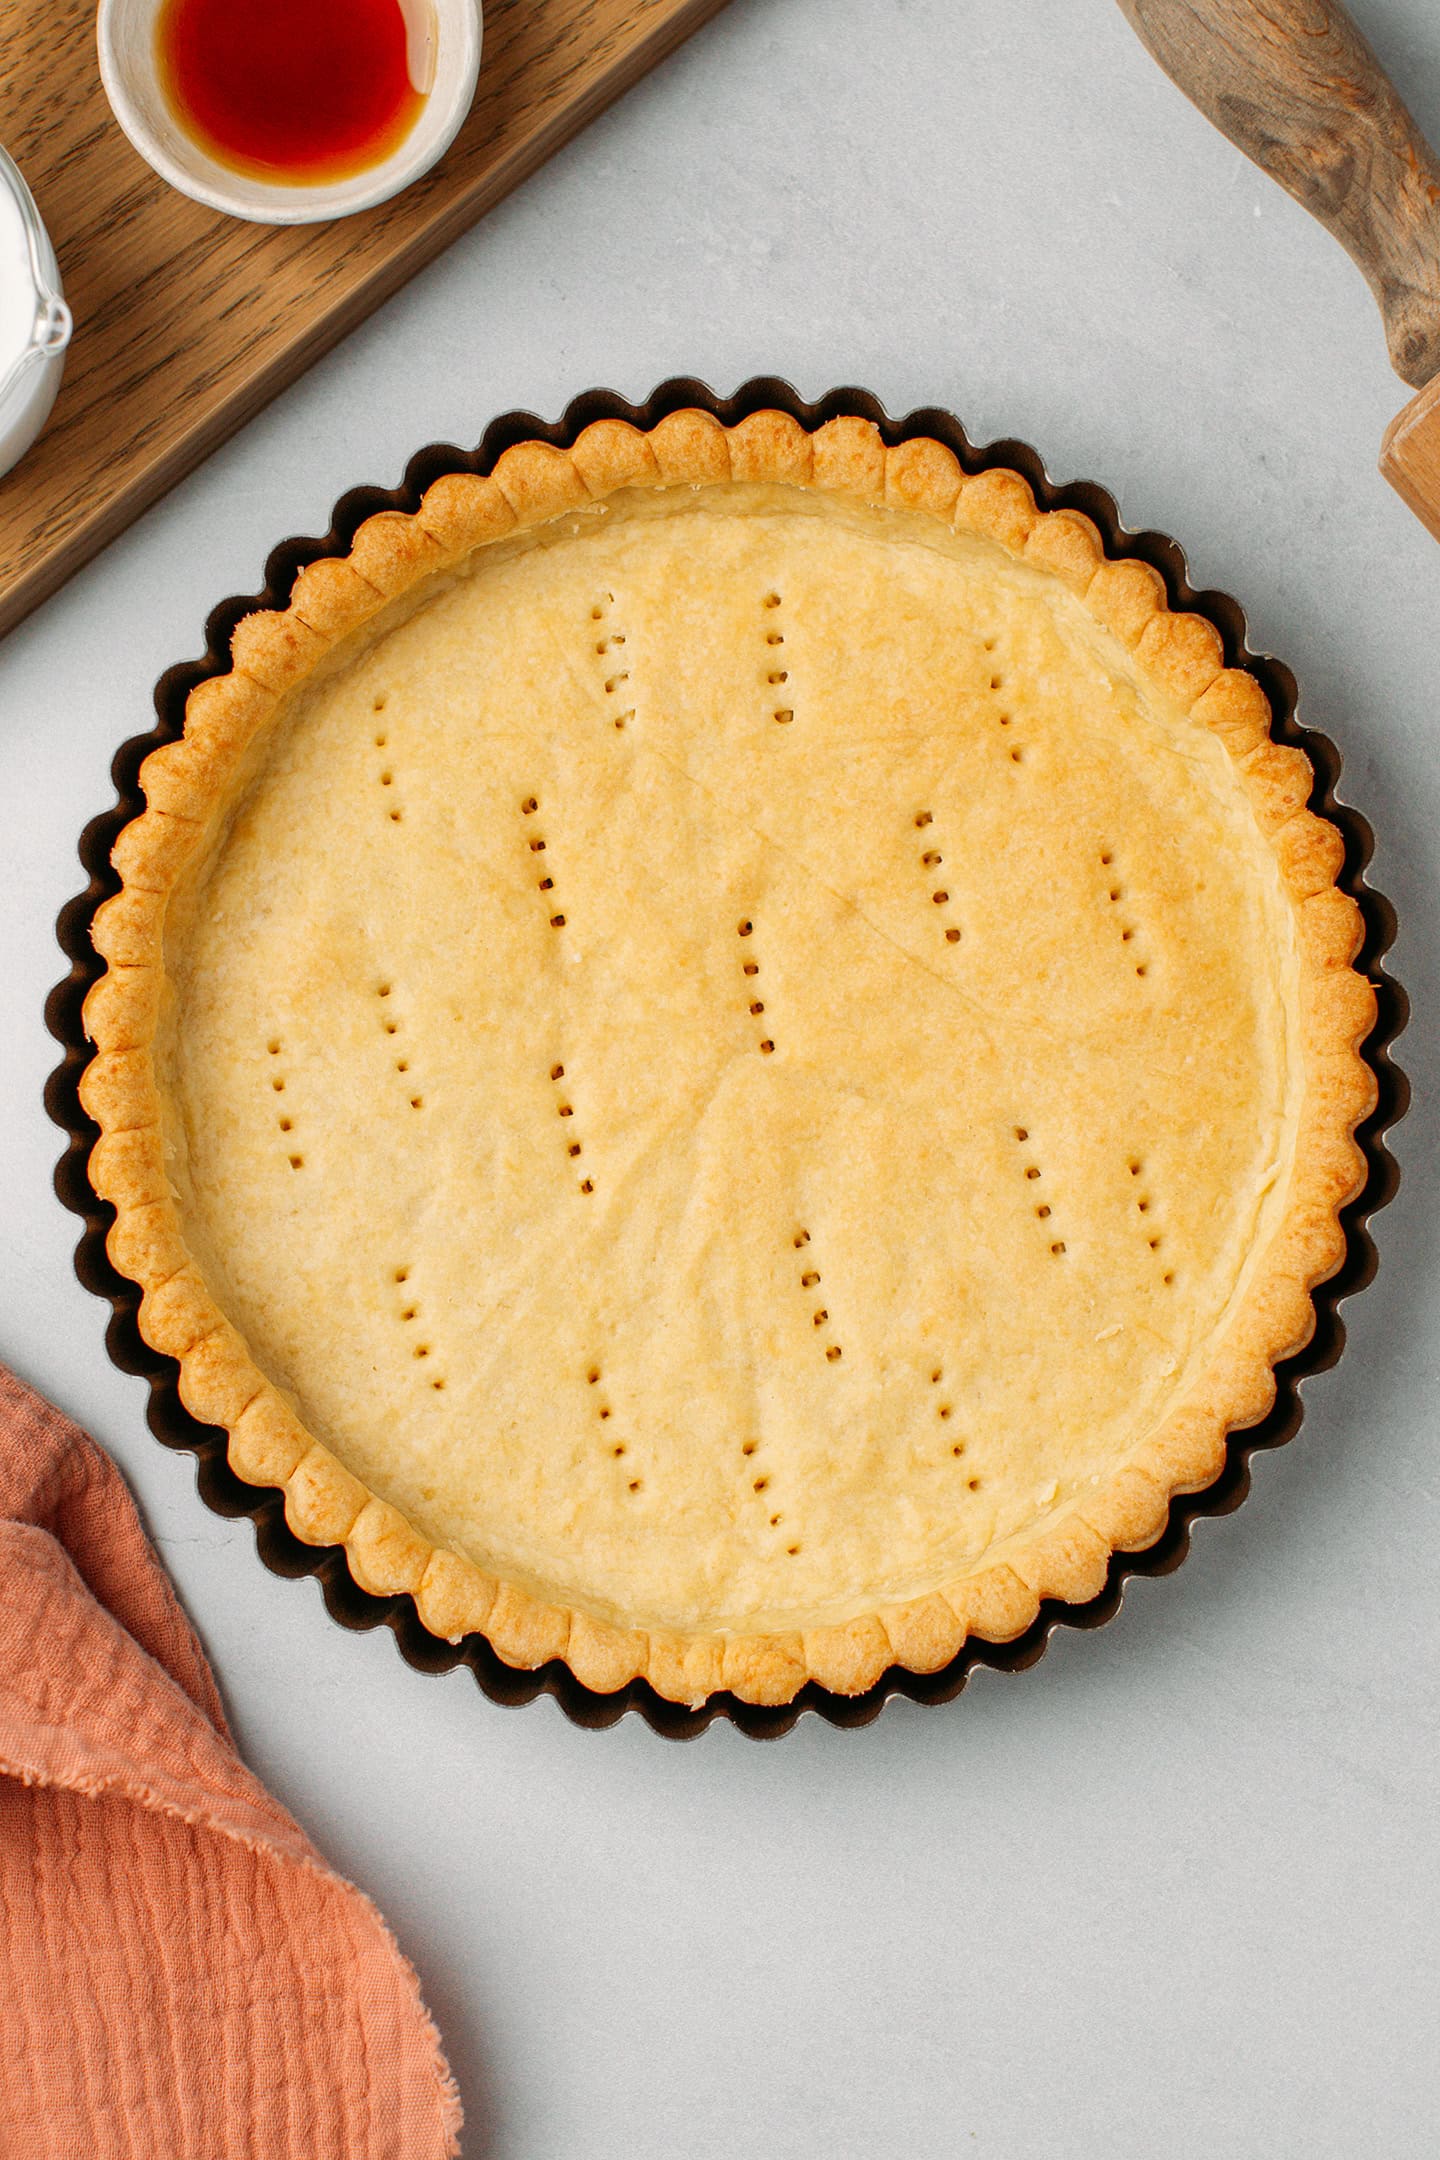
- Bake. Bake for 15 minutes with the weights. Remove them and bake for another 13-15 minutes or until golden brown. Let cool completely.
2. Make the custard
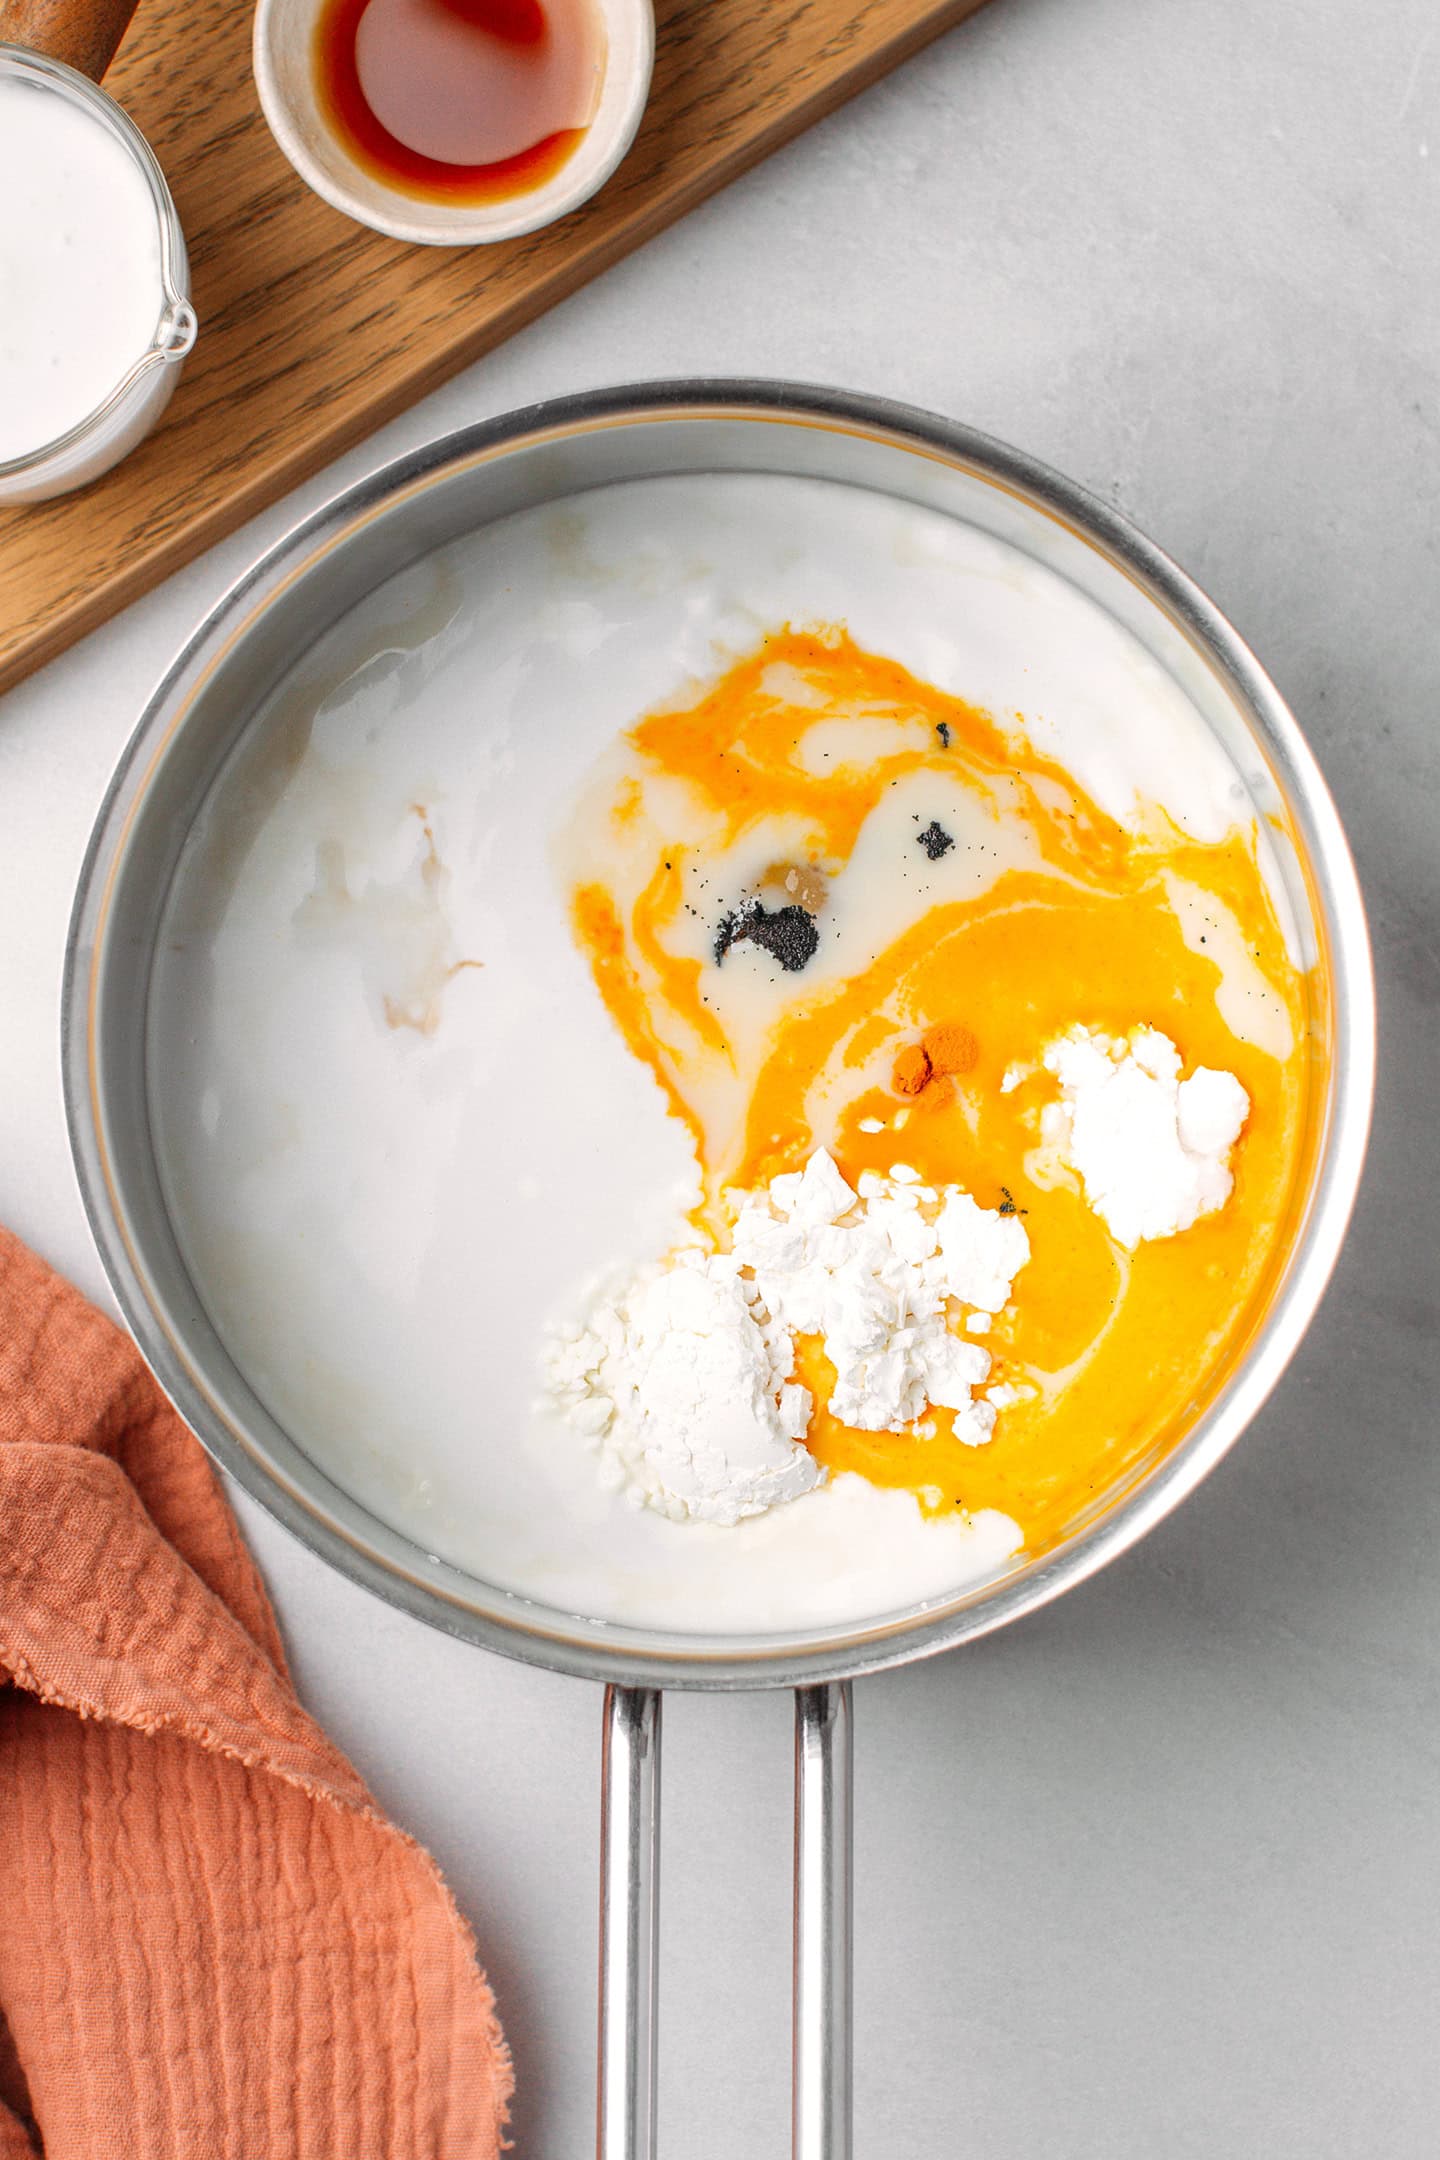
- Combine all of the ingredients. Add all of the custard ingredients to a saucepan.
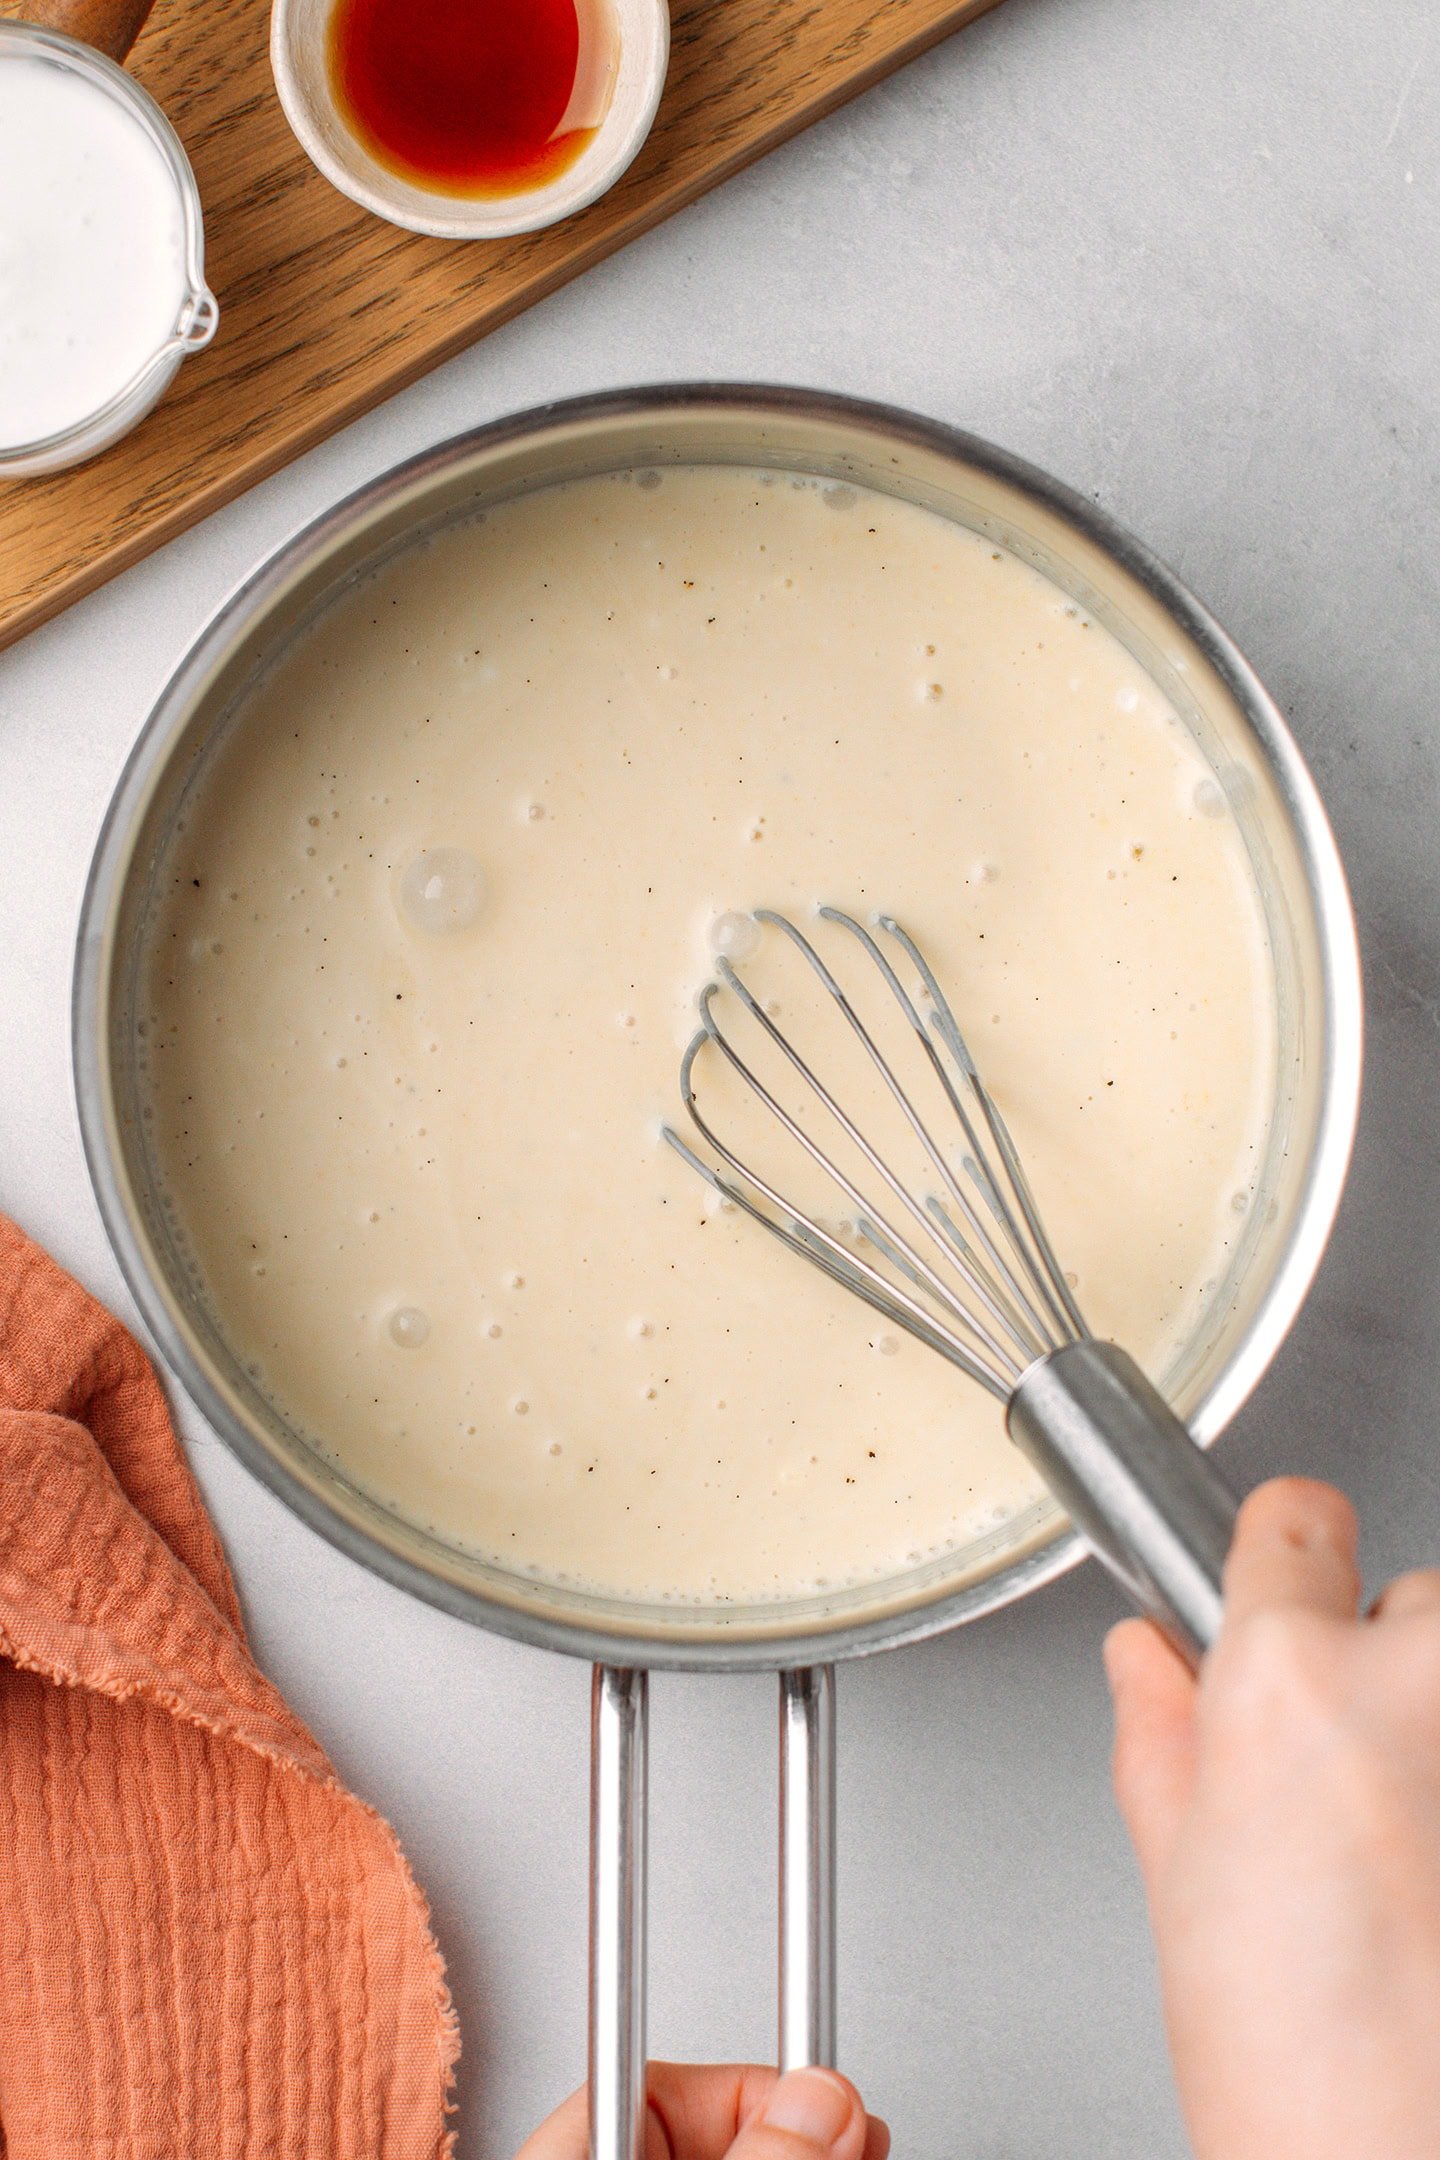
- Whisk. Whisk to dissolve the cornstarch and potato starch.
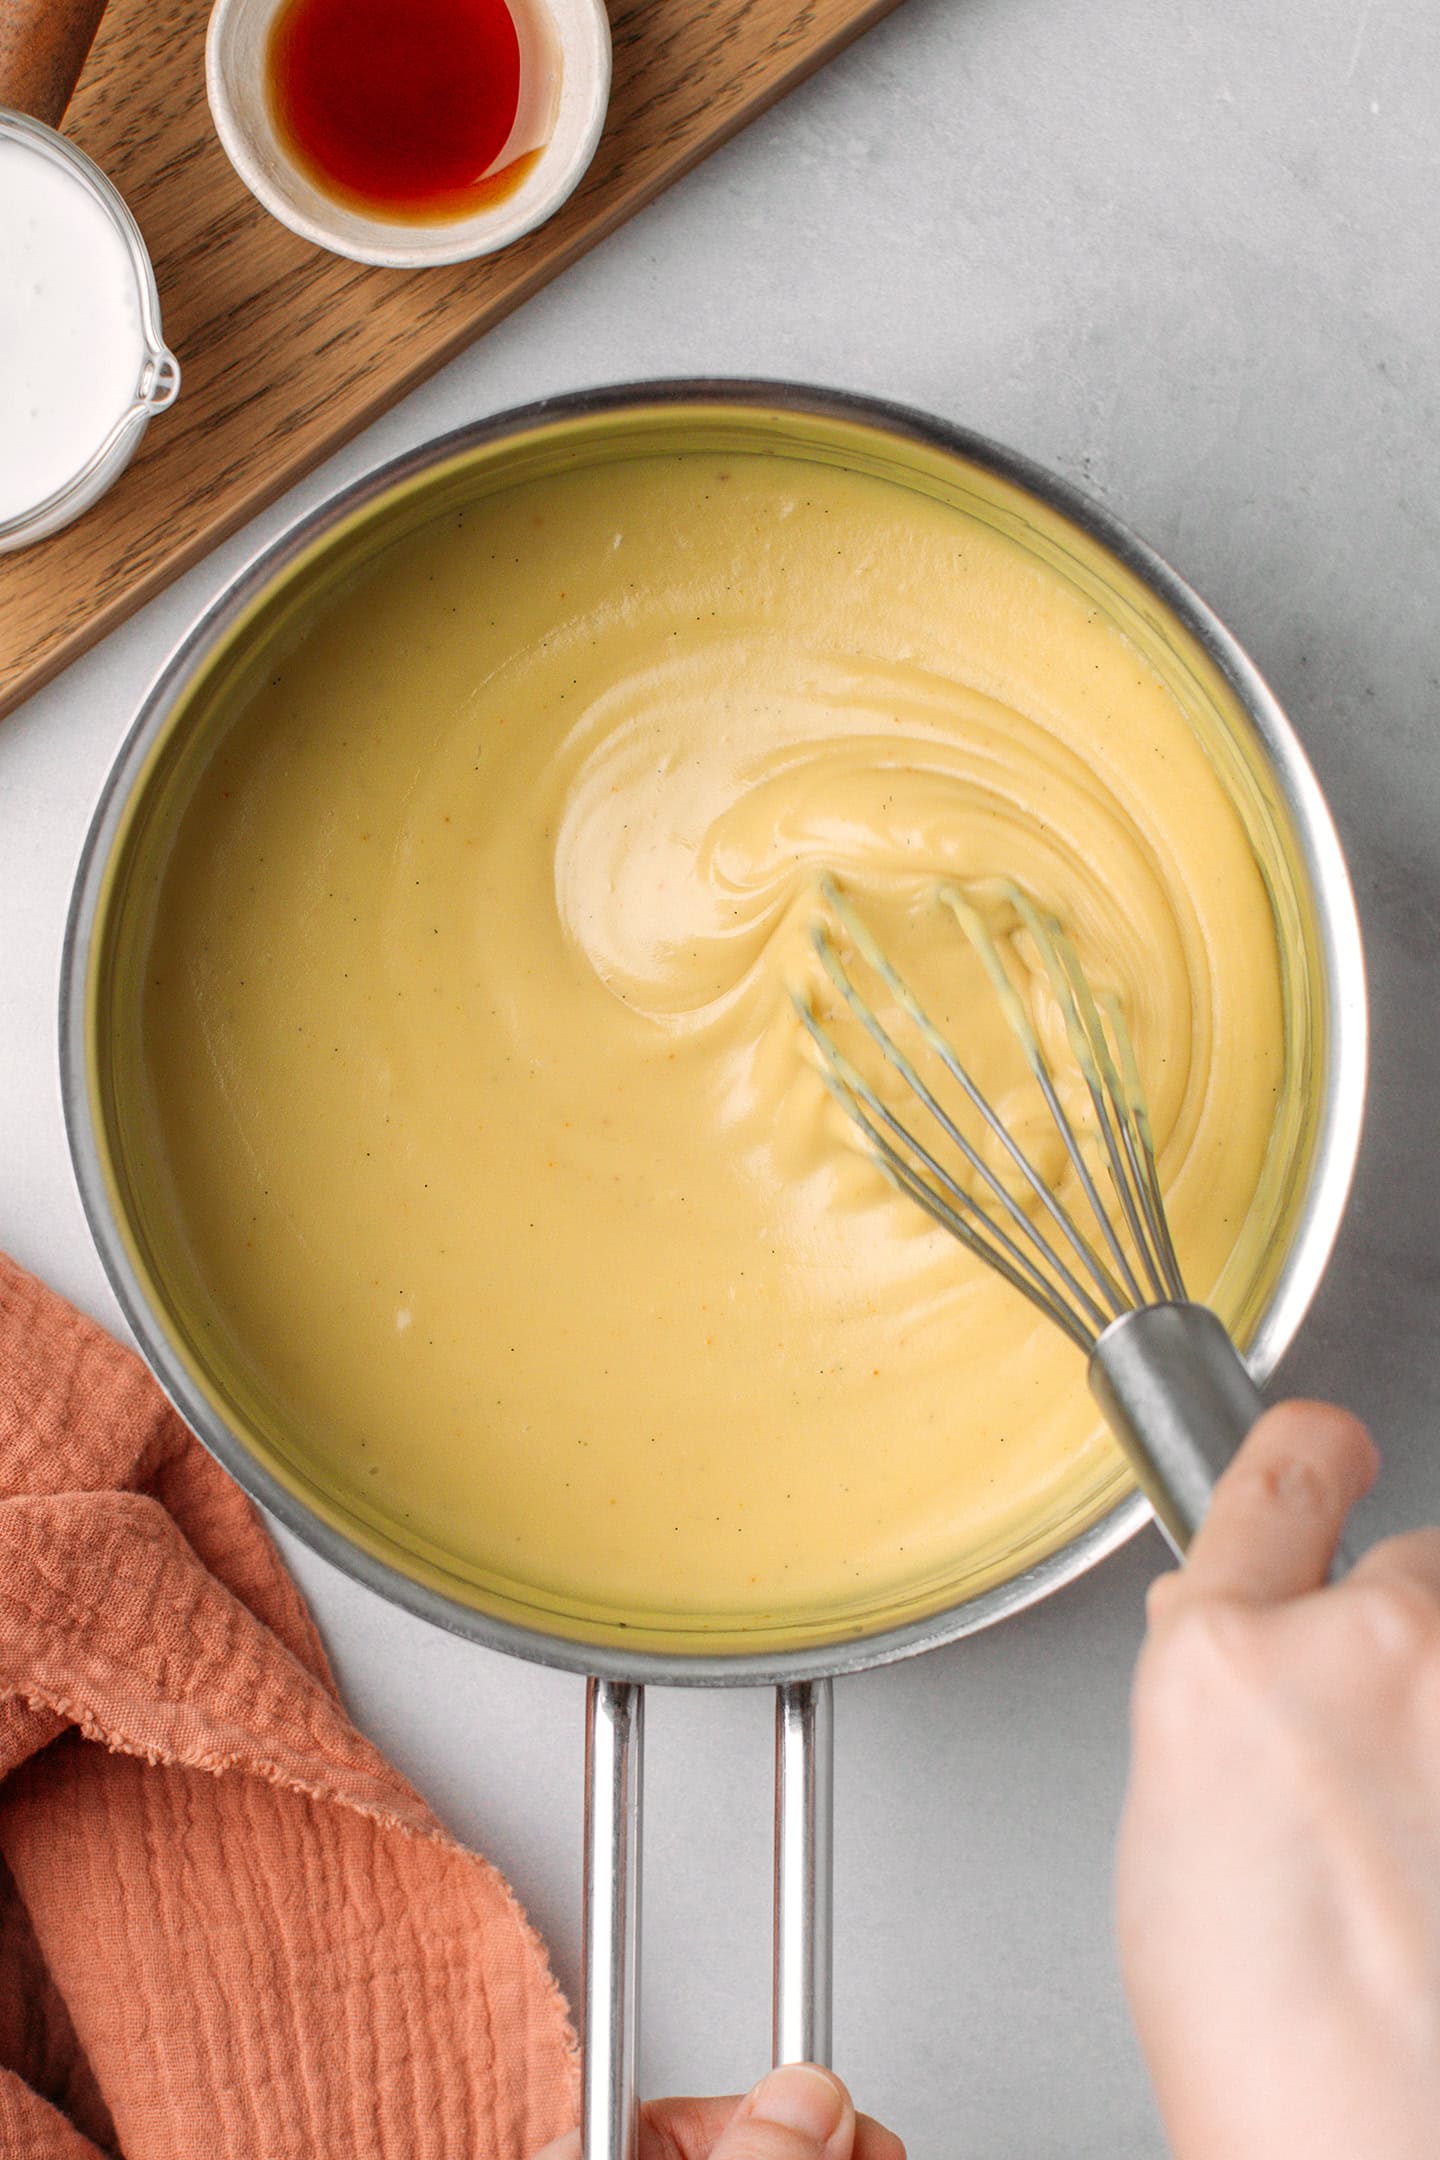
- Thicken. Heat over medium heat, whisking constantly until the custard thickens.
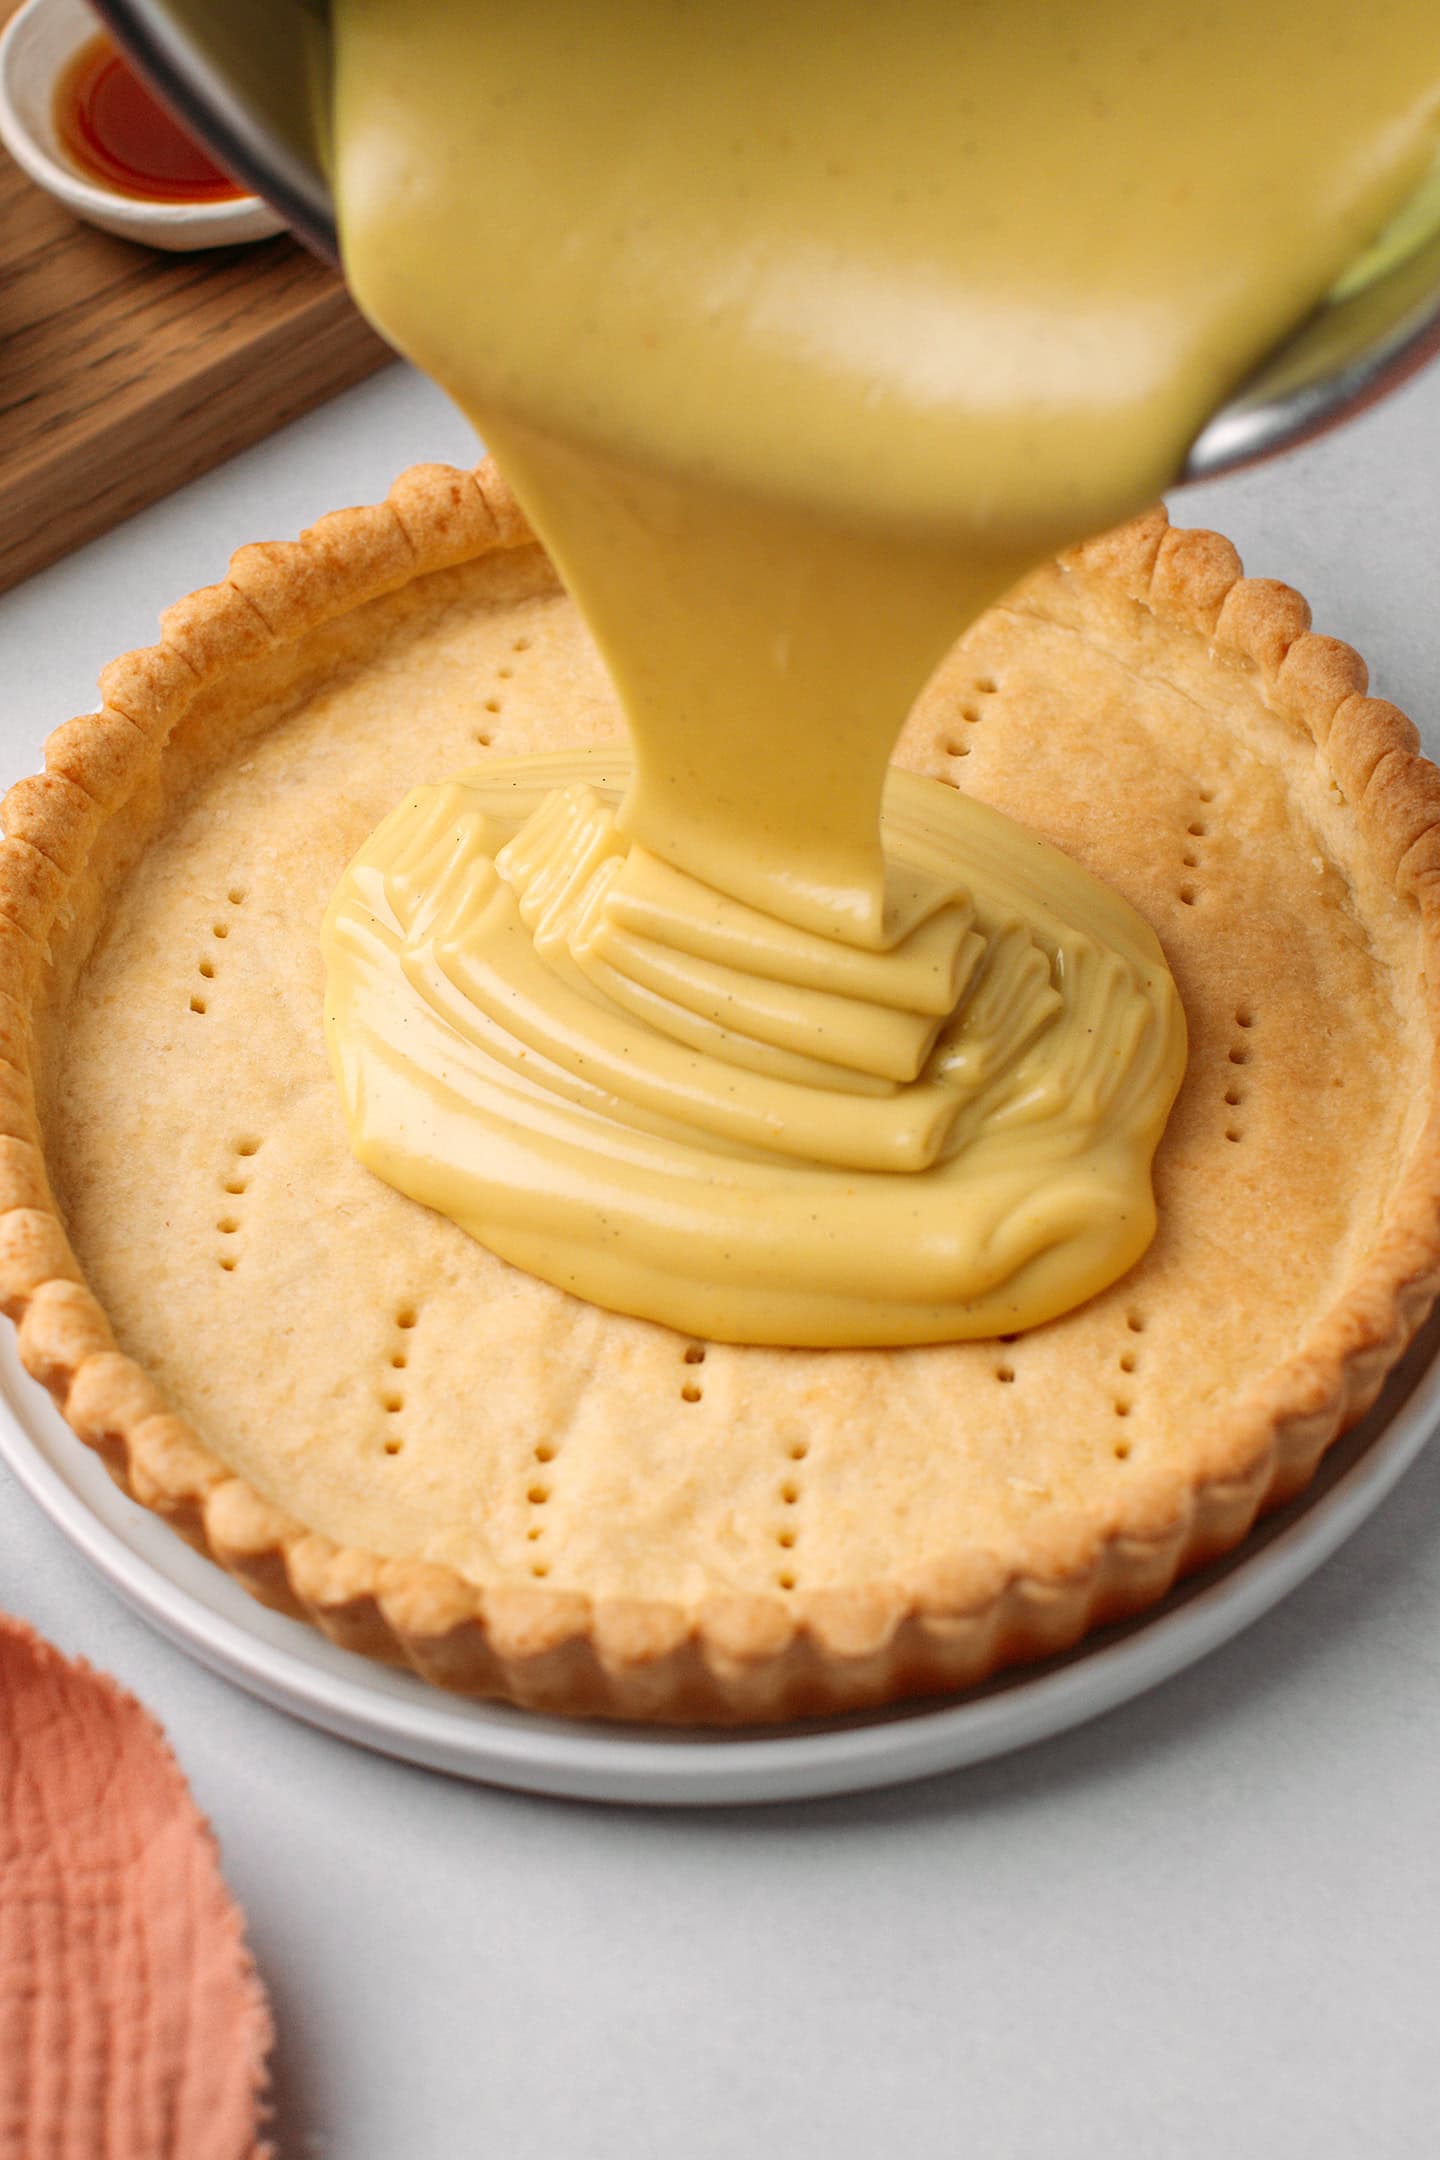
- Pour into the crust. Immediately pour the hot custard into the baked pie crust. Let it cool at room temperature for at least 40 minutes before transferring to the refrigerator. Enjoy once the tart is completely cool!
📔 Thomas’ Tips
Flute the edges. For a nicer-looking crust, use a knife to flute the edges of the dough before baking. It’s a great way to make your tart look a bit more elegant 😉
Dissolve the starches in cold milk. It’s essential to whisk both the cornstarch and the potato starch into cold (or room-temperature) milk. Adding them to hot milk will yield a grainy texture.
Pour the custard immediately. As soon as the custard has thickened, pour it into the baked crust without waiting. If it sits too long, it will firm up and may form a skin.
🍫 How to Decorate it
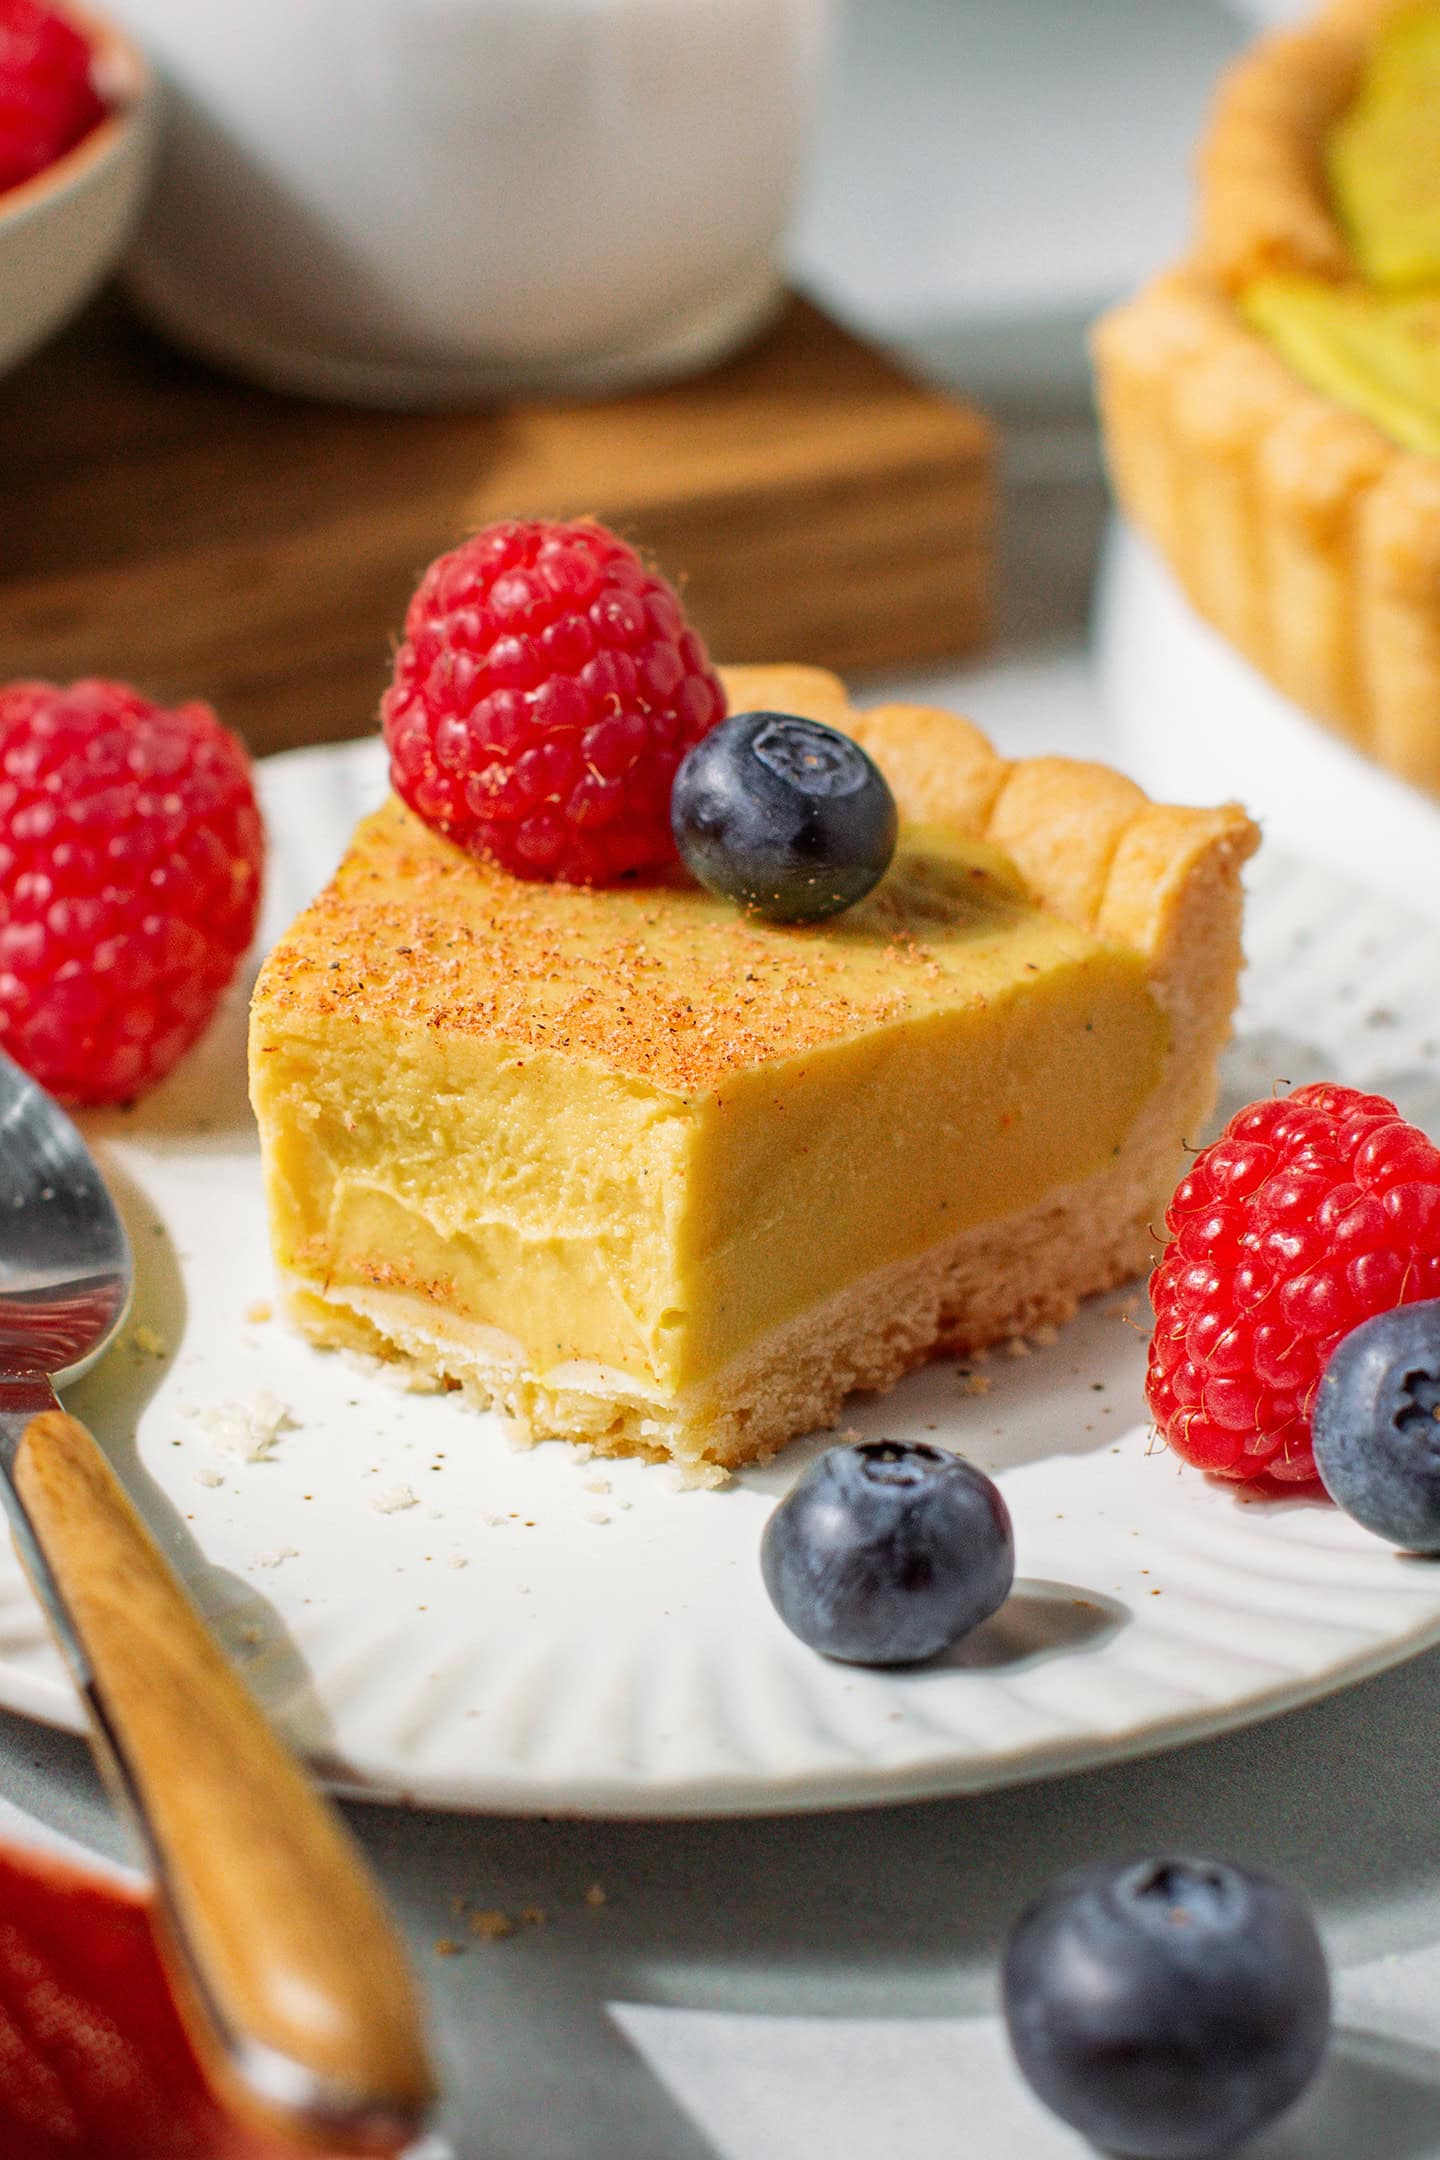
Without any topping, the tart can look a bit boring, that’s why I highly suggest decorating it. The classic option: a dusting of grated nutmeg. Now, if you are not into nutmeg, which I can understand as it can be a bit overpowering, you have other options:
- Chocolate shavings: Use a vegetable peeler to shave some dark chocolate over the tart.
- Ground cinnamon: Like nutmeg, don’t go overboard, or it will overpower the vanilla flavor.
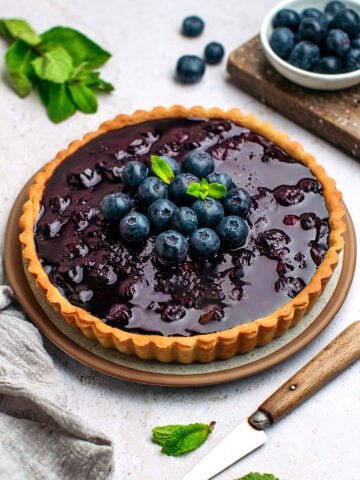
- Fresh fruits: Especially berries like raspberries, strawberries, raspberries. Those pair particularly well with the creamy vanilla custard!
❄️ Storing
- To store: You can store this custard tart in the refrigerator for up to 5 days. The crust will soften a bit after 3 days.
- To freeze: I do not recommend freezing this tart as it alters its texture.
💬 FAQs
You can replace the coconut milk with your favorite plant-based cream (soy cream, for example).


Save this recipe!
Enter your email below and I’ll send it to your inbox!
Plus, you will receive new recipes every week!

Vegan Custard Tart
Ingredients
Crust
- 1 and 1/2 cup (187 g) all-purpose flour
- 6 and 1/2 tbsp (90 g) vegan butter (at room temperature)
- 1 tbsp (12 g) granulated white sugar
- 3 tbsp (45 ml) water
- 1/4 tsp vanilla extract
- 1/8 tsp salt
Custard
- 3/4 cup (180 ml) full-fat coconut milk
- 1/2 cup (120 ml) unsweetened plant-based milk (I used soy milk)
- 3 tbsp (36 g) granulated white sugar
- 2 tbsp (15 g) cornstarch
- 1 tbsp (12 g) potato starch
- 2 tsp (10 ml) vanilla extract
- 1/16 tsp ground turmeric
- 1/8 tsp kala namak salt (optional)
- seeds from half of a vanilla bean (optional, for extra vanilla flavor)
- 2 tbsp (28 g) vegan butter
Instructions
Crust
- Preheat the oven to
 350 °F (175°C) and grease an 8-inch (20 cm) metal pie pan with vegan butter. Set aside.
 - Combine the crust ingredients. Add the flour, butter, sugar, water, vanilla extract, and salt to a stand mixer or mixing bowl.
- Knead. Using the flat beater attachment, knead for 2-3 minutes on medium speed. It should form a smooth dough. Shape it into a thick disc.
- Flatten. Transfer the dough to a sheet of parchment paper and top with another sheet of paper. Using a rolling pin, flatten the dough to about 1/4 inch (5-7 mm) thick. Next, press the dough into the pan.
- Cut off the excess dough. Roll a rolling pin along the edges of the pan to trim the excess dough.
- Prick the bottom. Use a fork to prick the bottom of the crust 12-14 times.
- Fill with weights. Cover the bottom of your pie crust with a round piece of parchment paper, then top it with ceramic pie weights (or dried beans).
- Bake. Bake for 15 minutes or until the sides are slightly golden brown. Carefully remove the weights and the parchment paper, then bake for another 13-15 minutes or until golden brown. Let cool completely.
Custard
- Combine all of the ingredients. Add all of the custard ingredients except the butter to a saucepan and whisk until the starches are dissolved. Add the butter.
- Thicken. Heat over medium heat, whisking constantly until the custard reaches a boil and thickens.
- Pour into the crust. Immediately pour the hot custard into the baked pie crust and quickly flatten it into an even layer. Allow it to cool at room temperature for at least 40 minutes before transferring to the refrigerator. Chill overnight before enjoying.
- You can decorate it with ground nutmeg or cinnamon, chocolate shavings, and/or fresh berries!
Notes

About the Author
Thomas Pagot is the founder, photographer, and recipe developer behind Full of Plants. He created the blog in 2016 as a personal cookbook for vegan recipes. Through years of recipe development, Thomas has successfully grown Full of Plants into a trusted resource for plant-based recipes.
Leave a Comment