This post may contain affiliate links. Please read our disclosure policy.
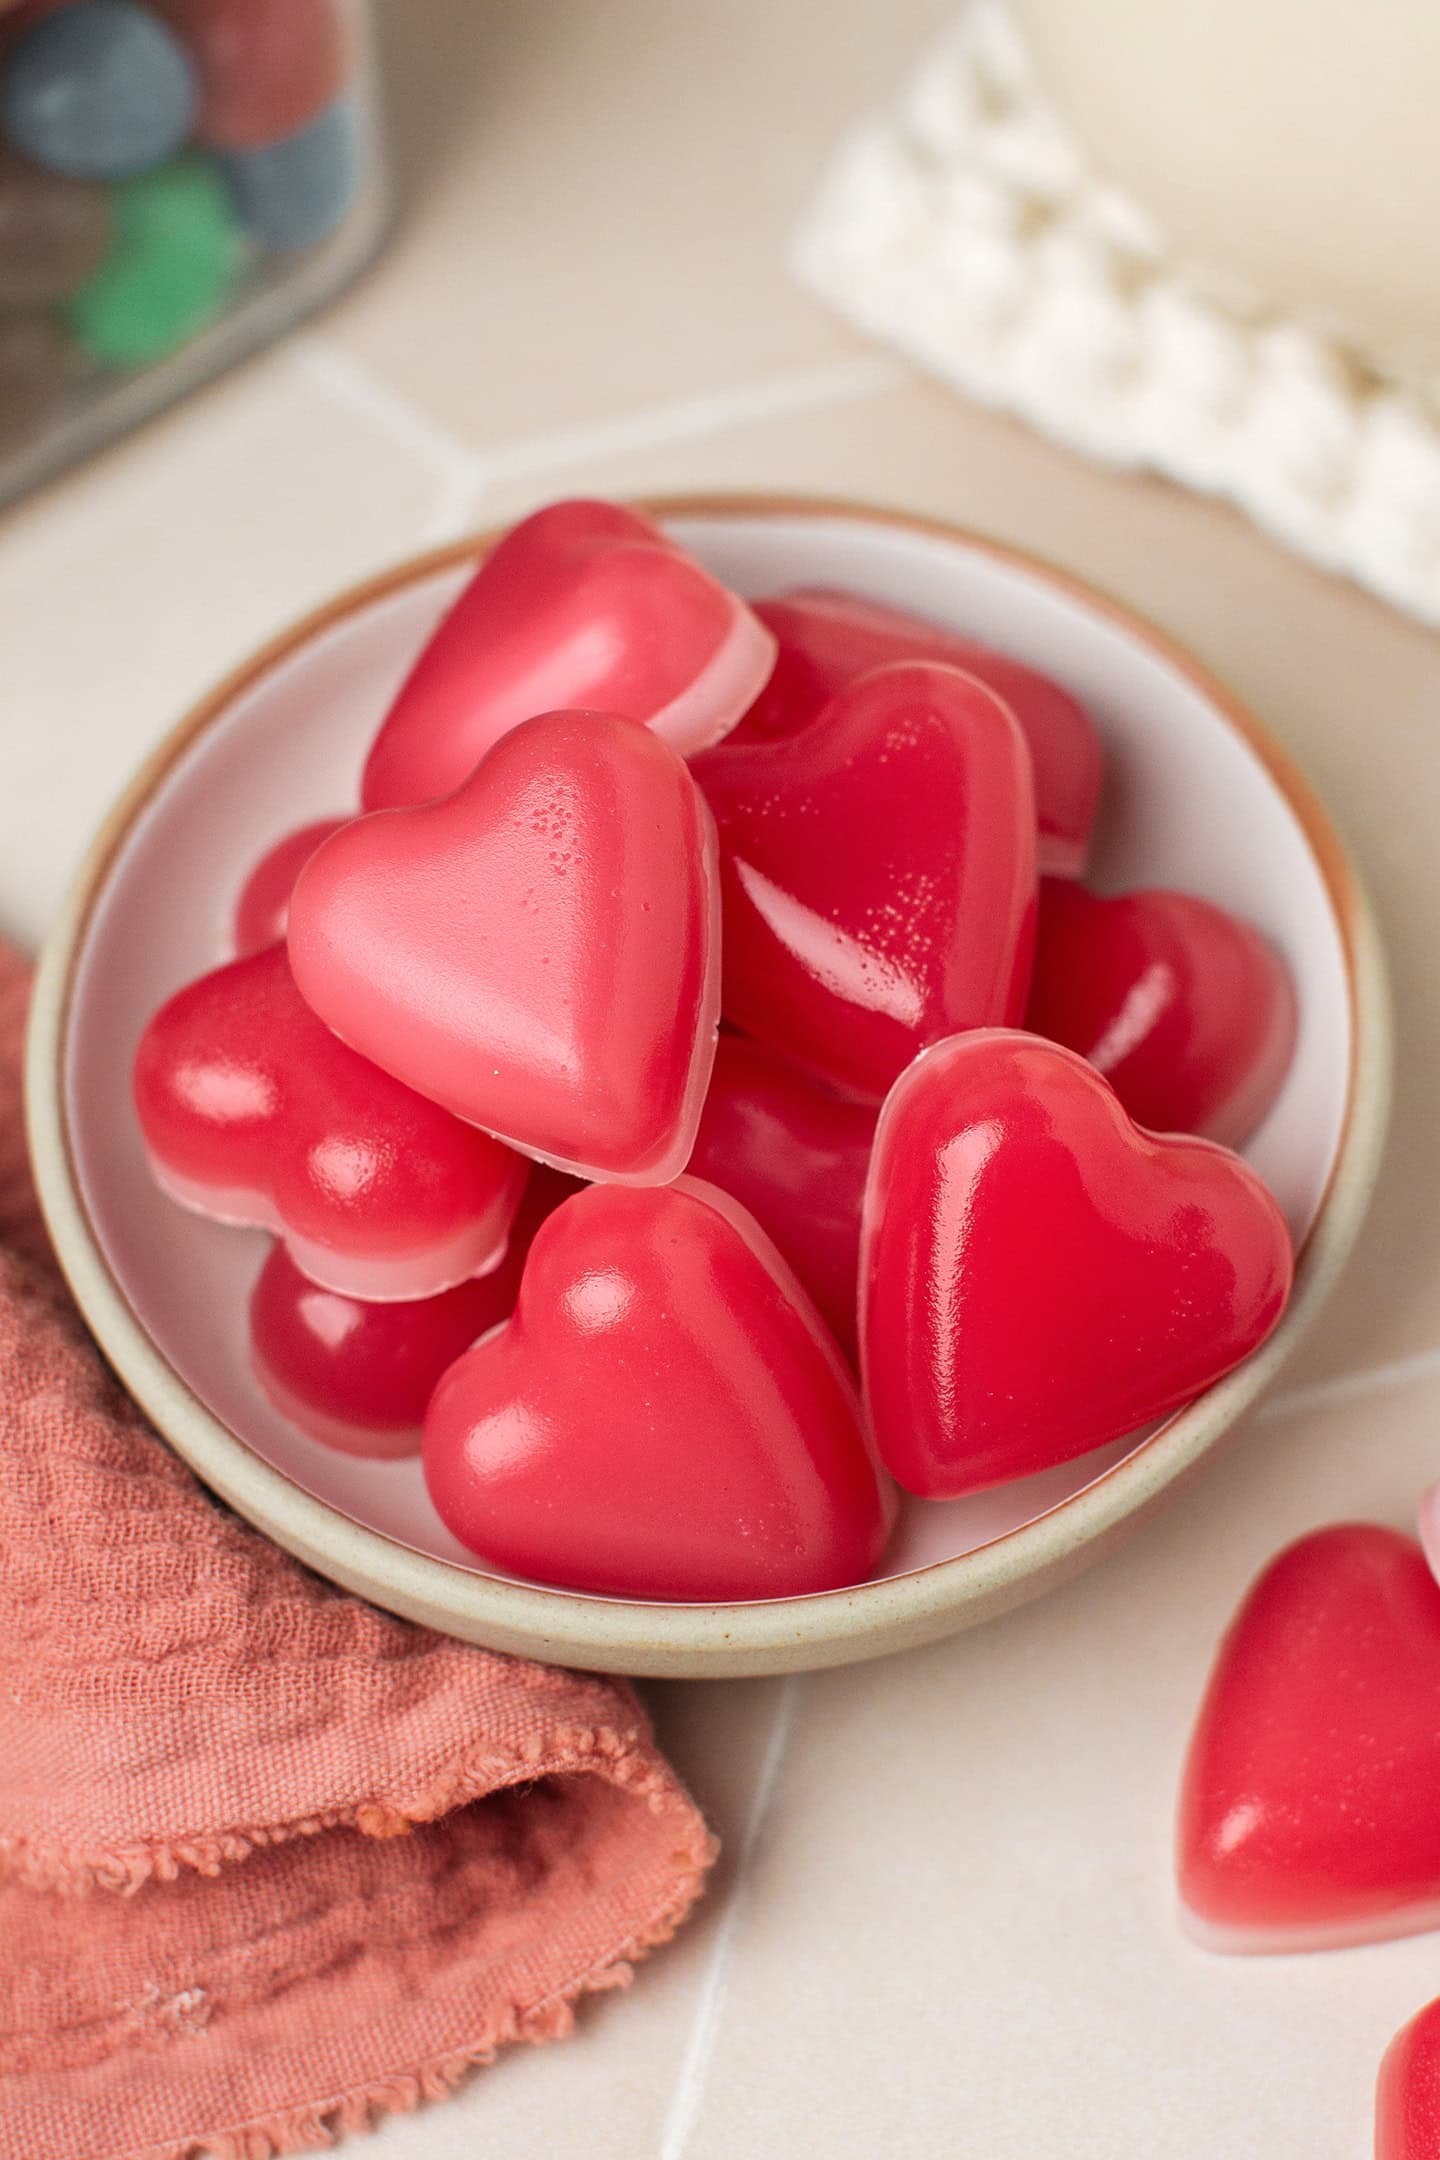
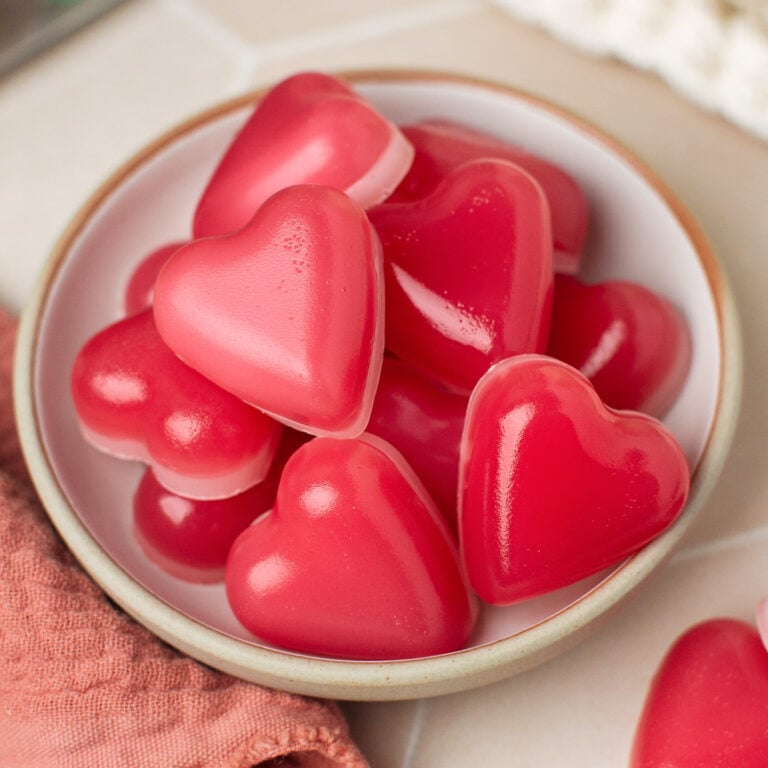
These gelatin-free Valentine’s Day gummy hearts are perfectly chewy, bouncy, and so cute! Infused with raspberry syrup, these little gummies are fruity with a hint of coconut flavor. Gift them to your sweetheart or make them together!
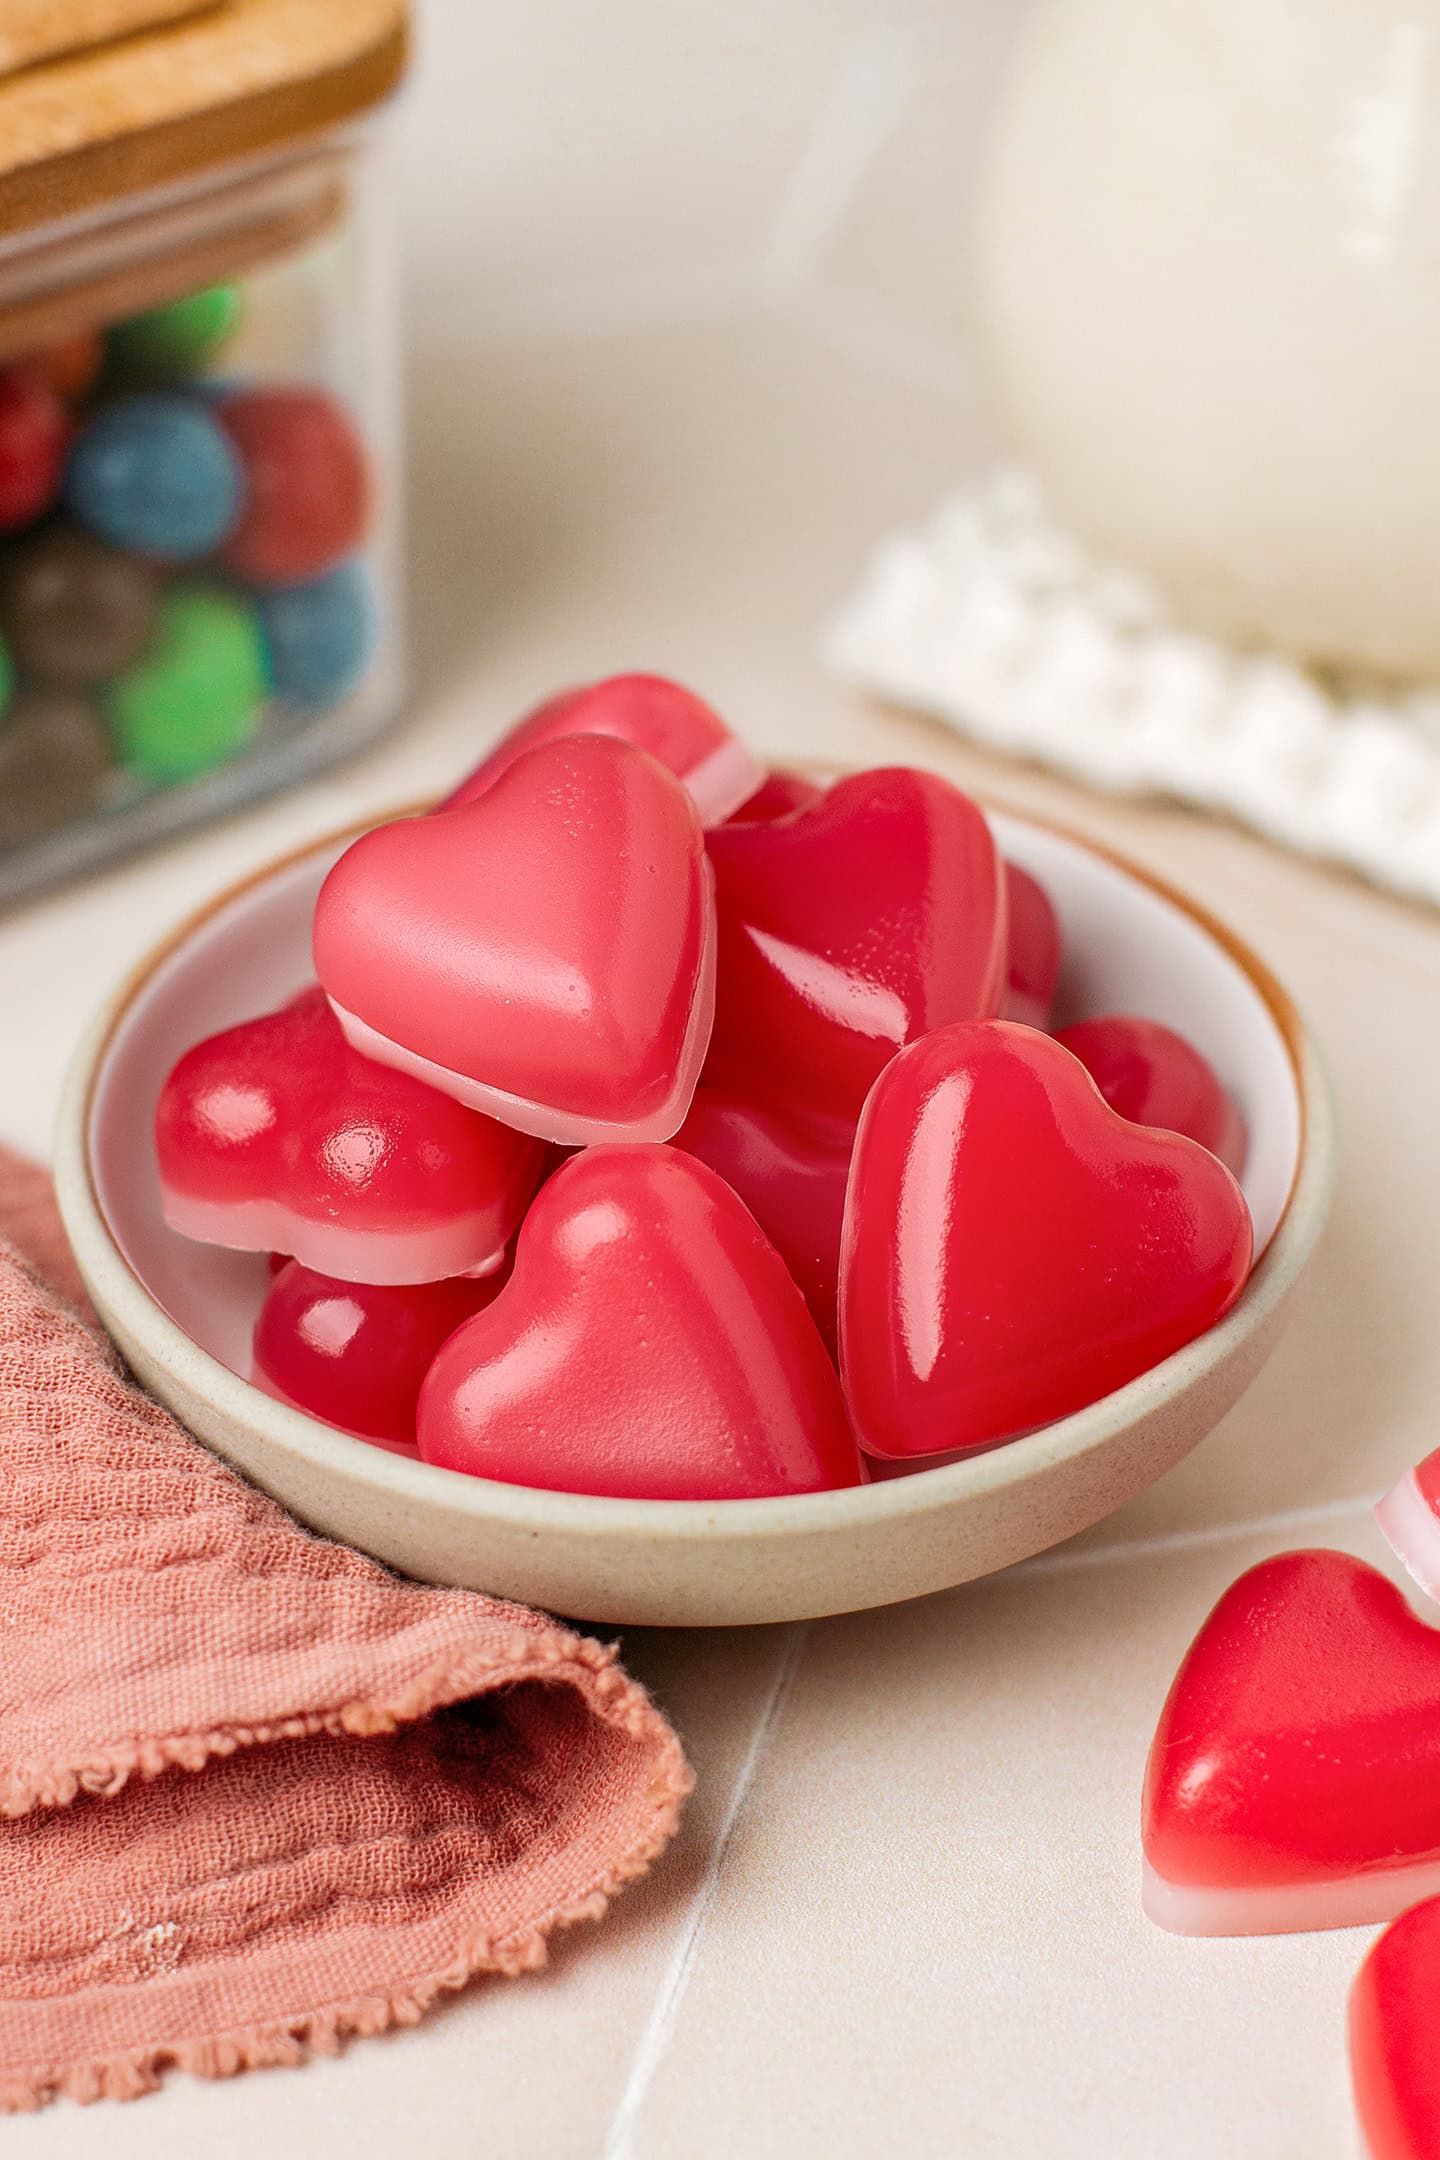
Valentine’s Day is right around the corner, and I’ve got something cute and fun to share to celebrate the day: heart gummies!
To start, these are not exactly gummies per se, as they do not contain any gelatin. Plant-based gelatins do exist, but I couldn’t find any where I live. So instead, I took my banh da lon recipe as a base, which is a sweet that’s chewy and slightly stretchy – the perfect base for a gummy-like candy!
Those cute gummies are flavored with raspberry syrup (although any syrup works!) and have a thin layer of coconut for extra flavor and a contrasting color. They are perfectly chewy and so fruity!
Now here is a quick heads-up: since these contain no gelatin and much less sugar than regular gummies, they cannot be stored as long (about 2 days in an airtight container). After that, they tend to harden. So, if you plan to make these for (or with) your valentine, I would suggest making them the day you plan to enjoy them for the best texture.
⭐️ Why You Should Try It
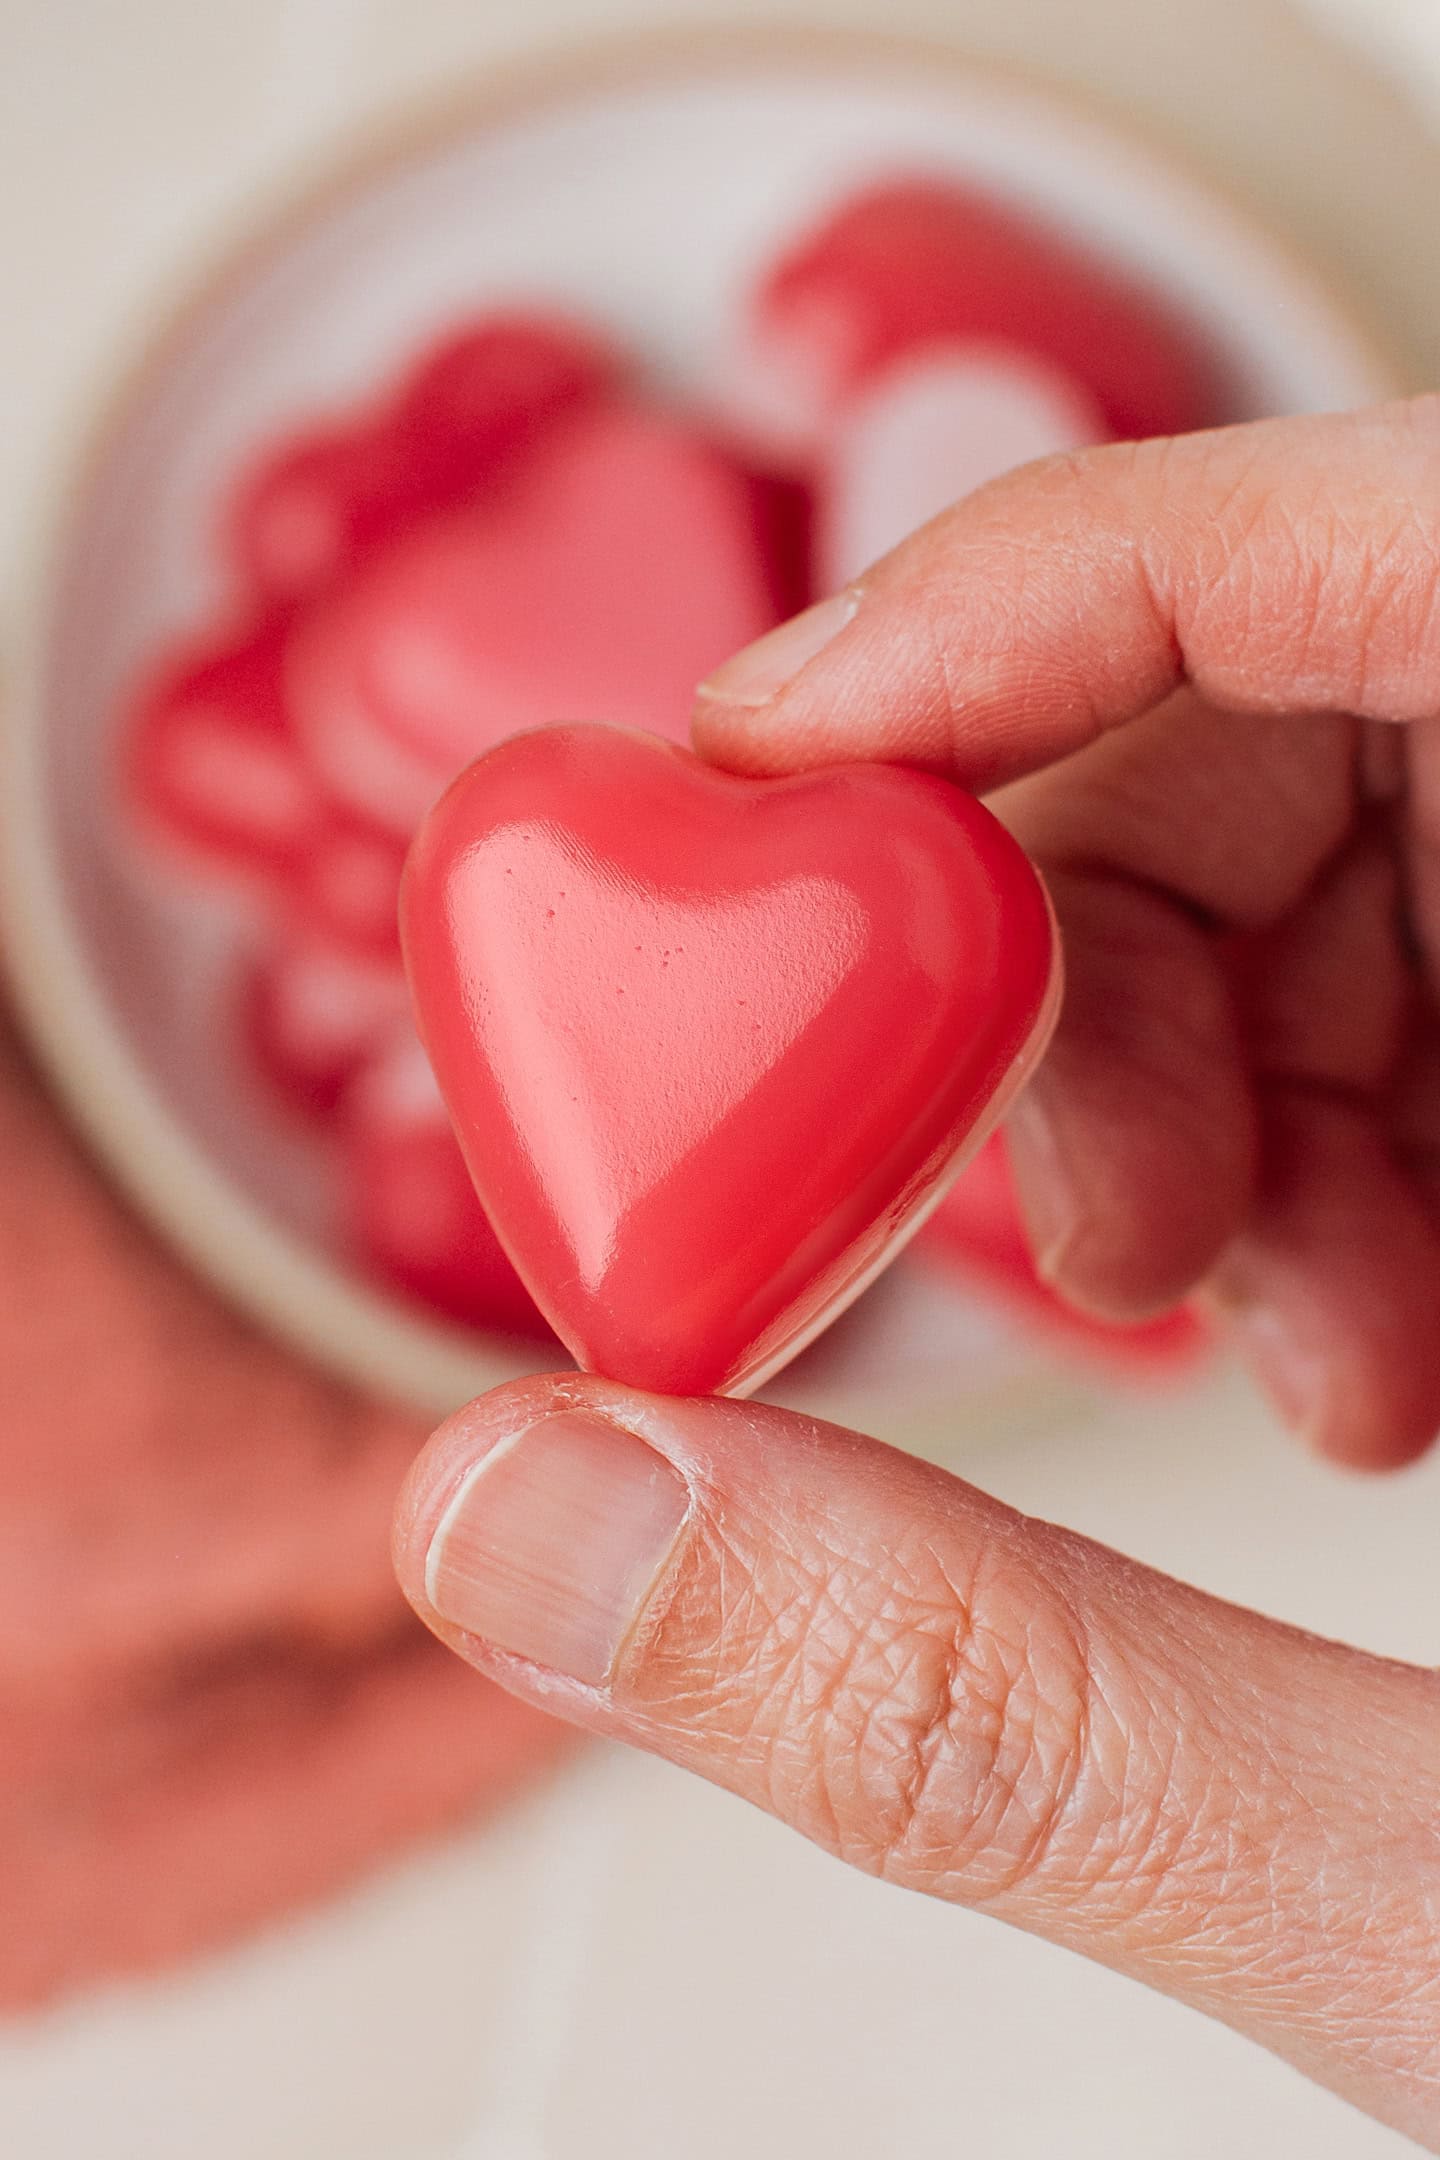
- Bouncy and chewy. Despite not containing any gelatin, my heart gummies have the exact same texture as the store-bought ones! They are super chewy and bouncy when you press them between your fingers. You can even have fun peeling the white layer off the red one!
- Sweet and fruity. Thanks to the addition of raspberry syrup and an optional splash of lemon juice, the gummies are super fruity and very addictive. Trust me, you won’t stop at one!
- Super easy to make! You will prepare two simple batters: one for the raspberry layer and one for the thinner white layer. Then steam them separately, let them cool, and unmold your gummies!
🍒 Ingredient Notes
Just 6 ingredients are required to make this recipe. Here’s what you will need:
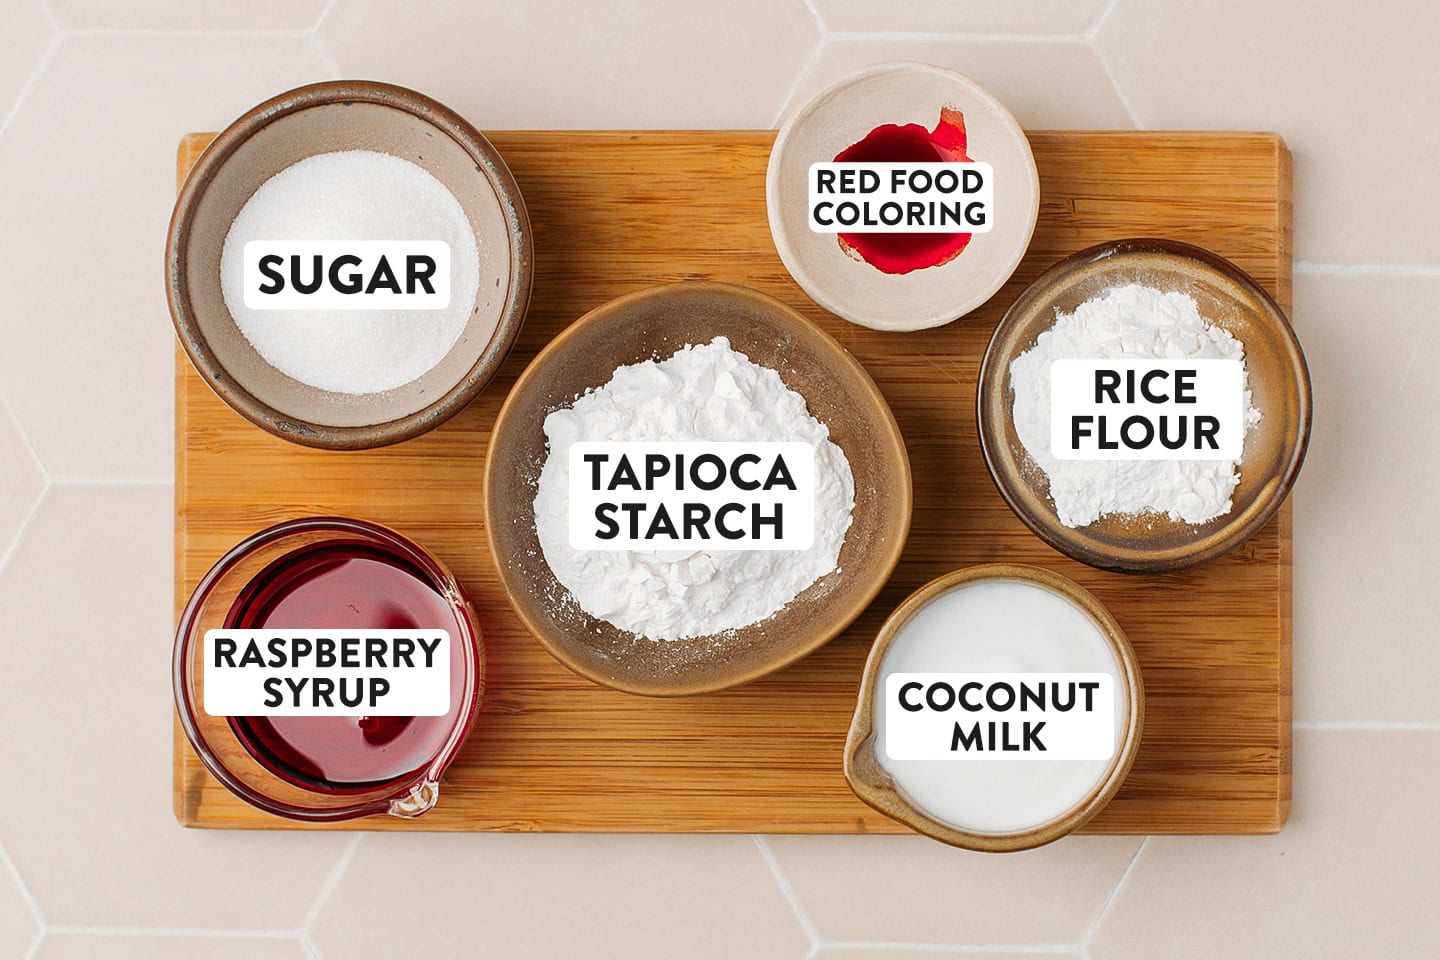
- Tapioca starch – It gives the gummies their chewy and stretchy texture. There is no substitute for tapioca flour in this recipe. Do not try replacing it with cornstarch, as it won’t work.
- Rice flour – For structure, rice flour helps the gummies firm up. Note: Use regular white rice flour, not the sweet kind.
- Raspberry syrup – For a fruity flavor. Raspberry syrup is my favorite, but feel free to use any berry syrup! Cherry, strawberry, blueberry, or even pomegranate all work well.
- Coconut milk – I add a tablespoon of coconut milk to the white batter to give it a lighter color. It doesn’t add much coconut flavor, just a hint.
- Sugar – For sweetness. I suggest using granulated white sugar here. Coconut sugar would overpower the raspberry syrup.
- Lemon juice – This one is totally optional. It adds a hint of sourness that makes the gummies taste a bit more like store-bought candy.
🥣 How to Make It
1. Red batter
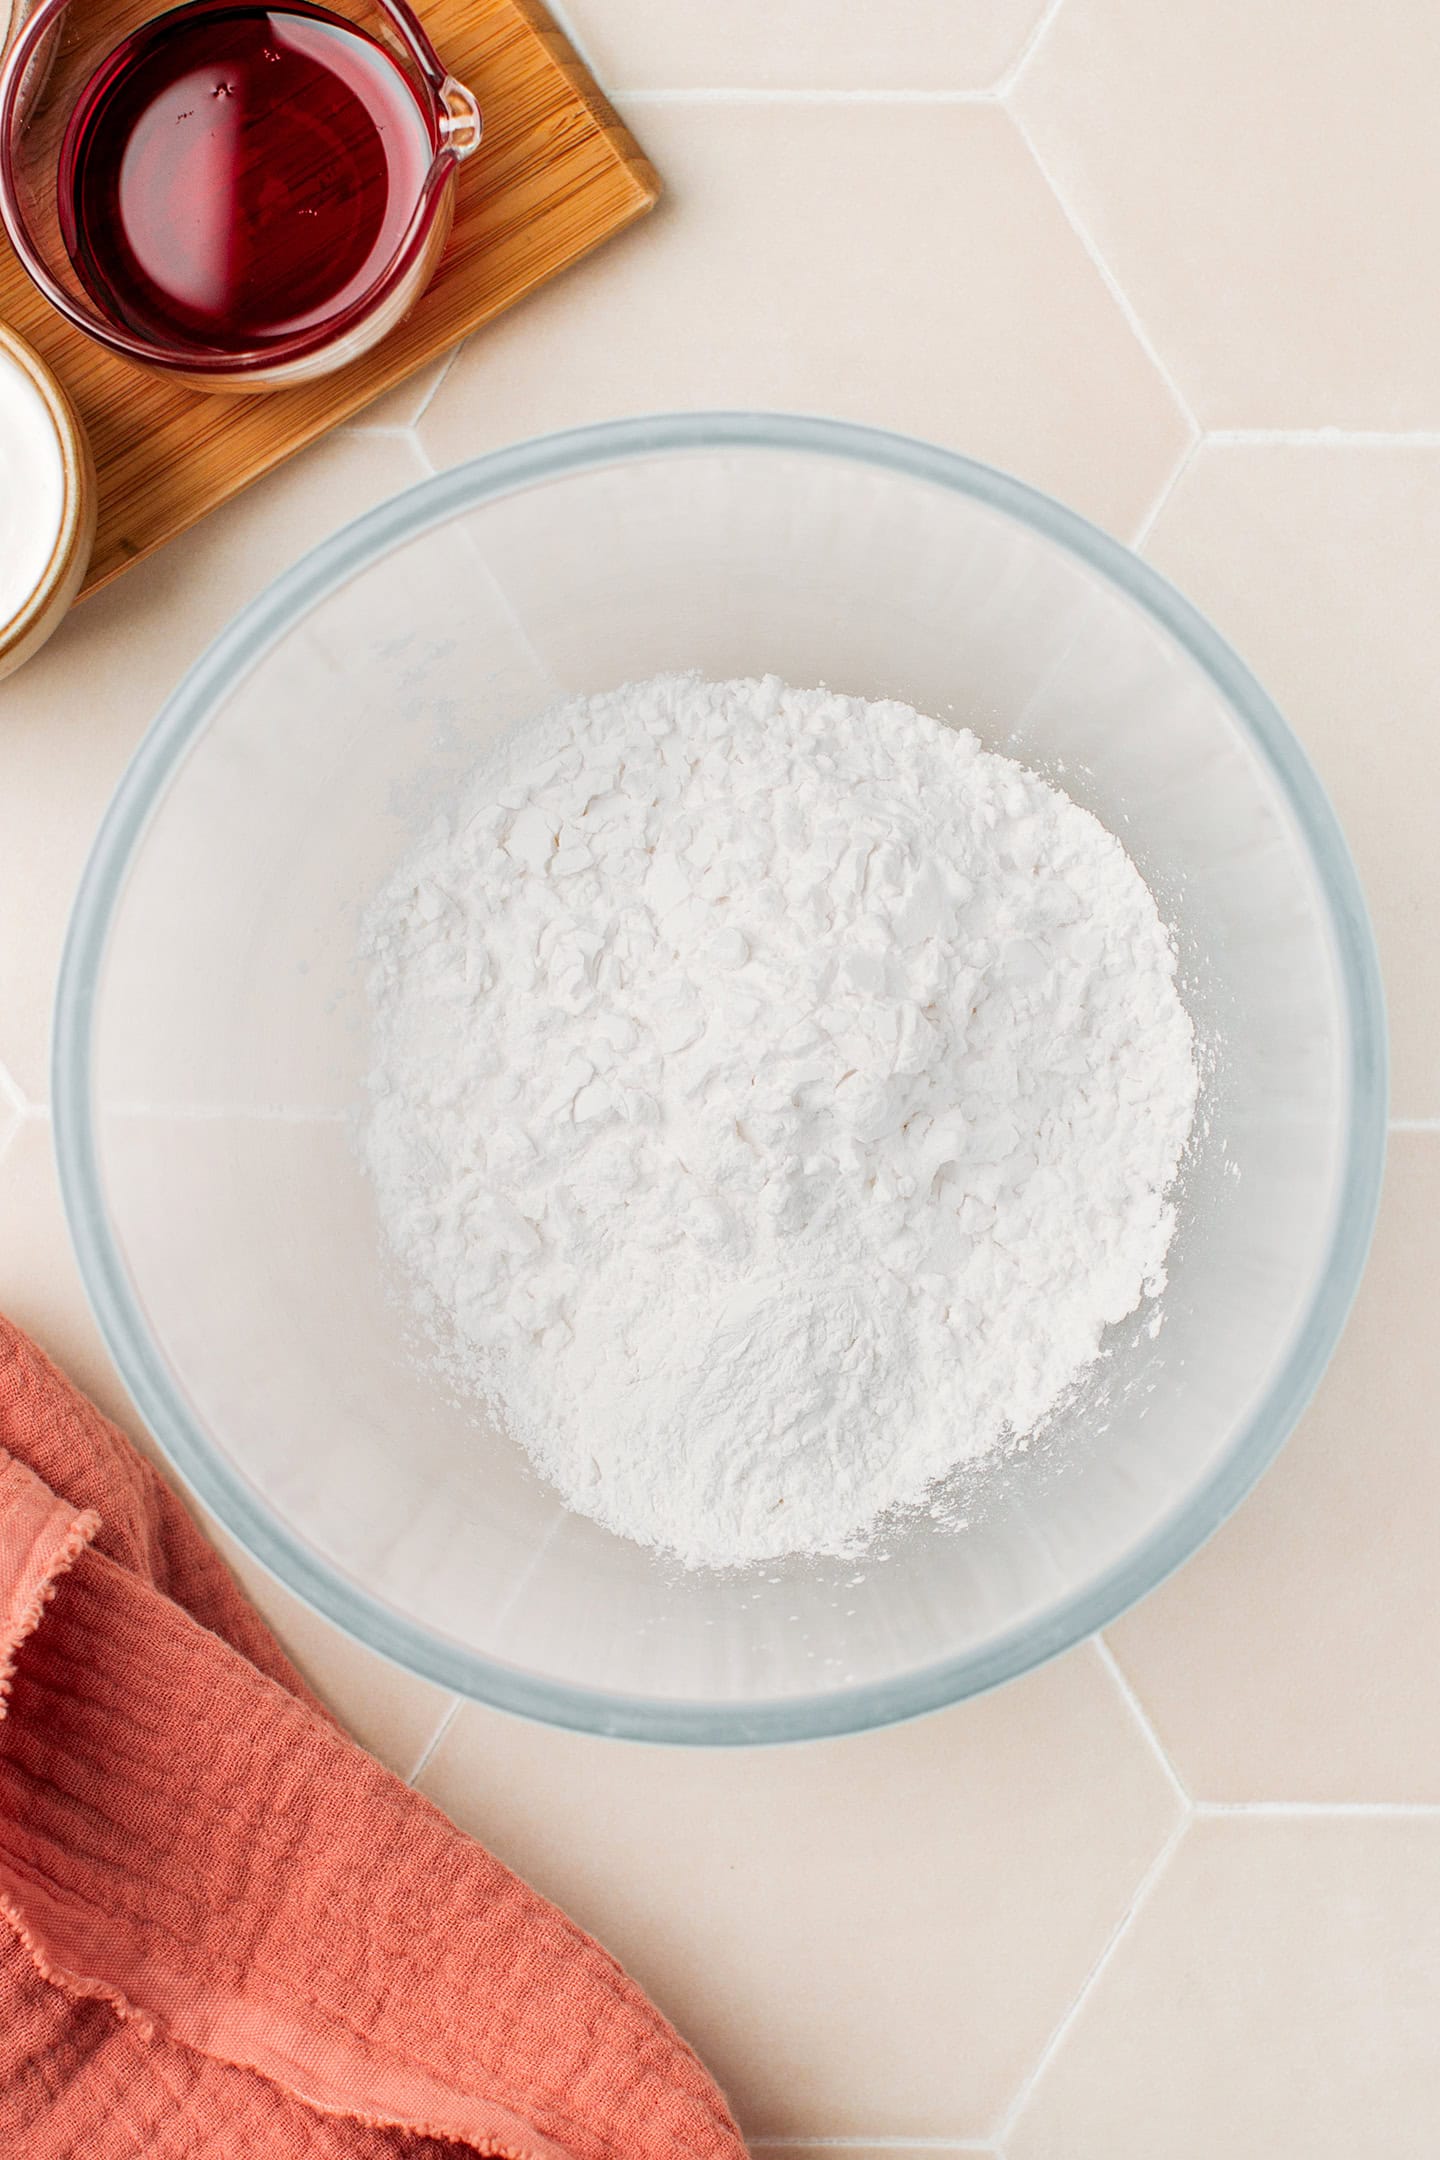
- Mix the dry ingredients. Add the tapioca starch, white rice flour, and sugar to a bowl. Whisk until combined.
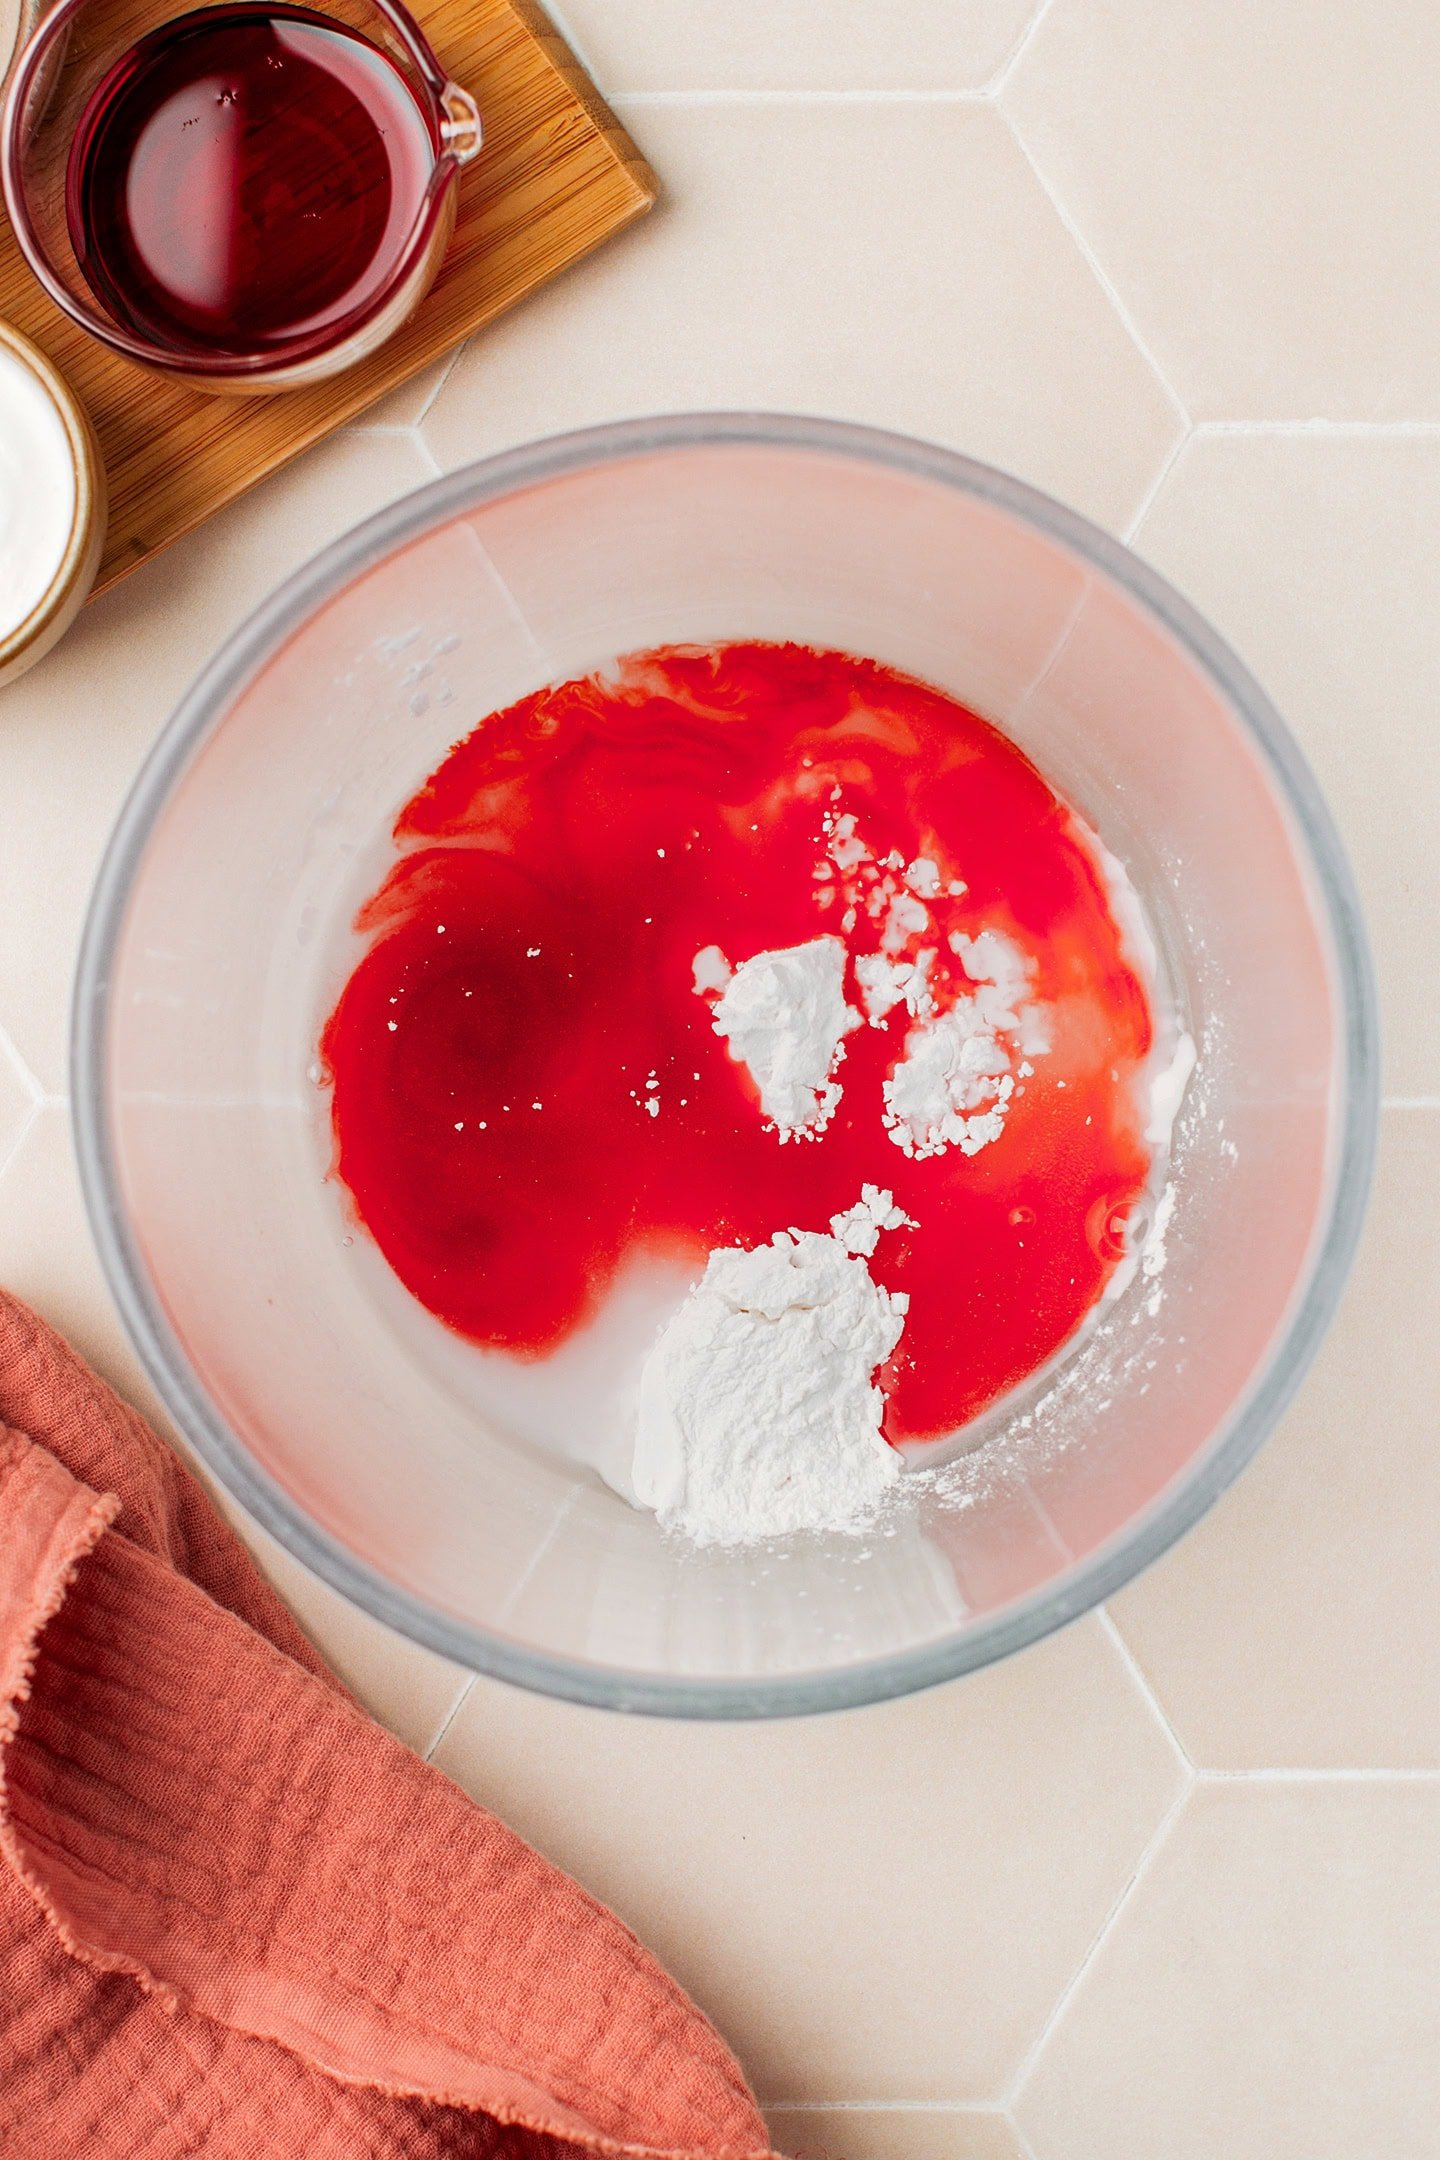
- Add the wet ones. Then, pour in the water, raspberry syrup, red coloring, and lemon juice if using.
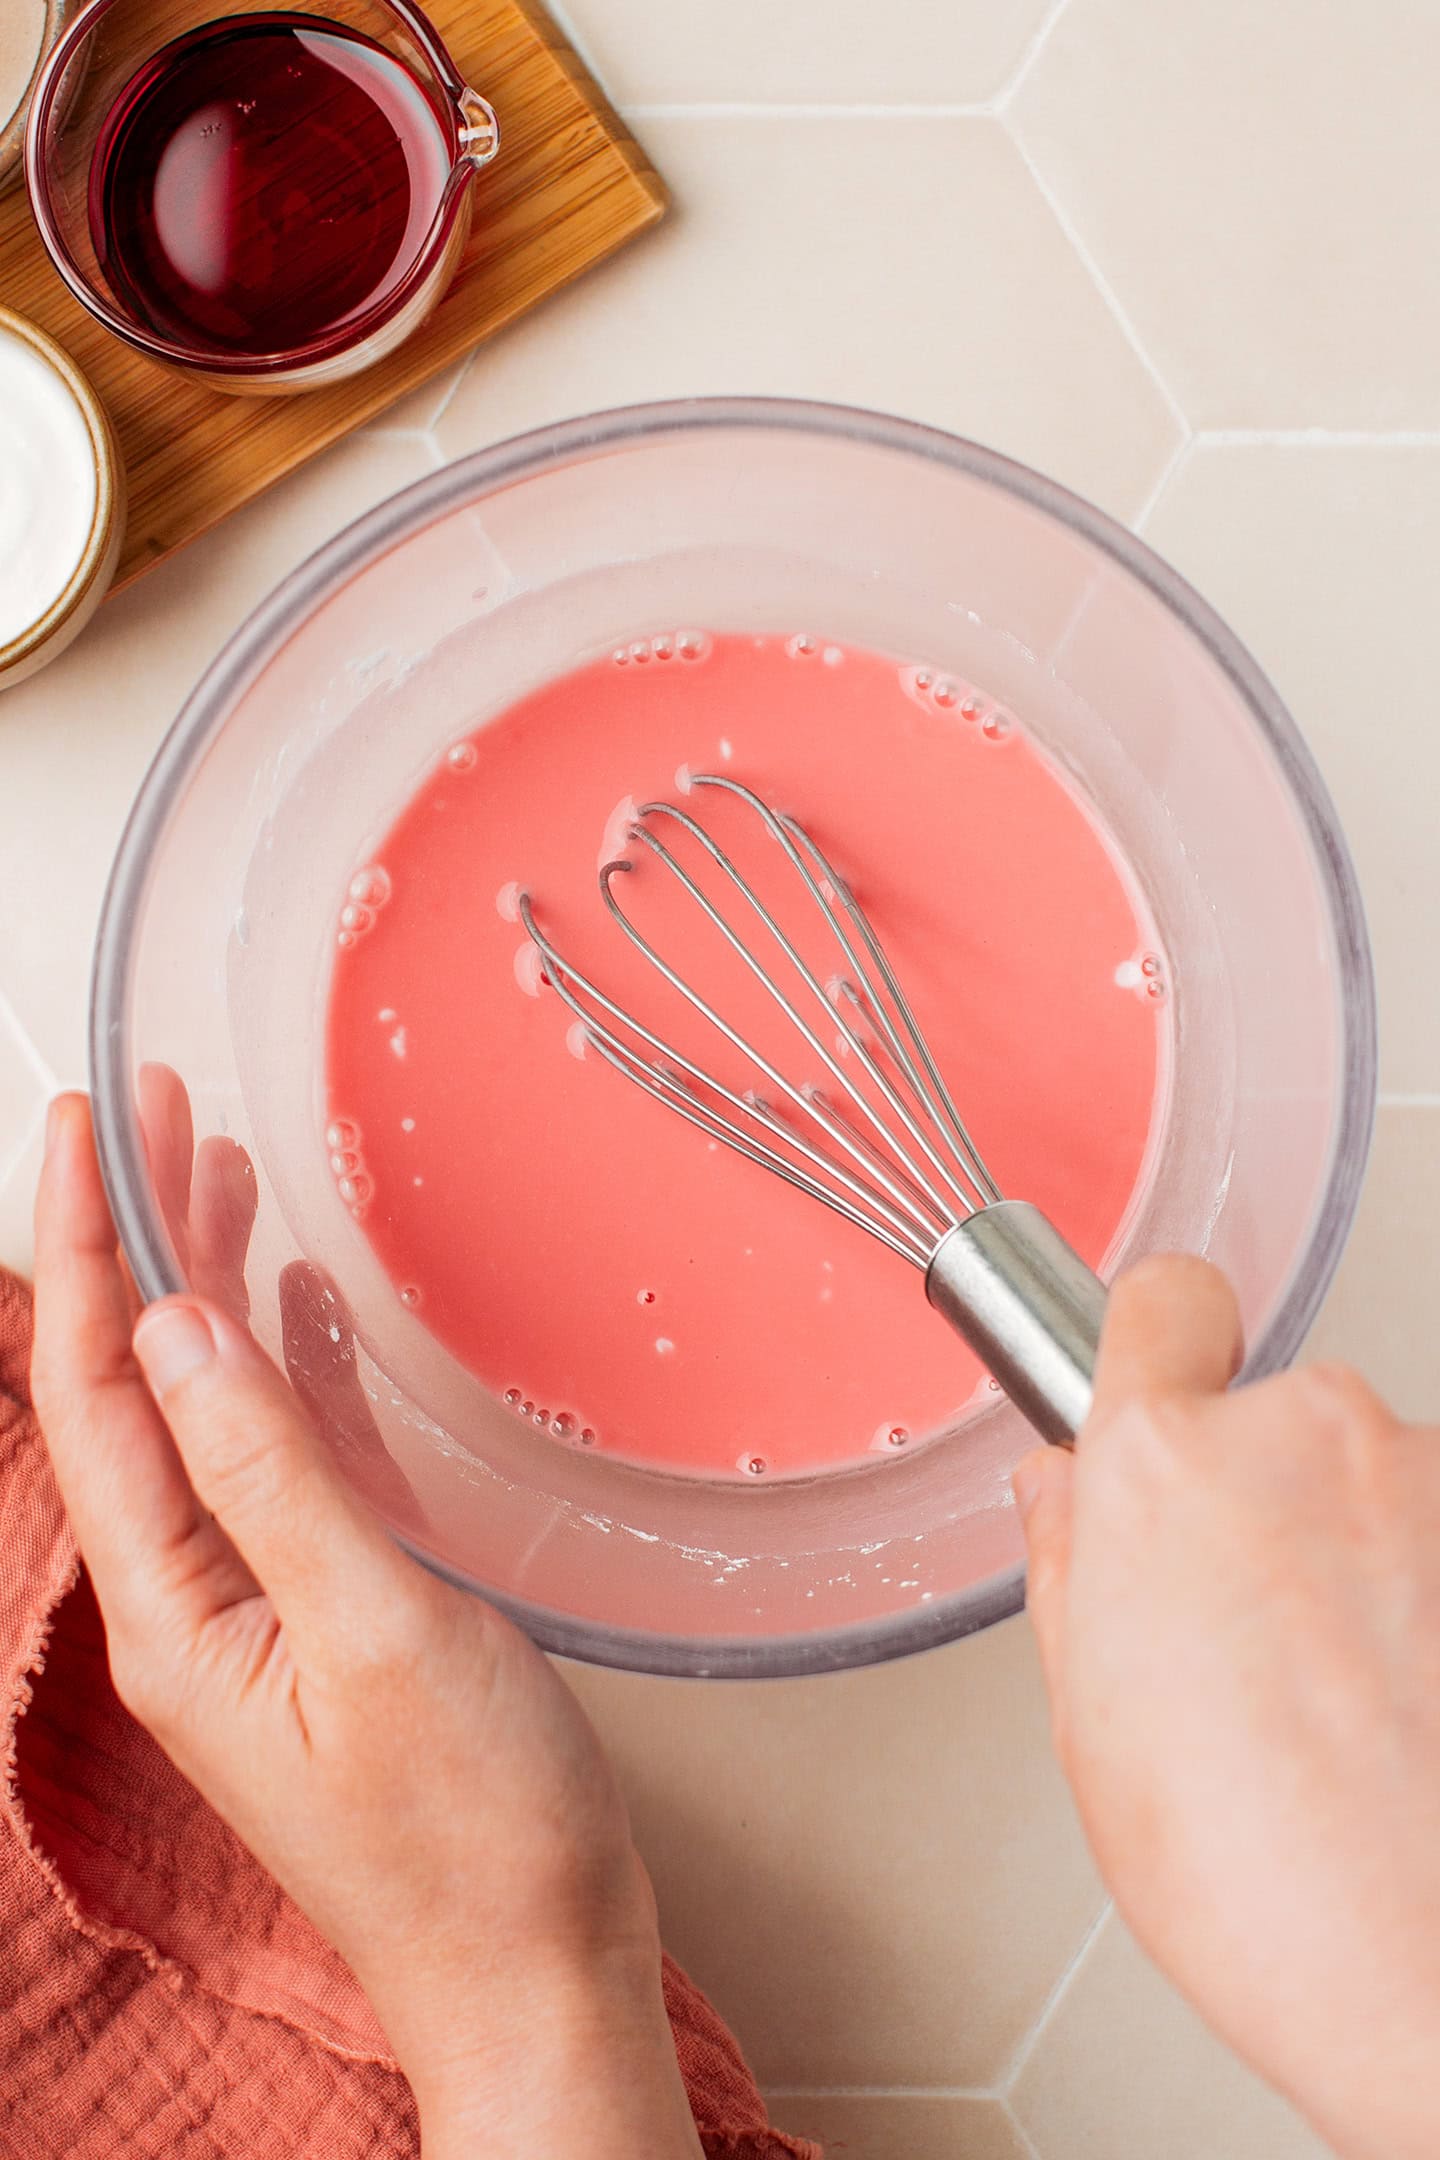
- Mix. Whisk until smooth and set aside.
2. White batter

- Mix the dry ingredients. Add the tapioca starch, rice flour, and sugar to a bowl. Whisk until combined.
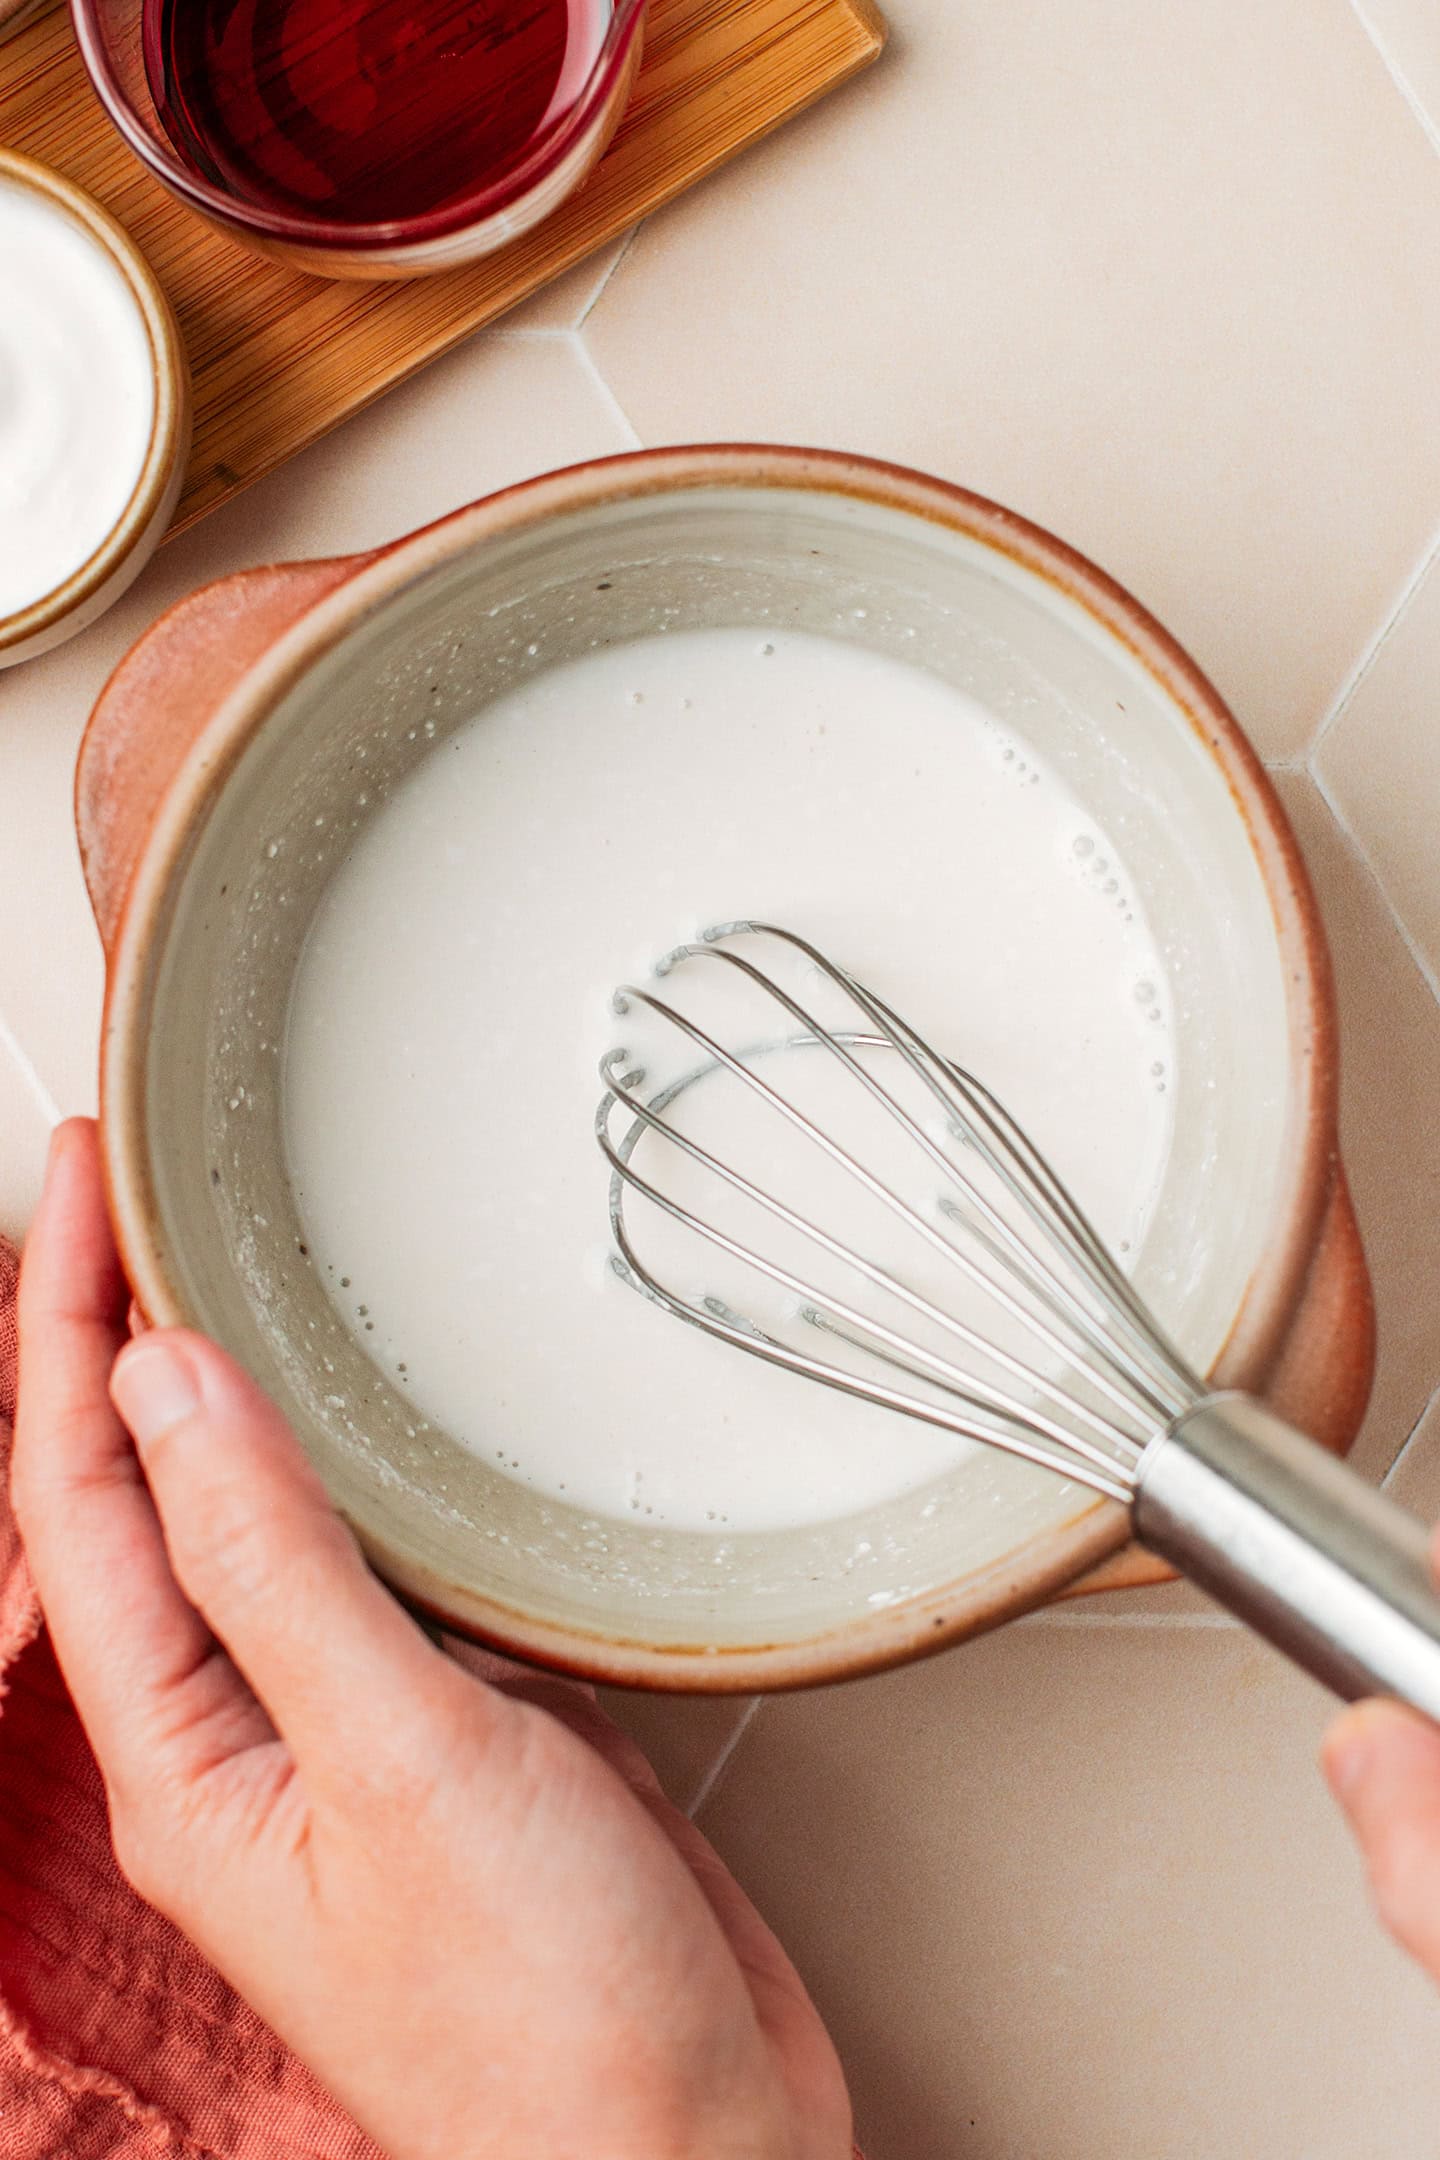
- Add the wet ones. Pour in the water and coconut milk and whisk until combined.
3. Steam
- Fill a silicone mold. Fill each cavity of a heart-shaped silicone mold to the 4/5.
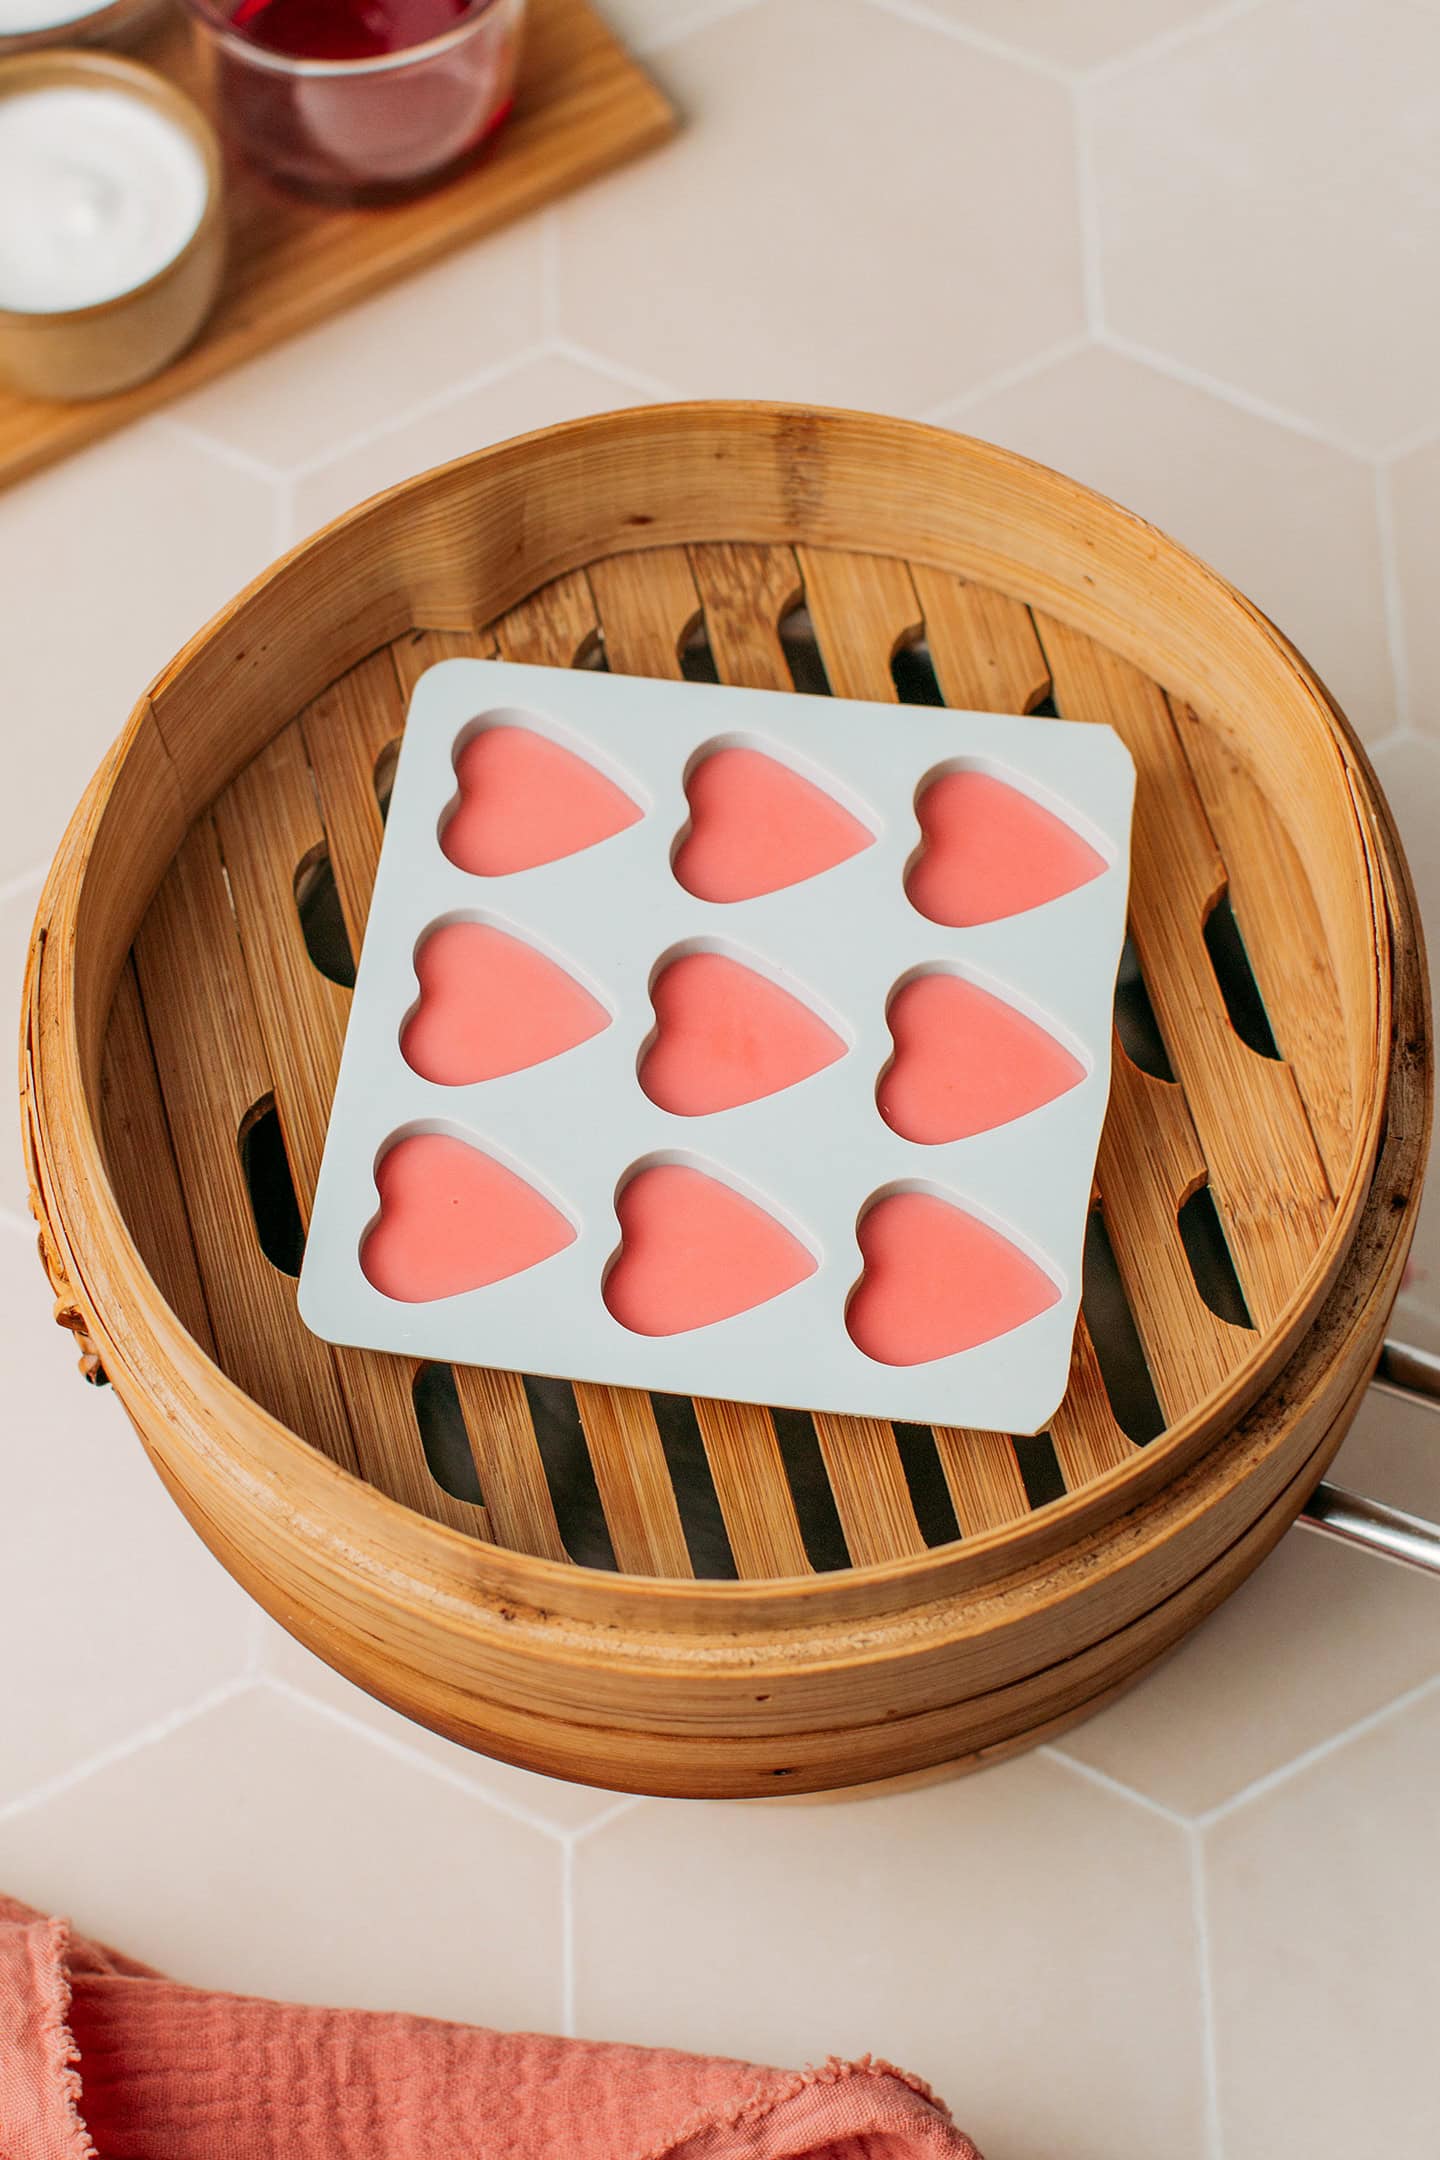
- Steam. Close the steamer with its lid and steam for 7-8 minutes over low-medium heat.
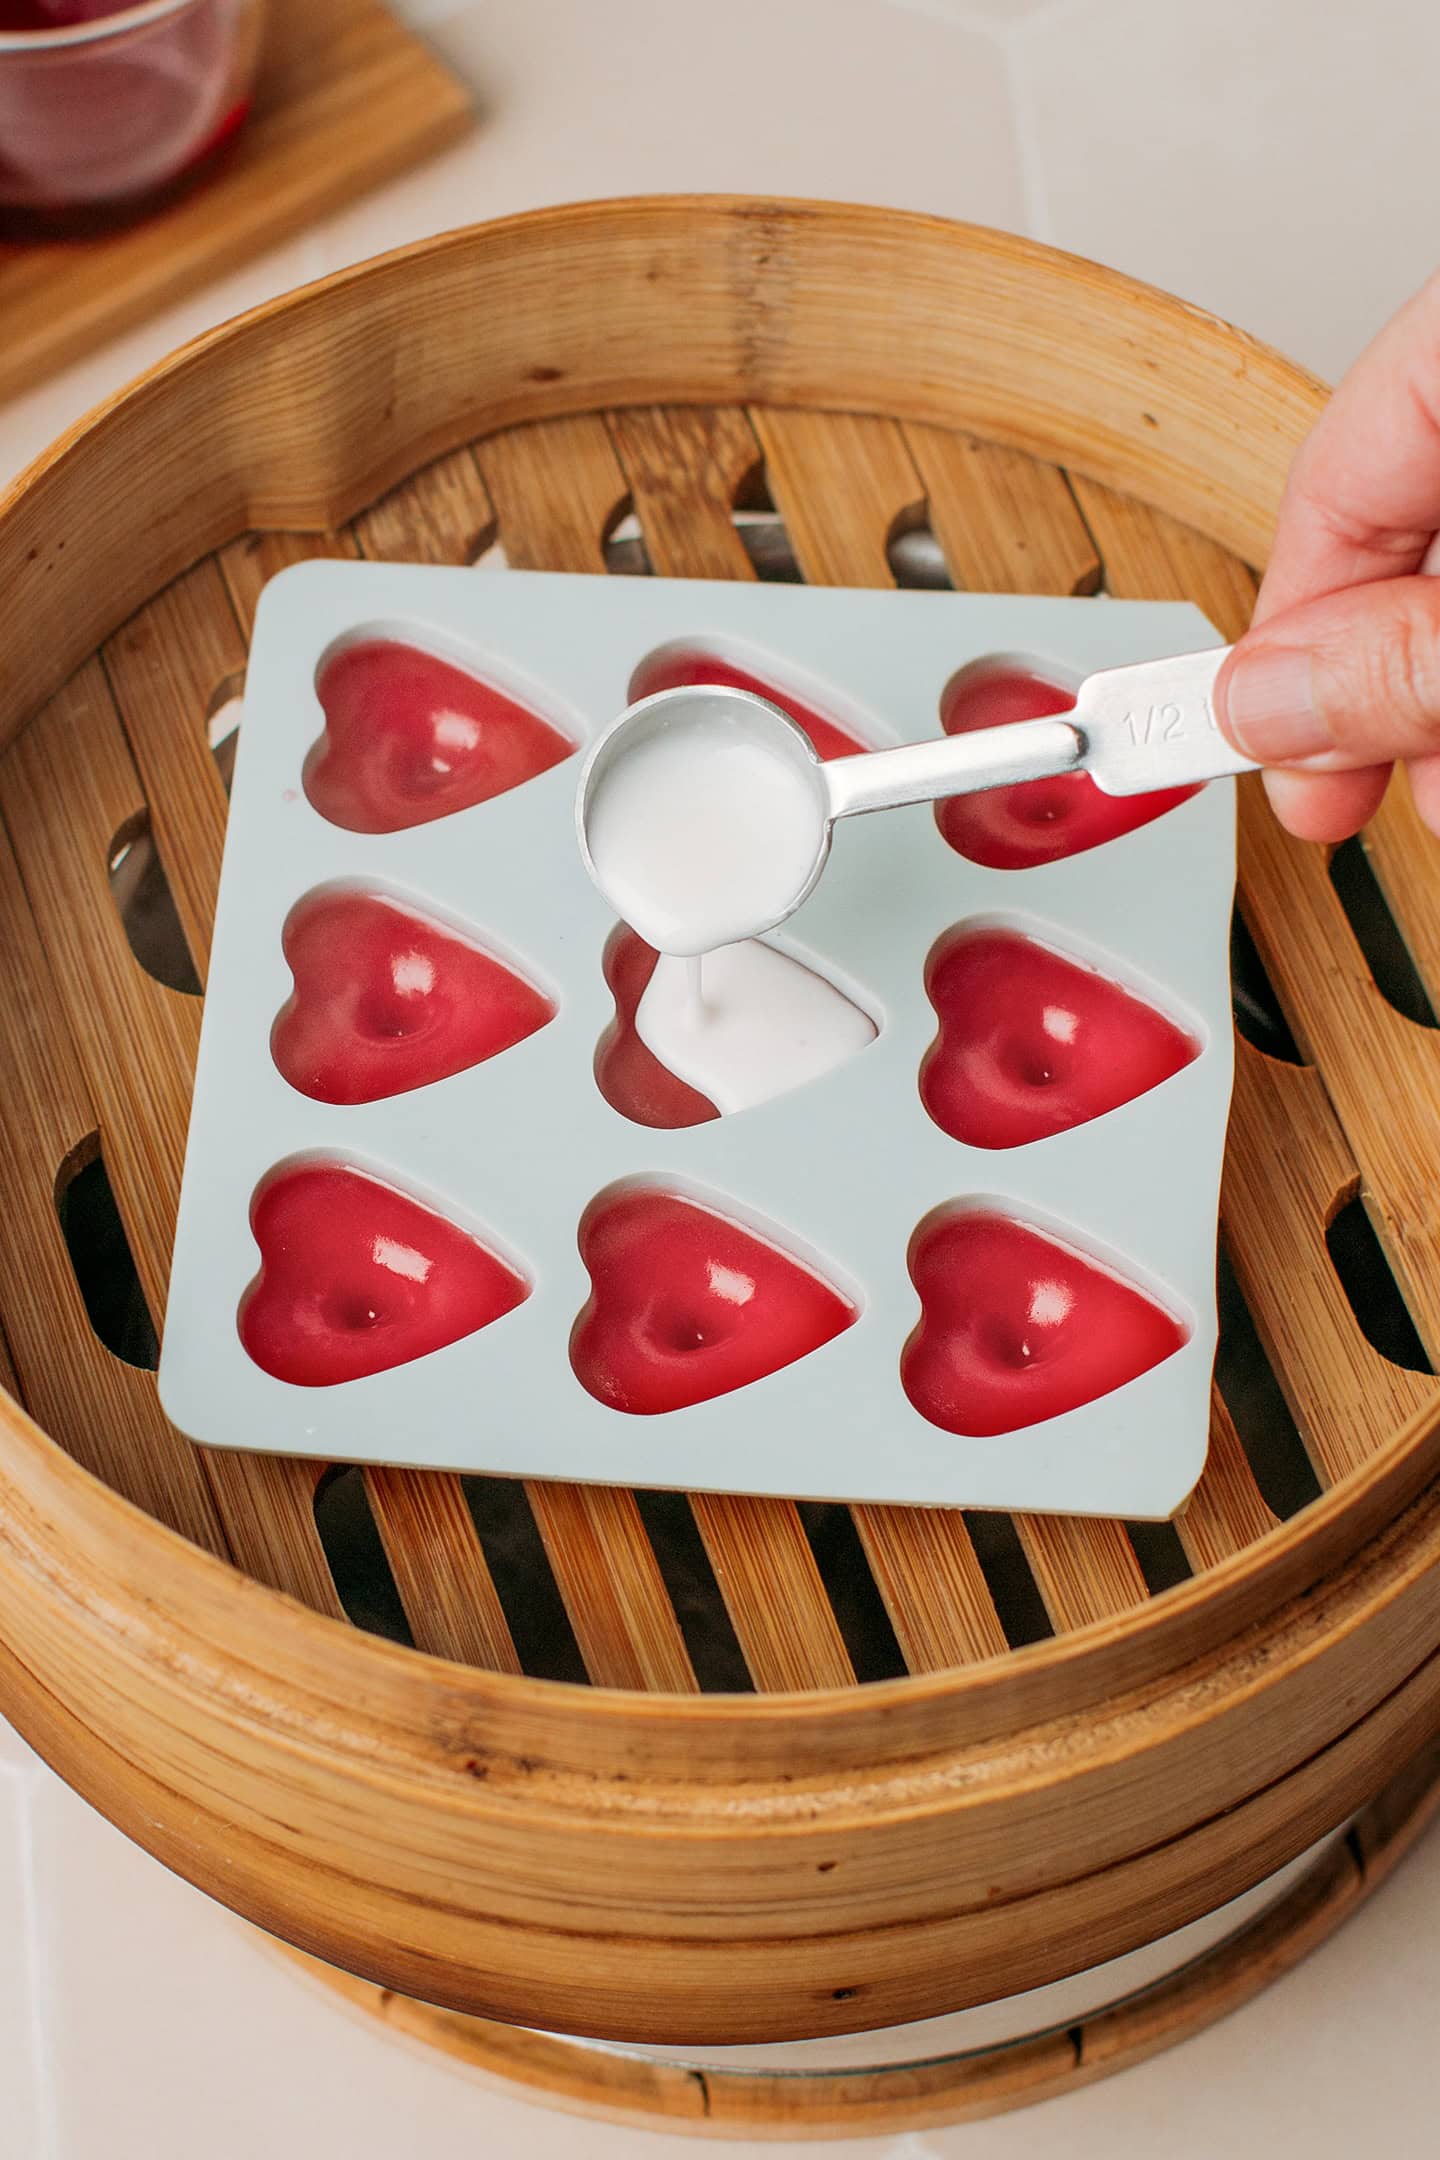
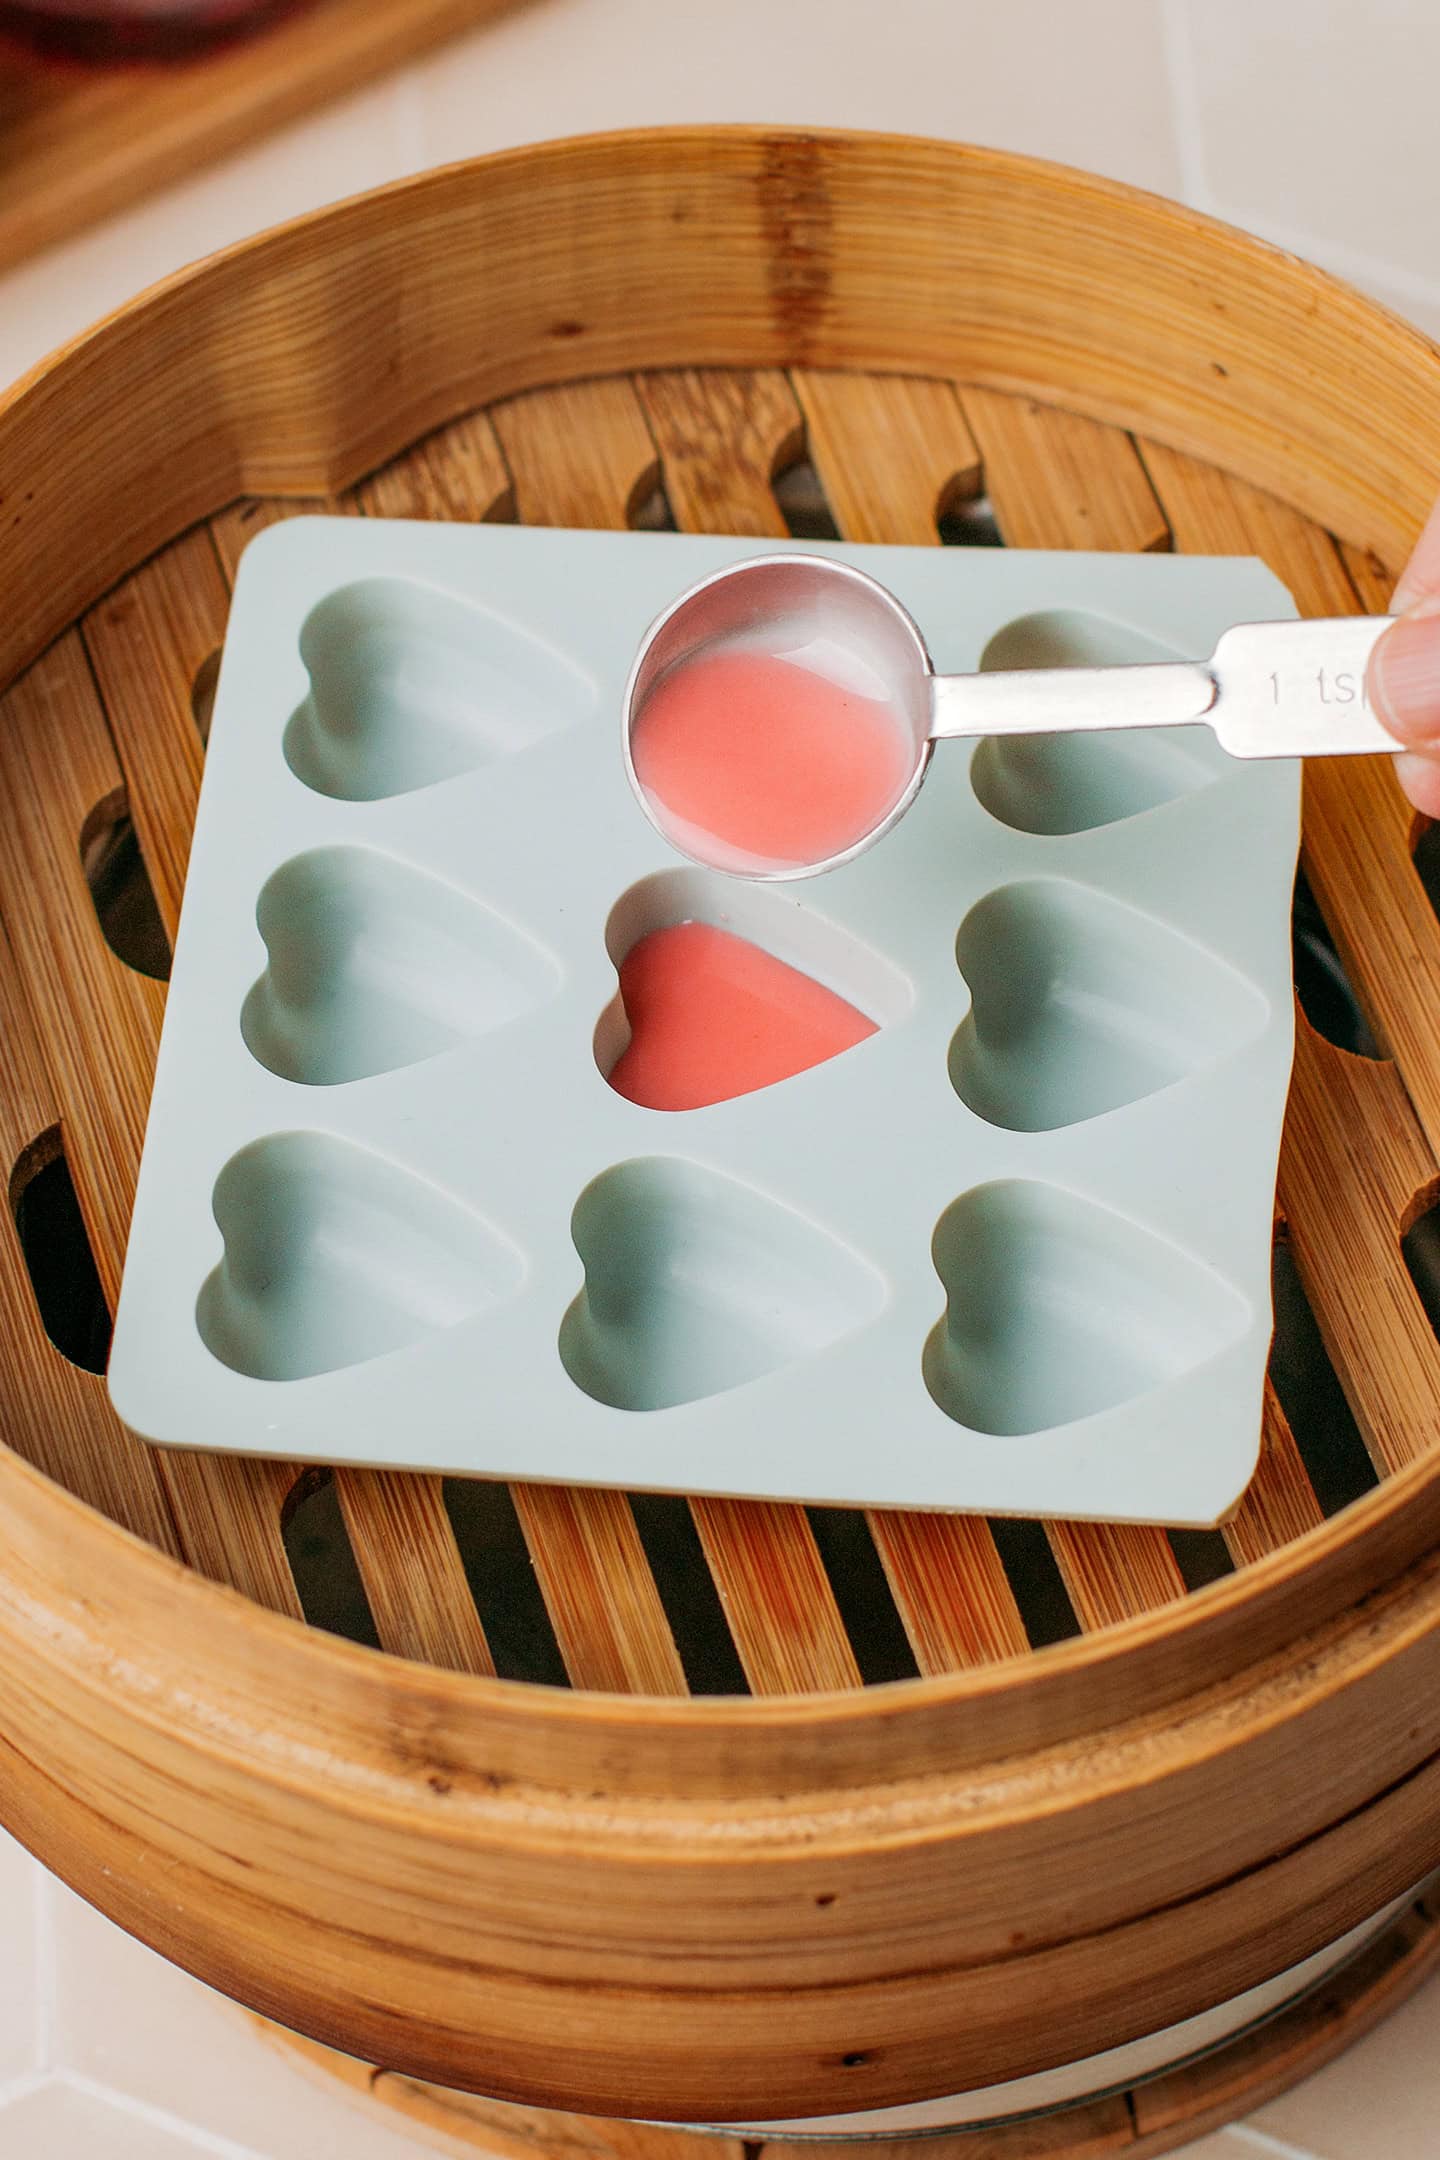
- Top with the white batter. Next, pour about 1/2 teaspoon of the white batter over the red gummy.
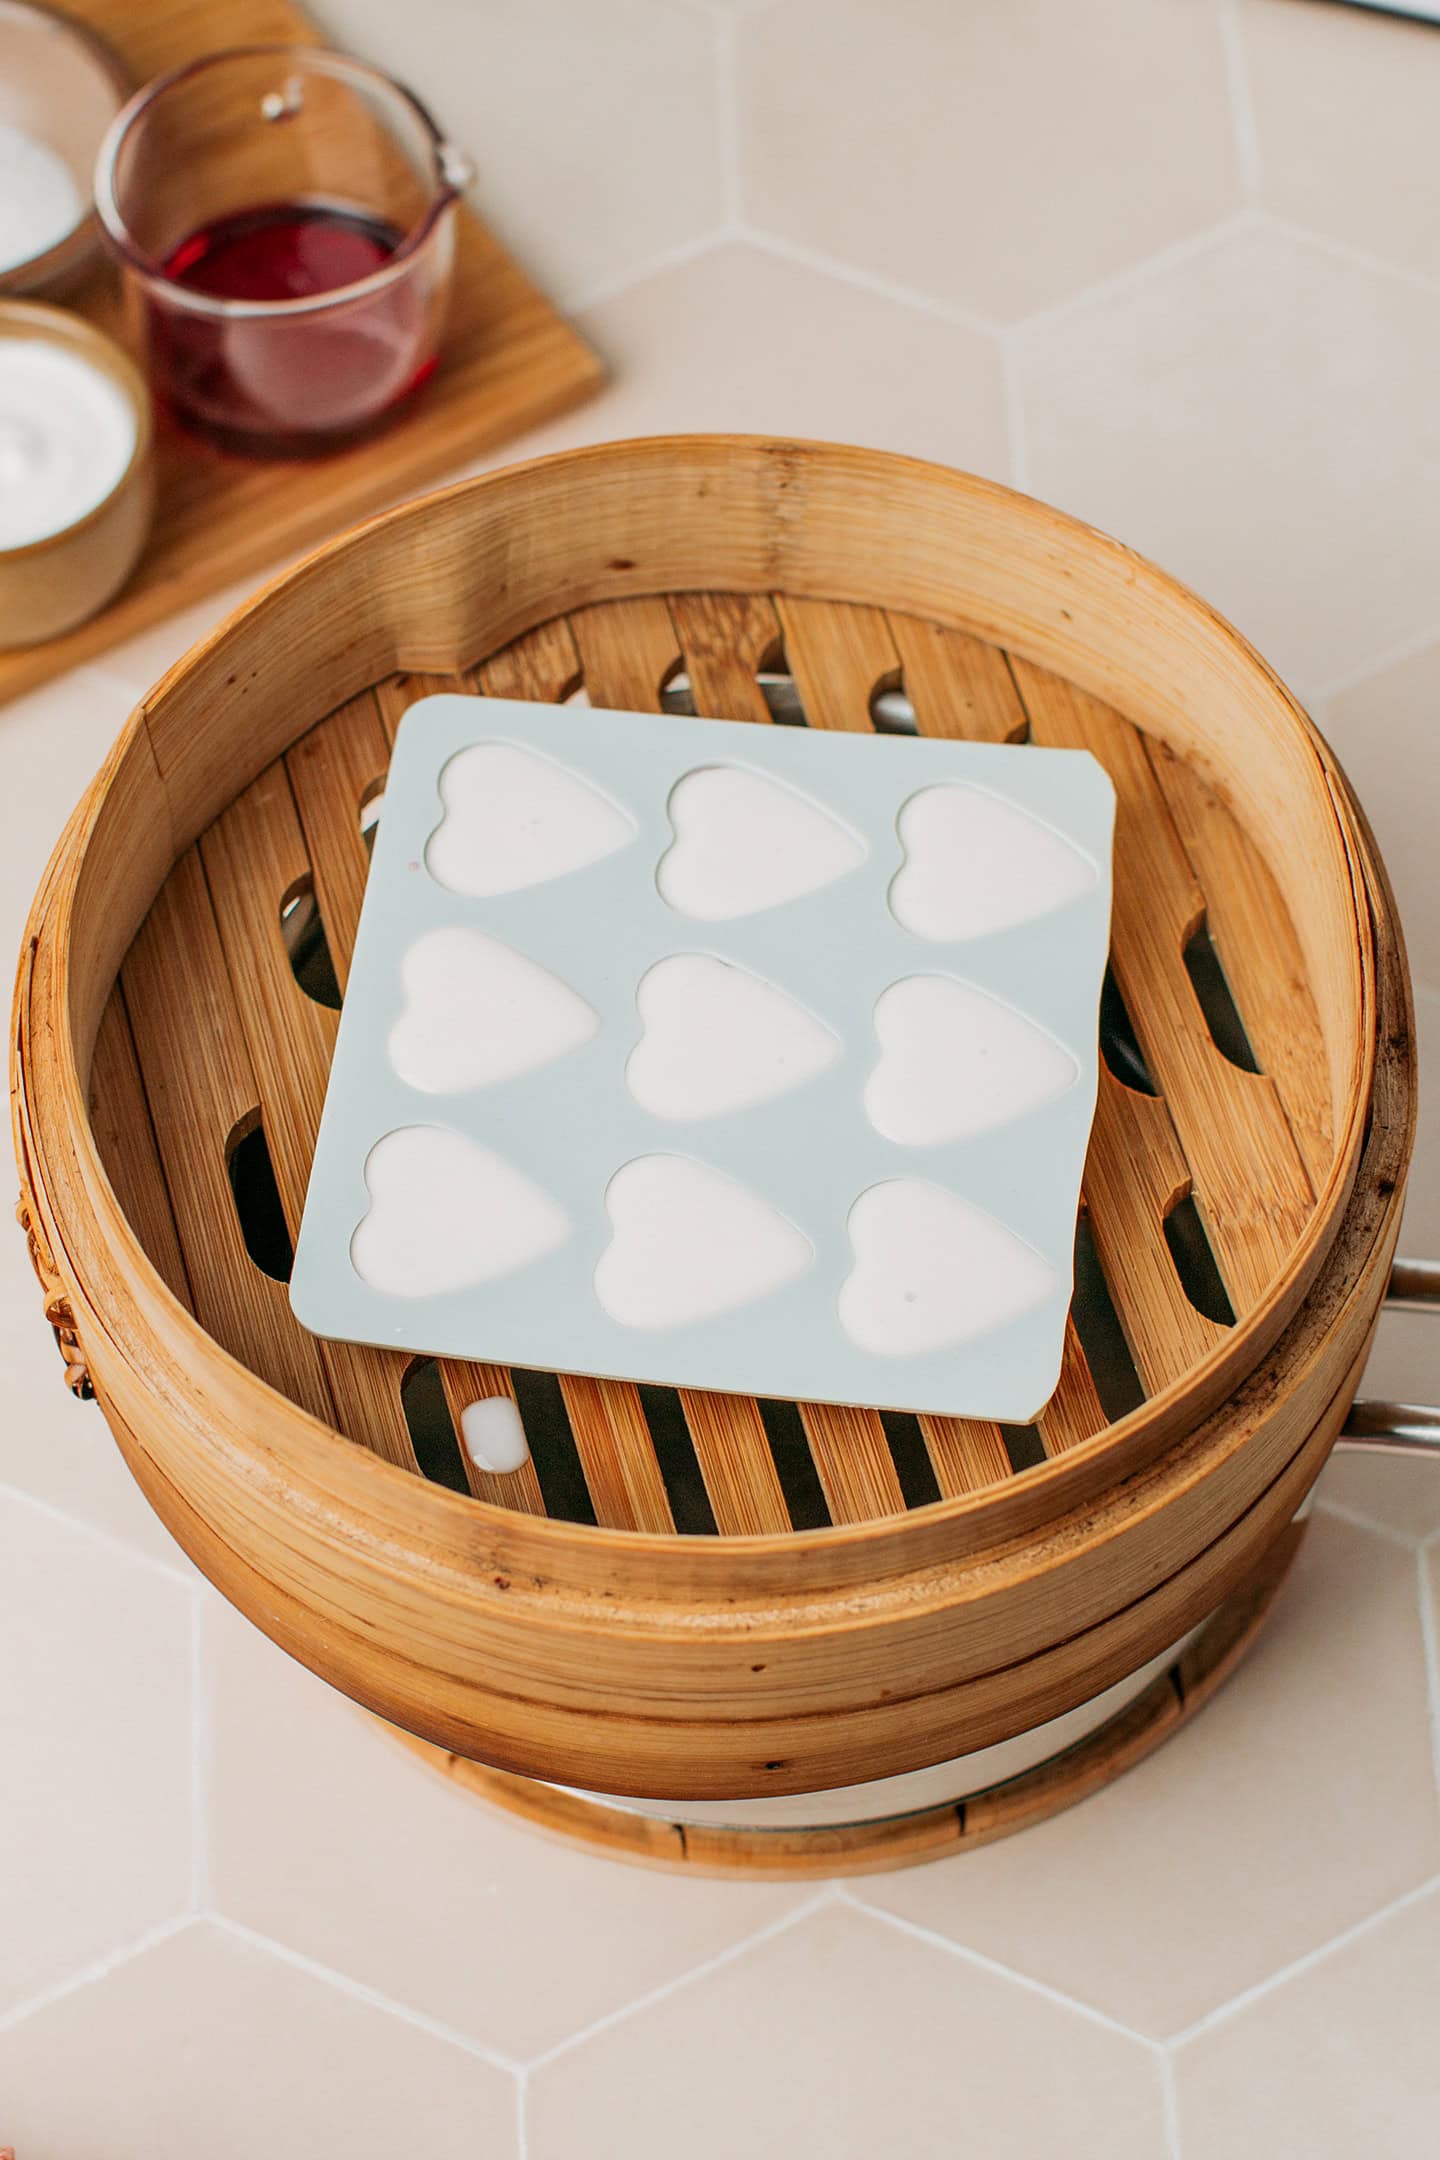
- Steam. Close the lid and steam for an additional 7-8 minutes, or until the tops of the gummies appear set. Let cool completely before removing the gummies from the mold.
📔 Thomas’ Tips
Adjust the color. I use three drops of red coloring to give the gummies a light red color. You can use more or less, depending on the color you want. Using less coloring will give your gummies a pink hue, while adding more will yield a vibrant red.
Steam over medium-heat. To prevent bubbles from appearing on your gummies, steam them over medium heat. The water should be bubbling slowly, not aggressively.
Whisk the batter from time to time. The tapioca starch and rice flour tend to settle at the bottom of the bowls, so be sure to whisk the batters occasionally, especially just before pouring them into the mold.
Avoid coating the gummies in sugar. I’m not sure why, but even though they don’t feel wet on the outside, the sugar will melt once it comes into contact with them.
🥭 Variations
- Switch up the syrup: You don’t have to stick to berry syrup! Try making tropical-flavor gummies by using either mango or passion fruit syrups, or a mix of both!
- Use a natural coloring. Not into artificial food coloring? You can replace it with about 1/4 teaspoon of beetroot powder. The color is less vibrant, but it still works!

❄️ Storing
You can store these gummies in an airtight container at room temperature for up to 2 days. After that, they tend to harden. Do not store them in the refrigerator, or they will harden even faster.
💬 FAQs & Troubleshooting
This can happen if you have stored them in the refrigerator or didn’t use an airtight container.
This is mostly due to the boiling water. If you are steaming over high-heat, you will see bubbles on the outside of your gummies. Try steaming them over medium heat next time.
Unfortunately no. I also wanted that sugary finish, but after testing, I found that sugar draws moisture, making the gummies wet and sticky.
Basically, any plant-based milk that is white in color. Oat or almond milk is a great option.


Save this recipe!
Enter your email below and I’ll send it to your inbox!
Plus, you will receive new recipes every week!
Valentine’s Day Gummy Hearts


Ingredients
Red Layer
- 1/2 cup (56 g) tapioca starch
- 1 and 1/2 tbsp (15 g) white rice flour
- 3 tbsp (37 g) granulated sugar
- 7 tbsp (105 ml) water
- 1 tbsp (15 ml) raspberry syrup
- 3 drops red food coloring
- 1 tsp (5 ml) lemon juice (optional)
White Layer
- 1/4 cup (28 g) tapioca starch
- 2 tsp (6 g) white rice flour
- 1 tbsp (12 g) granulated sugar
- 3 tbsp (45 ml) water
- 1 tbsp (15 ml) coconut milk
Instructions
Red Layer
- Mix the dry ingredients. Add the tapioca starch, white rice flour, and sugar to a medium bowl. Whisk until combined.
- Add the wet ingredients. Then, pour in the water, raspberry syrup, red coloring, and lemon juice if using. Whisk until fully combined. Set aside.
White Layer
- Mix the dry ingredients. Add the tapioca starch, rice flour, and sugar to a small mixing bowl. Whisk until combined.
- Add the wet ingredients. Pour in the water and coconut milk and whisk until well combined.
Steaming
- Arrange a steamer. Add about 2 cups of water to a large pot that can fit under your steamer. Bring the water to a boil. Place the heart-shaped silicone mold inside your bamboo basket steamer.
- Fill the mold. Pour the red batter into each cavity, filling it about 4/5 full.
- Steam. Close the steamer with its lid and steam for 7-8 minutes over medium heat.
- Top with the white batter. Next, pour about 1/2 teaspoon of the white batter over the red gummy.
- Steam. Close the lid and steam for an additional 7-8 minutes, or until the tops of the gummies appear set.
- Let it cool. Remove the mold from the steamer and let it cool completely before unmolding the gummies. Repeat with the remaining batter.
- You can store these gummies in an airtight container at room temperature for up to 2 days. After that, they tend to harden. Do not store them in the refrigerator, or they will harden even faster.
Notes

About the Author
Thomas Pagot is the founder, photographer, and recipe developer behind Full of Plants. He created the blog in 2016 as a personal cookbook for vegan recipes. Through years of recipe development, Thomas has successfully grown Full of Plants into a trusted resource for plant-based recipes.
Leave a Comment