This post may contain affiliate links. Please read our disclosure policy.
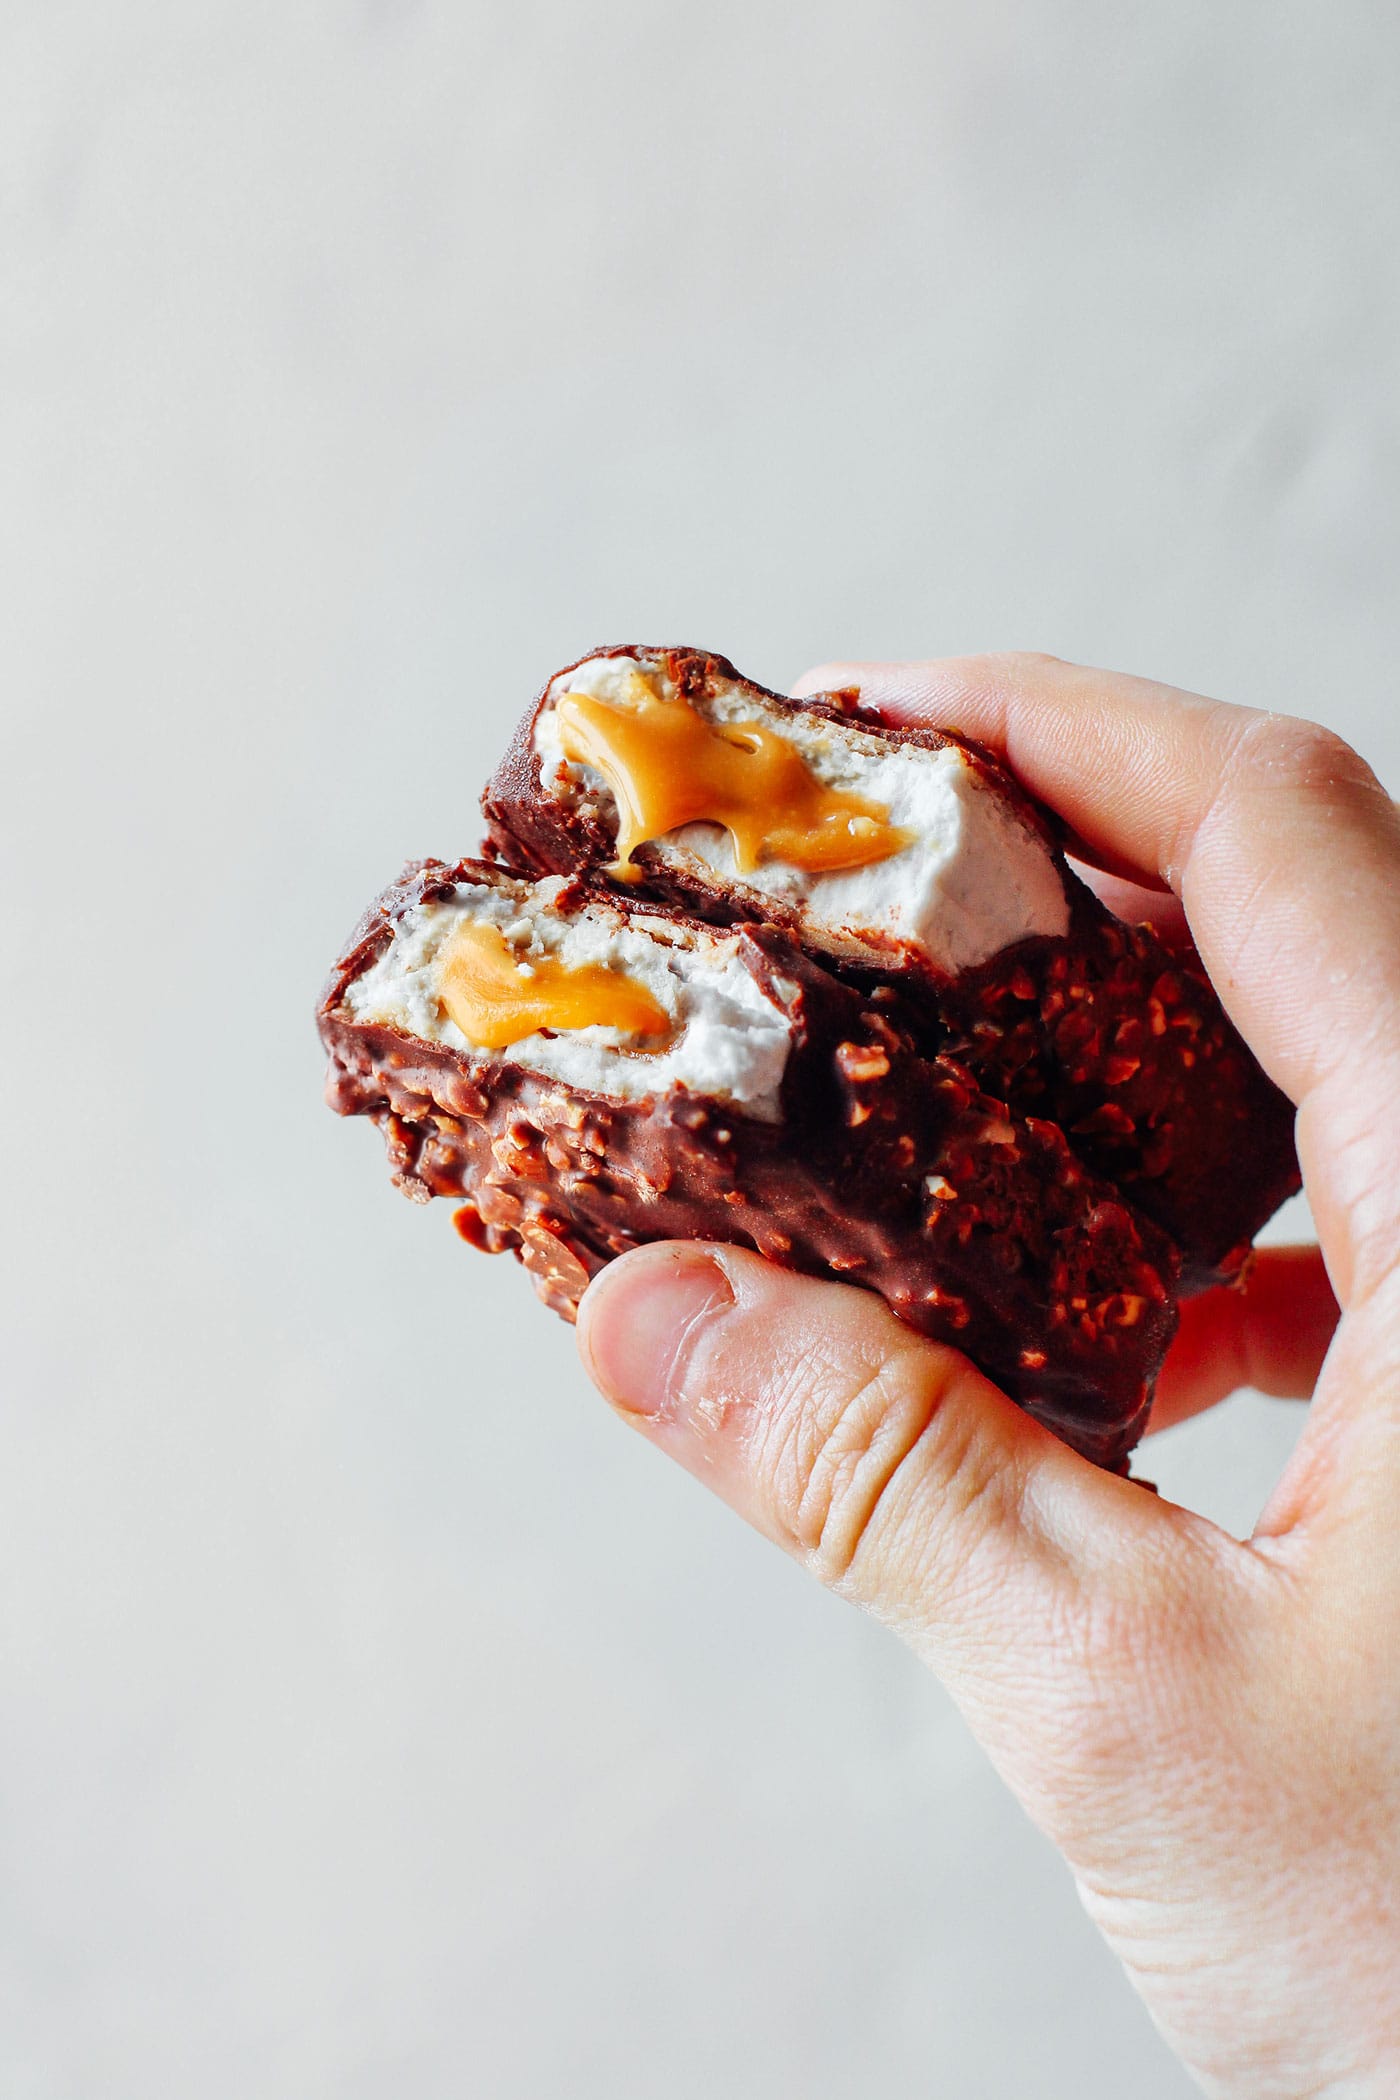
Chocolate meets salted caramel and vanilla. Crunchiness meets creaminess and softness. Magical things are going on here, guys.
The inspiration behind this recipe is Kinder’s Maxi King. If you didn’t know by now, I love recreating and veganizing commercial snacks. If you have never heard of Maxi King, it’s a milk bar with a caramel center and a wafer shell coated with milk chocolate and crunchy hazelnuts. It’s sold in the refrigerated section as it’s meant to be eaten fresh. You might not see it, but there is actually a thin layer of a wafer between the milk filling and the chocolate shell.
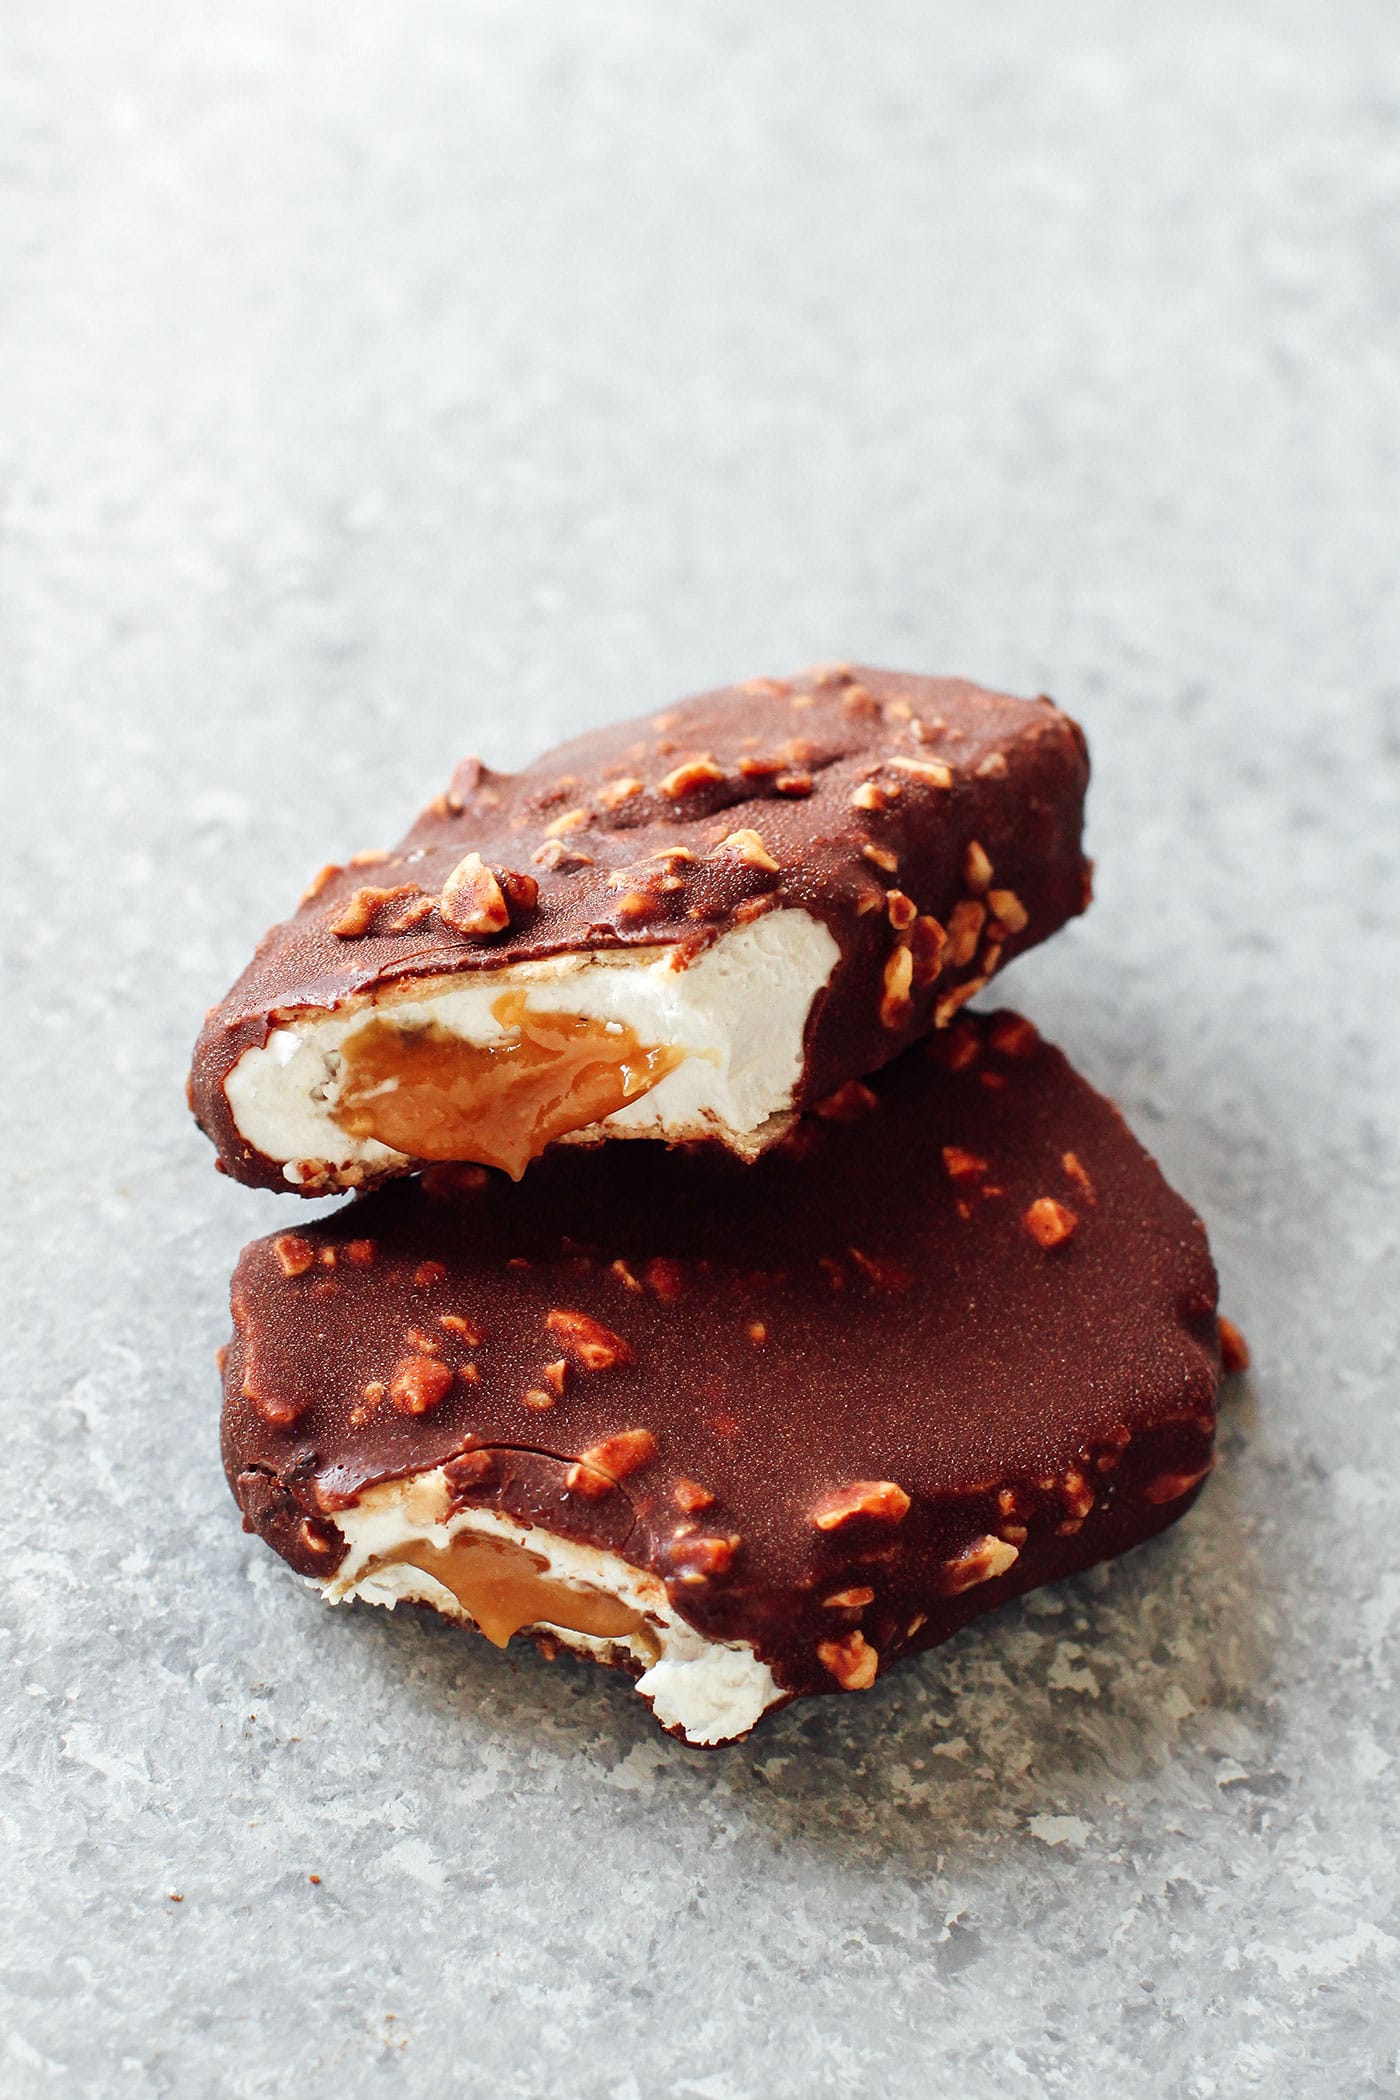
What’s awesome about these bars is that we can eat them fresh or frozen! I’m positive I found my new favorite snack.

This is a 4-step recipe: You start with the wafer layers, then make the “milk” cream, add the caramel filling, and finally coat the bars in mylk chocolate (or dark chocolate).
Let’s talk about the wafer layer first. It’s sweet, very thin, and crispy. It consists of 6 ingredients: rice flour, tapioca starch, coconut oil, maple syrup, almond milk, and flax seeds. You combine all the ingredients in a bowl and then spread the batter very thinly on a baking sheet. Once golden brown, let it cool and cut it in a way it can fit in your pan. Place one layer of the wafer in the bottom of your pan and set aside the other layer that will go on top.
The milk filling is easy. It’s just whipped coconut cream combined with aquafaba, maple syrup, and vanilla extract. The addition of whipped aquafaba makes the cream more voluminous and lighter. Win-win!
Spread half of the whipped coconut cream on top of the wafer layer before topping it with the caramel filling. Speaking of the caramel, all you need is almond butter (or peanut butter), maple syrup, vanilla, and a generous pinch of salt.

Once you have placed the caramel on top of the coconut cream, freeze for 30 minutes before topping it with the remaining coconut cream and the last layer of the wafer.
I cut it into 4 large bars, but if you prefer smaller ones, you can make up to 6 bars. As the wafer is very thin, it’s okay if it cracks a bit; don’t worry about it.

Finally, dip the bars in melted mylk chocolate mixed with crushed hazelnuts and chill in the refrigerator until firm!
I recommend eating the bars the first day if you want the wafer to be crispy. After that, the wafer tends to change in texture and becomes softer, which, I have to admit, is also pretty good! Now, if you don’t want to make the wafer layers, you can. Just be aware that it adds some sweetness and texture.
These bars have it all! A crunchy and nutty chocolate shell that hides a crispy wafer, a fresh vanilla milk filling, and a melty caramel center! It’s rich, sweet, and insanely delicious! My new favorite dessert!
Let me know in the comments if you try this recipe!


Save this recipe!
Enter your email below and I'll send it to your inbox!
Plus, you will receive new recipes every week!

Vegan Kinder Maxi (Gluten-Free!)
Ingredients
Wafer
- 2 tbsp (16 g) tapioca starch
- 2 tbsp (21 g) white rice flour
- 1/2 tsp ground flax seeds
- 2 tbsp (30 ml) melted coconut oil
- 2 tbsp (30 ml) maple syrup
- 1 tbsp (15 ml) almond milk
Milk Filling
- 2 tbsp (30 ml) aquafaba
- 1 tbsp (15 ml) maple syrup
- 1/2 tsp (2 ml) vanilla extract
- 1/8 tsp xanthan gum or cream of tartar
- 3/4 cup (210 g) coconut cream from a 13.5-ounce can full-fat coconut milk, refrigerated
Caramel Filling
- 3 tbsp (45 ml) maple syrup
- 3 tbsp (45 ml) almond butter (or peanut butter) or peanut butter
- 1/4 tsp vanilla extract
- 1/8 tsp salt
Chocolate Coating
- 3.5 ounces (100 g) mylk chocolate (or dark chocolate)
- 1.5 ounces (40 g) crushed hazelnuts
Instructions
Wafer
- Preheat oven to 350°F (175°C) and line a baking sheet with parchment paper, or a silpat.
- In a small mixing bowl, stiff together the tapioca starch, white rice flour, and ground flax seeds.
- Add the melted coconut oil, maple syrup, and almond milk. You should get a thin batter. Let sit for 3 minutes.
- Transfer half of the batter on the prepared baking sheet and spread it as thin as possible without making holes. I recommend spreading it about the size of the baking dish you will use later to make the bars, in my case about 4x7-inch.
- Bake for 8 minutes, or until golden brown. Remove from the oven and let cool completely, the wafer will become crispy once cooled. Repeat once with the other half of the batter.
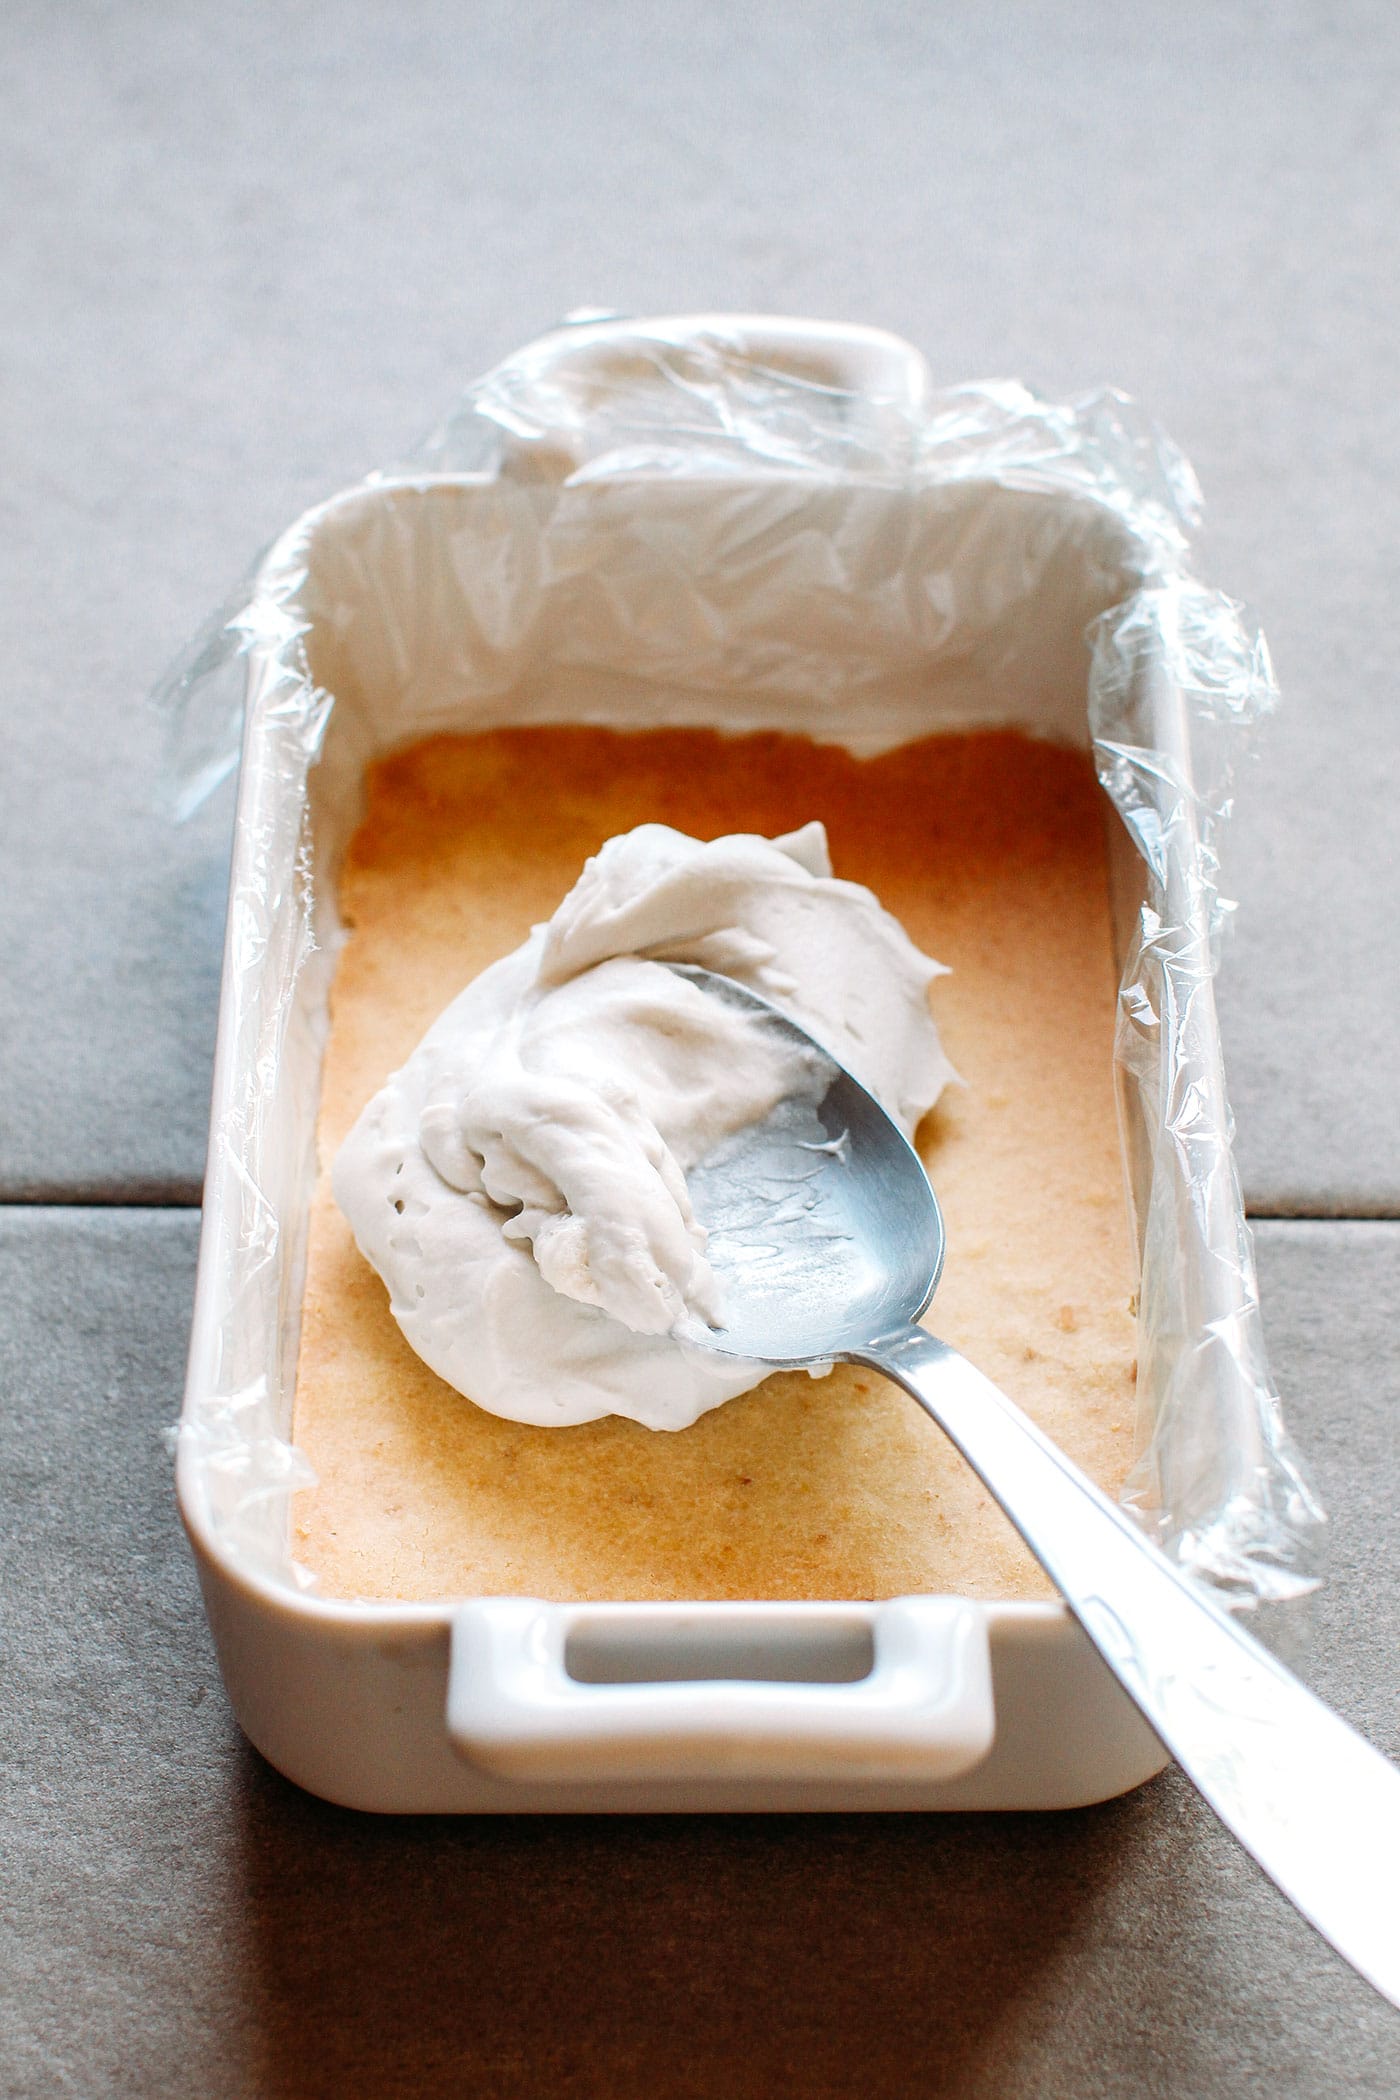
- Cover the bottom and sides of a 4x7-inch baking dish with plastic wrap. This will make it easier to remove the bars from the dish later.
- Cut the sides of each wafer sheet so they fit in the baking dish. Place one wafer sheet in the bottom of the dish and keep the other one on the side (you will use it later for the top).
The Rest
- Add the aquafaba, maple syrup, vanilla extract, and xanthan gum to a small mixing bowl. Using an electric hand mixer, whip the aquafaba to stiff peaks, this will take about 5 minutes.
- Add the coconut cream to the bowl and whip for another 10 seconds or until just incorporated.
- Transfer half of the whipped cream on top of the first wafer layer and spread evenly using the back of a spoon.
- Prepare the caramel filling: In a small bowl, combine the maple syrup, almond butter, vanilla extract, and salt together. Stir until well combined.
- Using a spoon, divide the caramel into two long and large rectangles on top of the whipped cream (see photo). Place the whole dish/pan in the freezer for 30-40 minutes or until the cream and caramel have hardened.
- Once hard, top with the remaining whipped cream and spread it evenly on top of the caramel. Place the second wafer sheet on top and very lightly press. Don't press too much of the wafer might break. Freeze for at least 1 and 1/2 hour, or until hard.
- To coat the bars, melt the mylk (or dark) chocolate over a double boiler. Once melted, stir in the crushed hazelnuts and stir to combine.
- Remove the dish from the freezer. Remove from the baking dish and cut into 4 bars in a way that each bar has the caramel filling in the center, lengthwise.
- Quickly dip each bar in the melted chocolate and shake to remove excess chocolate. Place the coated bars on a baking sheet lined with parchment paper and return to the freezer, or refrigerator depending on how you want to eat the bars. Refrigerated bars have a melty inside while frozen bars have more of an ice cream texture.
- Bars will keep in the refrigerator for up to 5 days, or in the freezer for up to 2 weeks.
Notes
- Recipe inspired by Kinder's Maxi King.
Nutrition

About the Author
Thomas Pagot is the founder, photographer, and recipe developer behind Full of Plants. He created the blog in 2016 as a personal cookbook for vegan recipes. Through years of recipe development, Thomas has successfully grown Full of Plants into a trusted resource for plant-based recipes.
Leave a Comment