
This post may contain affiliate links. Please read our disclosure policy.


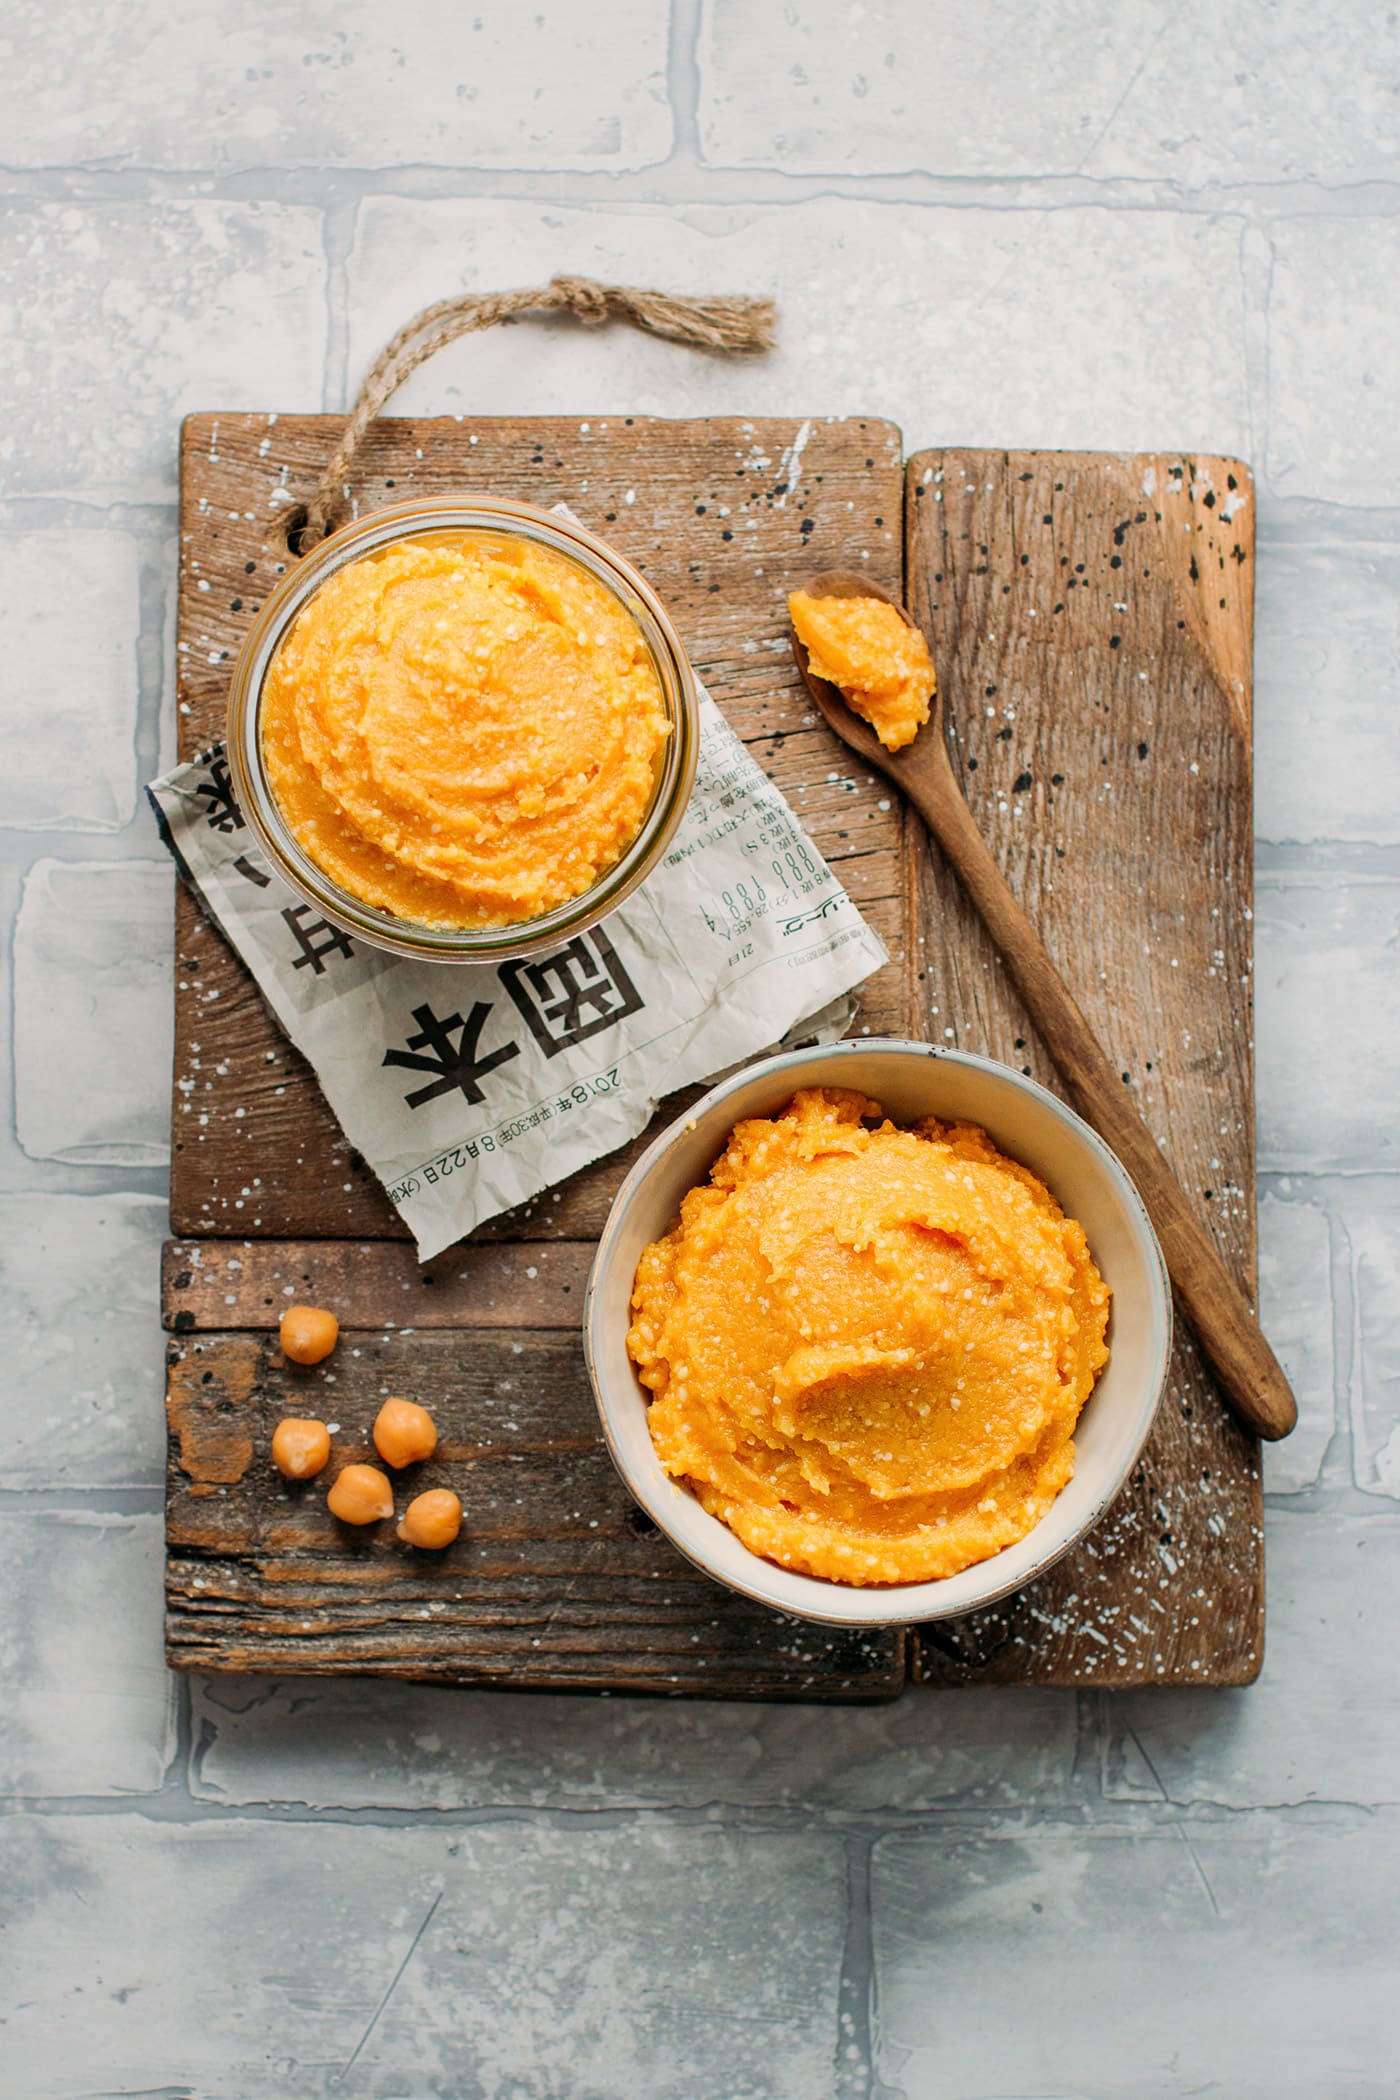
Learn how to make your own chickpea miso from scratch! It requires just 3 ingredients and a simple process to make this slightly sweet and salty Japanese condiment! Aged for 6 months, this miso has a rich and buttery flavor!
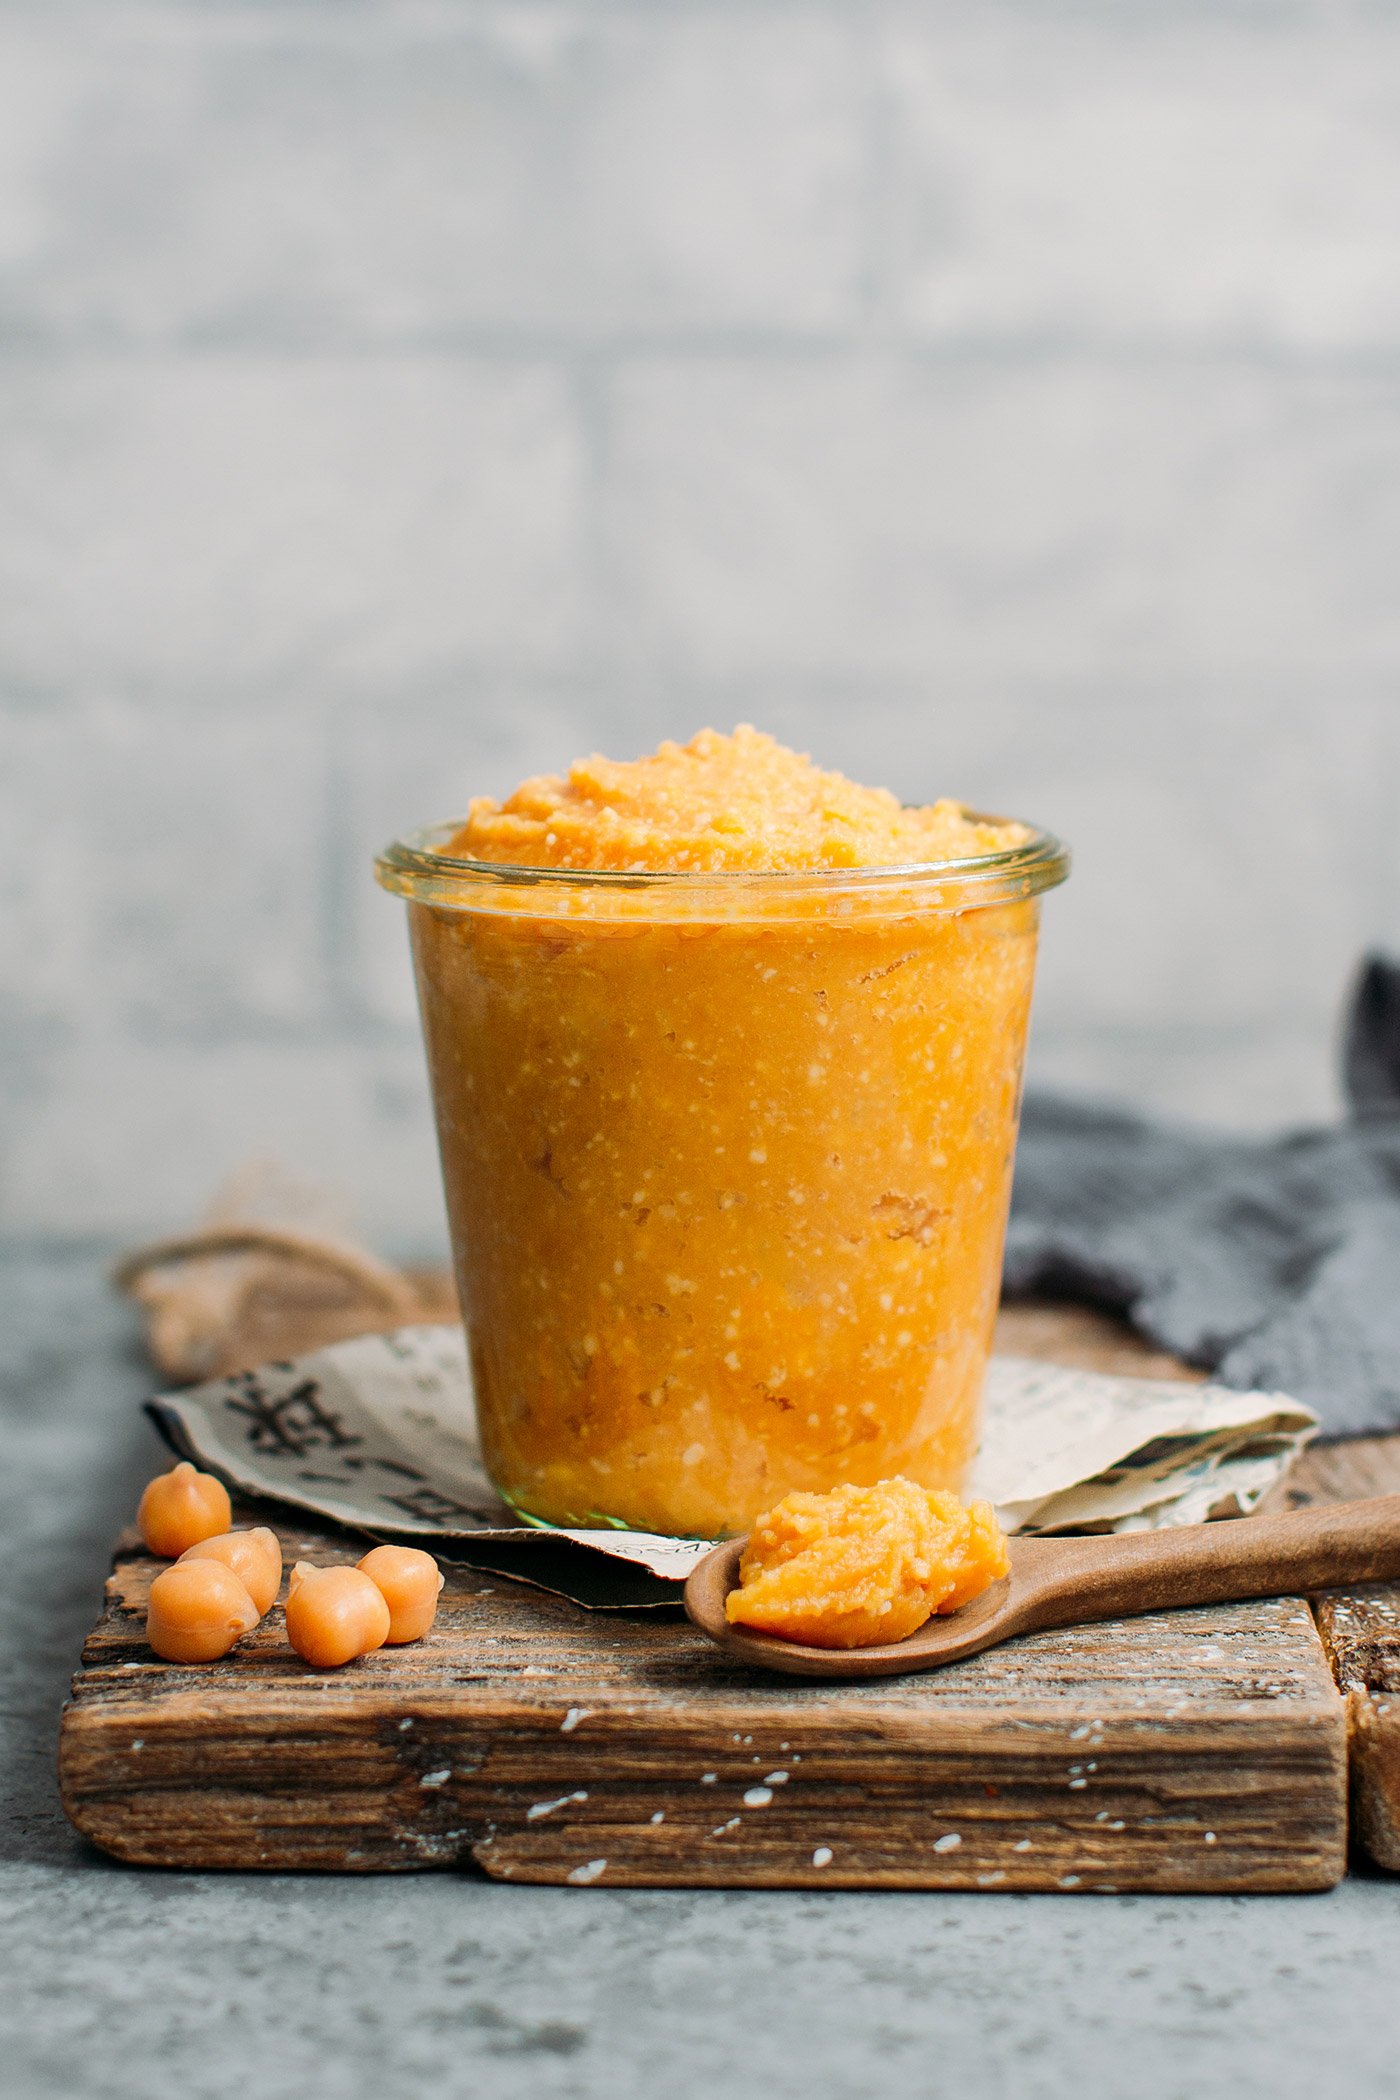
Making miso is something I have been wanting to try for a long time, but I was always pushed back by the long aging time (6 months!). Well, I finally decided to take the plunge, and I’m sharing the process with you!
It’s not only easy but also requires very little preparation time. The rest is patience! Let’s do it!
📔 What Is Miso?
Miso (味噌) is a traditional Japanese condiment made from beans, rice, salt, and a mold that is fermented from a few months to a few years. It is used to add umami and flavor to soups like miso-shiru, but it can also be used in marinades, dressings, stews, ramen, and more.
The miso we are making here is prepared using chickpeas and aged for 6 months. It has a delicate and complex flavor with a good balance of sweetness and saltiness. It is not as intense as red miso and is much less salty. If you are a miso connoisseur, this one is very close to shiro miso (my favorite!).
🥣 How to Make It
Preparing miso is not only easy, but it’s also quick. The hardest part is waiting!
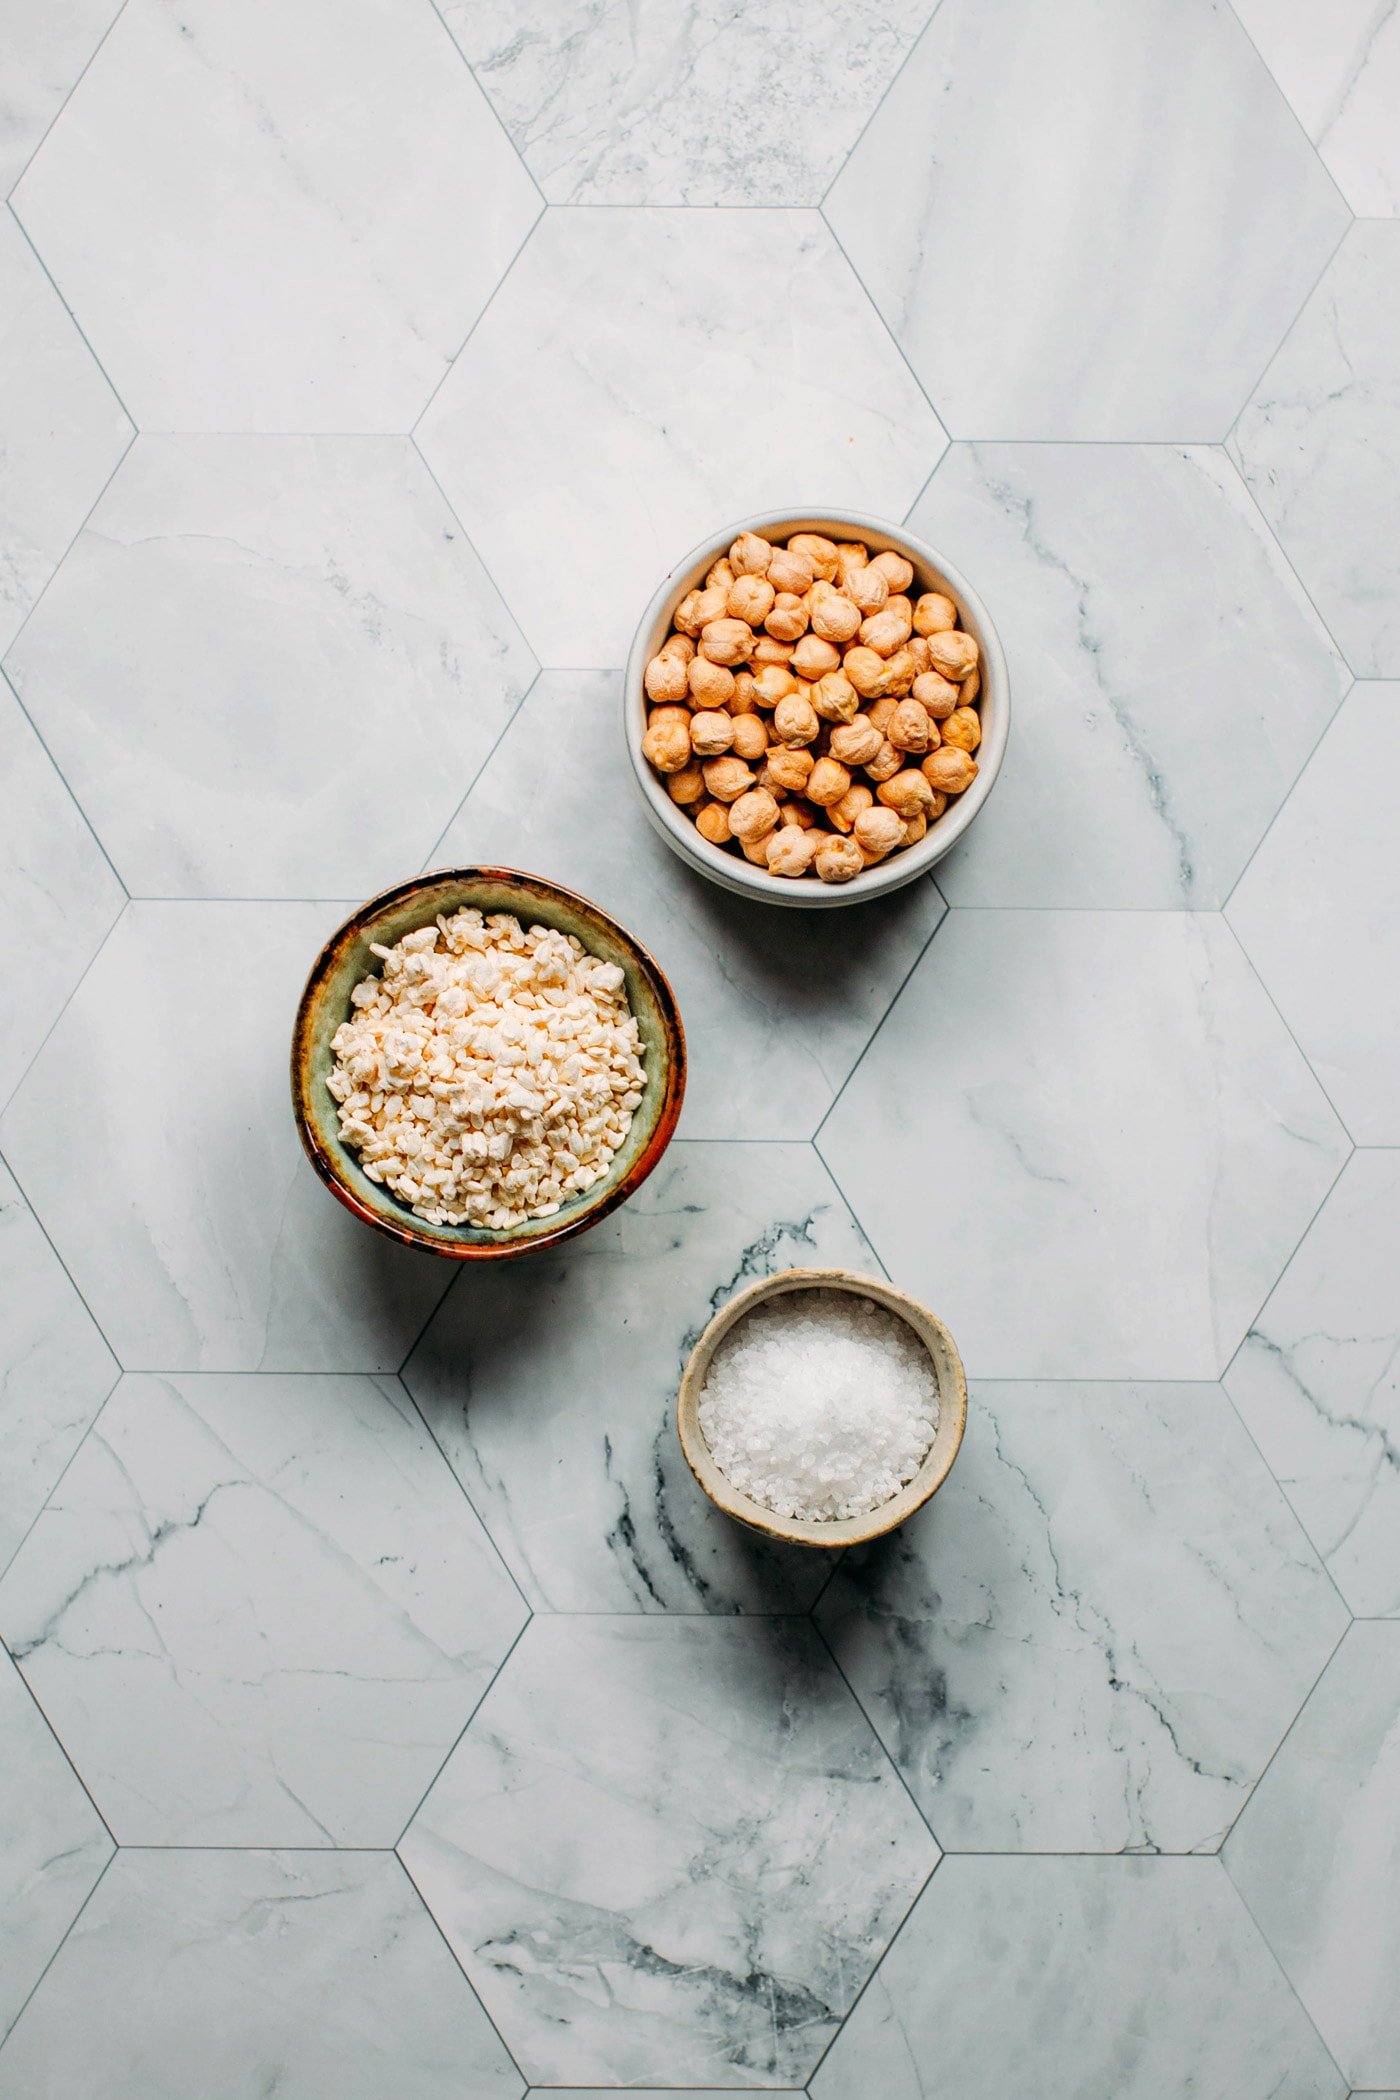
You only need 3 ingredients to get started:
- Koji – Koji is cooked rice that has been inoculated with a culture called Aspergillus oryzae. It is then dried and can be kept at room temperature. It is a key ingredient for making miso, mirin, sake, and other fermented products! You can get koji here.
- Chickpeas – Start with dried chickpeas. I went with chickpeas to keep the miso soy-free.
- Salt – To prevent bad mold from growing, and obviously for flavor.
First, you want to cook soaked chickpeas until perfectly tender. I used my Instant Pot, but you can cook the chickpeas in a pressure cooker or in a large pot.
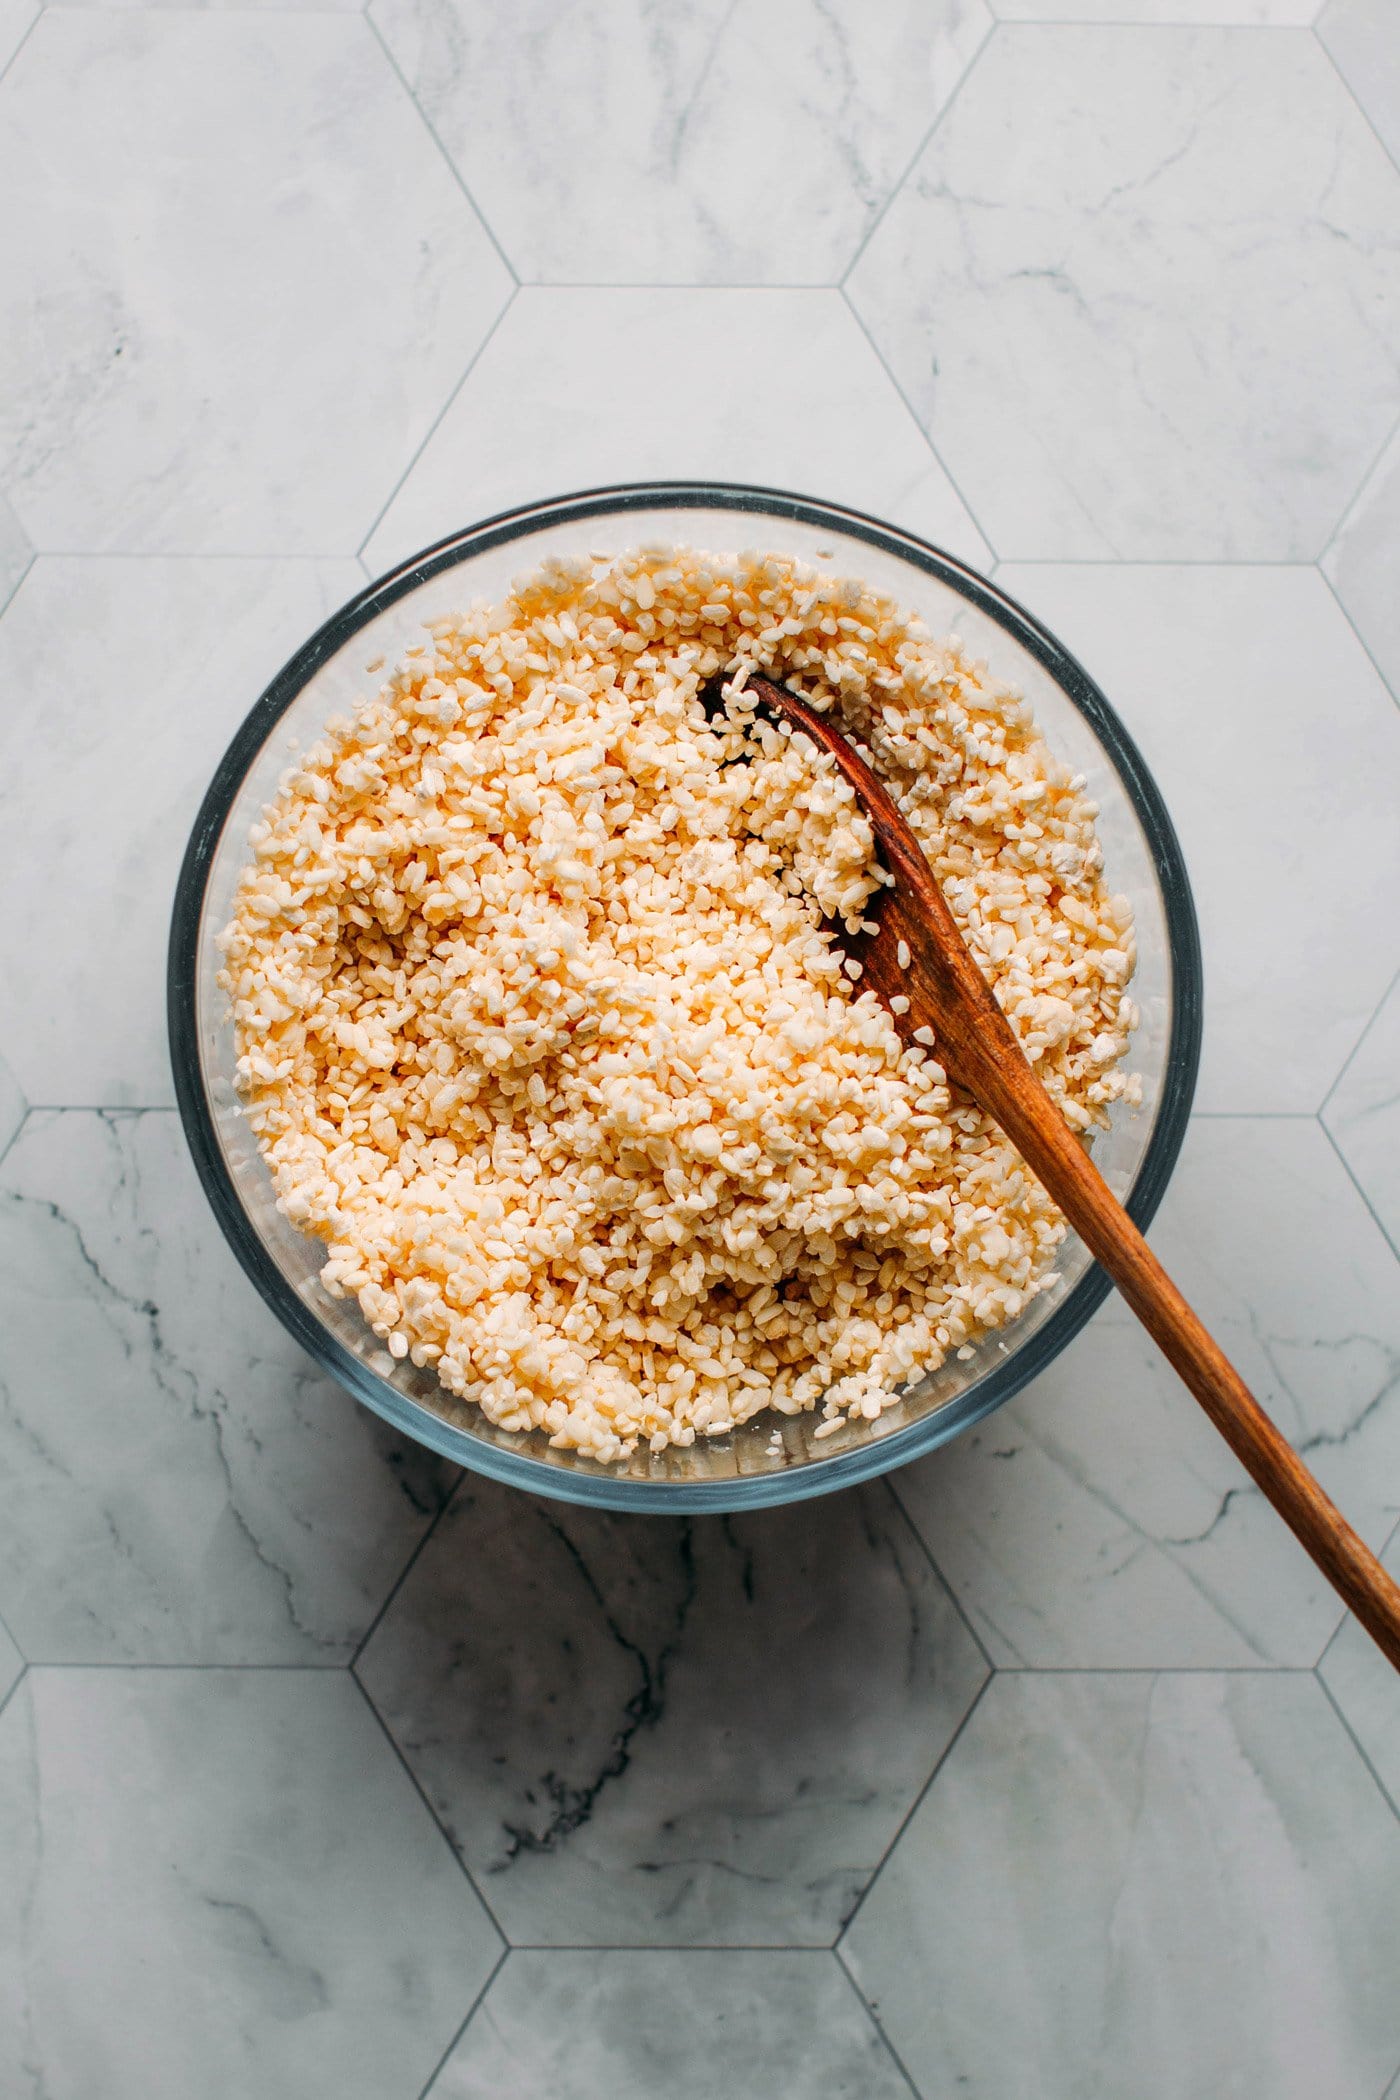
Next, soak your koji rice in warm water (at a temperature of about 122°F/50°C) to soften it. Make sure the water is not hotter than this temperature, or it could kill the cultures of the rice.
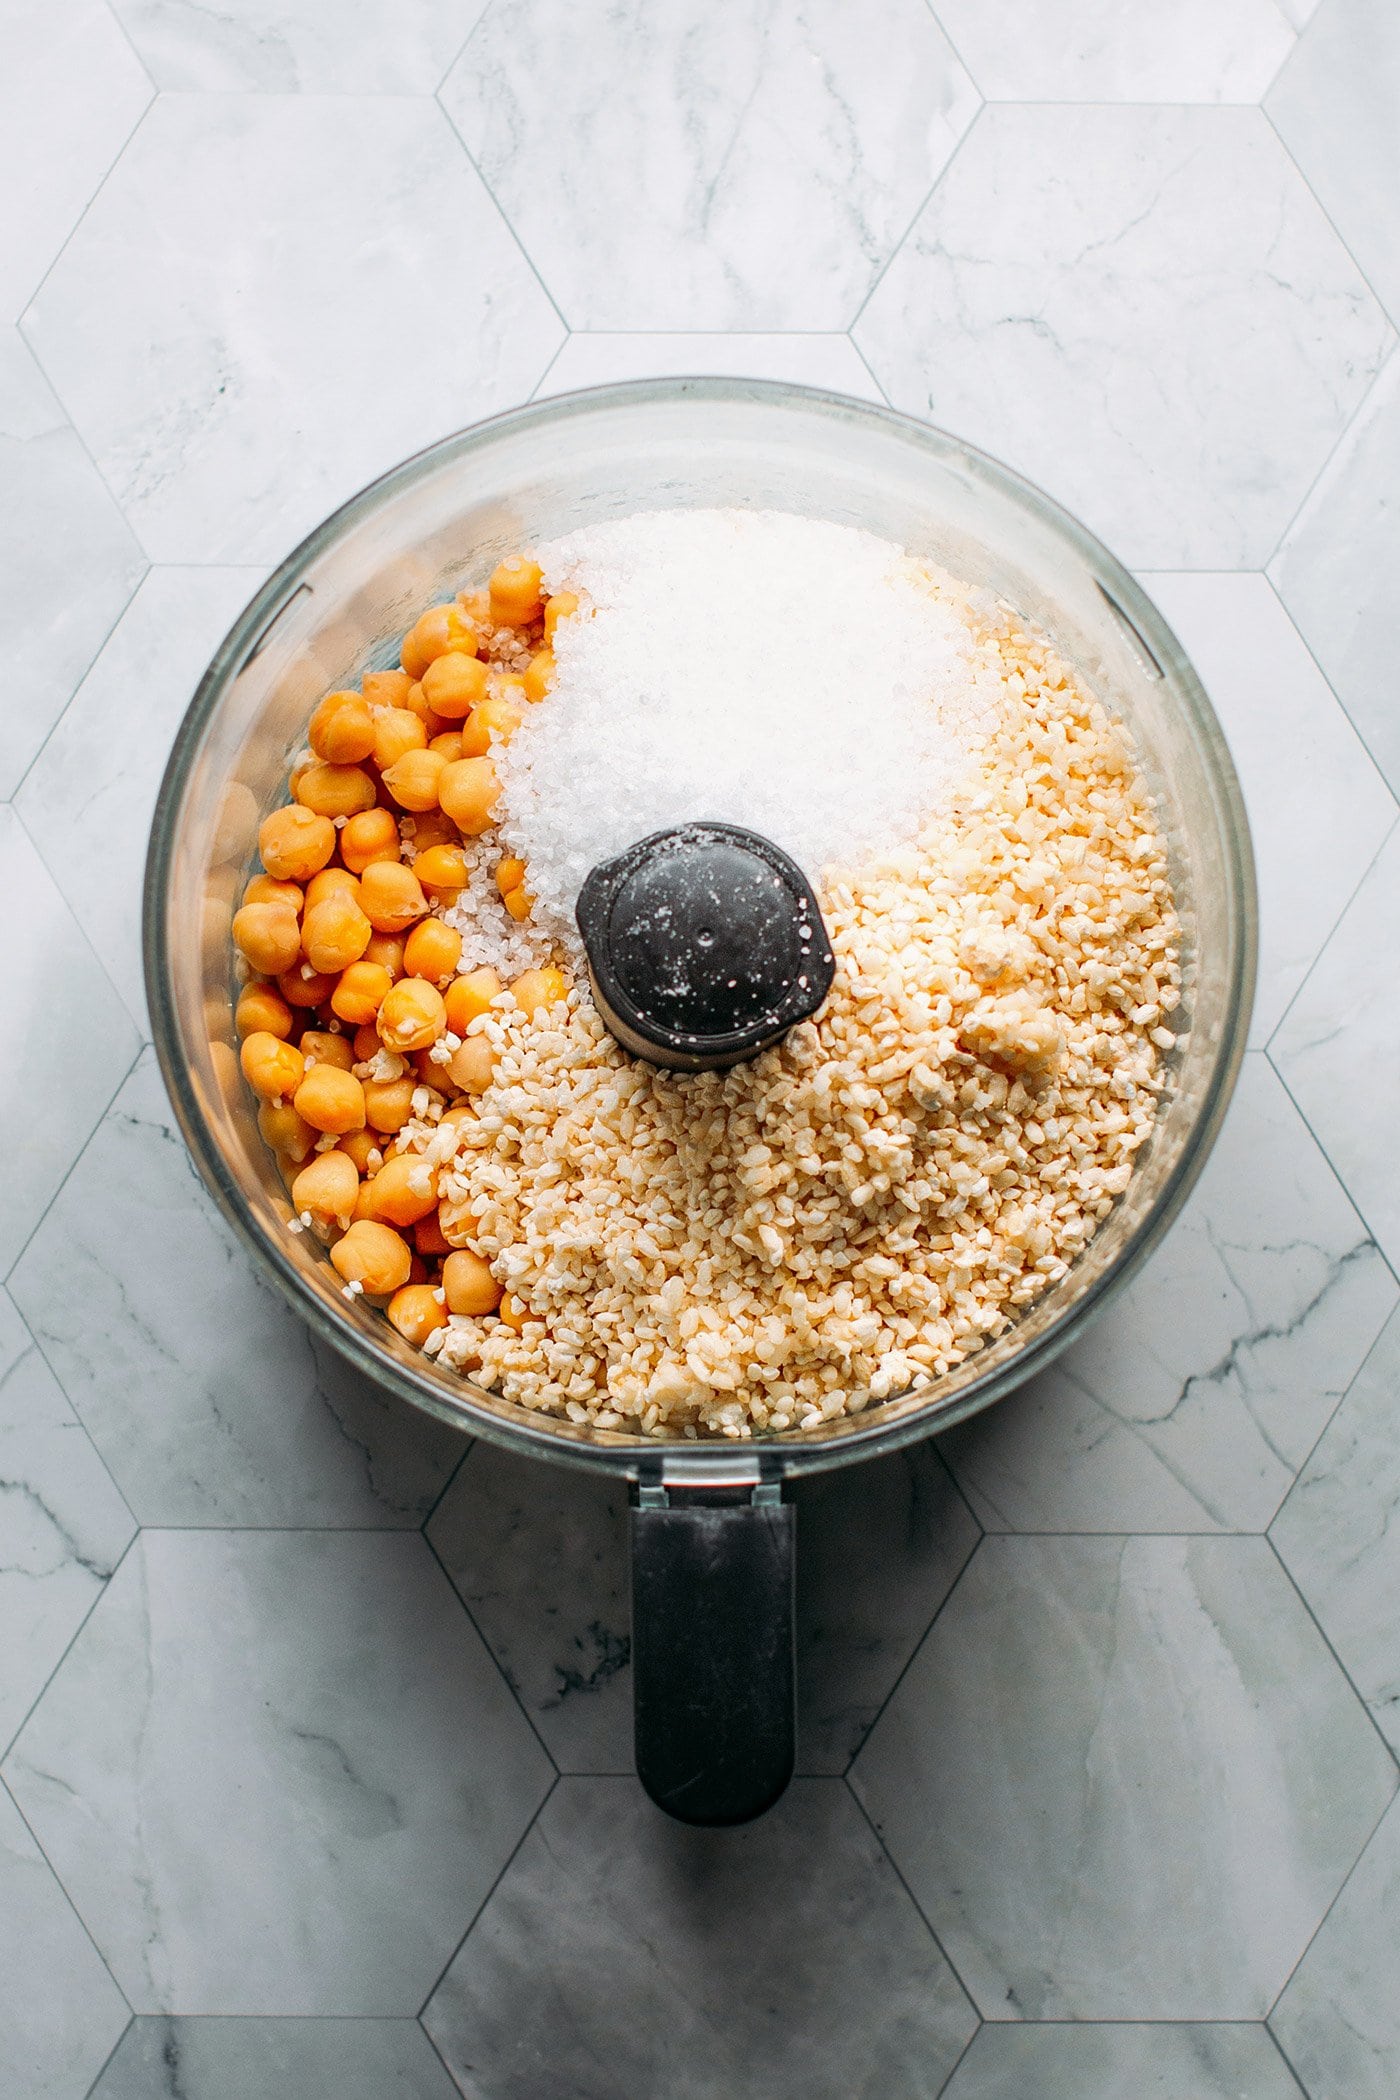
Then, all you have to do is process the chickpeas, soaked koji rice, and salt until you get a smooth paste.
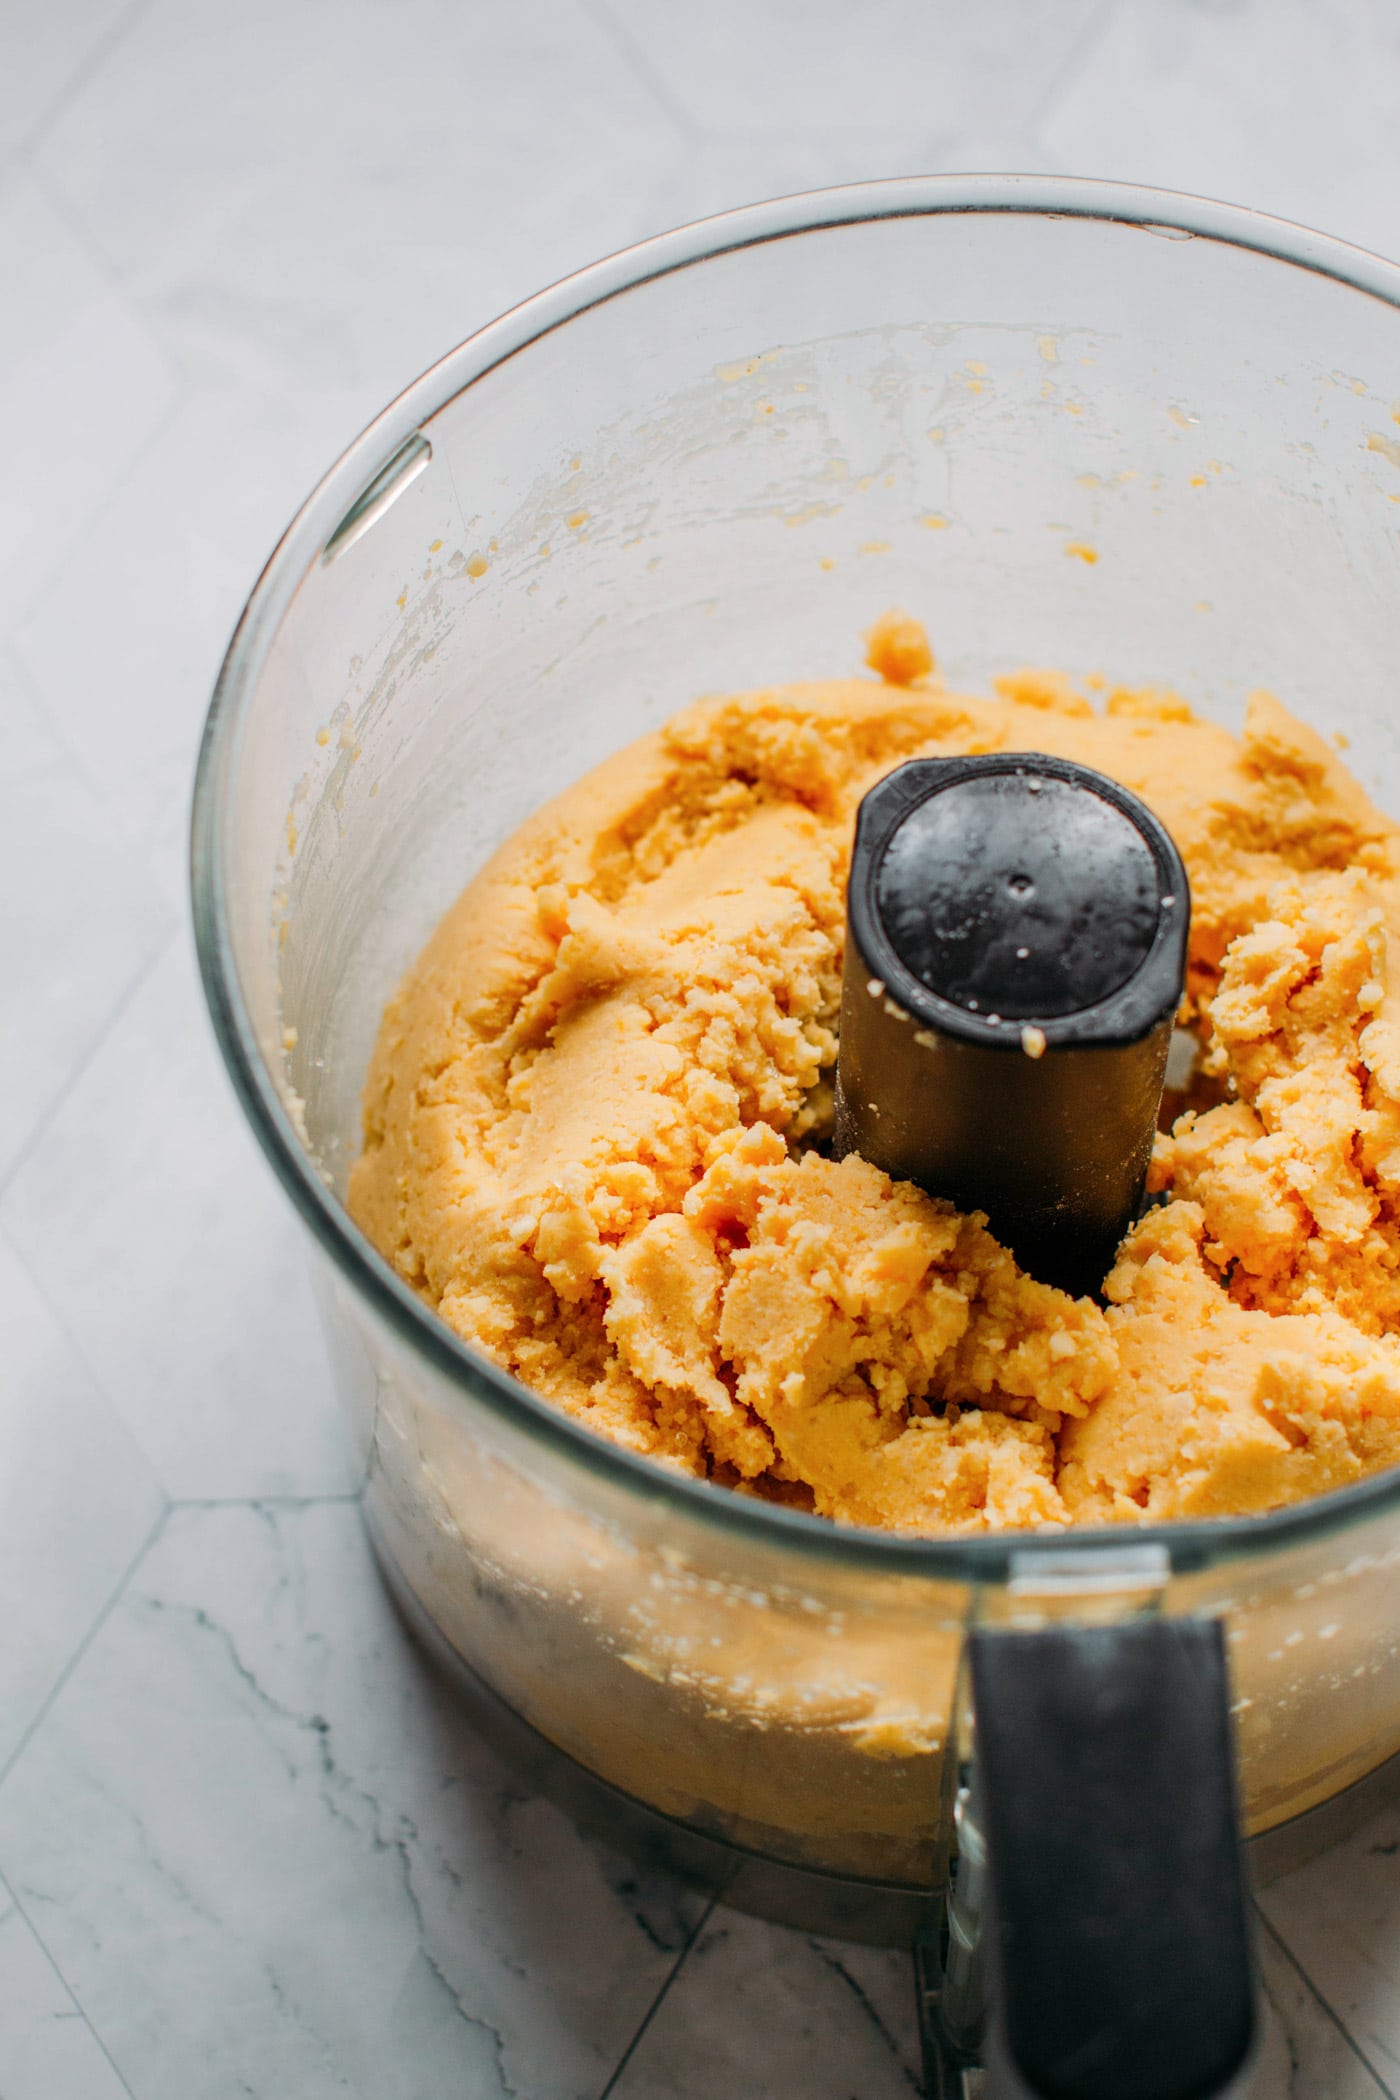
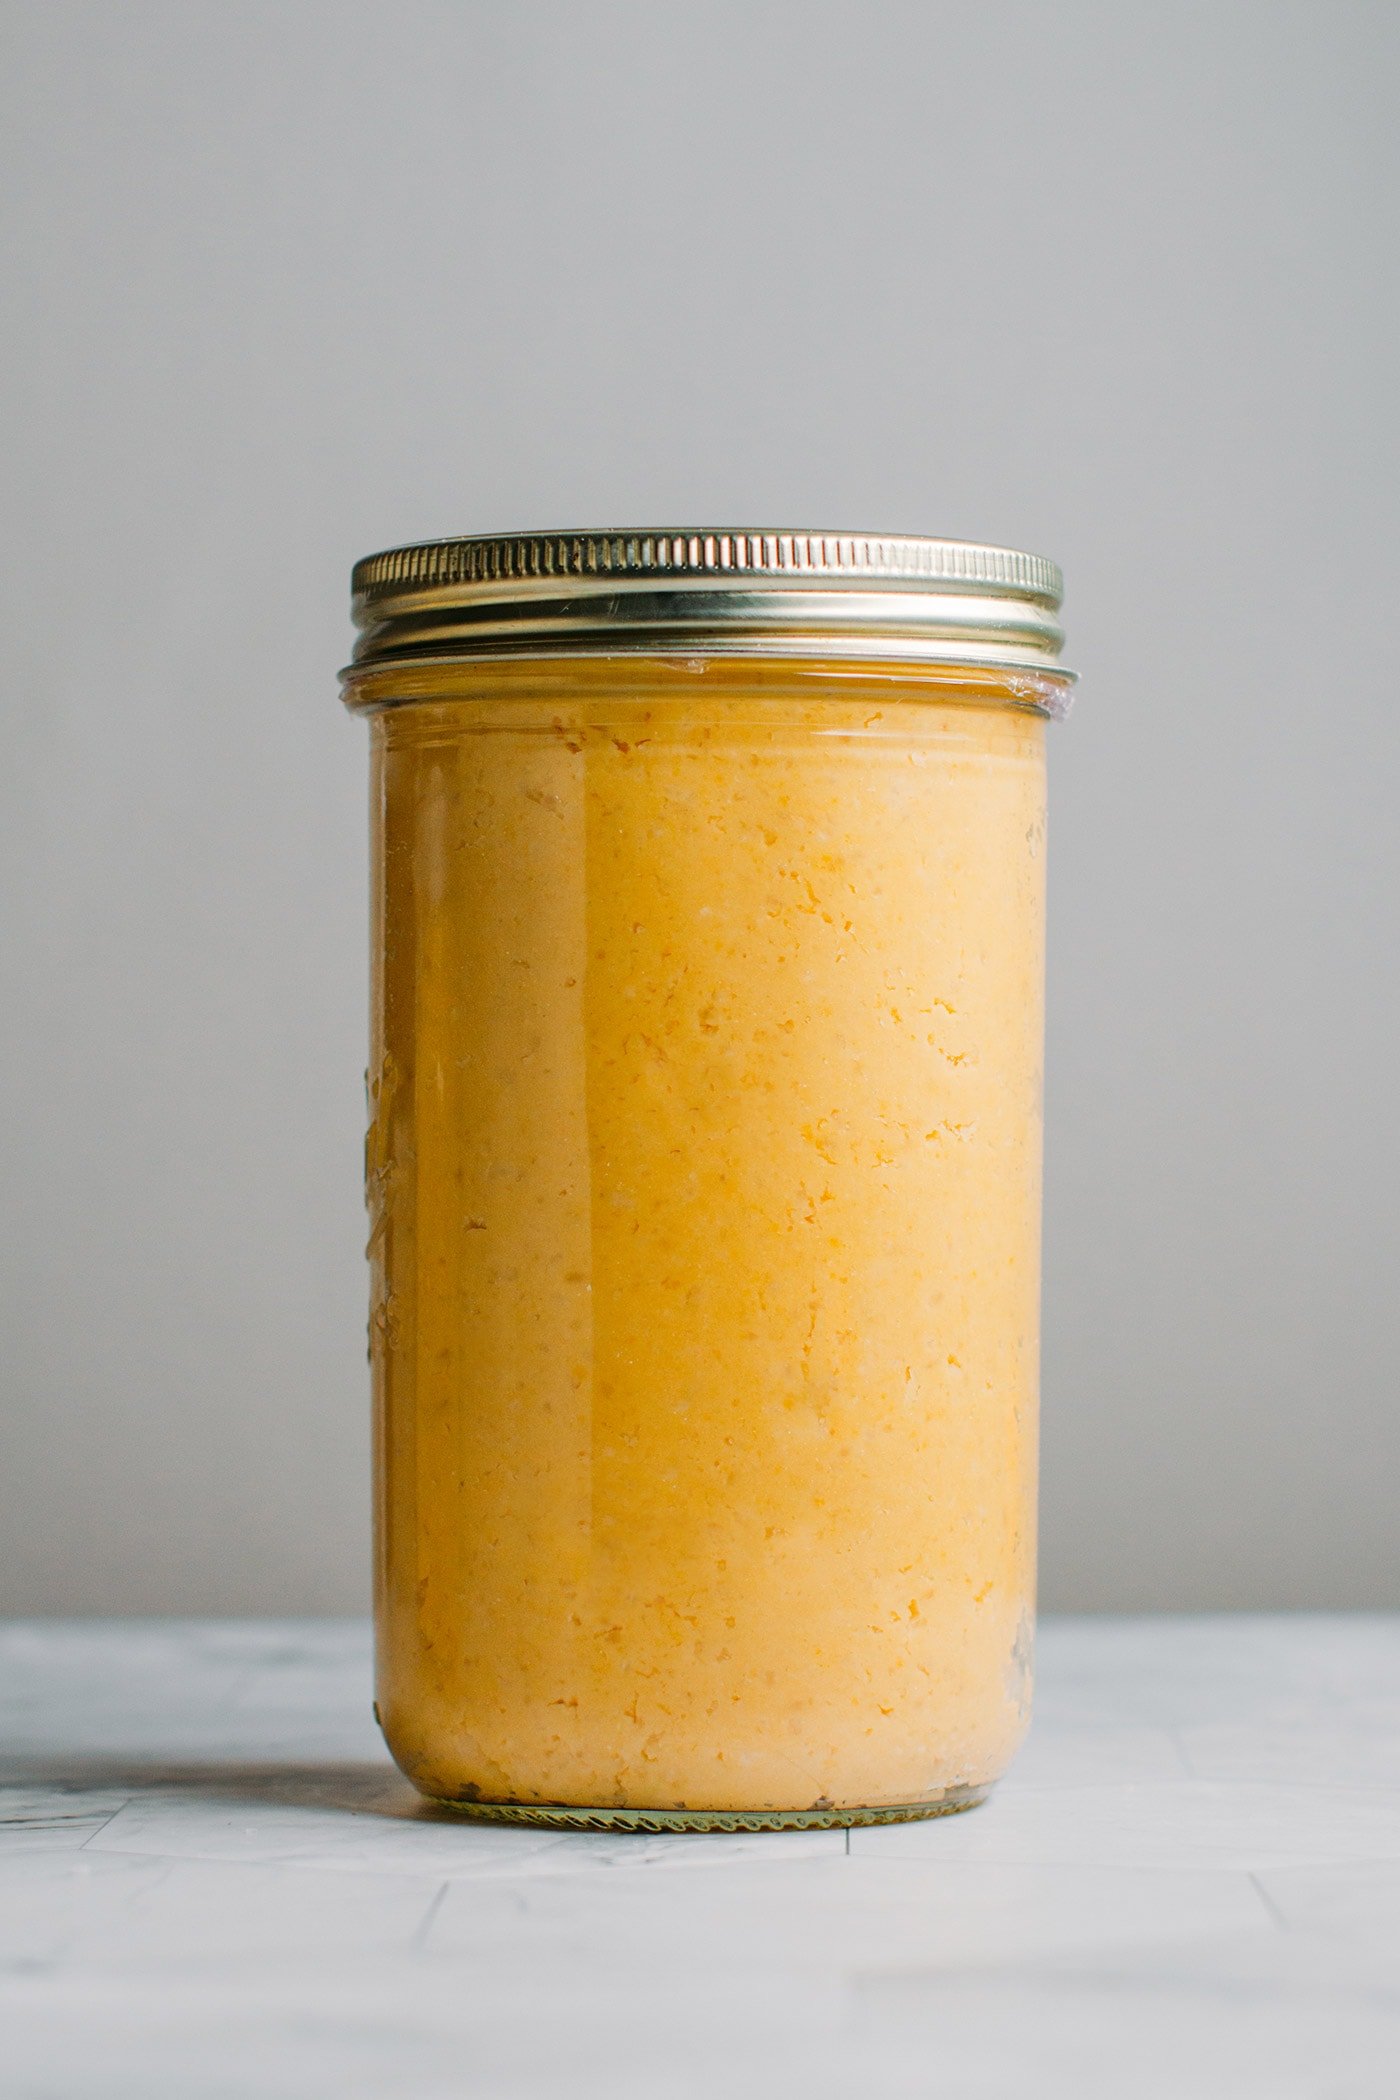
The miso is almost done! Transfer the mixture to clean jars and let it age in a dark place at room temperature for 6 months.
Important note: make sure to pack the mixture very tightly into the jars to have the least amount of air inside as possible. You also want to add a weight on top so the fermentation doesn’t create too much air bubbles. If you have air inside your jar, there is a high chance some mold will grow, and your miso will turn bad within a few weeks (I had that issue once).
One more thing, do not fill your jar as much as I did below. Only fill to the 3/4; otherwise, some liquid will overflow.
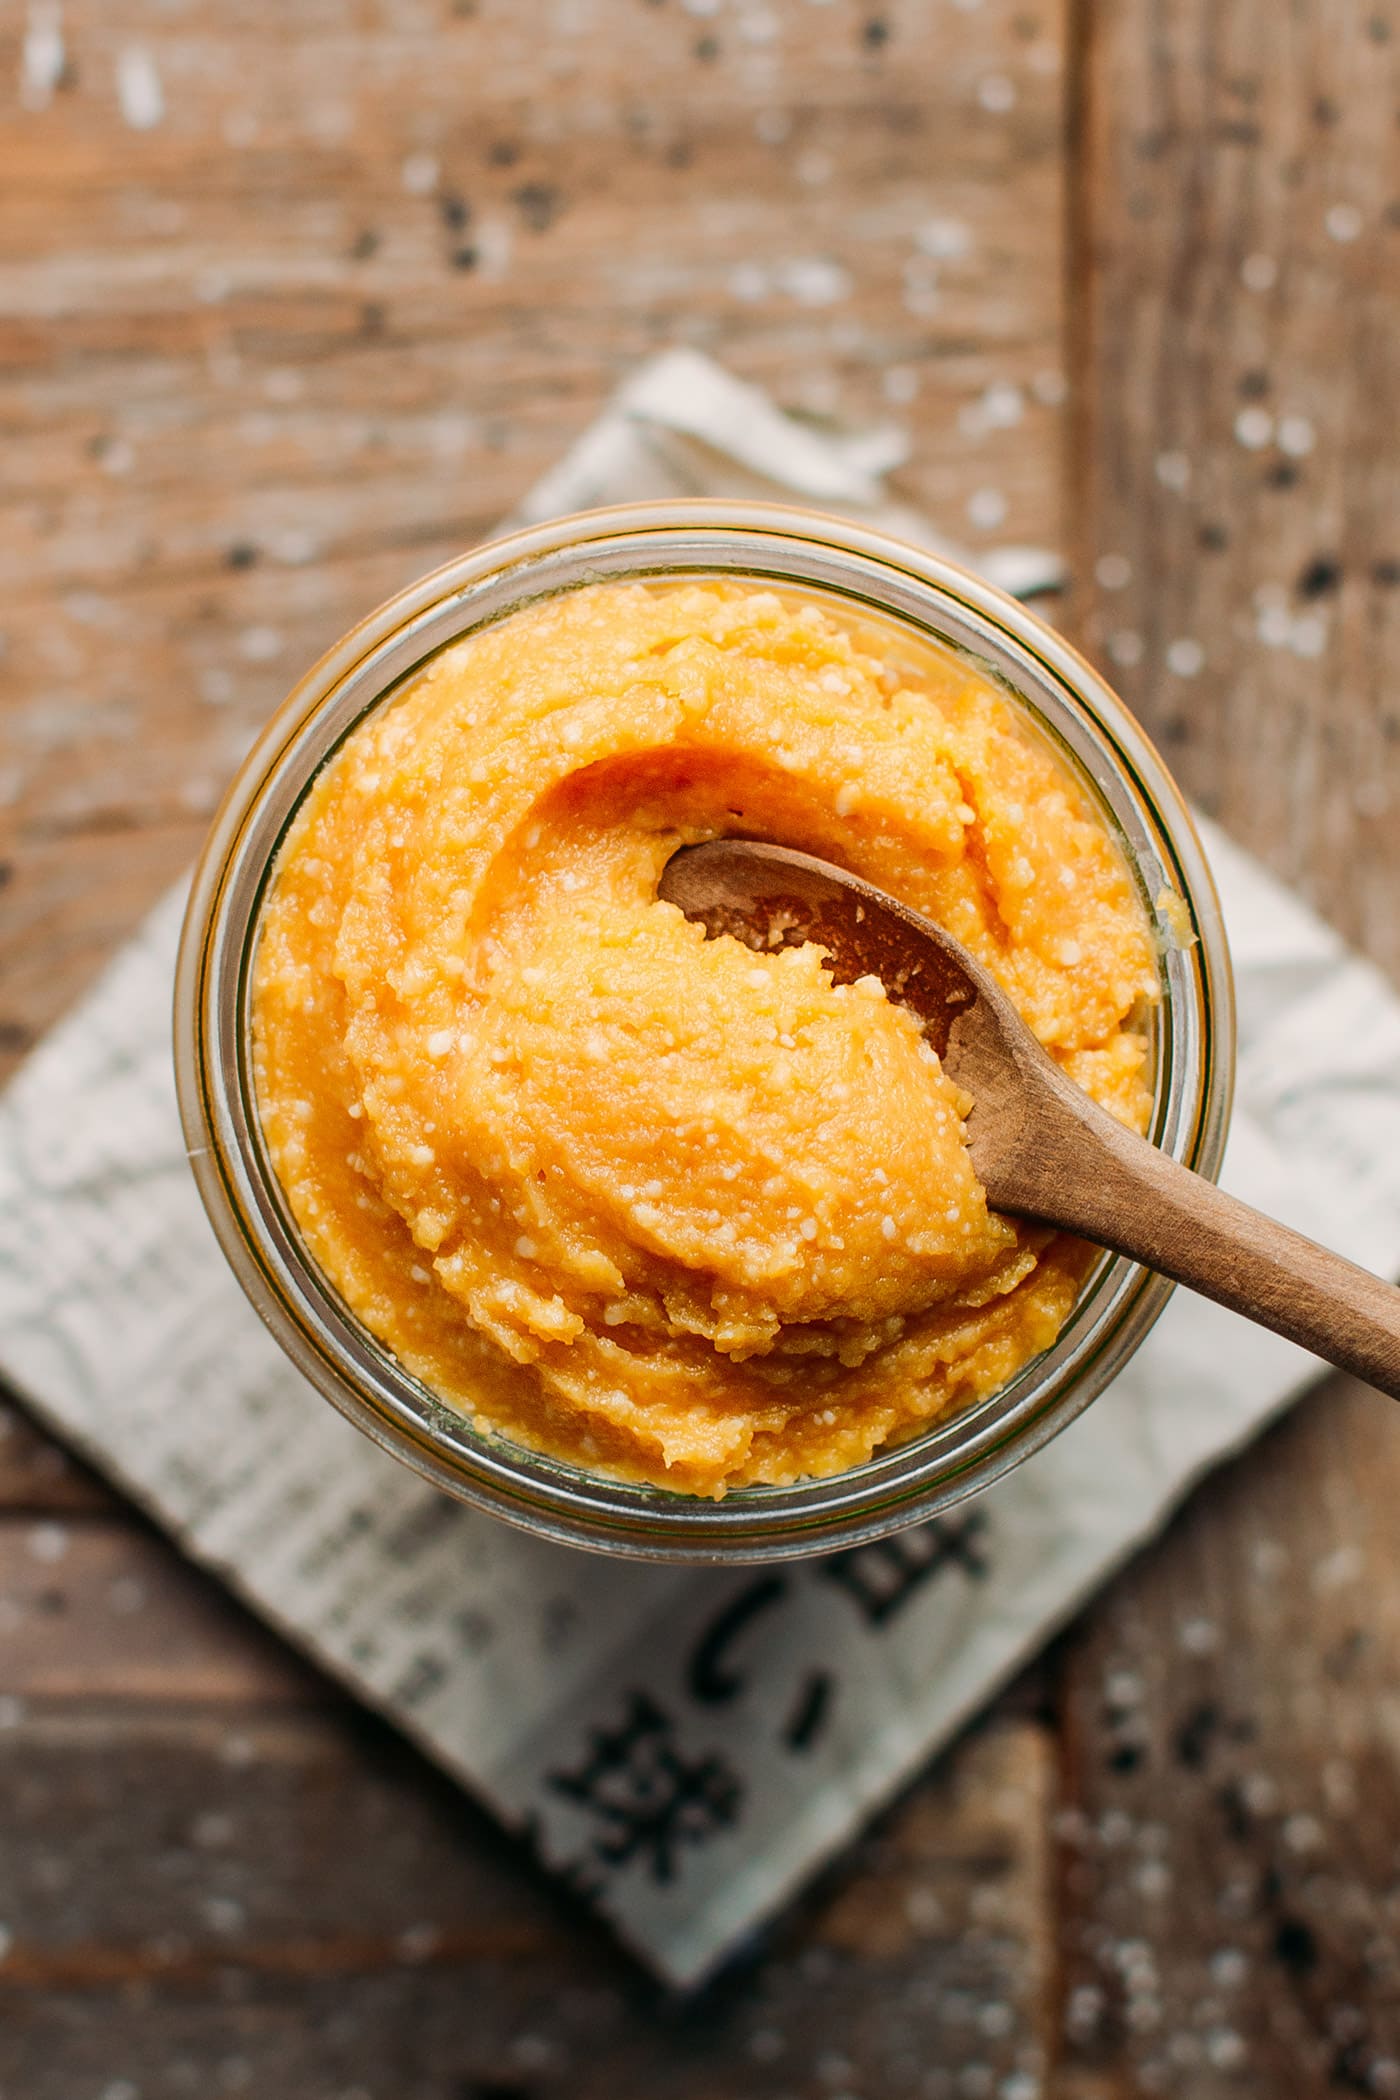
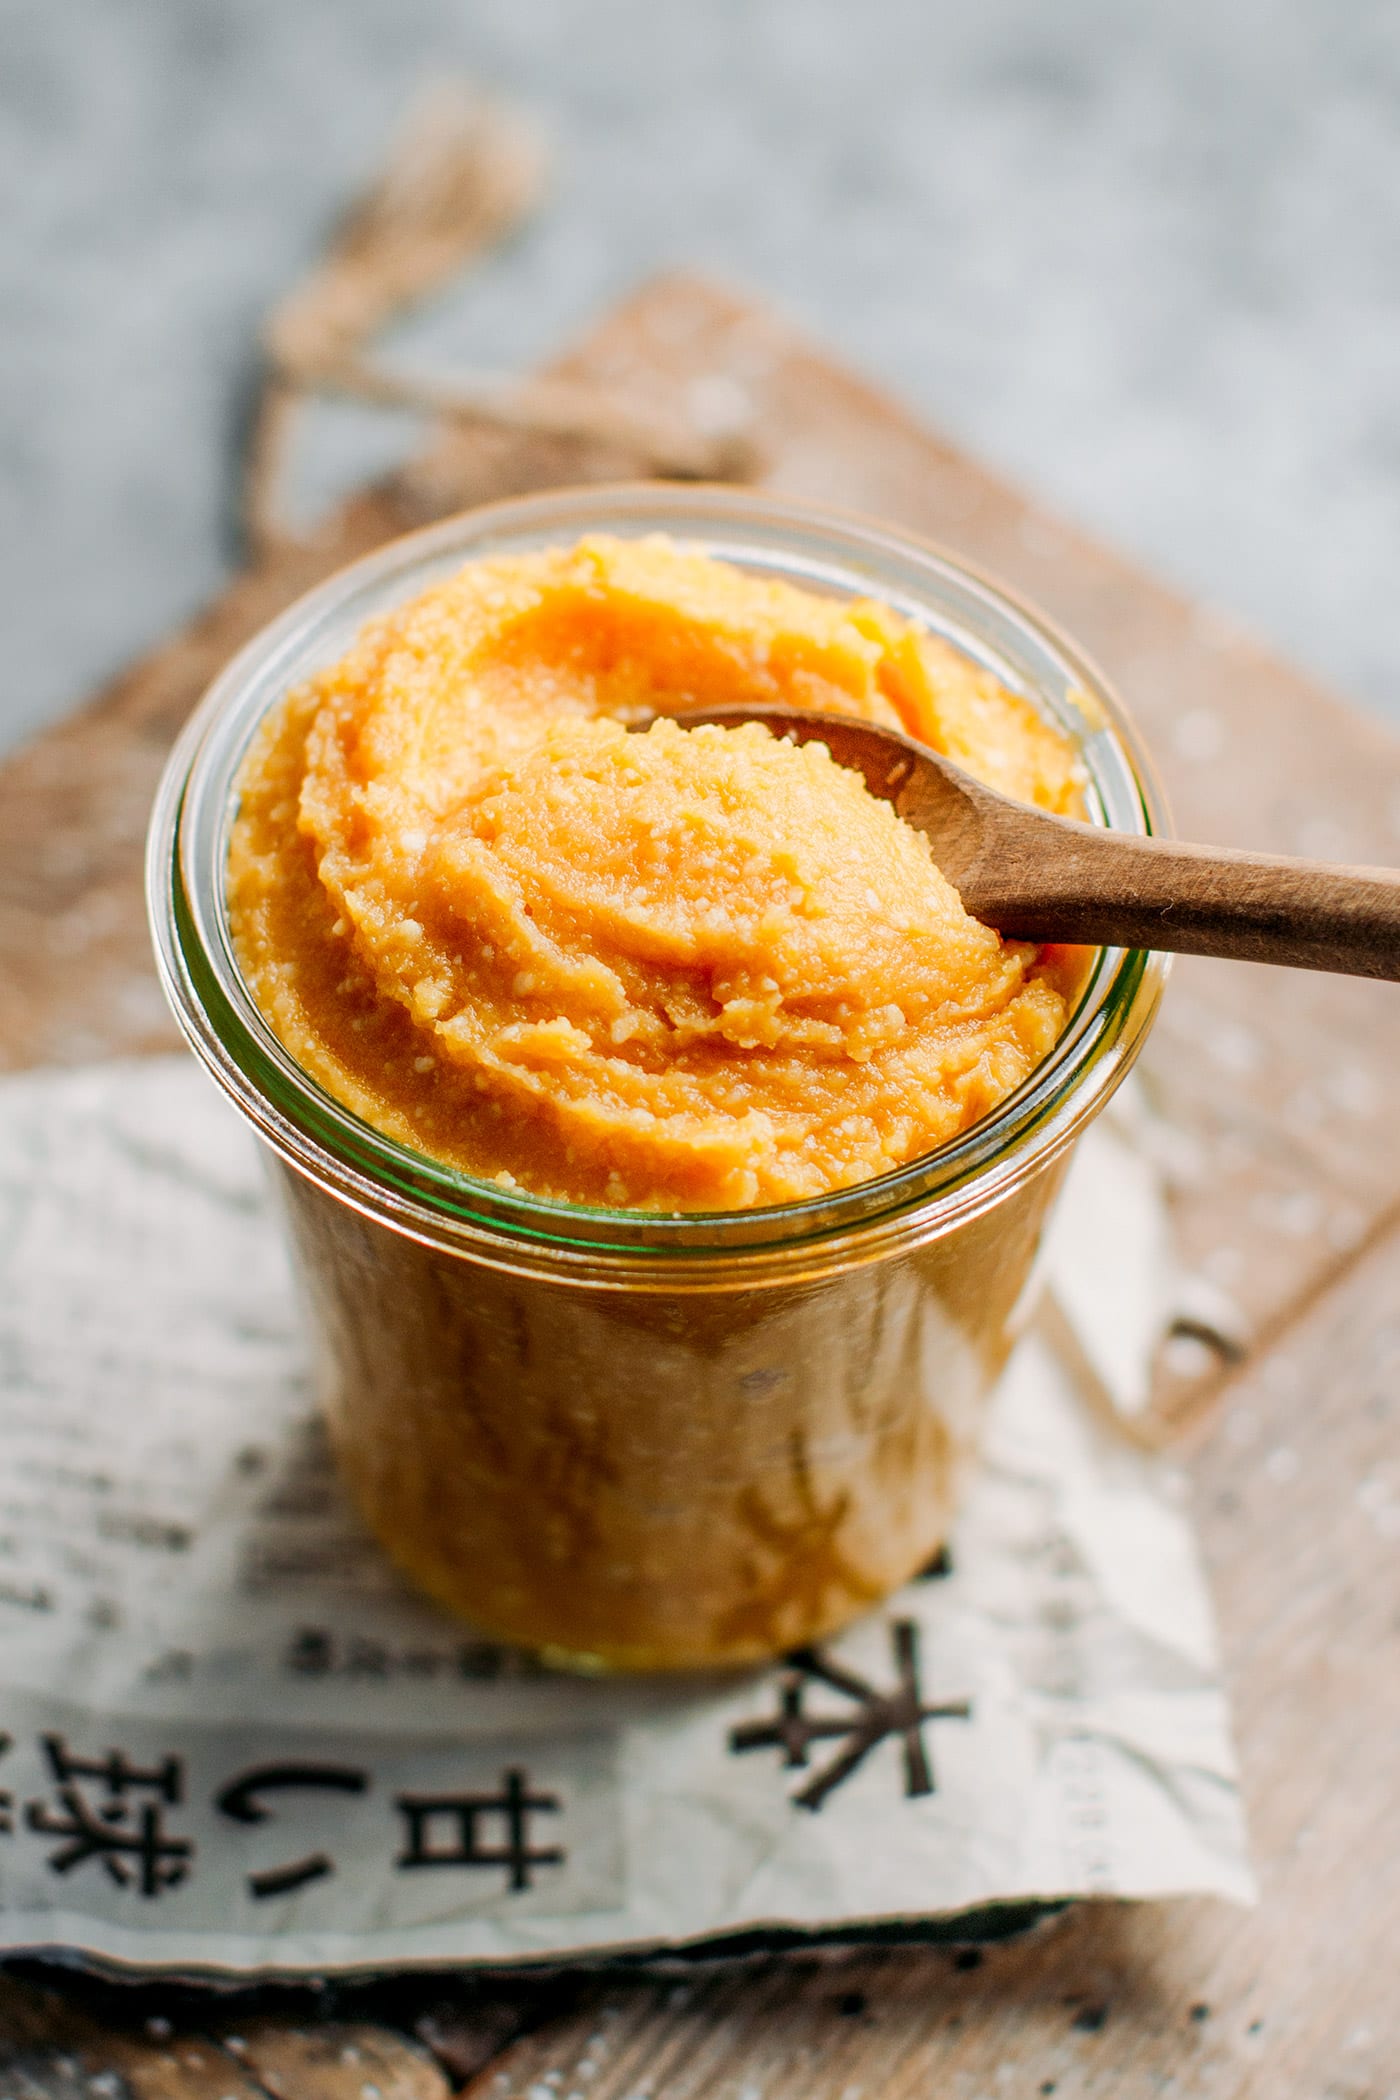
I opened the jar after 6 months, and I was incredibly surprised by how delicious this chickpea miso tasted! It’s sweet, salty, and packed with umami and buttery notes. Yes, it’s THAT good!
You could probably let it age for a few extra months, but I found that 6 months is already enough to get very high-quality miso, especially if you like sweet white miso. And if you are wondering, you can’t even taste the chickpeas. It’s pure miso flavor.
Can this work with other beans? Probably, but I have not personally tried.
💬 FAQ
While I haven’t tried it yet, I think this recipe will work with white navy beans as well.
Yes, koji rice is essential. It contains cultures that help the miso paste ferment and develop flavors.
Miso will keep for easily over a year in the refrigerator. The high salt content acts as a preservative.
I hope you will love this recipe. It’s a super fun project to do, and you will have miso available for weeks if not months! It’s much more cost effective than buying it if you are patient enough, of course!


⭐️ Did you like this recipe? Let us know in the comments below, and tag us on Facebook, Instagram, or Pinterest!

About the Author
Thomas Pagot is the founder, photographer, and recipe developer behind Full of Plants. He created the blog in 2016 as a personal cookbook for vegan recipes. Through years of recipe development, Thomas has successfully grown Full of Plants into a trusted resource for plant-based recipes.
Leave a Comment