
This post may contain affiliate links. Please read our disclosure policy.

Make your own chickpea tempeh at home with just 3 ingredients and basic equipment! This soy-free tempeh ferments into a firm, sliceable cake with a mild mushroomy taste and zero bitterness. Use it in stir-fries, soups, sandwiches, and more!
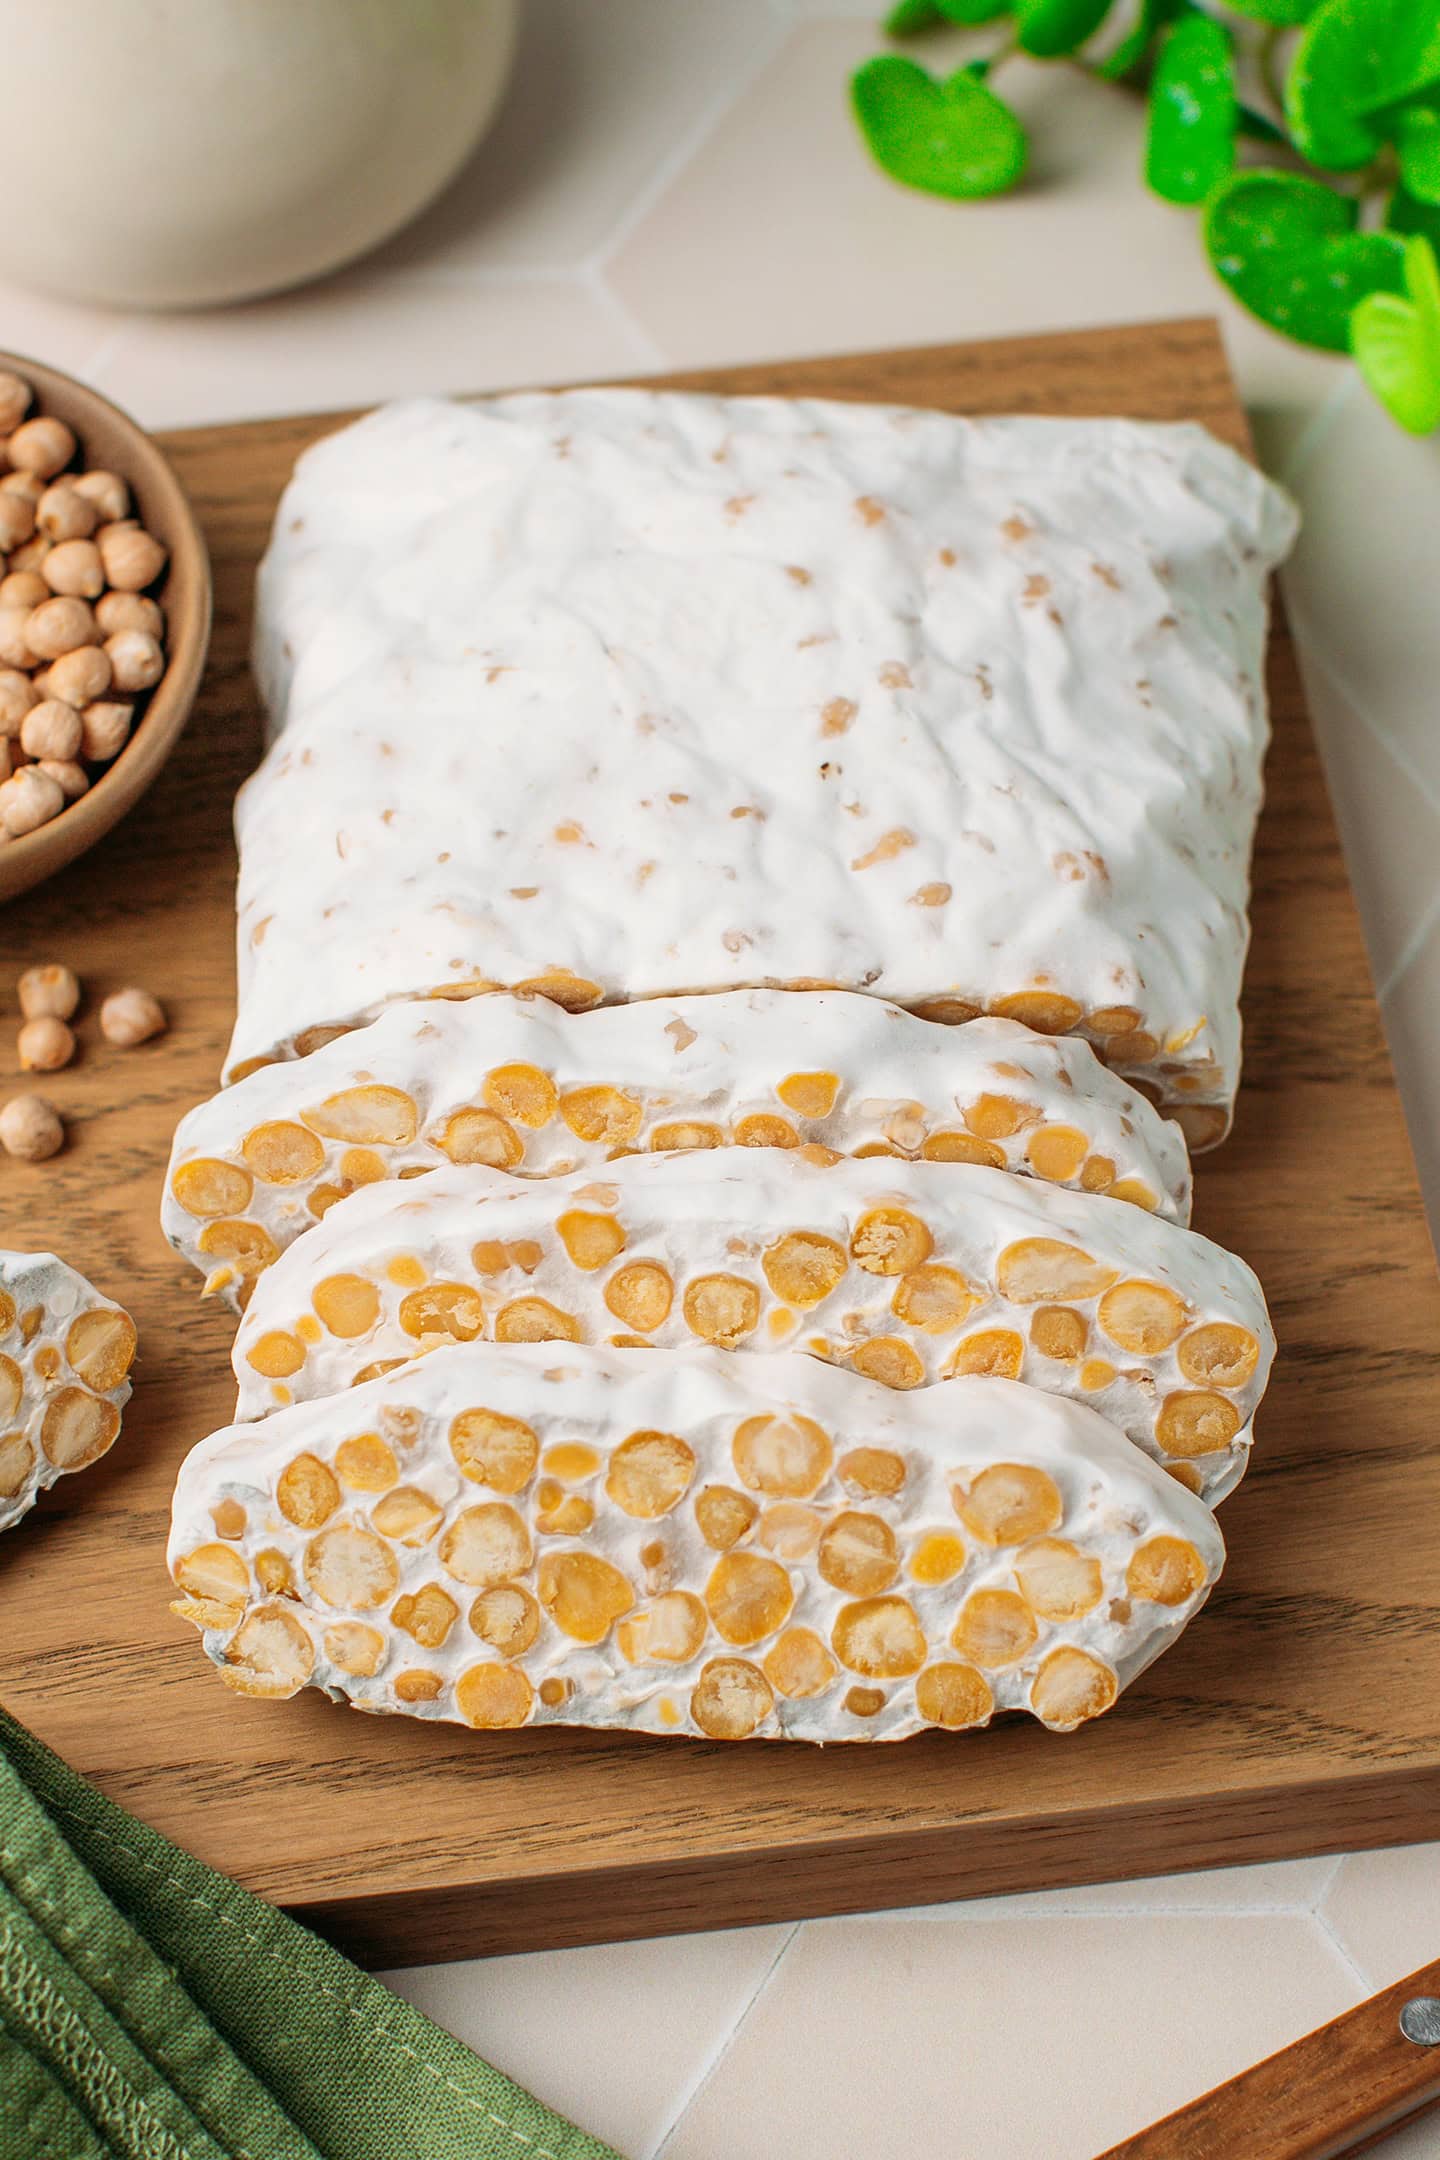
Tempeh is one of those recipes that looks intimidating until you make it. And then you wonder why you waited so long! My method requires just 3 ingredients and creates a compact loaf of tempeh with even mold growth. It holds together well, can be sliced, and has absolutely no bitterness.
This tempeh doesn’t rely on traditional soybeans. Instead, it uses chickpeas, making it entirely soy-free! I’m also sharing different methods for incubating it, so it works with standard kitchen equipment. Ready to dive into the (moldy) world of tempeh?
Looking for more tempeh recipes? Check out my black bean tempeh, okara tempeh, or regular soybean tempeh!
📘 What’s Chickpea Tempeh?
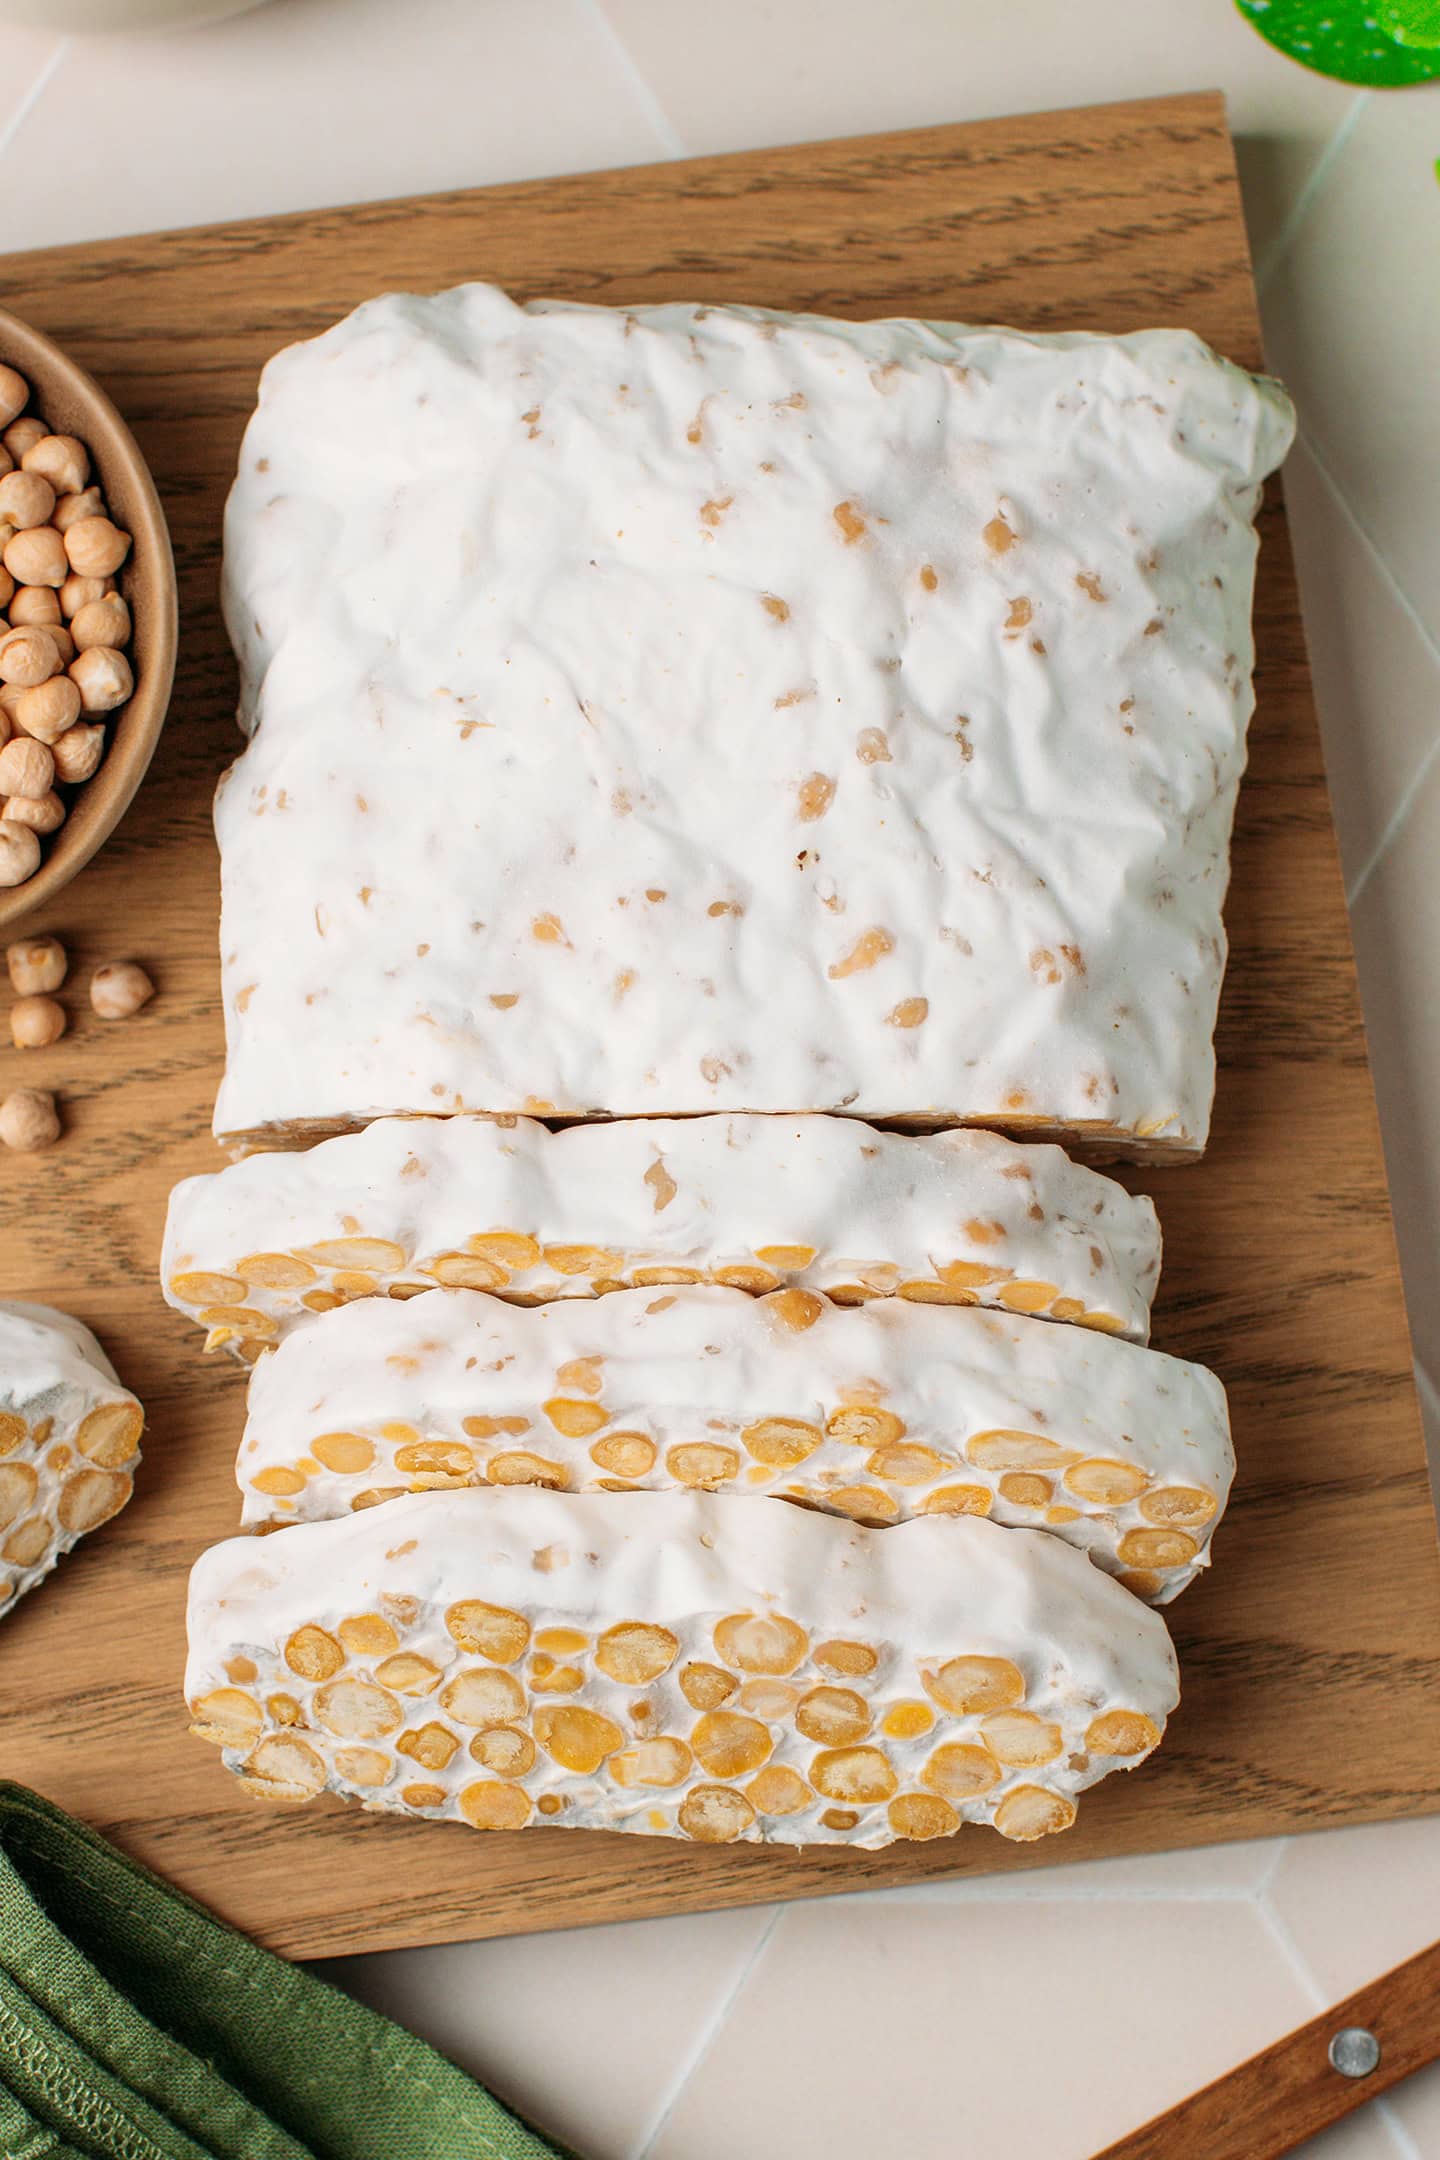
Chickpea tempeh is a variant of the traditional Indonesian soybean tempeh. It is made by cooking chickpeas and fermenting them with a mold called Rhizopus Oryzae for about 48 hours. Once fermentation is complete, the chickpeas are bound together into a compact cake by a white mold. It then becomes sliceable and ready to cook.
🌿 Ingredients You Need
Here are the three ingredients you will need to make it:
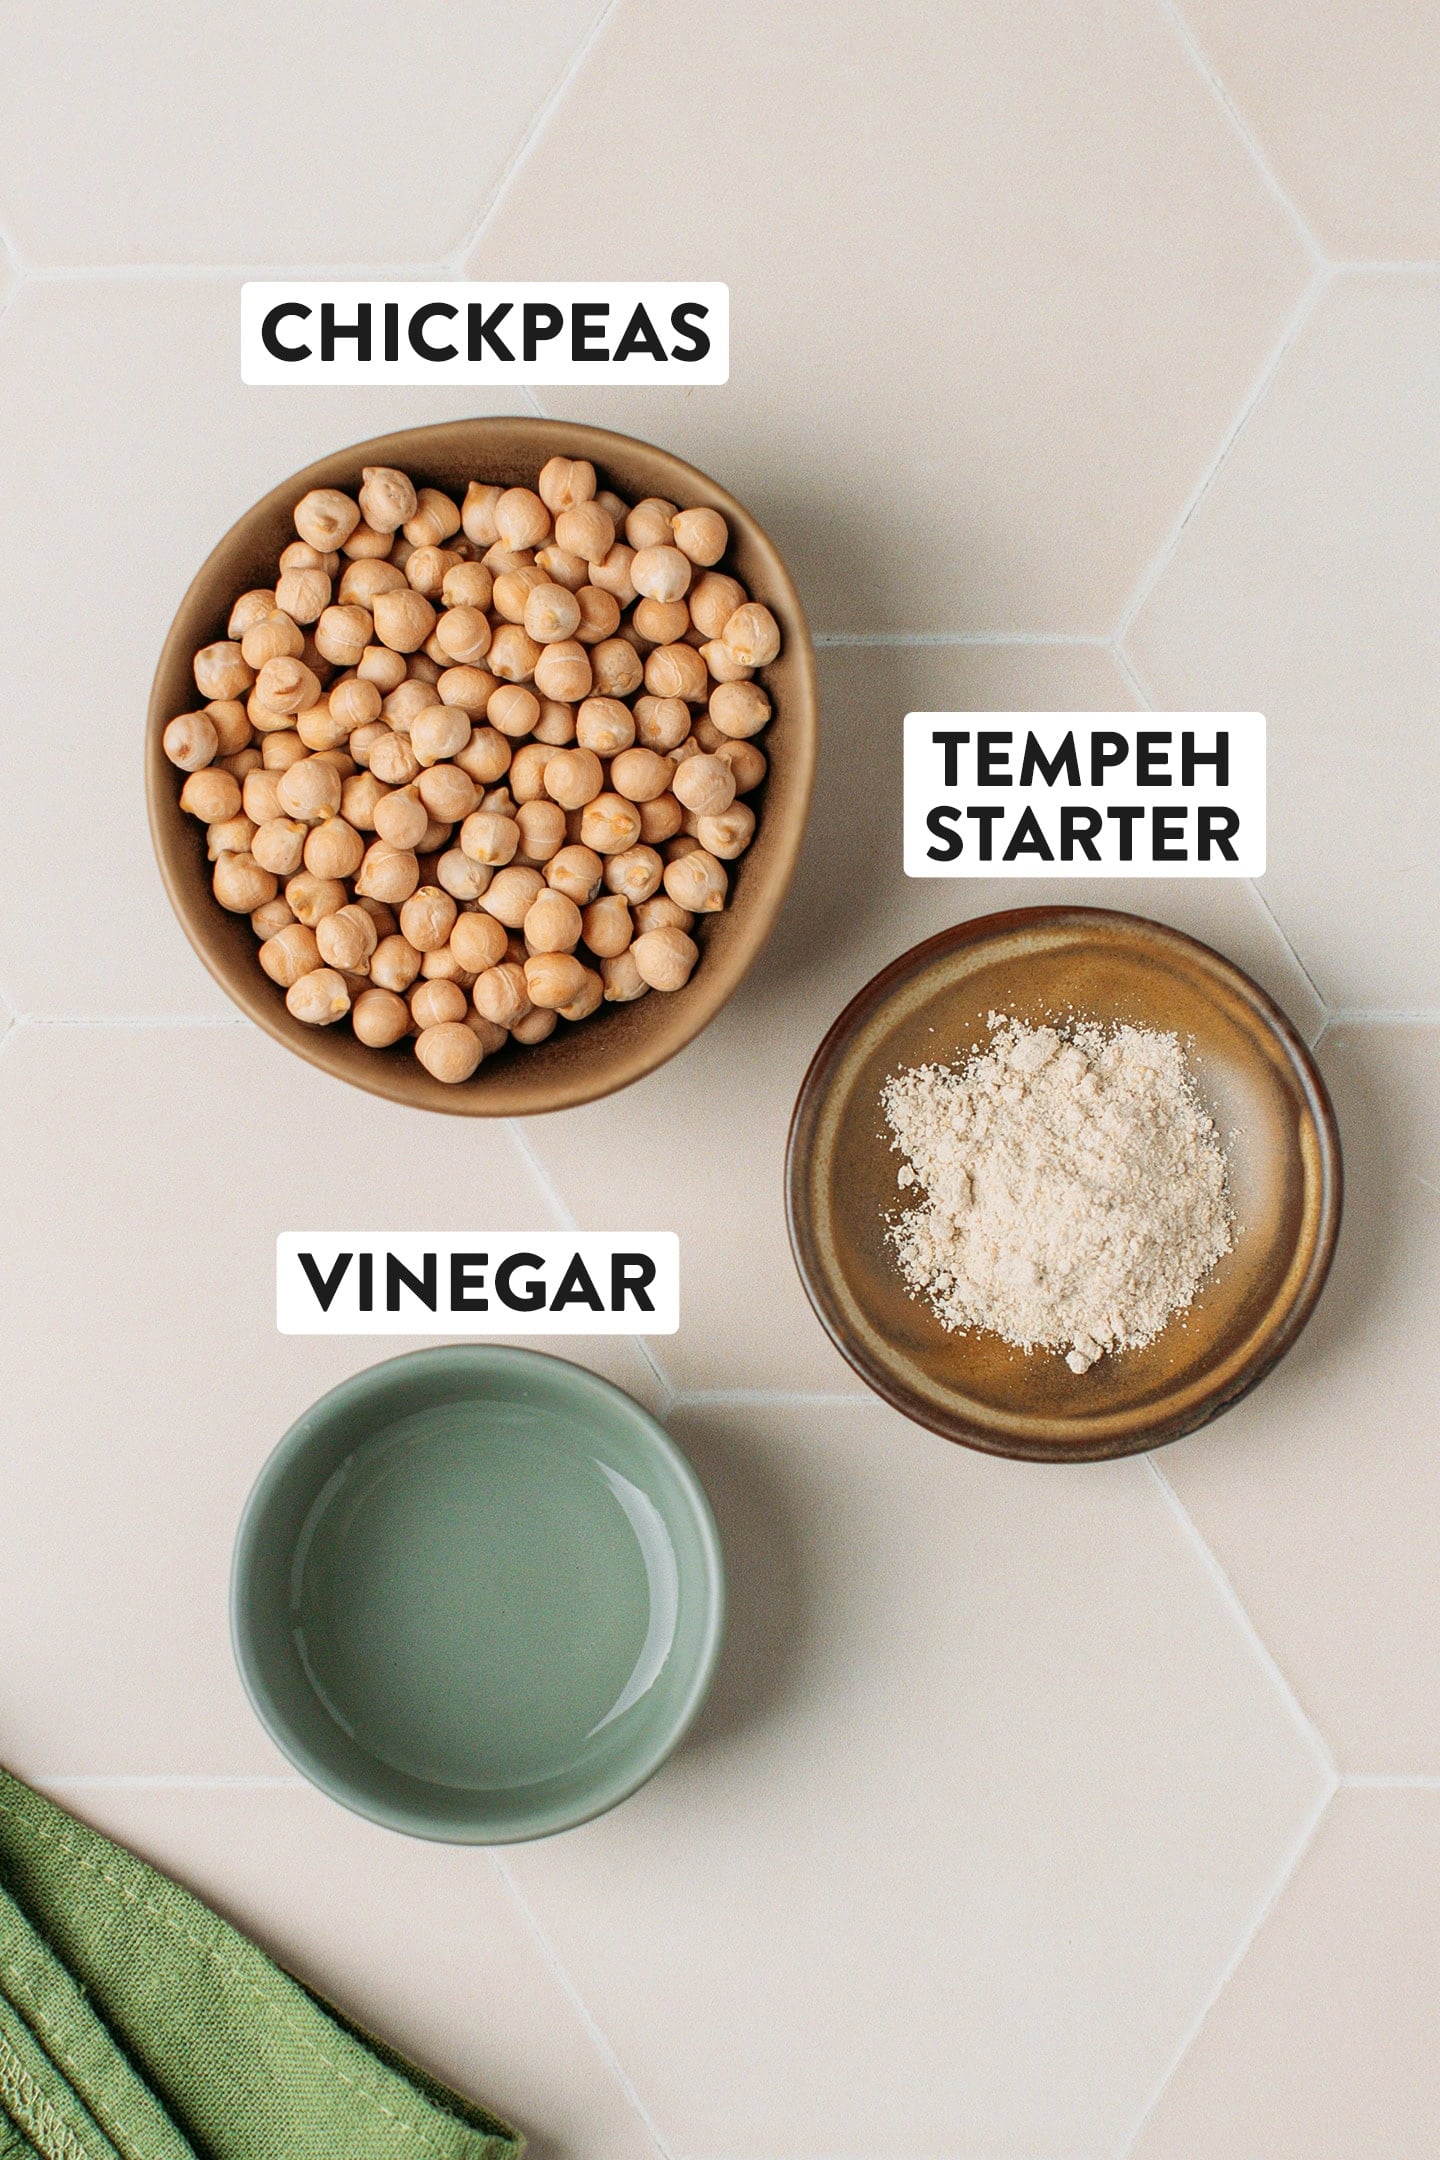
- Dry chickpeas – For the best results, use small dry chickpeas, not garbanzo beans. Because garbanzo beans are bigger, there is more space between each bean. This makes it harder for the mold to bind them into a compact loaf. It works, but it will take longer for your tempeh to ferment, and it won’t be as compact.
- White vinegar – Vinegar helps prevent the growth of potentially harmful mold or bacteria. I suggest using white vinegar, but apple cider vinegar also works.
- Tempeh starter – Tempeh starter contains Rhizopus oligosporus spores, which initiate fermentation and bind the chickpeas into a firm cake.
Note: Not all brands of starter are soy-free, as some may contain soybean flour.
🔅 Fermentation Equipment: Which Method Works Best?
Oven with light on: Turn on the oven light only. The oven temperature should reach approximately 85-90°F (30-35°C) for the best results.
If your oven does not allow you to turn on the light without turning on the heat, set it to the lowest temperature (with the fan off), then turn it off before placing the tempeh inside. You will have to repeat this step if your oven temperature goes under 85°F (30°C).
Dehydrator: Similar to the oven method, set your dehydrator to 85-90°F (30-35°C) to incubate the tempeh.
Instant Pot/Yogurt maker: My pick! Use the Instant Pot on Yogurt mode (set to “Normal”) or a standard yogurt maker. From my experience, the “Normal” setting works better than “Less”, especially during winter.
Note: Fermentation time may vary depending on the method and ambient temperature. I suggest checking after 24-32 hours and letting it ferment more if needed.
🥣 How to Make It (Step-by-Step)
1. Soak the Chickpeas
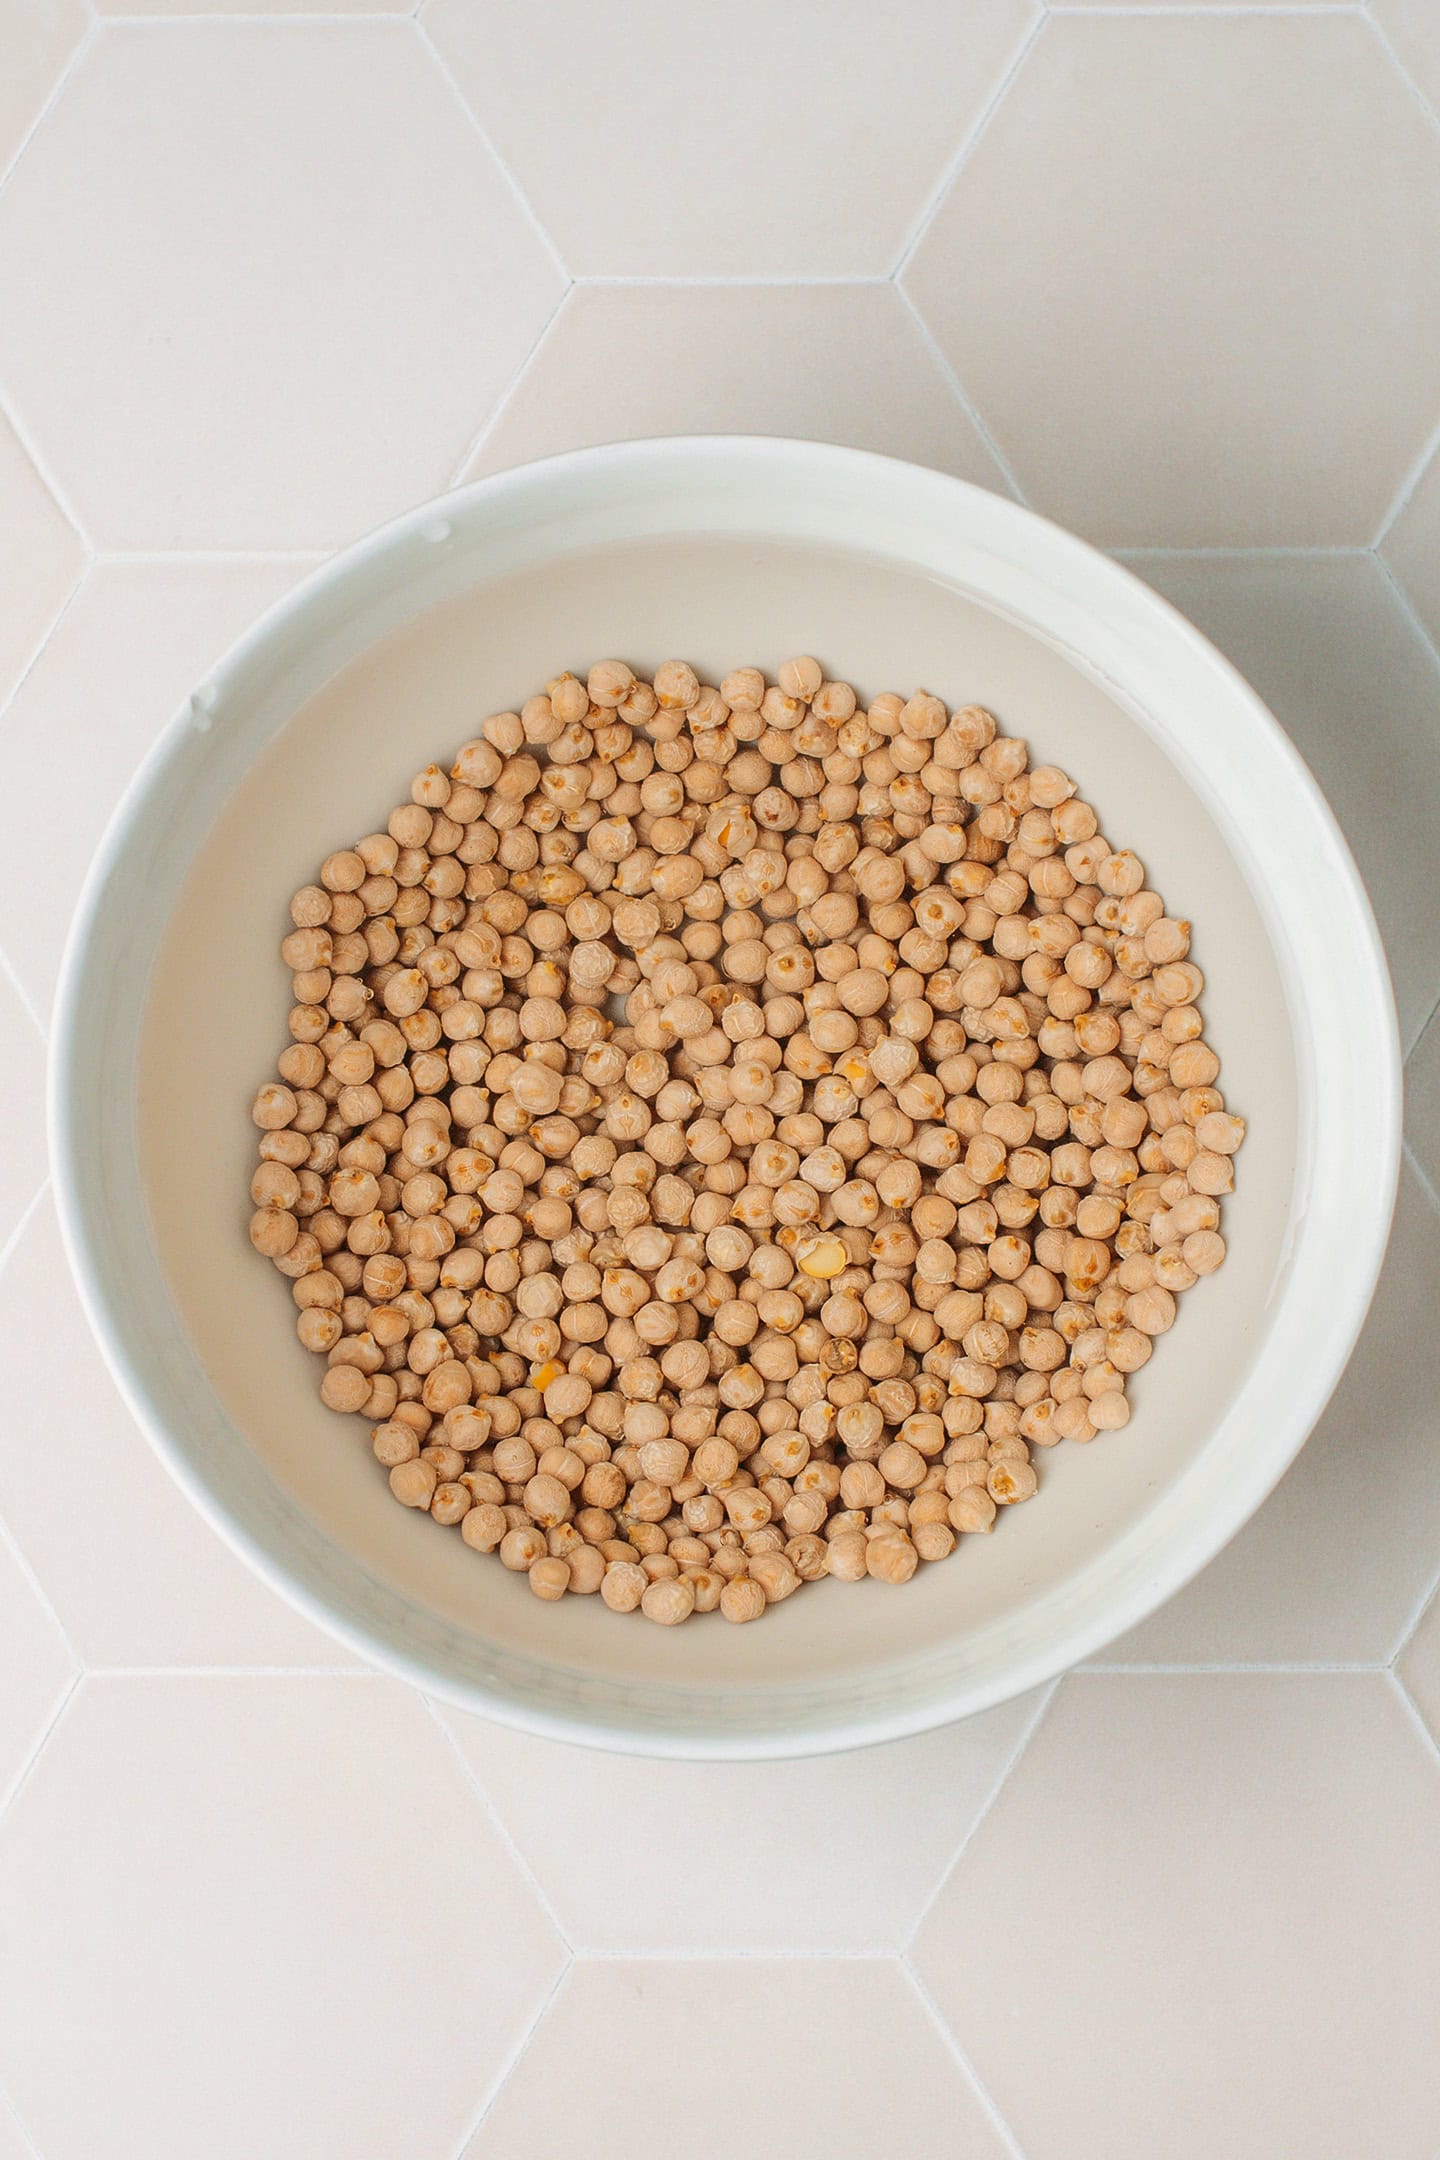
- Soak the chickpeas. Add the dry chickpeas to a bowl and cover with water.
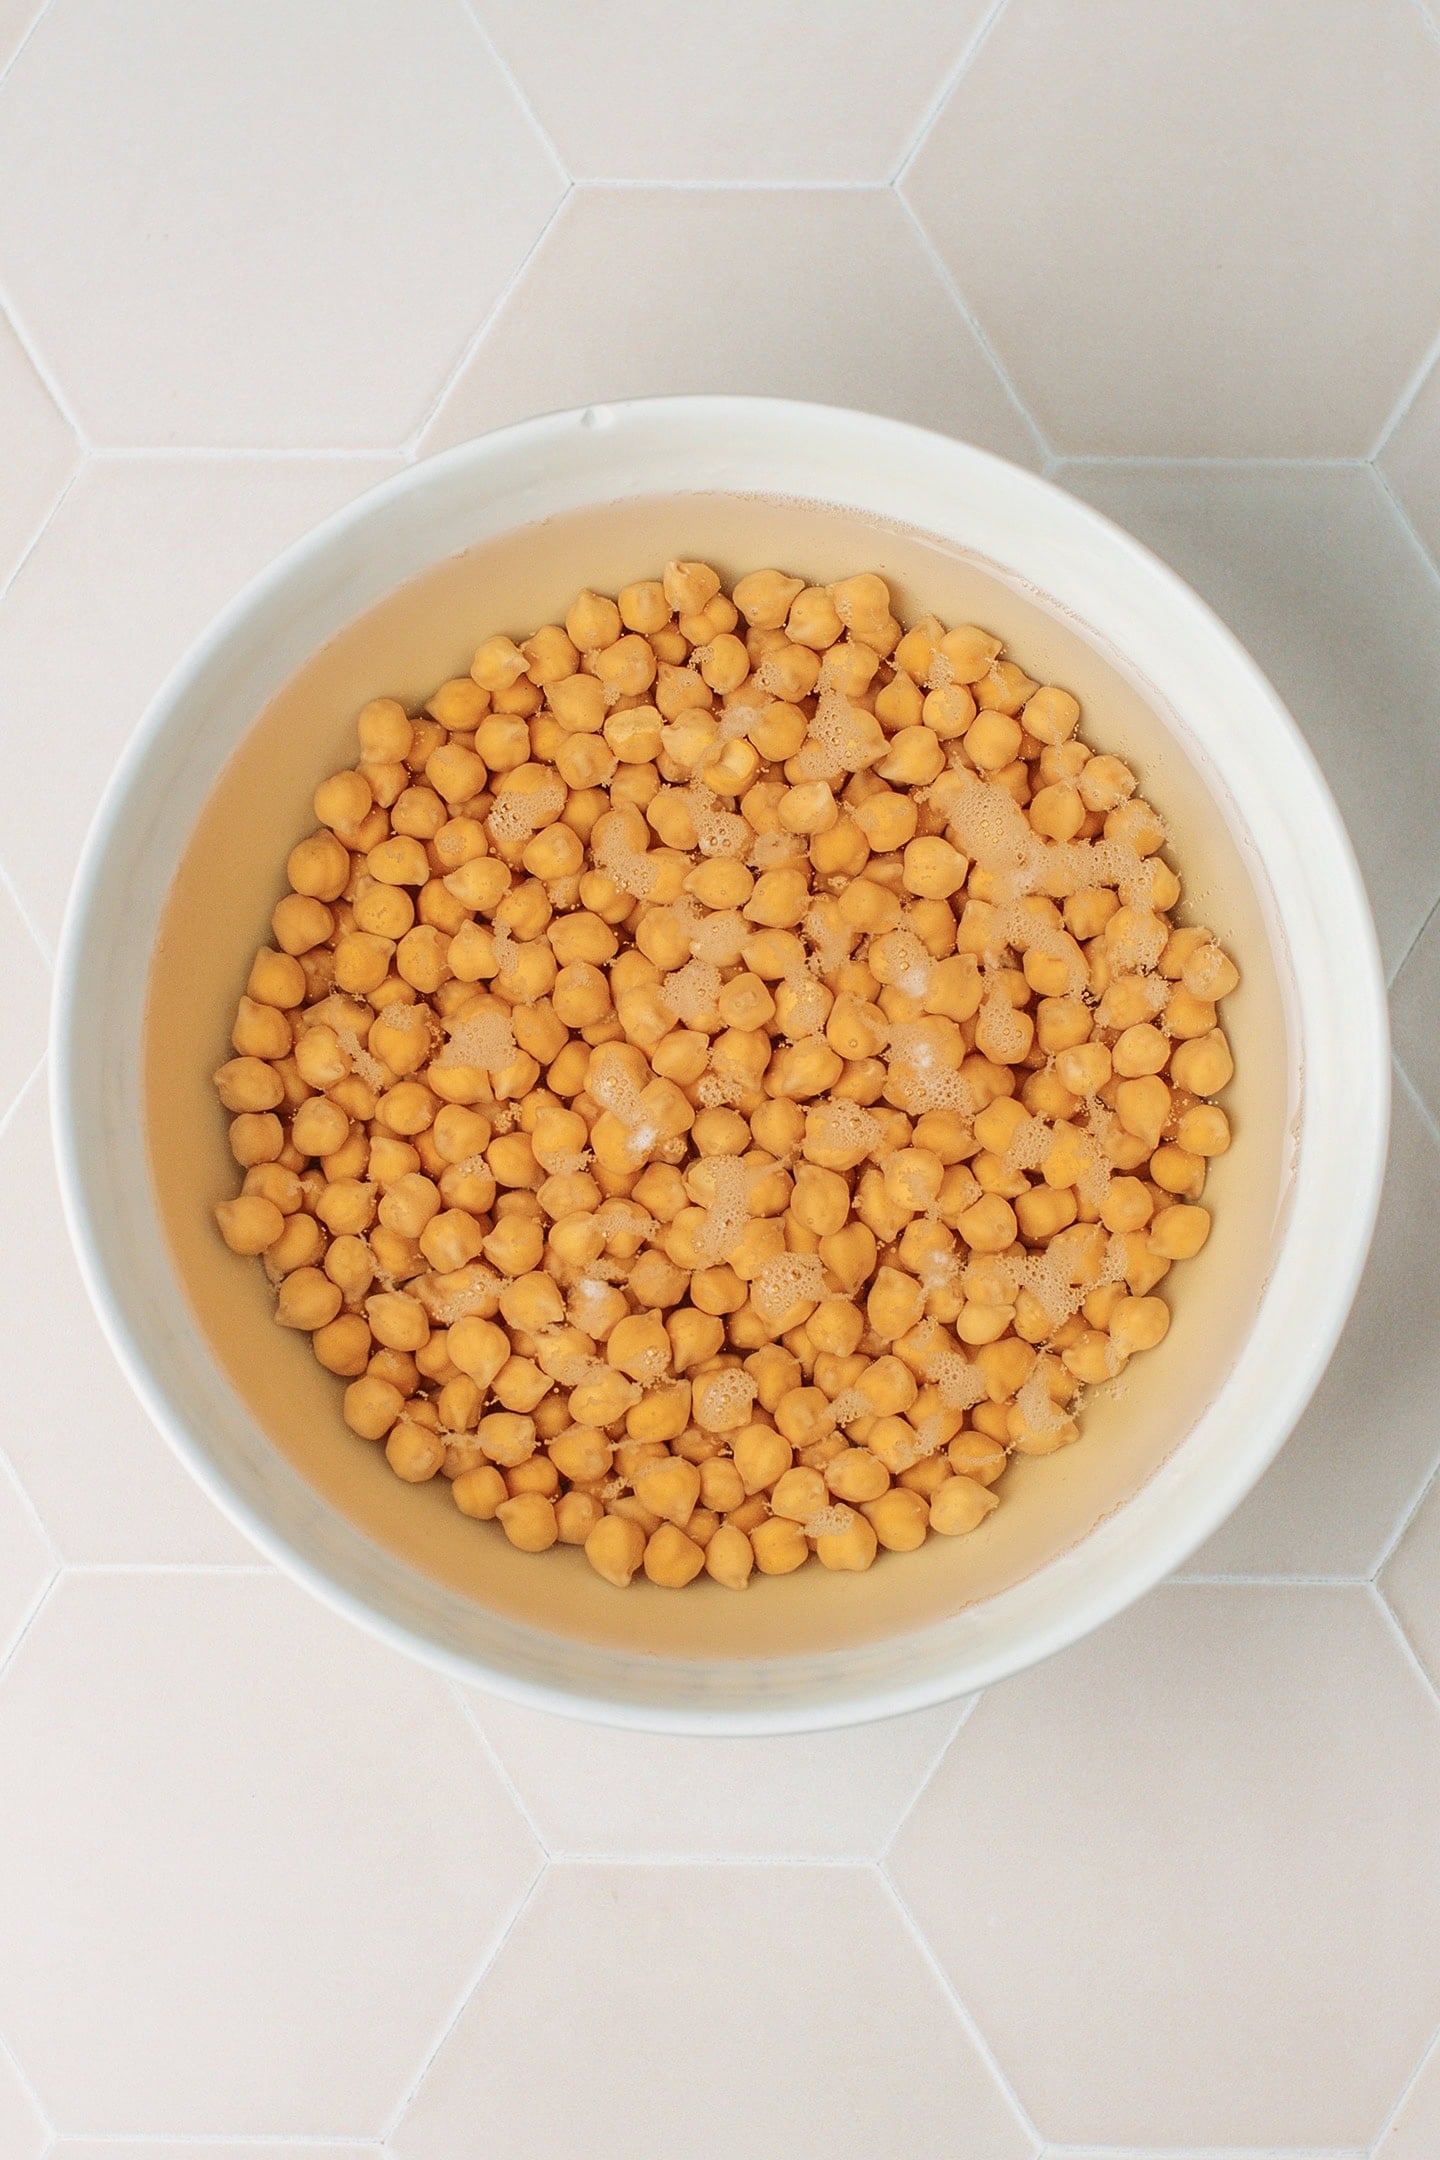
- Let them soak overnight. The next day, drain them.
2. Cook them
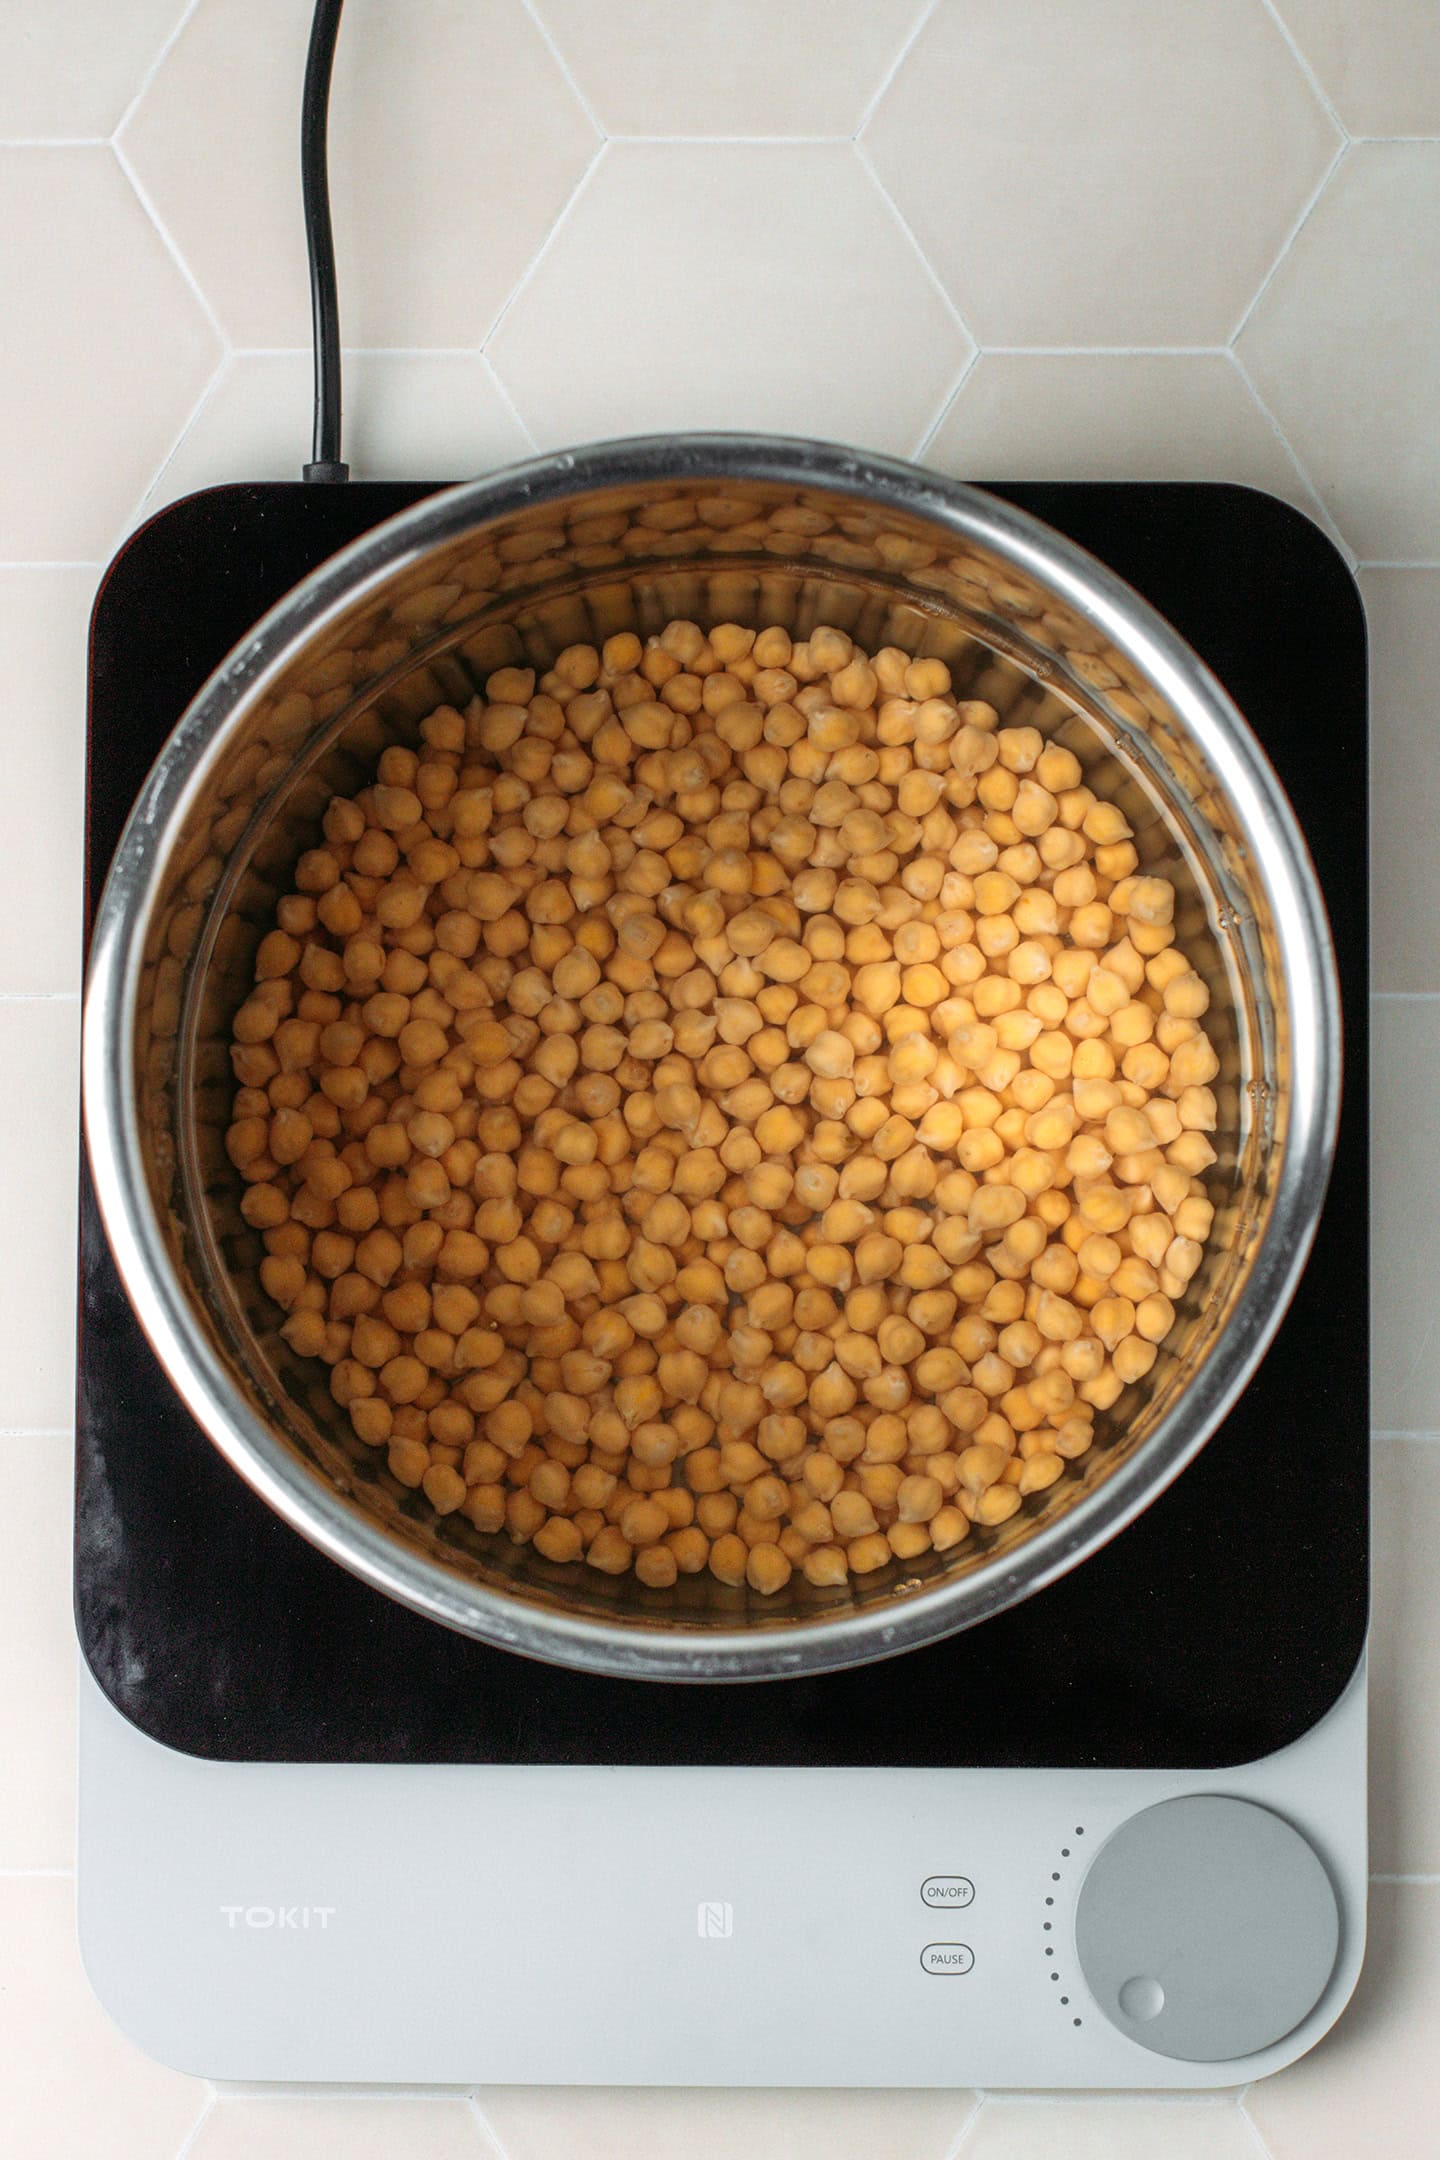
- Transfer to a pot. Transfer the chickpeas to a large pot and cover with water.
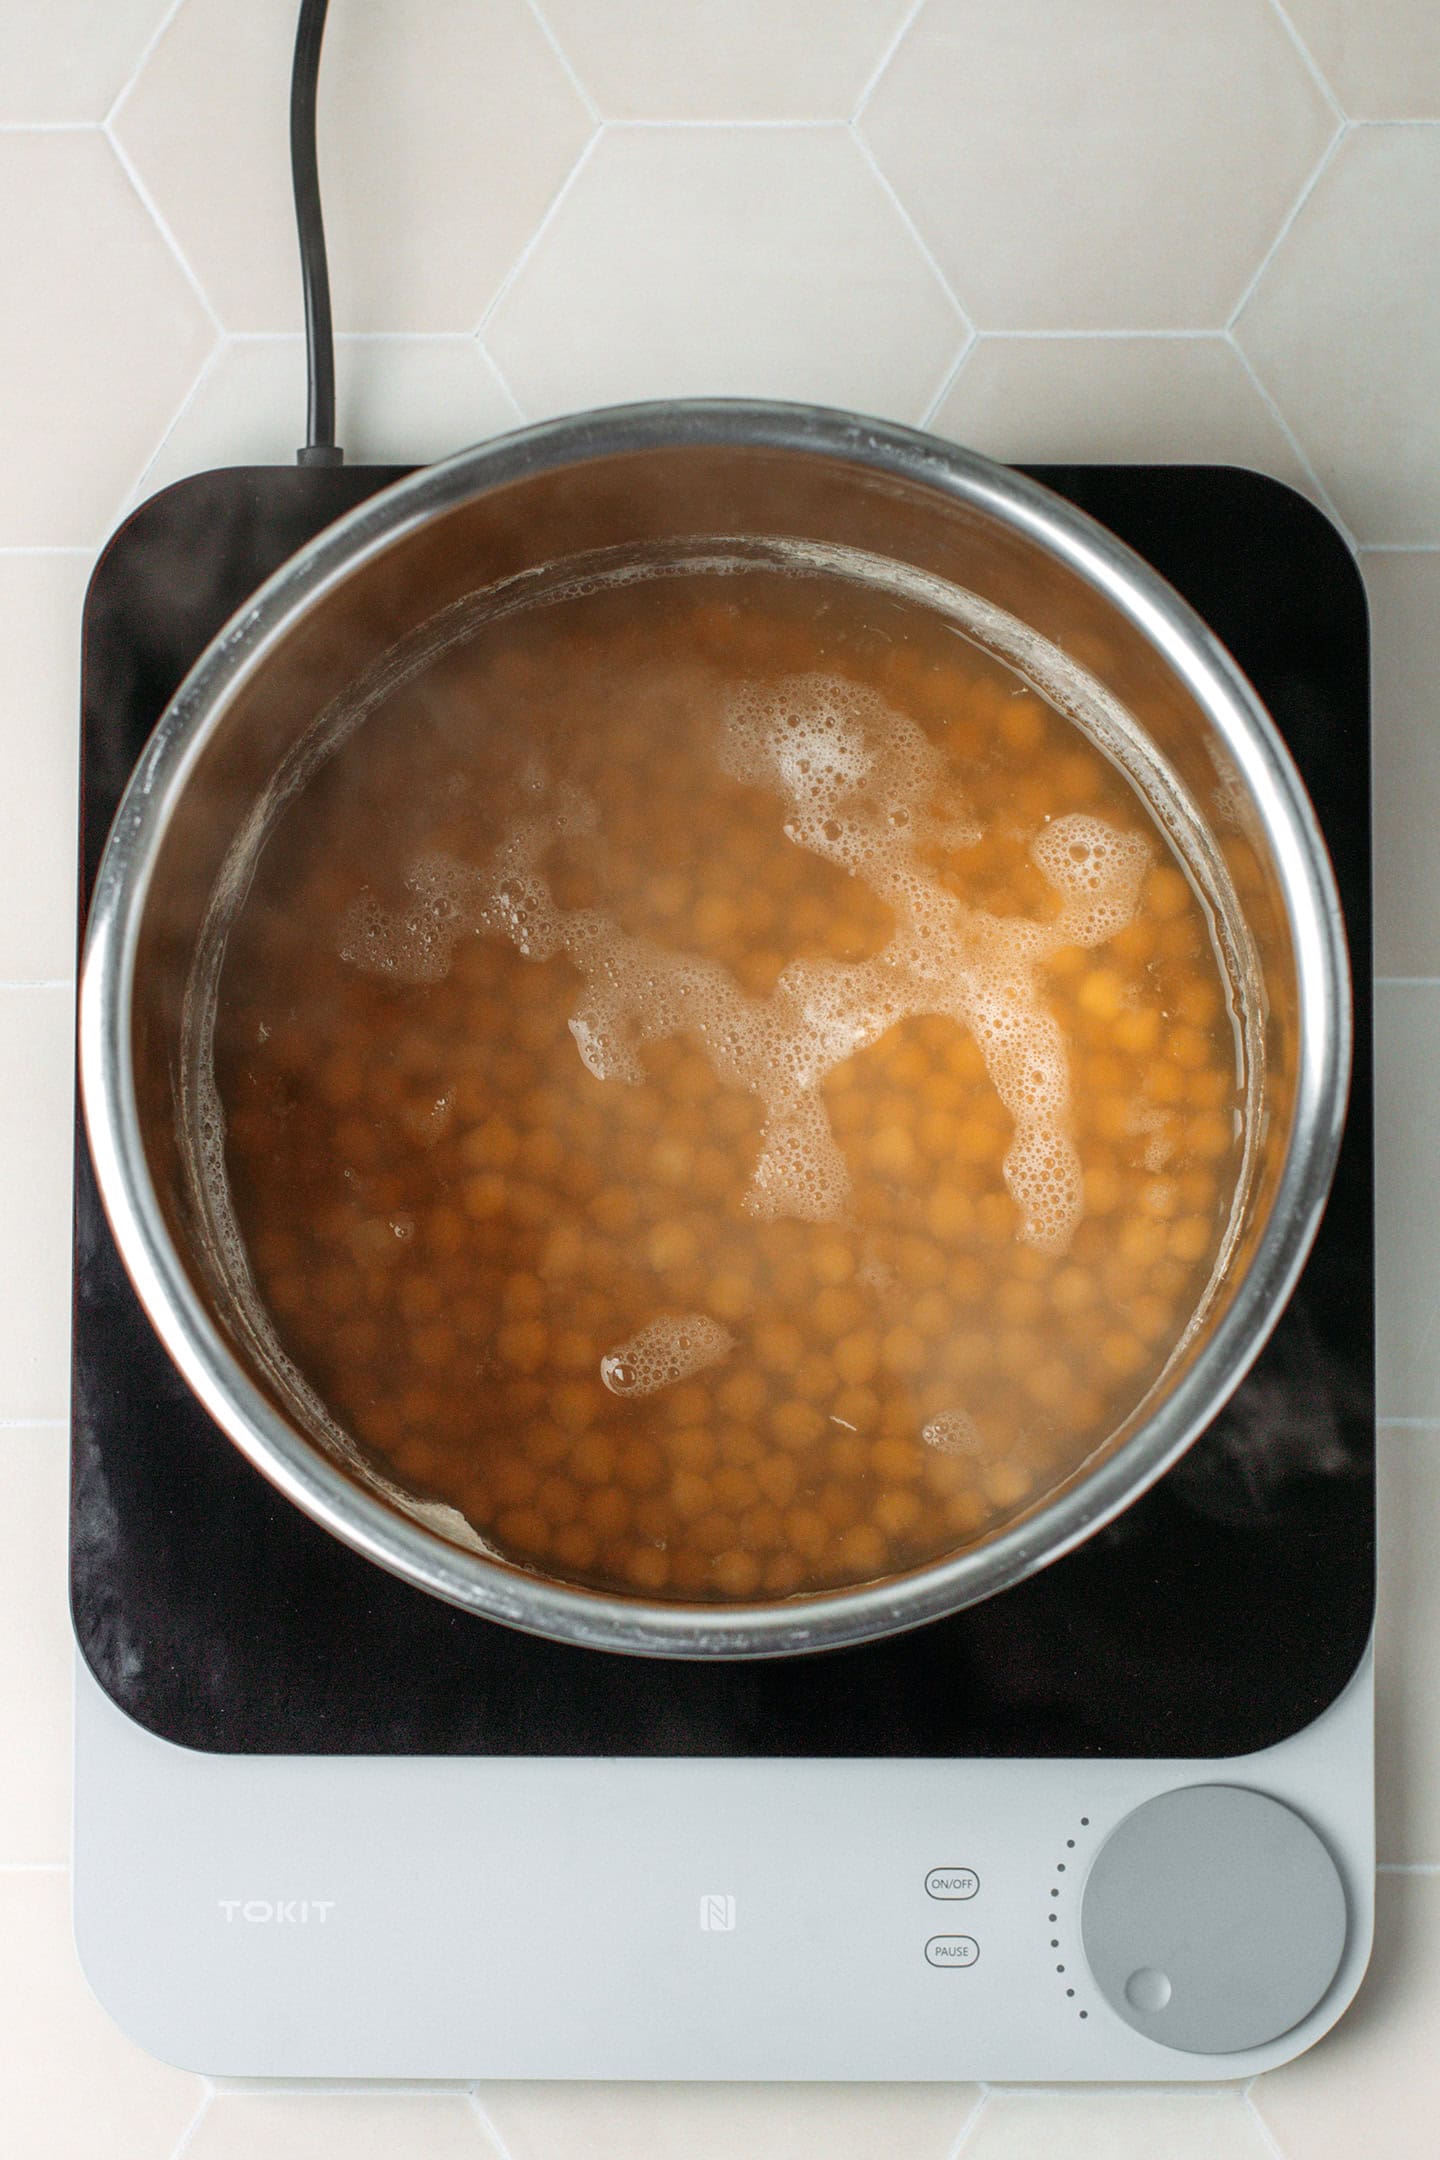
- Simmer. Bring to a boil, then simmer for about 60 minutes or until the chickpeas are tender.
3. Prepare the loaf
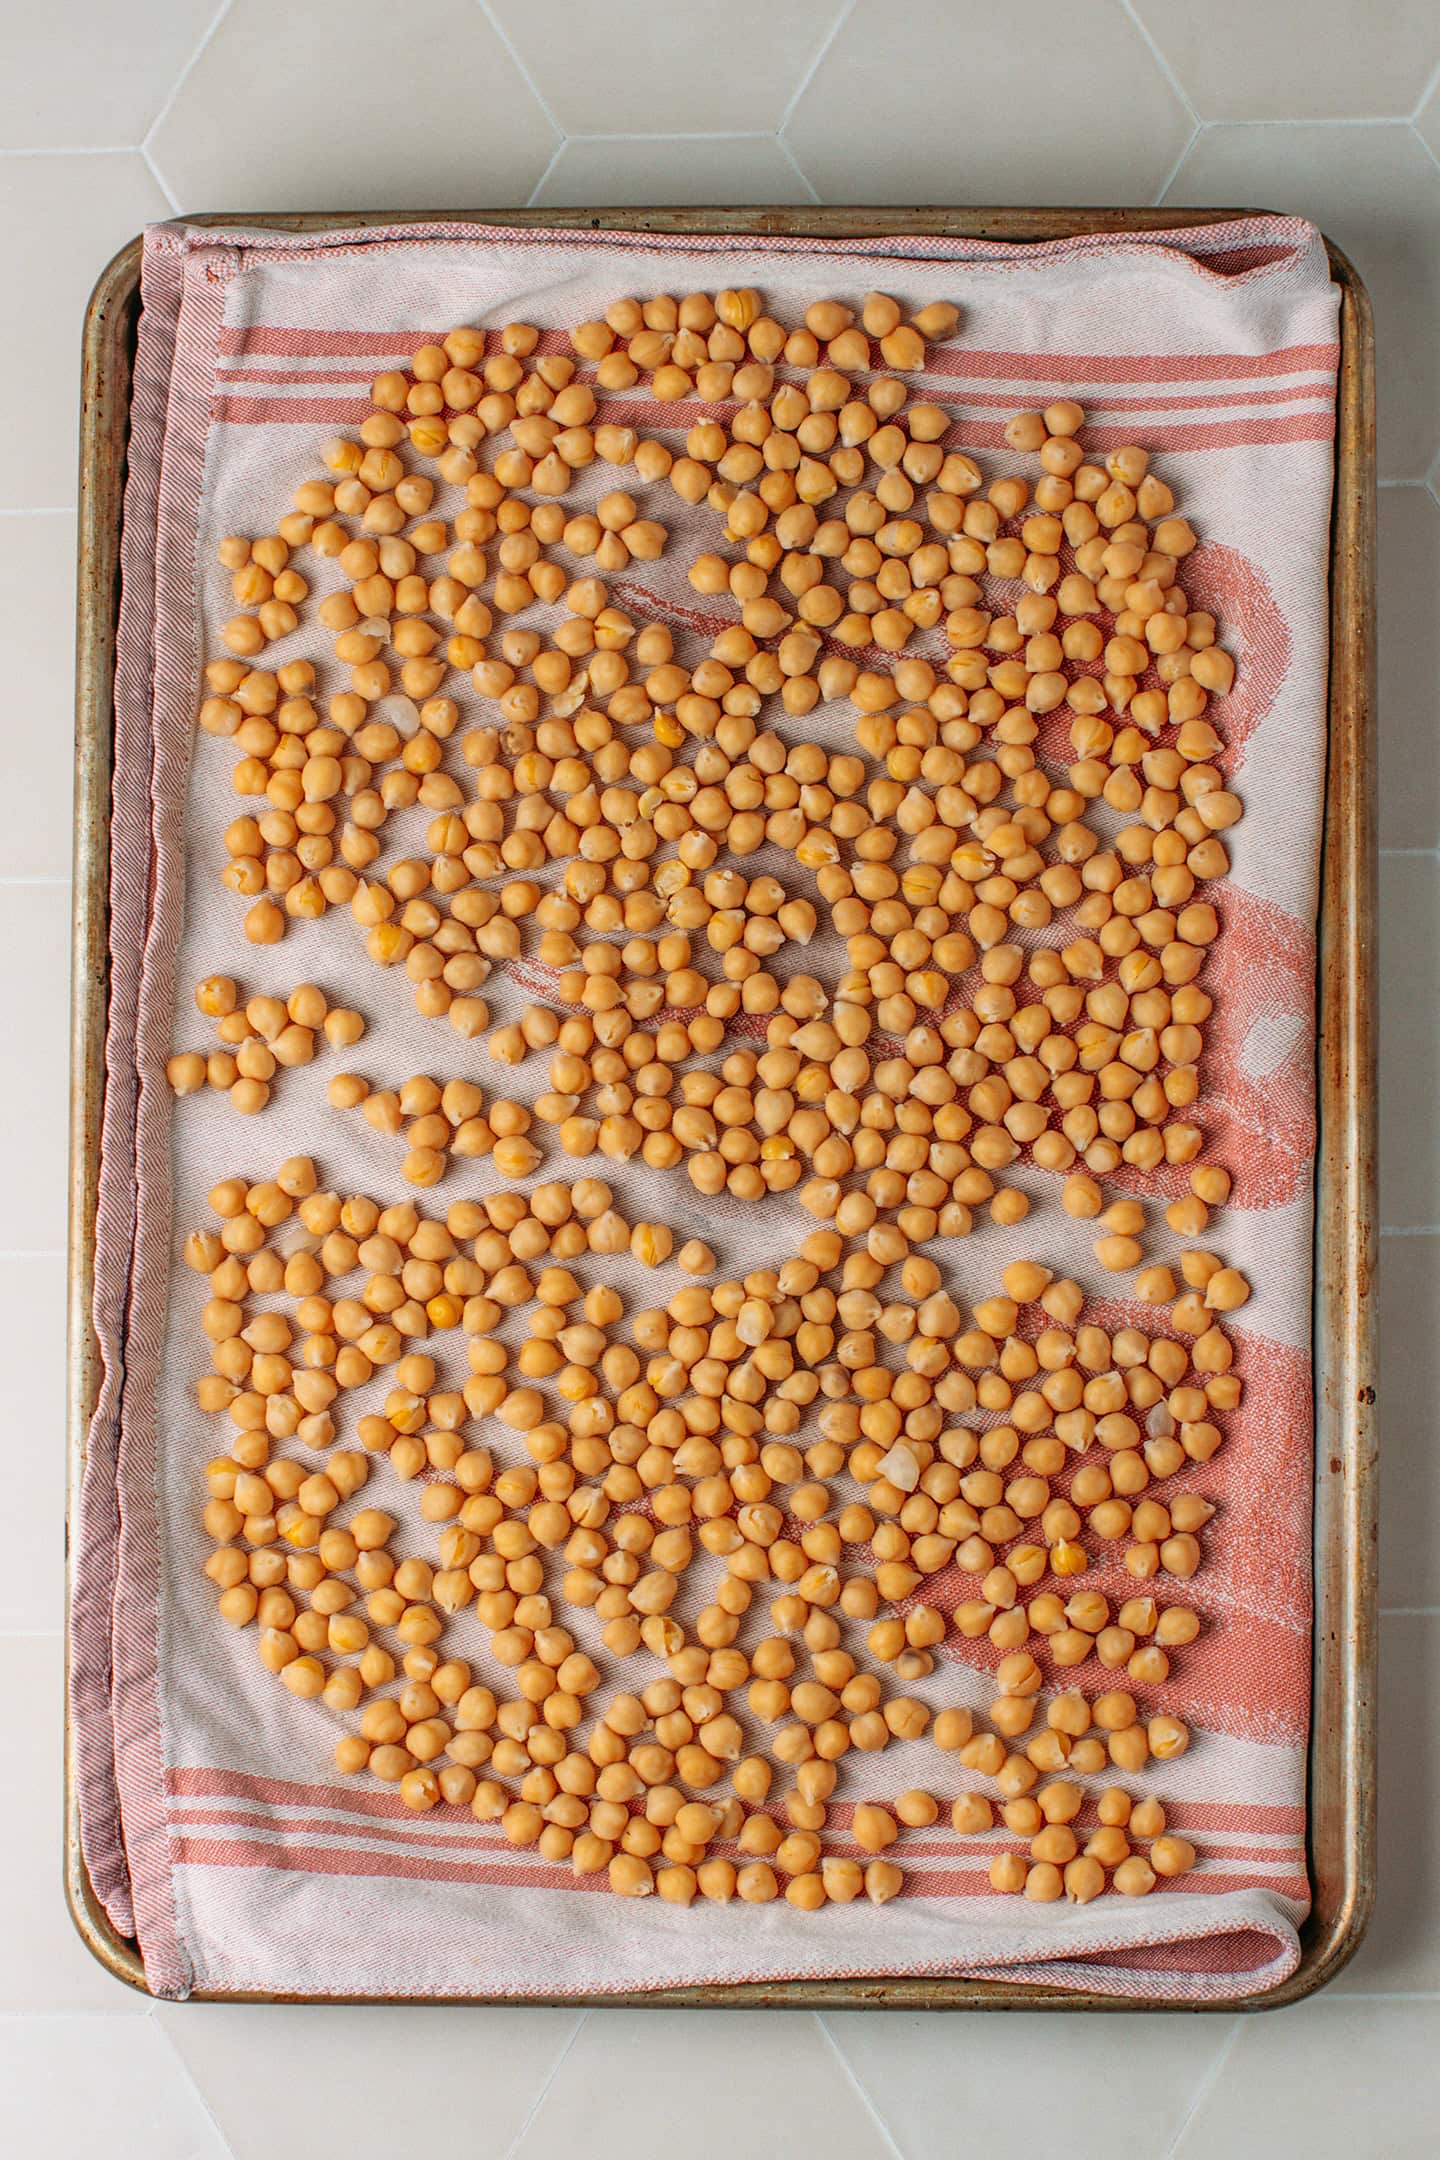
- Drain. Drain the chickpeas well. Then, spread them on a baking sheet lined with a clean kitchen towel. Dry for 20 minutes.
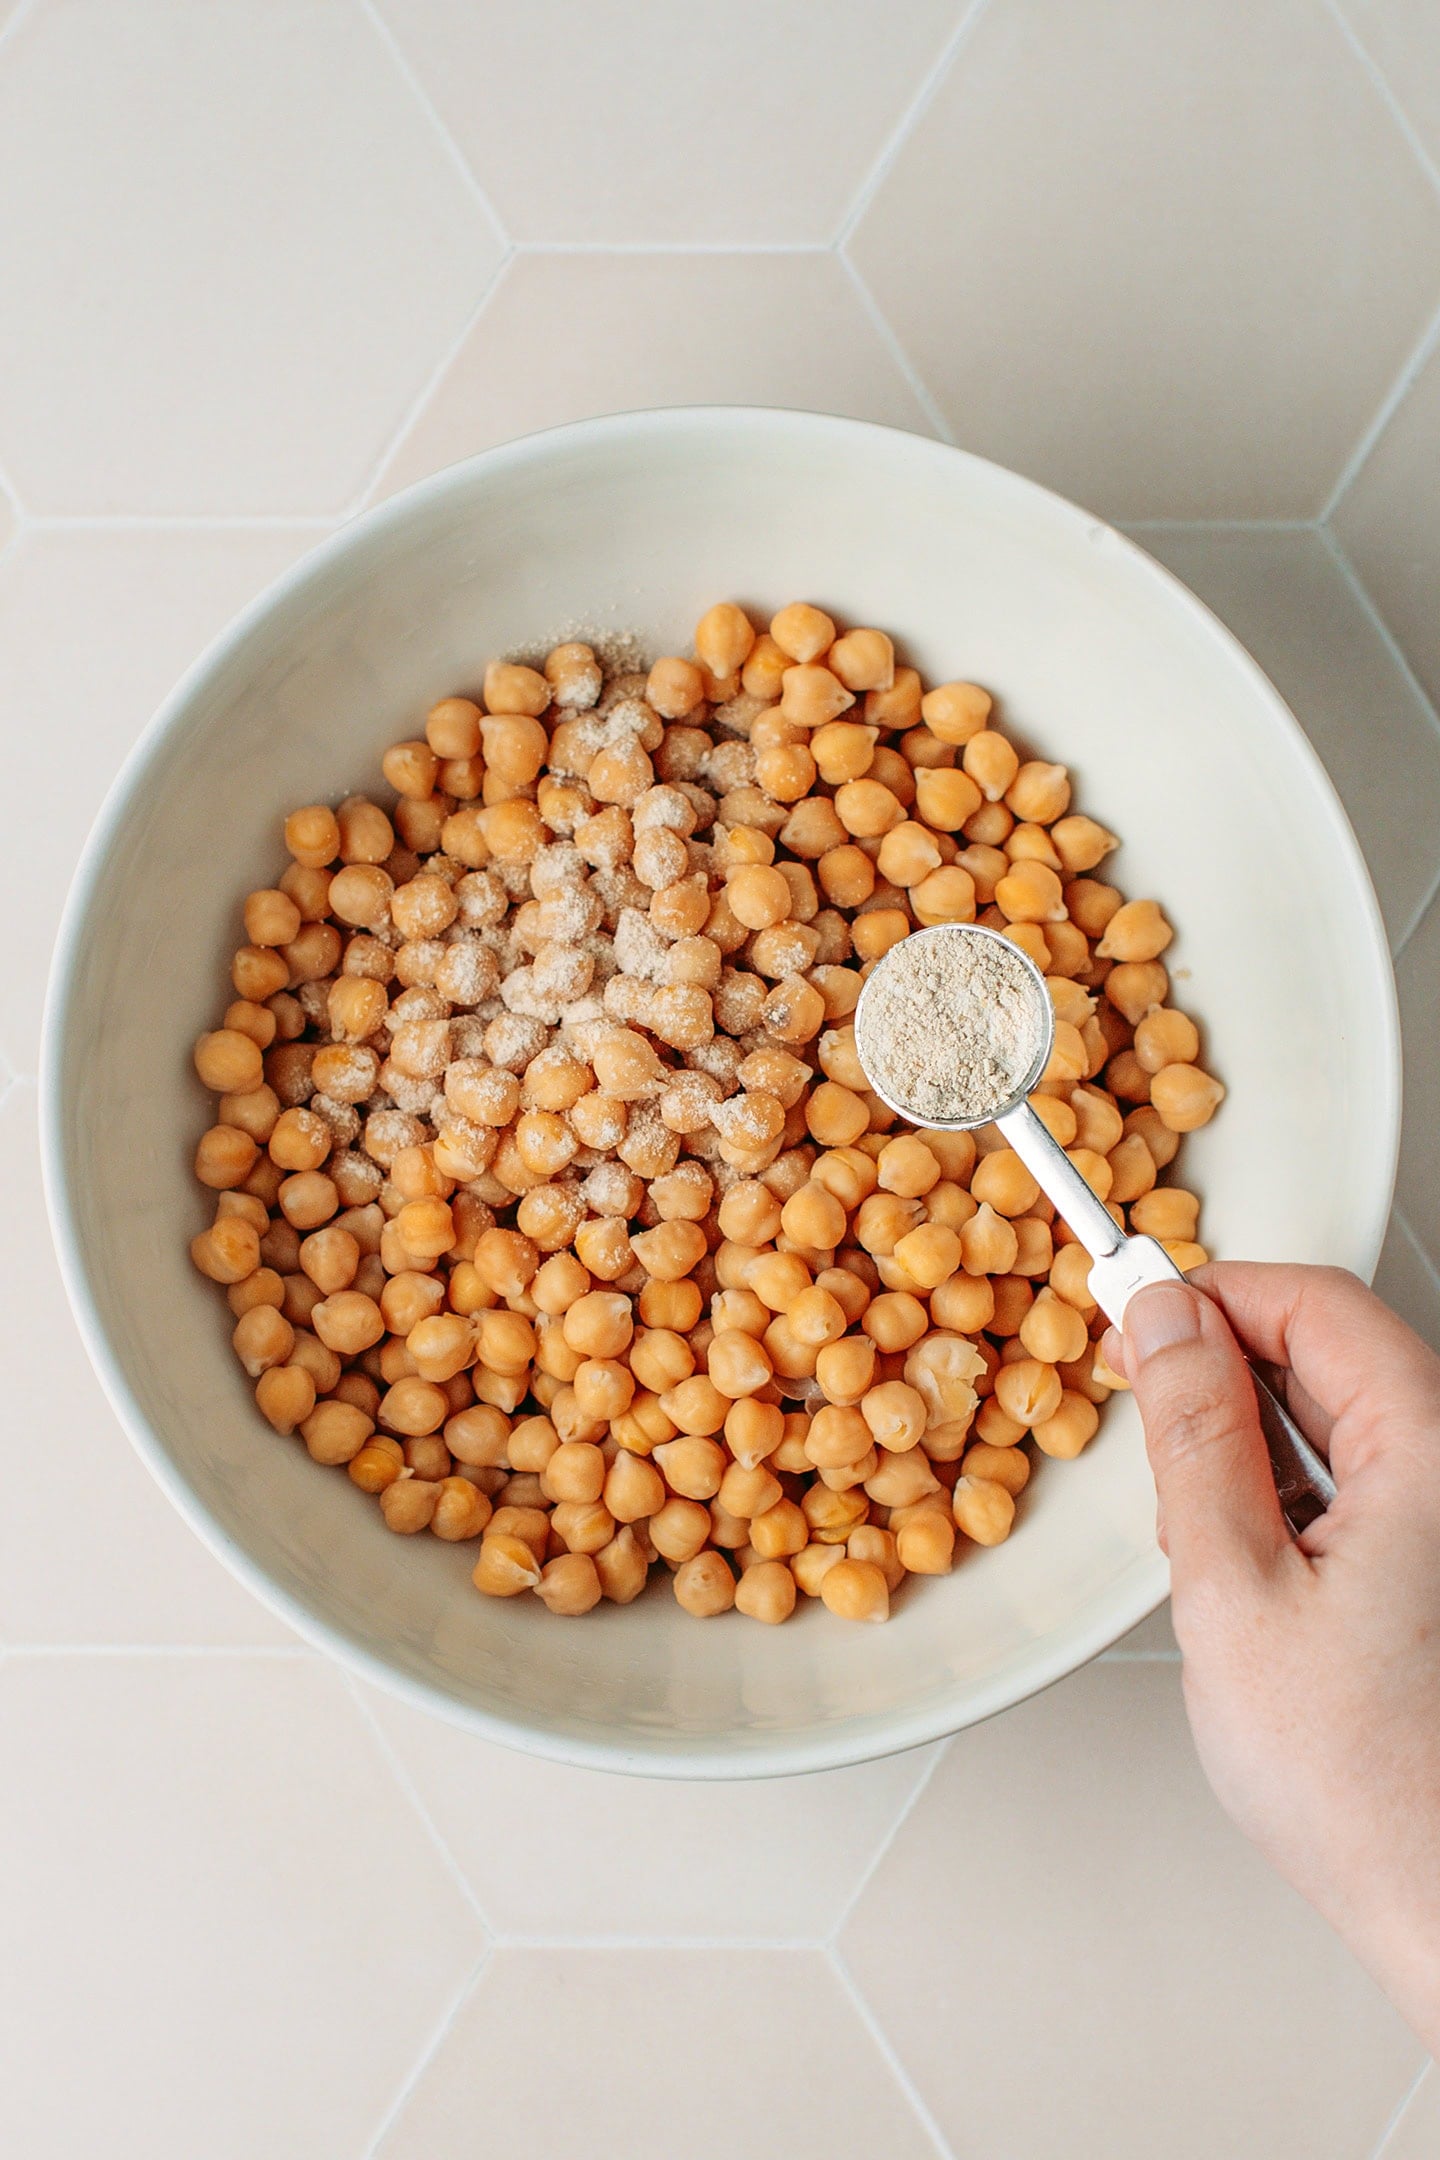
- Mix. Transfer the chickpeas to a large mixing bowl. Add the vinegar and stir to combine. Then, add the tempeh starter and stir to coat.
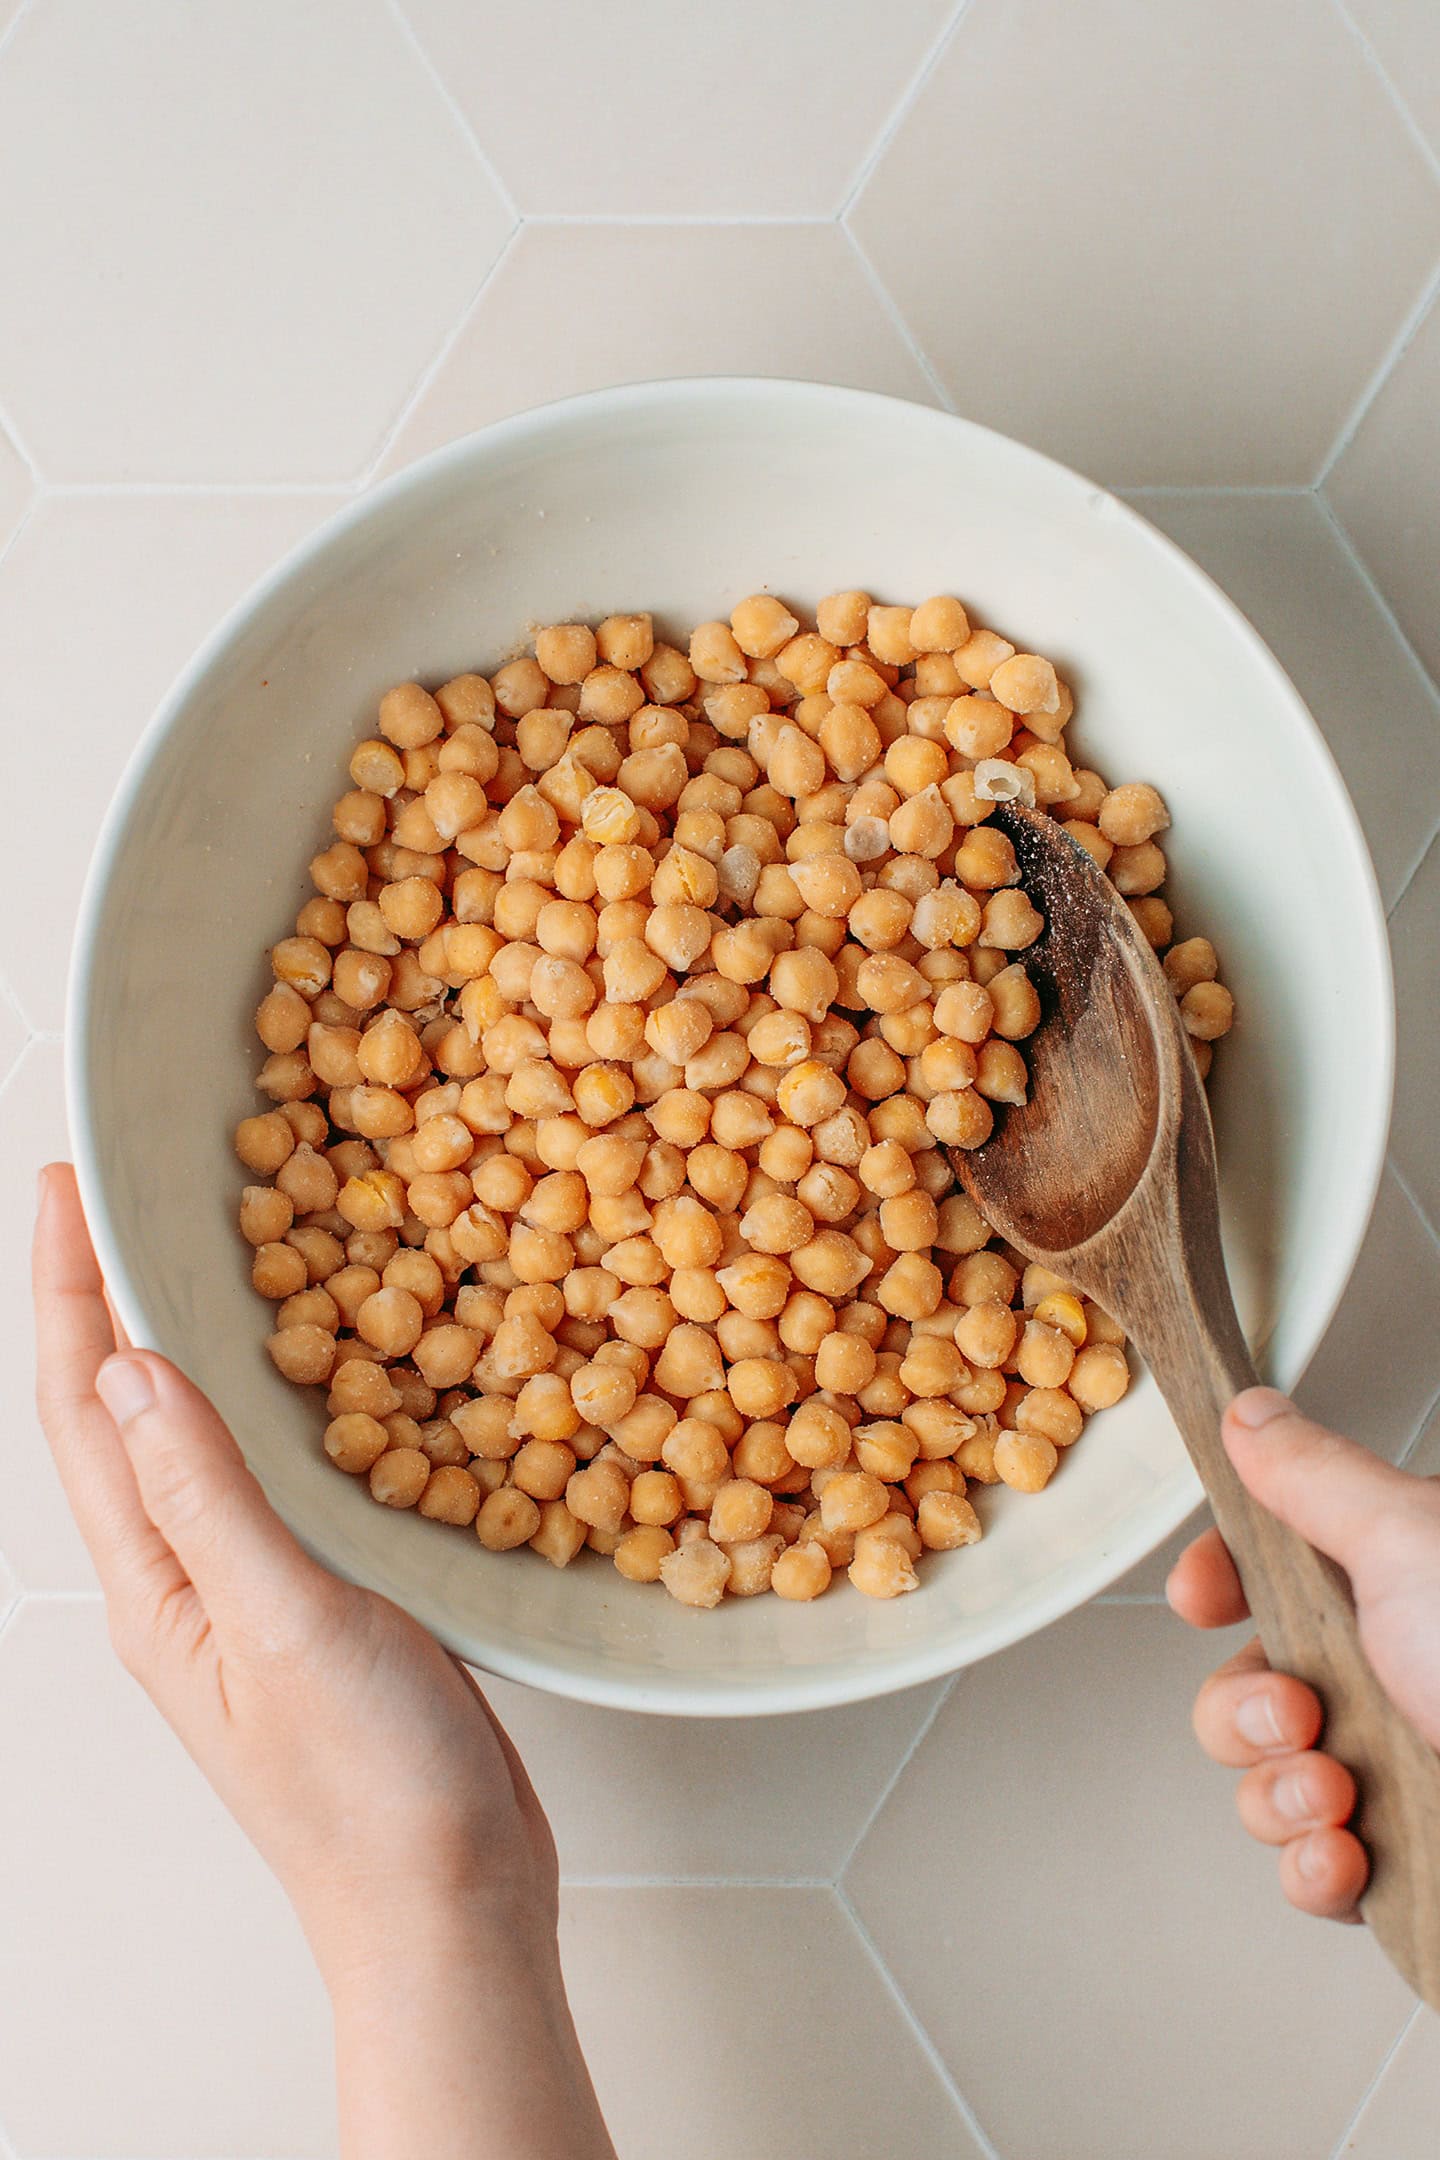
- Mix well to ensure the chickpeas are evenly tossed with the starter.
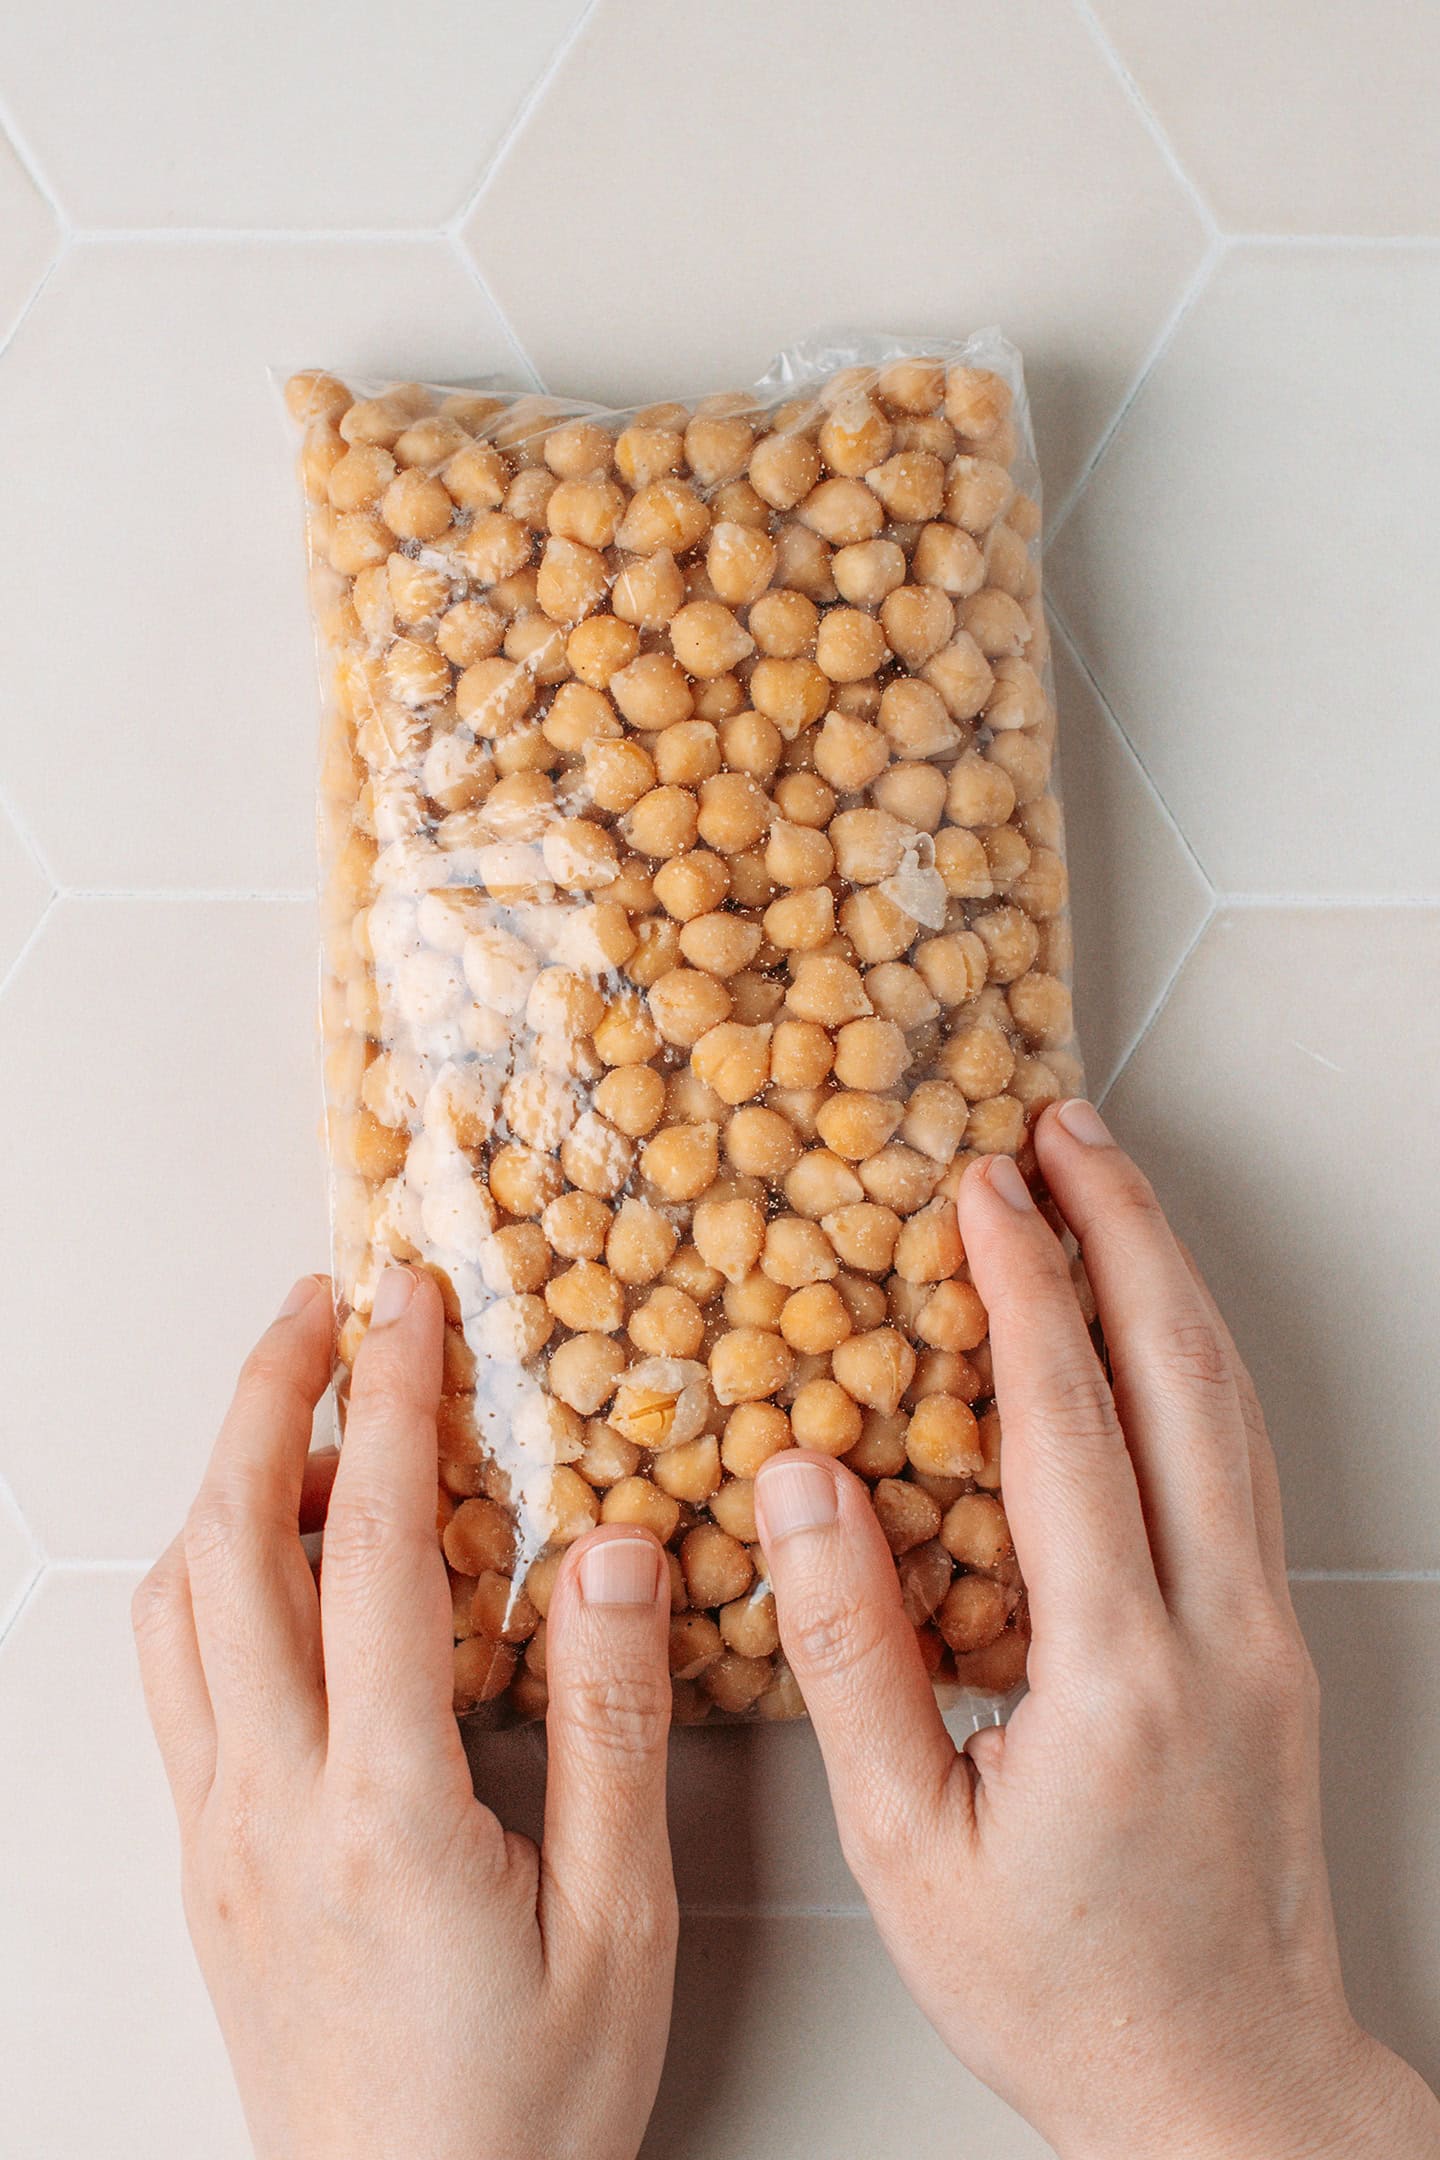
- Transfer to a bag. Transfer the chickpeas to a freezer bag and shape them into a long loaf about 1 and 1/3 inches (3.5 cm) thick.
4. Incubate
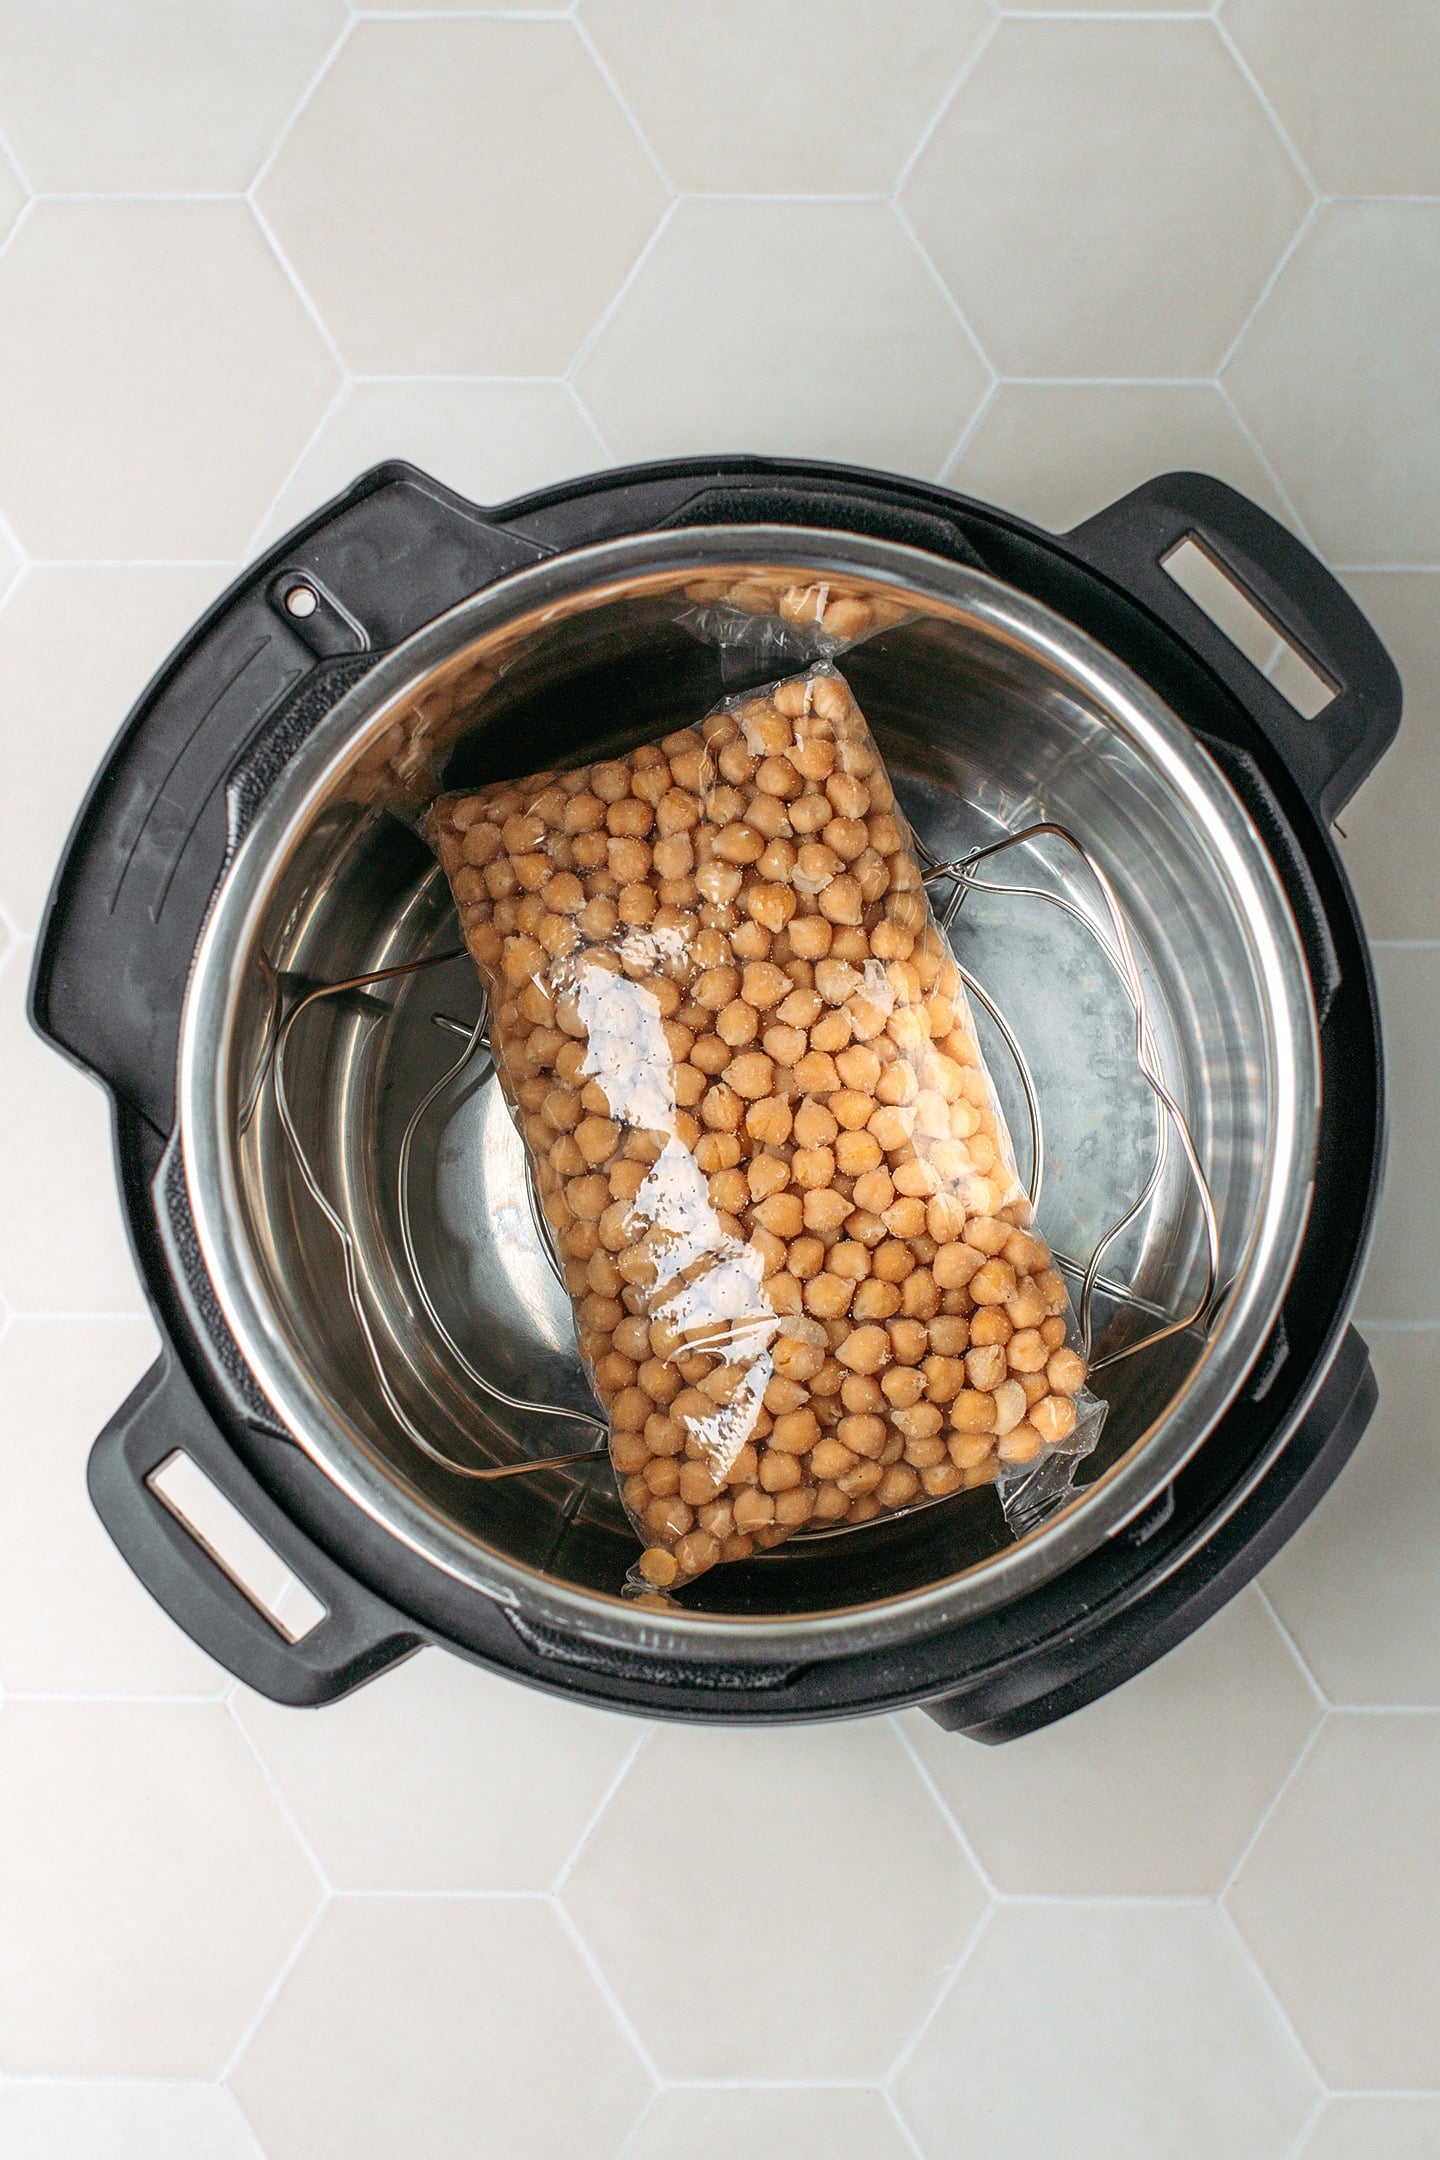
- Transfer to the Instant Pot. Place the bag on a rack inside the Instant Pot or Yogurt maker.
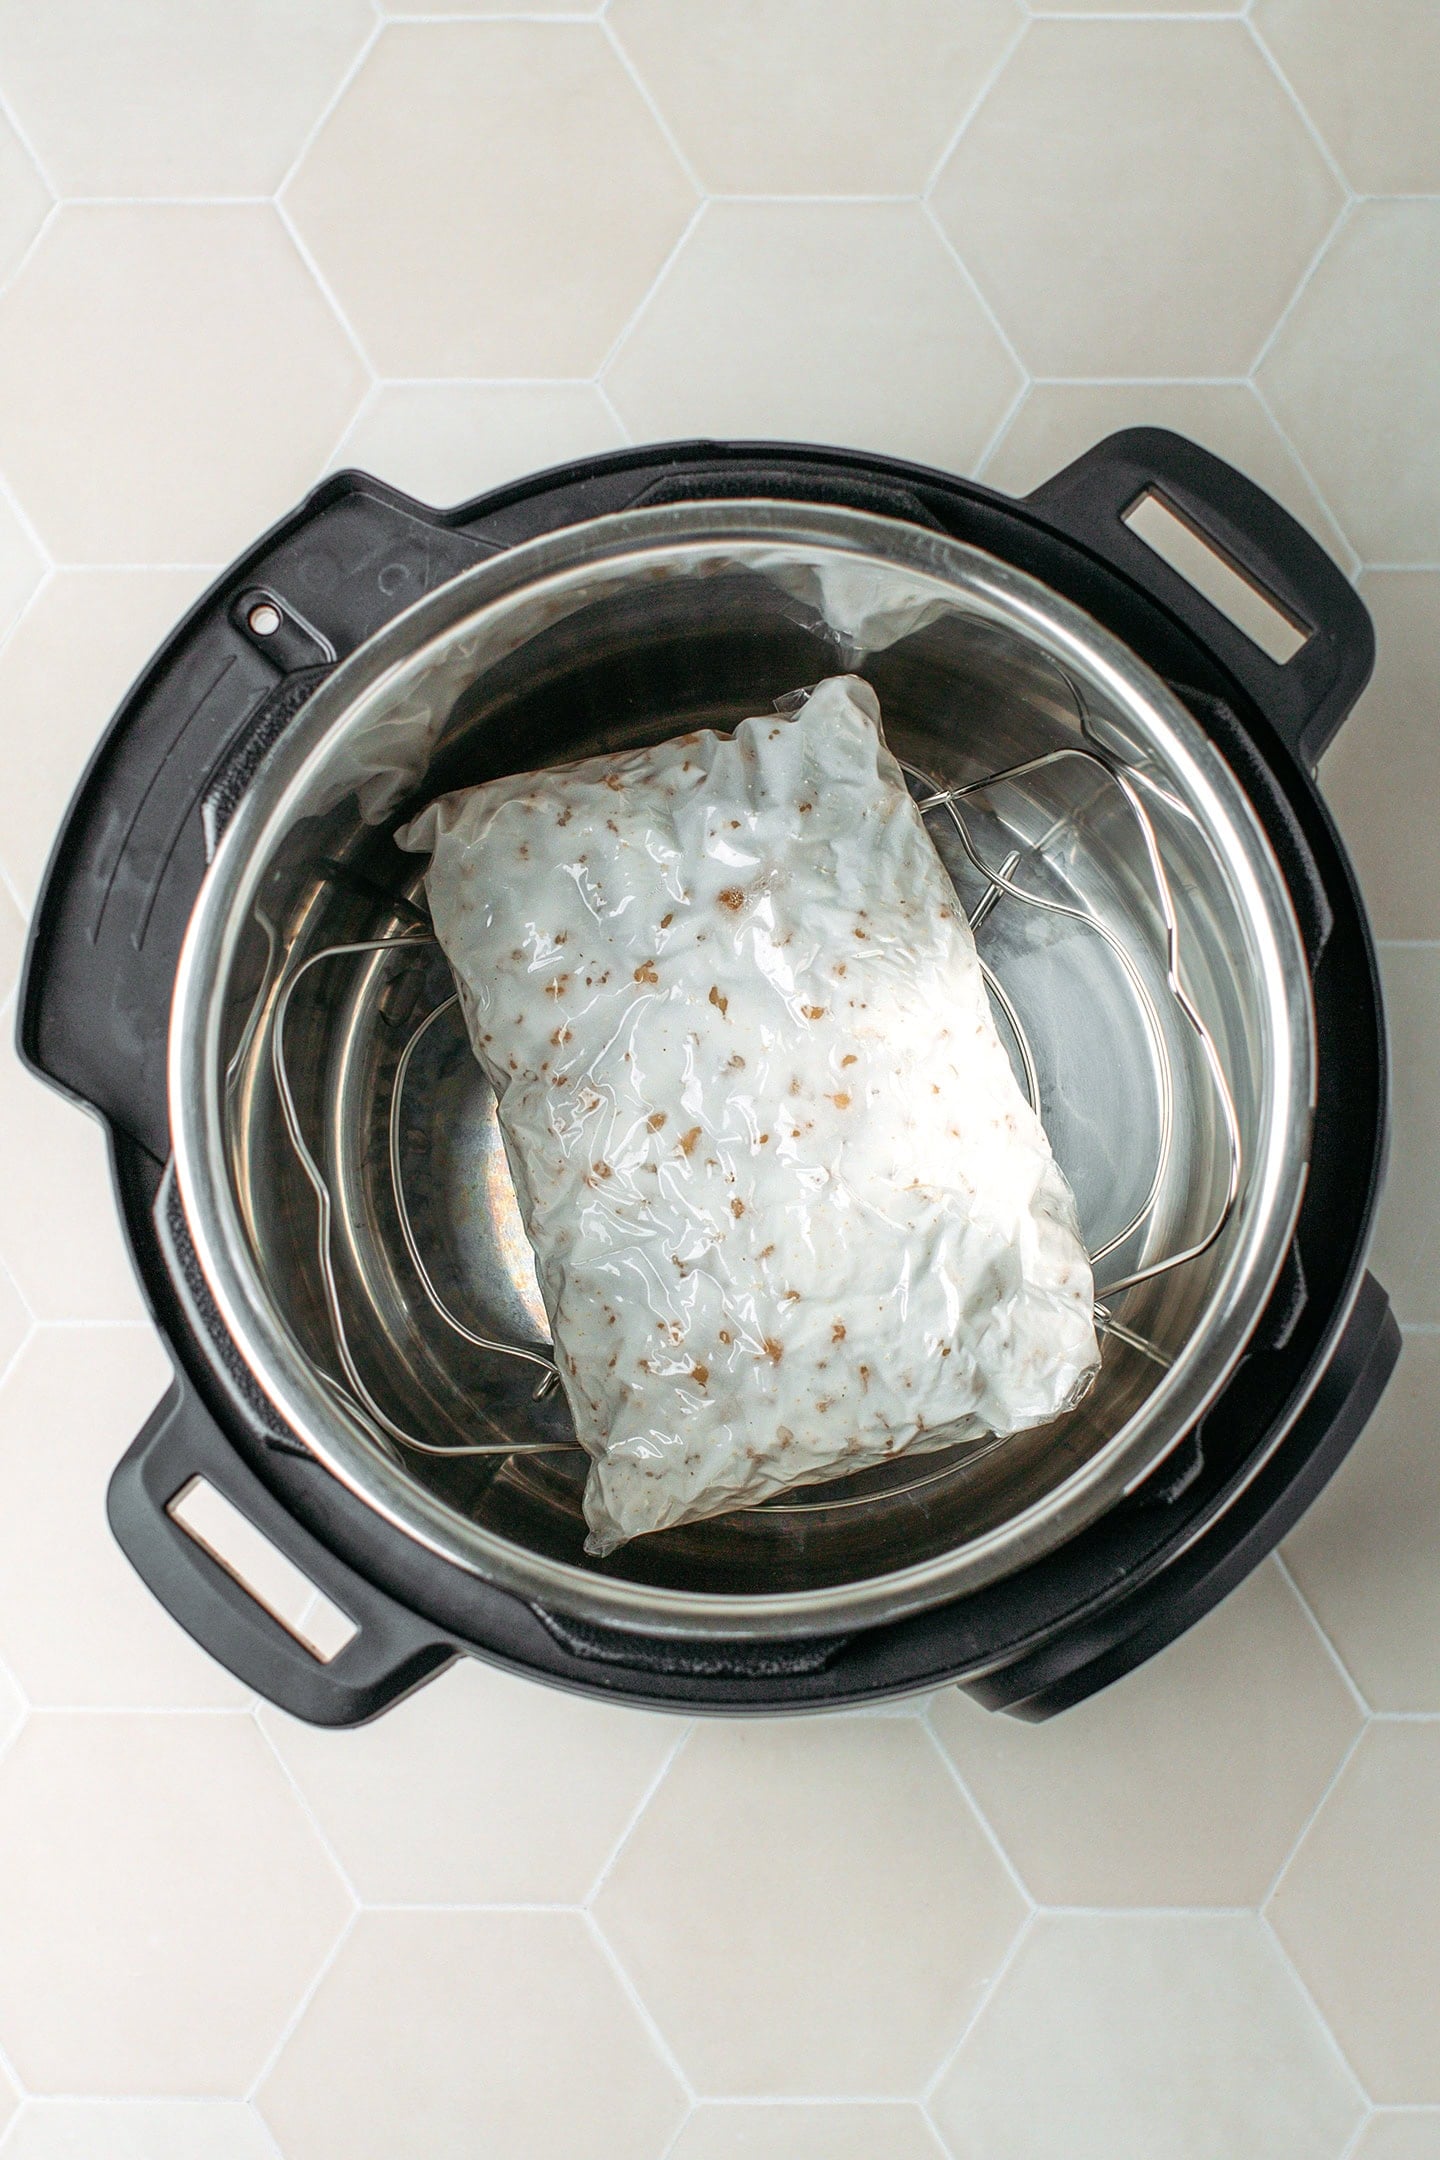
- Incubate. Close with the lid and set the Instant Pot to yogurt mode for 32 hours.
⏱️ How Do You Know When Tempeh Is Ready?
After about 32 hours, your tempeh loaf should be 80% covered with white mold. At this point, you can turn off the Instant Pot, yogurt maker, or oven and let it ferment for another 6-8 hours.
Not sure if your tempeh is done? Here are two ways to tell:
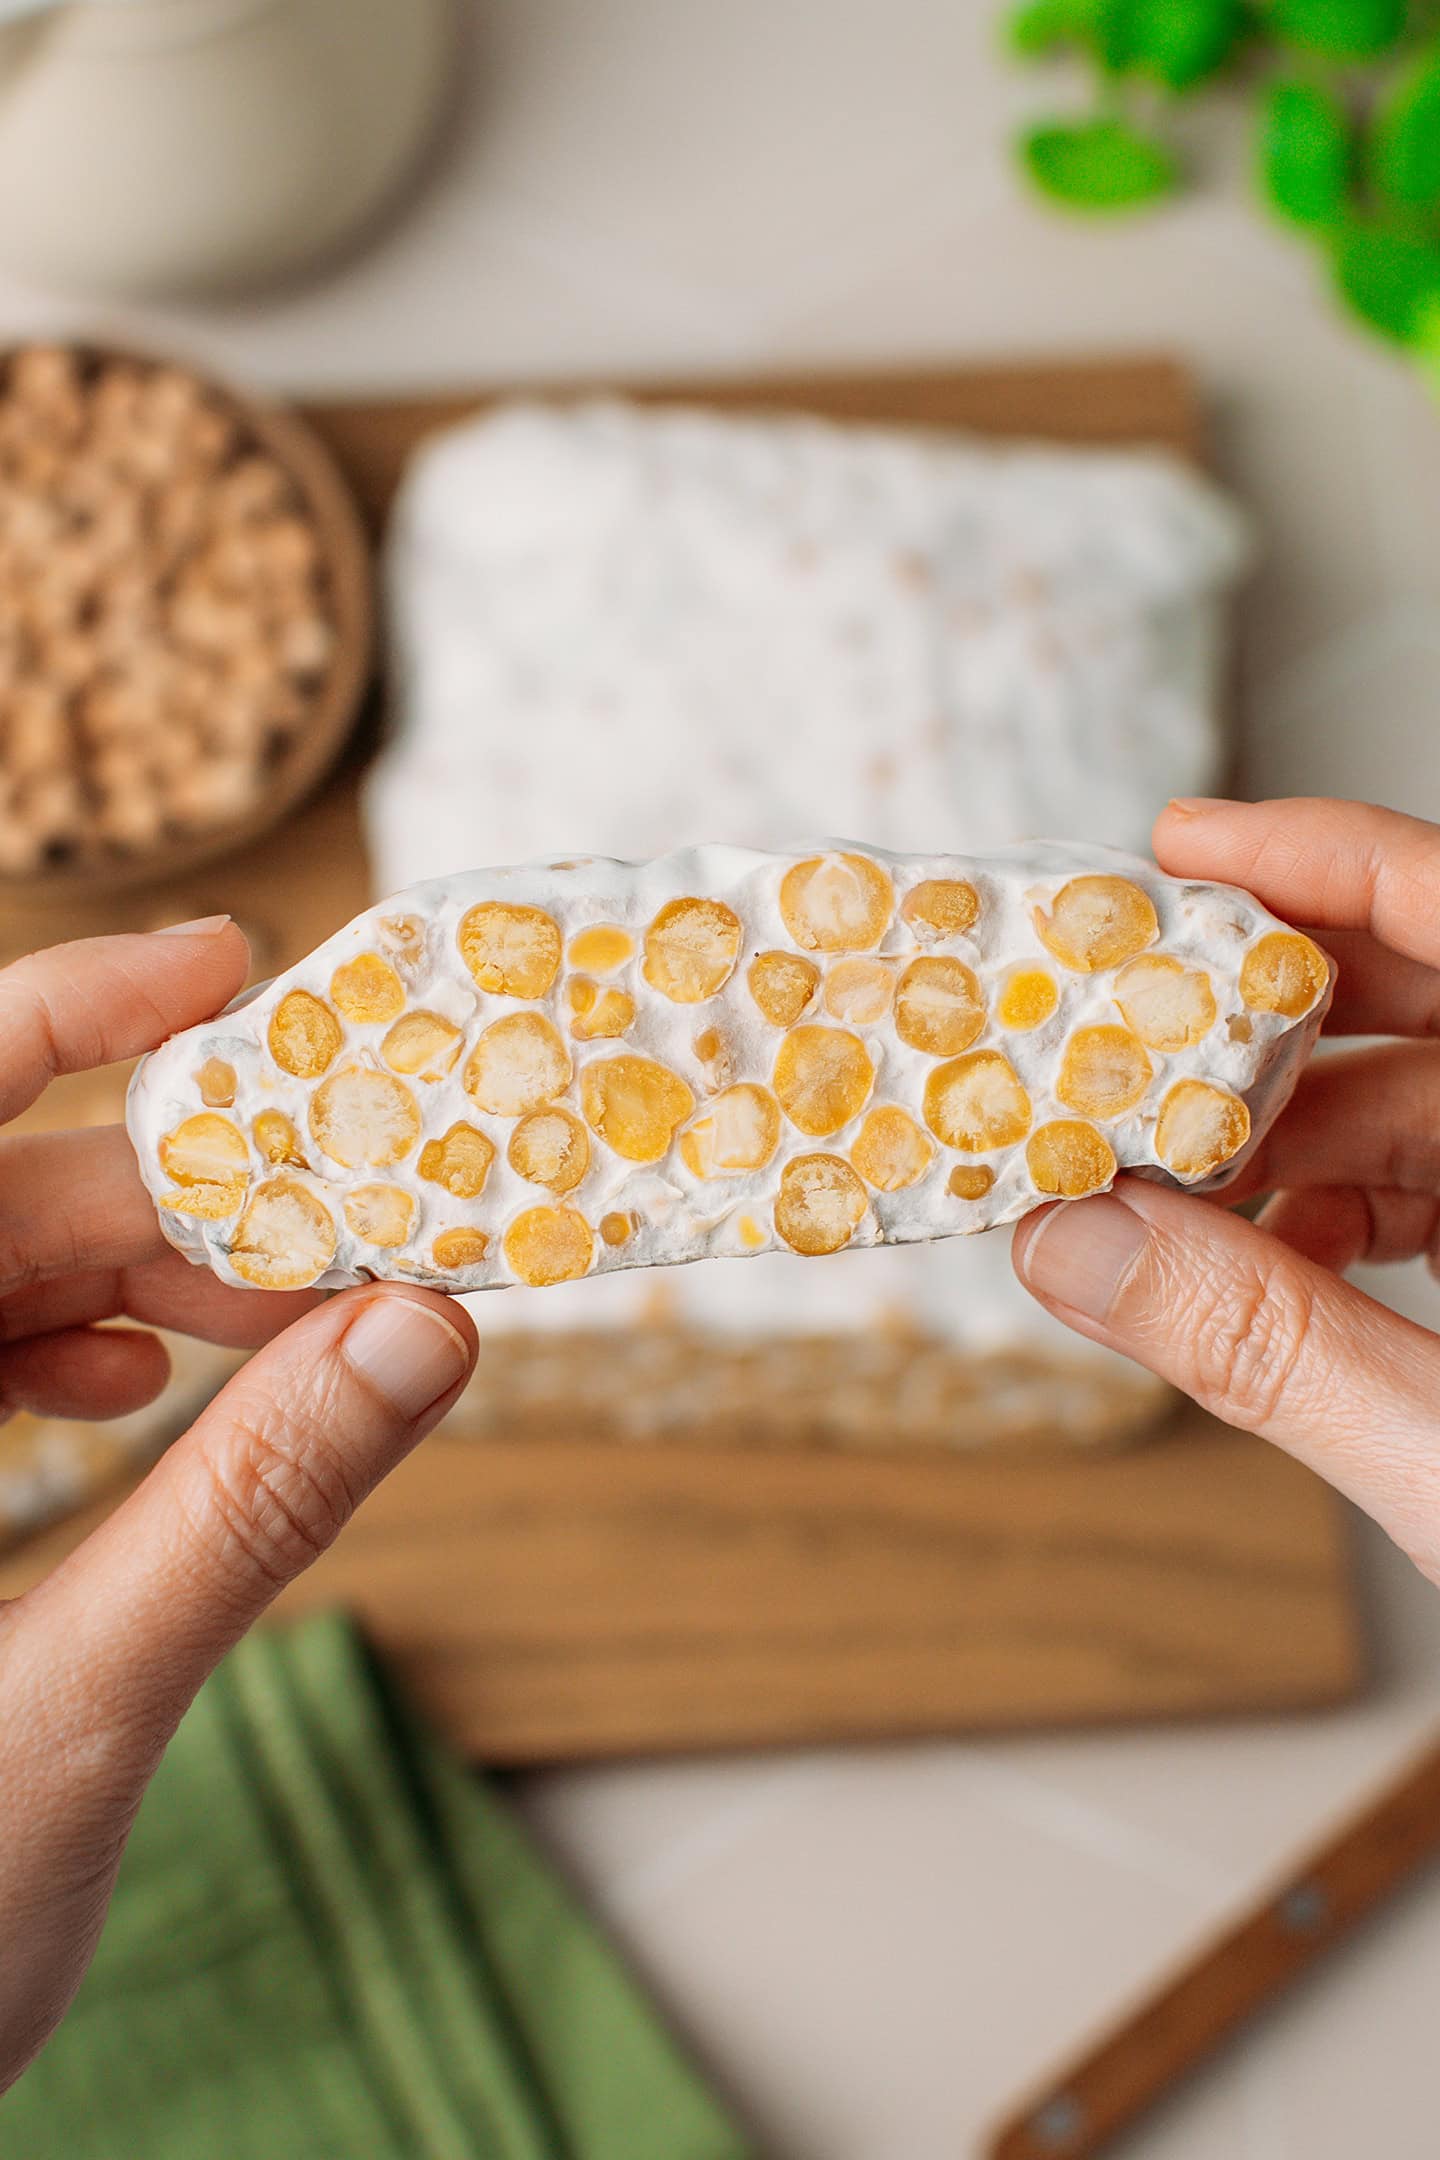
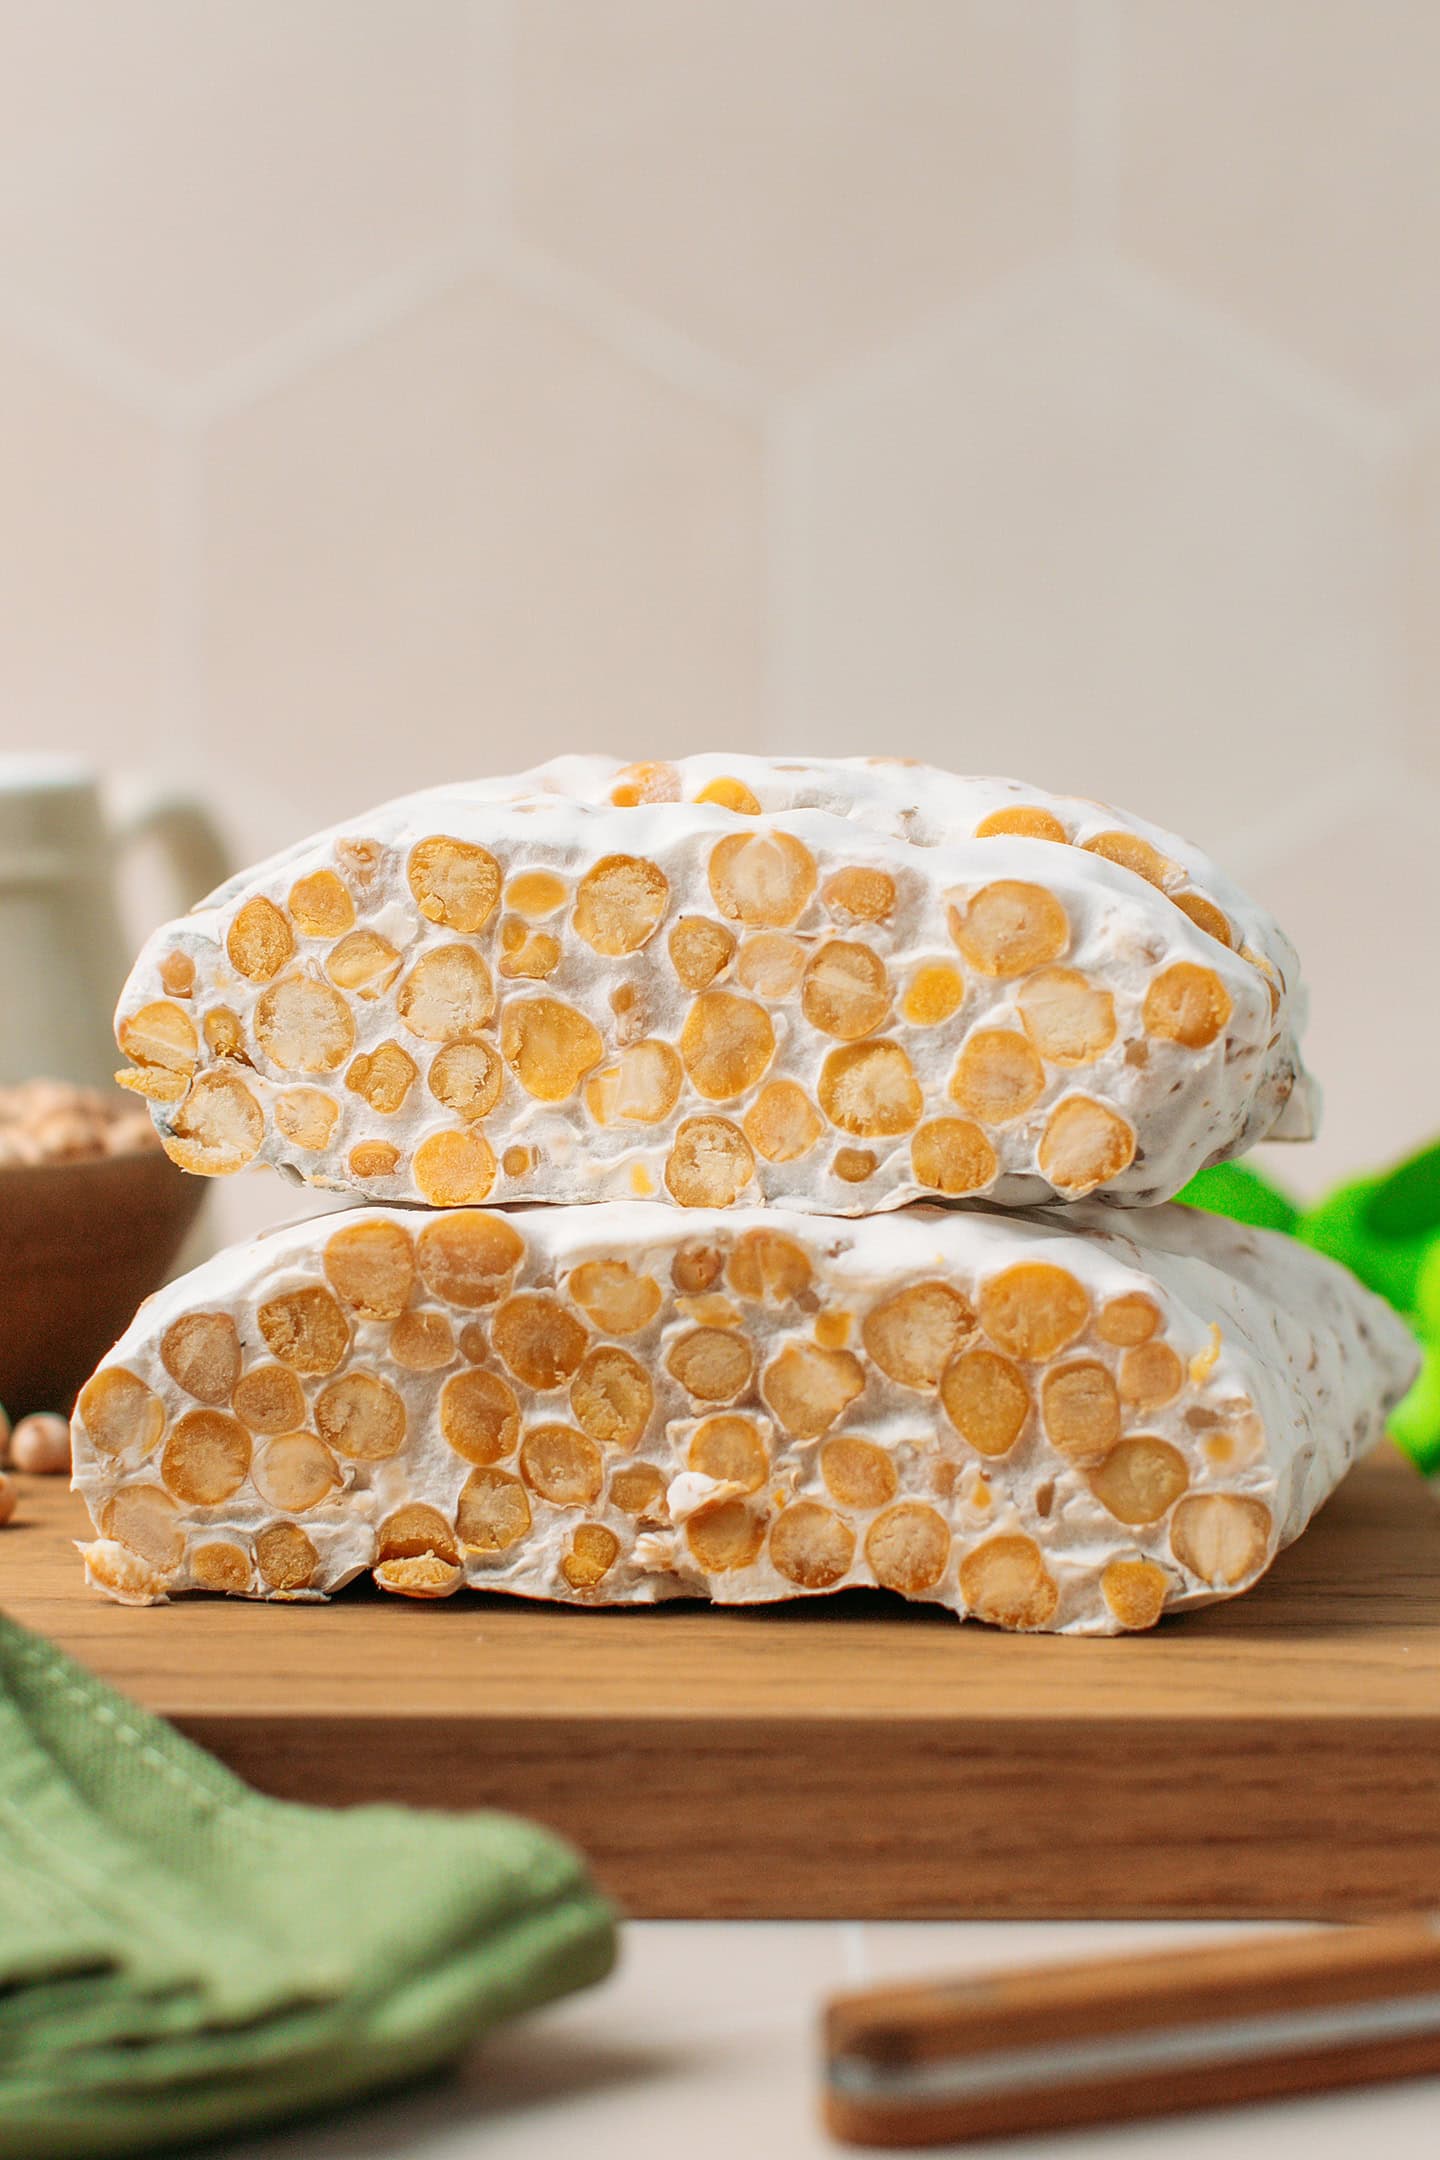
- Do you still see the chickpeas? Your tempeh should appear completely white with little to no visible chickpeas. If you can still see many chickpeas through the bag, it needs more time to ferment.
- Is it compact and holding together? Hold the tempeh in your hands. It should feel firm and hold together as a compact loaf. If it seems a bit crumbly or bends easily, it’s not ready yet.
📔 Tips
Cook the chickpeas until tender, but not overcooked.
The chickpeas must be fully cooked for two reasons. First, the mold won’t grow properly on undercooked beans. And second, uncooked chickpeas will remain tough and unpleasant to eat, even after fermentation.
Dry the chickpeas well.
For optimal mold growth, the chickpeas must not be too moist. Do not skip this step – spread them on a clean kitchen towel and let them dry for 20-25 minutes.
Pack them tightly.
Transfer the chickpeas to a perforated freezer bag and pack them tightly, without mashing them. If there’s too much space between chickpeas, mold may not grow properly, preventing them from binding into a firm block.
🌯 How To Cook Tempeh
Just like tofu or soy tempeh! Here are a few ideas:
- Marinate: Marinating tempeh slices is the best way to add flavor. One of my favorite marinades consists of one part sesame oil, one part maple syrup, two parts soy sauce, chopped garlic, and your favorite herbs or spices (I like five-spice powder). Marinate for at least 2 hours before baking or shallow-frying.
- Bake: Marinated or plain tempeh can be baked for about 20 minutes at 350°F (175°C). The longer you bake it, the firmer and drier it will get.
- Fry: Tempeh fries beautifully. It becomes crispy on the outside and remains soft on the inside. Frying obviously adds some calories, but makes very tasty tempeh.
Not sure where to start? Check out my Dan Dan noodles with tempeh scramble, tempeh in creamy mushroom coconut sauce, or these sesame and peanut tempeh skewers!
Note: If you want a milder taste, you can first steam it for 20 minutes before using it in recipes. This is not mandatory, though.
❄️ Storing and Freezing
- To store: You can store this chickpea tempeh for up to one week in the refrigerator.
- To freeze: Wrap in plastic wrap or transfer to a freezer-safe bag and freeze for up to 6 months. Thaw overnight in the refrigerator.
💬 FAQs & Troubleshooting
No. That’s the advantage of making chickpea tempeh: no peeling is needed!
Tempeh fails to form a firm cake when mold growth is insufficient. This typically happens for one of the two reasons:
1. Insufficient fermentation time: The mold didn’t have enough time to grow, and there is empty space between chickpeas. The tempeh needs more time.
2. Inadequate temperature: The fermentation environment is too cool, slowing down, or not even starting mold growth. Ensure the temperature is 85-90°F (30-35°C).
Depending on the temperature and thickness of your tempeh, it will take between 32 and 48 hours.
Yes, but expect different results. Large garbanzo beans leave more space between beans, making it harder for the mold to fully bind them together. The finished tempeh will be less compact and will crumble more easily when sliced.
You do not have to steam it. Steaming tempeh is often recommended if it has a bitter flavor, but I’ve never had any bitterness with homemade tempeh.





Save this recipe!
Enter your email below and I’ll send it to your inbox!
Plus, you will receive new recipes every week!
How To Make Chickpea Tempeh (Soy-Free)
Ingredients
- 1 cup (210 g) dry small chickpeas
- 1 tbsp (15 ml) white vinegar I used white rice vinegar
- 1 tsp tempeh starter
Instructions
- Soak the chickpeas. Place the dry chickpeas in a large bowl and cover with water. They should be fully submerged. Let them soak overnight.
- Drain them. The next day, drain and rinse the chickpeas under cold water.
- Cook them. Transfer the drained chickpeas to a large cooking pot. Cover with water (it should be about 2 inches (5 cm) higher than the chickpeas). Bring to a boil, then let simmer for 1 hour. Depending on the size of your chickpeas, it might take up to 1 and 1/2 hours. Chickpeas must be soft but not completely mushy.
- Drain them. Once the chickpeas are tender, drain them and leave them in the strainer for 30 minutes. After that, spread them on a baking sheet lined with a clean kitchen towel. Let the chickpeas drain and dry for 20-25 minutes.
- Inoculate with the starter. Transfer the chickpeas to a large mixing bowl. Add the white vinegar, and stir until all the chickpeas are "coated" with the vinegar. Sprinkle the tempeh starter over the beans and mix until well combined.
- Prick a freezer bag. Use a metal skewer or a fork, prick holes in a small freezer bag (I used a 7×8-inch bag) at about 1-inch (2.5 cm) intervals. This step is important for creating good air circulation and allowing the mold to grow.
- Fill the bag. Transfer the chickpeas to the freezer bag, then shape them into a loaf measuring about 5×8 inches, and about 1 and 1/3 inches (3.5 cm) thick. Then fold the remaining bag over the chickpeas to keep them tight.
- Incubate. Three ways to incubate the tempeh:Instant Pot: Arrange a rack inside the Instant Pot liner. Place the bag of chickpeas on it and close the Instant Pot lid. Set the Instant Pot mode to "Yogurt" ("Normal" mode) and set the timer to 32 hours.Yogurt maker: Place the bag of chickpeas inside your yogurt maker and set the timer to 32 hours.Oven: Turn on the oven light (don't turn on the heat). The oven temperature should reach approximately 85-90°F (30-35°C) for the best results. Place the tempeh inside the oven for 30-32 hours.
- After about 32 hours, you should see a thin layer of mold covering the chickpeas. At this point, you can turn off the Instant Pot, yogurt maker, or oven and let it ferment for another 6-8 hours. The tempeh will generate its own heat.
- Your tempeh is ready when it is fully covered with white mold and forms a solid cake, which usually happens at the 48-hour mark. It can be quicker if the temperature in your house is high.
- Raw tempeh will keep for up to a week in the refrigerator.
Notes
Cook the chickpeas until tender, but not overcooked.
The chickpeas must be fully cooked for two reasons. First, the mold won’t grow properly on undercooked beans. And second, uncooked chickpeas will remain tough and unpleasant to eat, even after fermentation.Dry the chickpeas well.
For optimal mold growth, the chickpeas must not be too moist. Do not skip this step – spread them on a clean kitchen towel and let them dry for 20-25 minutes.Pack them tightly.
Transfer the chickpeas to a perforated freezer bag and pack them tightly, without mashing them. If there’s too much space between chickpeas, mold may not grow properly, preventing them from binding into a firm block.Nutrition

About the Author
Thomas Pagot is the founder, photographer, and recipe developer behind Full of Plants. He created the blog in 2016 as a personal cookbook for vegan recipes. Through years of recipe development, Thomas has successfully grown Full of Plants into a trusted resource for plant-based recipes.
Leave a Comment